Sariandan
Well-Known Member
- First Name
- Kevin
- Joined
- Sep 12, 2021
- Threads
- 11
- Messages
- 374
- Reaction score
- 1,039
- Location
- The lowcountry of SC/GA
- Vehicle(s)
- 2022 Ford Mustang EcoBoost
- Occupation
- Paramedic/Shift Supervisor
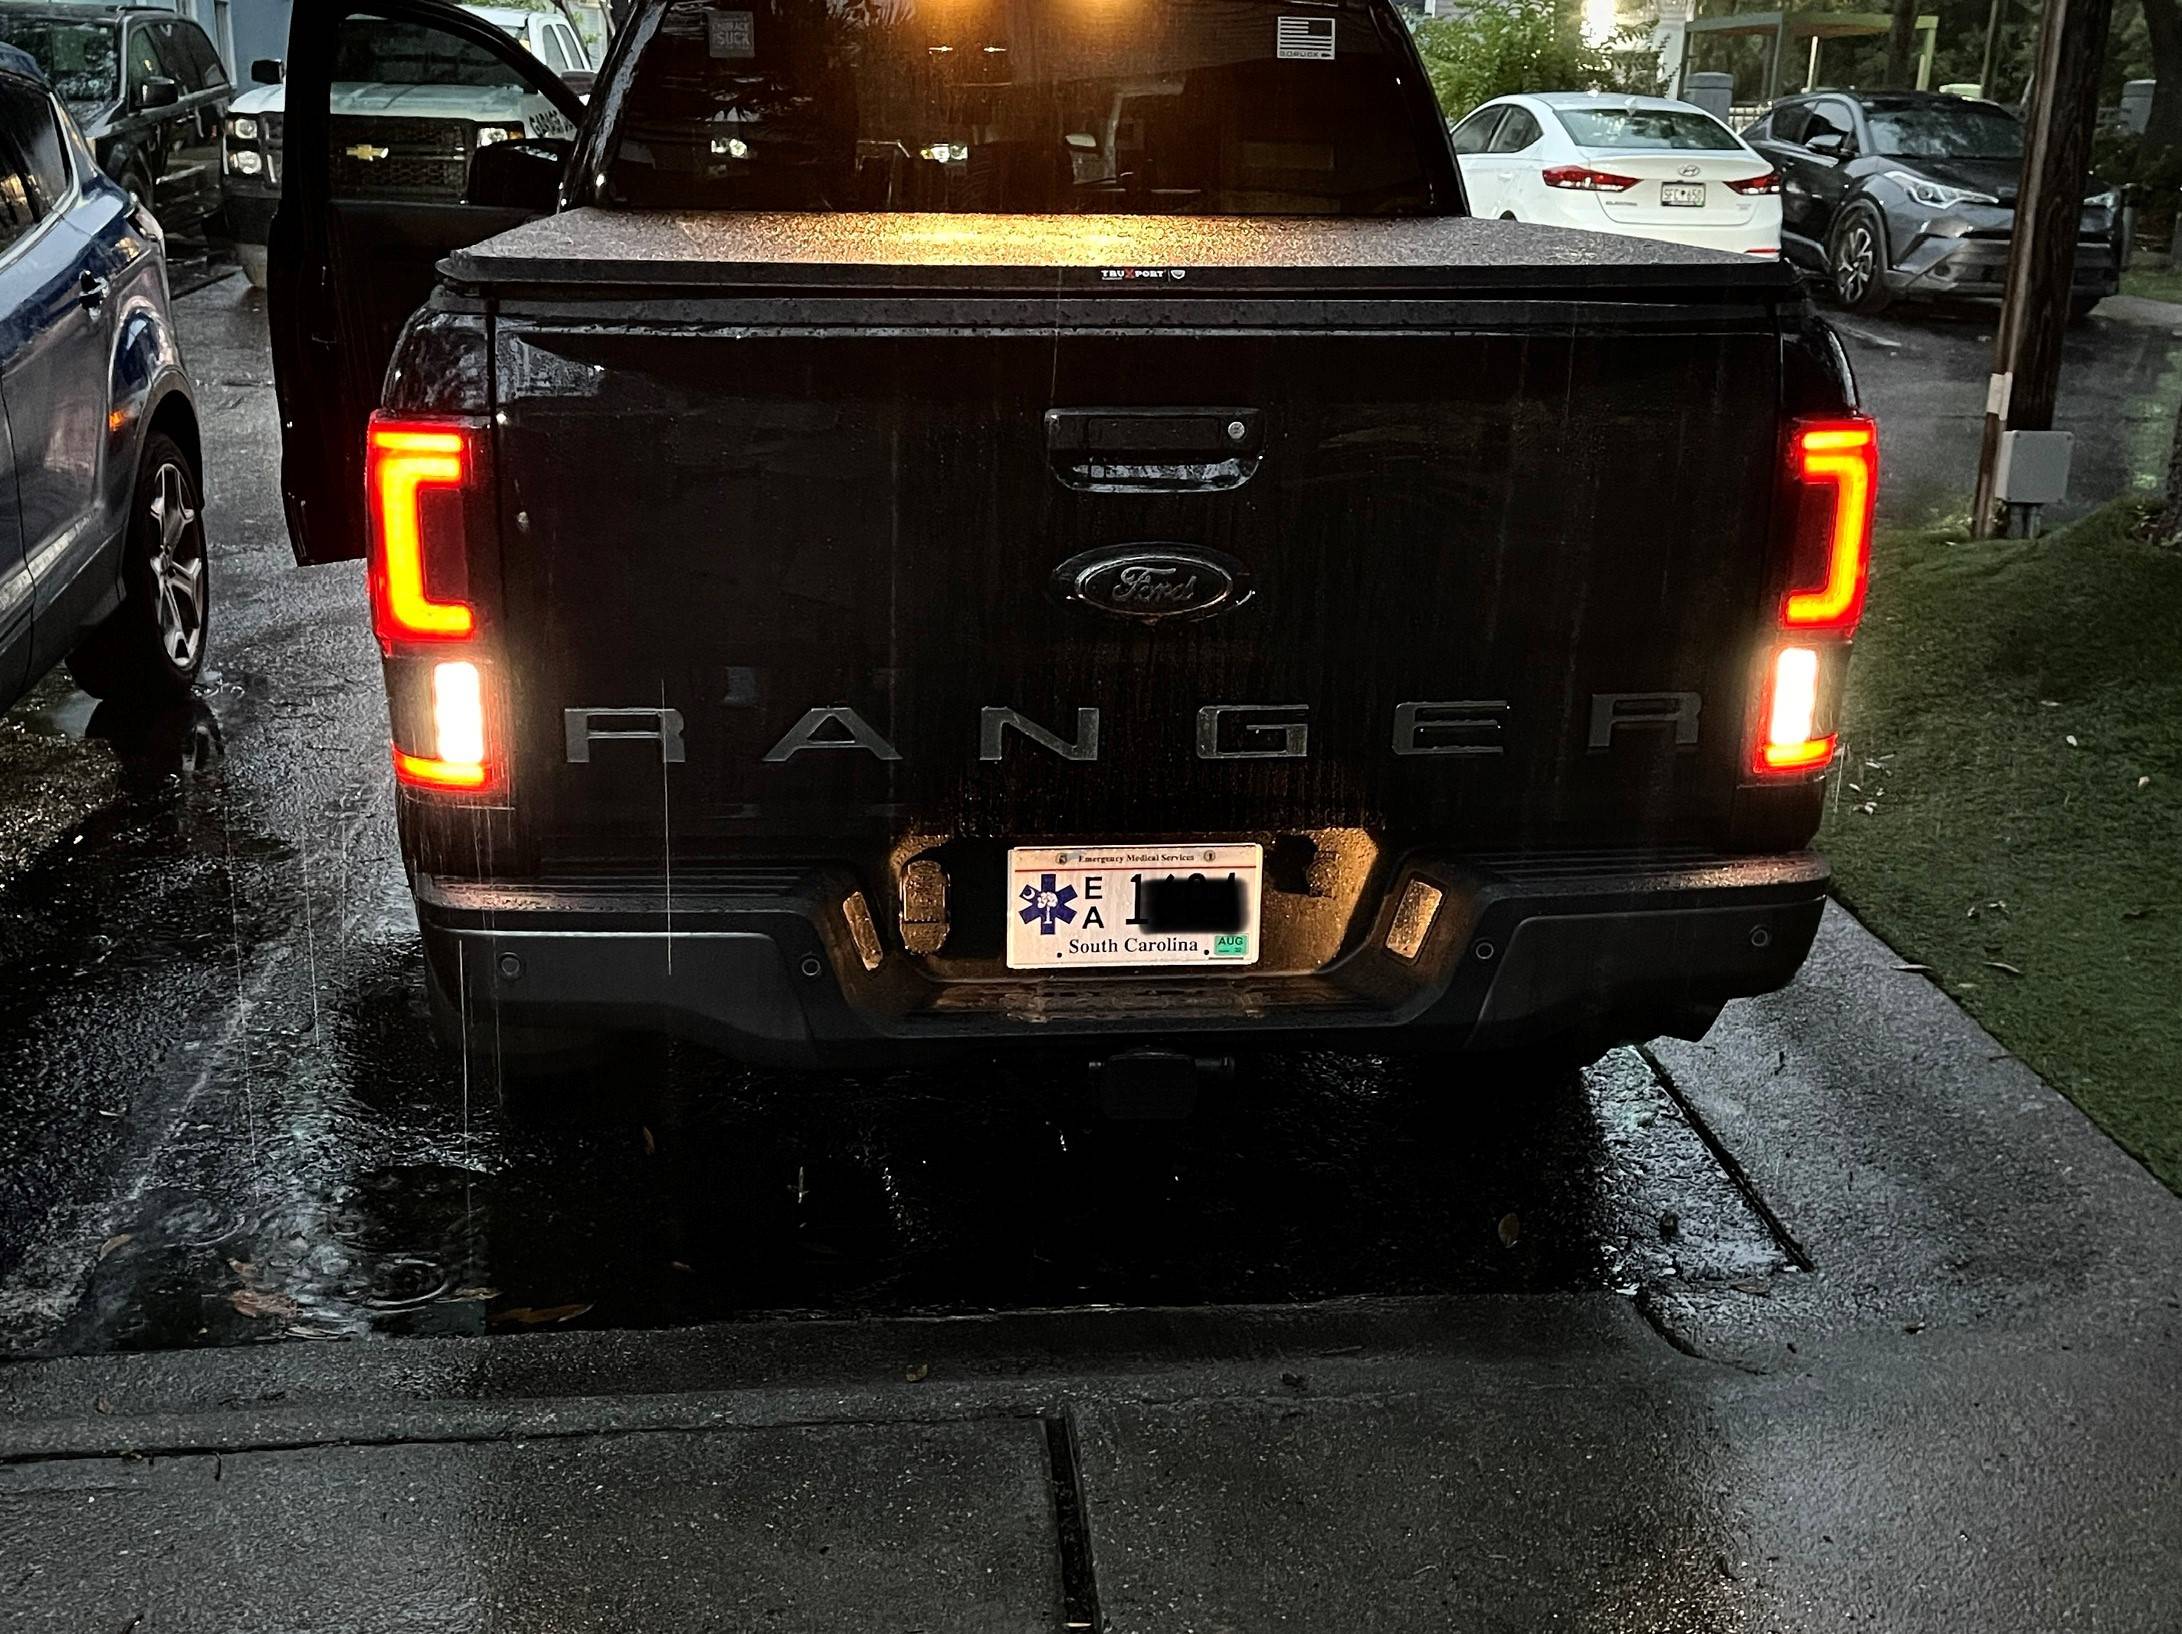
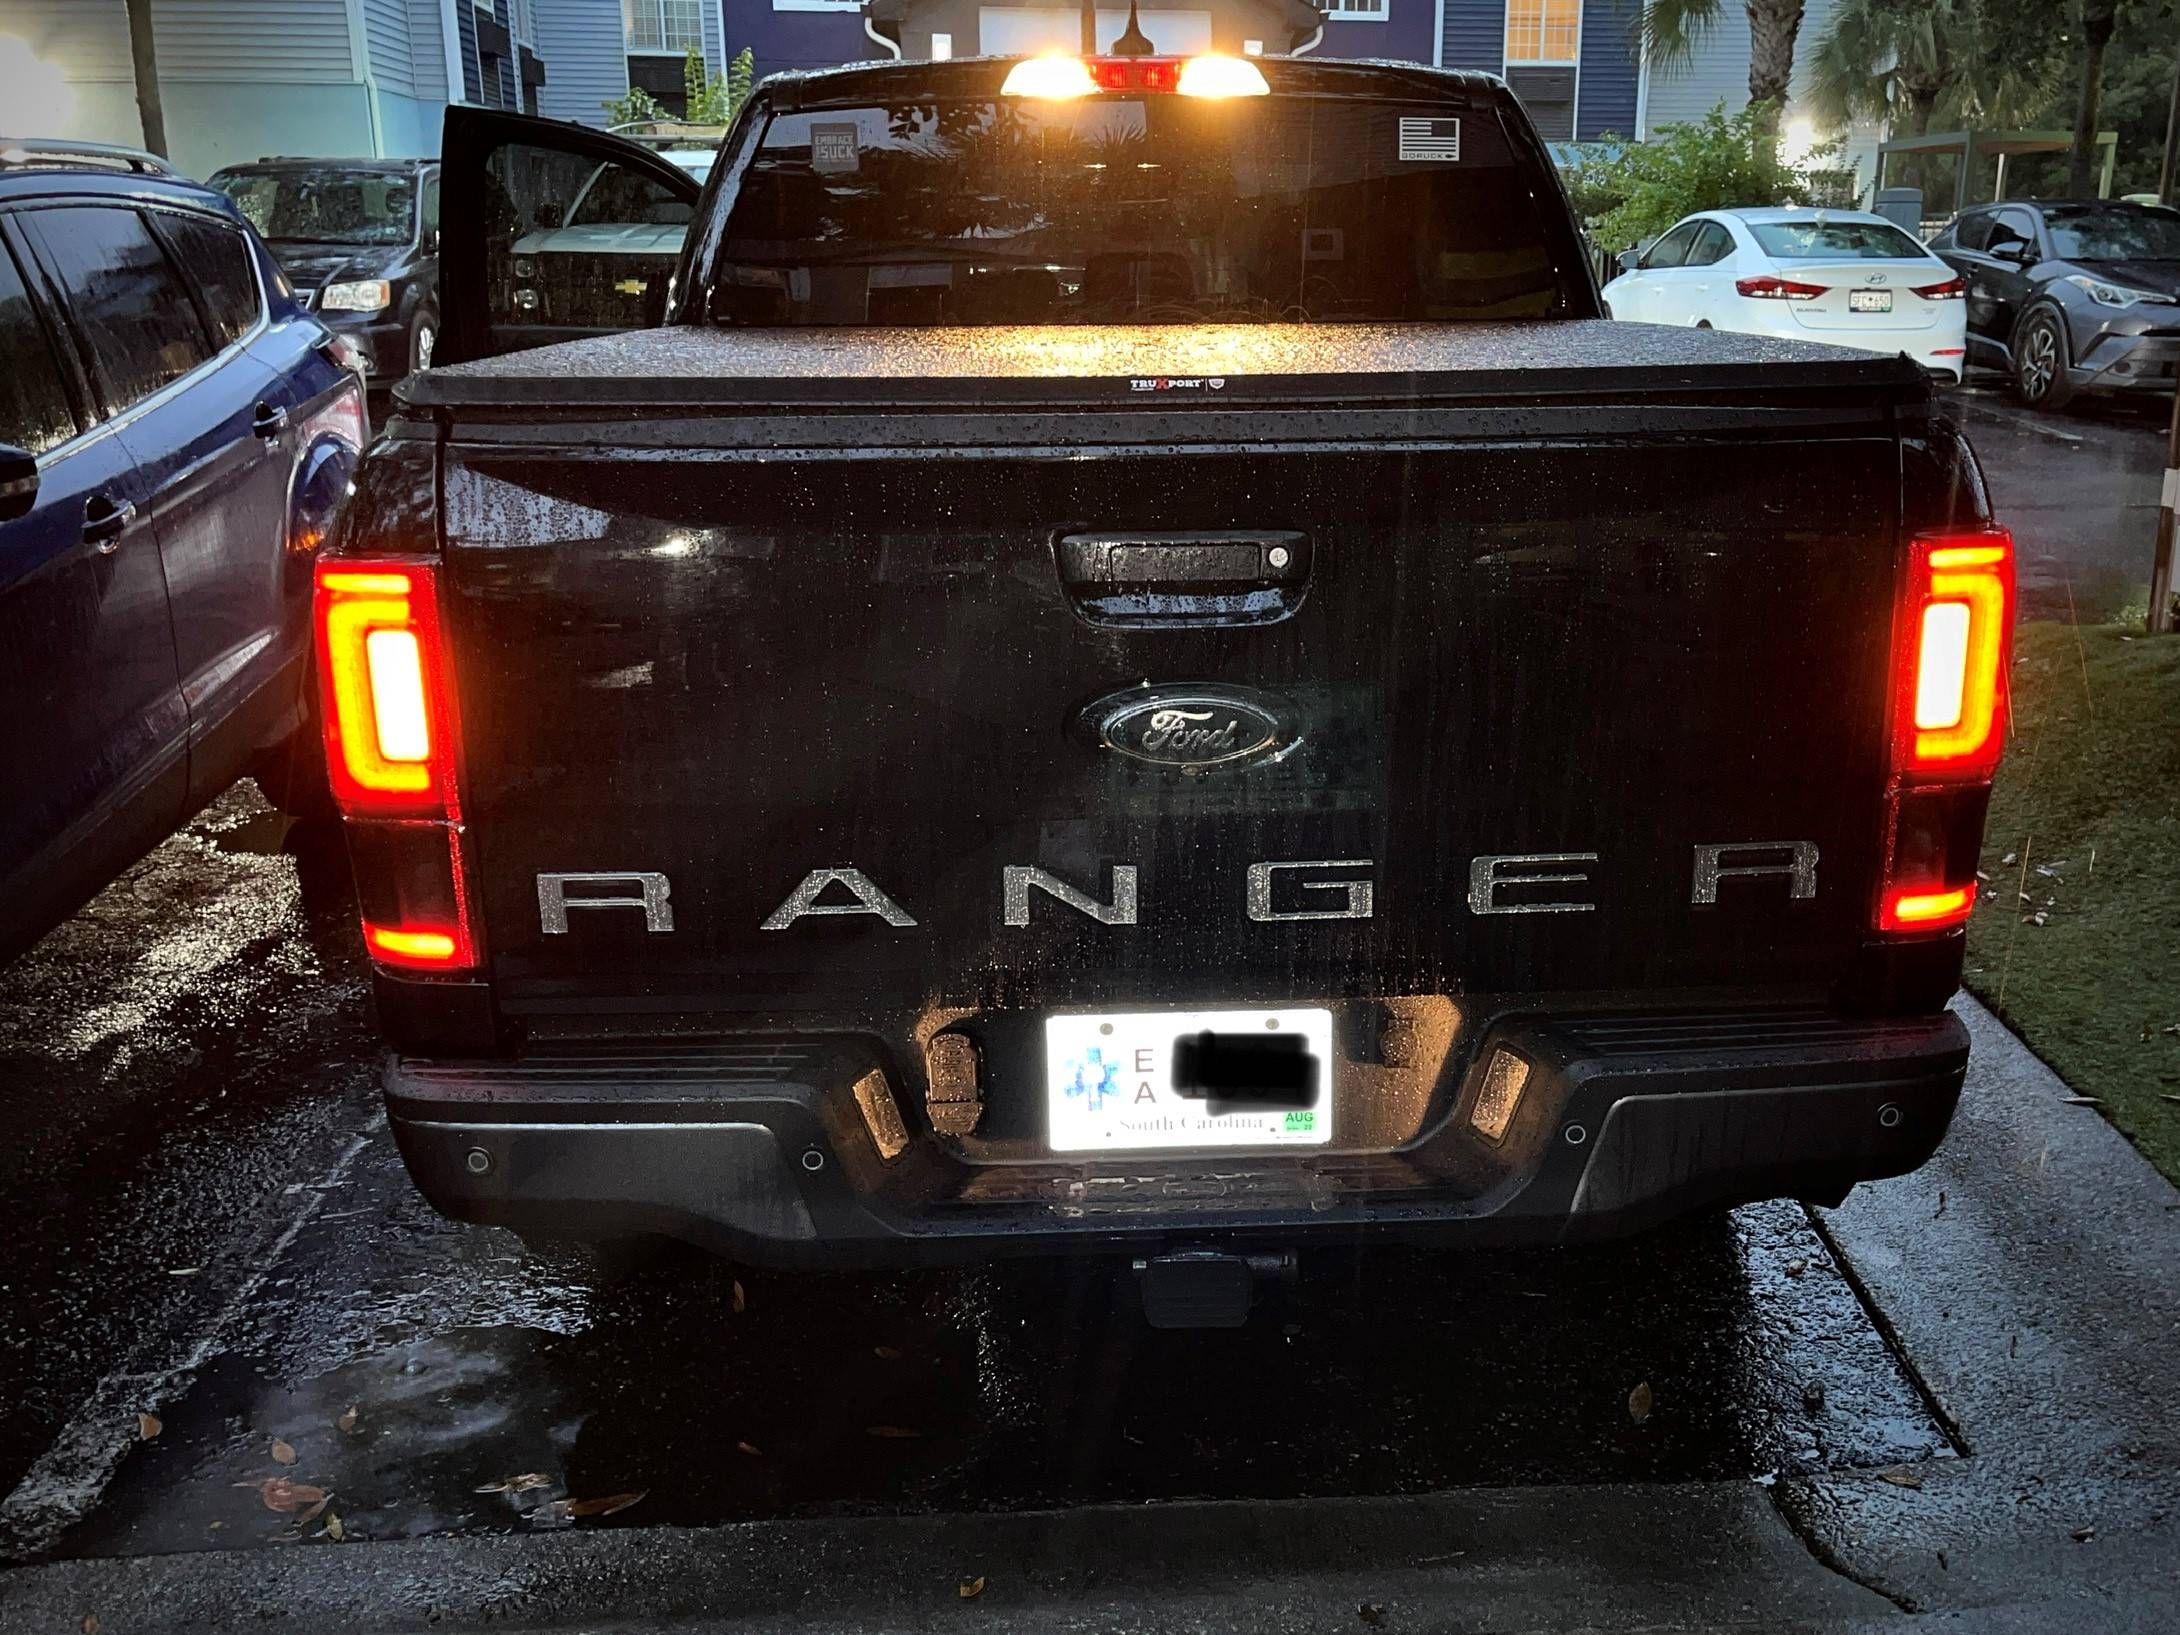
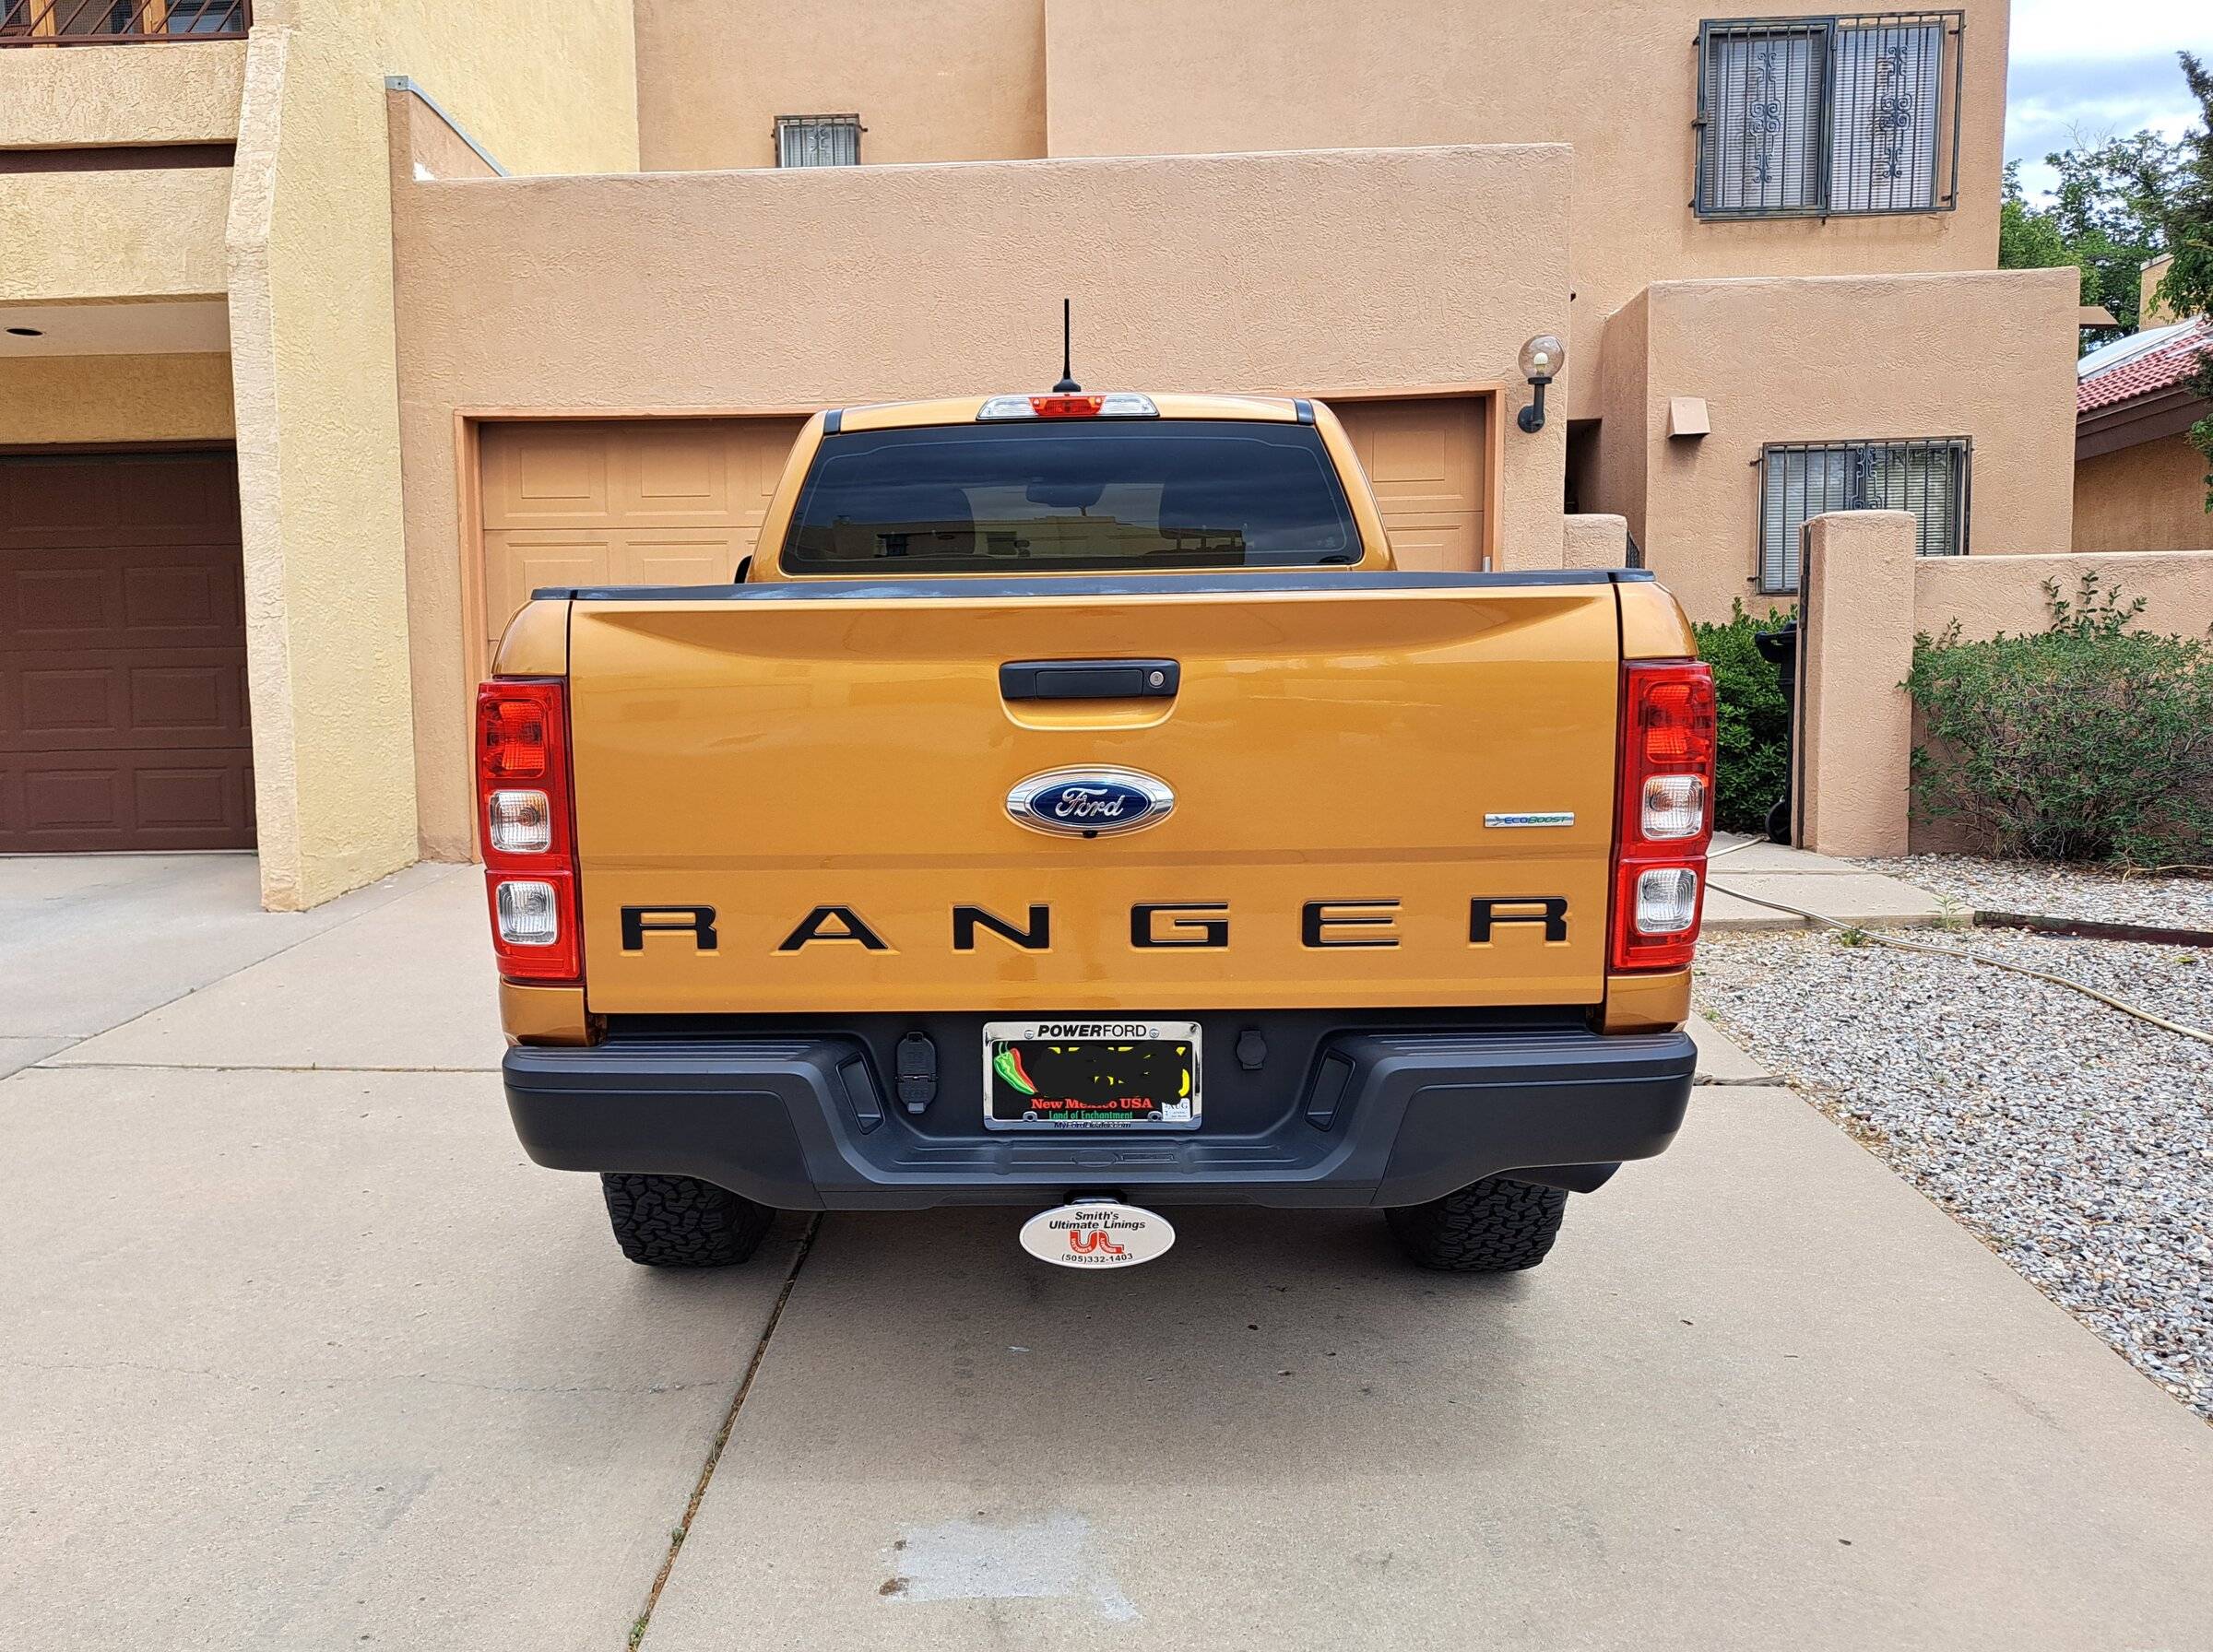
For anyone interested in the effect on rear light brightness from wrapping the tail light assemblies, I think they're still quite visible.
Tail and backup

Turns

Tail and backup
Turns
Sponsored
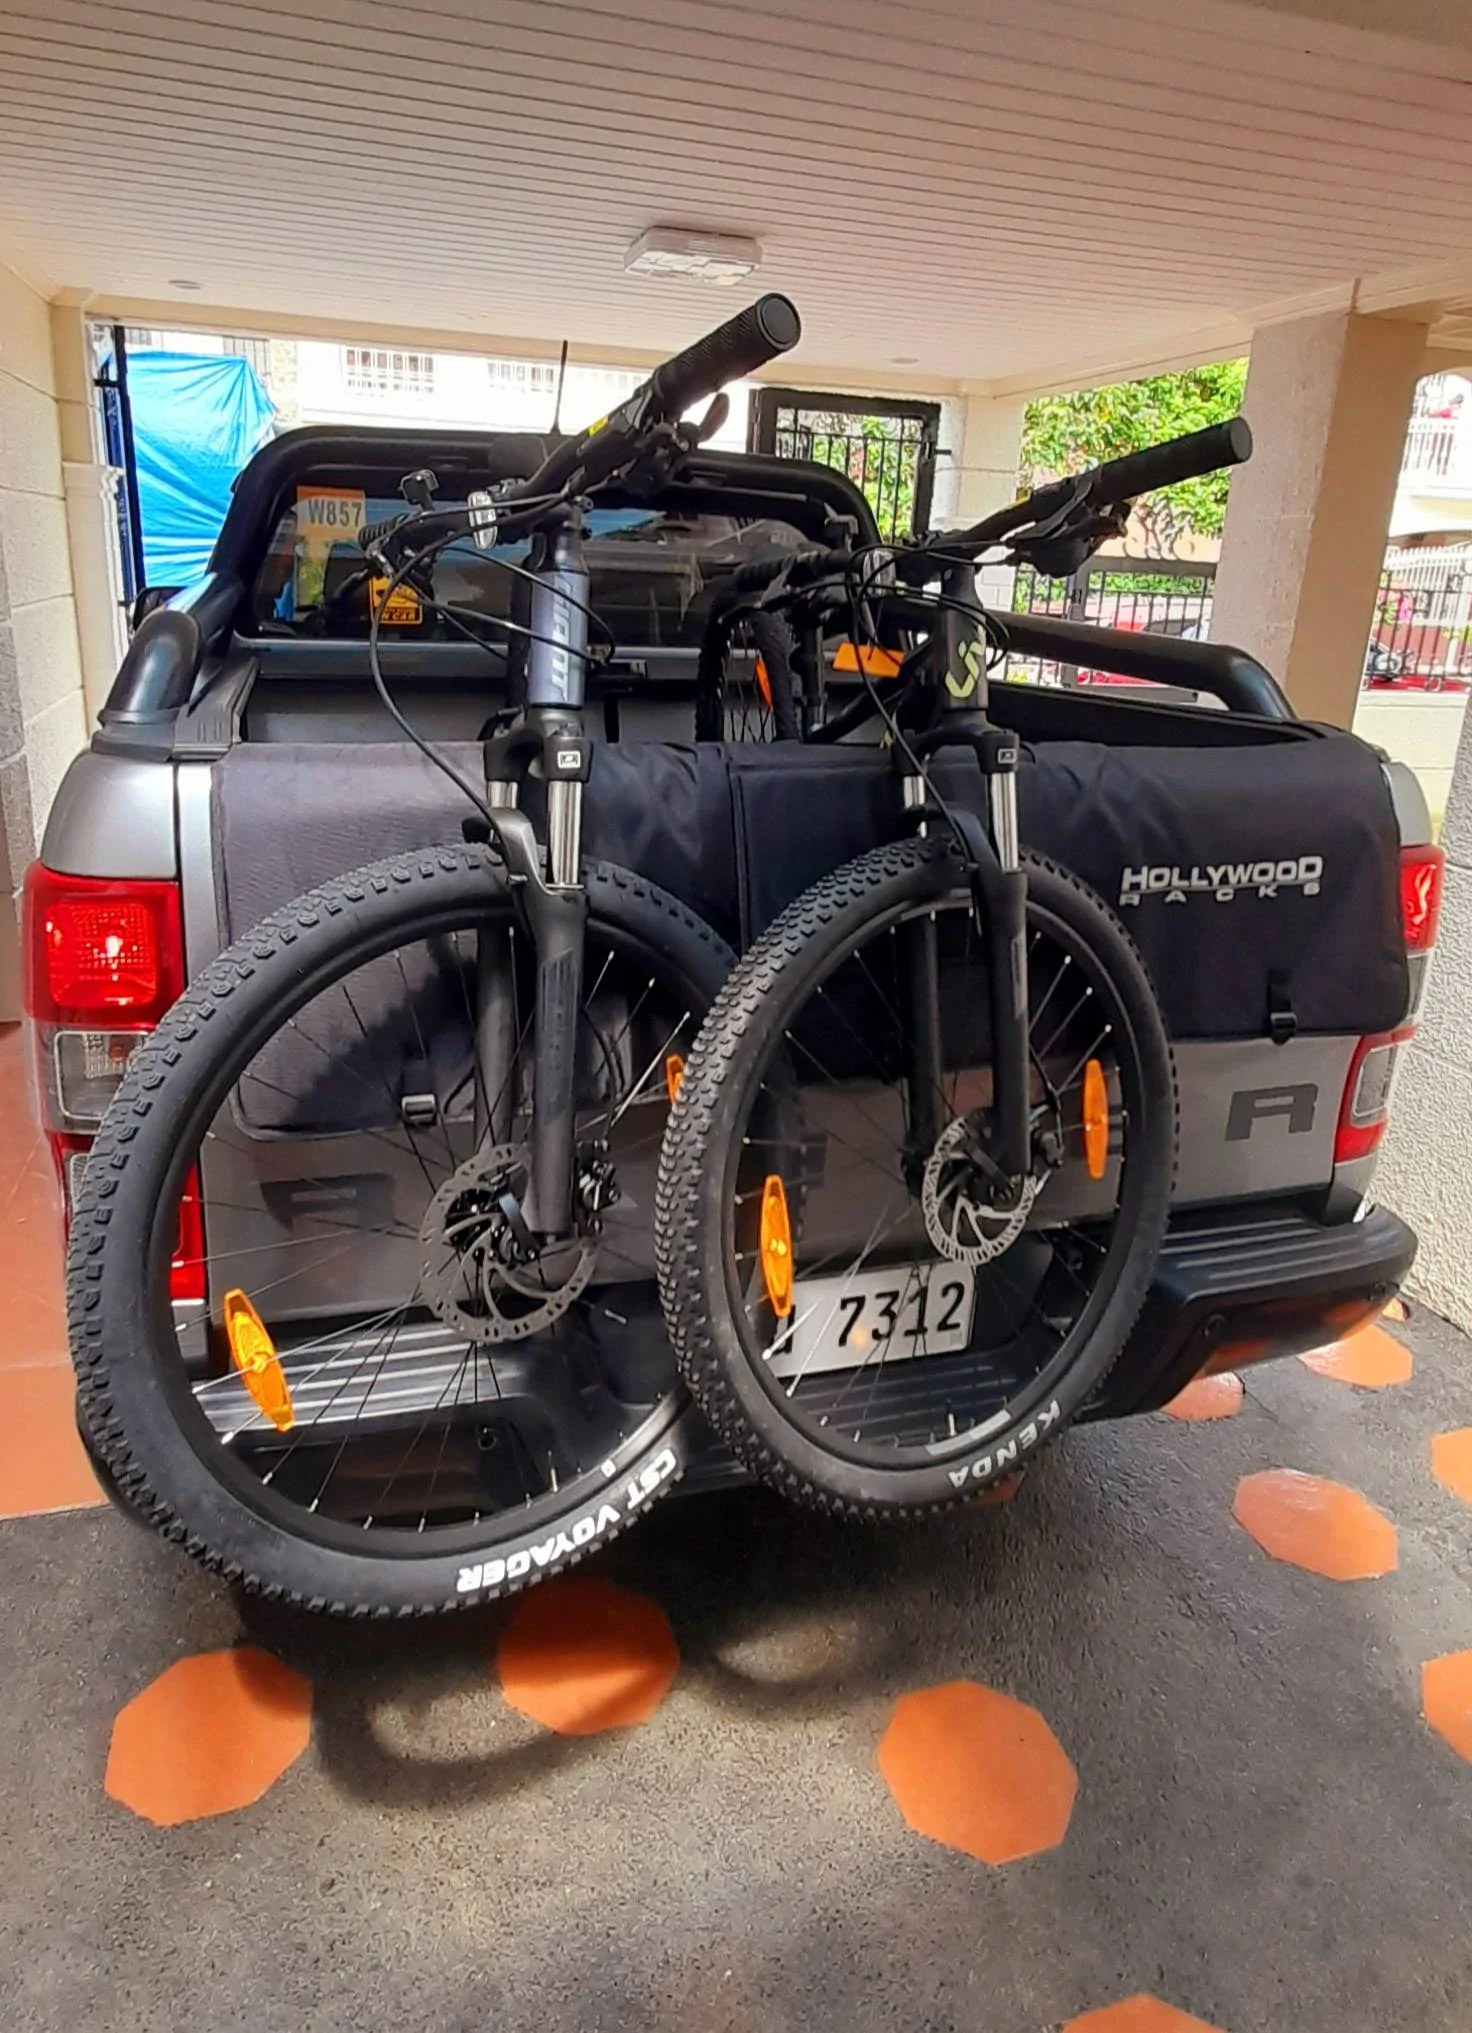
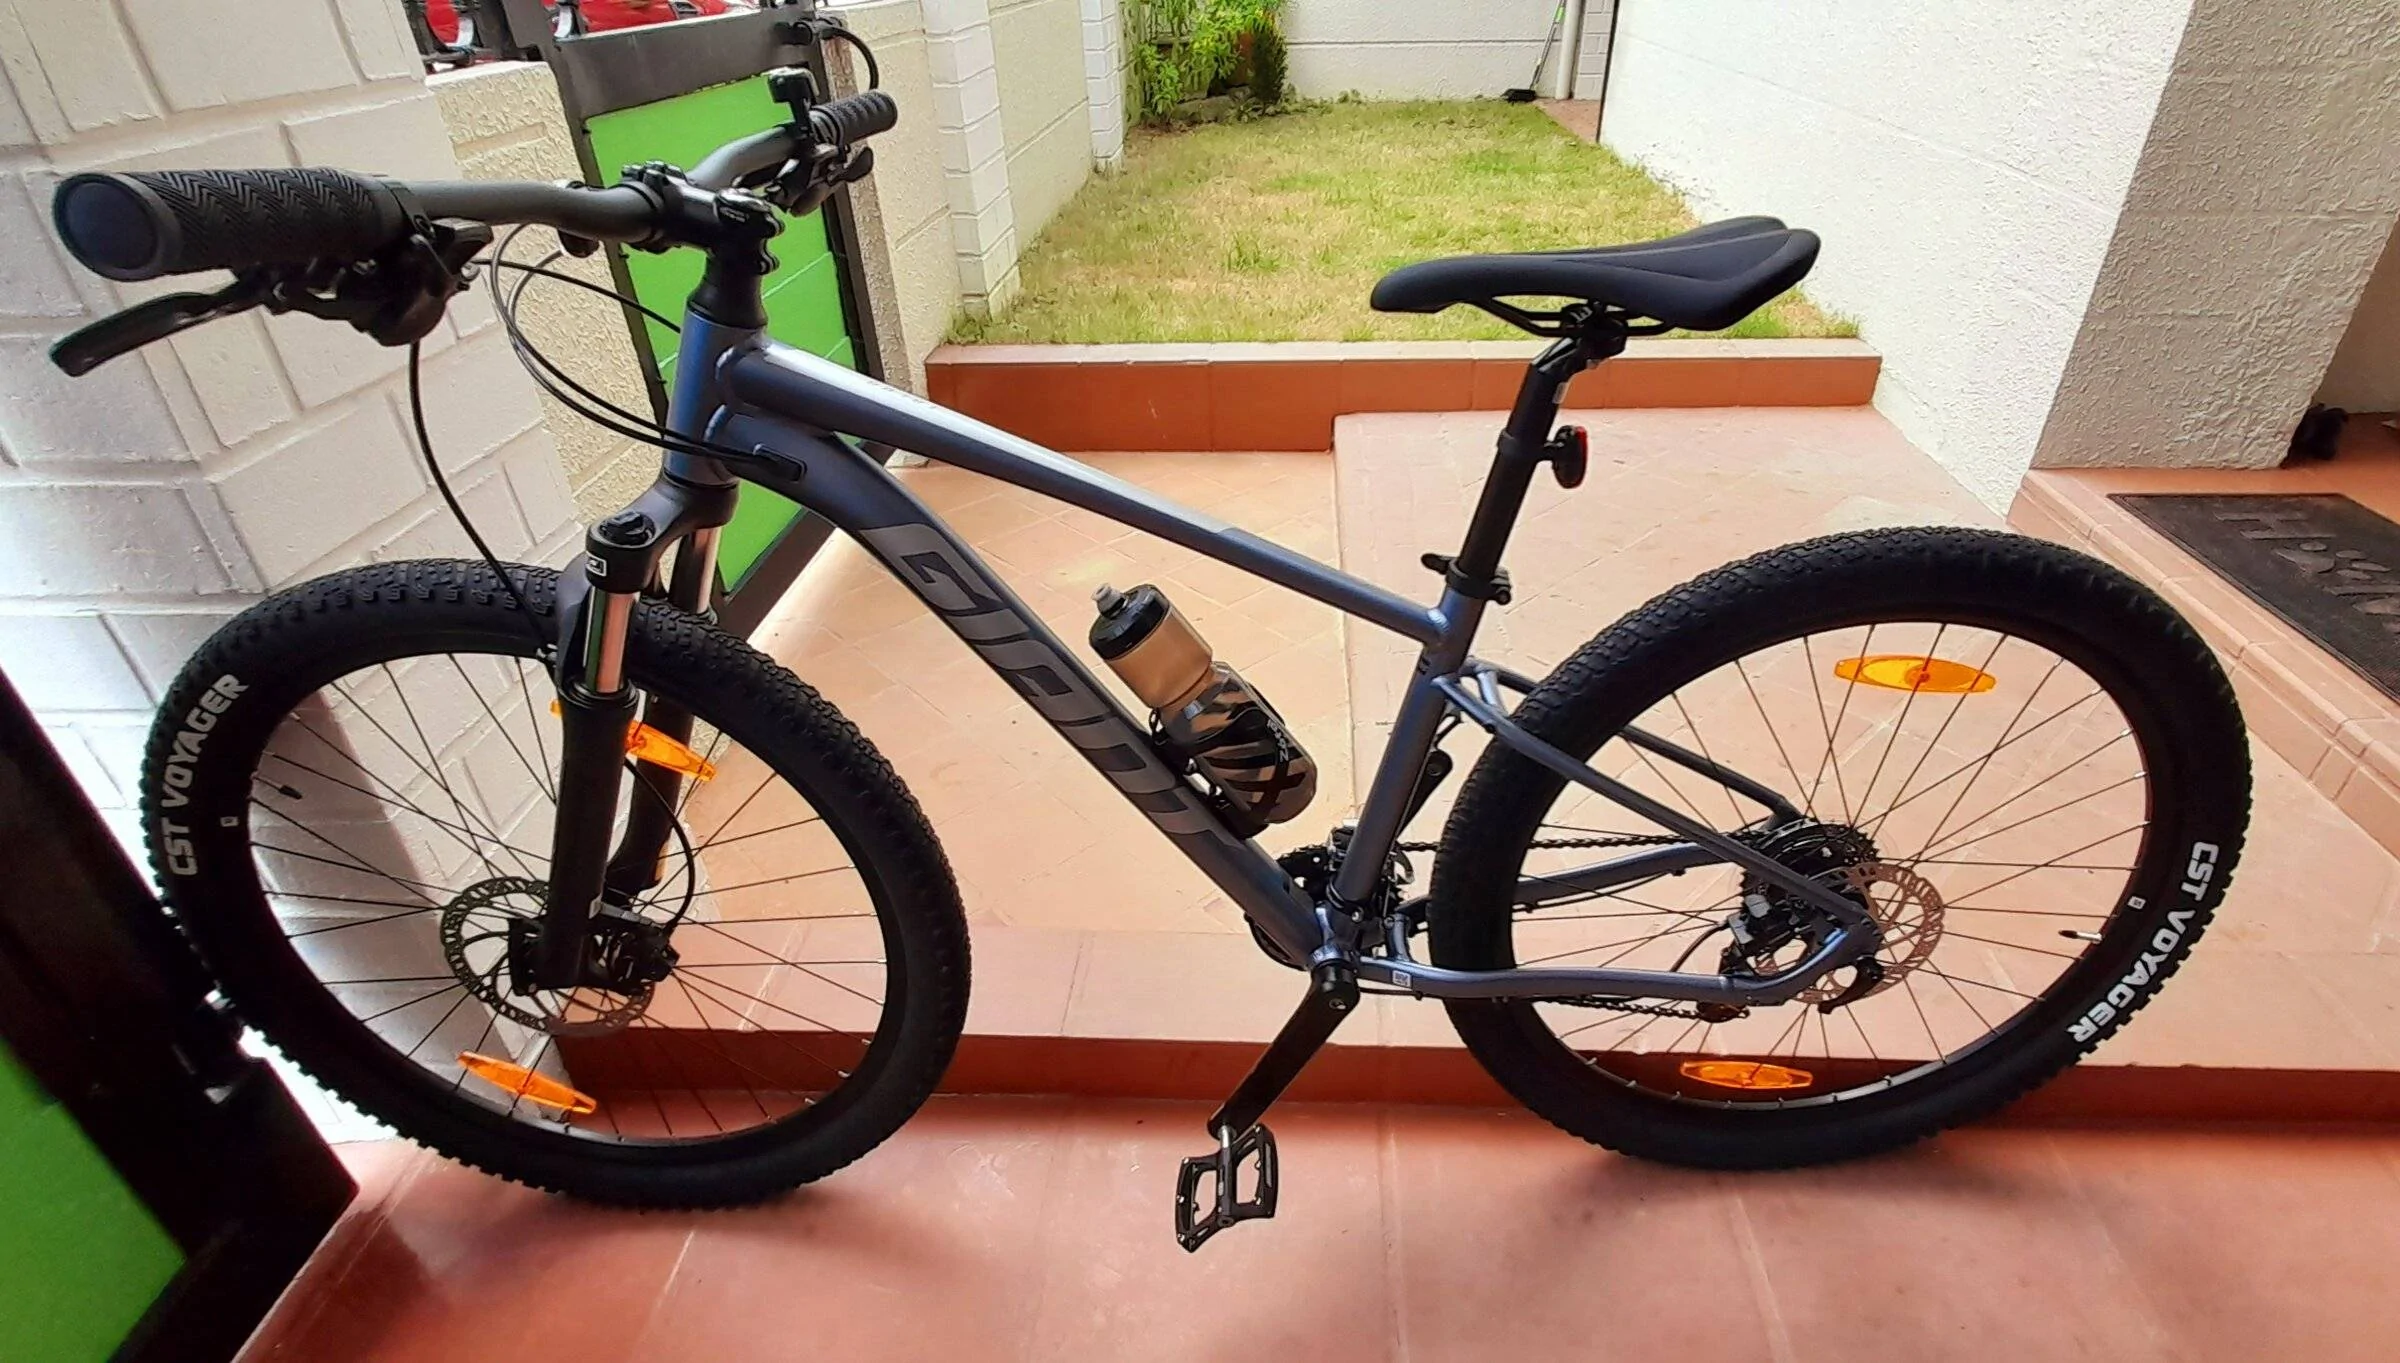
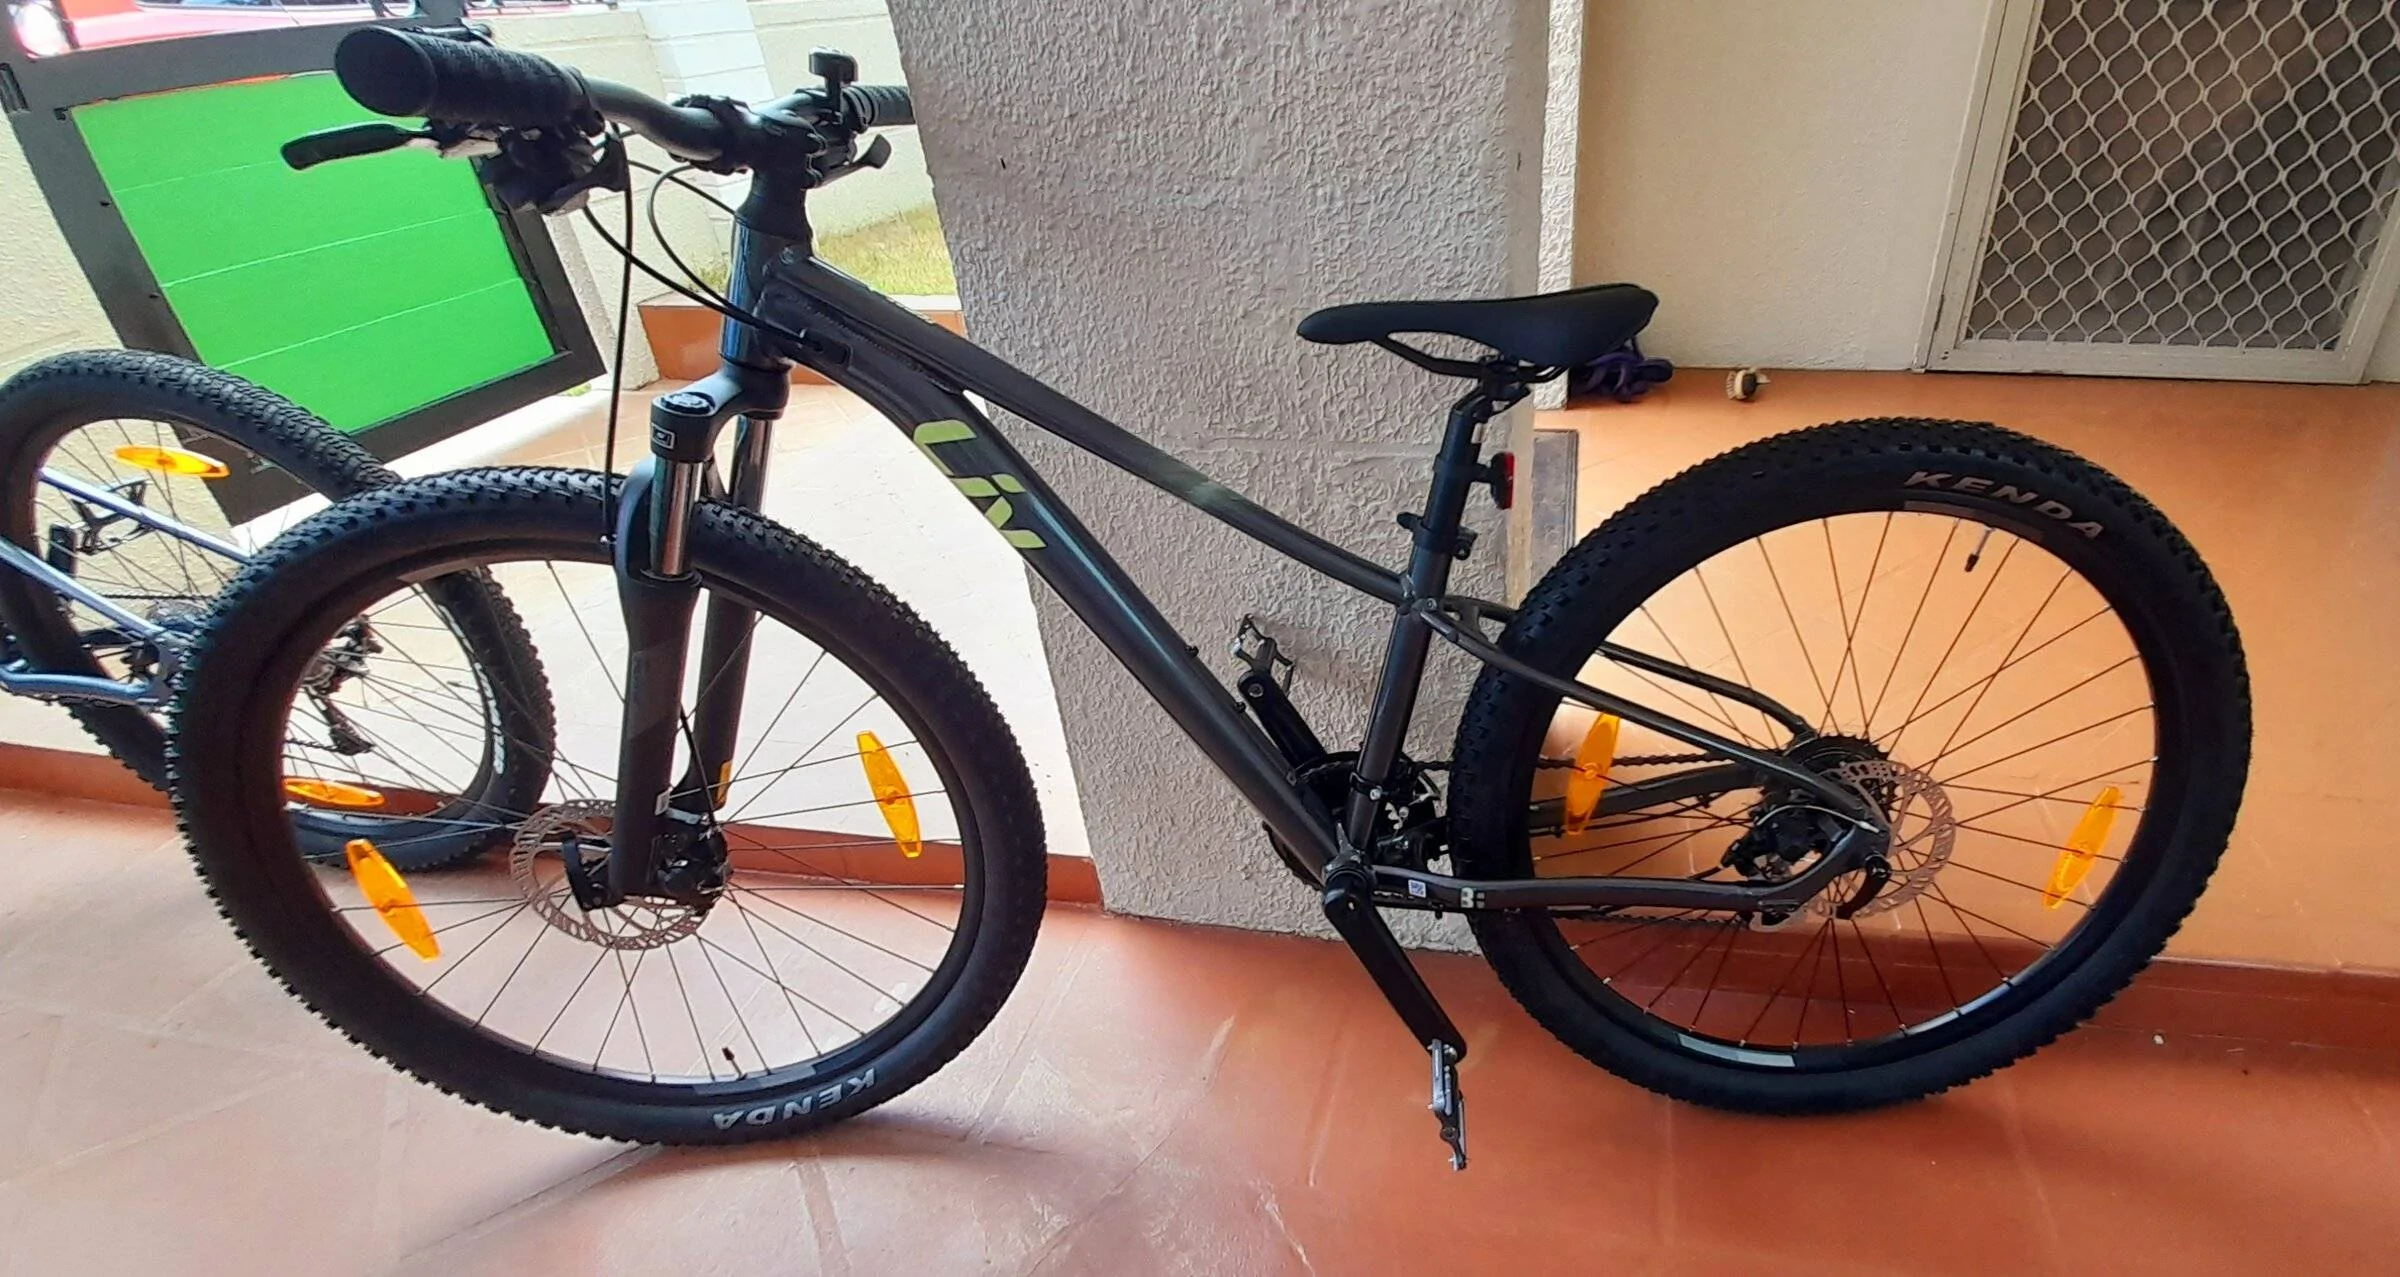
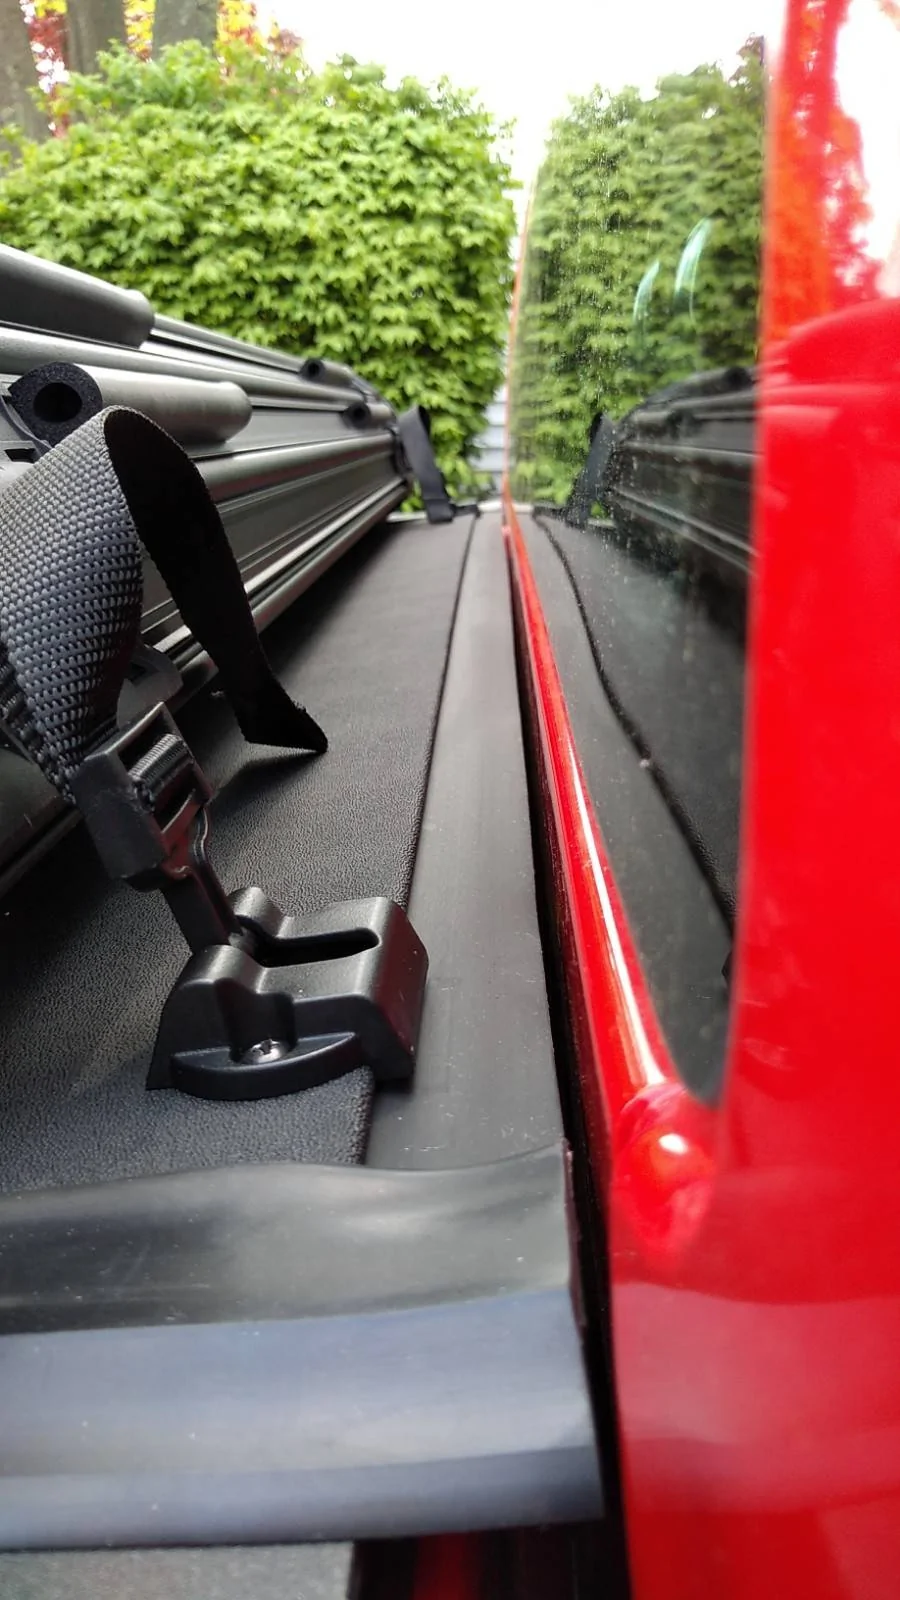
 So my punishment toys don't scratch it. I picked these up today for the wife and I to get some more exercise time together. I had a dream last night that I had a new mountain bike and I was happy riding again. I have not had a bike for 26 years.