treimche
Well-Known Member
- First Name
- Troy
- Joined
- Apr 8, 2019
- Threads
- 39
- Messages
- 723
- Reaction score
- 889
- Location
- FORT MYERS, FL
- Vehicle(s)
- 2019 Ranger SOLD. 2005 S2000
- Occupation
- Accountant
- Thread starter
- #1
Just wanted to share a couple of tips to hopefully make someone's life easier when it comes to installing some aftermarket suspension components. I recently finished up installing the Fox 2.0 front coilovers and rear shocks along with Icon tubular front upper control arms, and learned a couple of things along the way, which I'll pass along here.
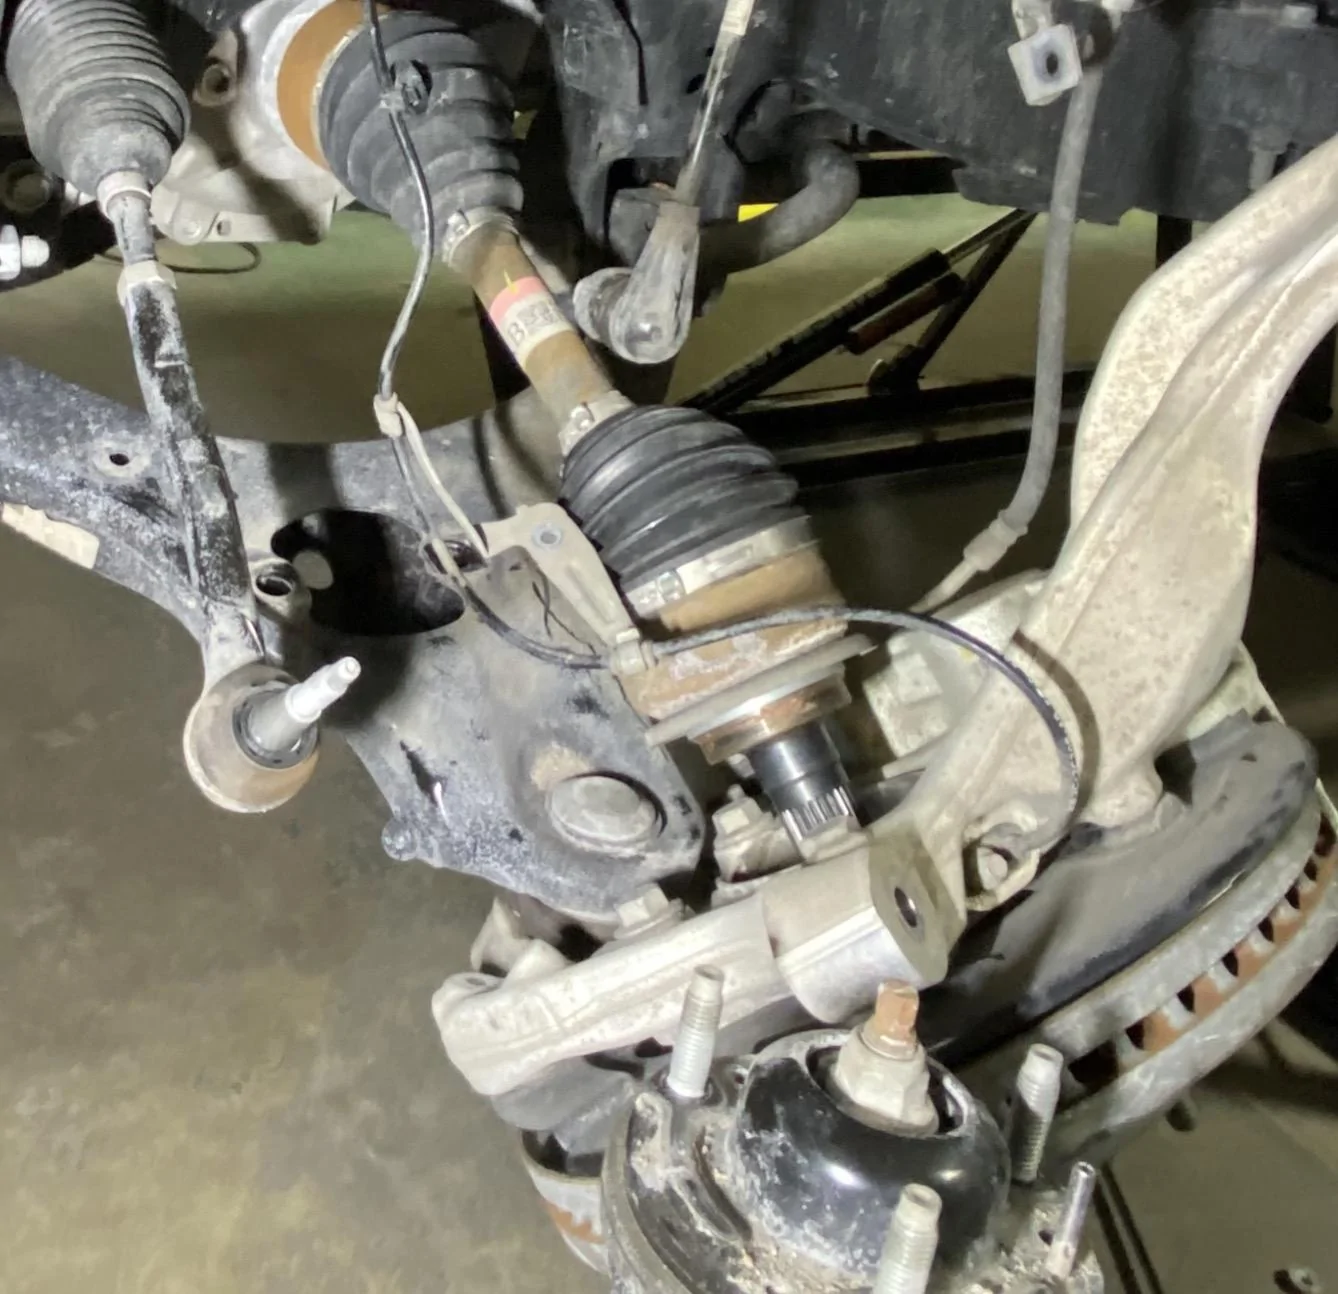
First, since so many people seem to mistakenly pull the front axles out of the inner CV joints when installing a lift or leveling kit, there is a fairly easy way to avoid that problem. Most install videos and instructions that I looked at just had the installer pry down on the lower control arm in order to remove the spring/shock assembly. This is where the axle can pop out of the inner CV joint. The easy fix: get a 35mm socket, remove the axle nuts, push the axles out of the hubs and don't worry about them popping apart! It is definitely worth the extra few minutes to avoid the possibility of wrecking an axle.
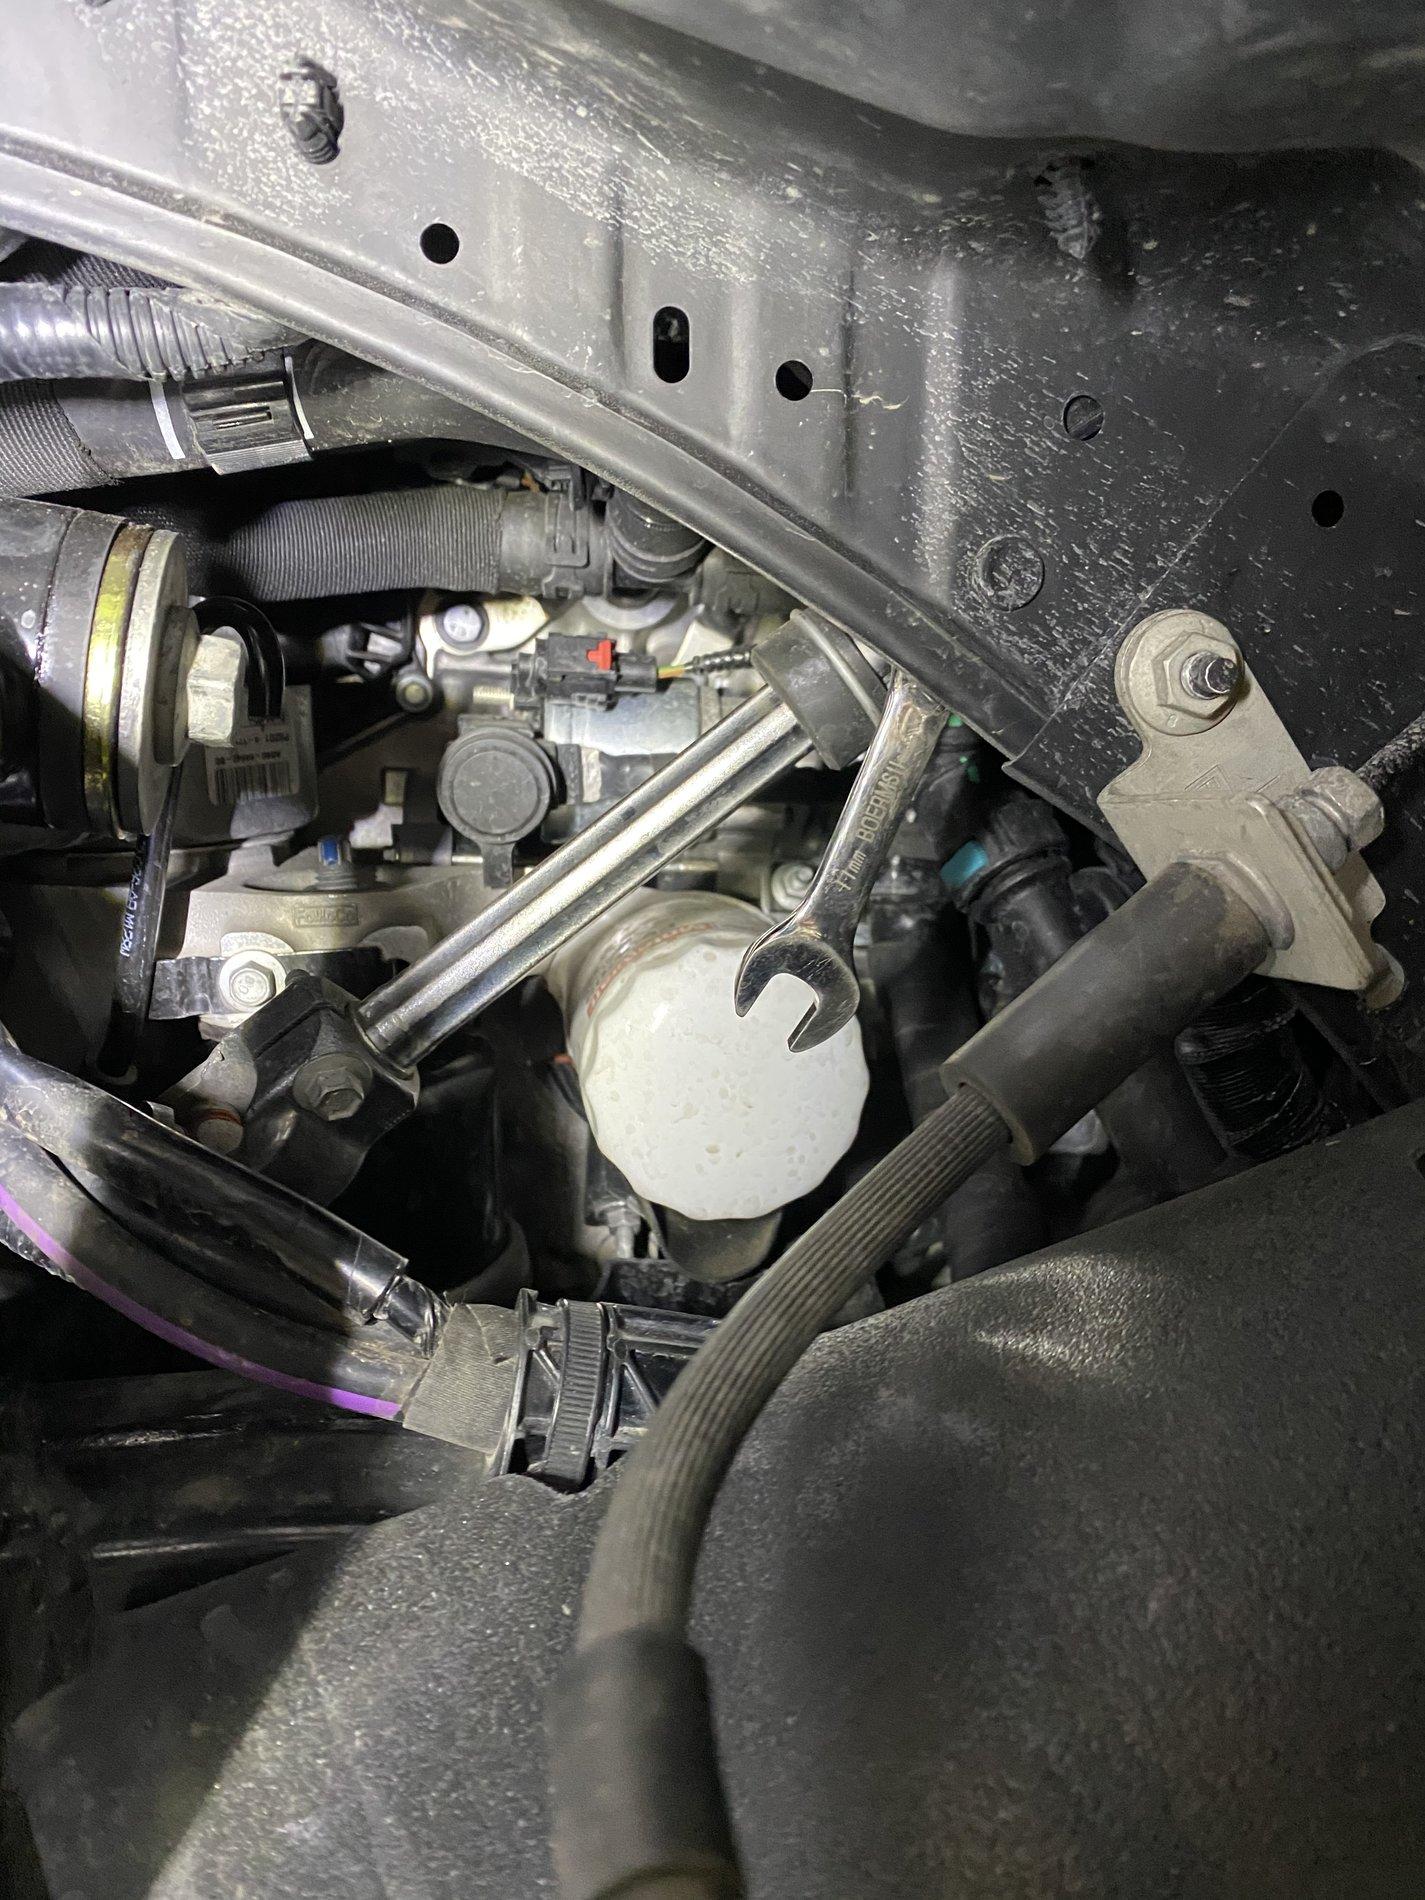
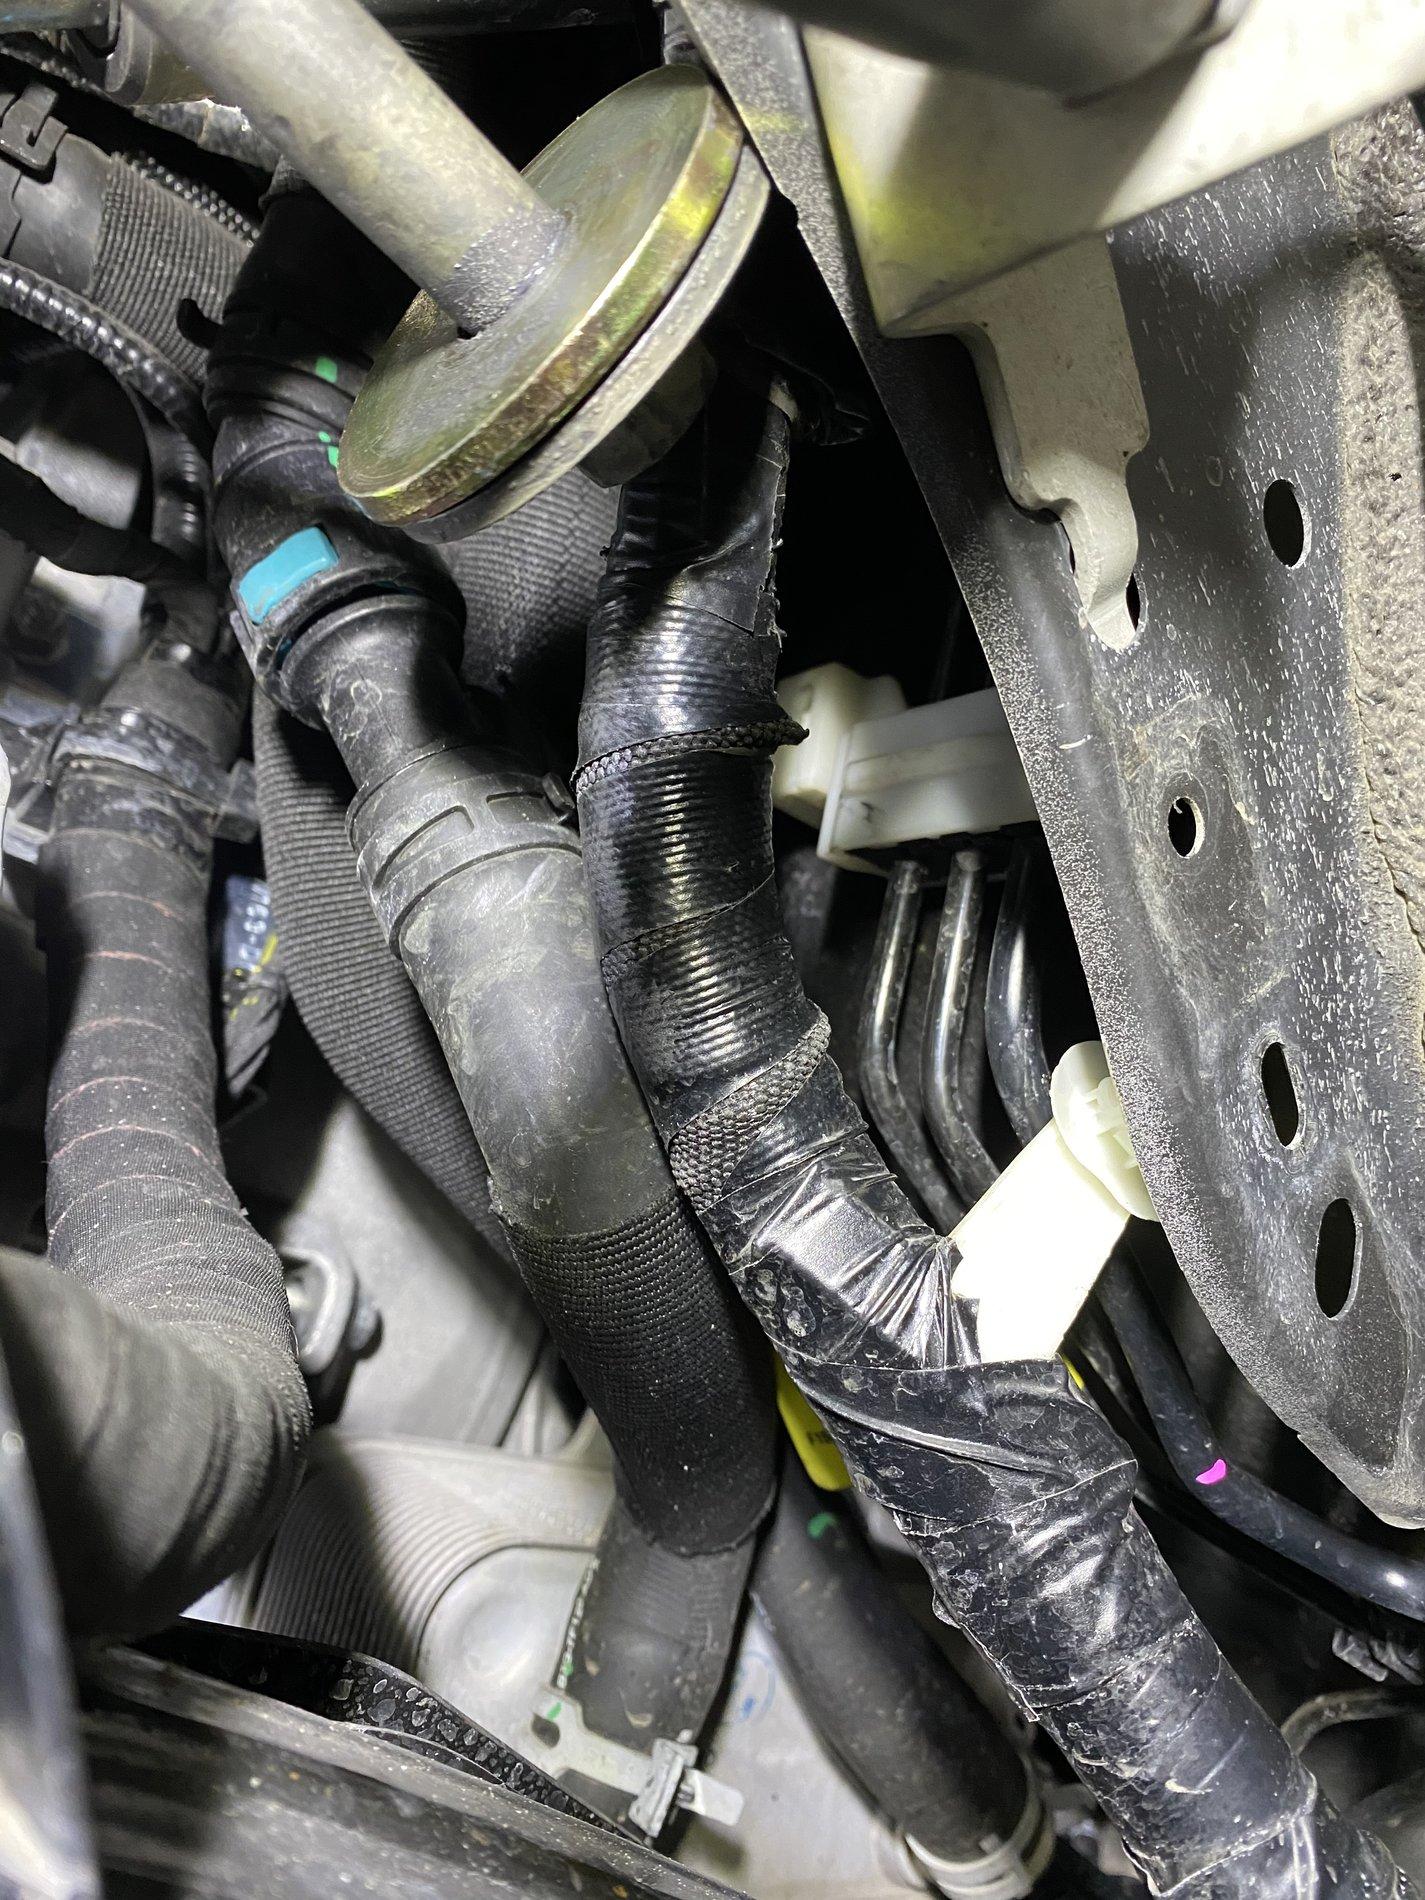
Second tip is for those swapping out the front upper control arms. On the driver's side, the upper control arm bolt is difficult to remove because there is a large wire harness in the way, so when you pull the bolt out the back of the control arm, the washer contacts the wire harness. The wire harness can be moved out of the way but you have to loosen an 11mm nut that is on the engine bay side of the body. It is hard to see, but you can access it from the wheel well or from the engine bay. I used a little 11mm ratcheting wrench to loosen the nut (doesn't need to be removed, just loosened), then you can pull the wire harness upward to move it. You might also want to pop the white clip loose that holds the harness a few inches back. Hopefully you can see this in the pics. Once you get that wire harness moved out of the way, the upper control arm bolt will slide right out easily. The passenger's side is much easier since there is nothing in the way.
Feel free to add more tips and tricks.


First, since so many people seem to mistakenly pull the front axles out of the inner CV joints when installing a lift or leveling kit, there is a fairly easy way to avoid that problem. Most install videos and instructions that I looked at just had the installer pry down on the lower control arm in order to remove the spring/shock assembly. This is where the axle can pop out of the inner CV joint. The easy fix: get a 35mm socket, remove the axle nuts, push the axles out of the hubs and don't worry about them popping apart! It is definitely worth the extra few minutes to avoid the possibility of wrecking an axle.
Second tip is for those swapping out the front upper control arms. On the driver's side, the upper control arm bolt is difficult to remove because there is a large wire harness in the way, so when you pull the bolt out the back of the control arm, the washer contacts the wire harness. The wire harness can be moved out of the way but you have to loosen an 11mm nut that is on the engine bay side of the body. It is hard to see, but you can access it from the wheel well or from the engine bay. I used a little 11mm ratcheting wrench to loosen the nut (doesn't need to be removed, just loosened), then you can pull the wire harness upward to move it. You might also want to pop the white clip loose that holds the harness a few inches back. Hopefully you can see this in the pics. Once you get that wire harness moved out of the way, the upper control arm bolt will slide right out easily. The passenger's side is much easier since there is nothing in the way.
Feel free to add more tips and tricks.
Sponsored