E Monty
Well-Known Member
- Thread starter
- #1
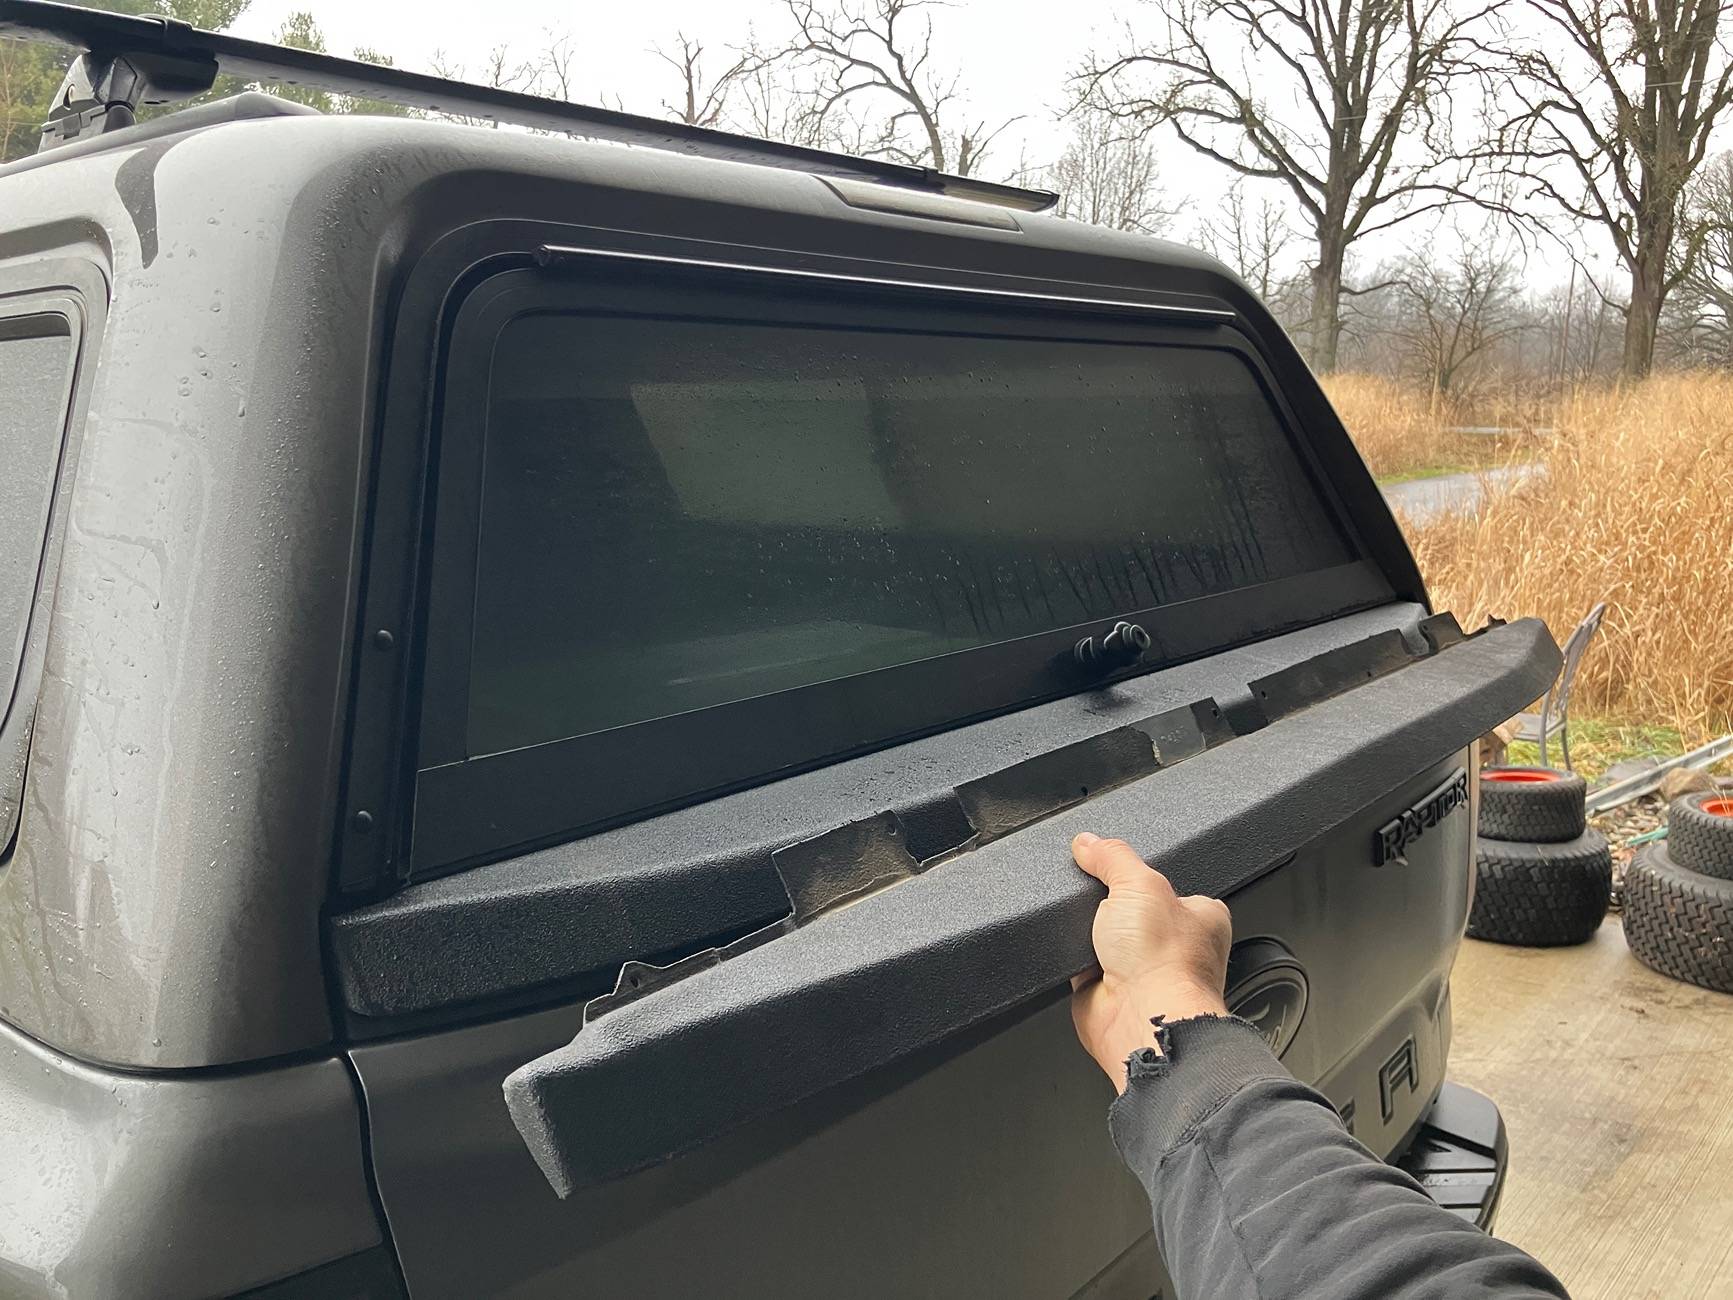
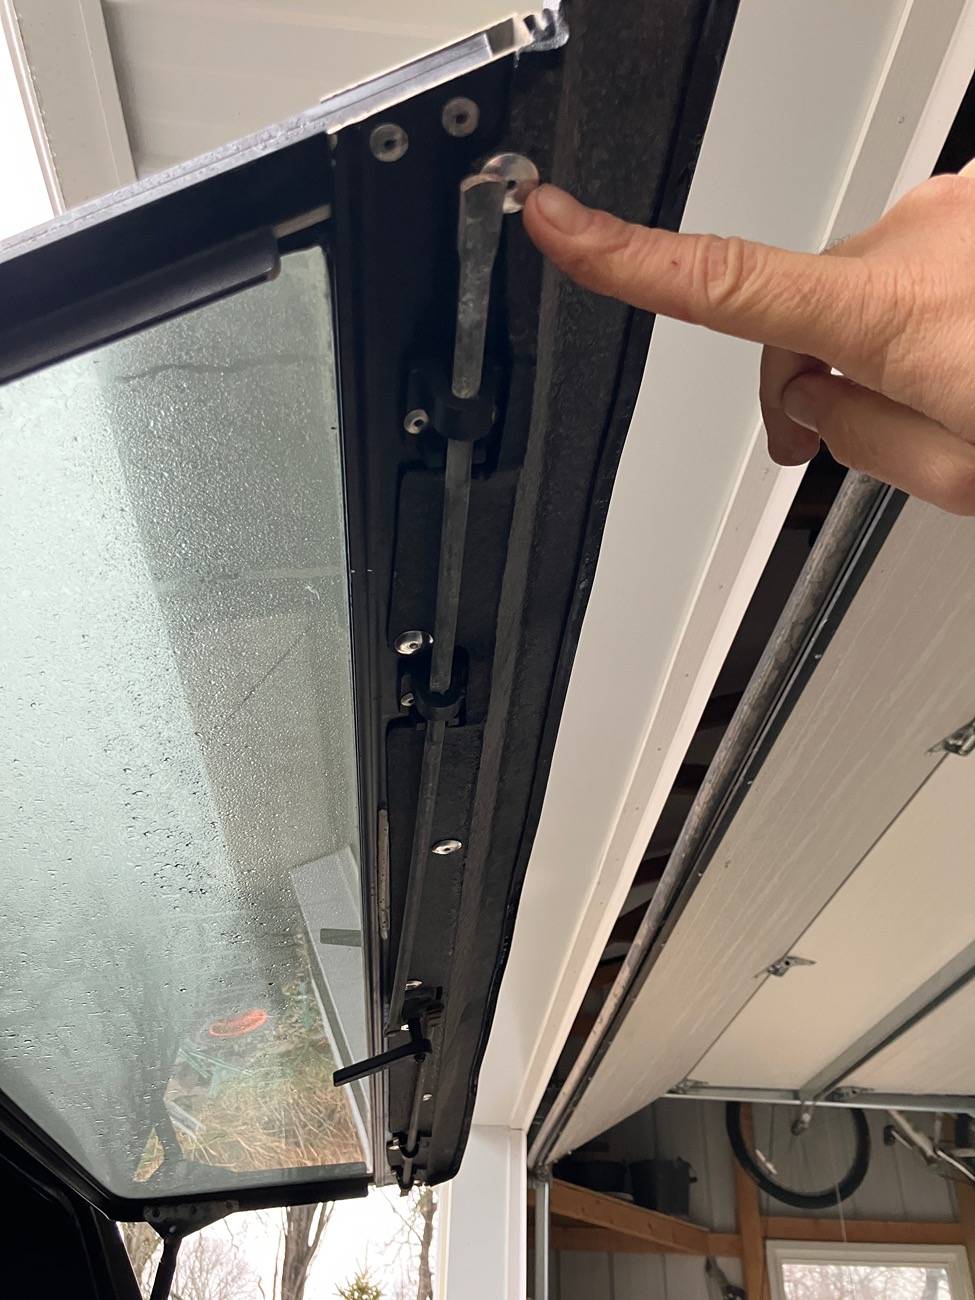
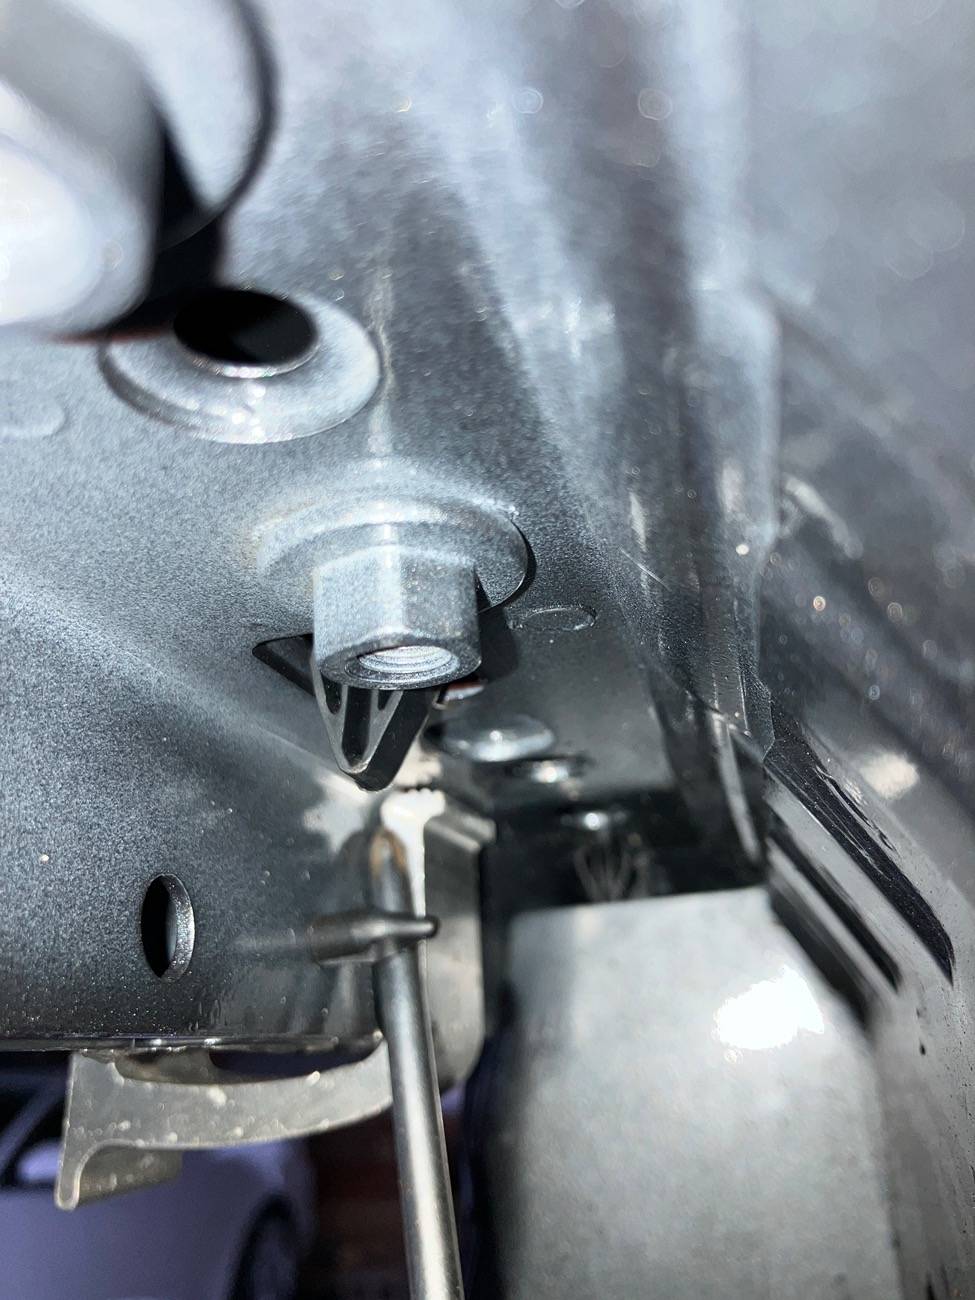
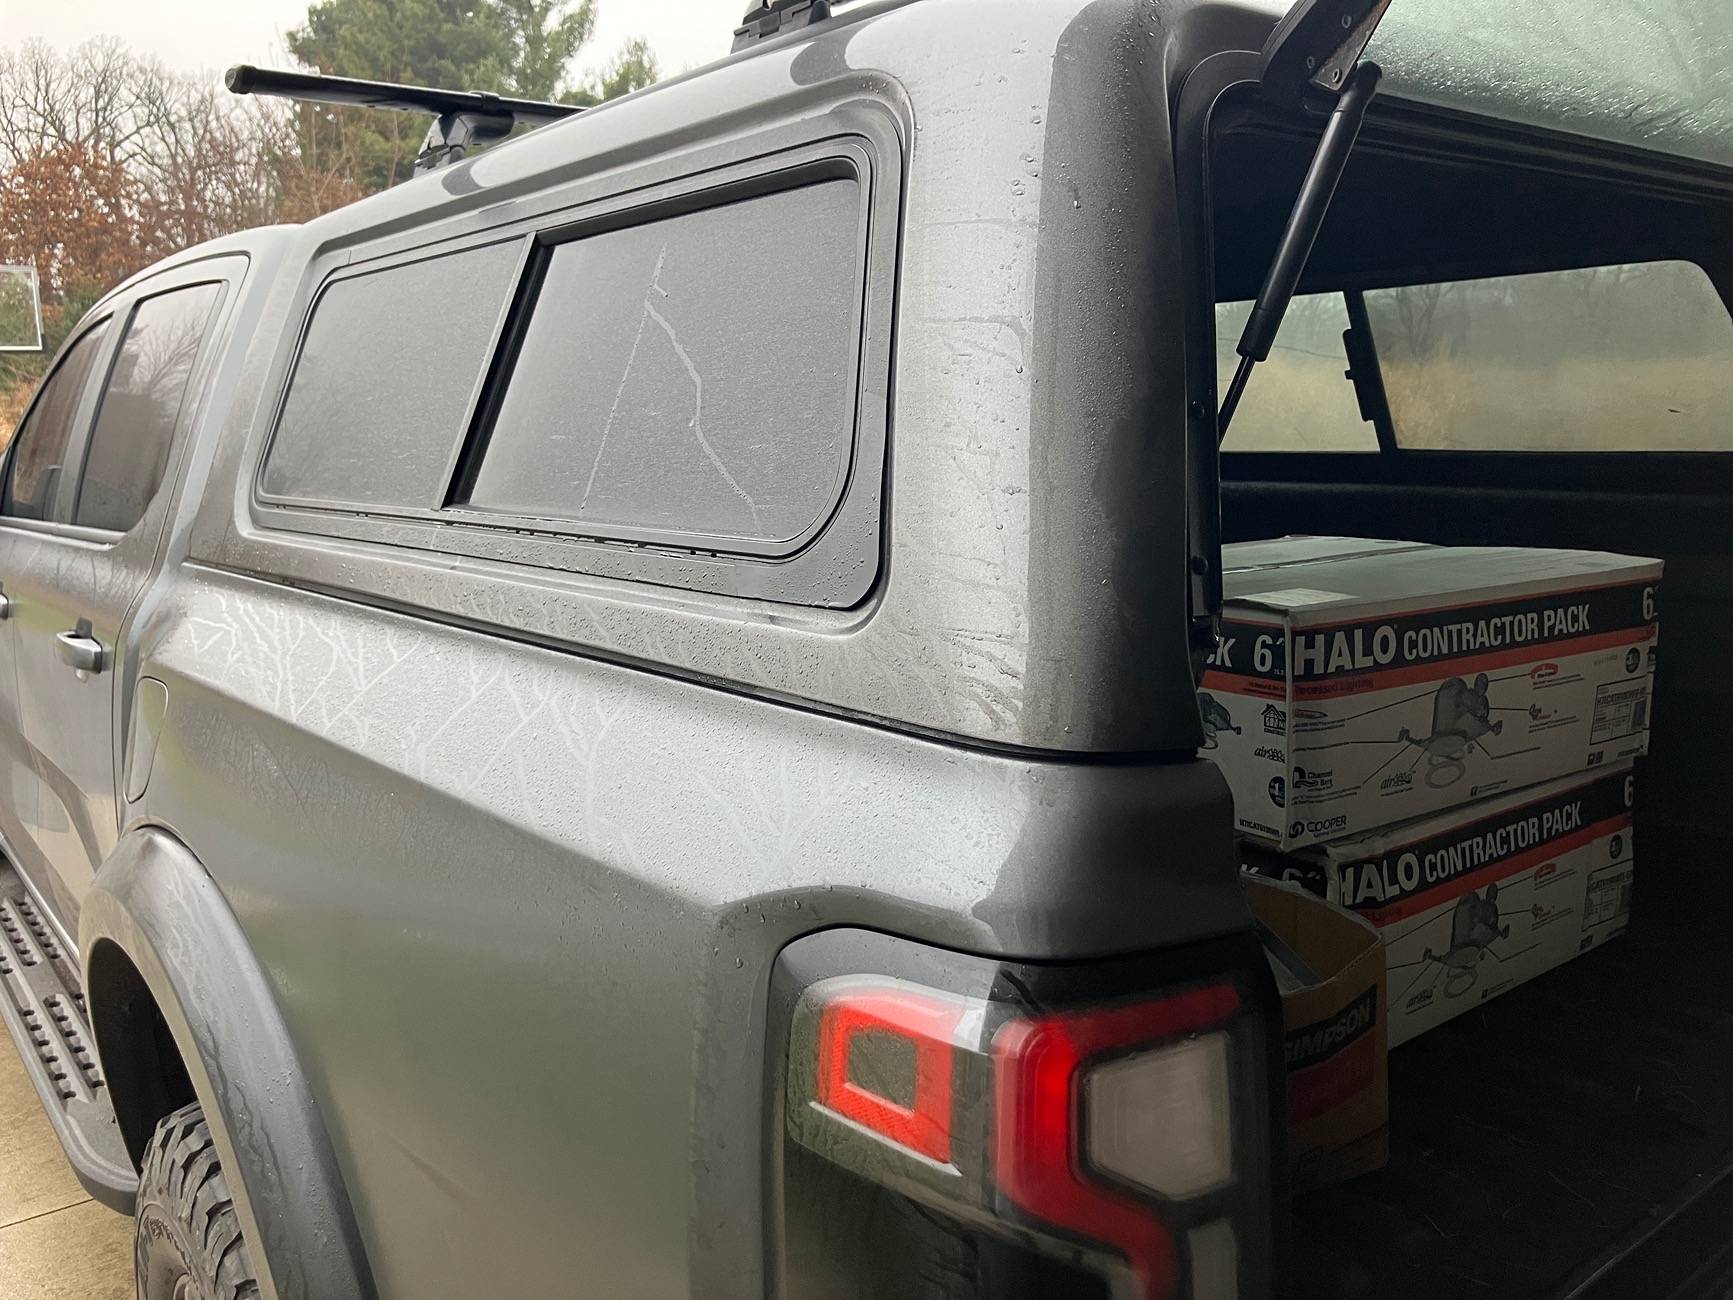
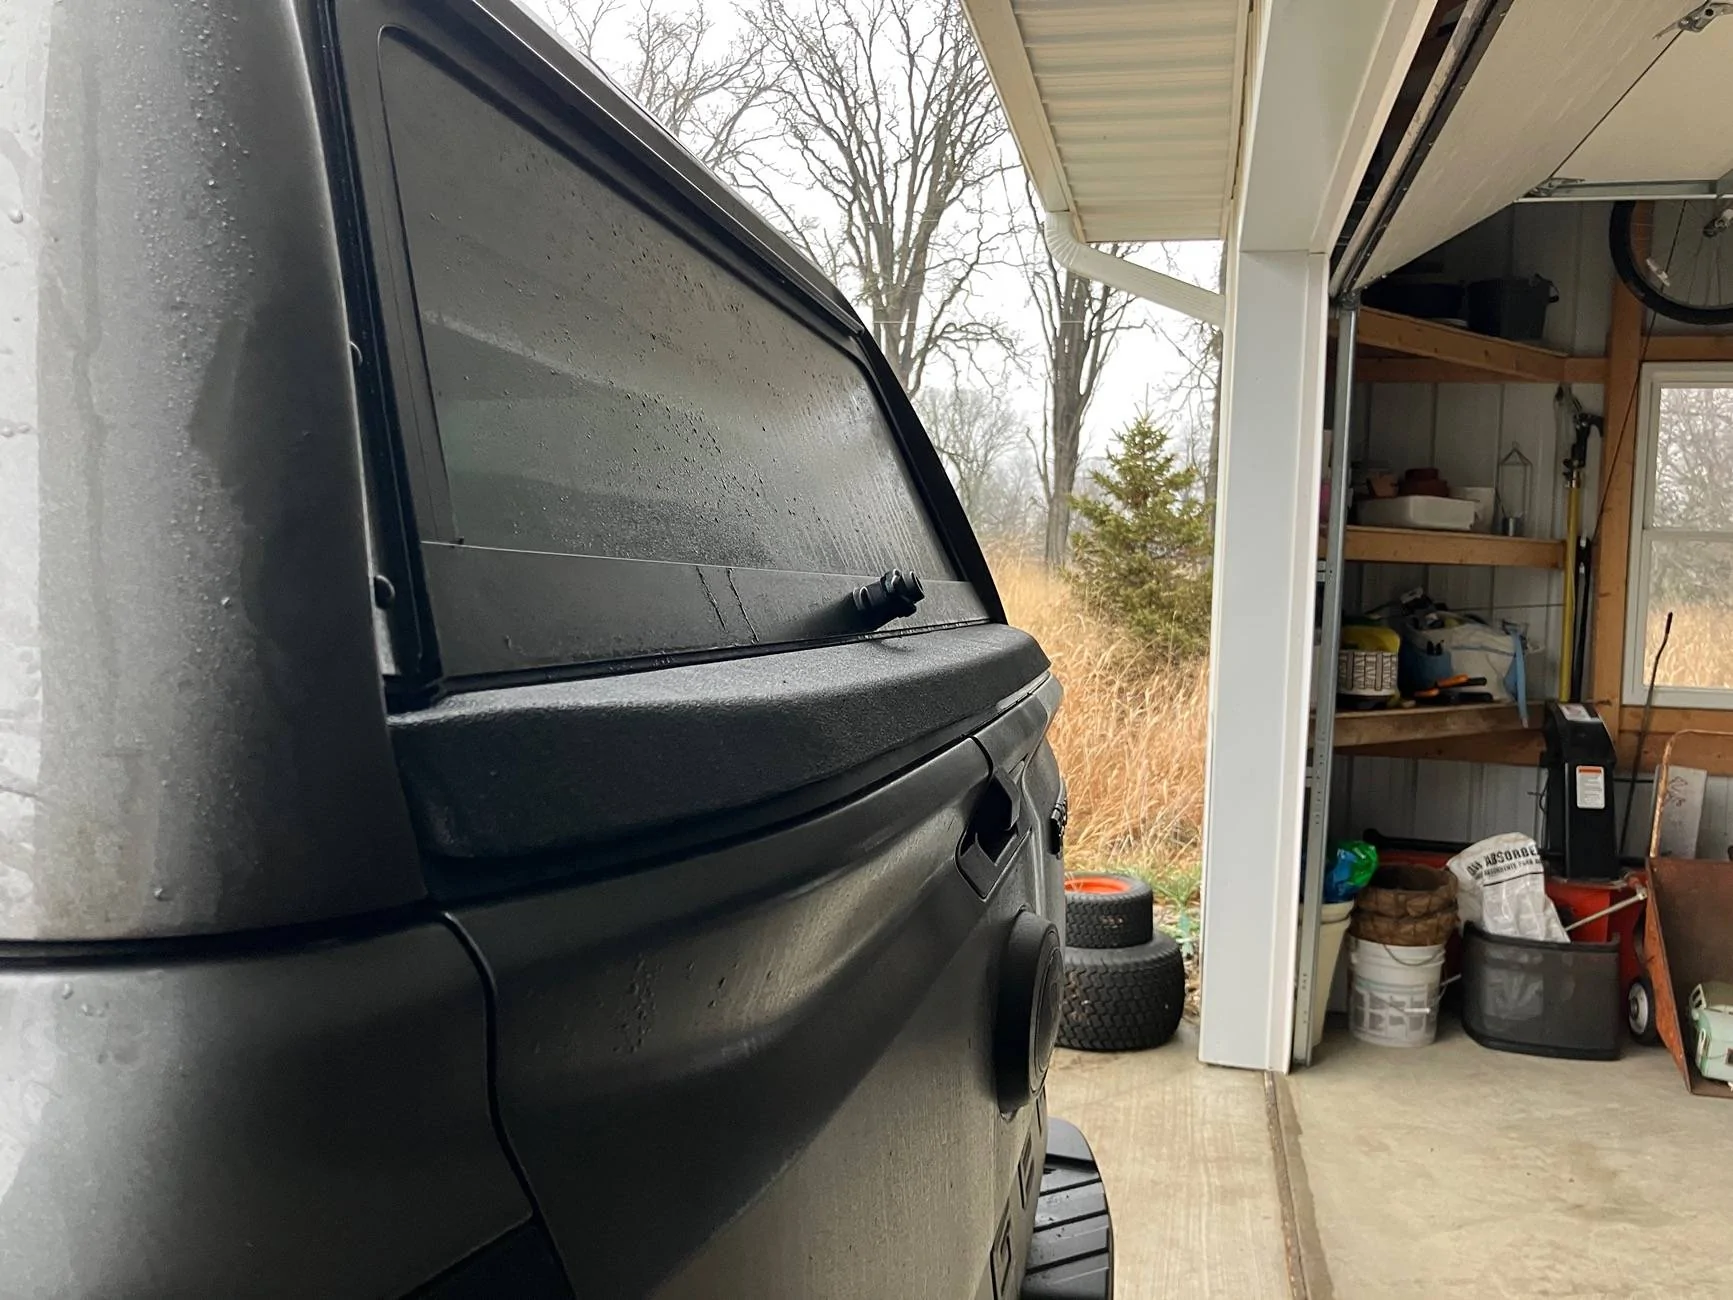
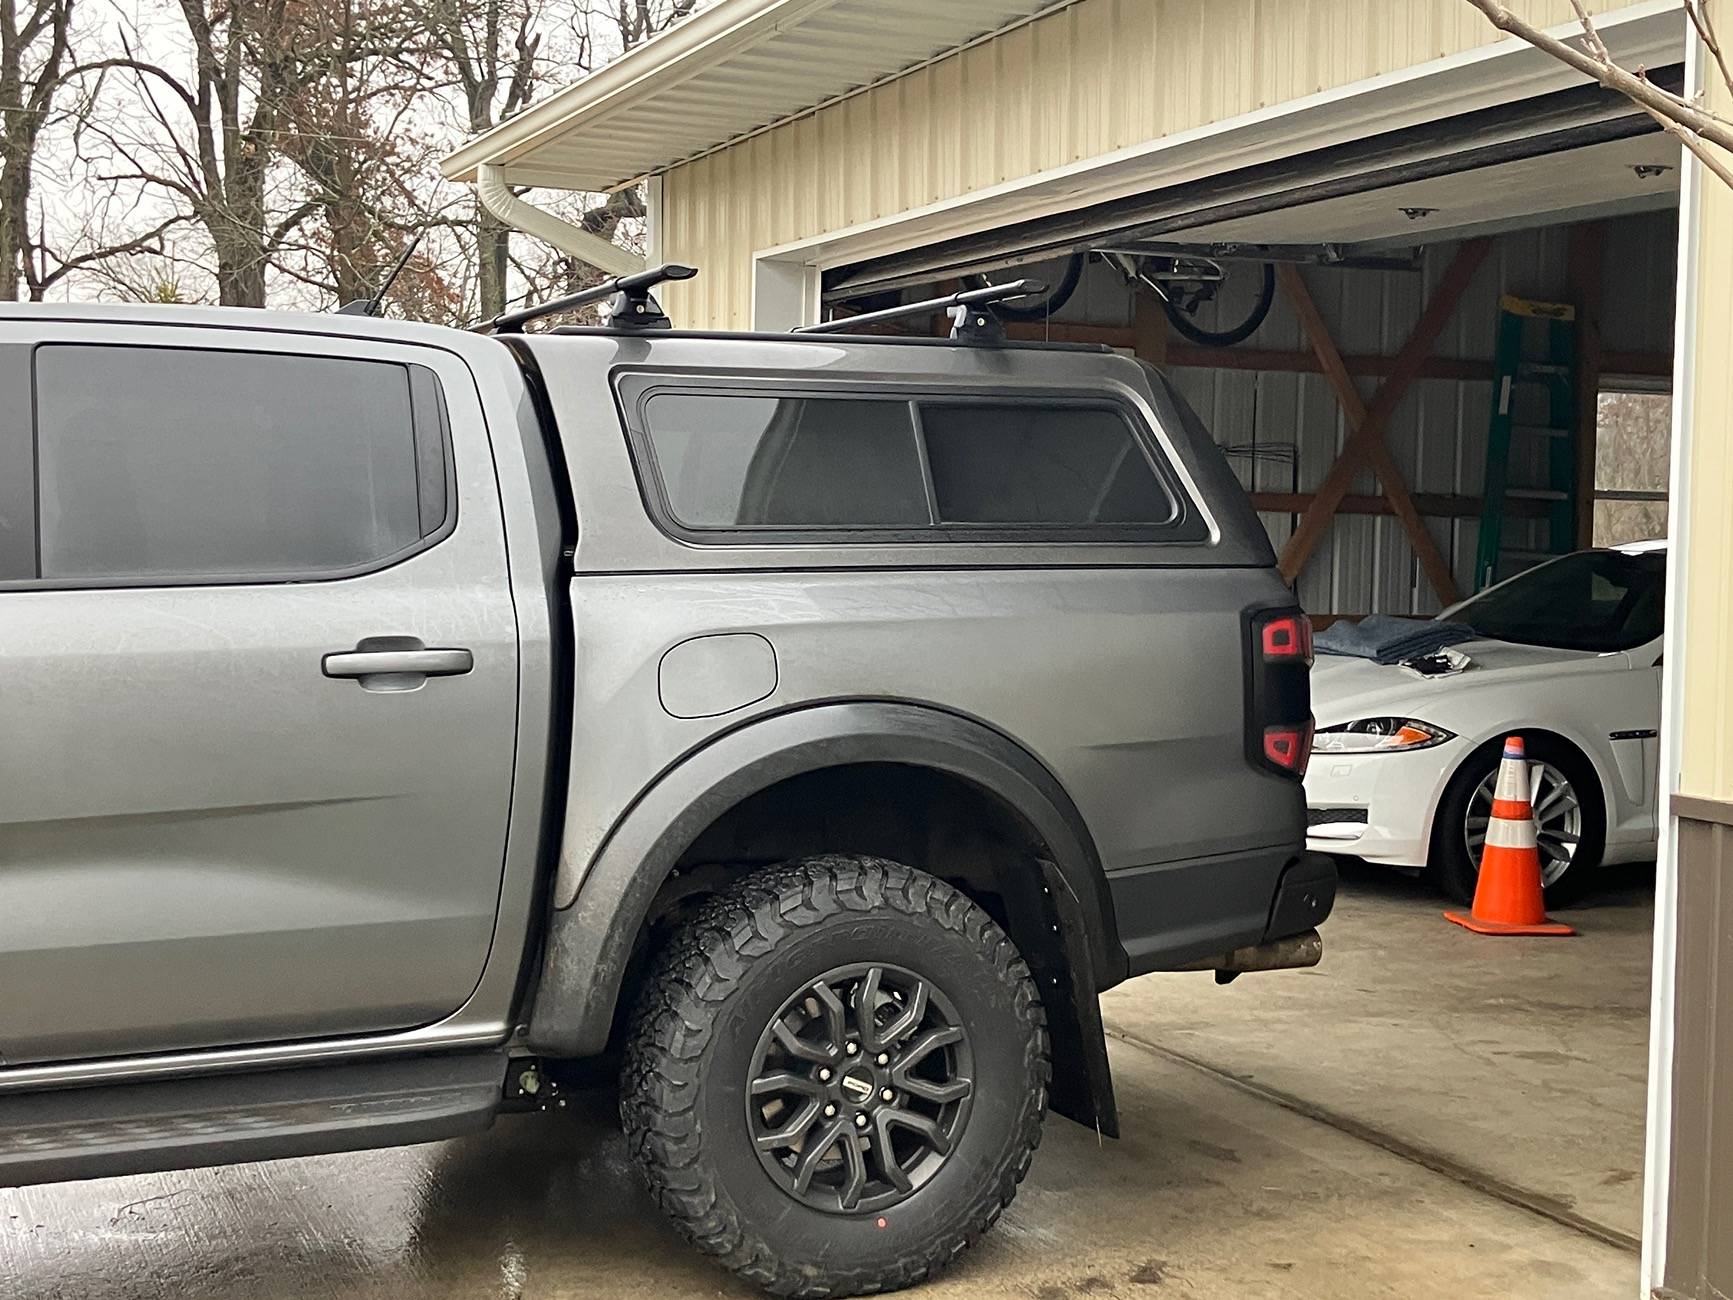
I recently upgraded from my 5G and kept my cap hoping to use it on the 6G. Turns out all that is needed is the rear black reinforced plastic cover/tail gate adapter piece for about $225. It comes as a kit with rivets and 2 new seals. Took about 30 minutes to remove/replace. If you are thinking of upgrading and keeping the color or find a deal on a used cap just know the ARE cap I have fits just fine, can’t answer for other brands. I can send better info or pictures if it’d help ya.
Sponsored