Randy2400h
Well-Known Member
- Thread starter
- #1
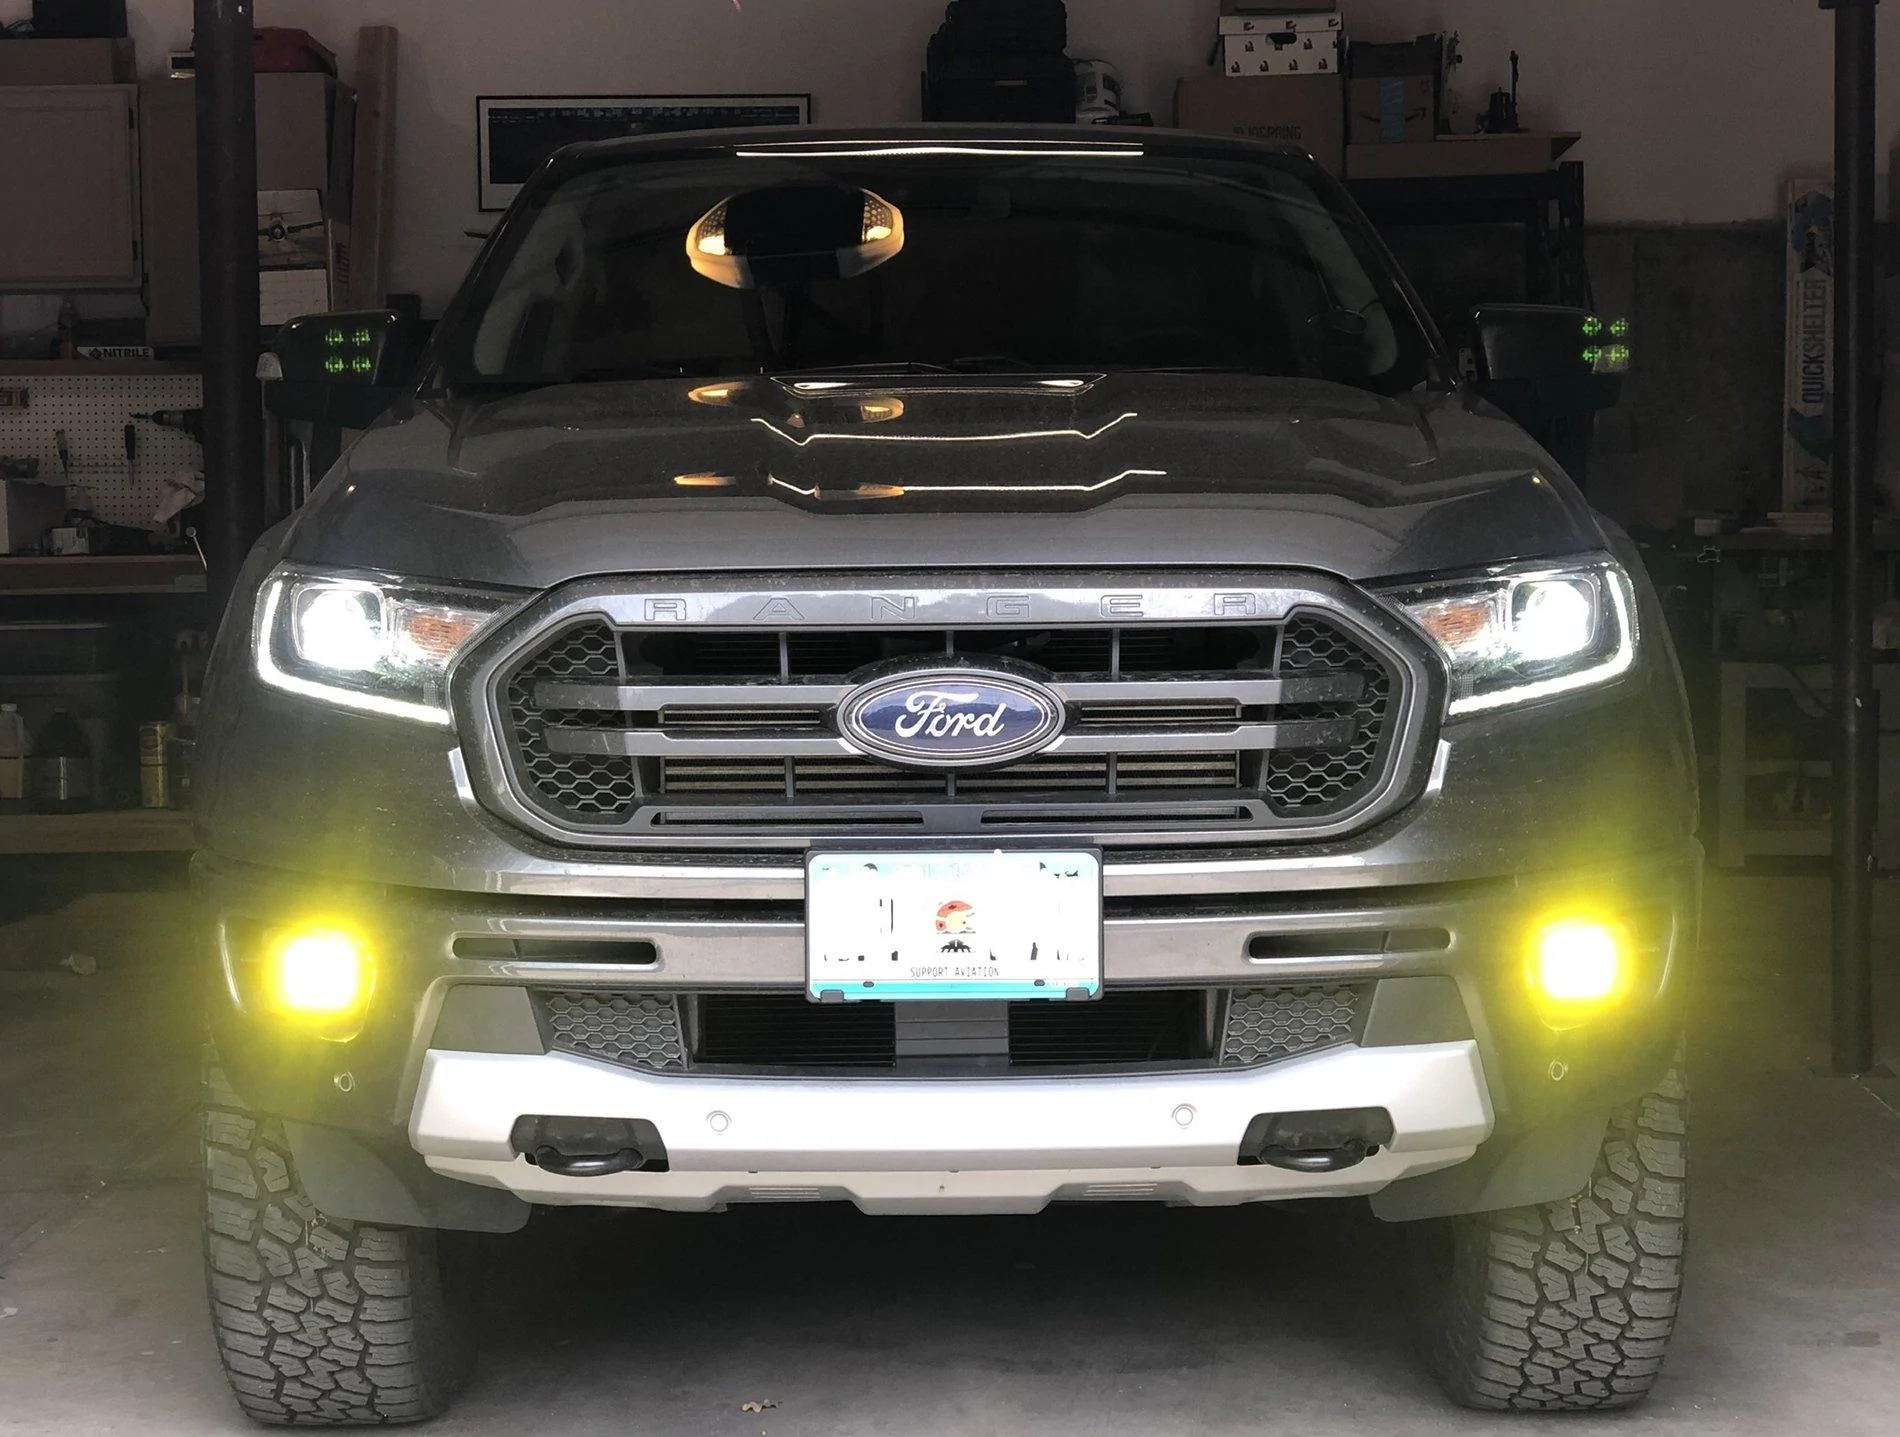
Here are my instructions since Baja Designs decided to include the most minimalistic instructions possible with their $300+ light kit. I went with the Squadron Sport Lights (instead of the Squadron Pro), and bought two additional amber lenses.
1. Turn wheels all the way toward the side you intend to work on first. Don’t forget to swing them the other way when you install the other side or you’ll be fighting the tire.
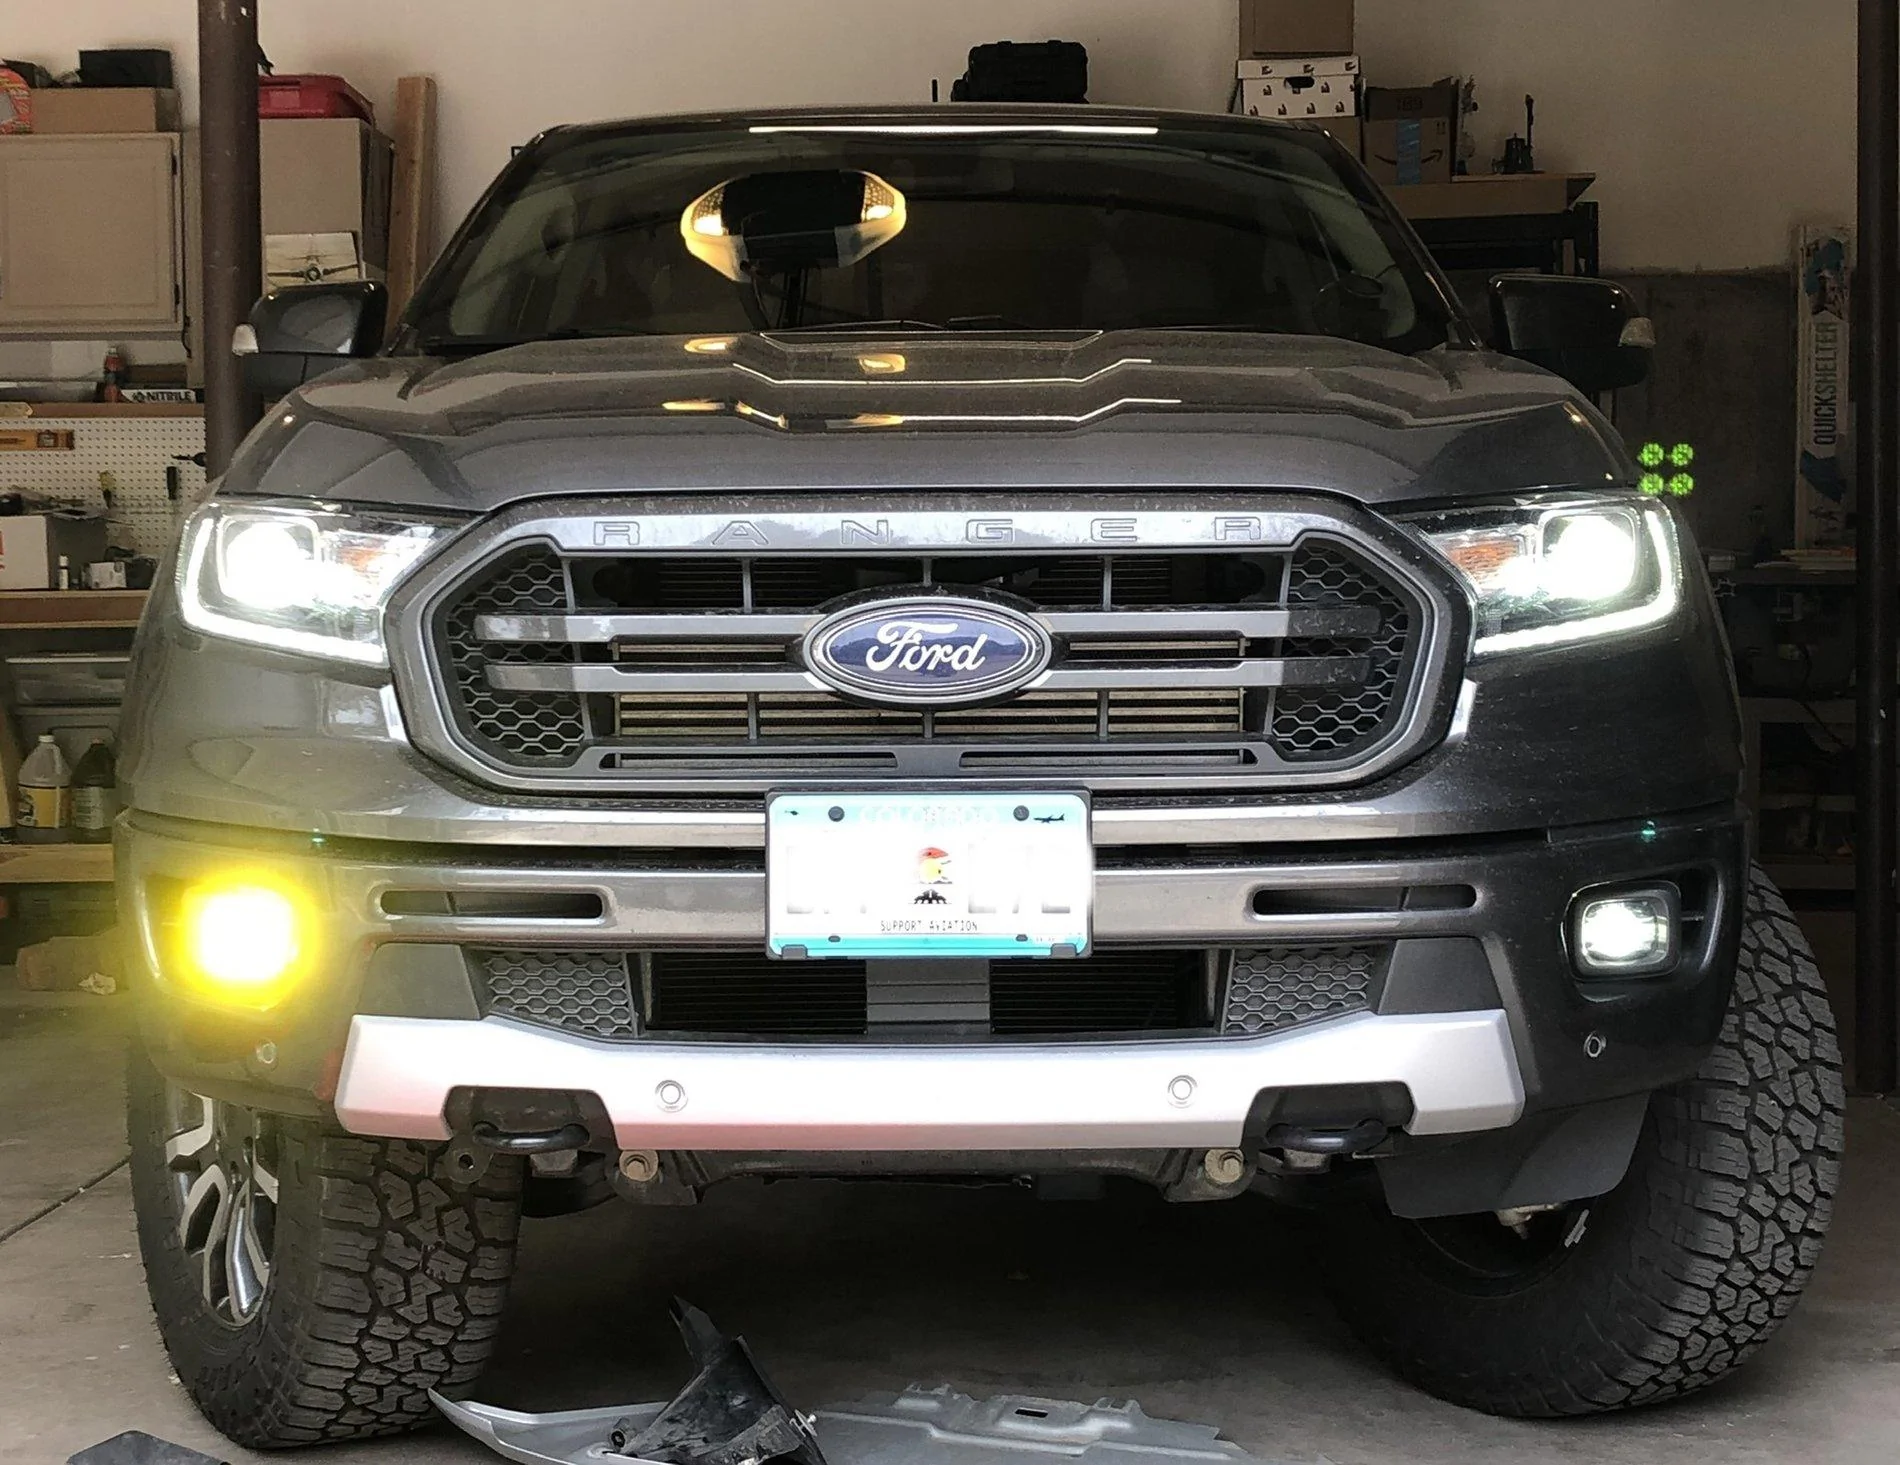
2. Drop the front skid plate (FX4), 4 bolts, 15mm.
3. Remove front crash bar plastic cover, two plastic push screws; use a pick tool to pry up the inside pin then a flat blade screwdriver or trim tool to pry it the rest of the way out.
4. Remove the plastic air dams in front of the tires. 3 bolts, two are 10mm, one is a 8mm.
5. Remove 4 screws that secure fog lamp into the housing. Recommend using a 1/4” rachet and T-25 torx bit. The top far corner is hard to reach but doable.
6. Partially remove fog lamp from housing, disconnect electrical pigtail. Remove fog lamp.
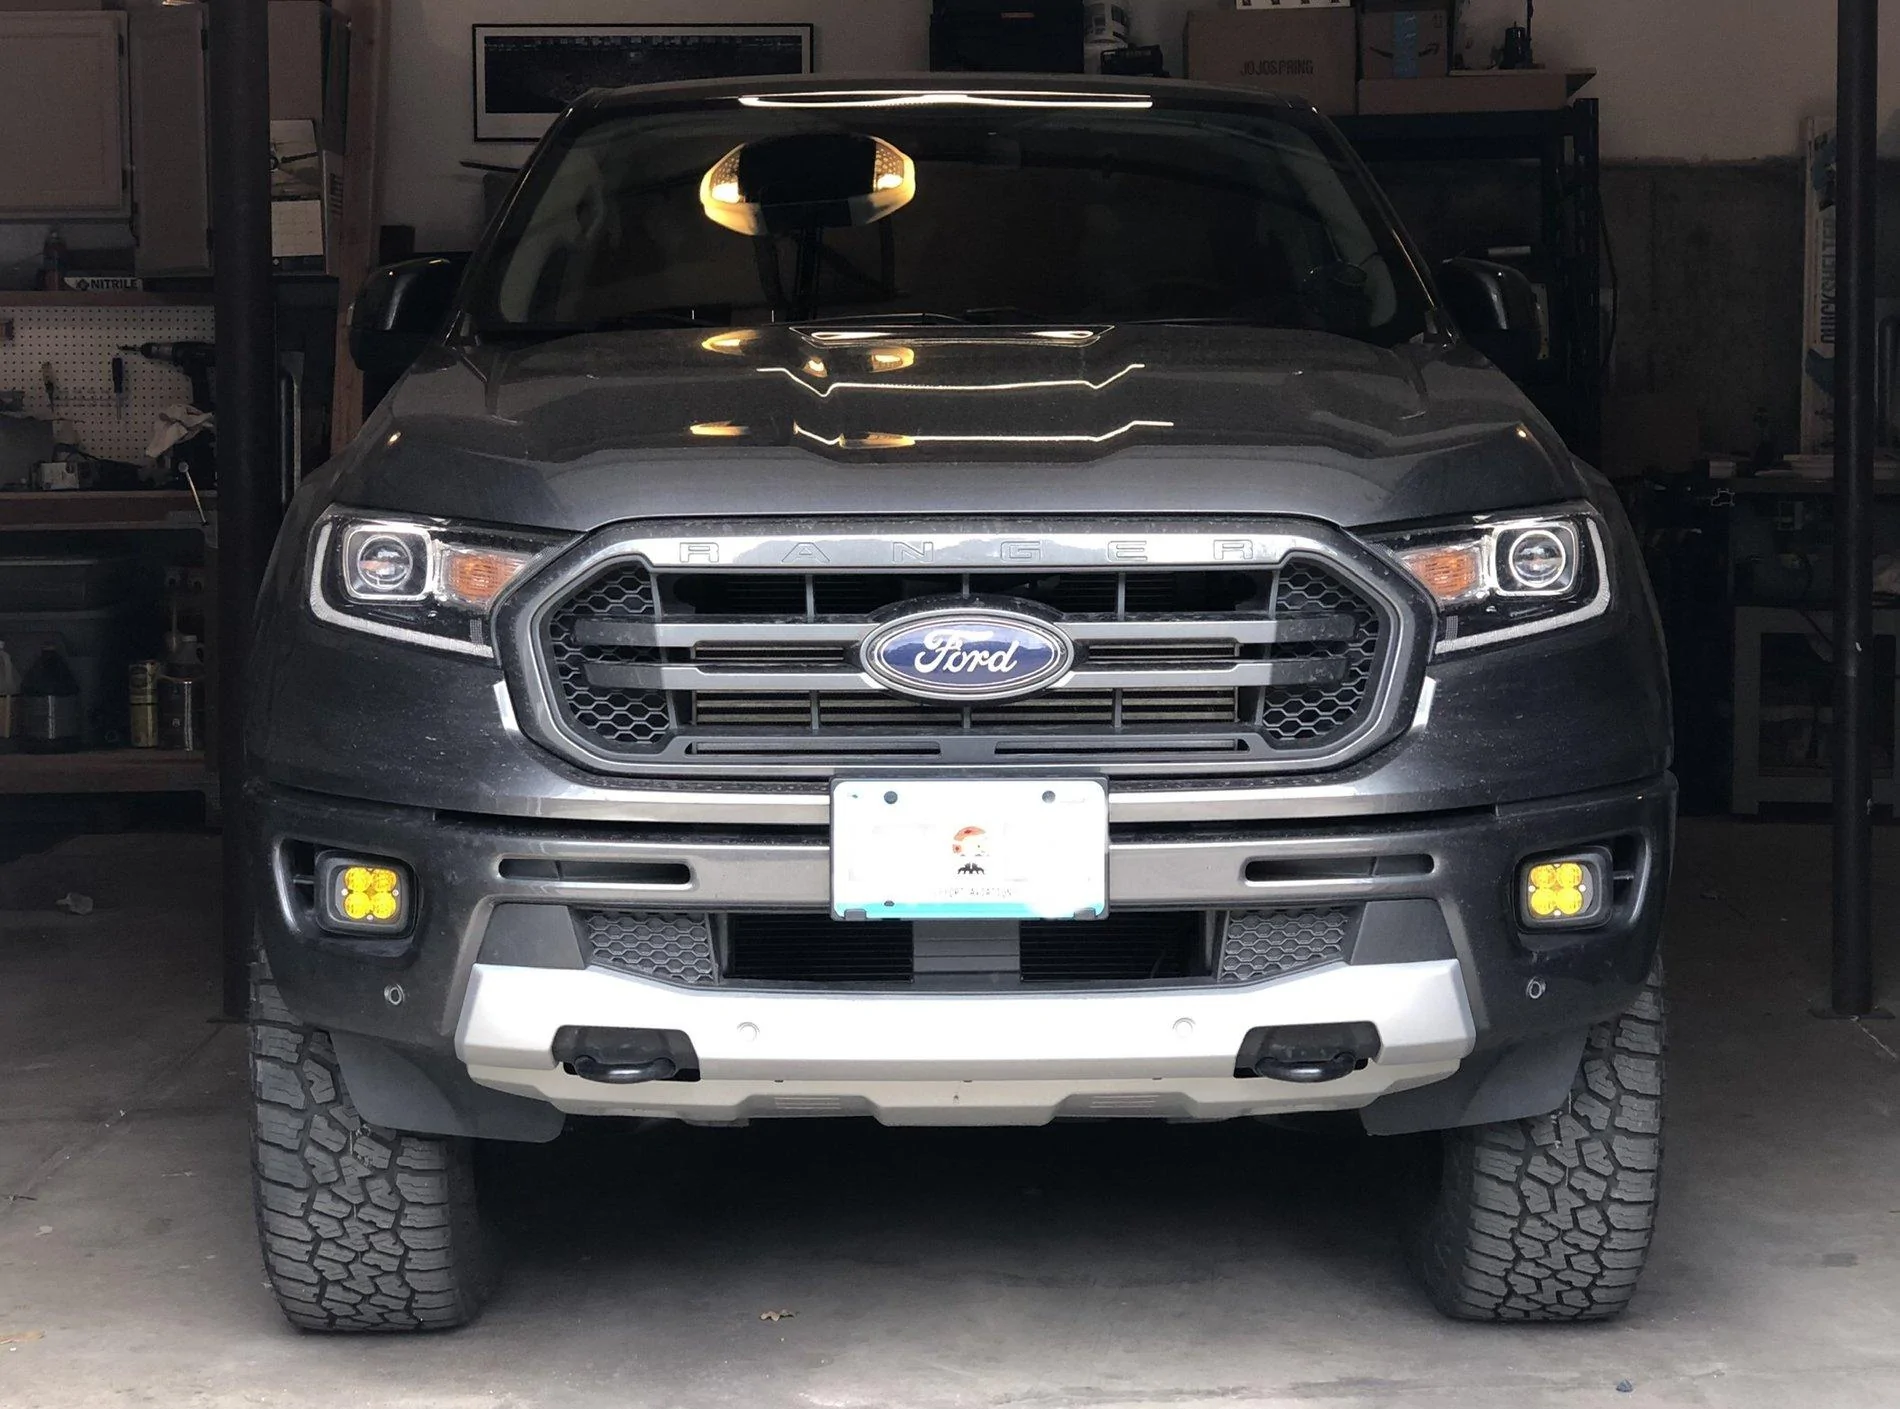
7. Assemble lamps and stock pigtail adapters. Square up the brackets with the face of the lamp and tighten them down. You won’t be able to tighten the bracket to the lamp once it is installed in the bumper housing.
8. The BD directions indicate you need spacers for all 4 screws on each lamp, but only 4 are provided instead of 8. The spacers go on the inside mount holes only(nearest the center of the bumper), so 4 is the appropriate number required.
UPDATE: Baja Designs may be updating the number of included spacers to 8 total; not sure the other 4 are necessary but you may find otherwise.
9. Connect the lamp and test it before reassembling your vehicle, if it isn’t working flip the connector 180 degrees that plugs into the stock female receptacle.
10. There will be a lot of slack in the wire harness with the addition of the wiring adapters. Use one or two zip ties to take out the slack so the harness is not clanking around inside your front bumper.
11.Reassemble vehicle.


1. Turn wheels all the way toward the side you intend to work on first. Don’t forget to swing them the other way when you install the other side or you’ll be fighting the tire.
2. Drop the front skid plate (FX4), 4 bolts, 15mm.
3. Remove front crash bar plastic cover, two plastic push screws; use a pick tool to pry up the inside pin then a flat blade screwdriver or trim tool to pry it the rest of the way out.
4. Remove the plastic air dams in front of the tires. 3 bolts, two are 10mm, one is a 8mm.
5. Remove 4 screws that secure fog lamp into the housing. Recommend using a 1/4” rachet and T-25 torx bit. The top far corner is hard to reach but doable.
6. Partially remove fog lamp from housing, disconnect electrical pigtail. Remove fog lamp.
7. Assemble lamps and stock pigtail adapters. Square up the brackets with the face of the lamp and tighten them down. You won’t be able to tighten the bracket to the lamp once it is installed in the bumper housing.
8. The BD directions indicate you need spacers for all 4 screws on each lamp, but only 4 are provided instead of 8. The spacers go on the inside mount holes only(nearest the center of the bumper), so 4 is the appropriate number required.
UPDATE: Baja Designs may be updating the number of included spacers to 8 total; not sure the other 4 are necessary but you may find otherwise.
9. Connect the lamp and test it before reassembling your vehicle, if it isn’t working flip the connector 180 degrees that plugs into the stock female receptacle.
10. There will be a lot of slack in the wire harness with the addition of the wiring adapters. Use one or two zip ties to take out the slack so the harness is not clanking around inside your front bumper.
11.Reassemble vehicle.
Sponsored
Last edited: