Pinepig
Well-Known Member
- First Name
- Charlie
- Joined
- Jun 17, 2020
- Threads
- 6
- Messages
- 409
- Reaction score
- 1,318
- Location
- Sacramento
- Vehicle(s)
- Last count was 12
- Occupation
- lol
- Thread starter
- #1
This was just delivered from Amazon a bit ago.
https://www.amazon.com/Nilight-ZH40...+20+inch+light+bar,automotive,125&sr=1-1&th=1
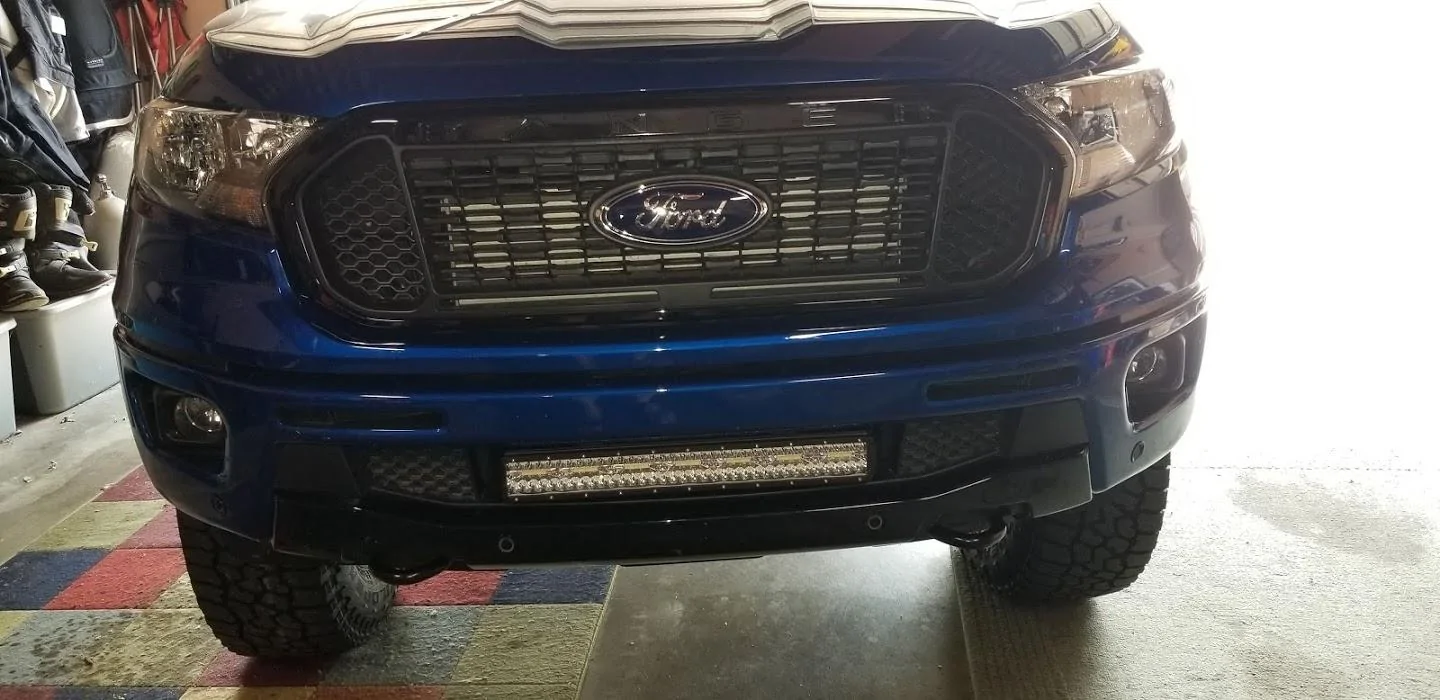
Fits perfect in the gaping hole in the lower front bumper.

Instal is super easy,
Follow the first 3:05 of the grill removal vid from Stage 3 Motorsports ( thanks for the vid Noah ), and stop there, this is as far as you'll need to go to bolt the light bar in.
In the hole where the light bar will go there are 5 push pin style plugs that hold the plastic surround to the bottom of the actual metal bumper ( top of the gaping hole guys ). You want to remove 2 of the 5. Starting from the end it's leave, remove, leave, remove, leave. So the ones on the end and the middle one are still there. Now you are ready to set up the light bar.
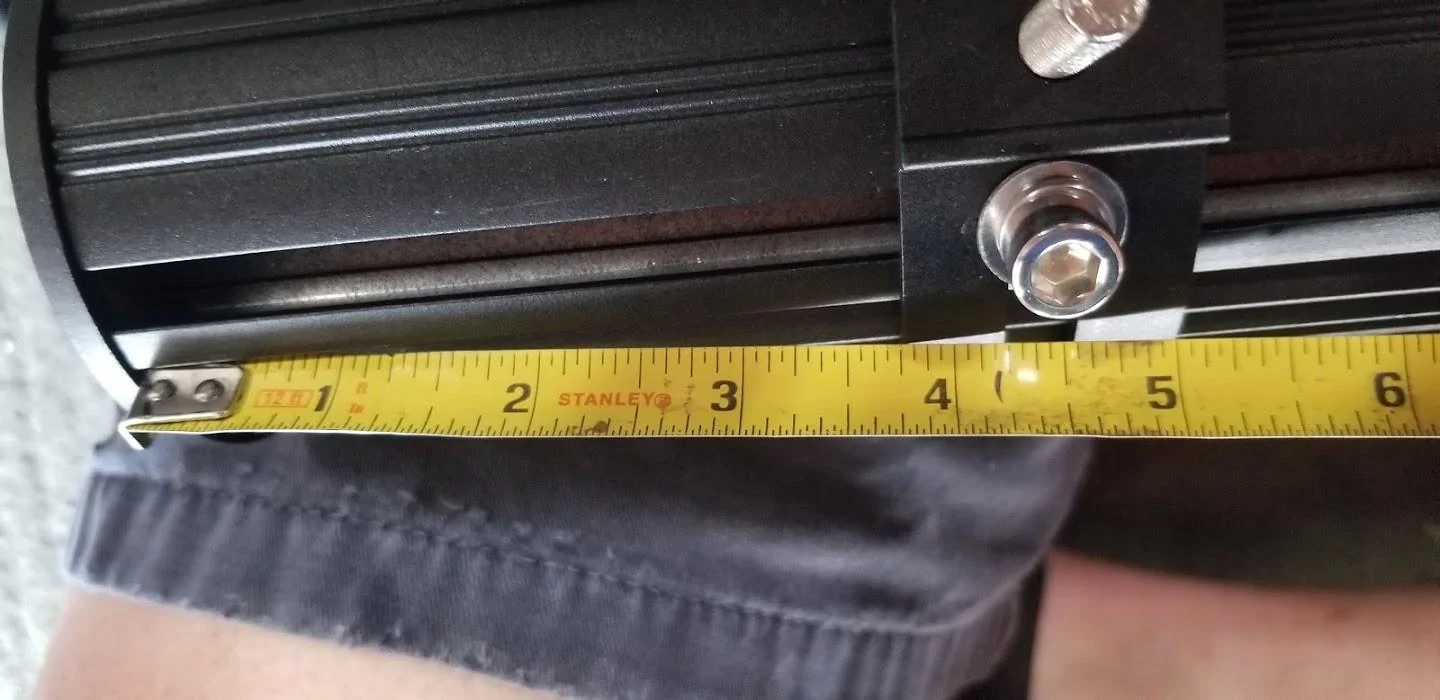
With everything out of the box put the brackets on it EXACTLY like this. First pic shows the measurement from the end caps to the bracket, it's 3 3/4 on the nose, It's the same measurement for both sides.
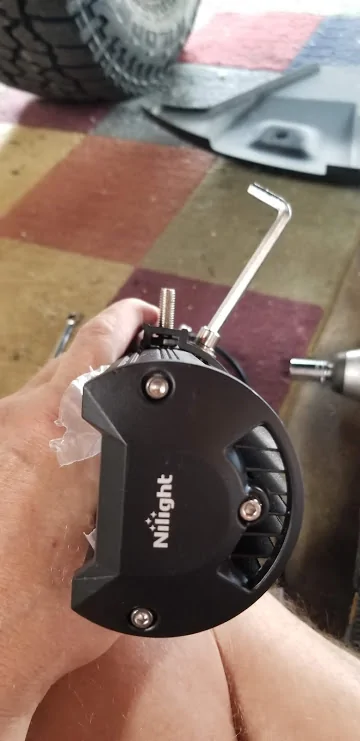
The second pic shows the tilt you'll need to get the light level, line the bolt up with the printing on the side cover.

Snug that allen down well. ( pay no attention to my skid plate, I thought I might have to remove the lower part of the bumper thankfully you do not ).
Now you just need to slide it in the big hole with the two bolts going into the holes you left open when you removed those two push pins. It'll fit right in there without much of a struggle at all. Sit in in there well and reach in from the top and put the flat washer, lock washer then nut on the top of the bolts. Snug them up well with a 13mm end wrench.
Those of you that aren't used to putting things together where you can't see them ( like these two nuts/washers ) Once you get in the right area can feel the top of the bolt, close your eyes and visualize what you want. Let your brain sort it out without the distraction from your eyes.
Run your wires to it before you put the top of the grill area back together, avoid sharp edges and don't pull it tight. Ziptie it in place anywhere you can find a spot, a few to many won't hurt a damn thing.
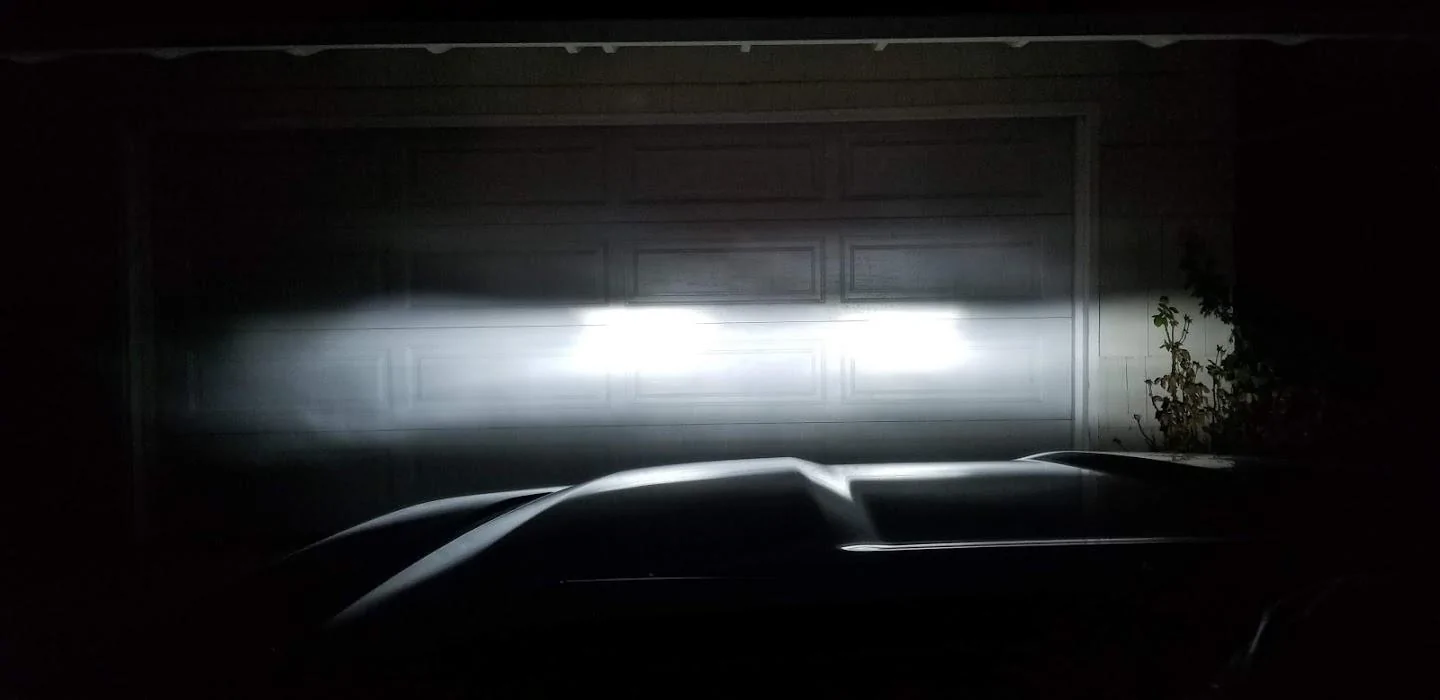
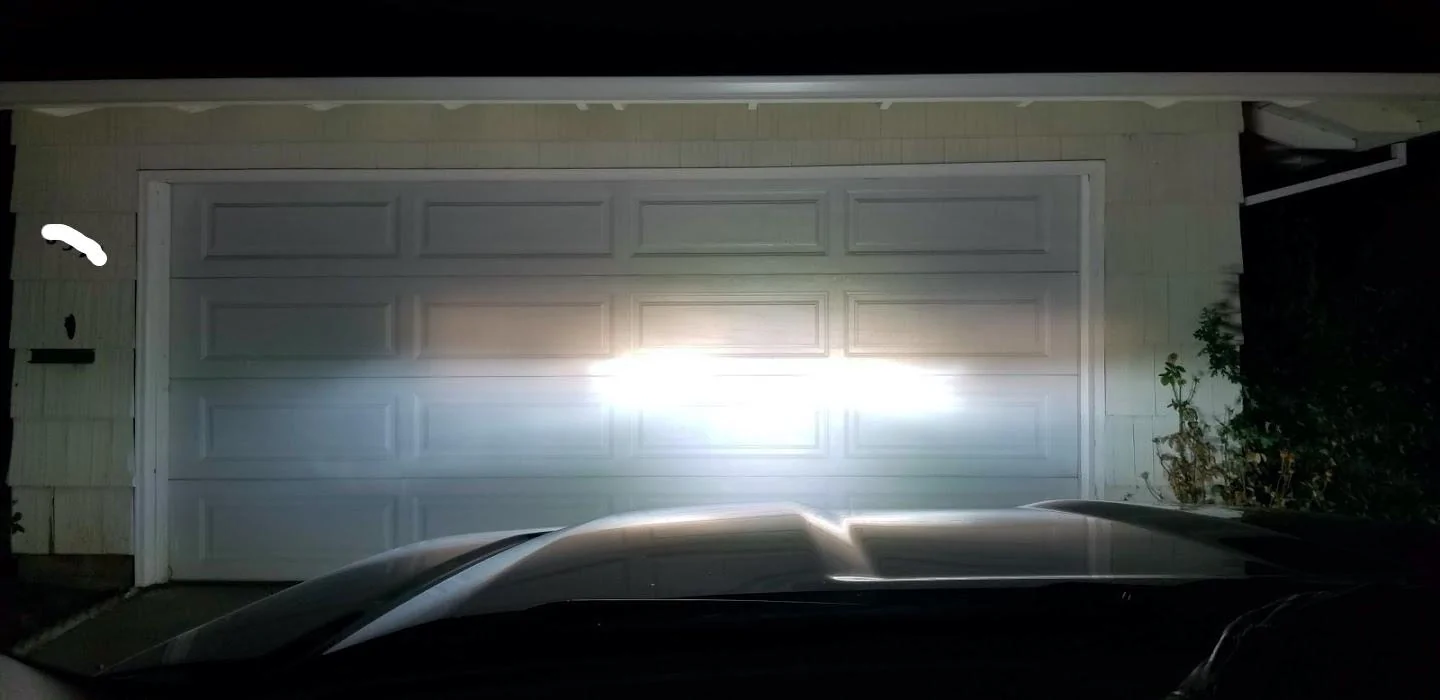
Haven't finished the wiring on mine yet but I'm going to tap it into the high beam fuse with a fuse tap. I did jump it to the battery, thing is BRIGHT.
Going to get some lunch now.
Edited to add, I used my volt meter and checked every damn fuse in the fuse box in the truck, couldn't find one that triggered with the high beams, said F*** it and tapped into positive at the highbeam wires at the headlight, it's the white one by the way. Works fine triggering the relay for the light bar, no canbus errors.
https://www.amazon.com/Nilight-ZH40...+20+inch+light+bar,automotive,125&sr=1-1&th=1
Fits perfect in the gaping hole in the lower front bumper.
Instal is super easy,
Follow the first 3:05 of the grill removal vid from Stage 3 Motorsports ( thanks for the vid Noah ), and stop there, this is as far as you'll need to go to bolt the light bar in.
In the hole where the light bar will go there are 5 push pin style plugs that hold the plastic surround to the bottom of the actual metal bumper ( top of the gaping hole guys ). You want to remove 2 of the 5. Starting from the end it's leave, remove, leave, remove, leave. So the ones on the end and the middle one are still there. Now you are ready to set up the light bar.
With everything out of the box put the brackets on it EXACTLY like this. First pic shows the measurement from the end caps to the bracket, it's 3 3/4 on the nose, It's the same measurement for both sides.
The second pic shows the tilt you'll need to get the light level, line the bolt up with the printing on the side cover.
Snug that allen down well. ( pay no attention to my skid plate, I thought I might have to remove the lower part of the bumper thankfully you do not ).
Now you just need to slide it in the big hole with the two bolts going into the holes you left open when you removed those two push pins. It'll fit right in there without much of a struggle at all. Sit in in there well and reach in from the top and put the flat washer, lock washer then nut on the top of the bolts. Snug them up well with a 13mm end wrench.
Those of you that aren't used to putting things together where you can't see them ( like these two nuts/washers ) Once you get in the right area can feel the top of the bolt, close your eyes and visualize what you want. Let your brain sort it out without the distraction from your eyes.
Run your wires to it before you put the top of the grill area back together, avoid sharp edges and don't pull it tight. Ziptie it in place anywhere you can find a spot, a few to many won't hurt a damn thing.
Haven't finished the wiring on mine yet but I'm going to tap it into the high beam fuse with a fuse tap. I did jump it to the battery, thing is BRIGHT.
Going to get some lunch now.
Edited to add, I used my volt meter and checked every damn fuse in the fuse box in the truck, couldn't find one that triggered with the high beams, said F*** it and tapped into positive at the highbeam wires at the headlight, it's the white one by the way. Works fine triggering the relay for the light bar, no canbus errors.
Sponsored
Last edited:
 . It does make my wifes CB500x in front of it in the garage hard to stare at when they are on. It didn't look like there was any massive holes in the pattern but from 2 feet what are you really going to see. Taking it outside and trying to get a fix on what they do is a waste right now, we feel like we are livin' in a traeger smoke box here at the moment.