OP
OP
WxNerd2015
Well-Known Member
- First Name
- Trevor
- Joined
- Oct 17, 2018
- Threads
- 9
- Messages
- 296
- Reaction score
- 1,036
- Location
- Gregory, Michigan
- Vehicle(s)
- 2019 Ranger, 2011 Wrangler, 2017 Escape
- Occupation
- Applications Engineer
- Vehicle Showcase
- 1
- Thread starter
- #46
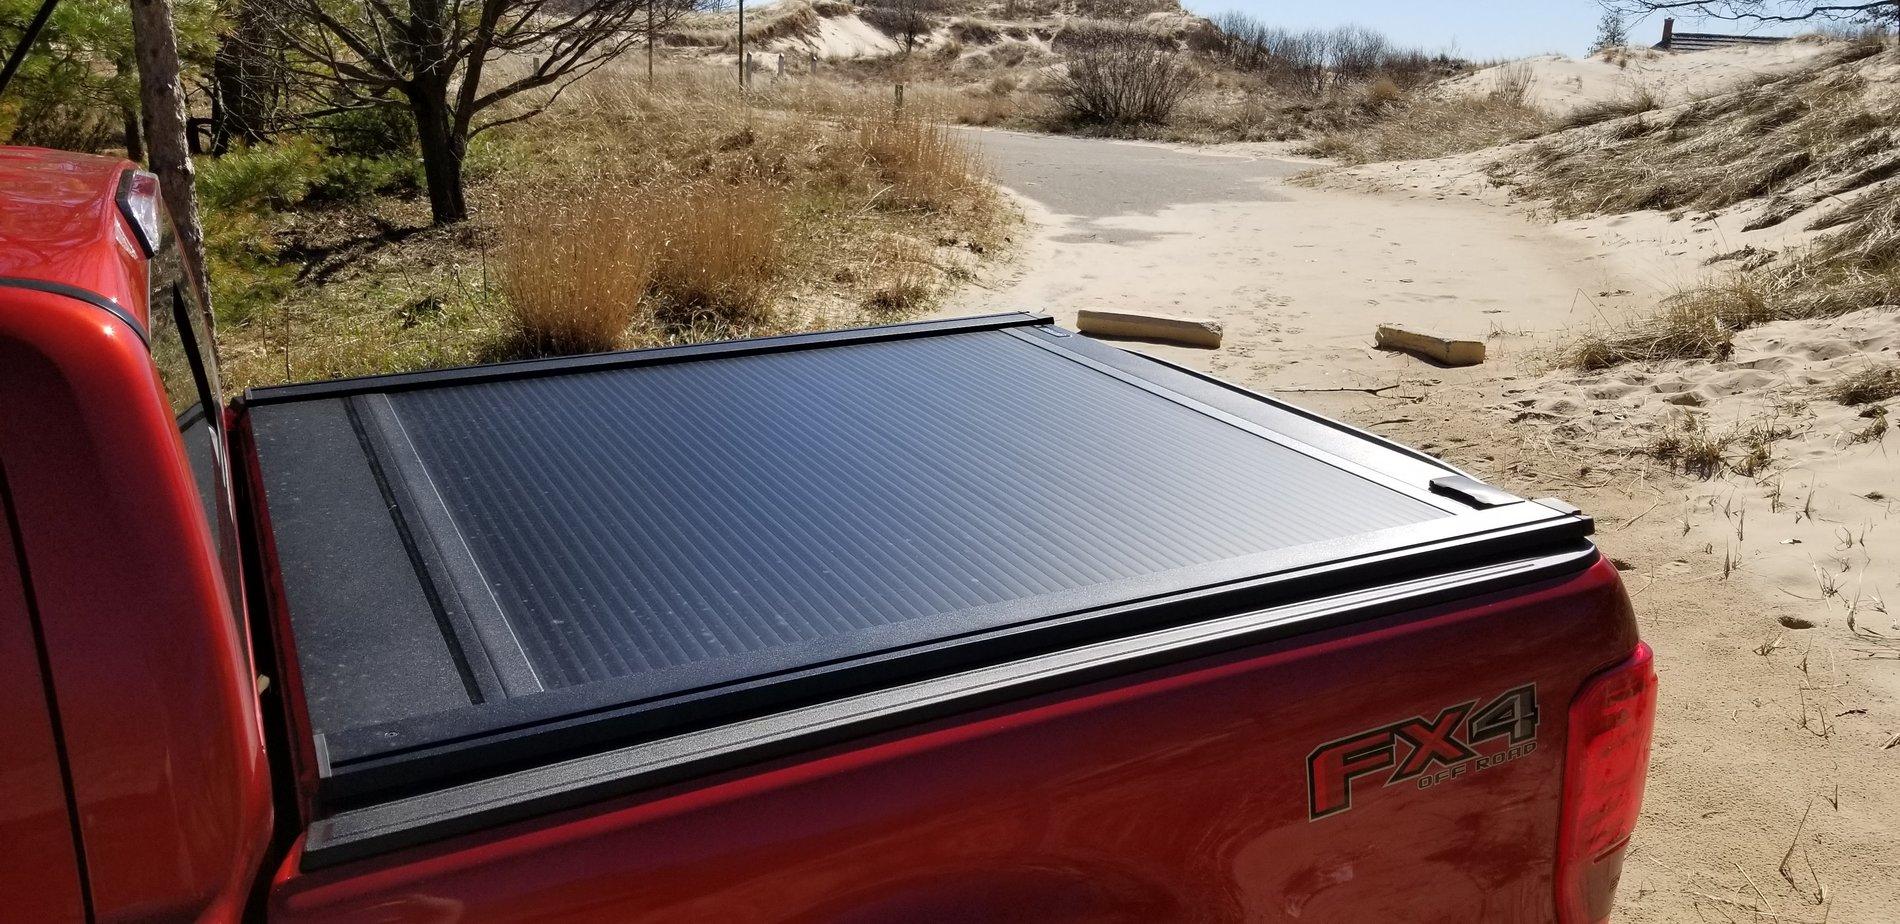
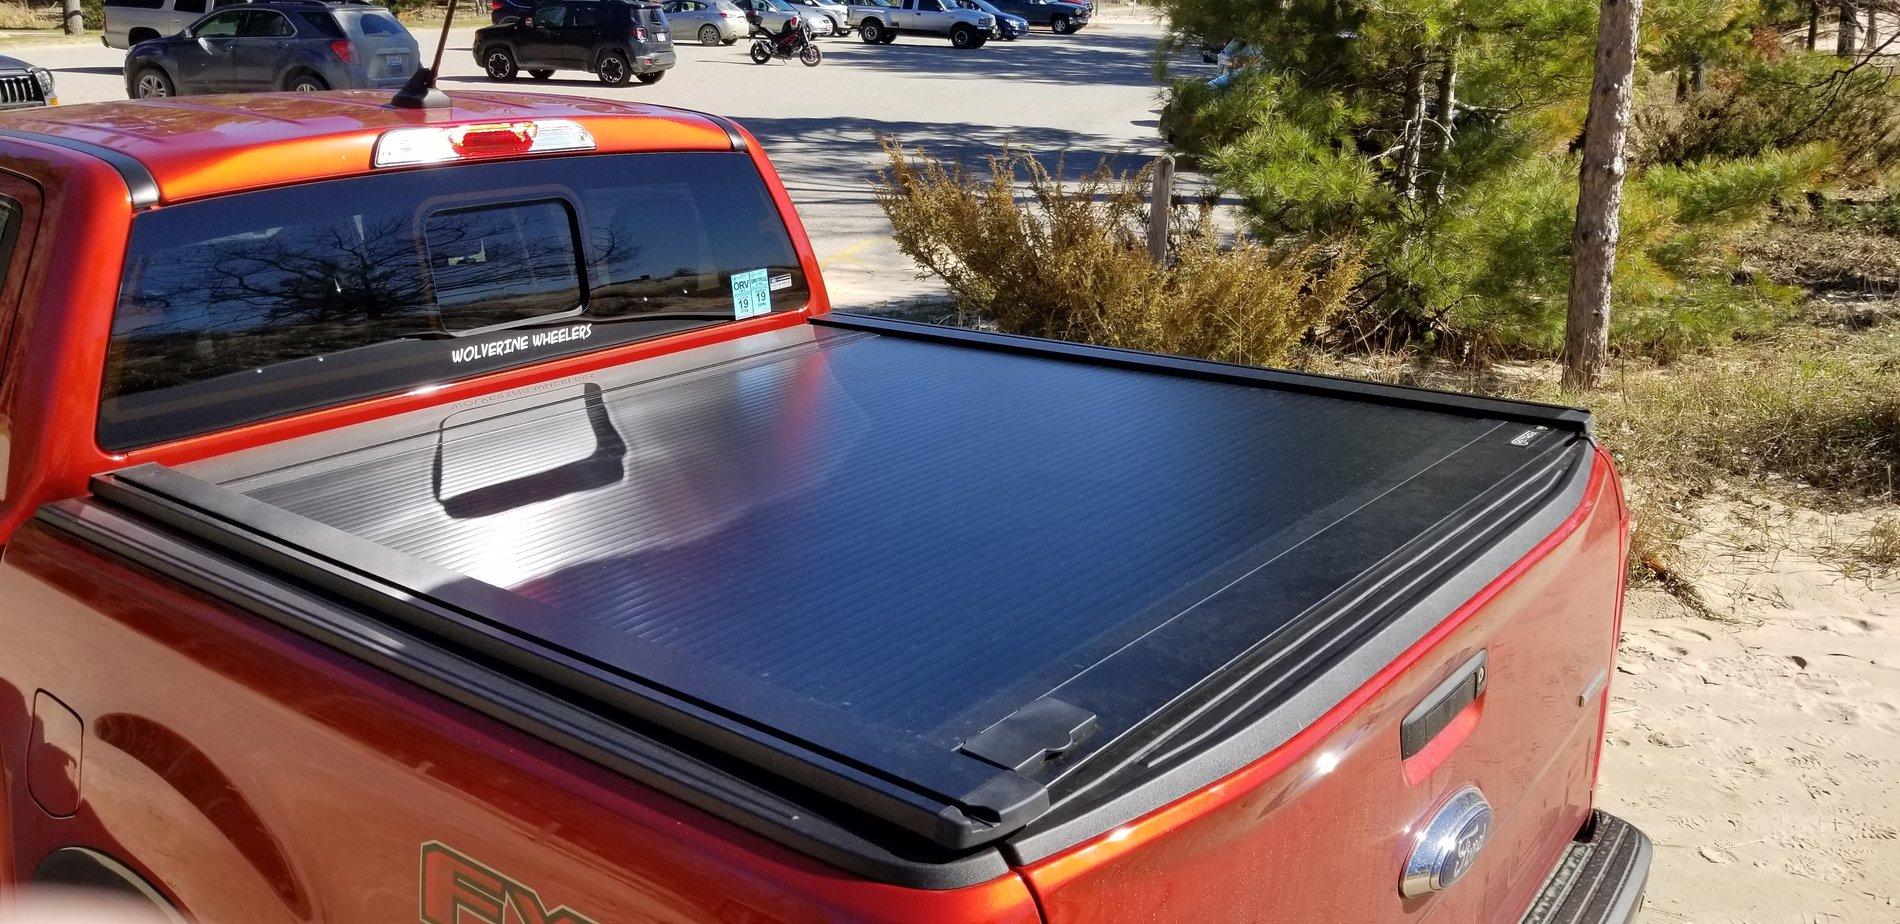
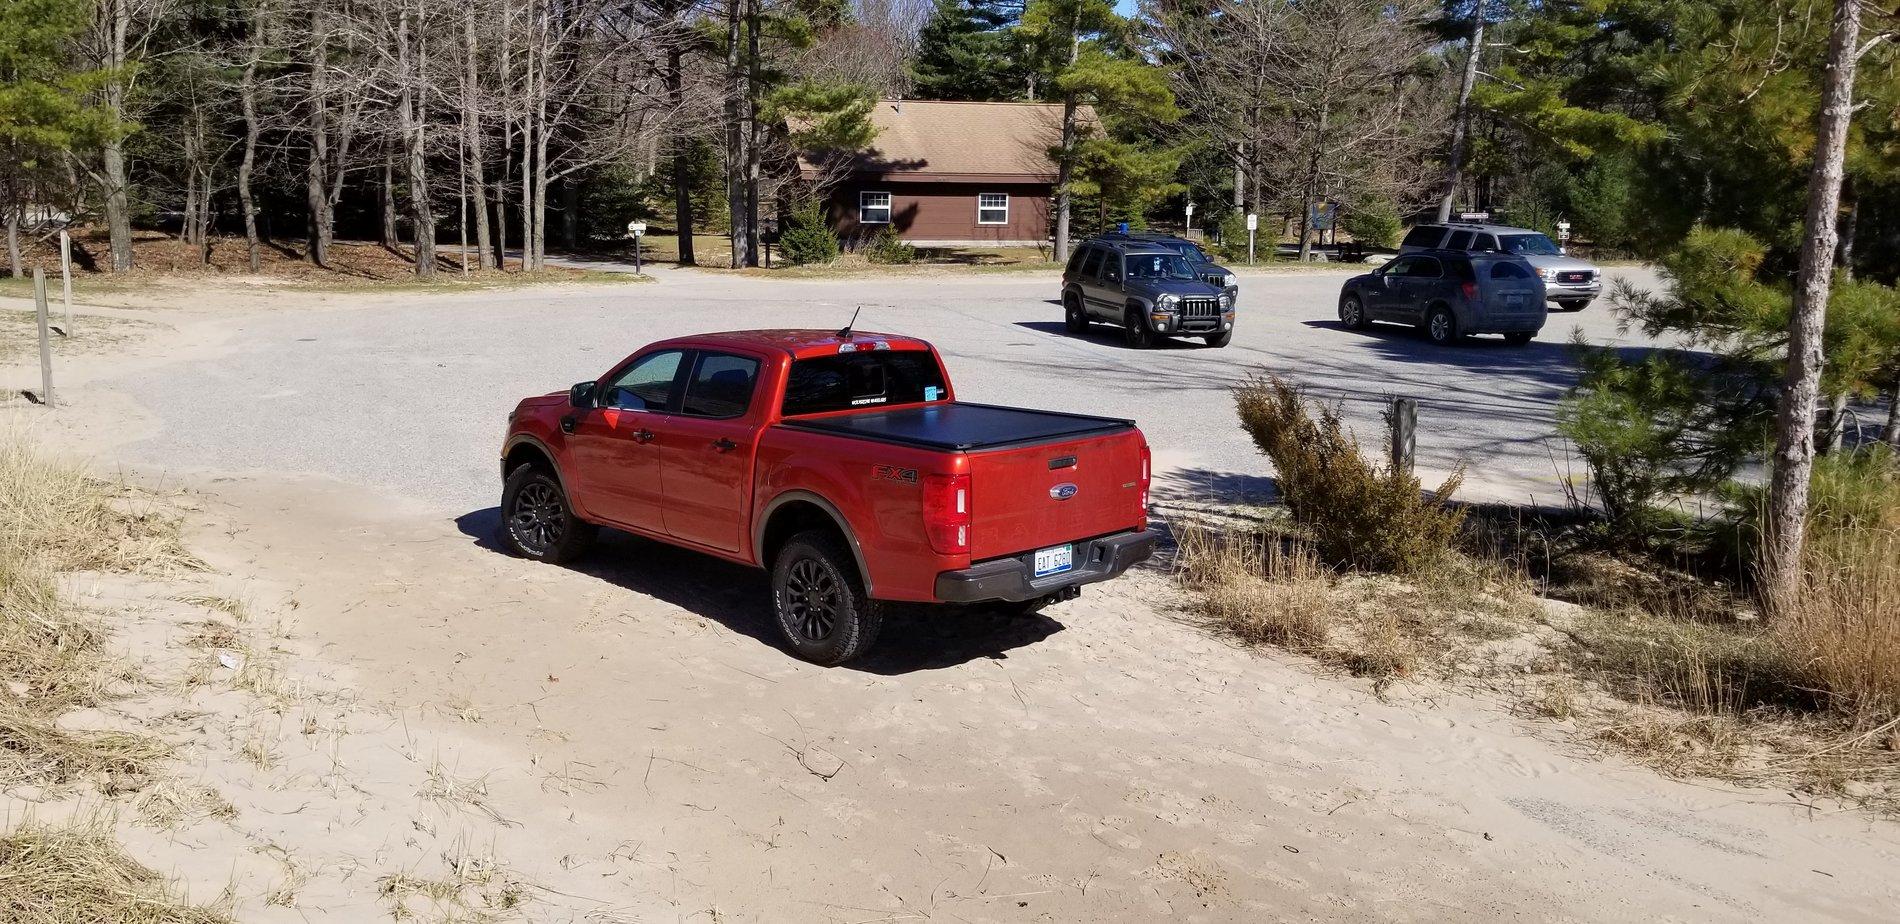
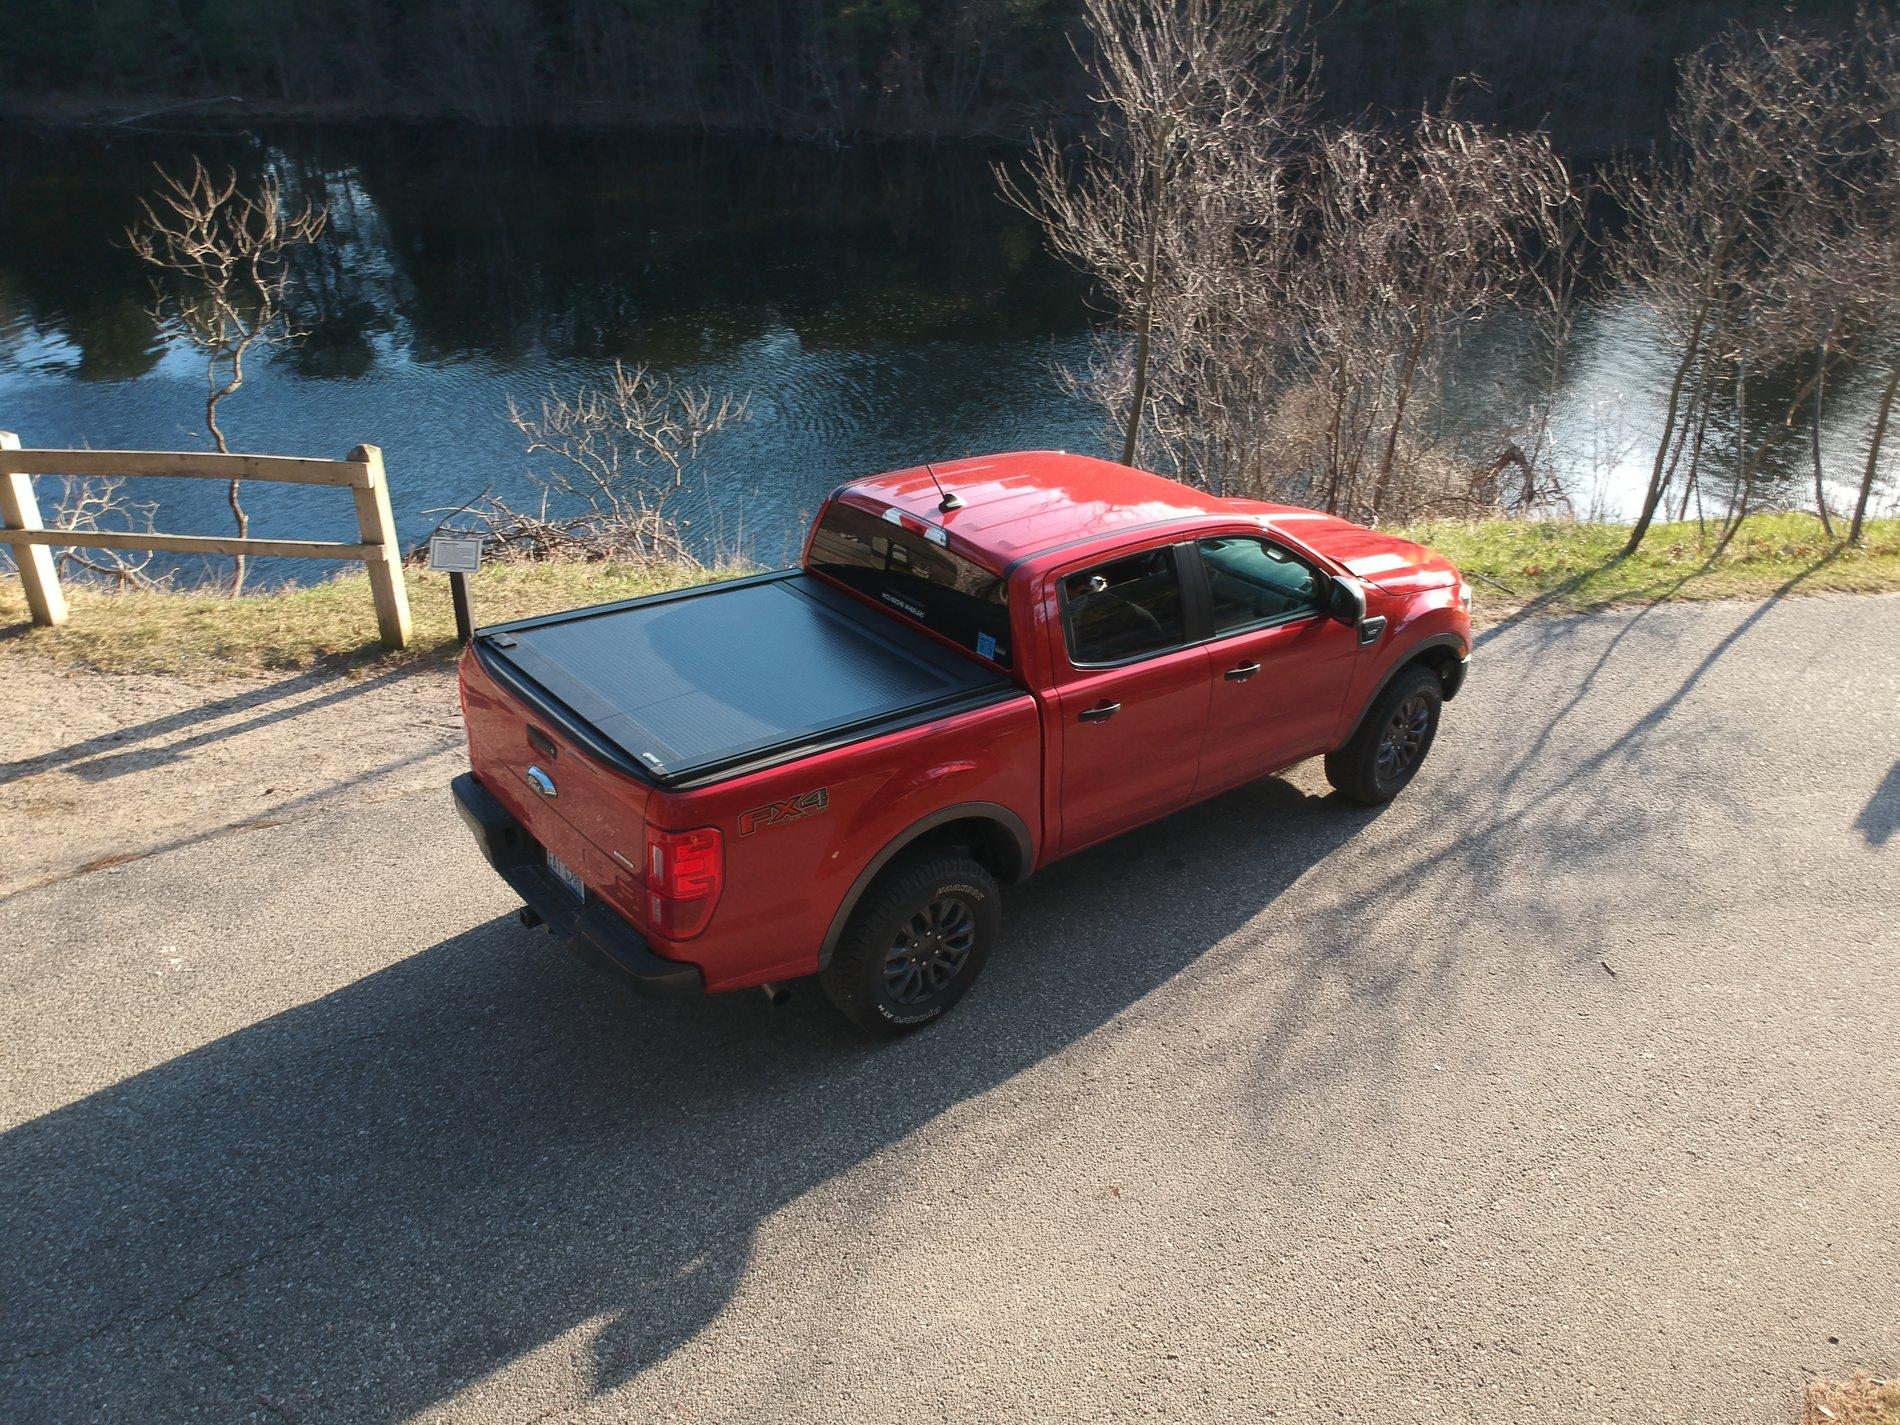
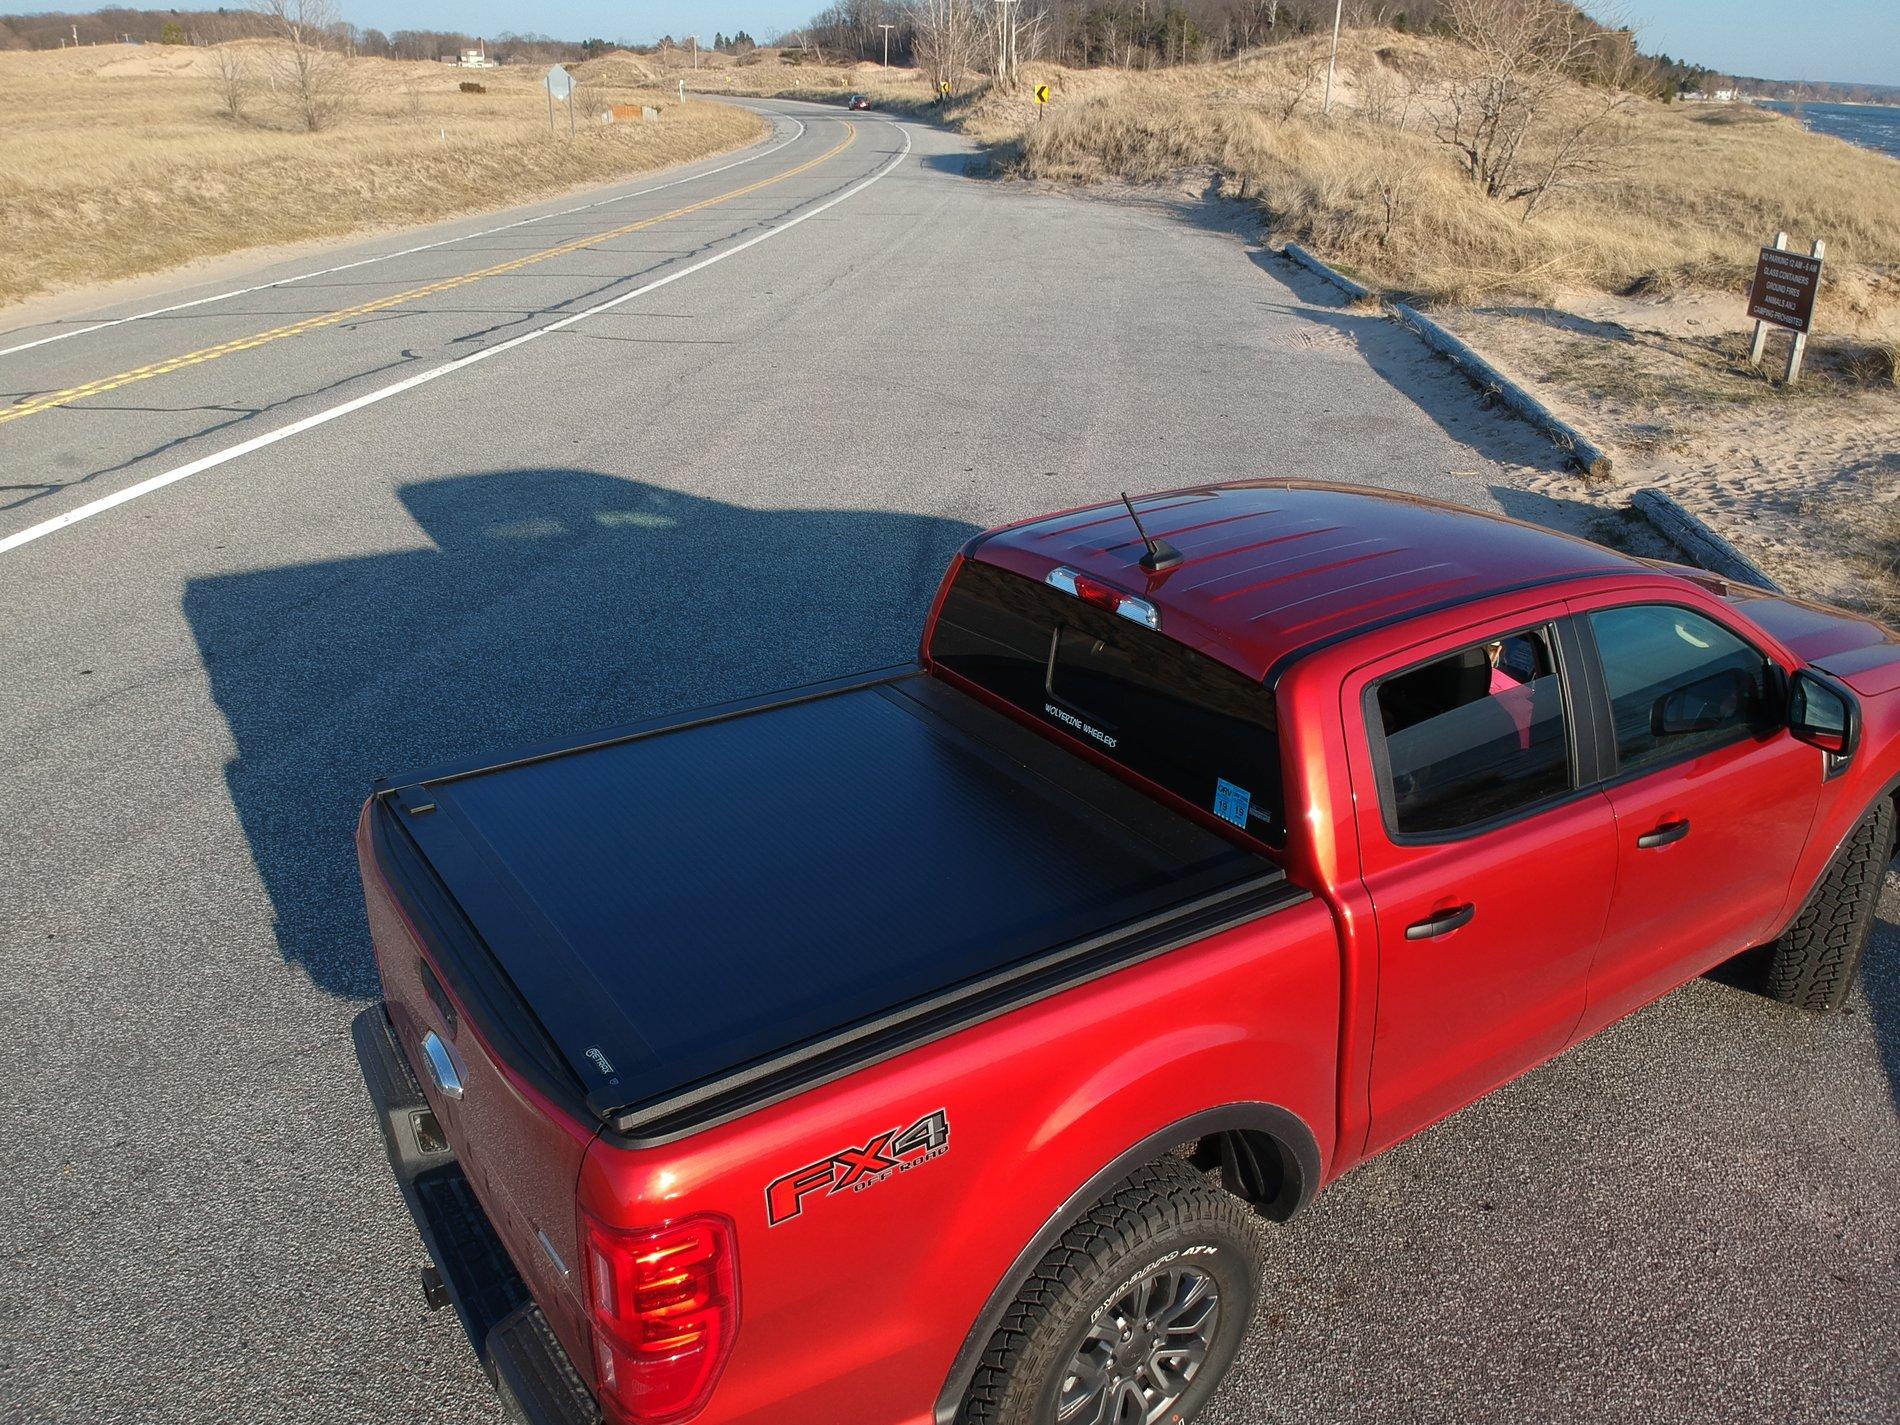
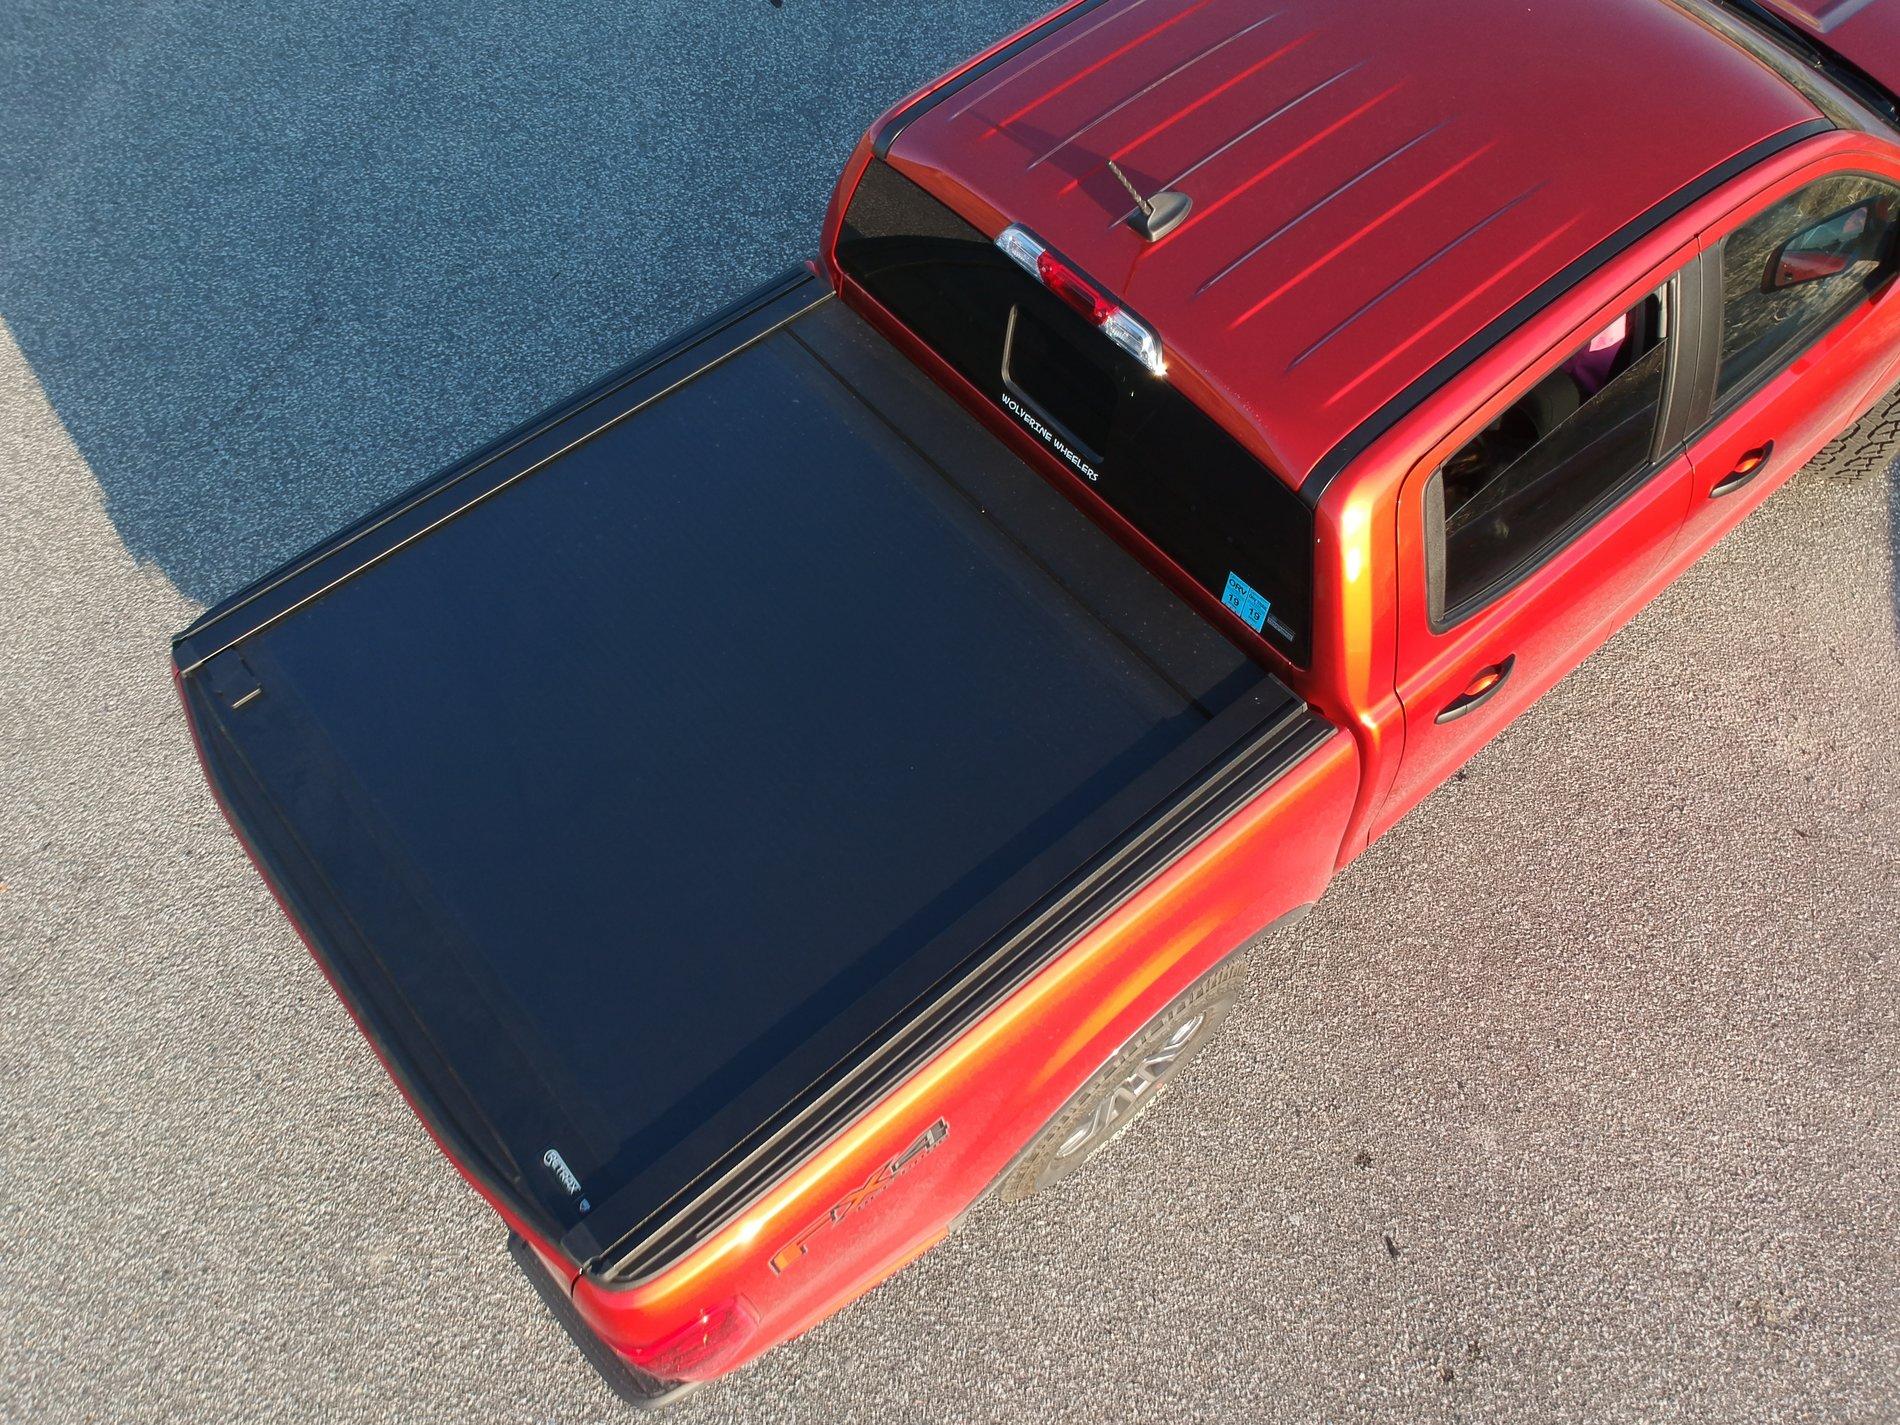
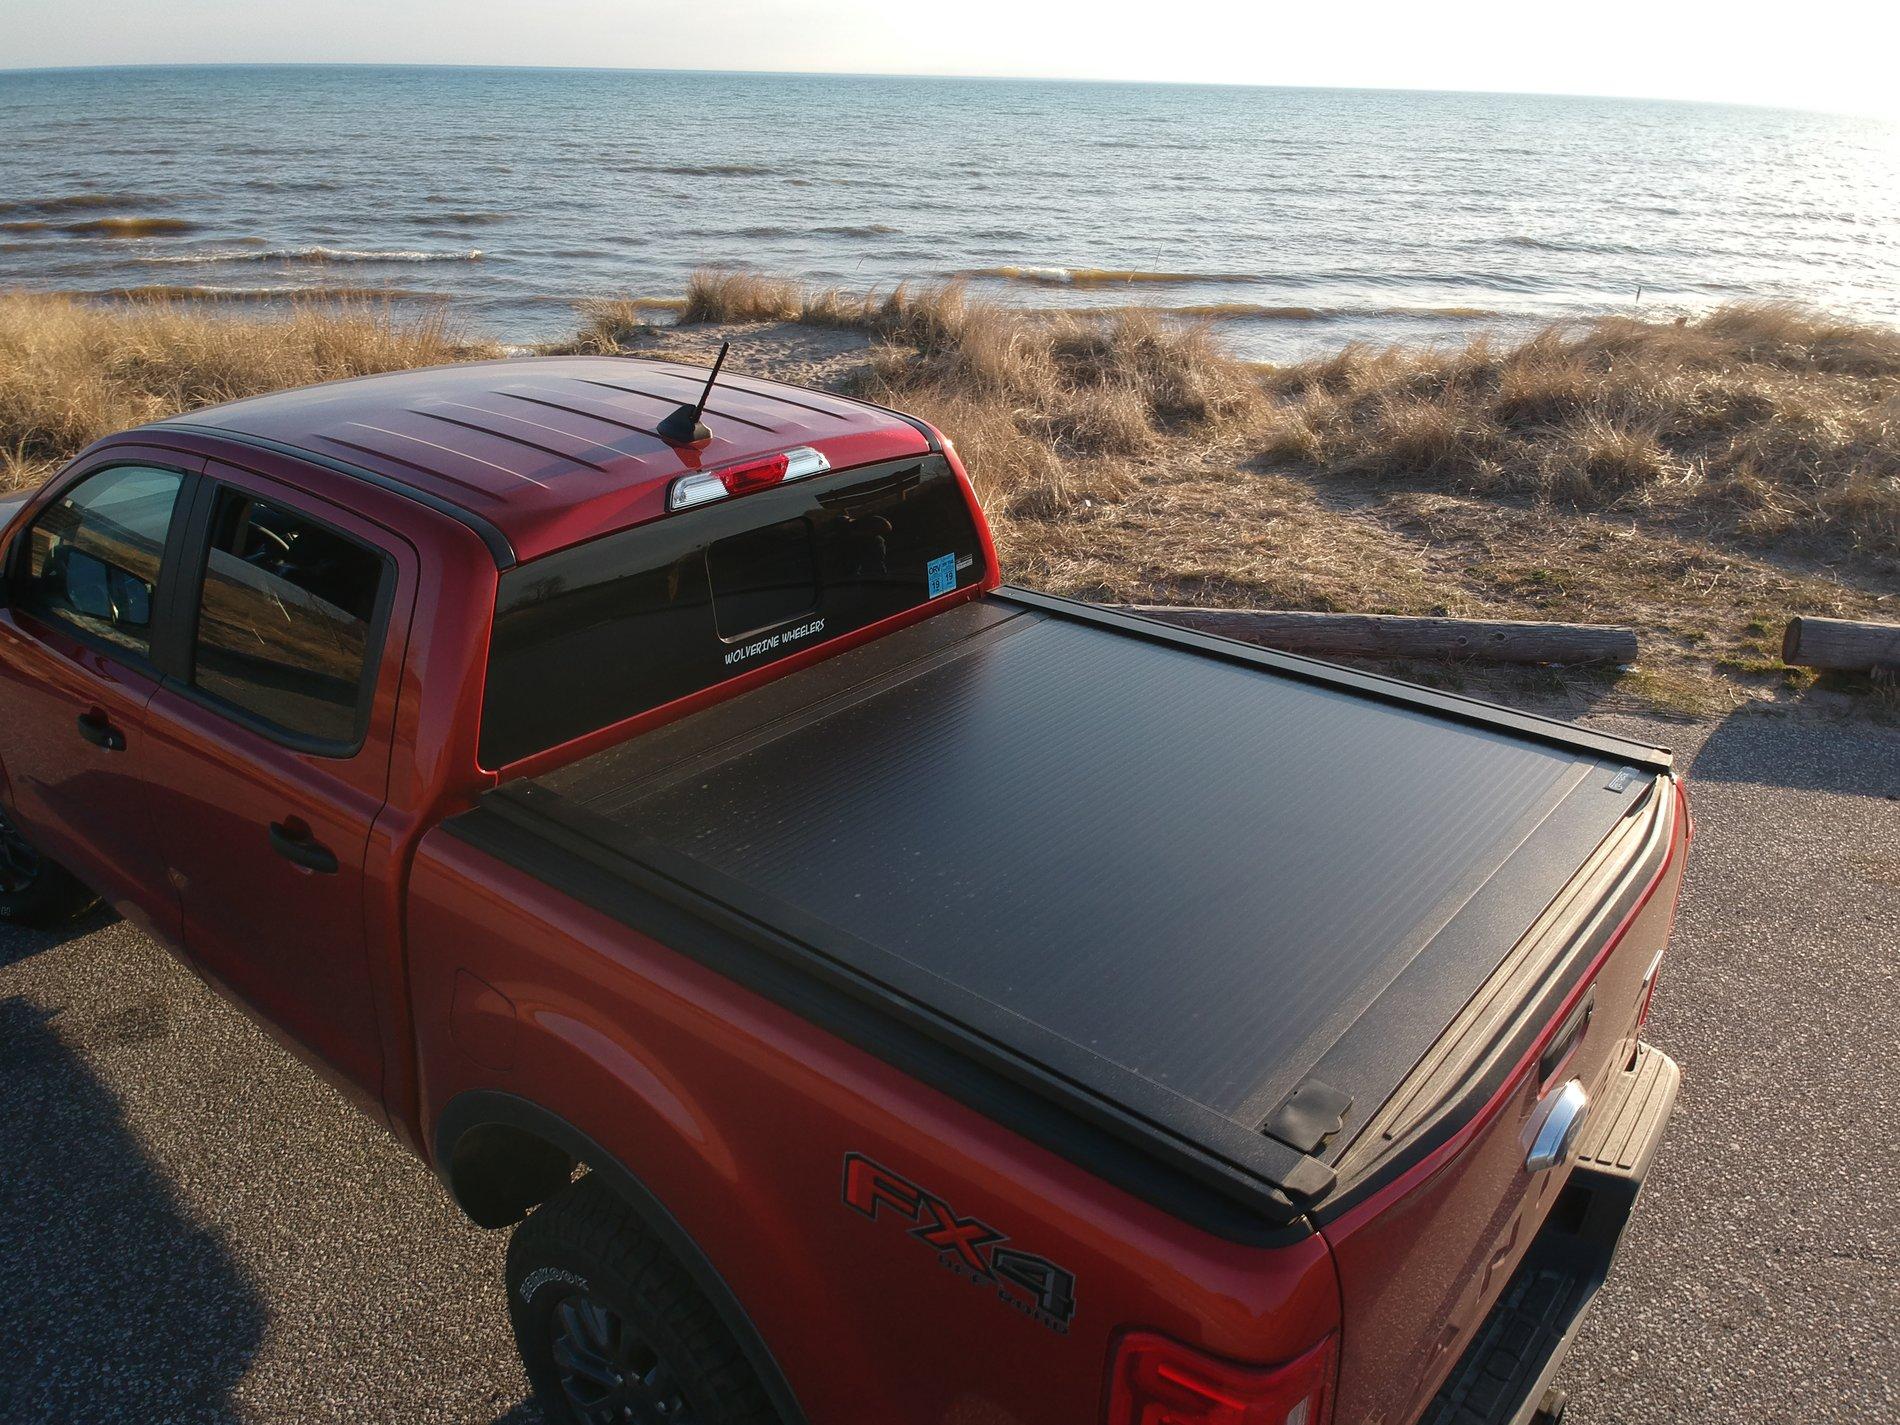
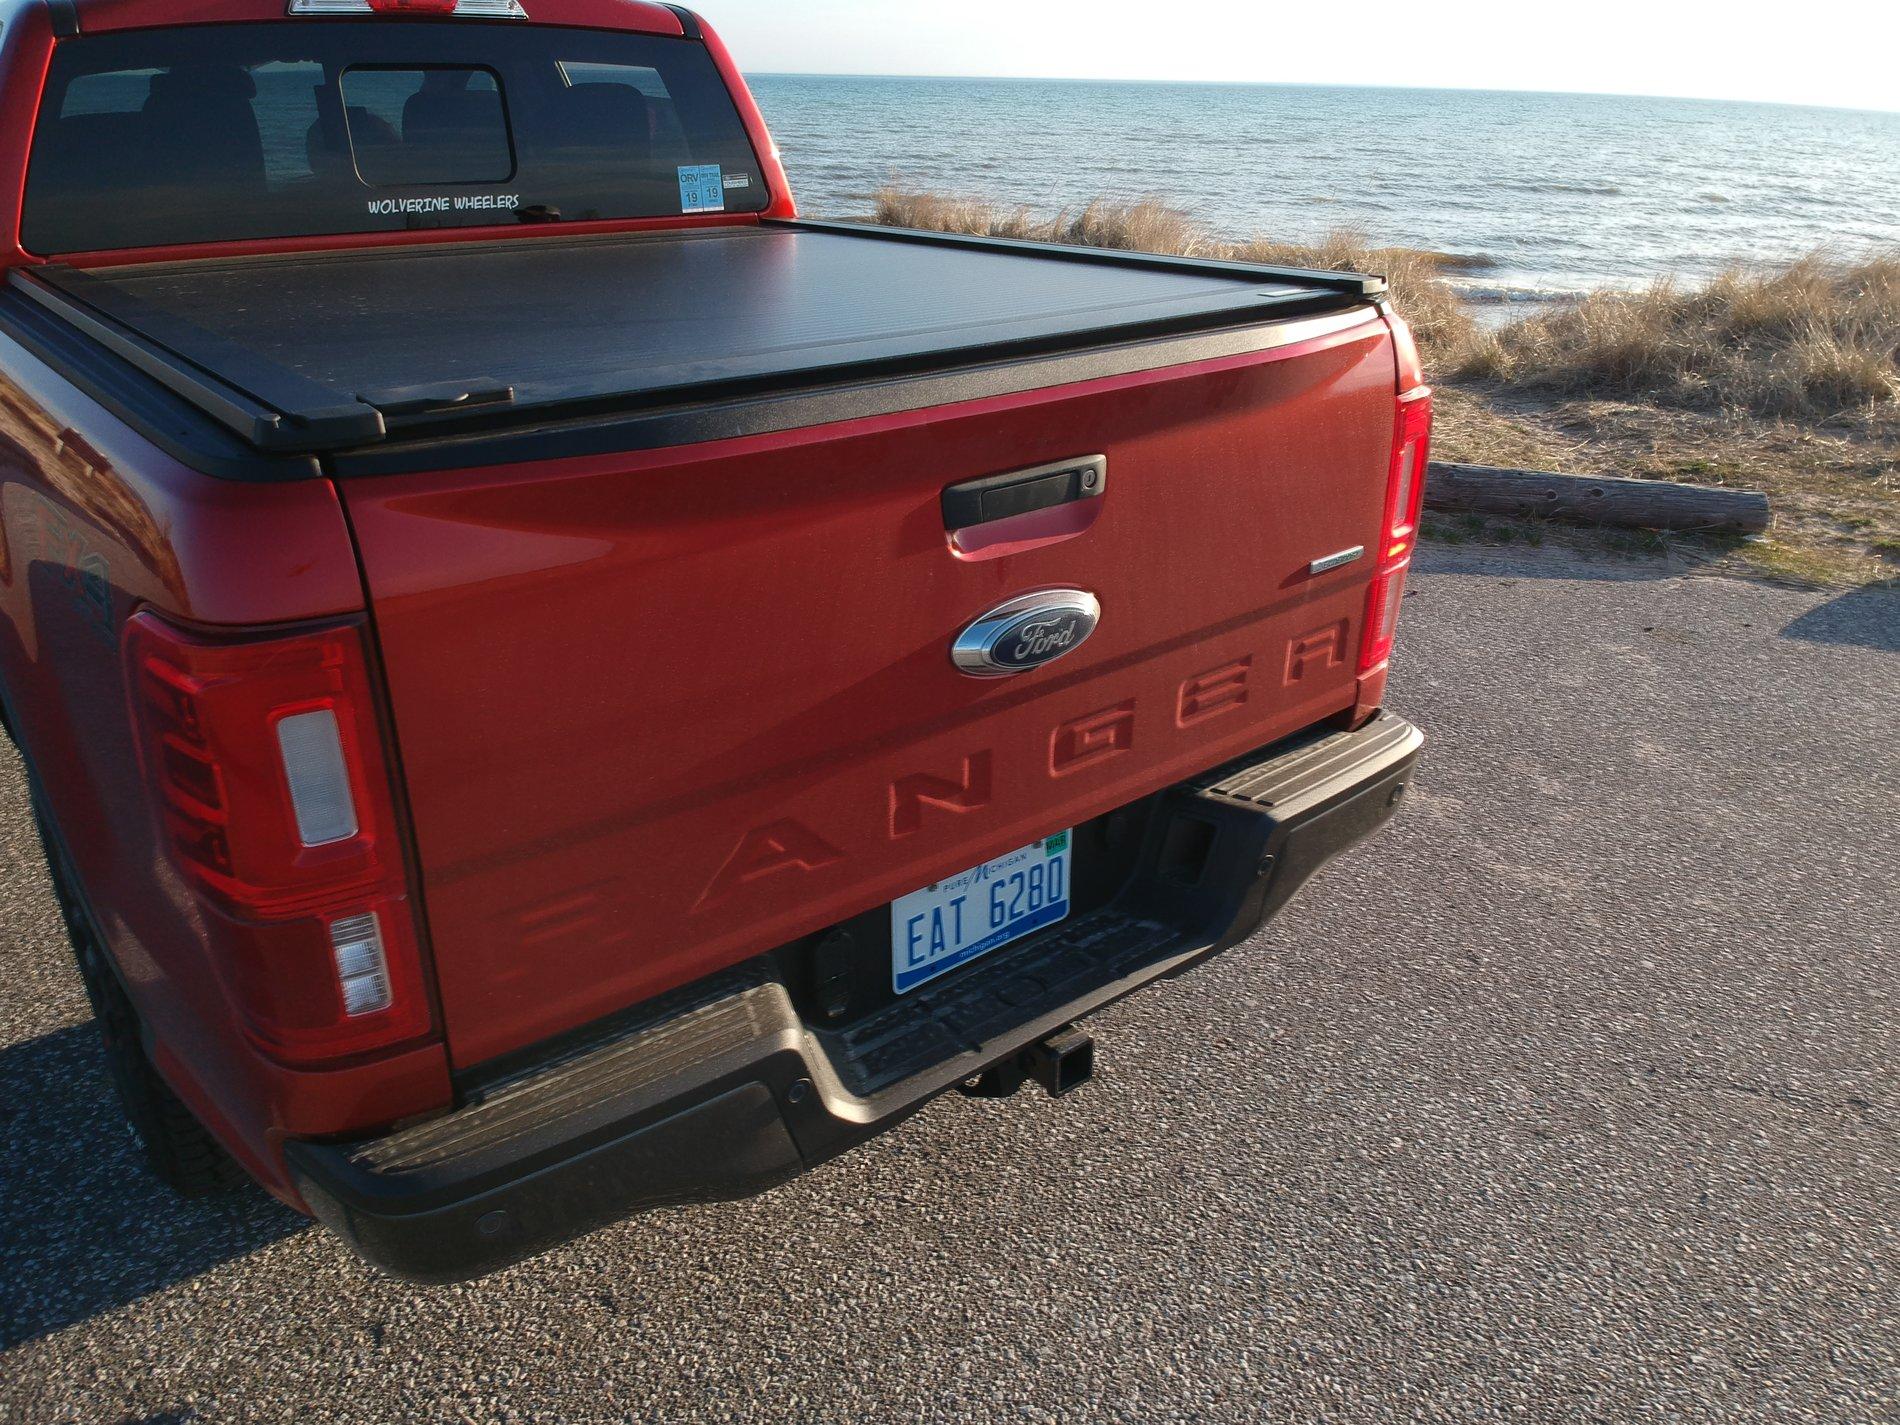
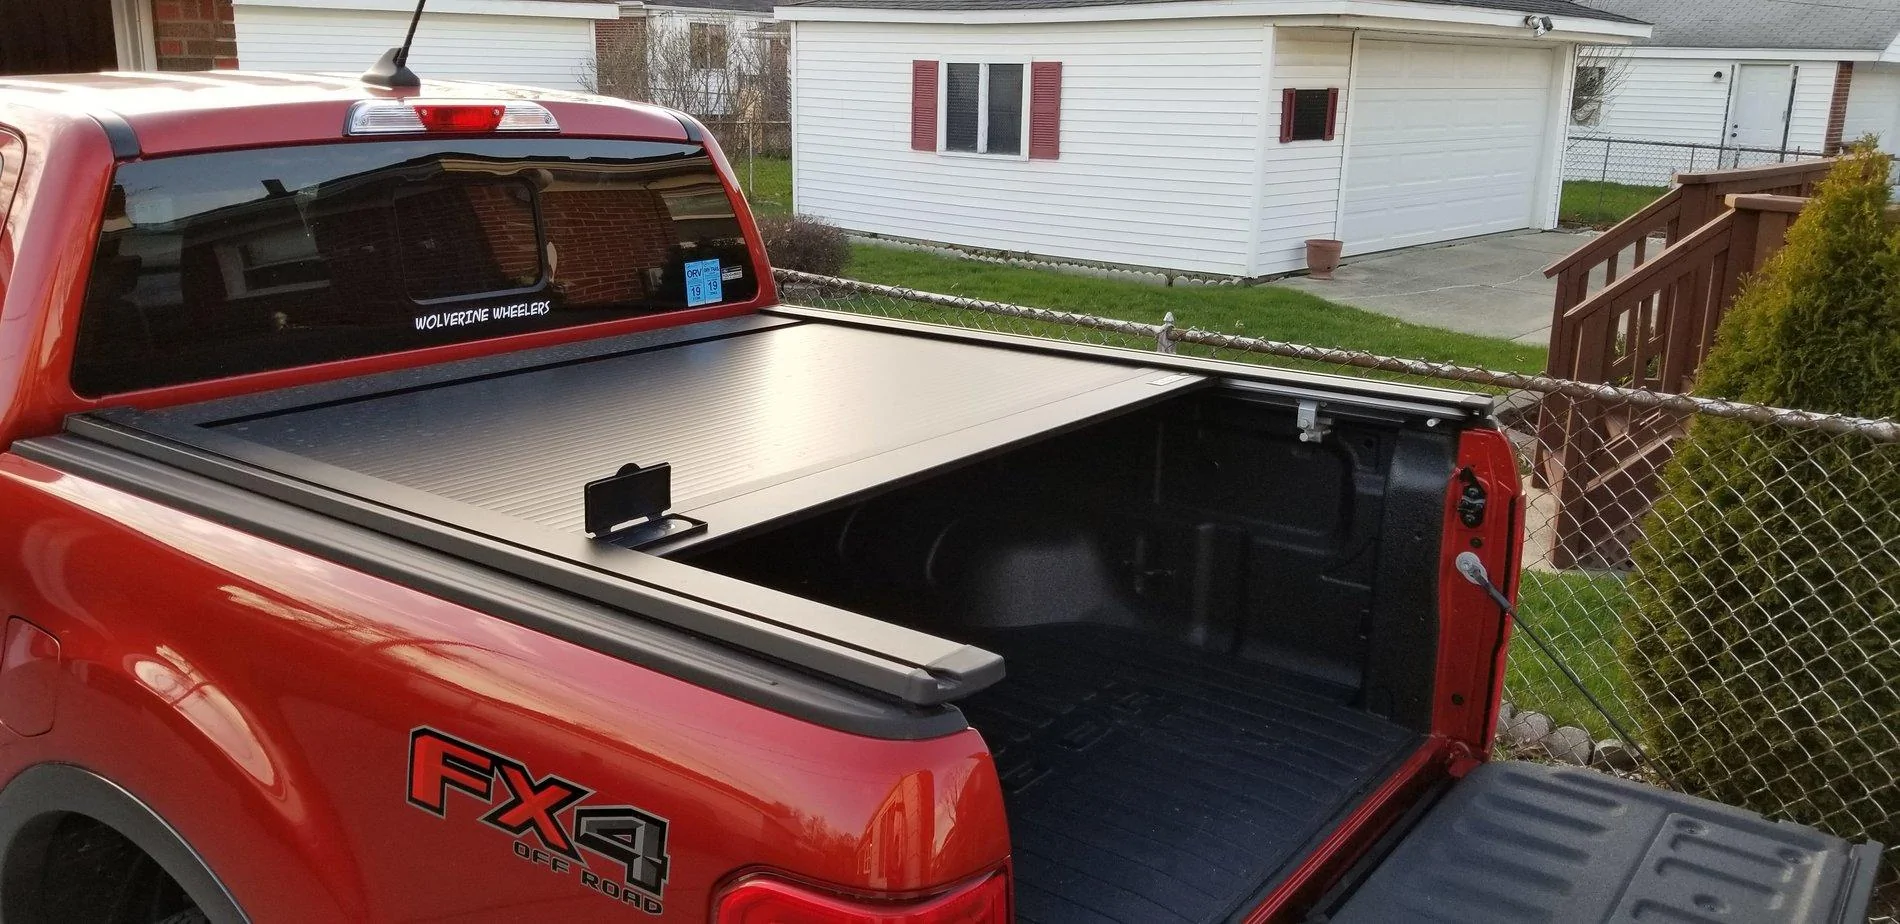
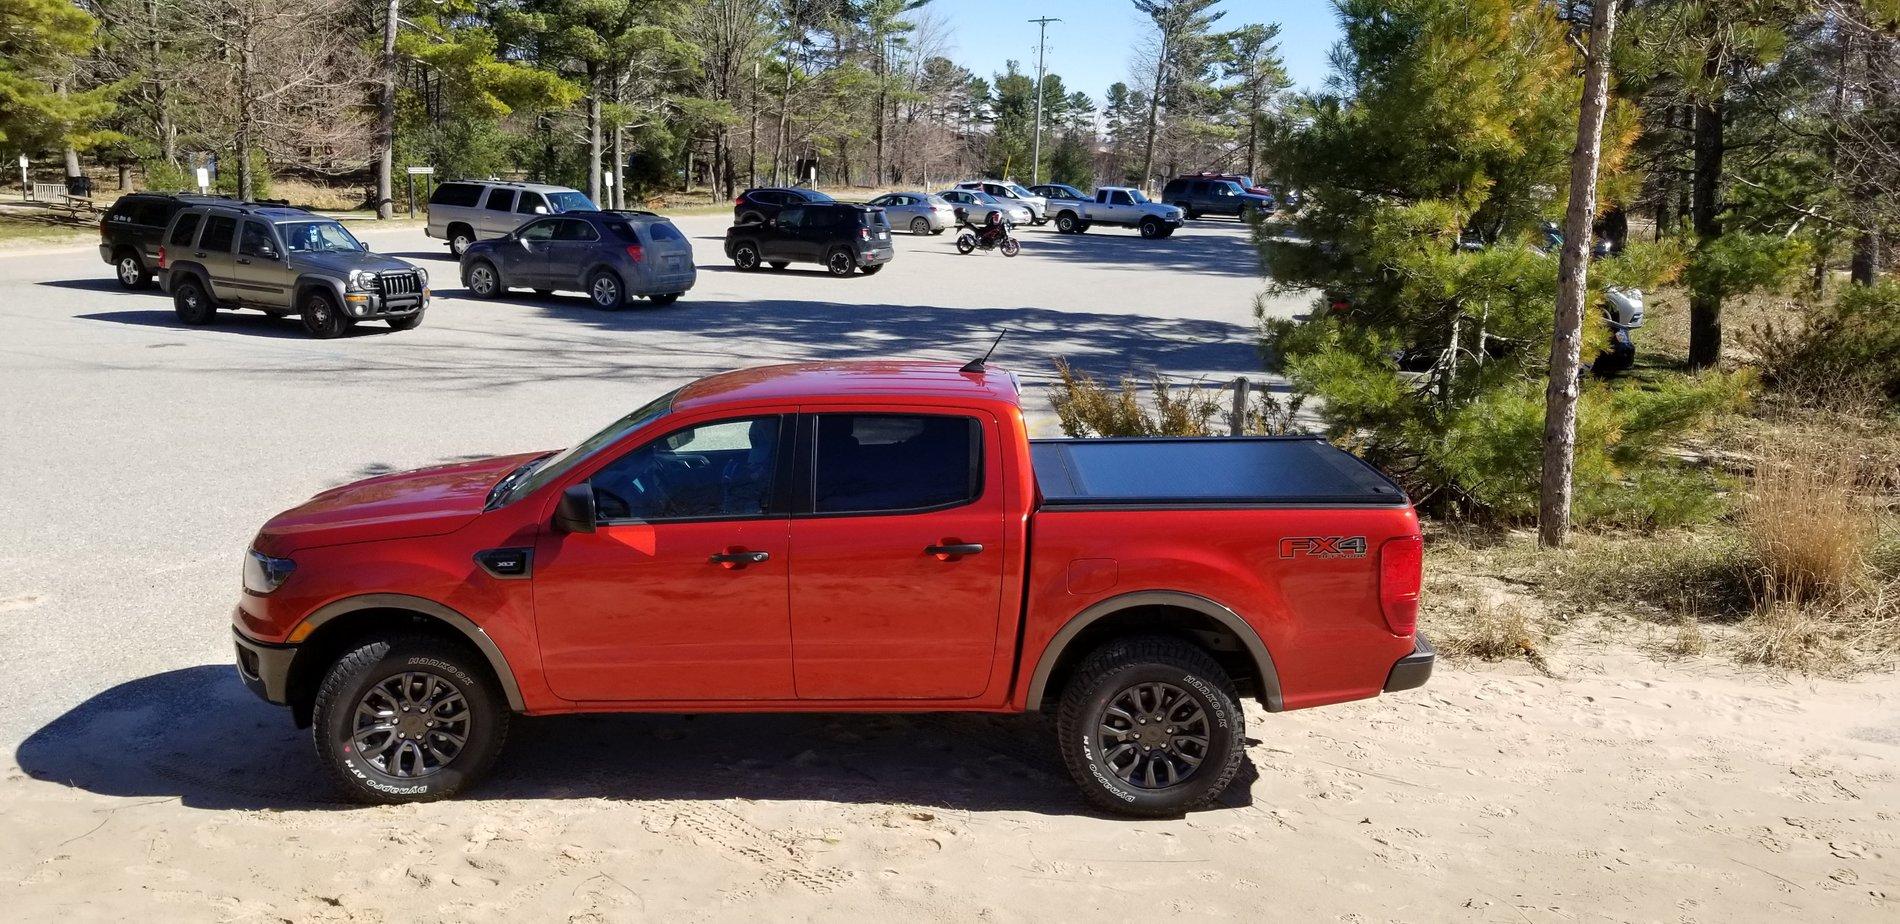
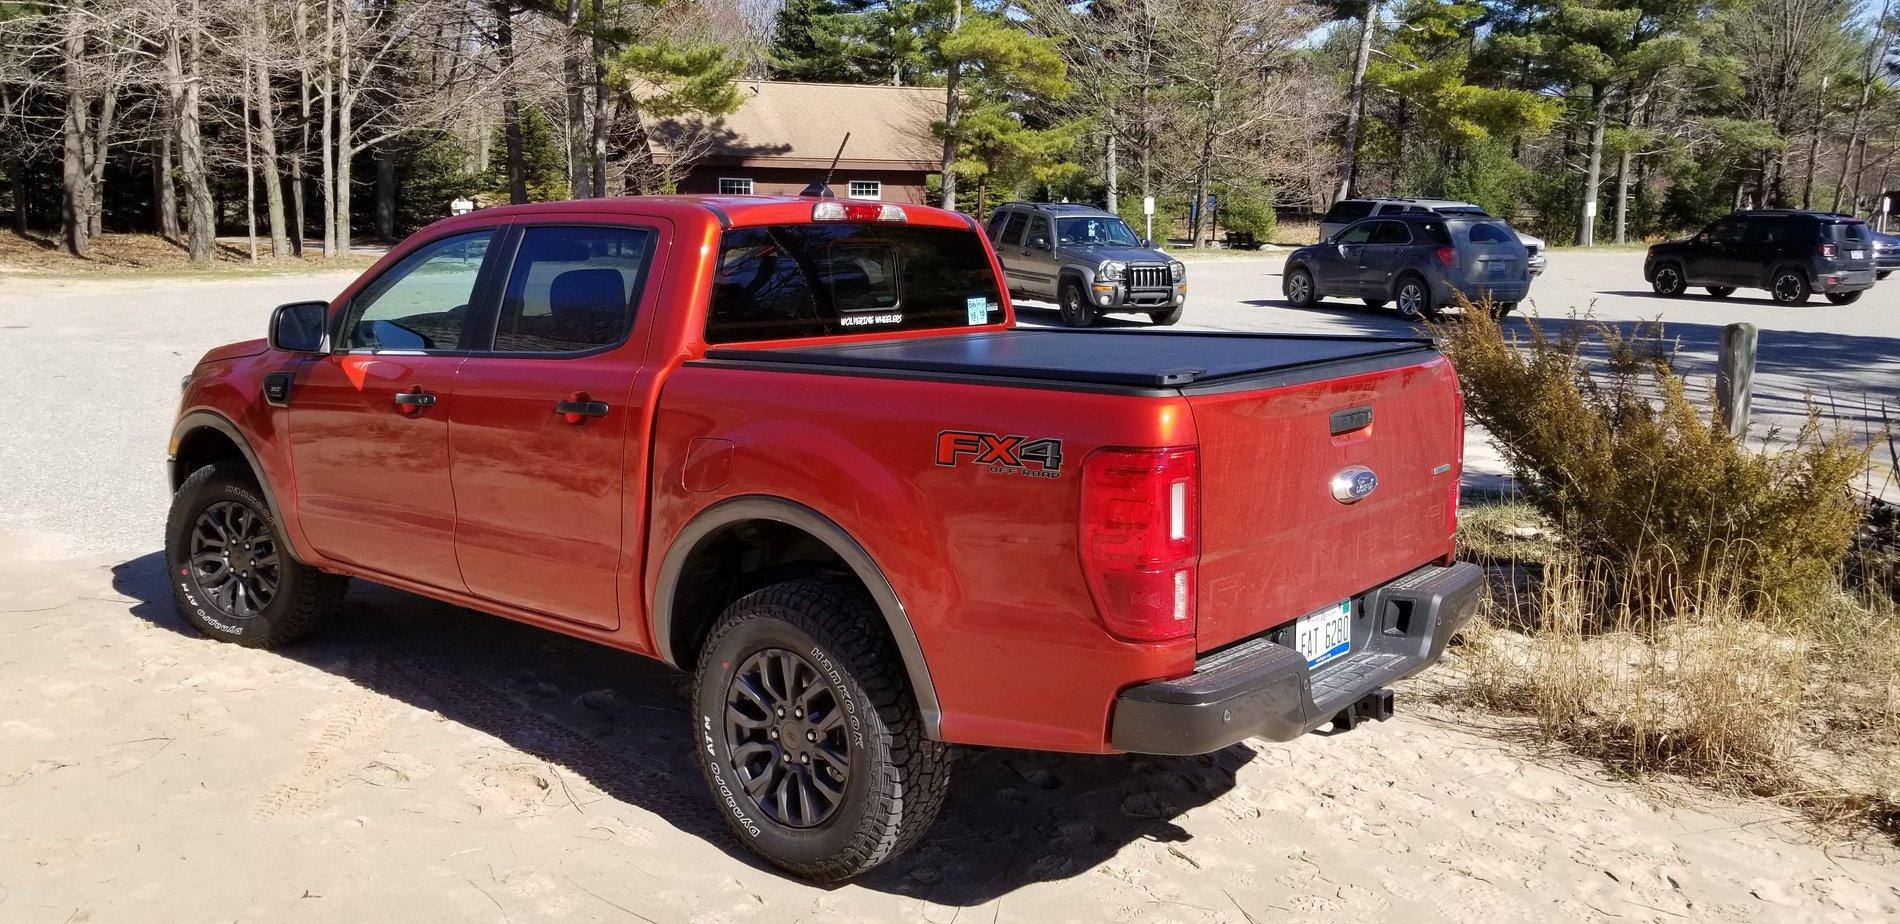
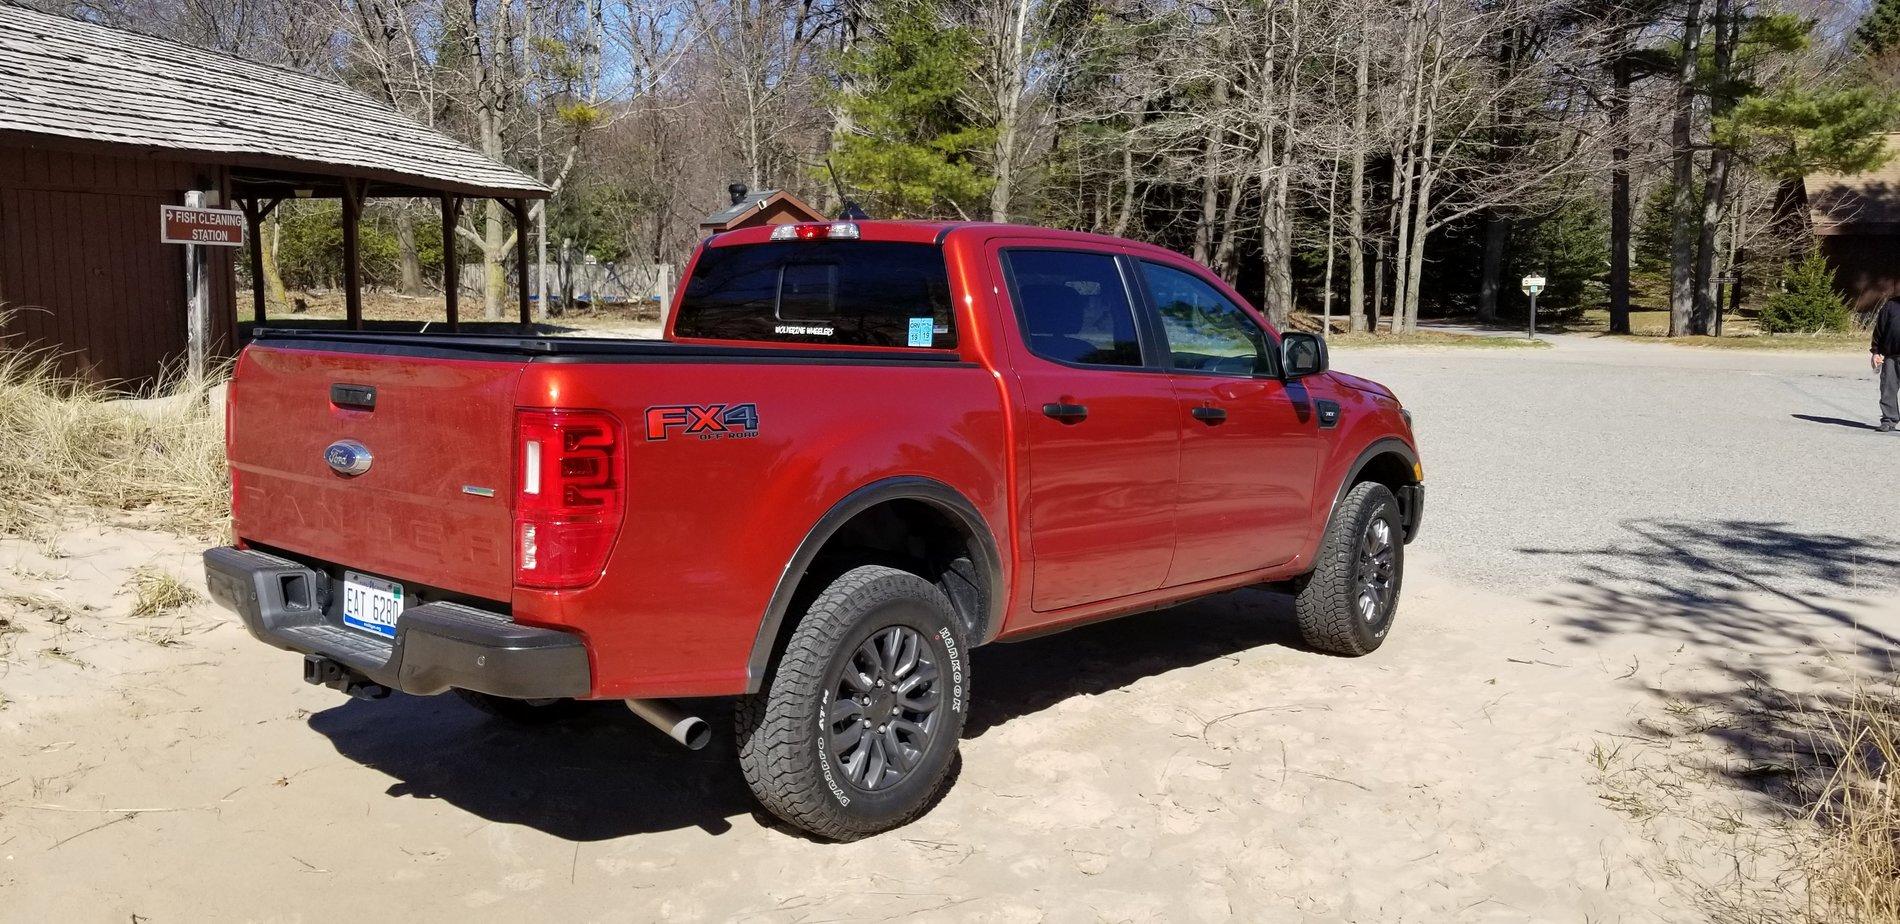
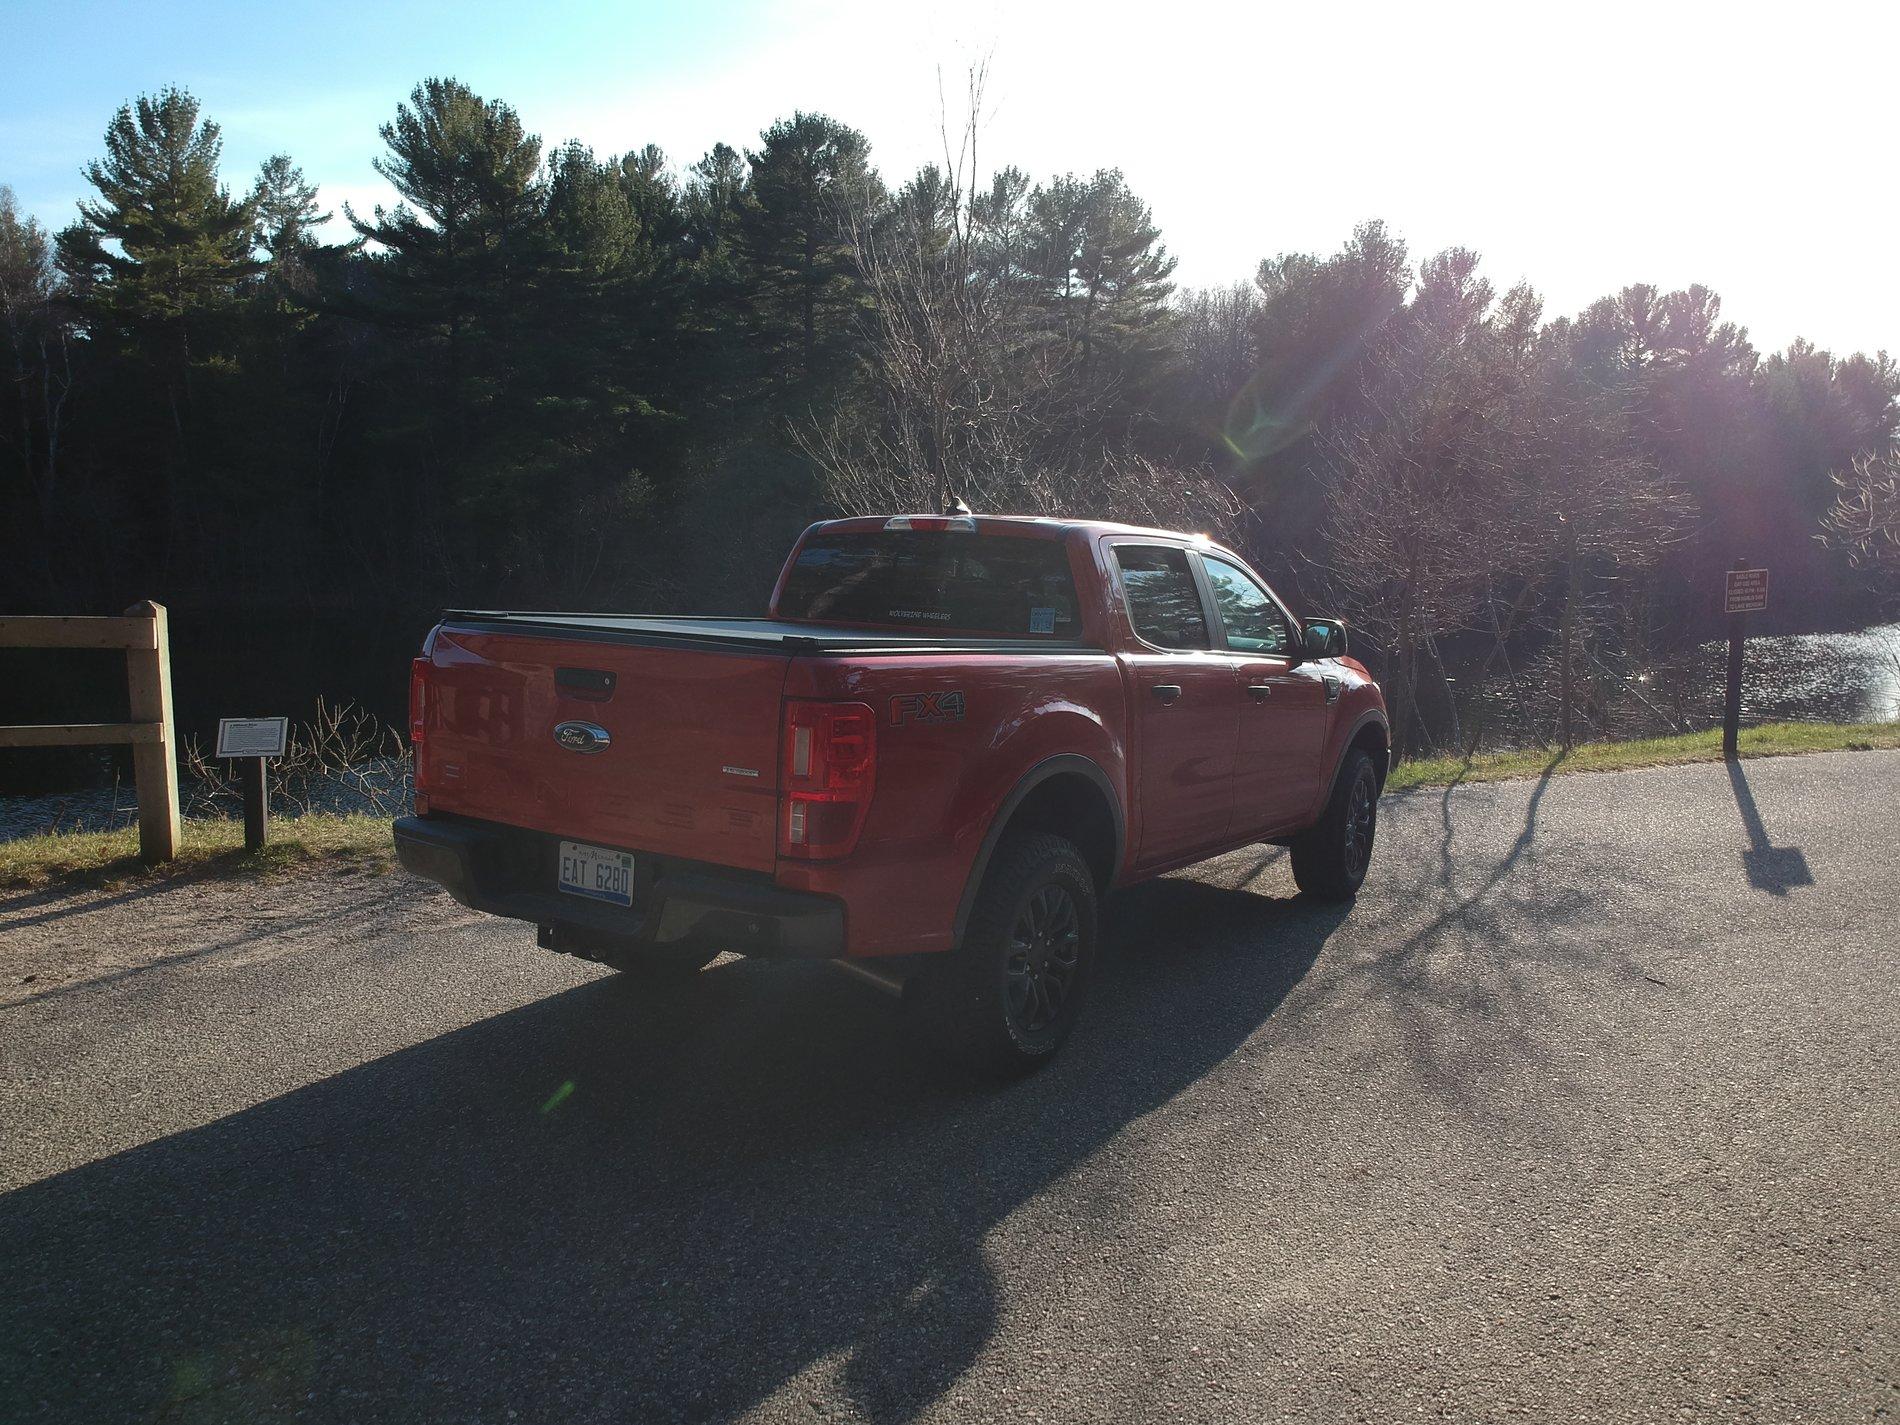
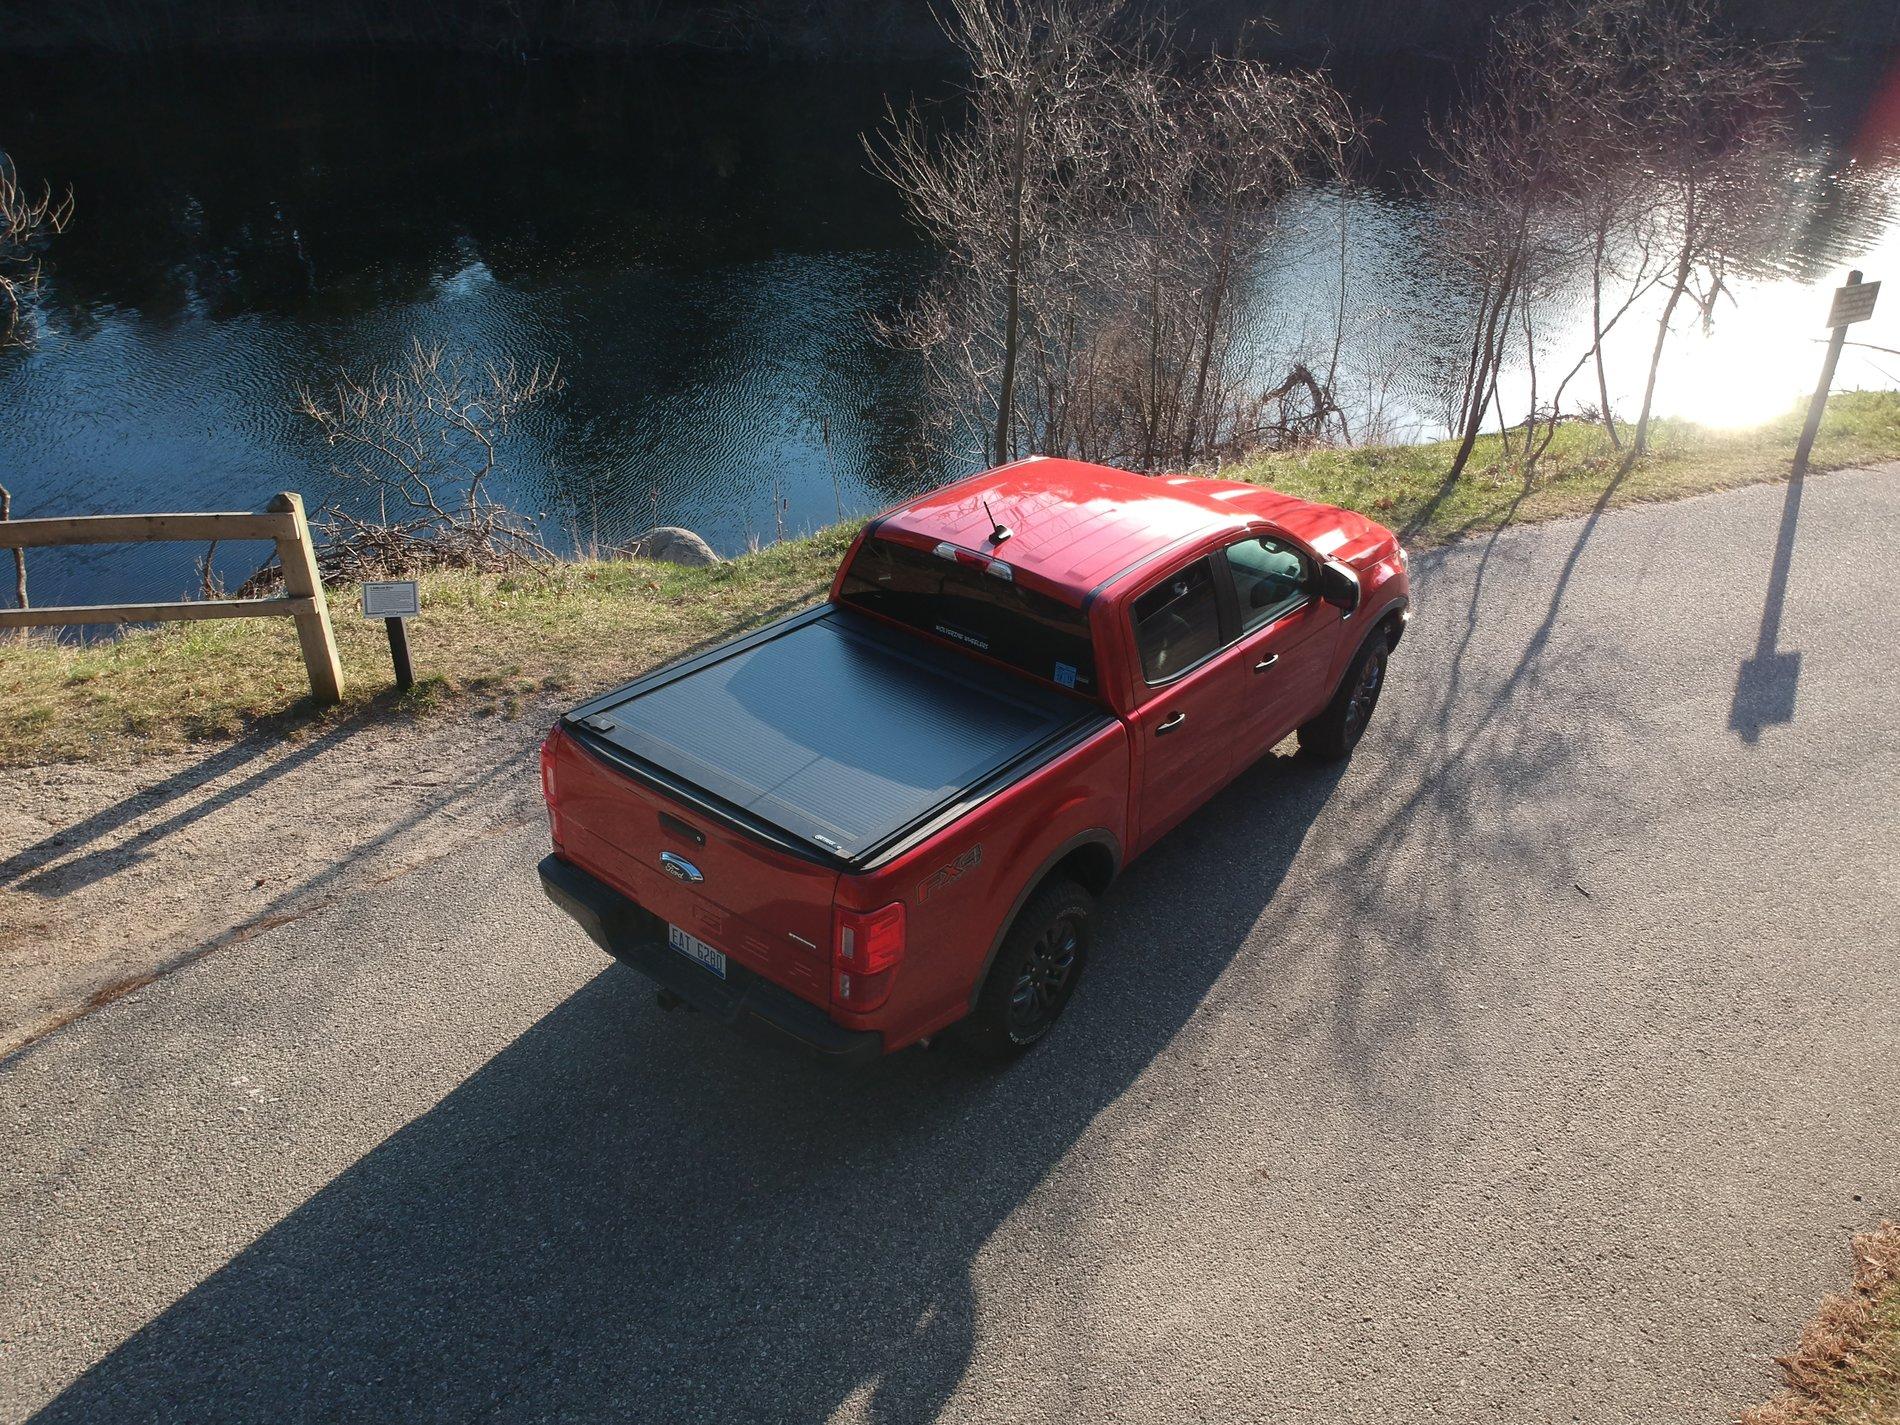
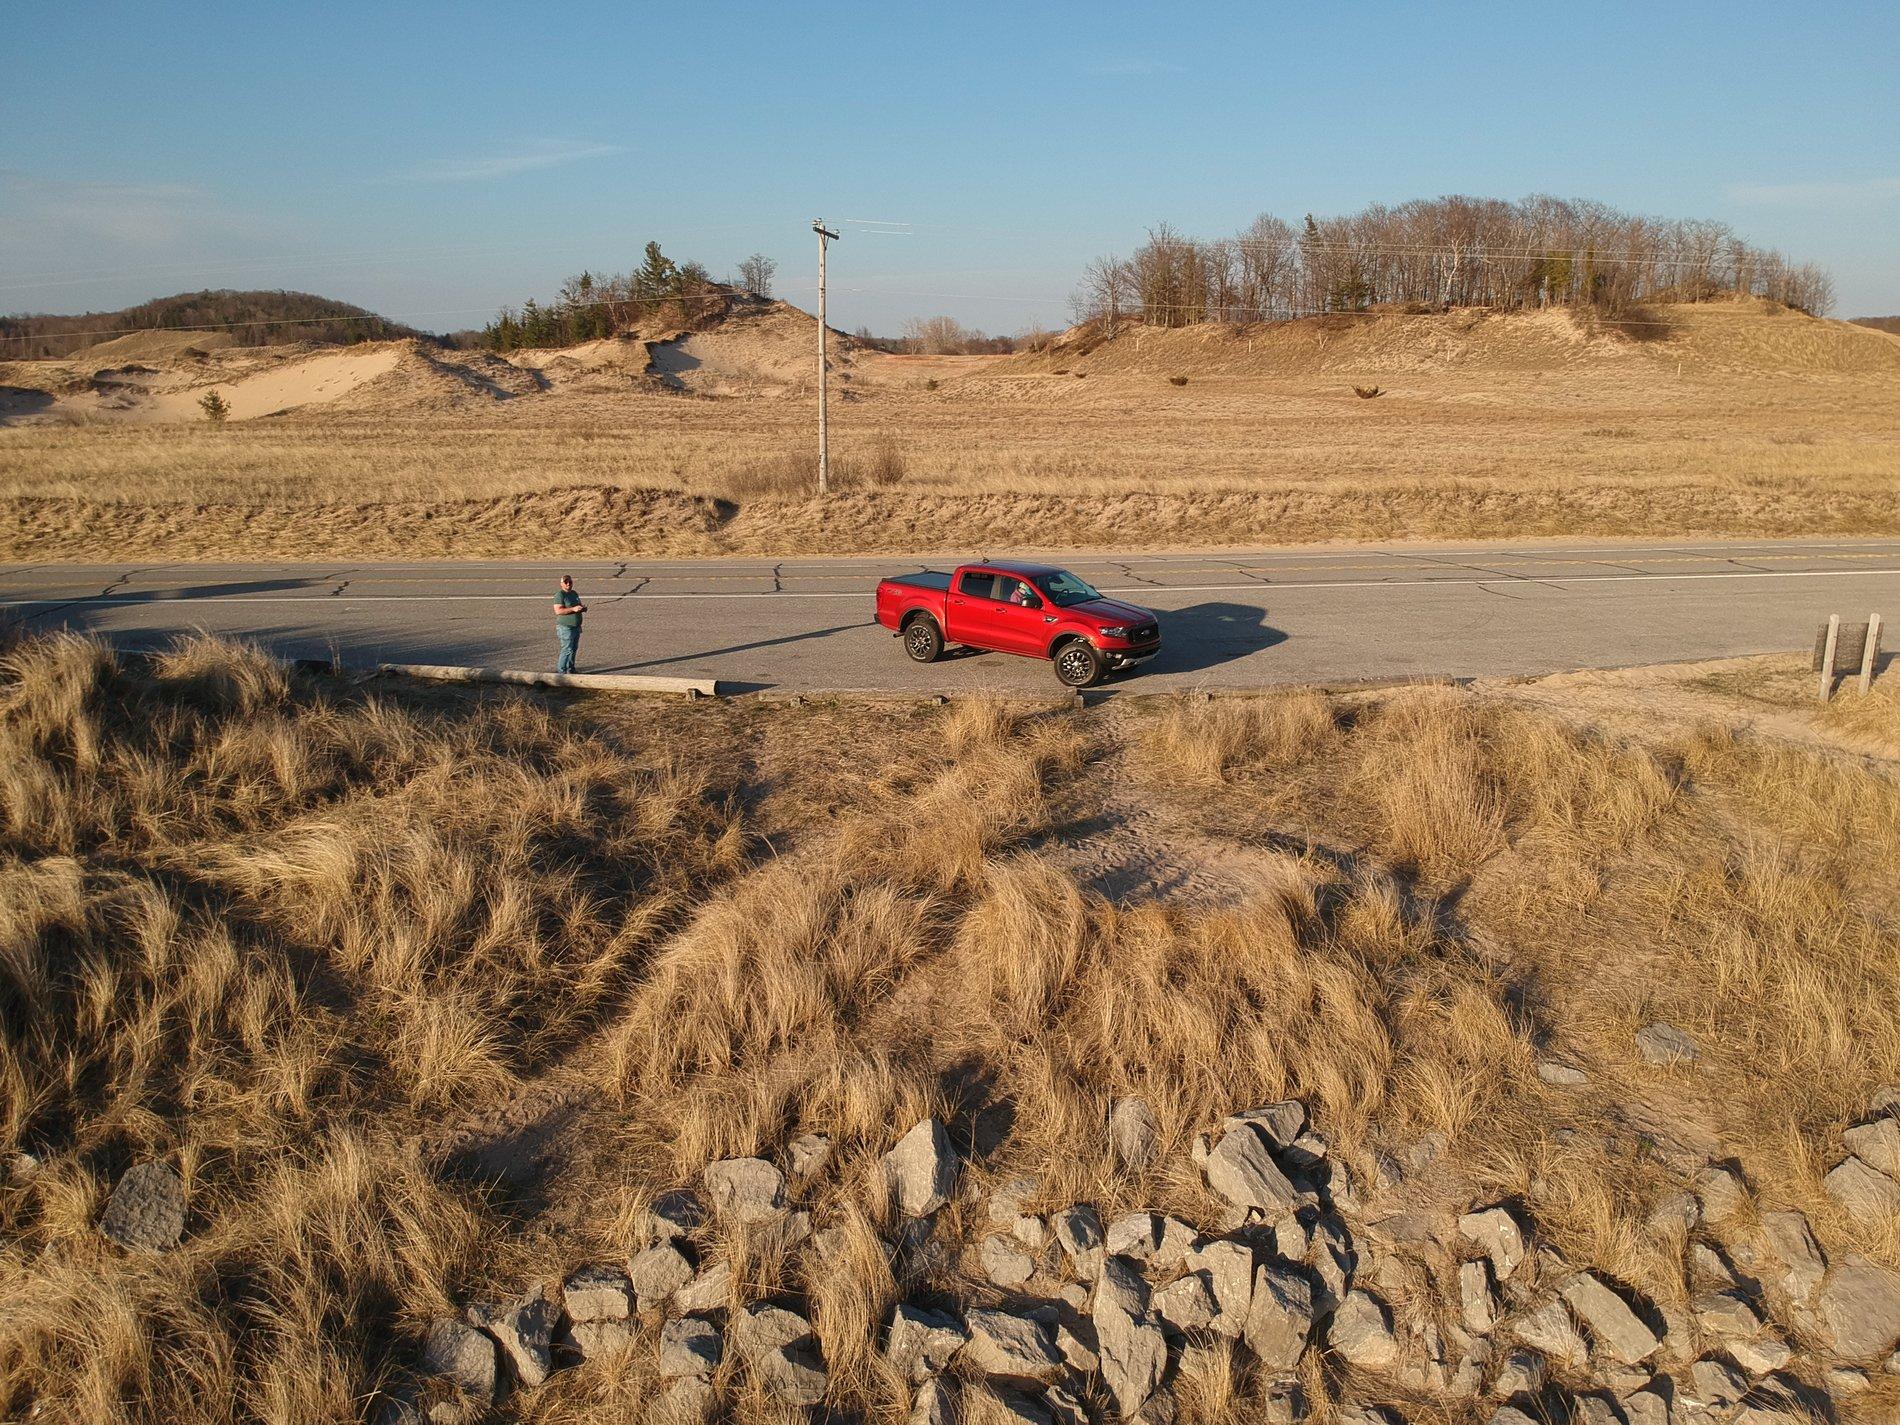
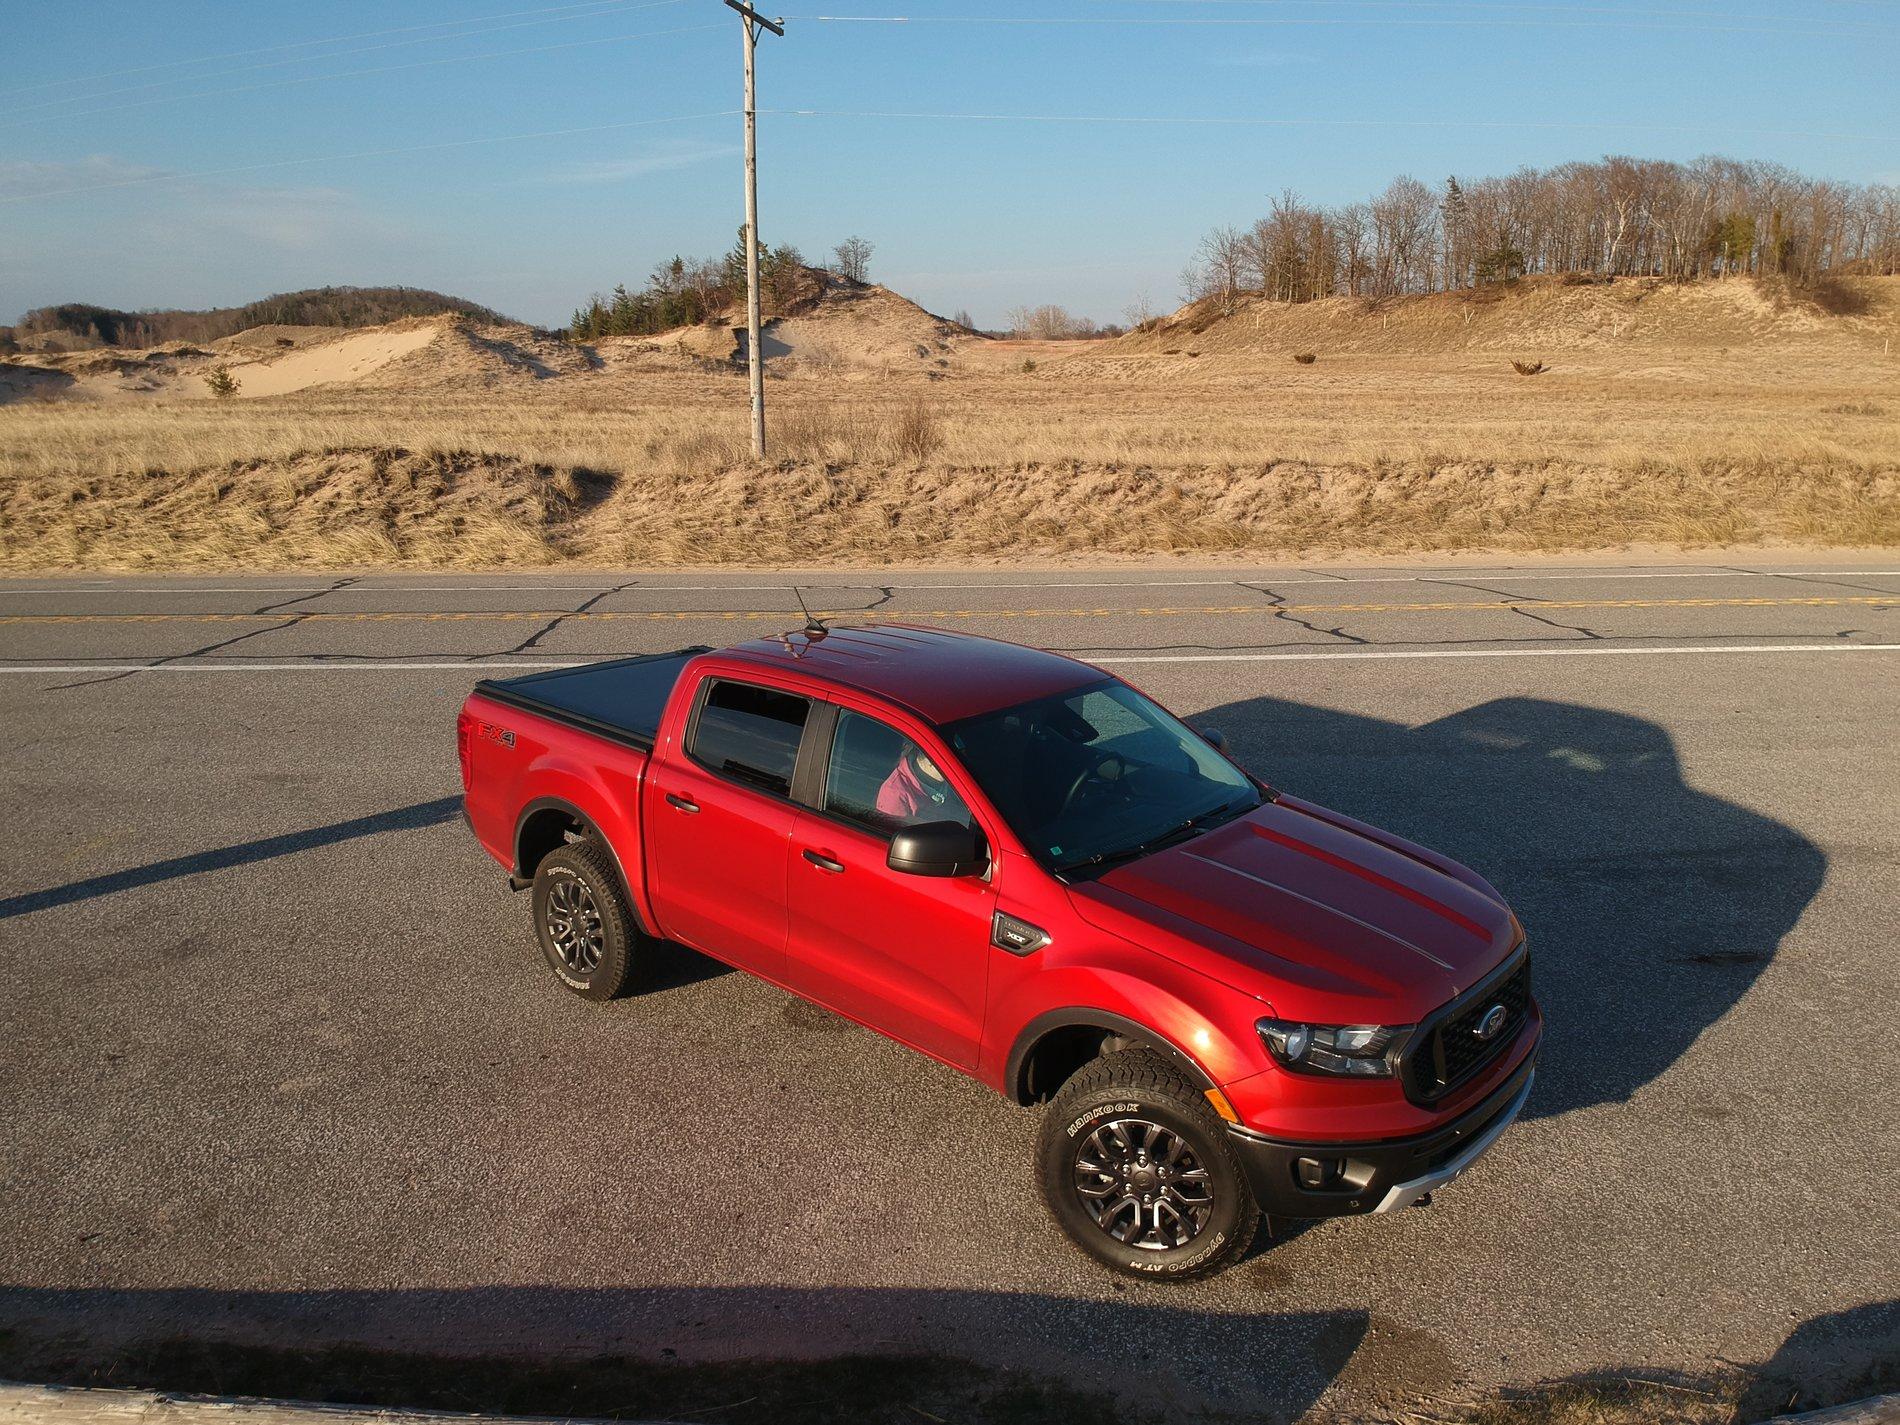
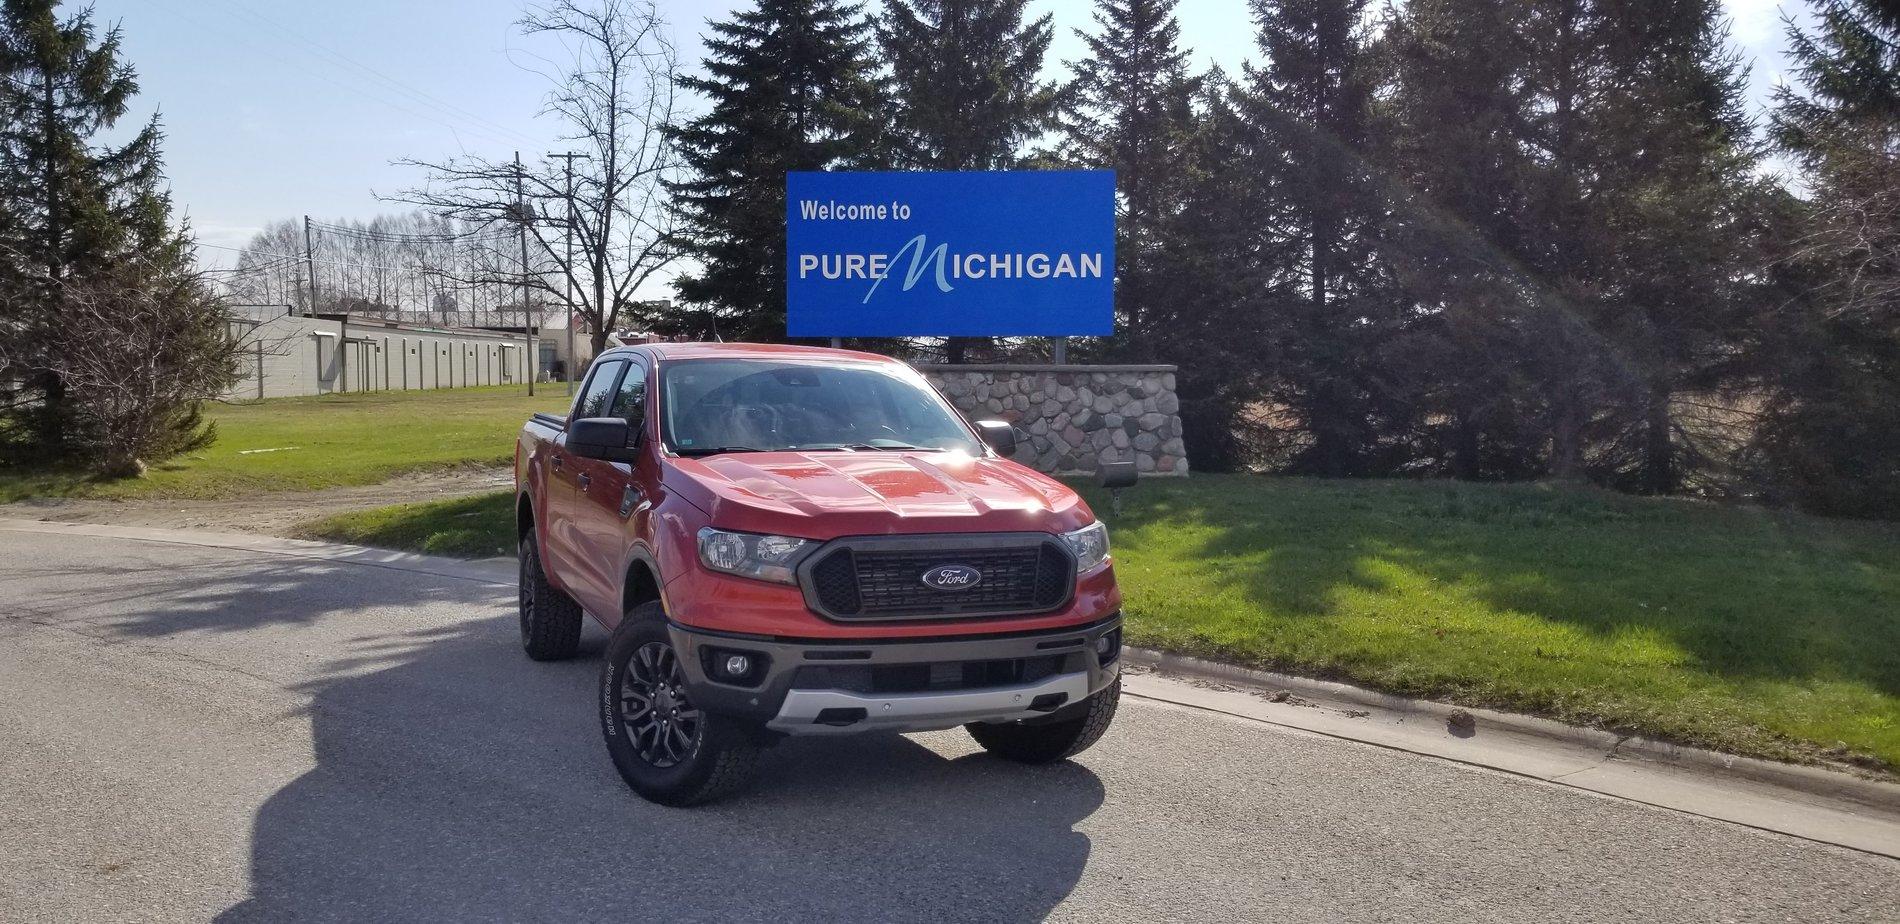
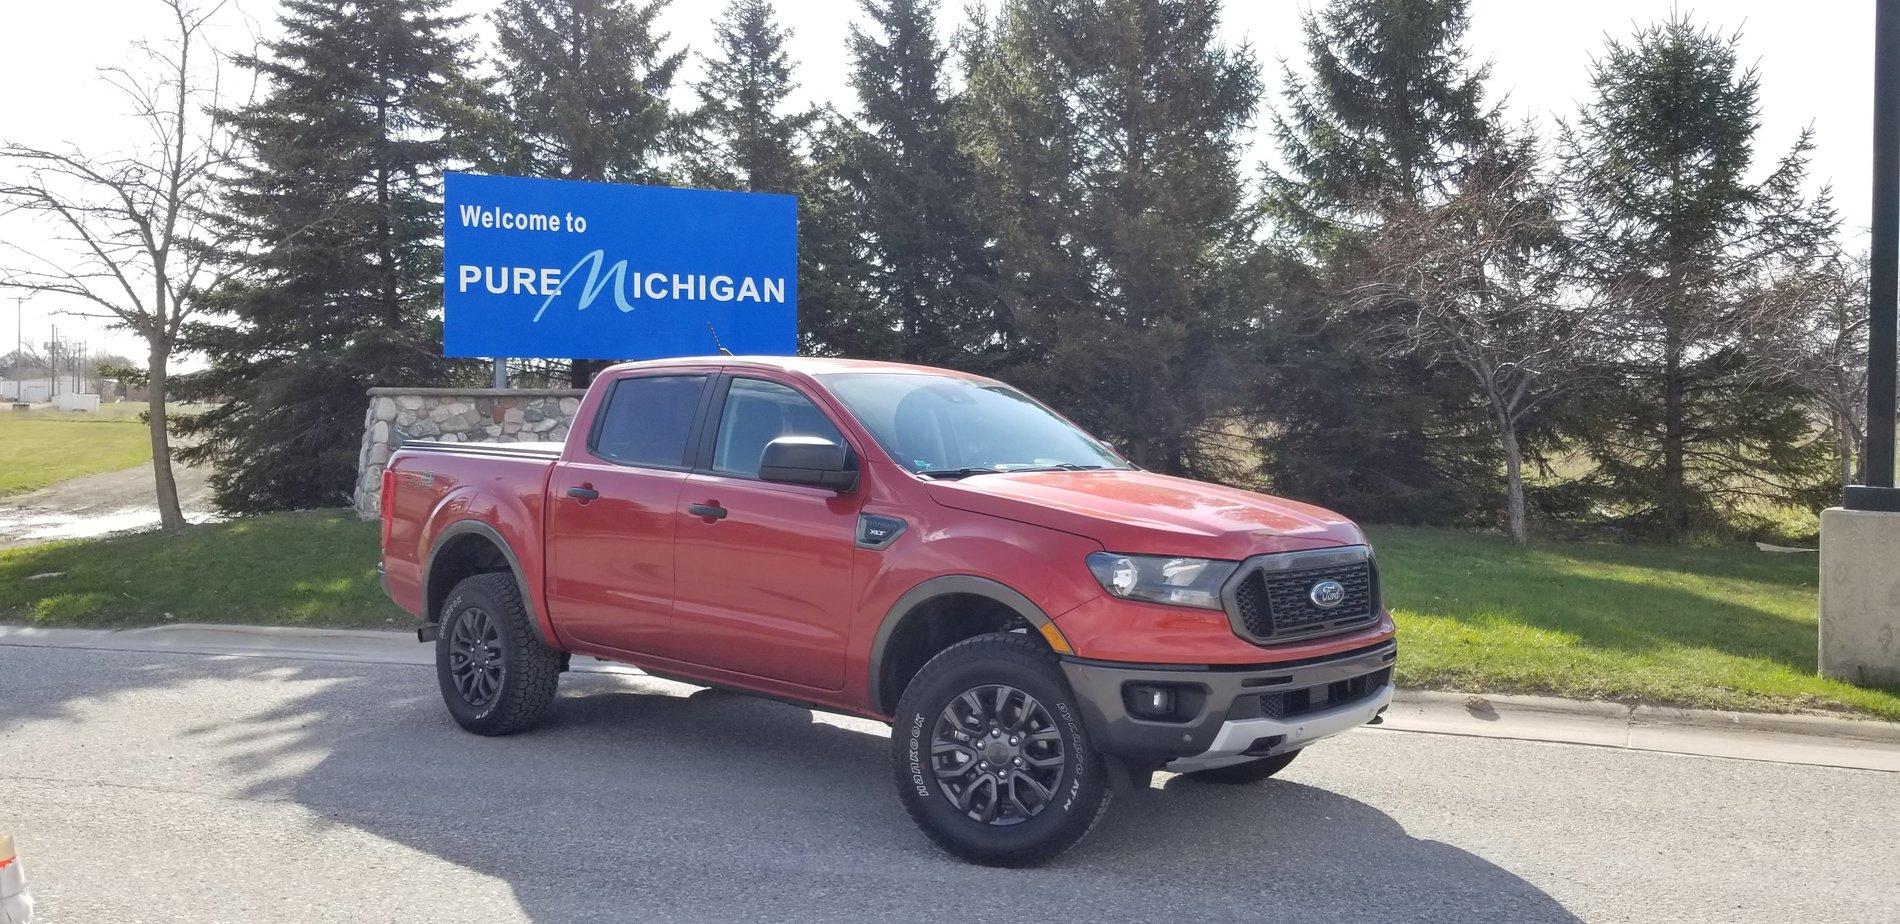
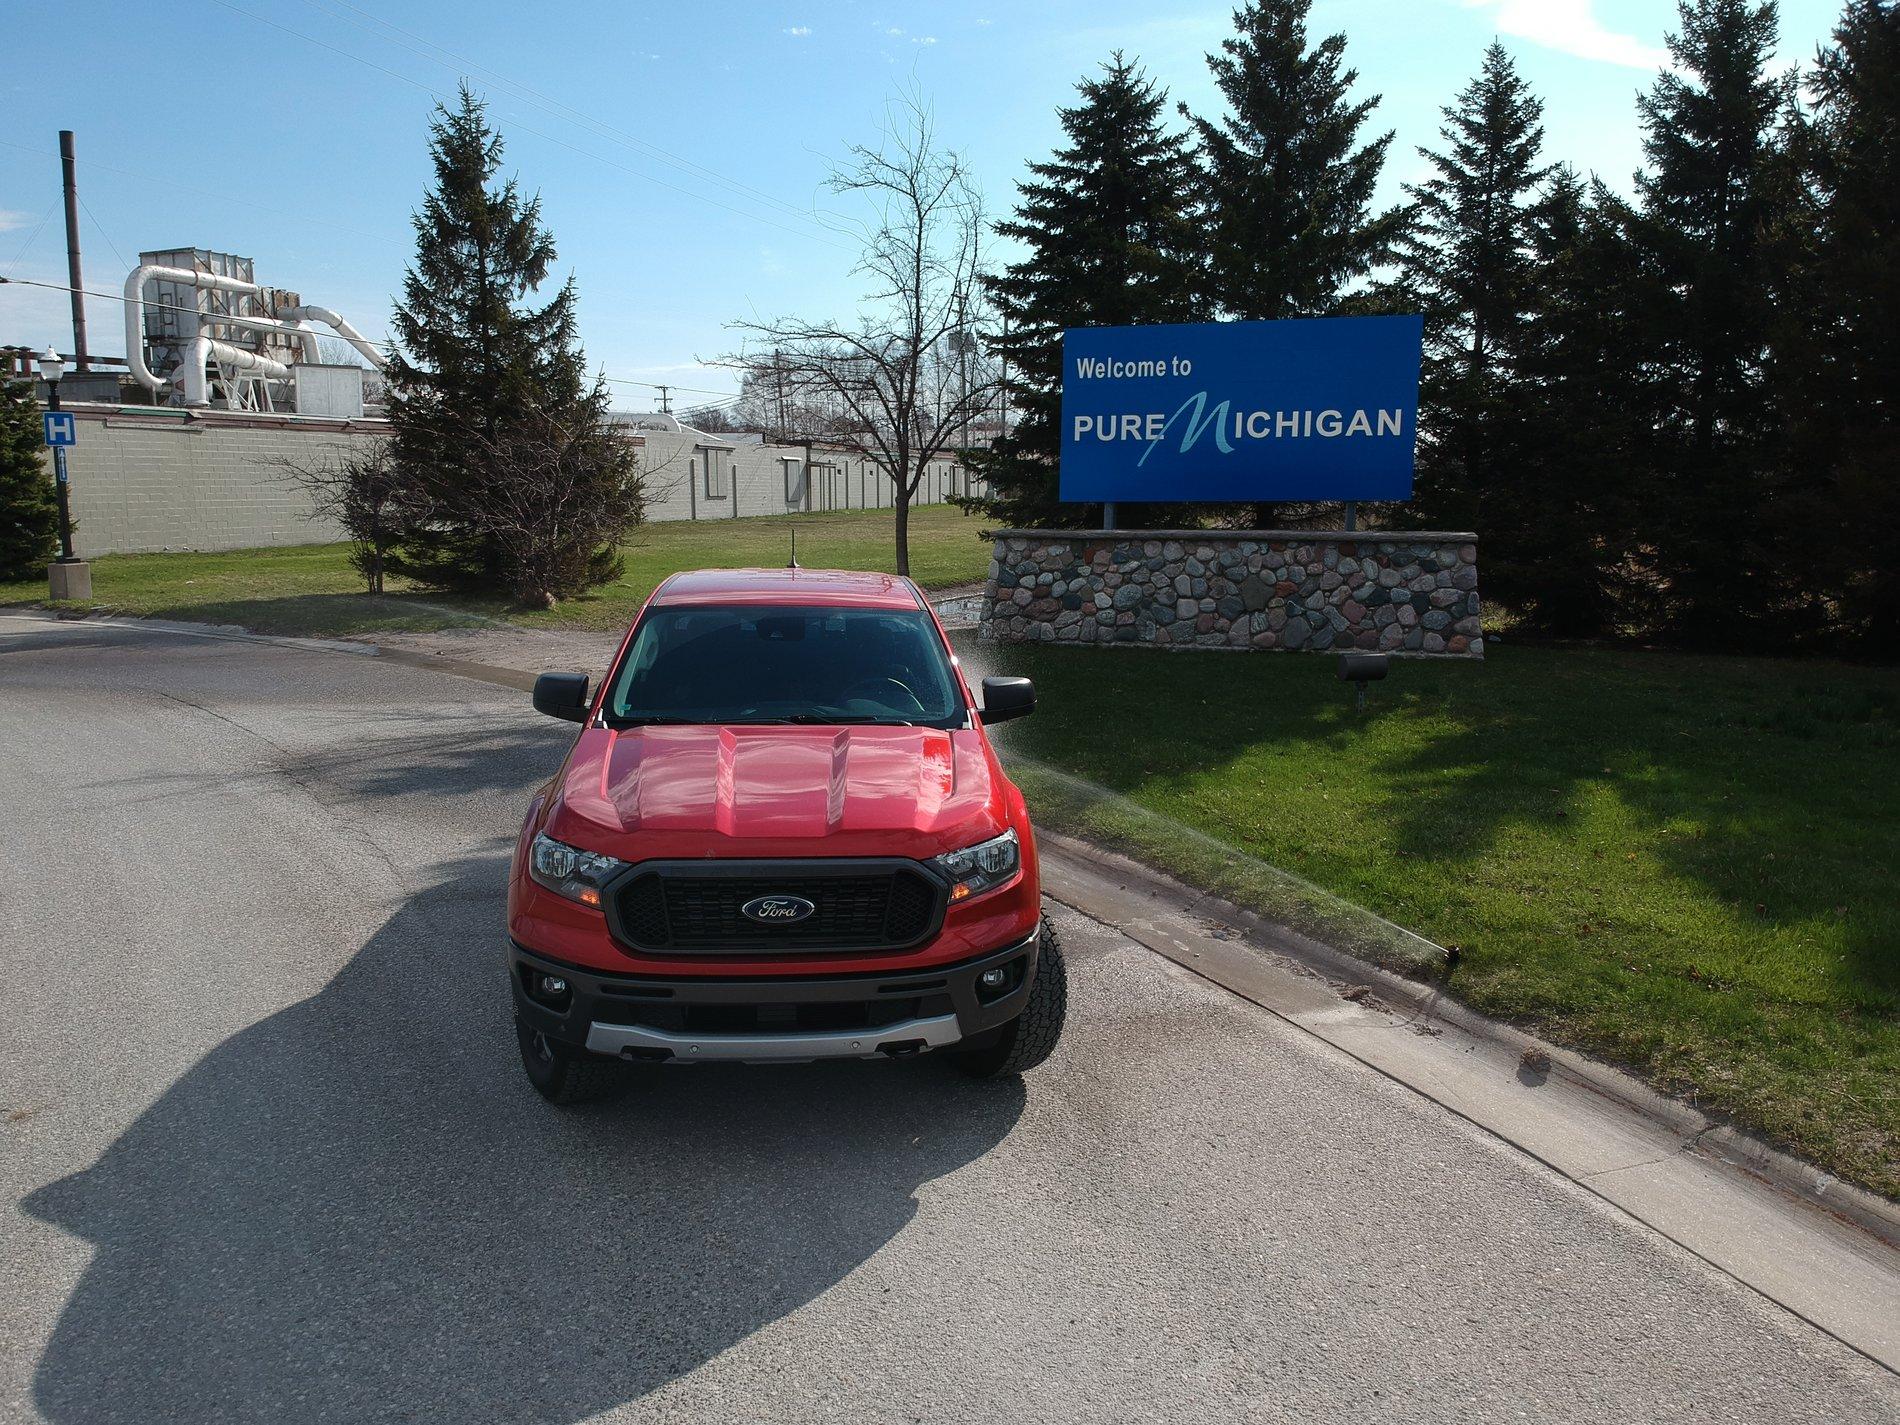
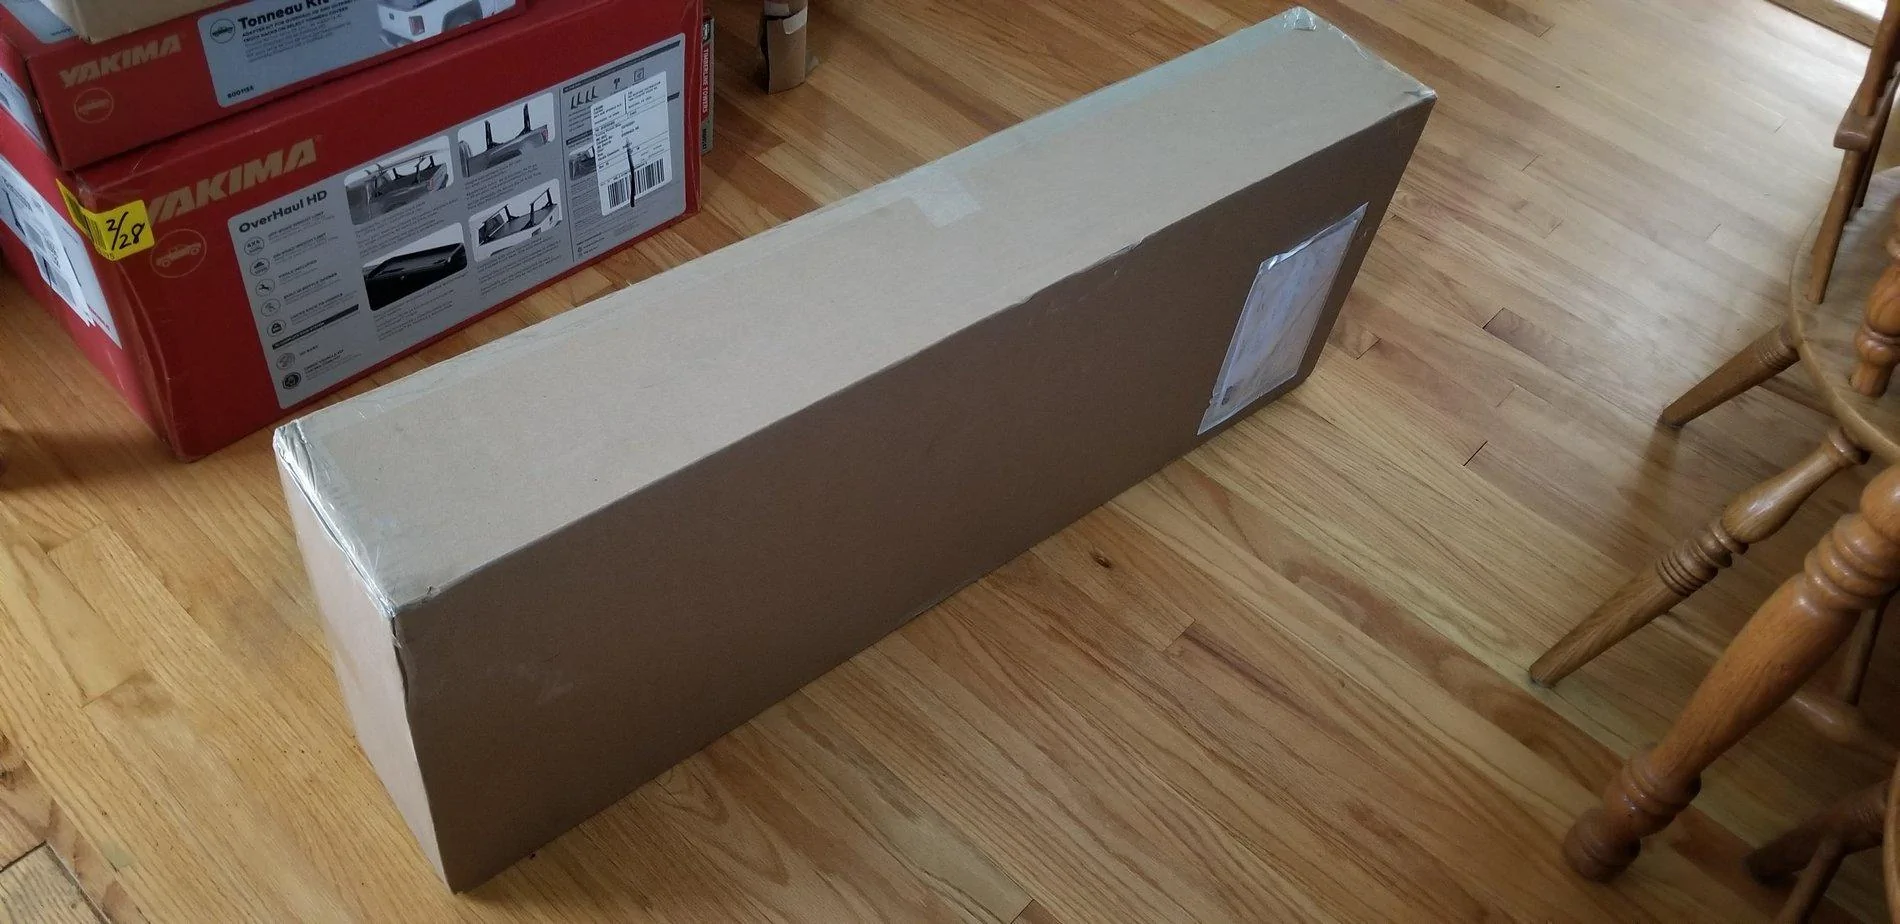
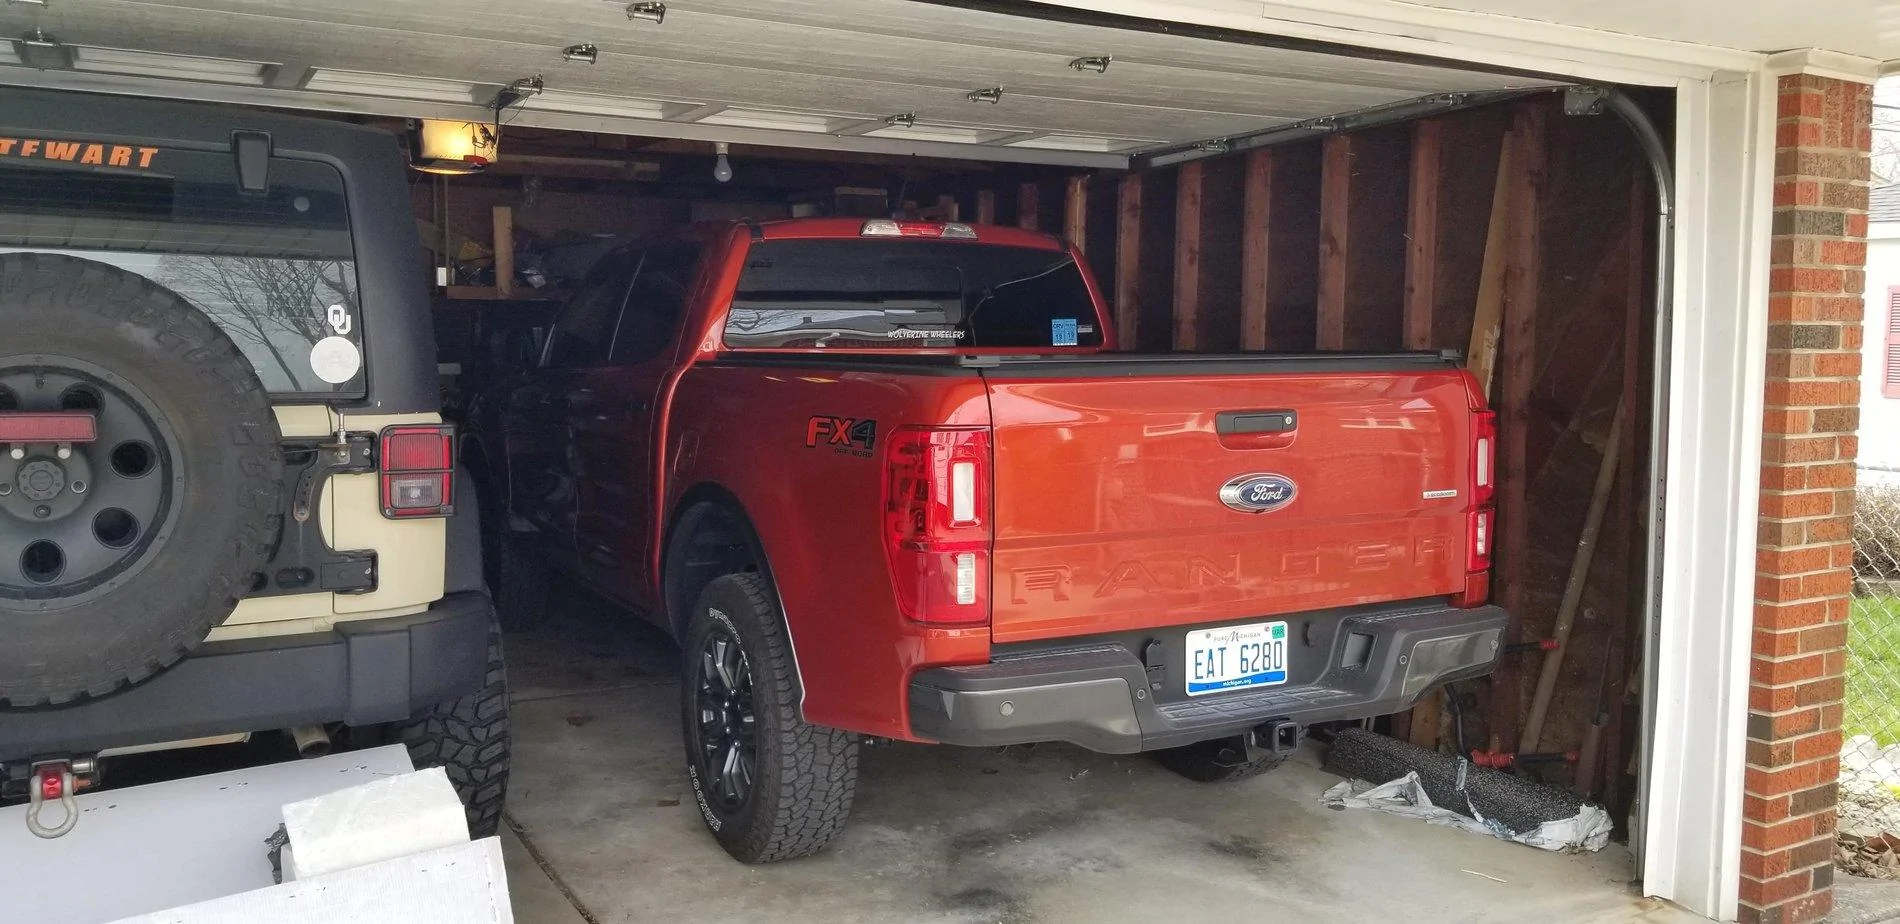
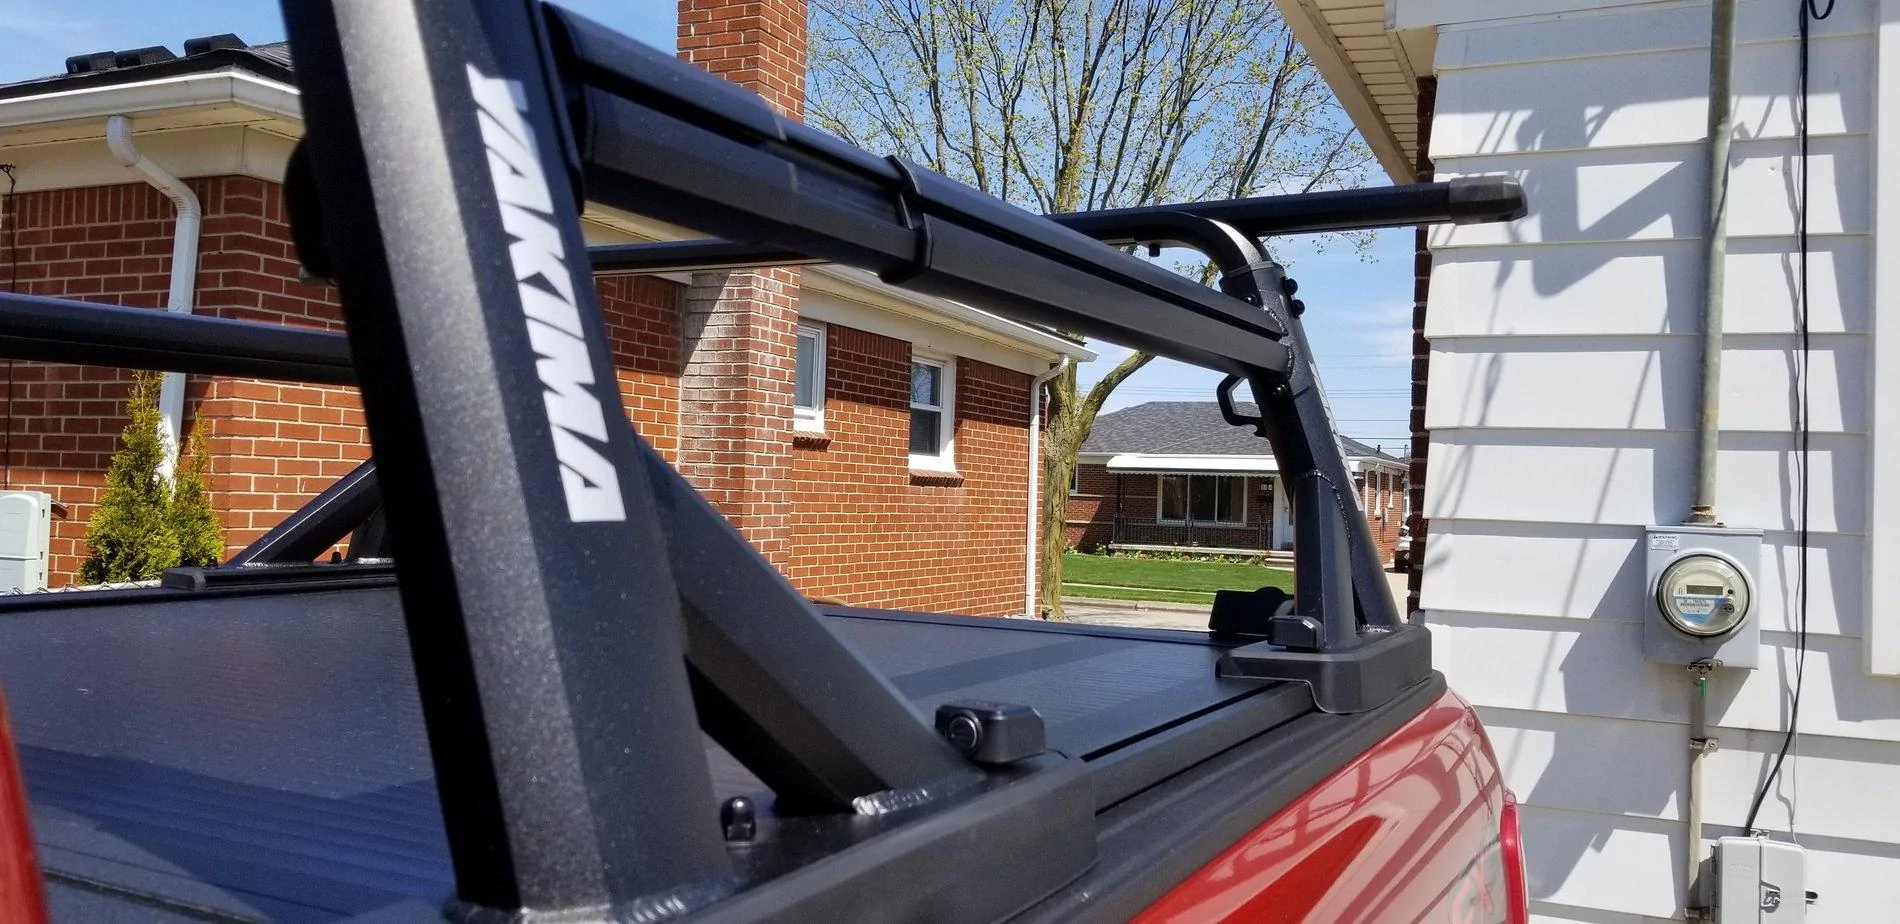
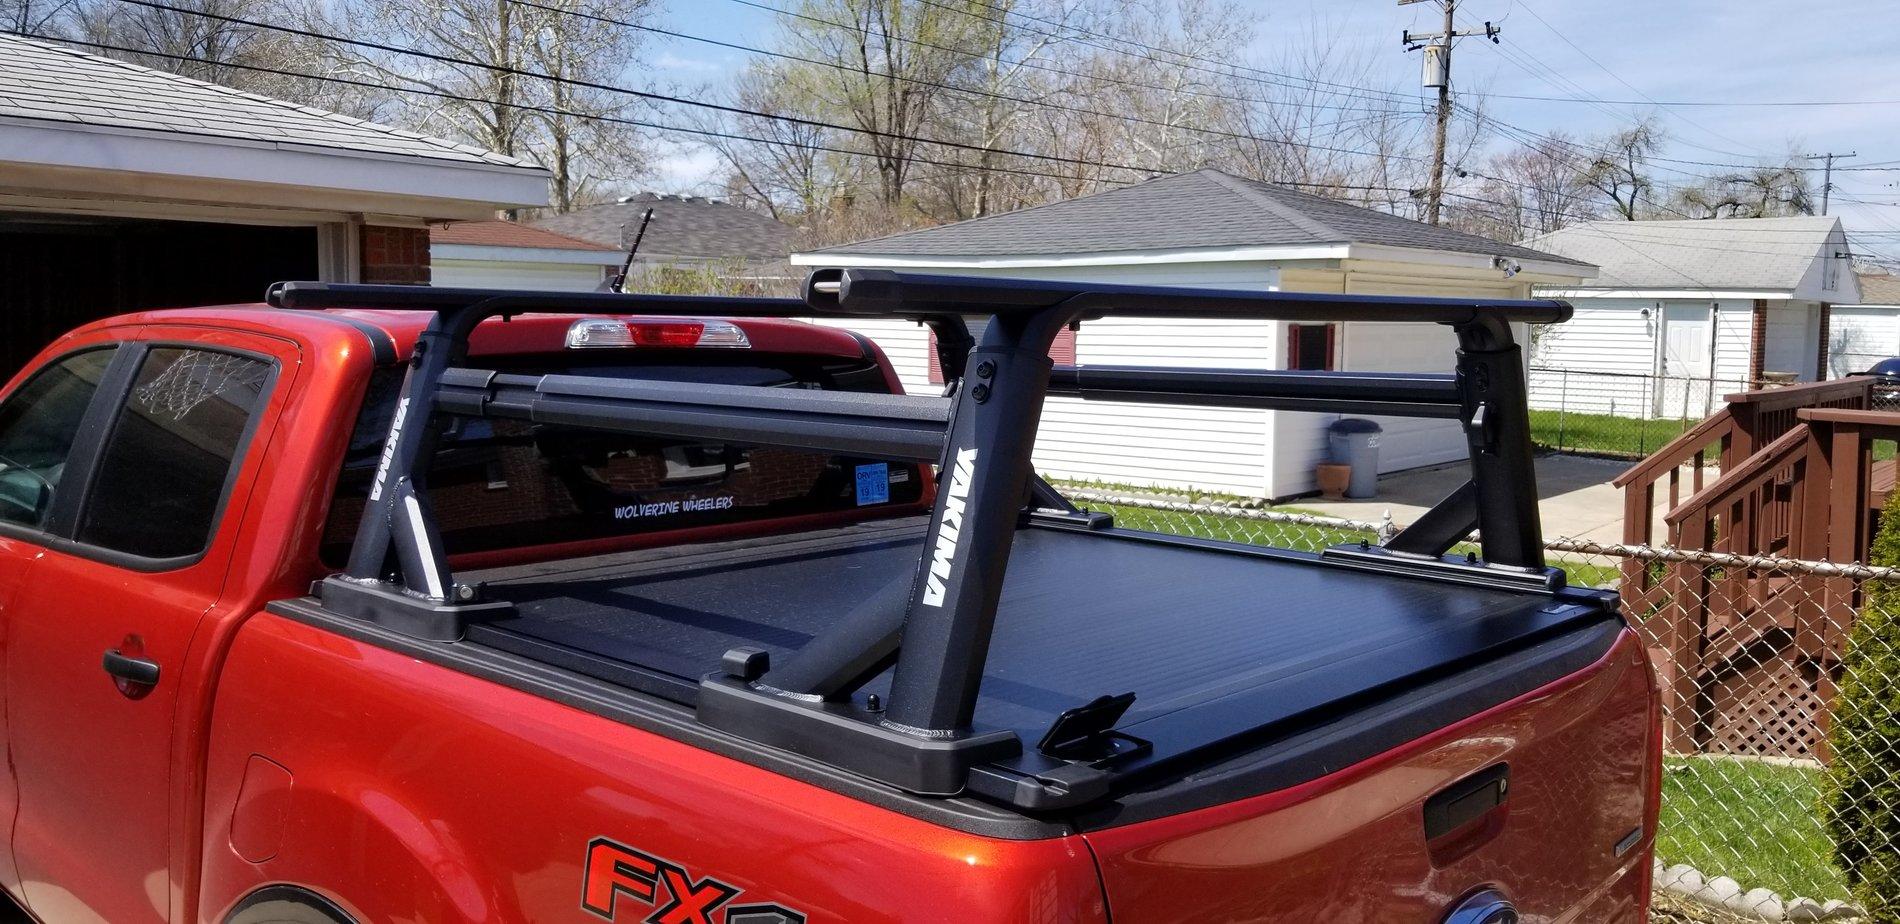
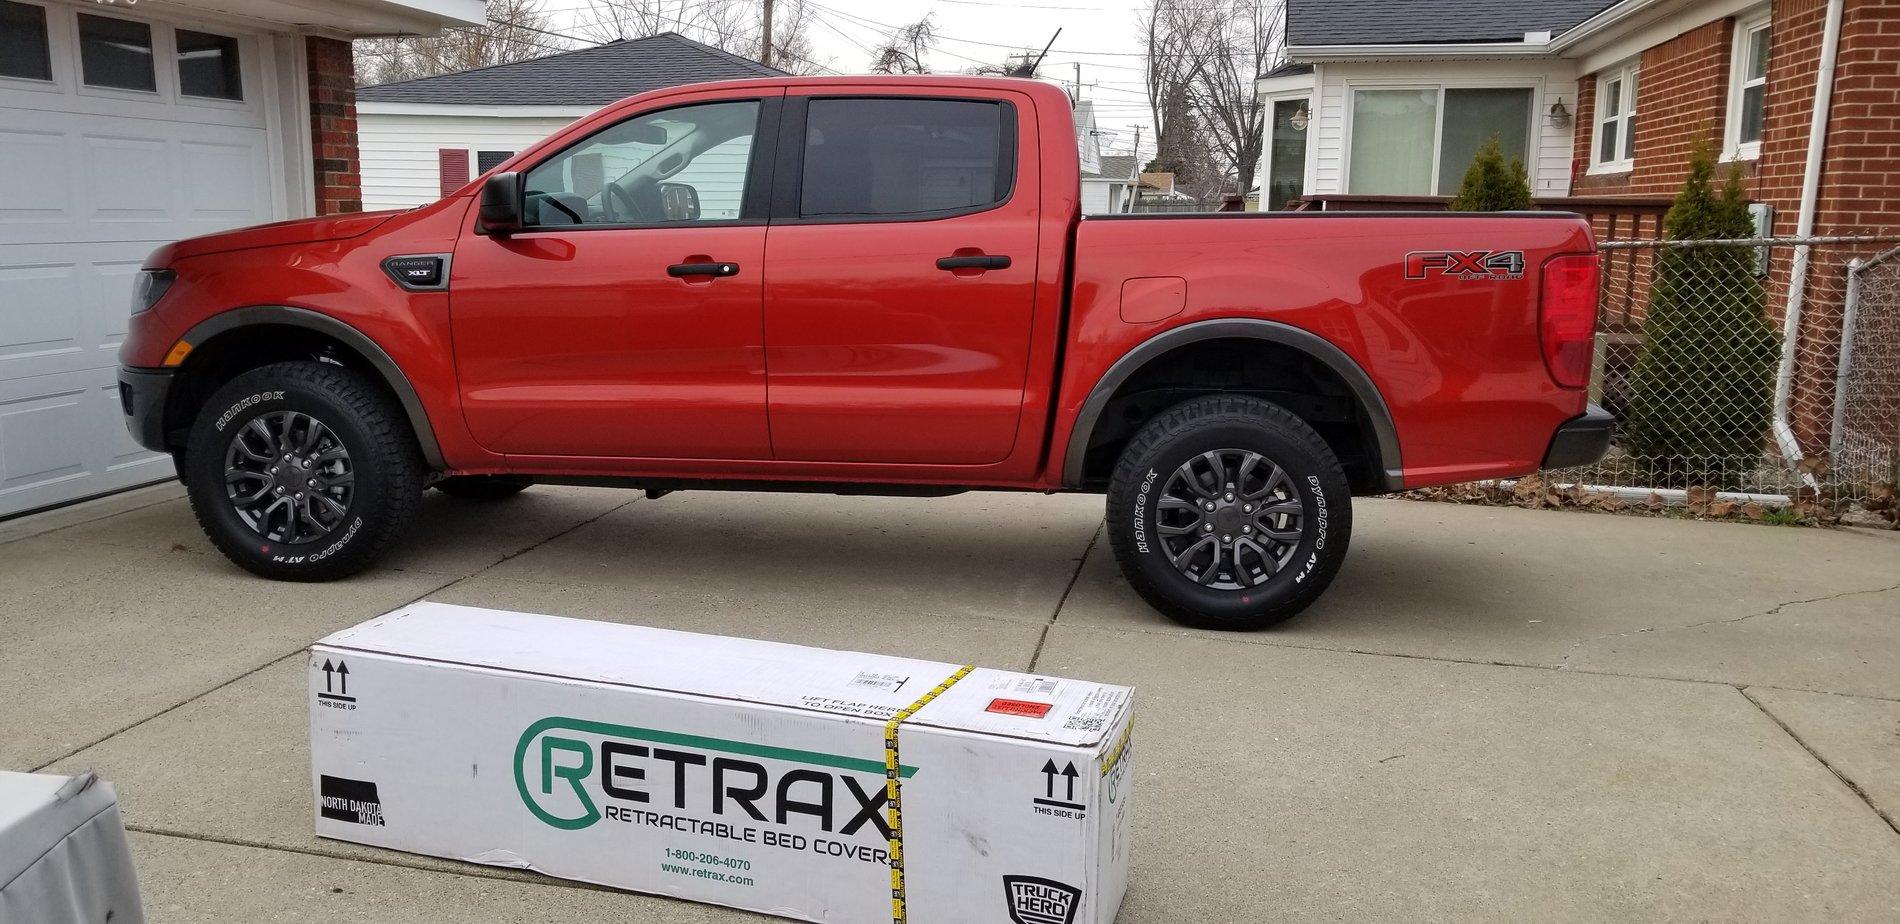
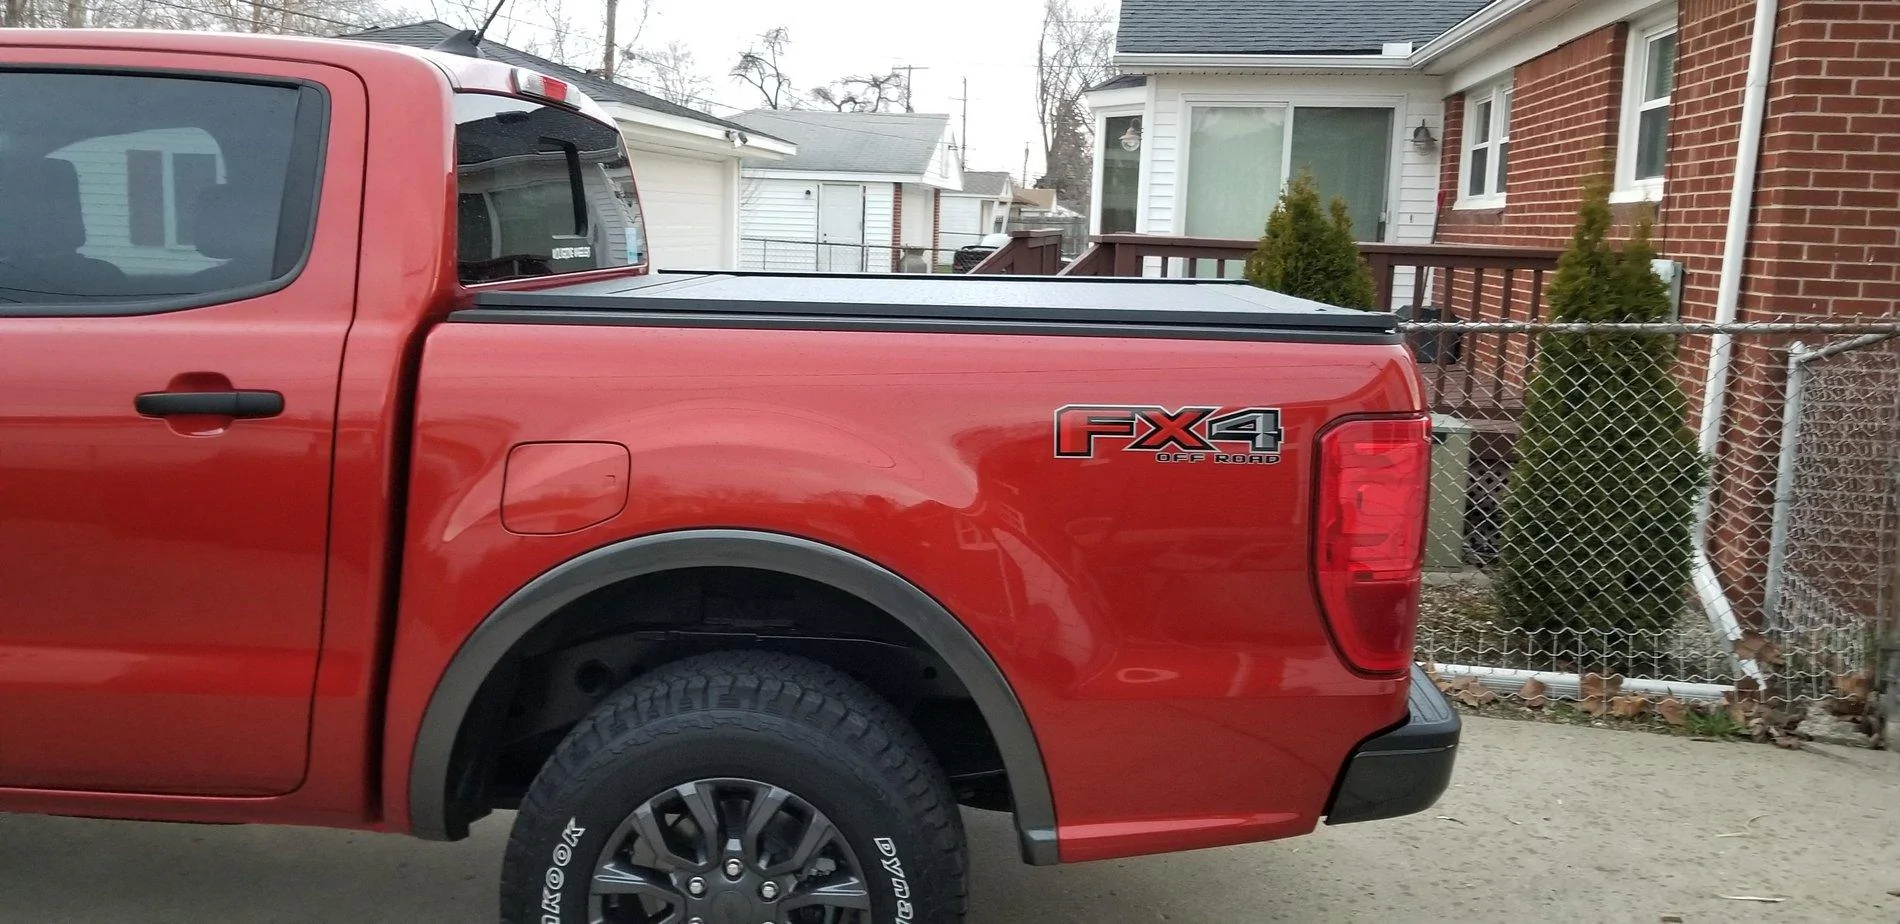
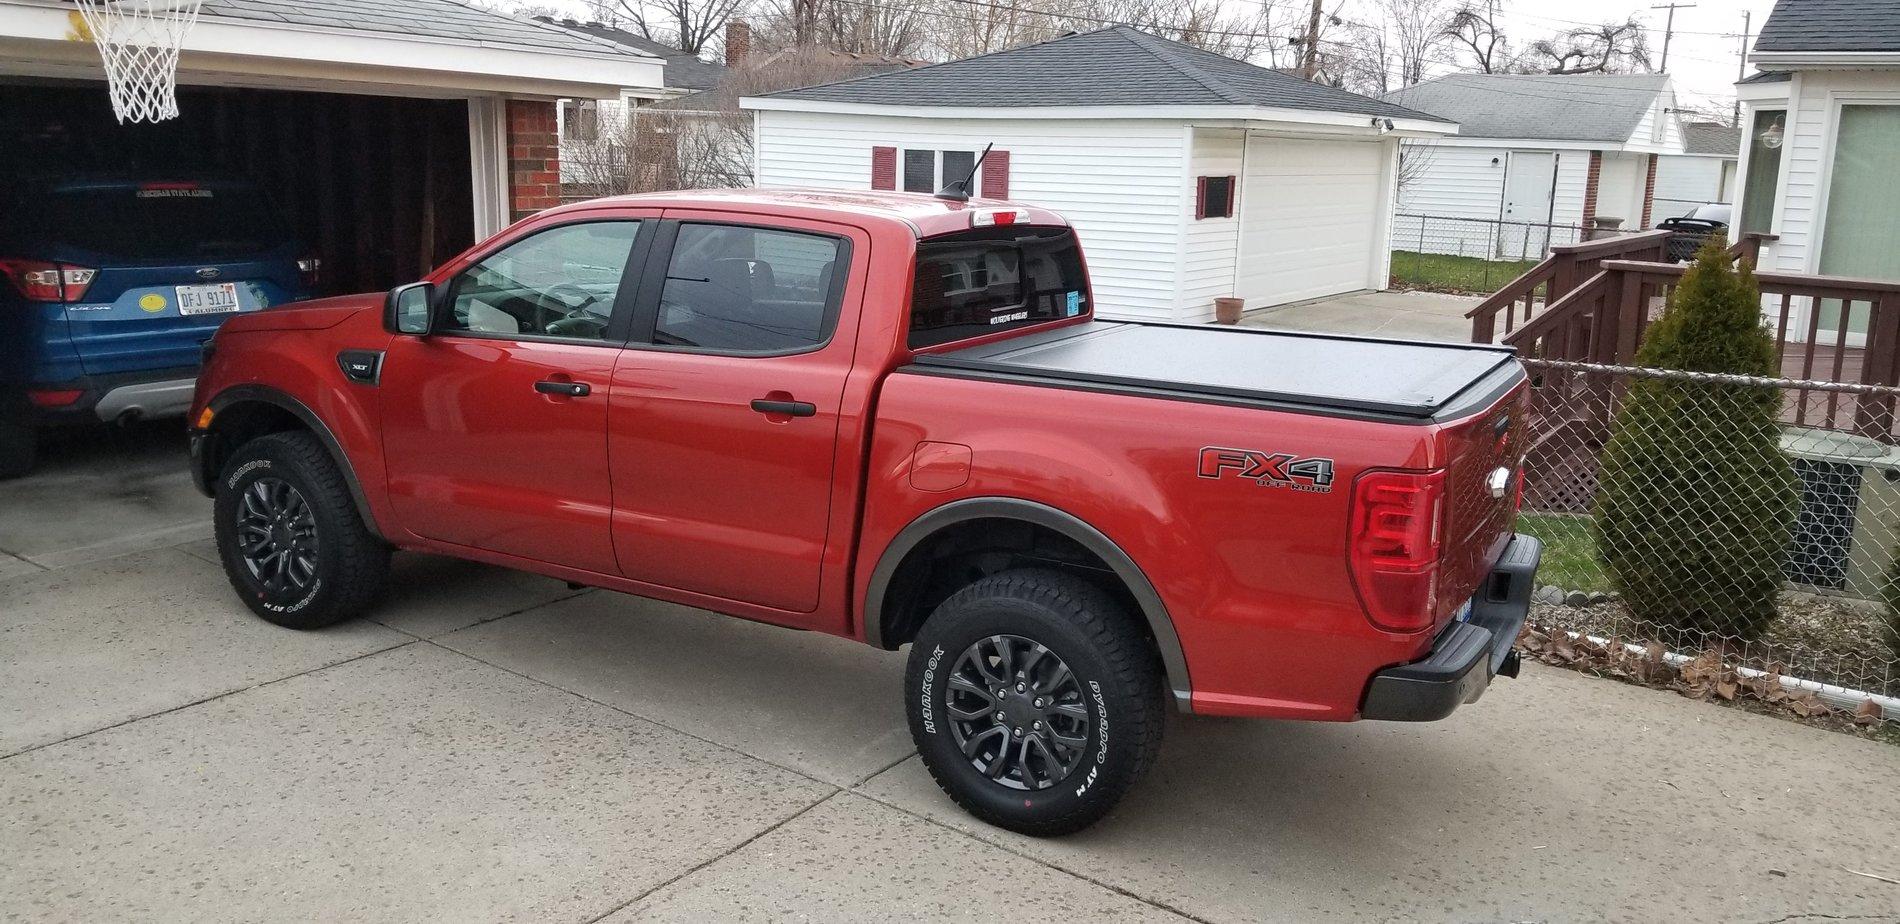
So last Wednesday (April 17th), the bed cover finally came! And just in time for leaving for a trip to head Up North (in Michigan) on Thursday! My wife and I were able to get it installed in just a few hours and everything fits very well! Thanks @PandaMotorworks for the great suggestion and great deal on the cover!
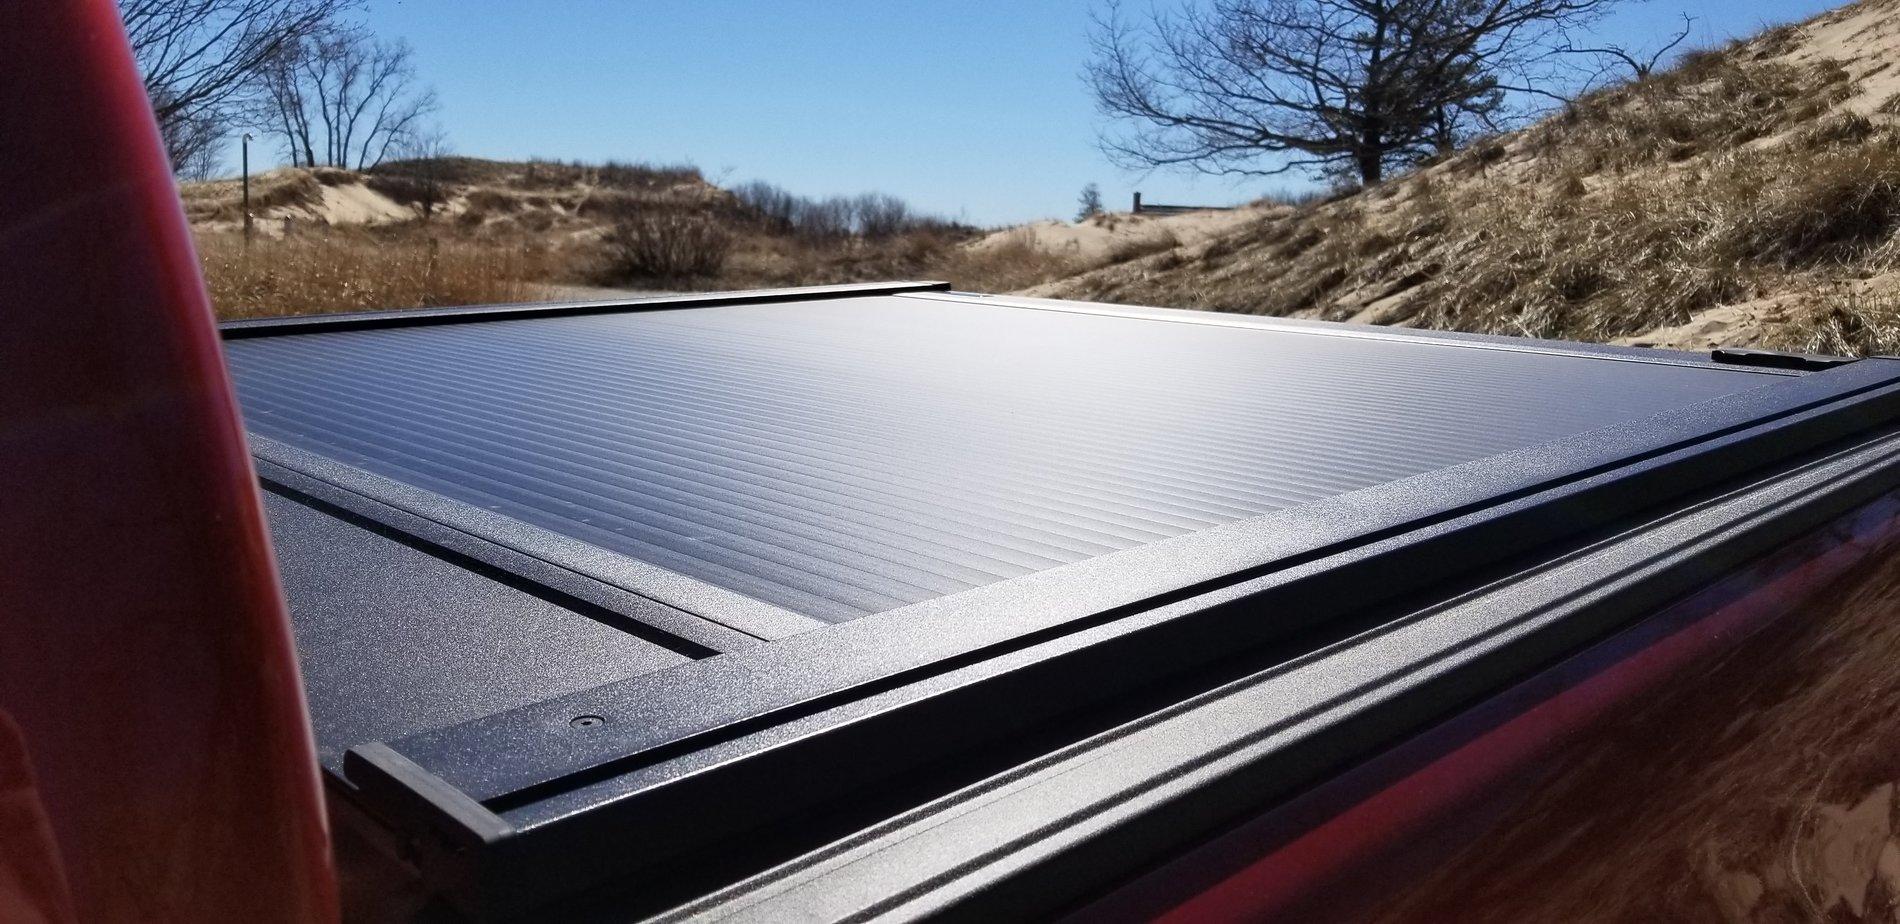
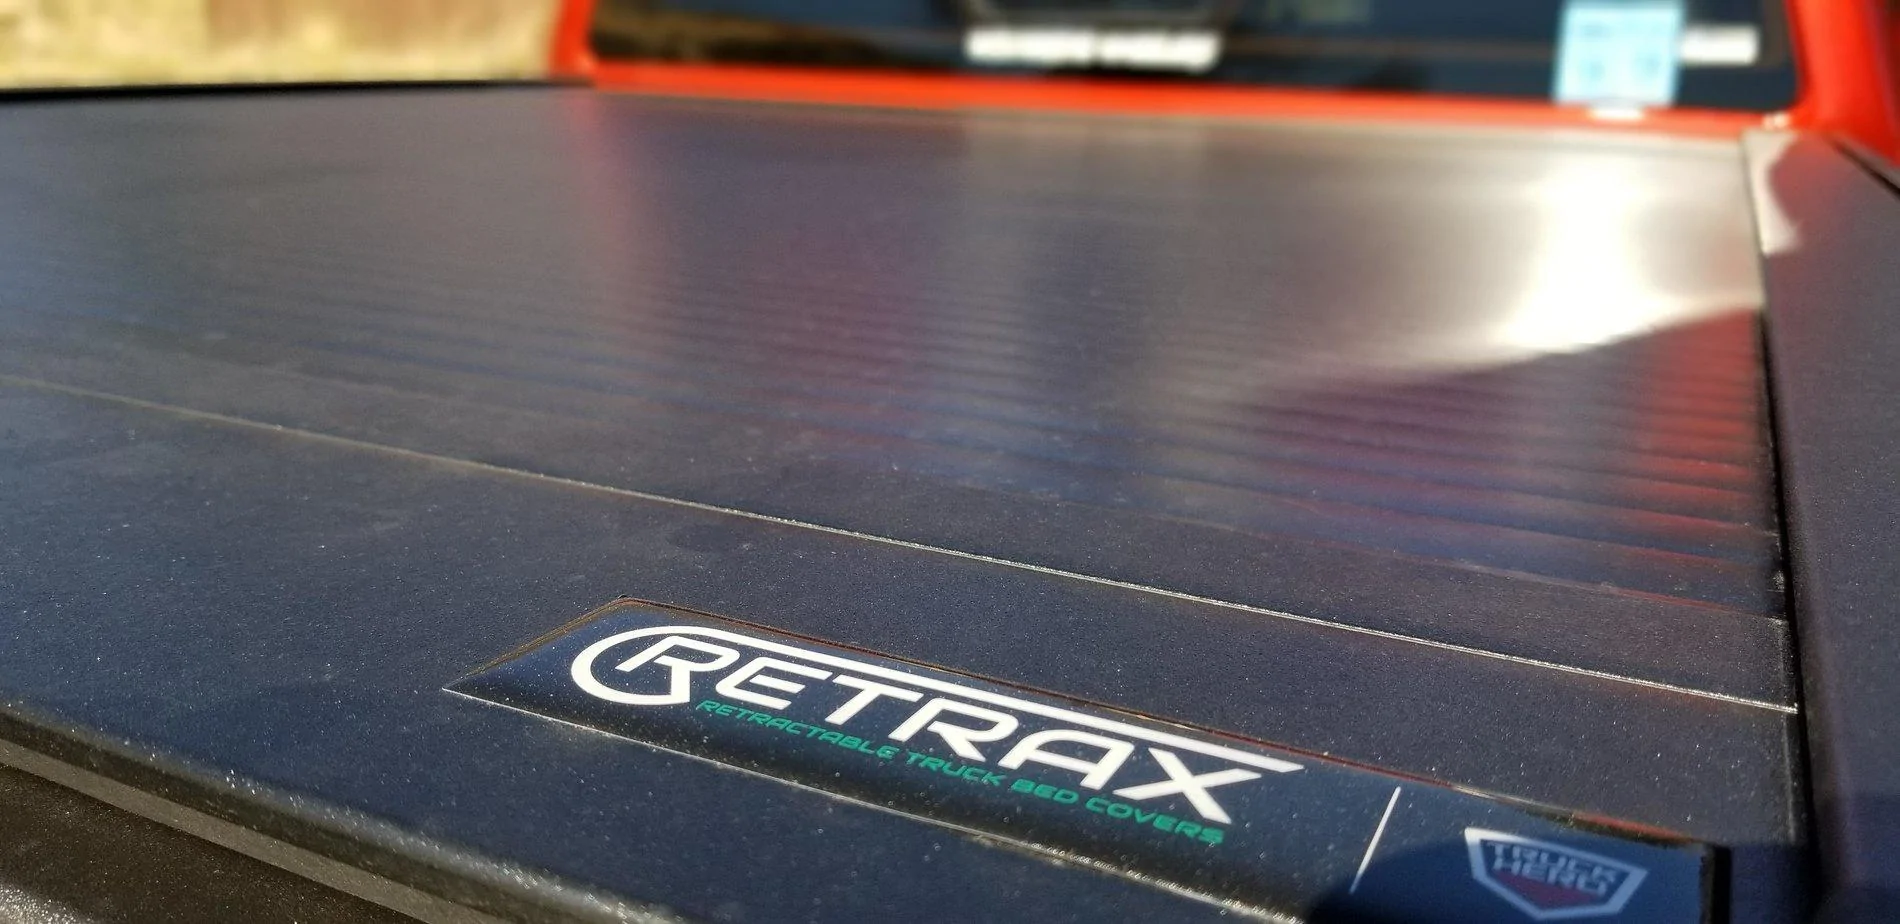
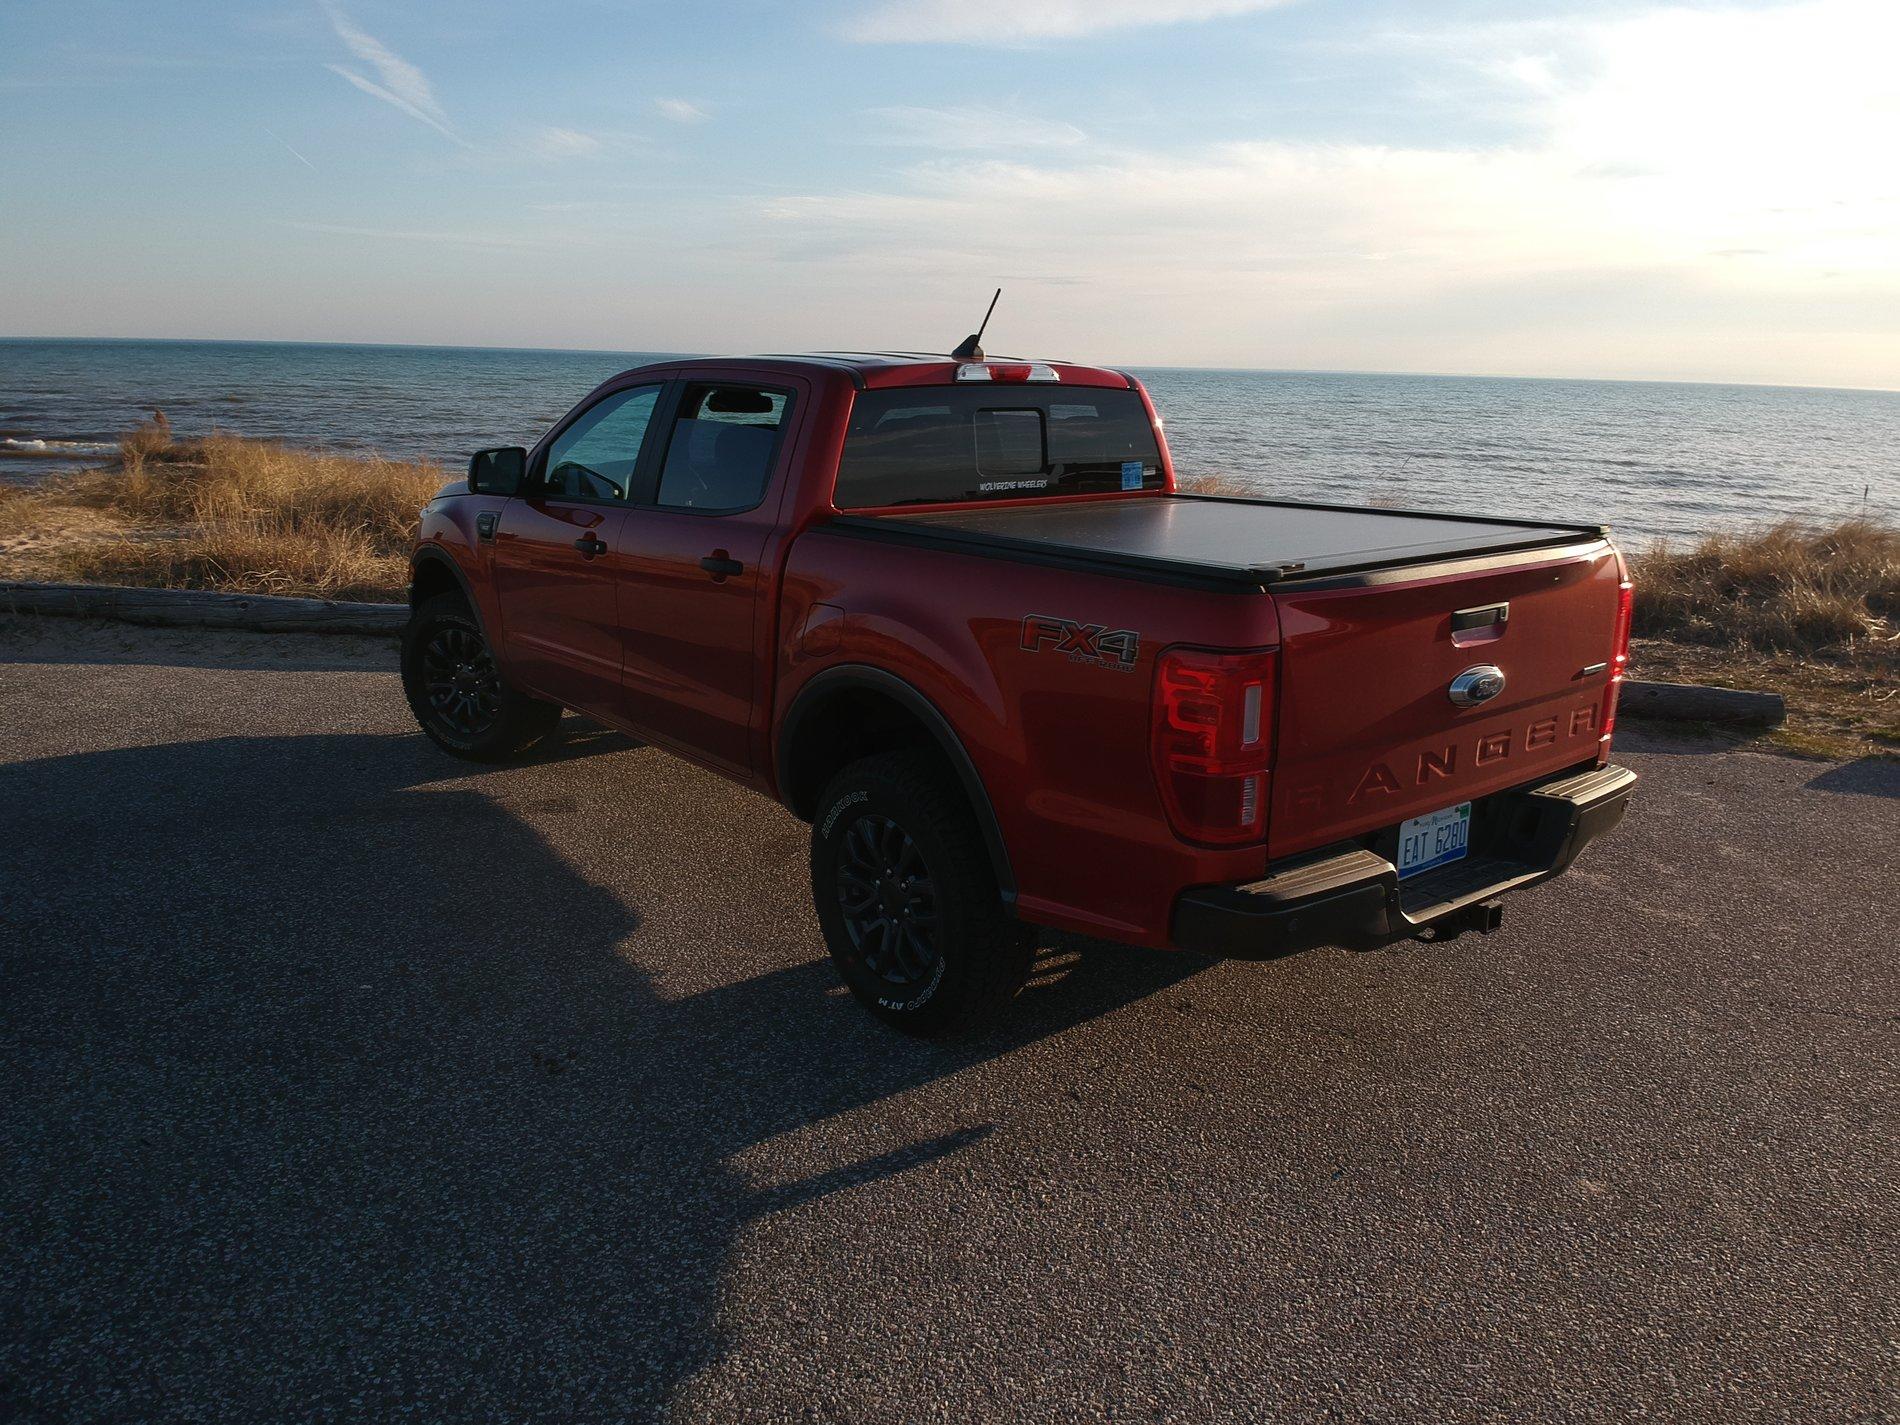
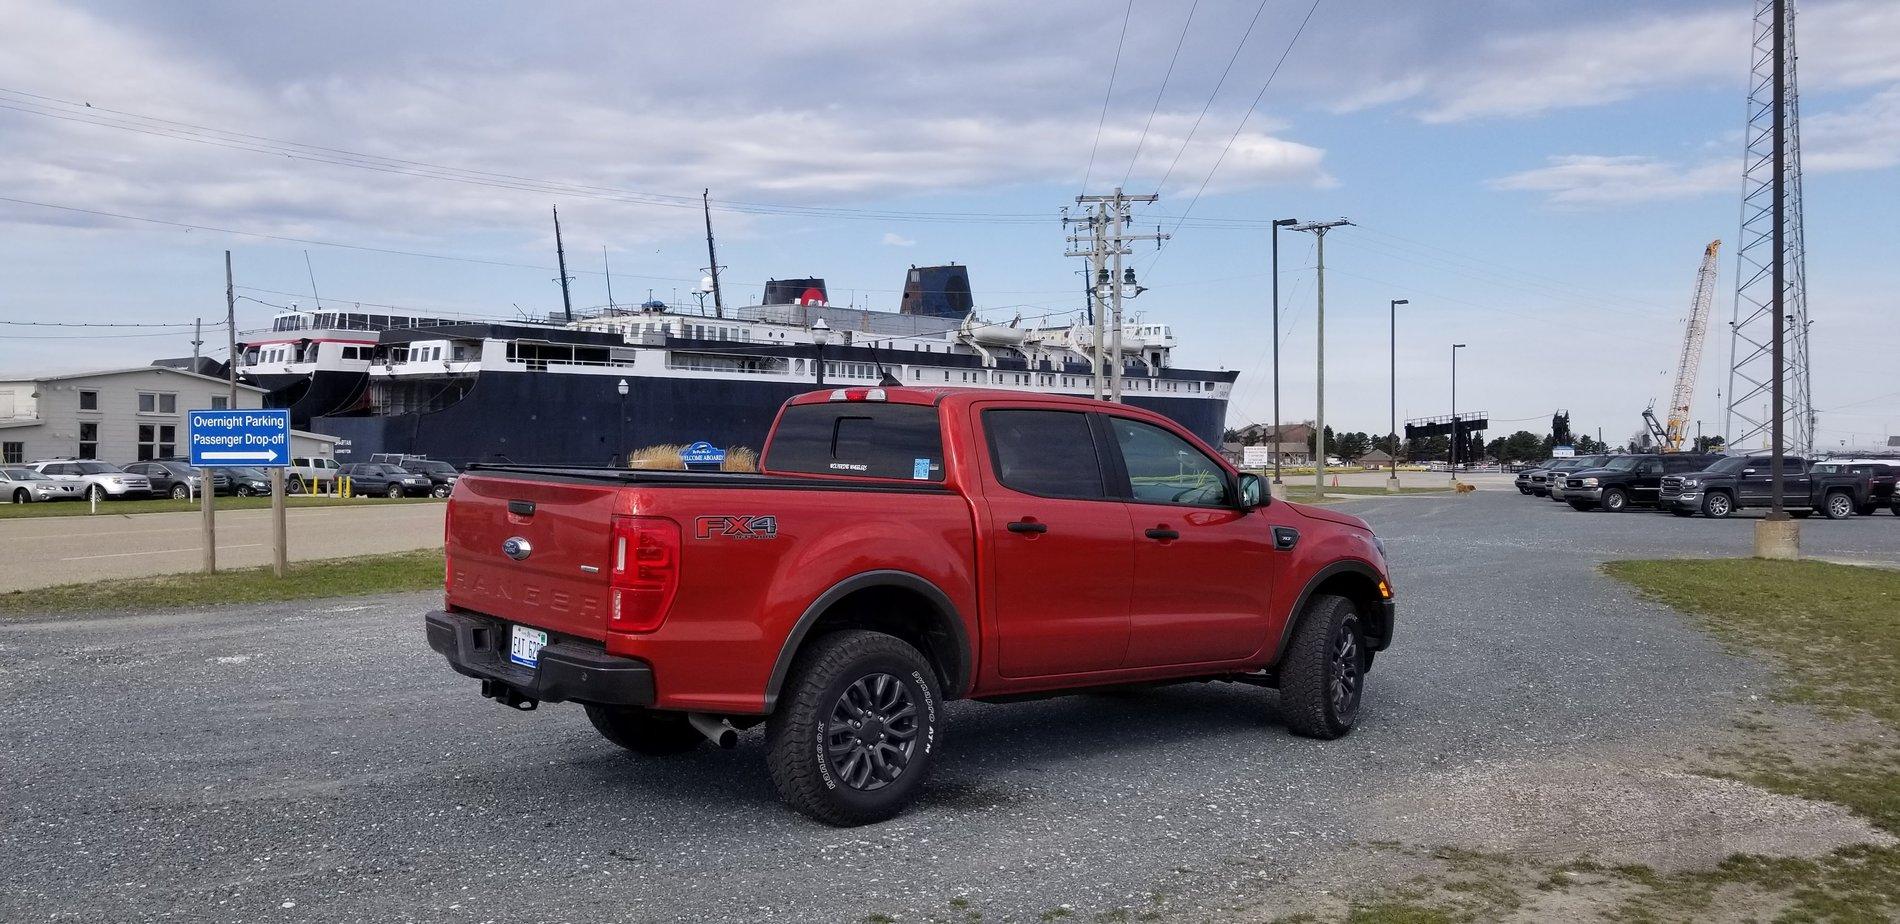
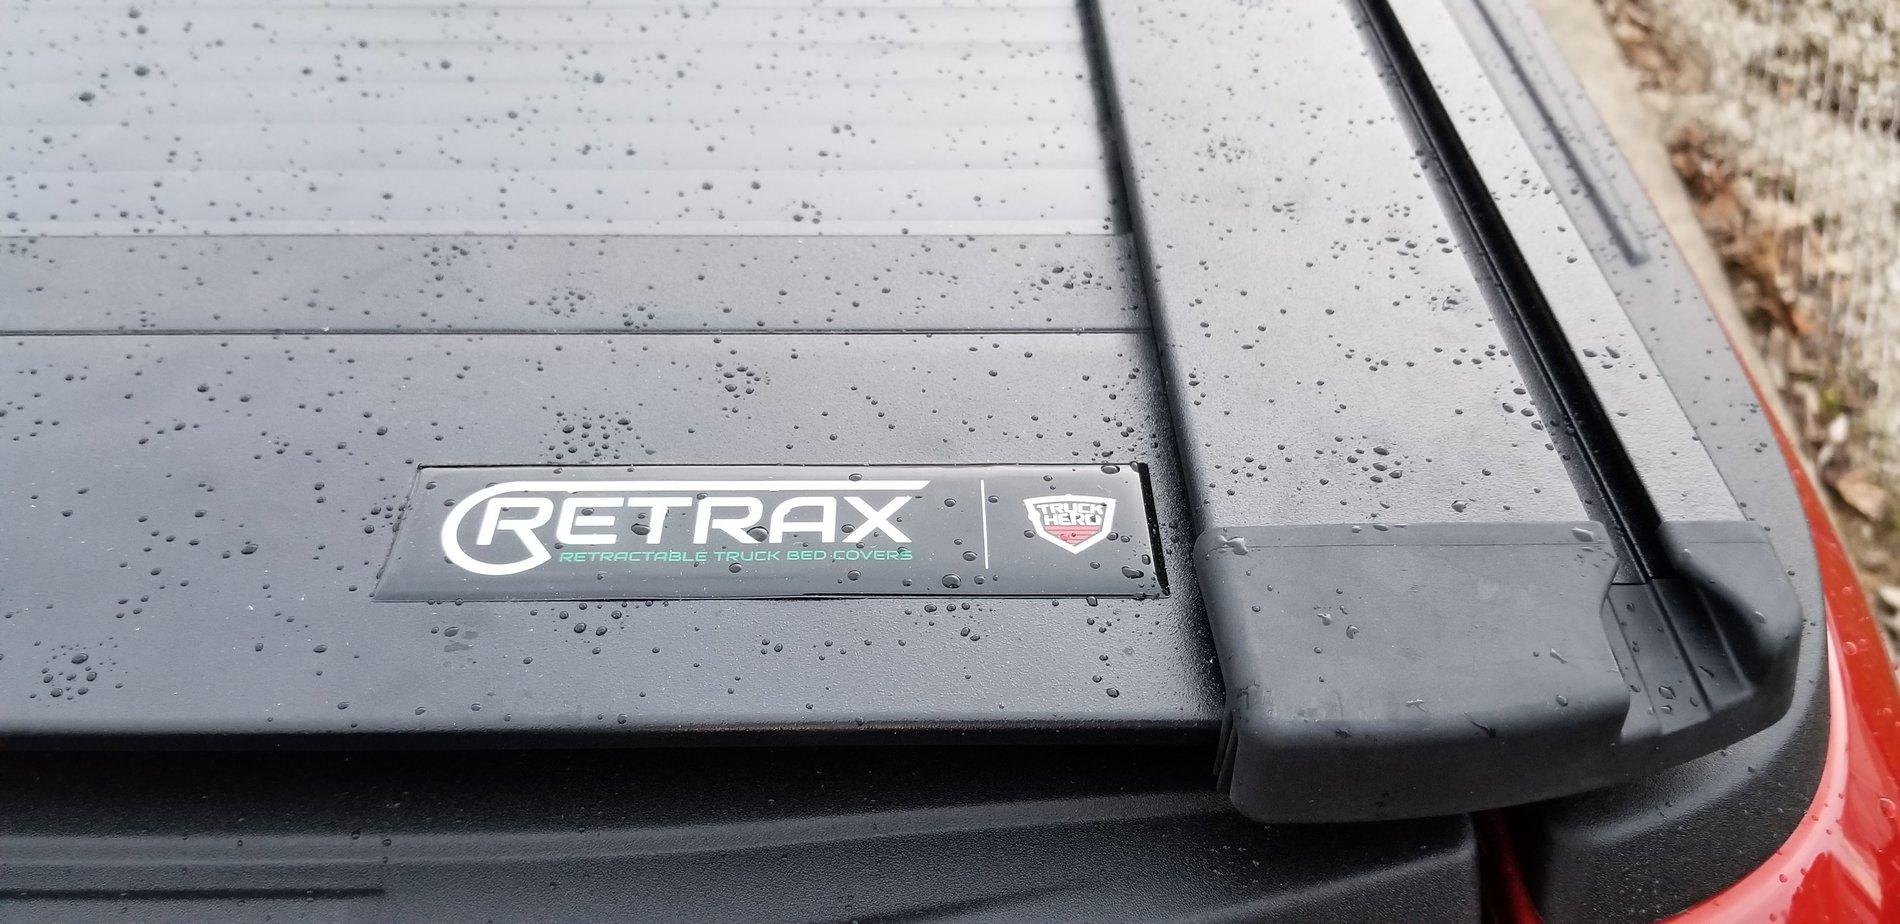
And since it was a few posts ago, the cover that I got is the RetraxOne XR which is the Polycarbonite Retractable Cover with the T-Slots!
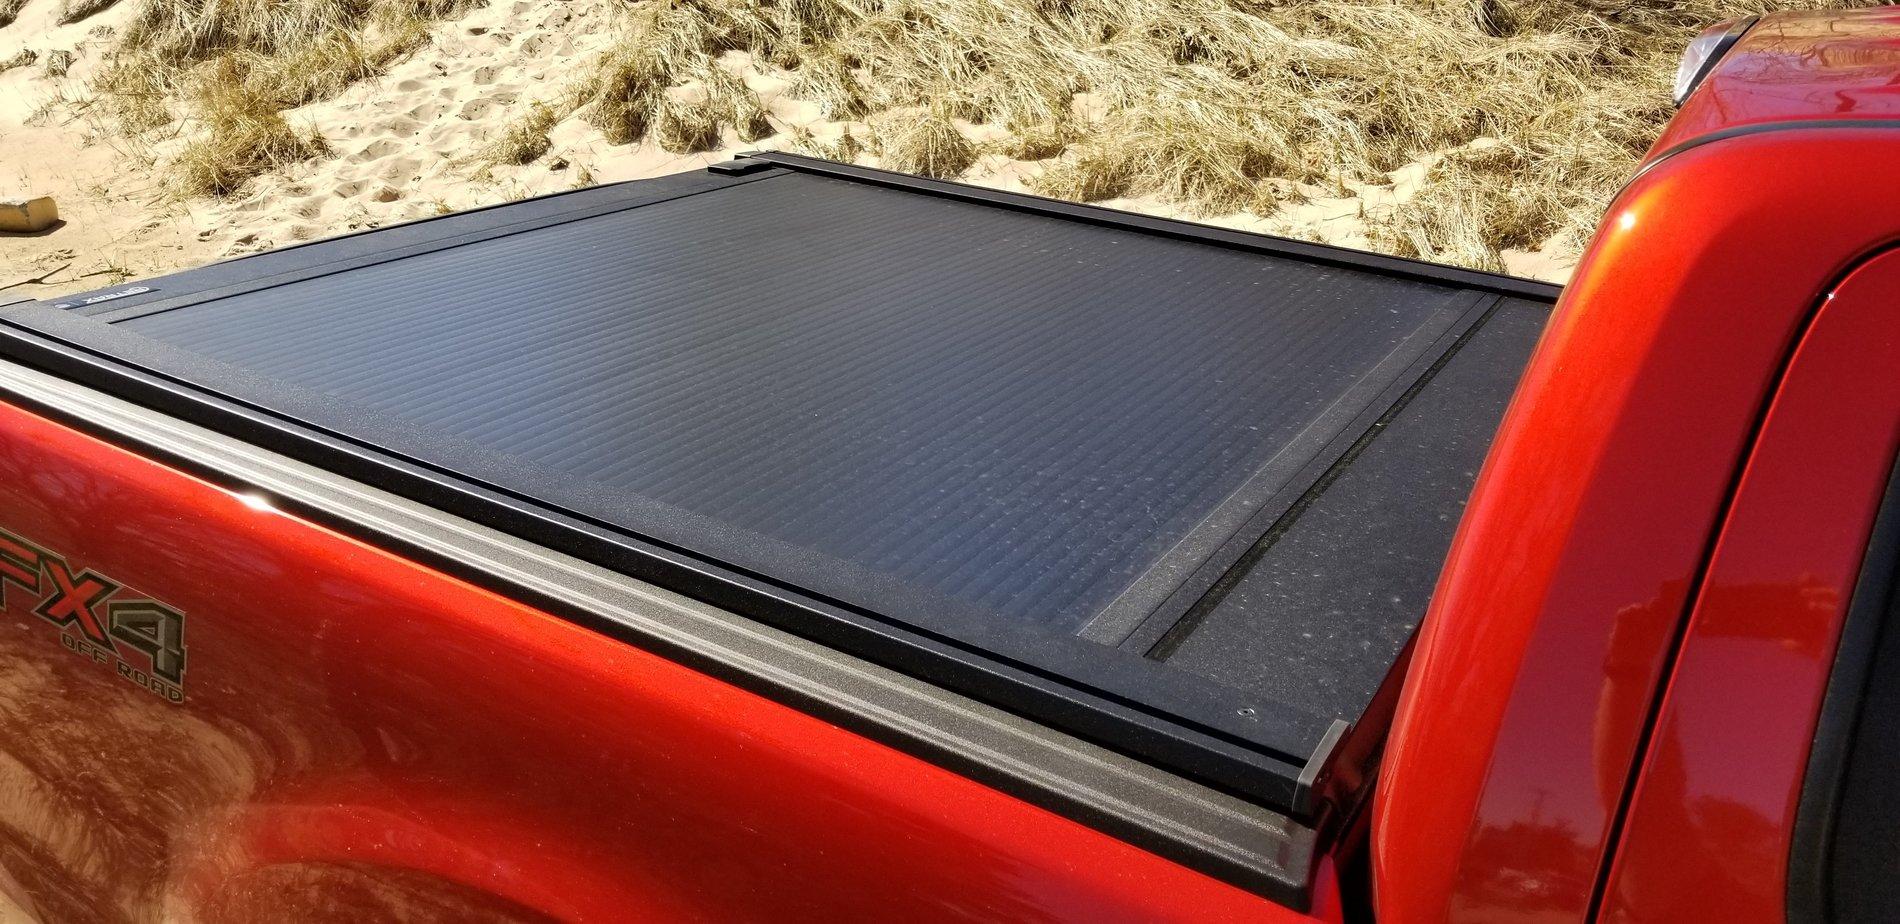
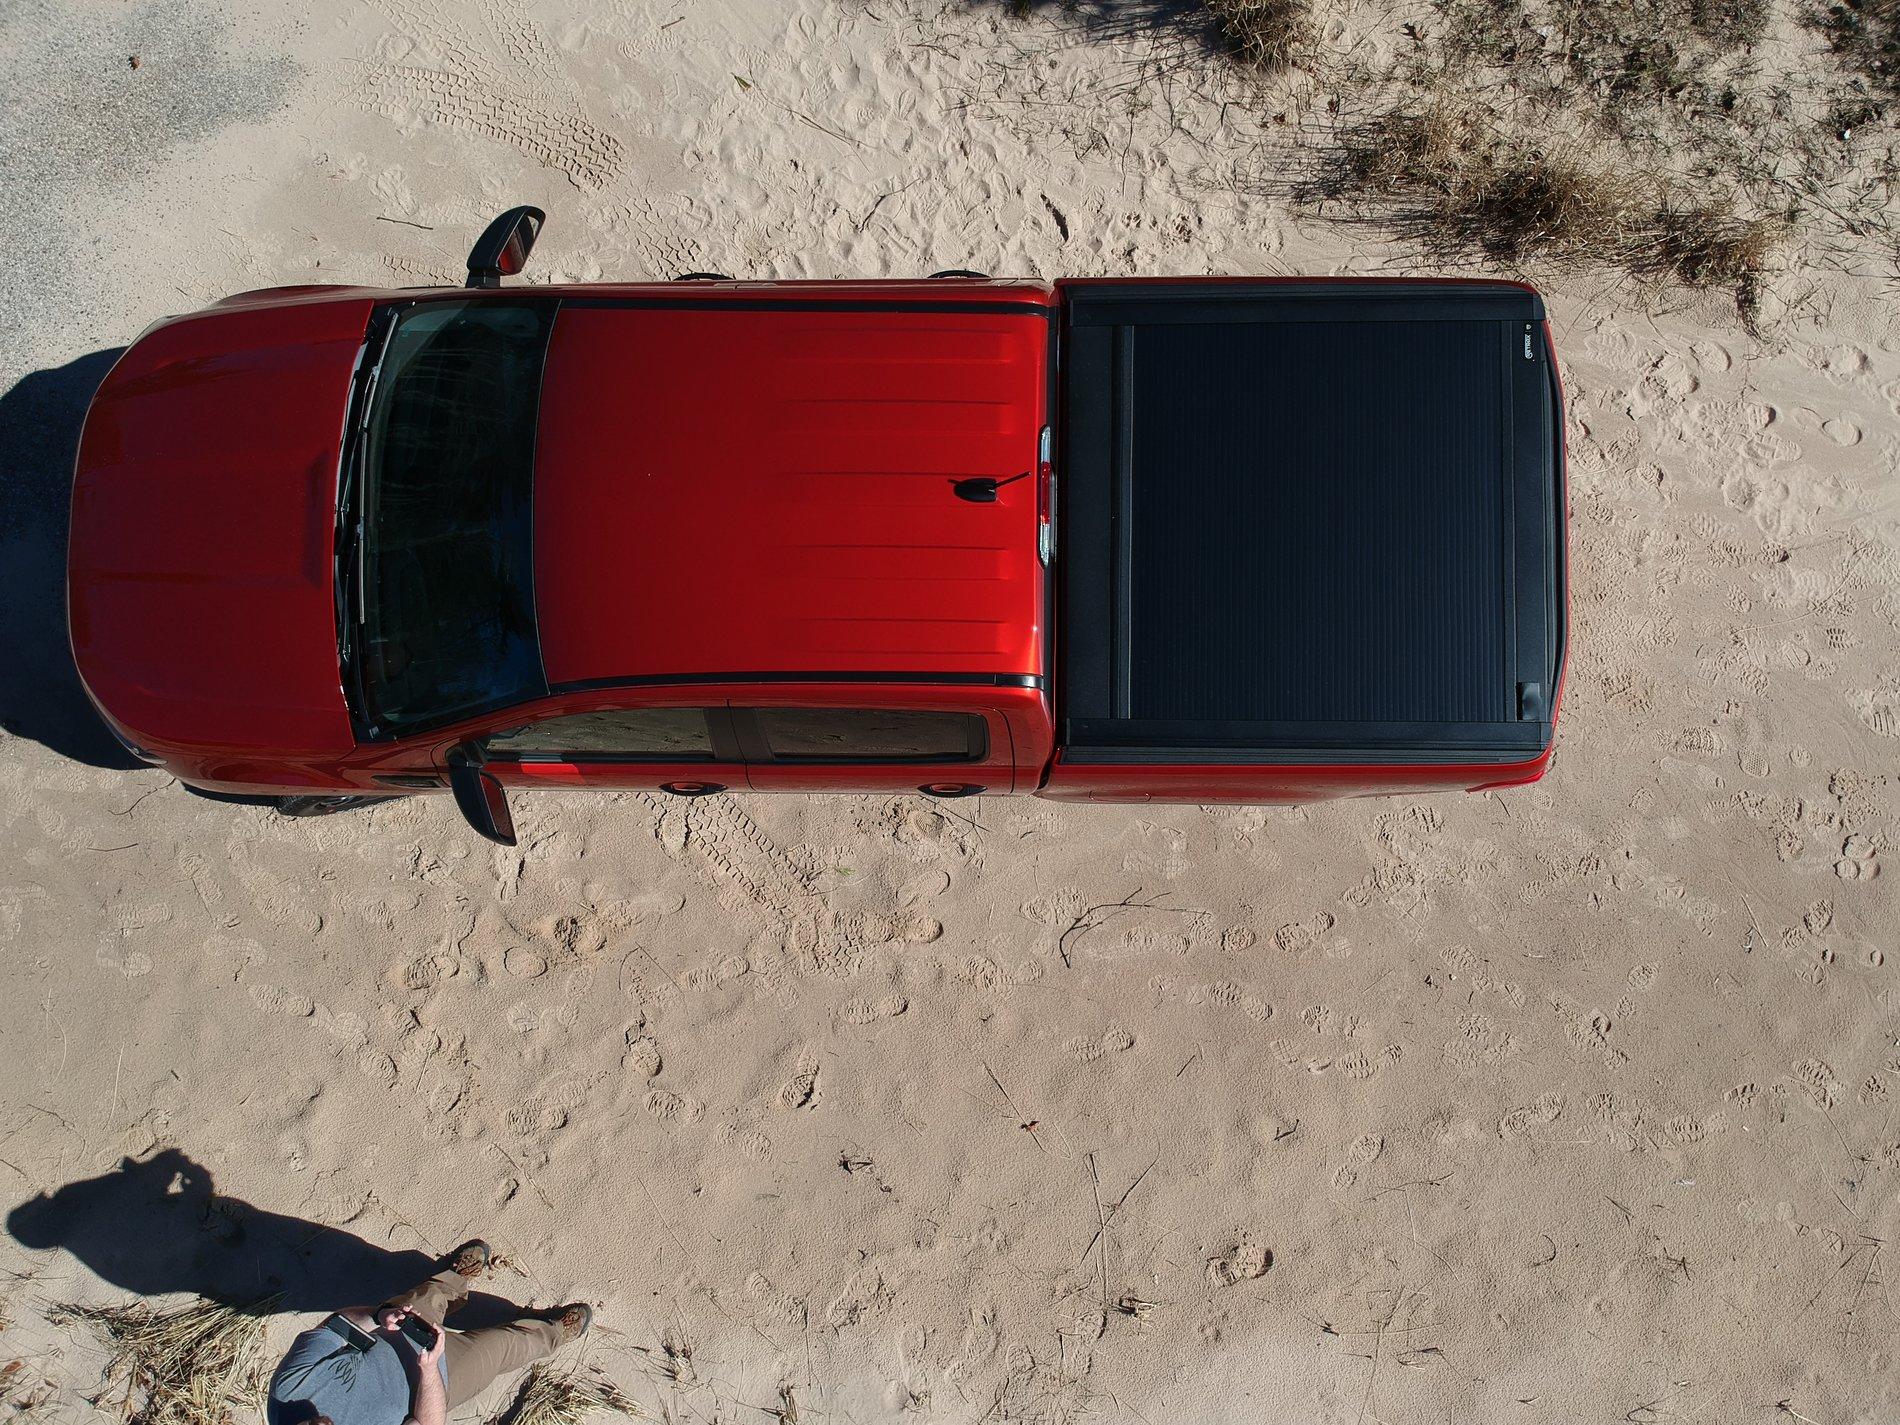
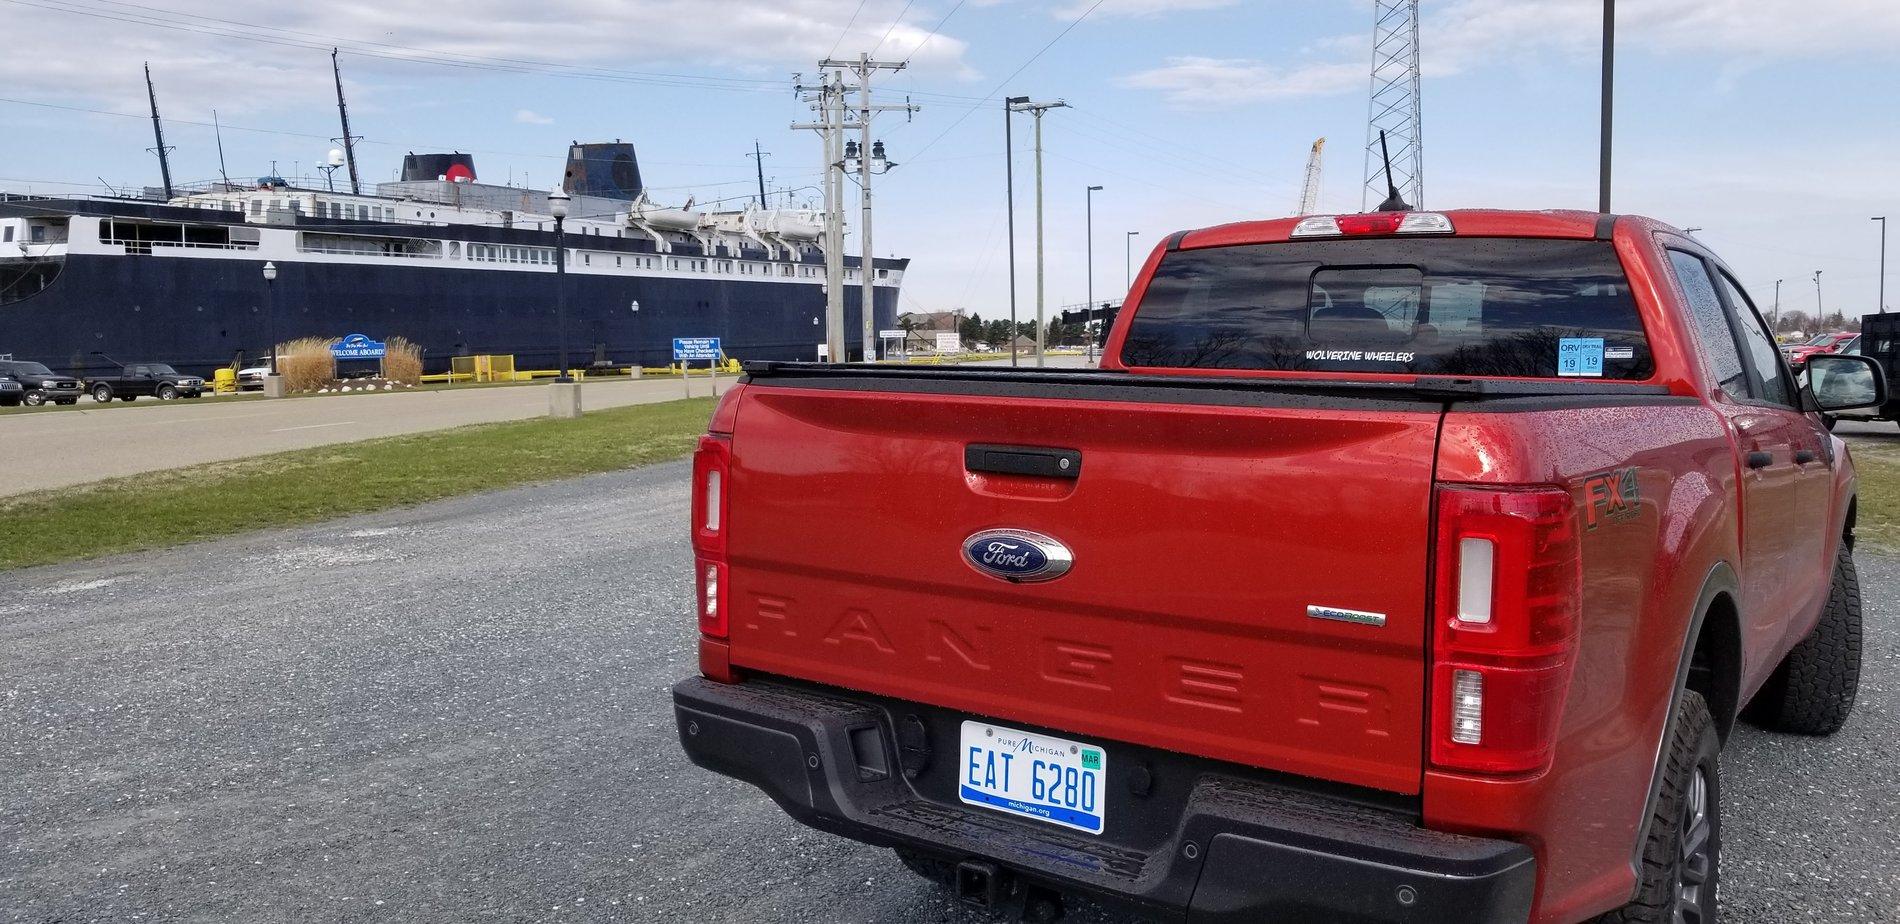
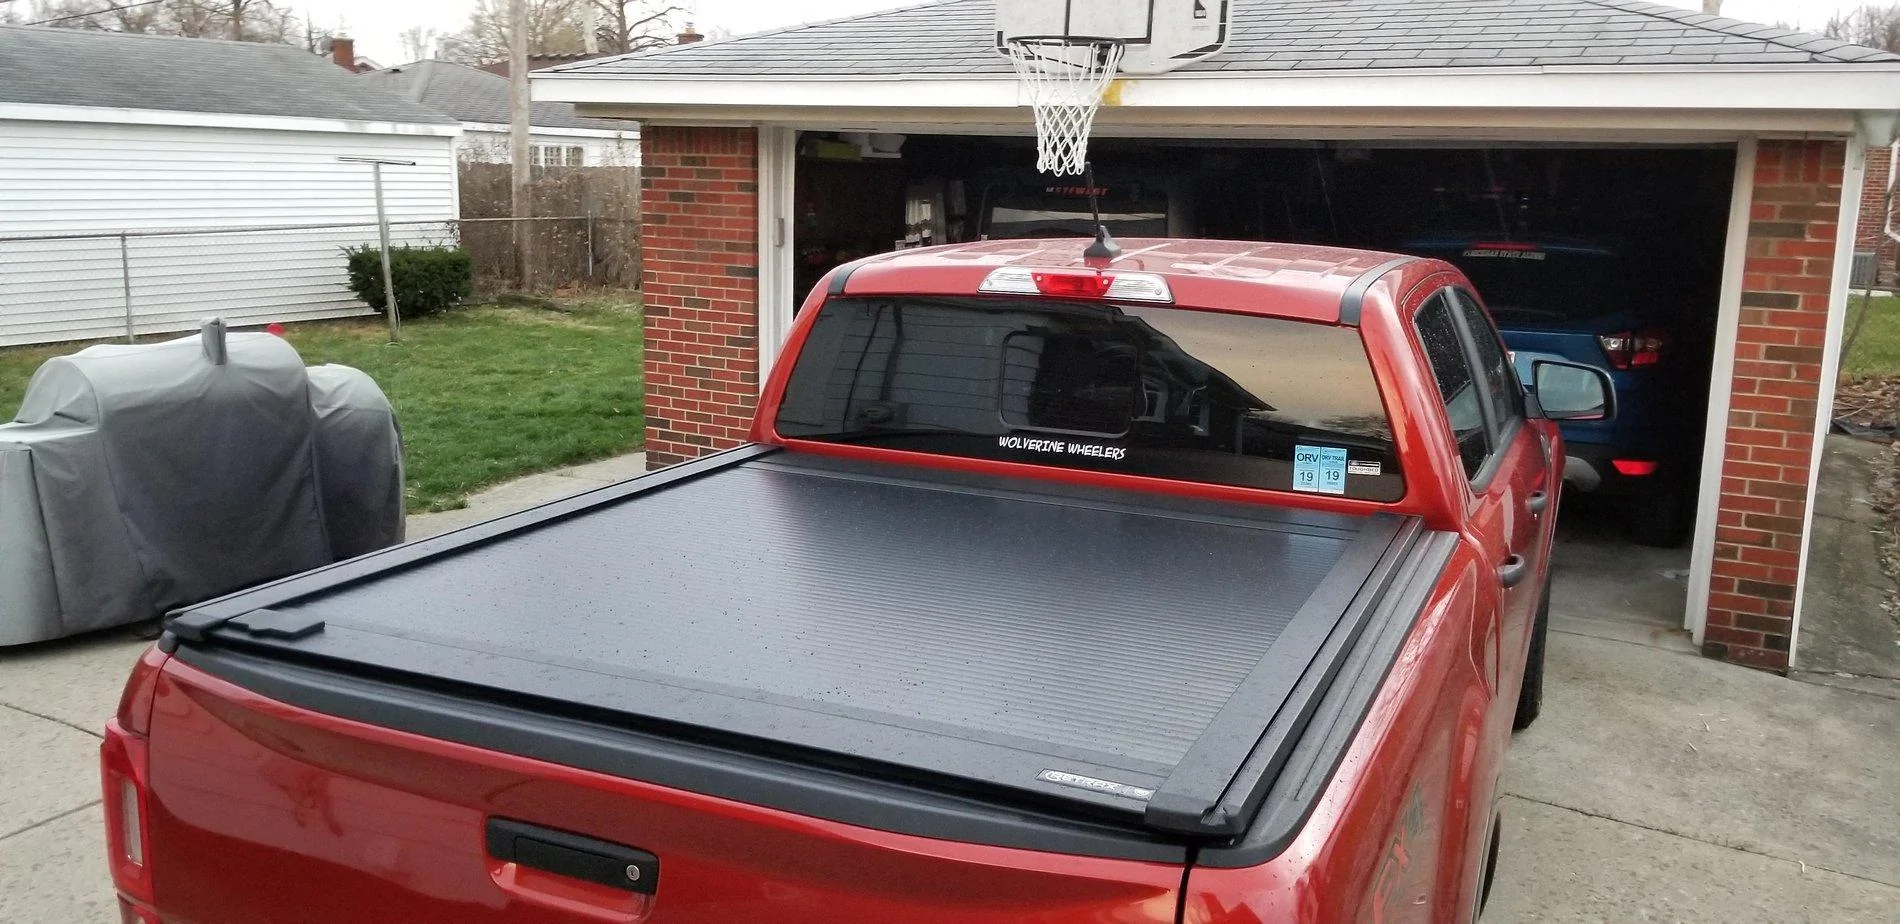
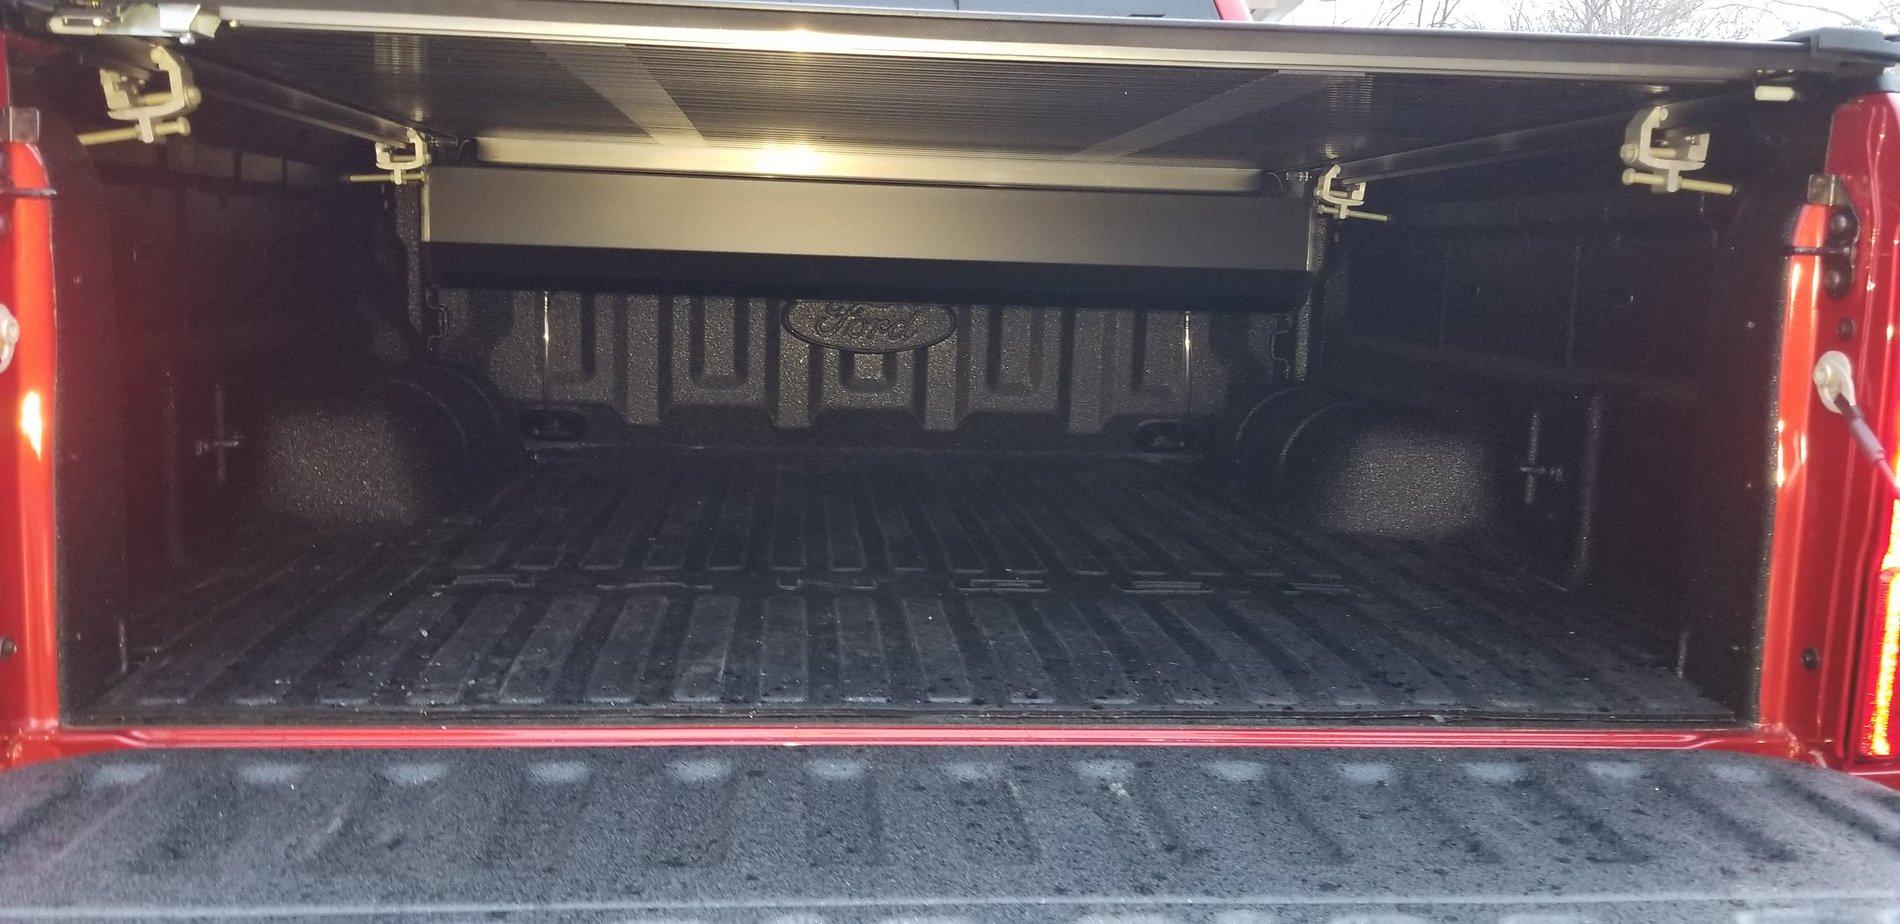
It came in two packages, with the main contents being the side rails and front rail in one package and the canister, hardware and filler plate in the other! The directions were a bit confusing as to where to start, as the extra Ranger specific directions said they were in place of steps 1 and 2, when in reality, they were in place of step 3 of placing the header channel on before lifting the canister and bed rails in the bed. Also, a couple of the diagrams were not the most clear and with words at a minimum on the directions, their was a bit of interpretation needed! But overall, the cover went on well and fits and looks great! I am very happy with it!
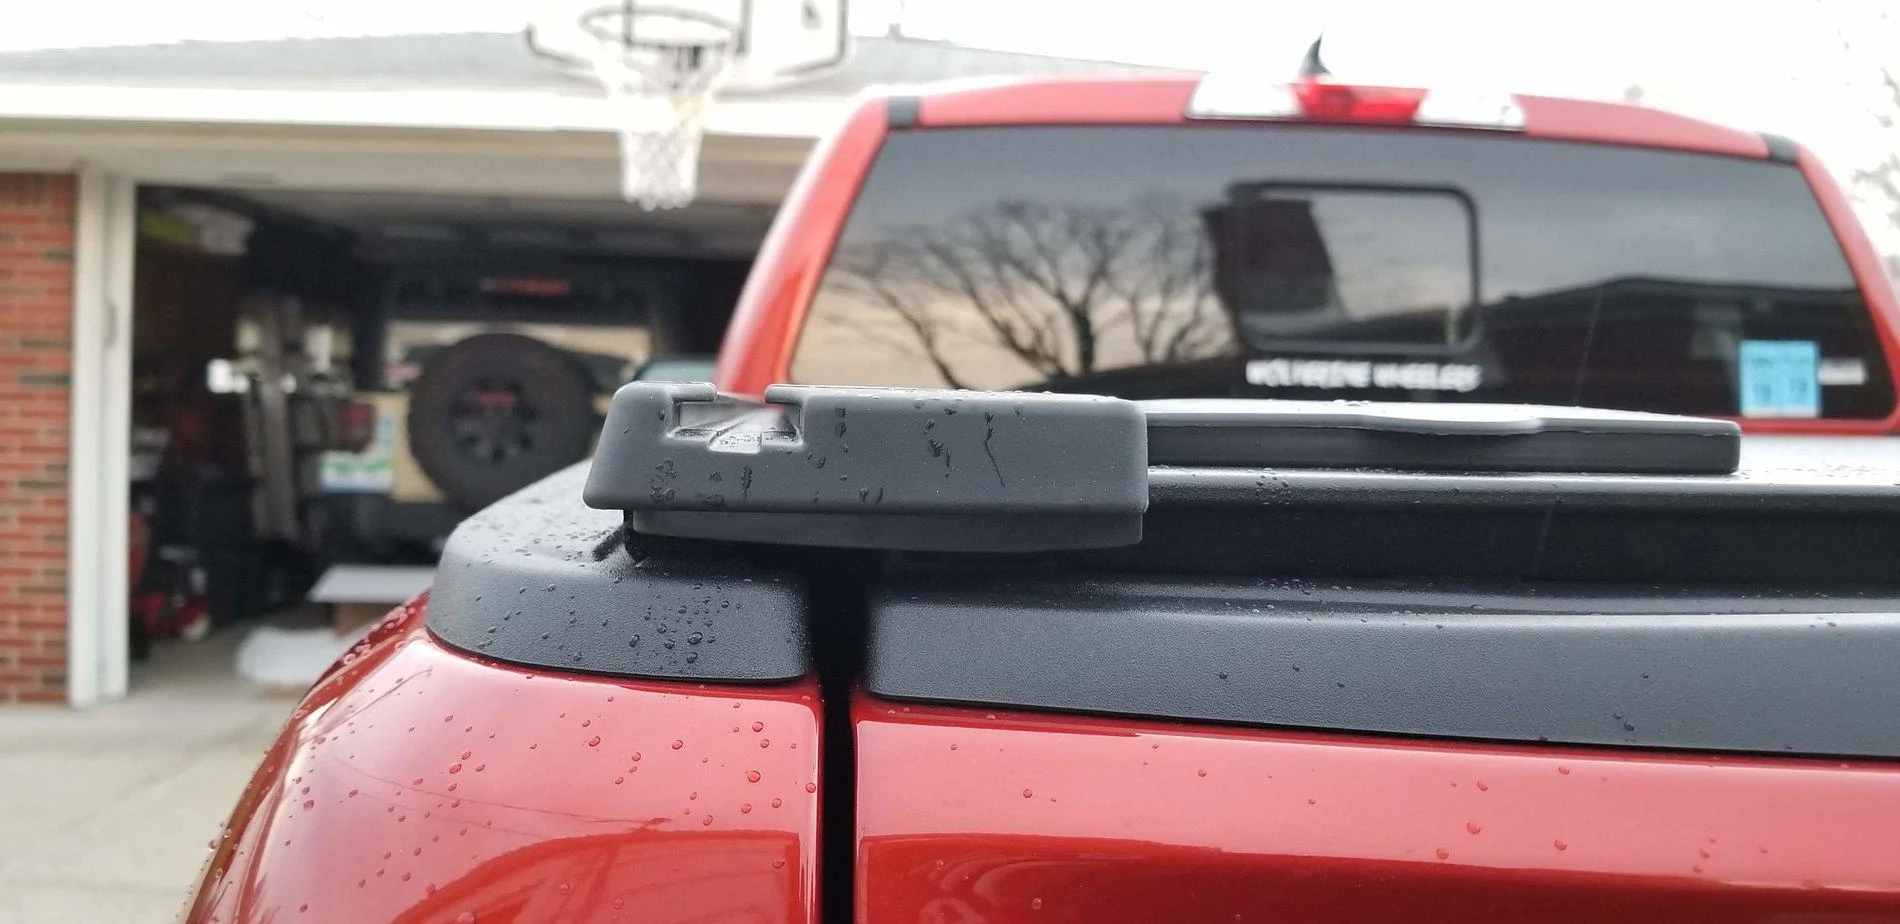
The canister definitely takes up less space than I thought it would in the bed and shouldn't be an issue for most of what we do! It does sit a little high (Maybe a 1/4"? Nothing is open. All weather striping is sealed to truck) at the back of the rails, but I believe this is mostly due to everything being very tight initially, and I expect it to settle just right as time goes on.
And a couple of installation tips as well.

For more information on the Retrax and Embark cover installation and other tips and tricks, see the below links:
https://www.ranger5g.com/forum/threads/embark-ls-retrax-pro-xr-read-this-before-installation.1811/
https://www.ranger5g.com/forum/threads/aftermarket-bed-roof-rack-system.1542/
https://www.ranger5g.com/forum/threads/its-time-for-a-road-trip.2348/
And since it was a few posts ago, the cover that I got is the RetraxOne XR which is the Polycarbonite Retractable Cover with the T-Slots!
It came in two packages, with the main contents being the side rails and front rail in one package and the canister, hardware and filler plate in the other! The directions were a bit confusing as to where to start, as the extra Ranger specific directions said they were in place of steps 1 and 2, when in reality, they were in place of step 3 of placing the header channel on before lifting the canister and bed rails in the bed. Also, a couple of the diagrams were not the most clear and with words at a minimum on the directions, their was a bit of interpretation needed! But overall, the cover went on well and fits and looks great! I am very happy with it!
The canister definitely takes up less space than I thought it would in the bed and shouldn't be an issue for most of what we do! It does sit a little high (Maybe a 1/4"? Nothing is open. All weather striping is sealed to truck) at the back of the rails, but I believe this is mostly due to everything being very tight initially, and I expect it to settle just right as time goes on.
And a couple of installation tips as well.
- When installing rails to canister, feed the rollers into the side channels, then lift the front of the rail up a little to get it to go all the way to the back of the canister to line the holes up for the screws. We struggled for a while trying to slide them until we finally lifted them up and the rails slide right where they needed to then.
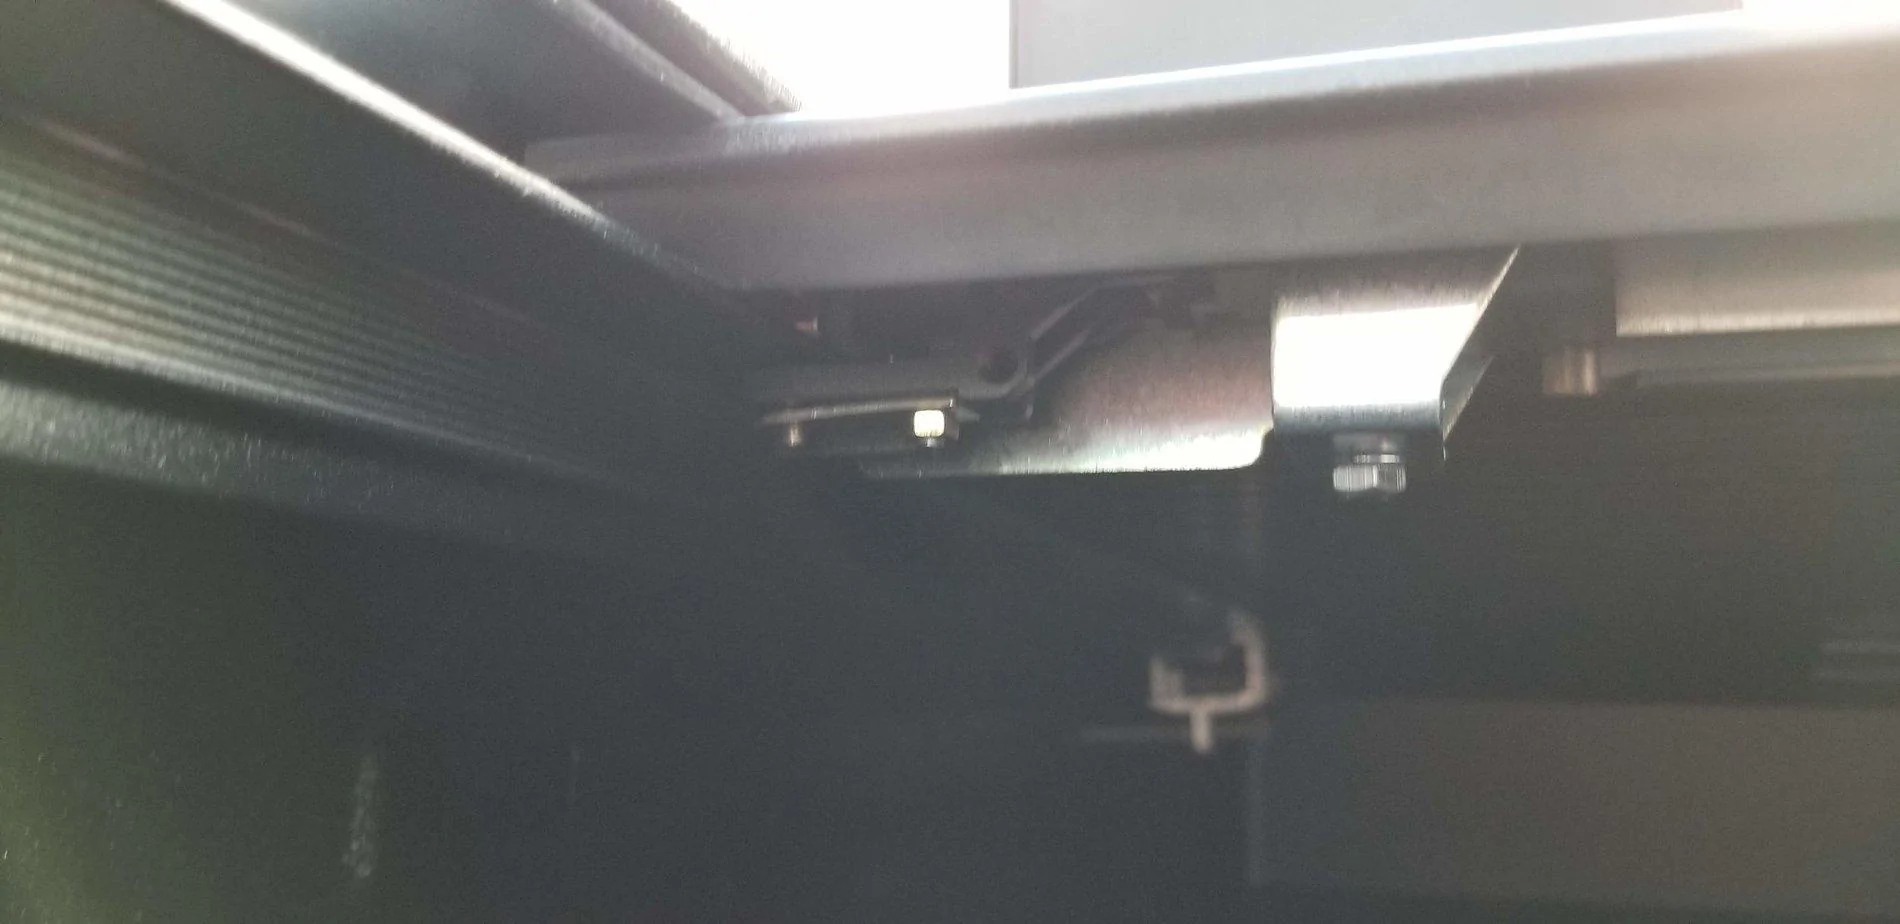
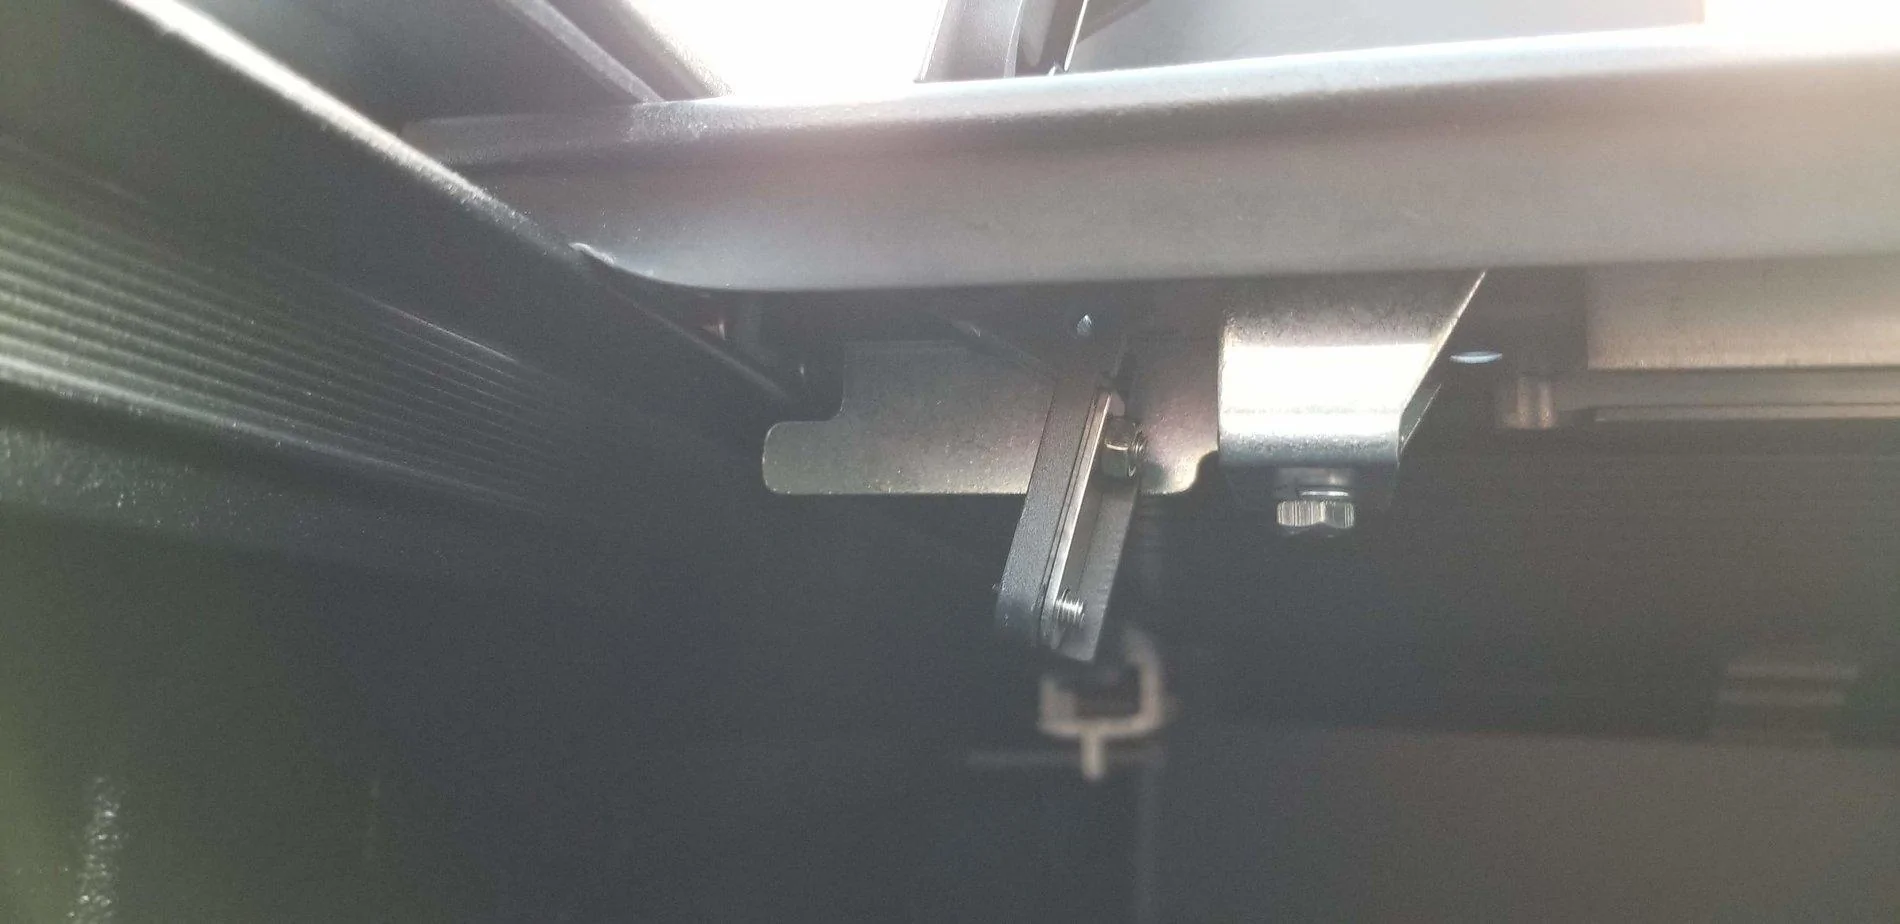
- When installing the clamps to the bed, make sure to not over tighten them. the 6.7 ft/lbs of torque is very little, and it is very easy to over tighten them and bend your bed rail, so pay attention!
- Remove the film on the top of the bed cover before putting in the channels. Once in the channels, the film does not come off as nicely.
- Watch the position of the well nuts for the header channel carefully to make sure that they are compressing evenly around the holes in the bed to properly secure the header channel.
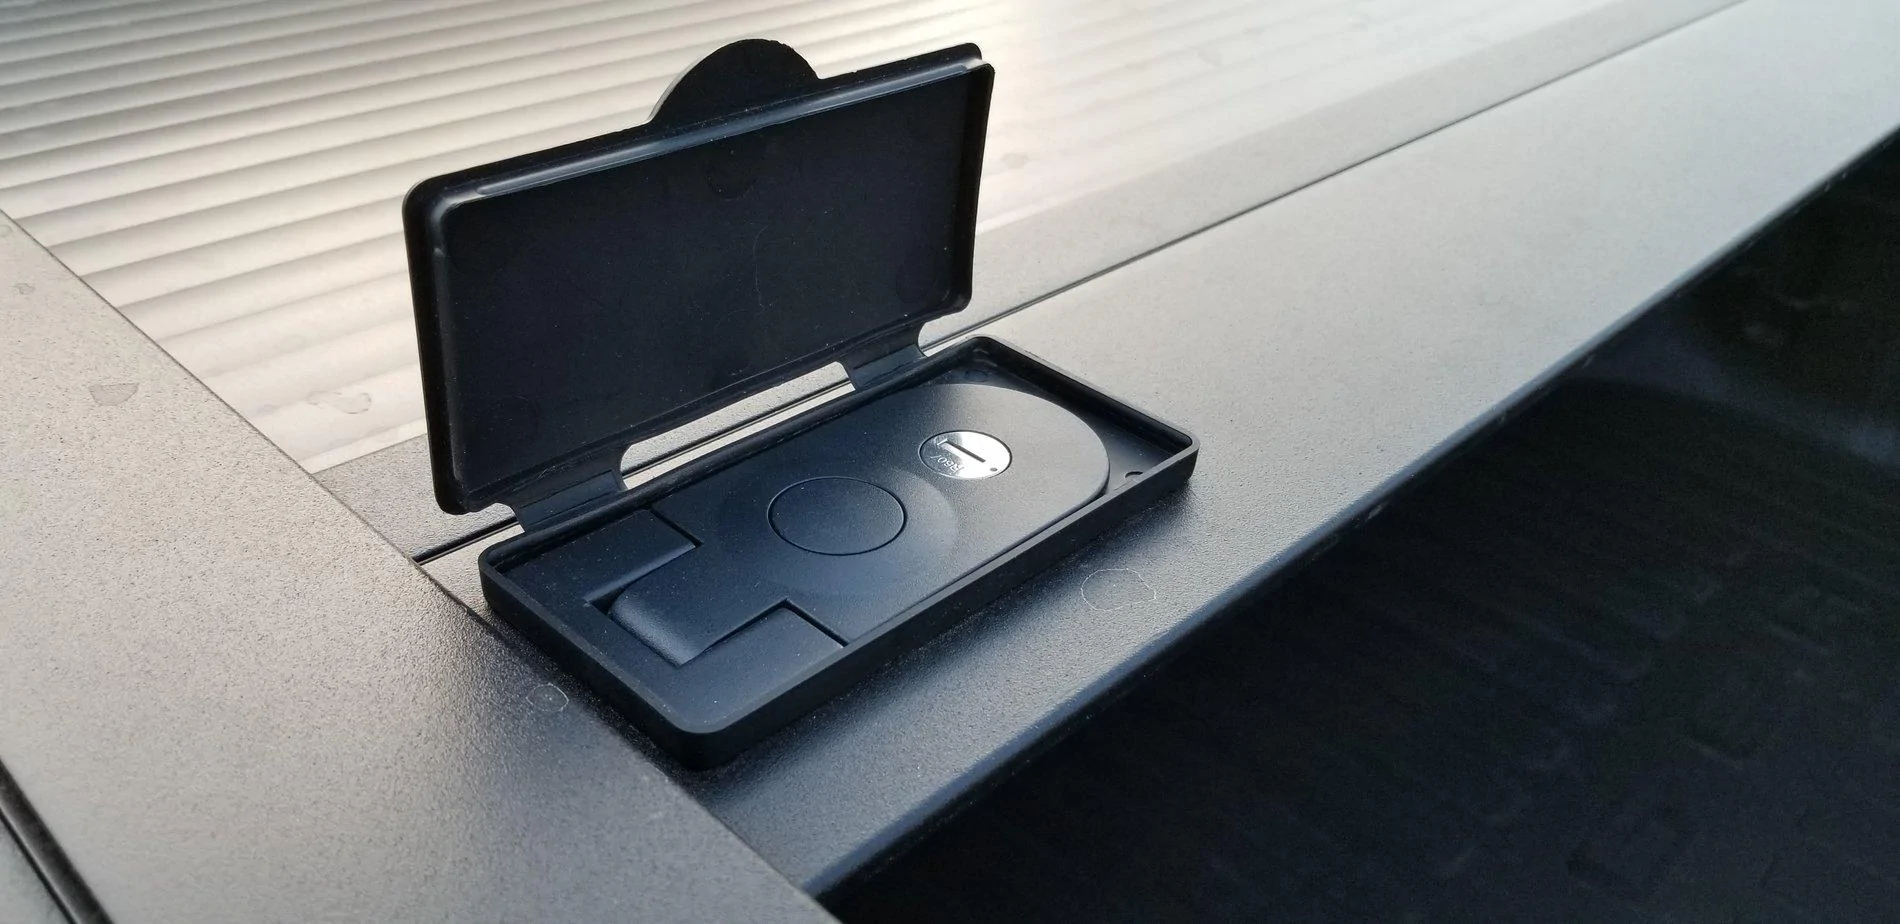
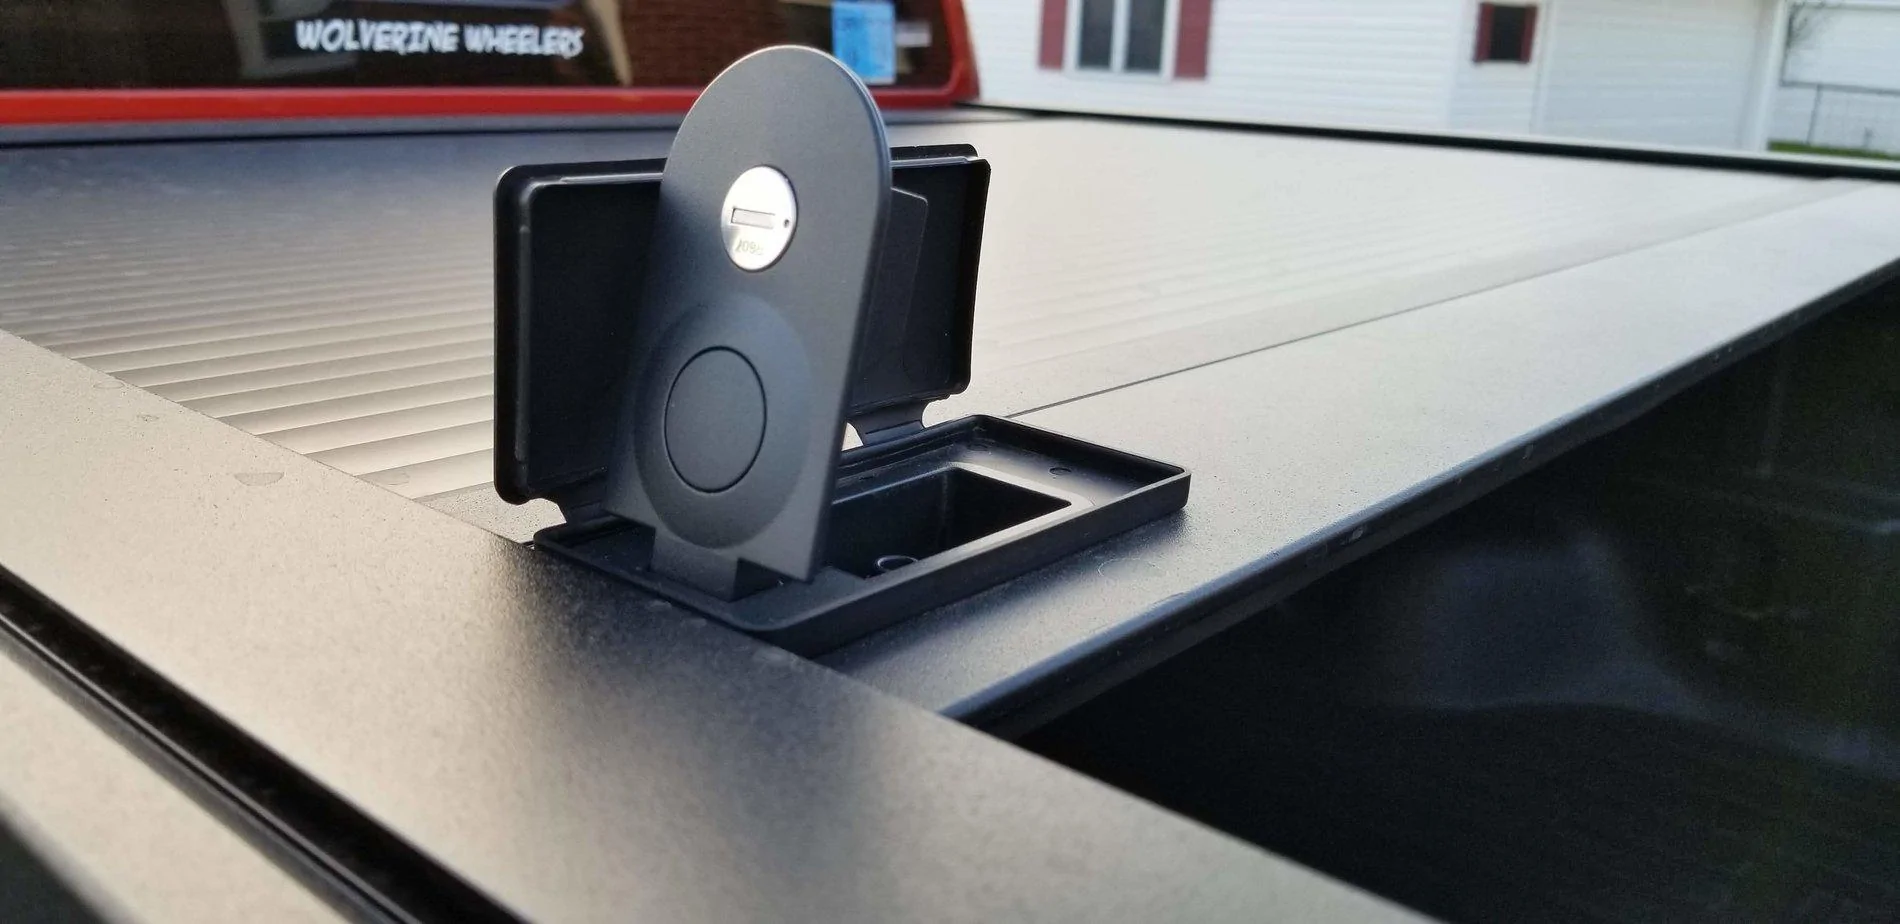
- When attempting to slide the bed cover into the side channels, make sure to unlock and release the handle to allow the bed cover to slide in freely to the channels. It comes locked and will not allow you to slide it in past the first couple of rollers.
- Pay attention to some of the steps with differences between the MX and XR models. (Such as step 5 with alternate steps)
For more information on the Retrax and Embark cover installation and other tips and tricks, see the below links:
https://www.ranger5g.com/forum/threads/embark-ls-retrax-pro-xr-read-this-before-installation.1811/
https://www.ranger5g.com/forum/threads/aftermarket-bed-roof-rack-system.1542/
https://www.ranger5g.com/forum/threads/its-time-for-a-road-trip.2348/
Sponsored
Last edited: