KnightRanger
Well-Known Member
- Thread starter
- #1
So I pulled the trigger on this:
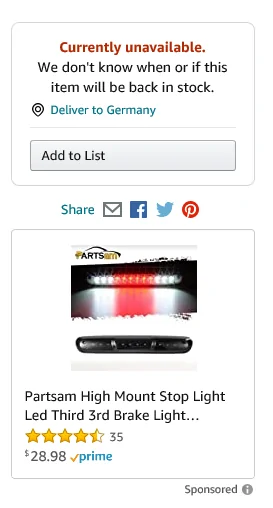
https://www.amazon.com/gp/product/B07BTPSQWJ/ref=ppx_yo_dt_b_asin_title_o08_s00?ie=UTF8&th=1
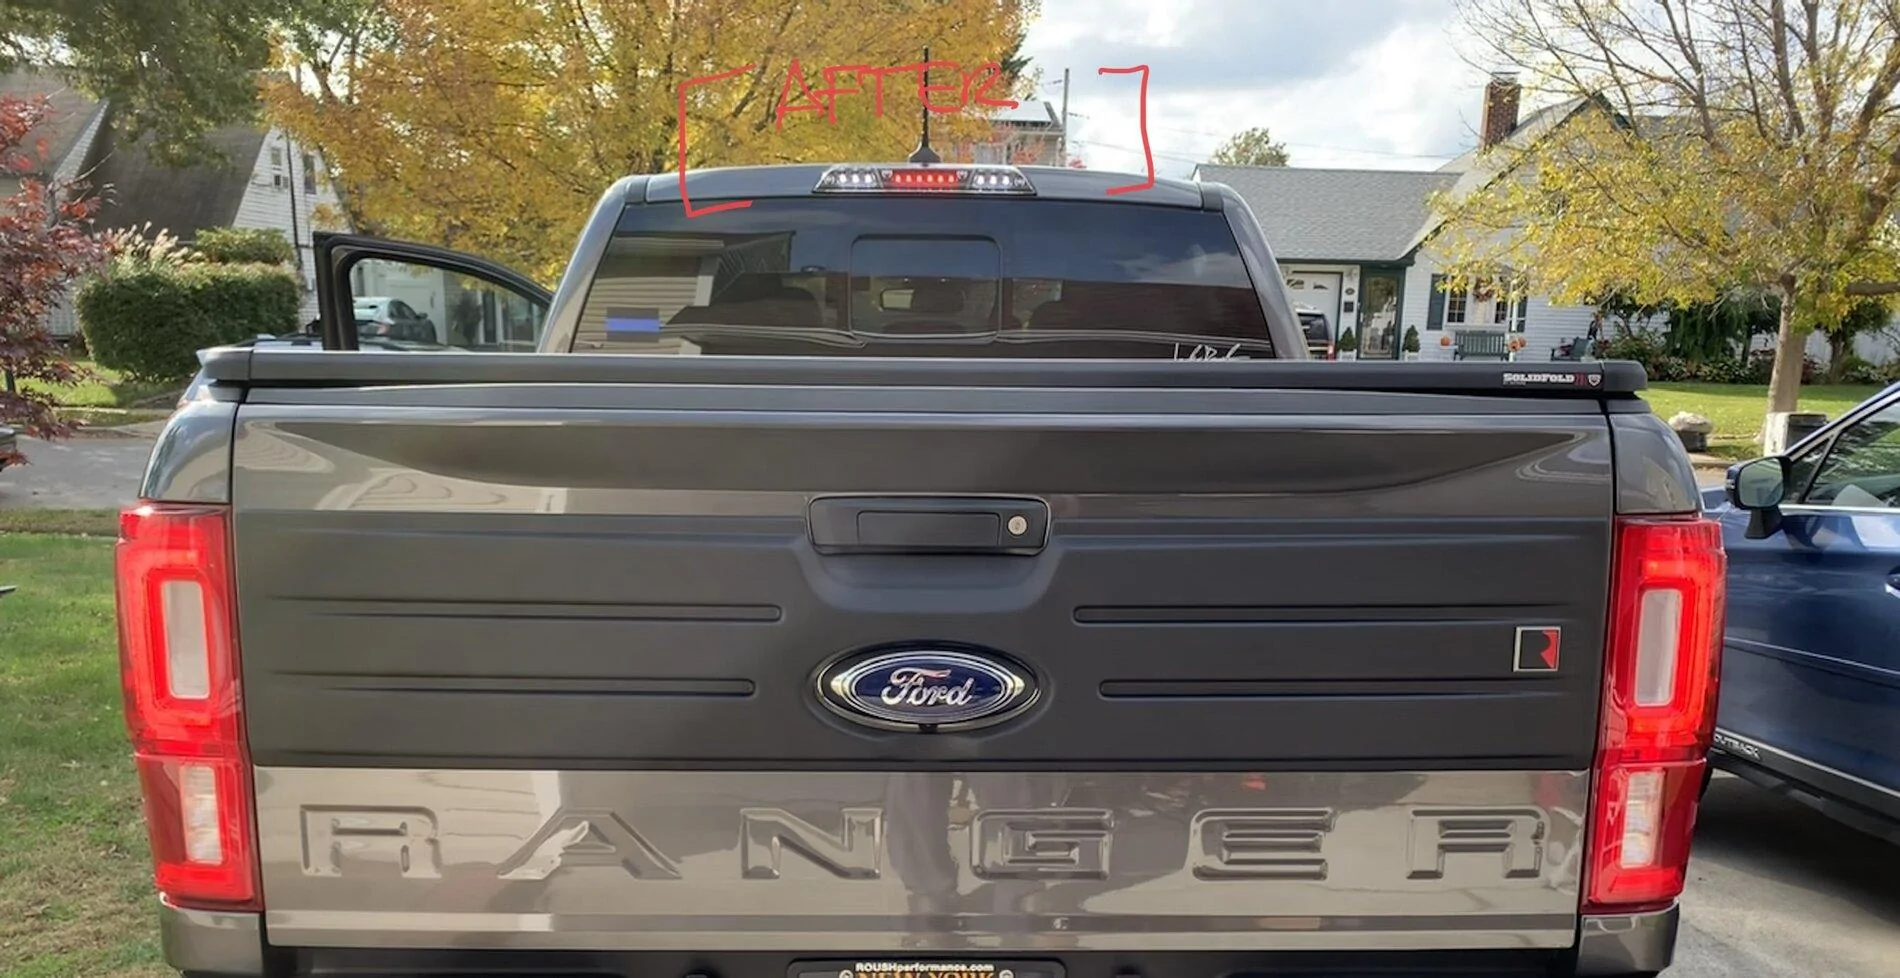
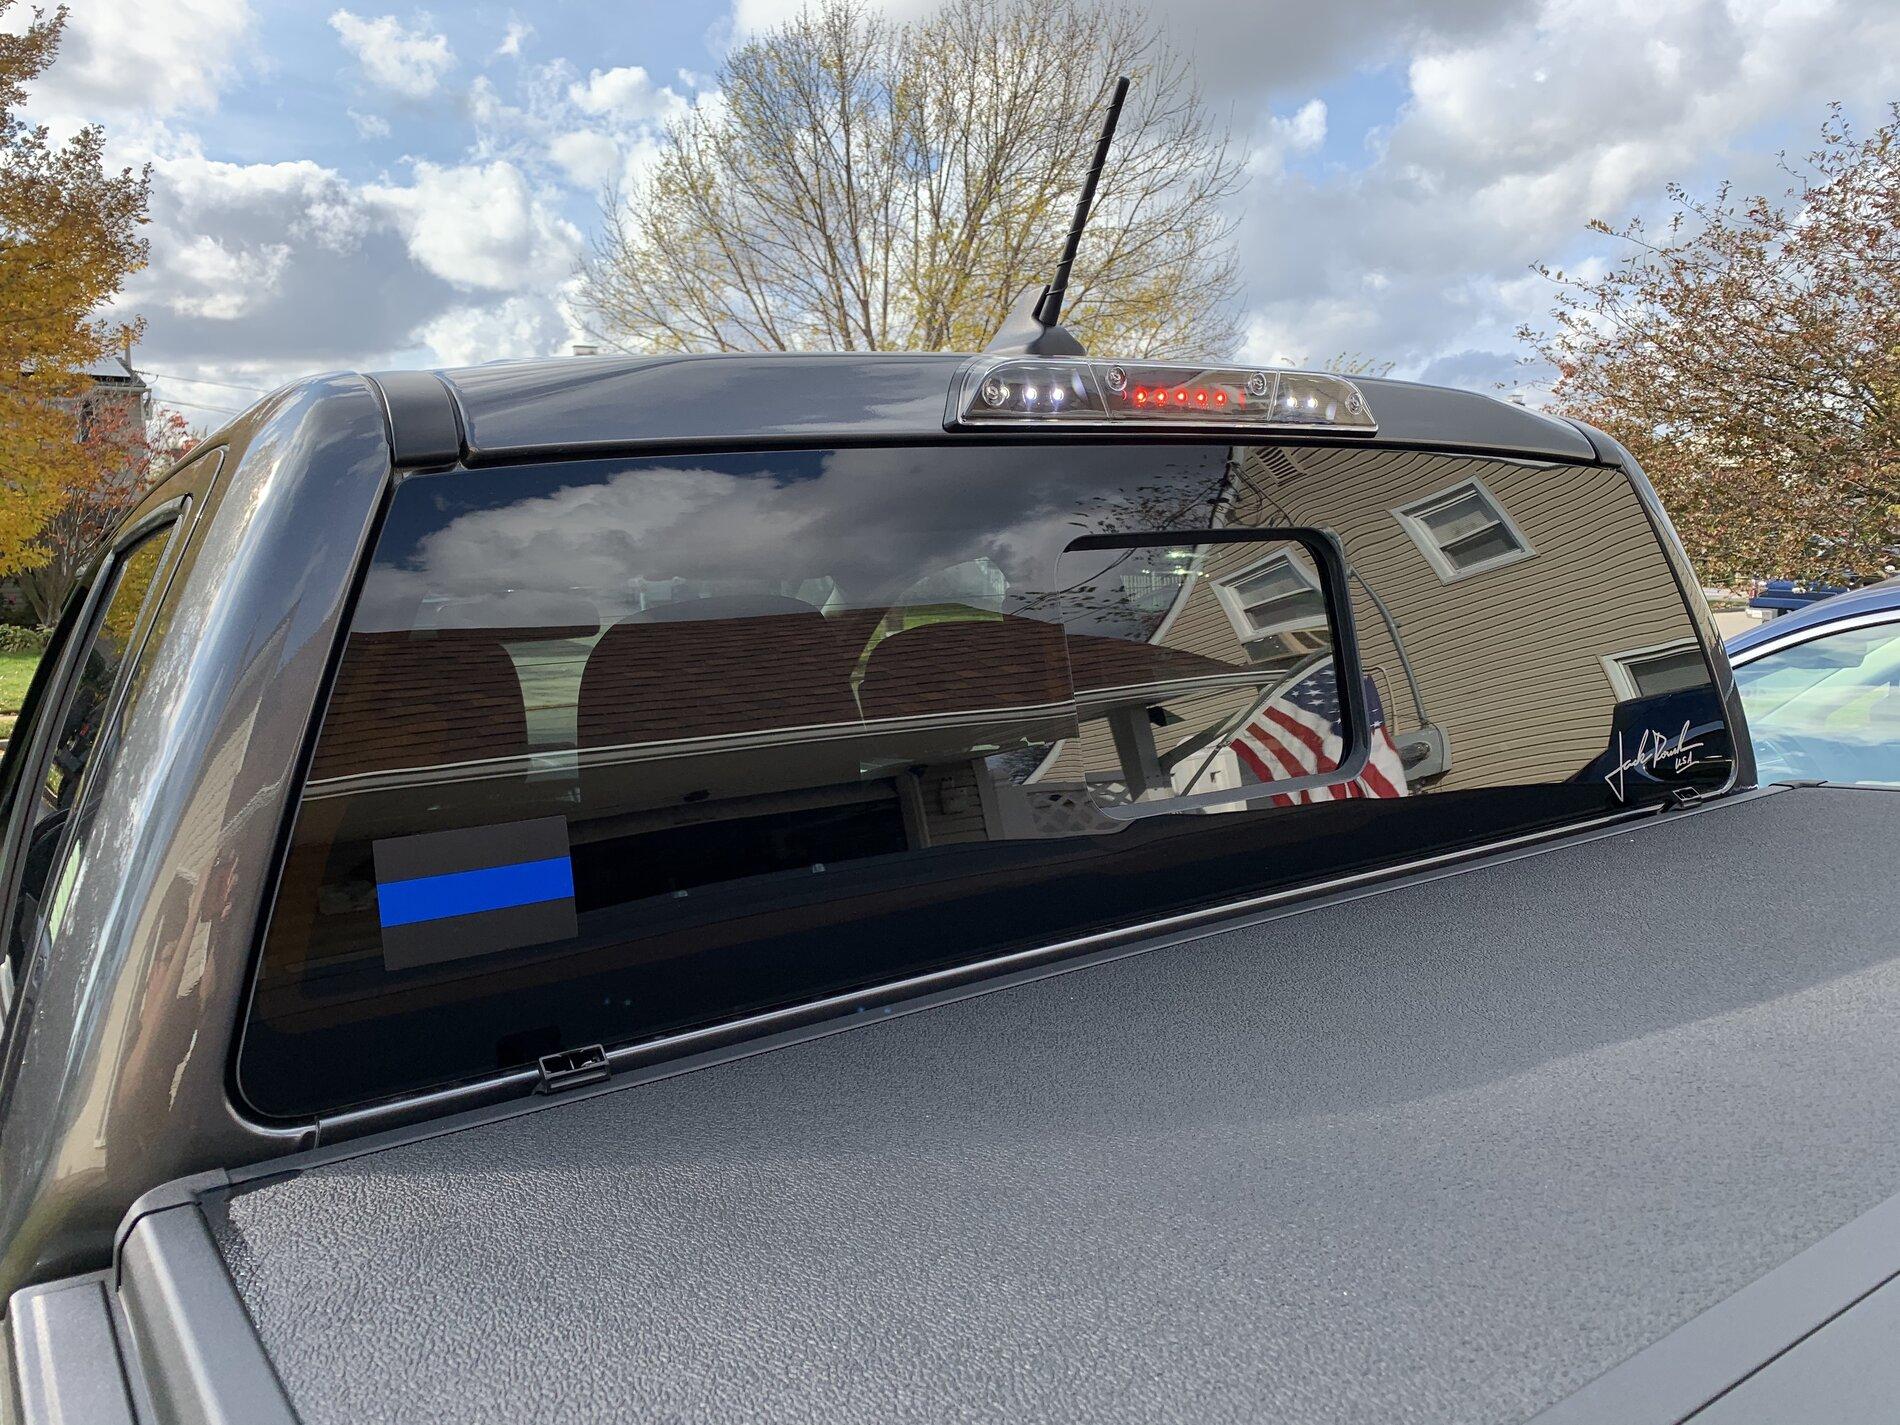
I thought the blackout look would compliment the magnetic paint on my Ranger.
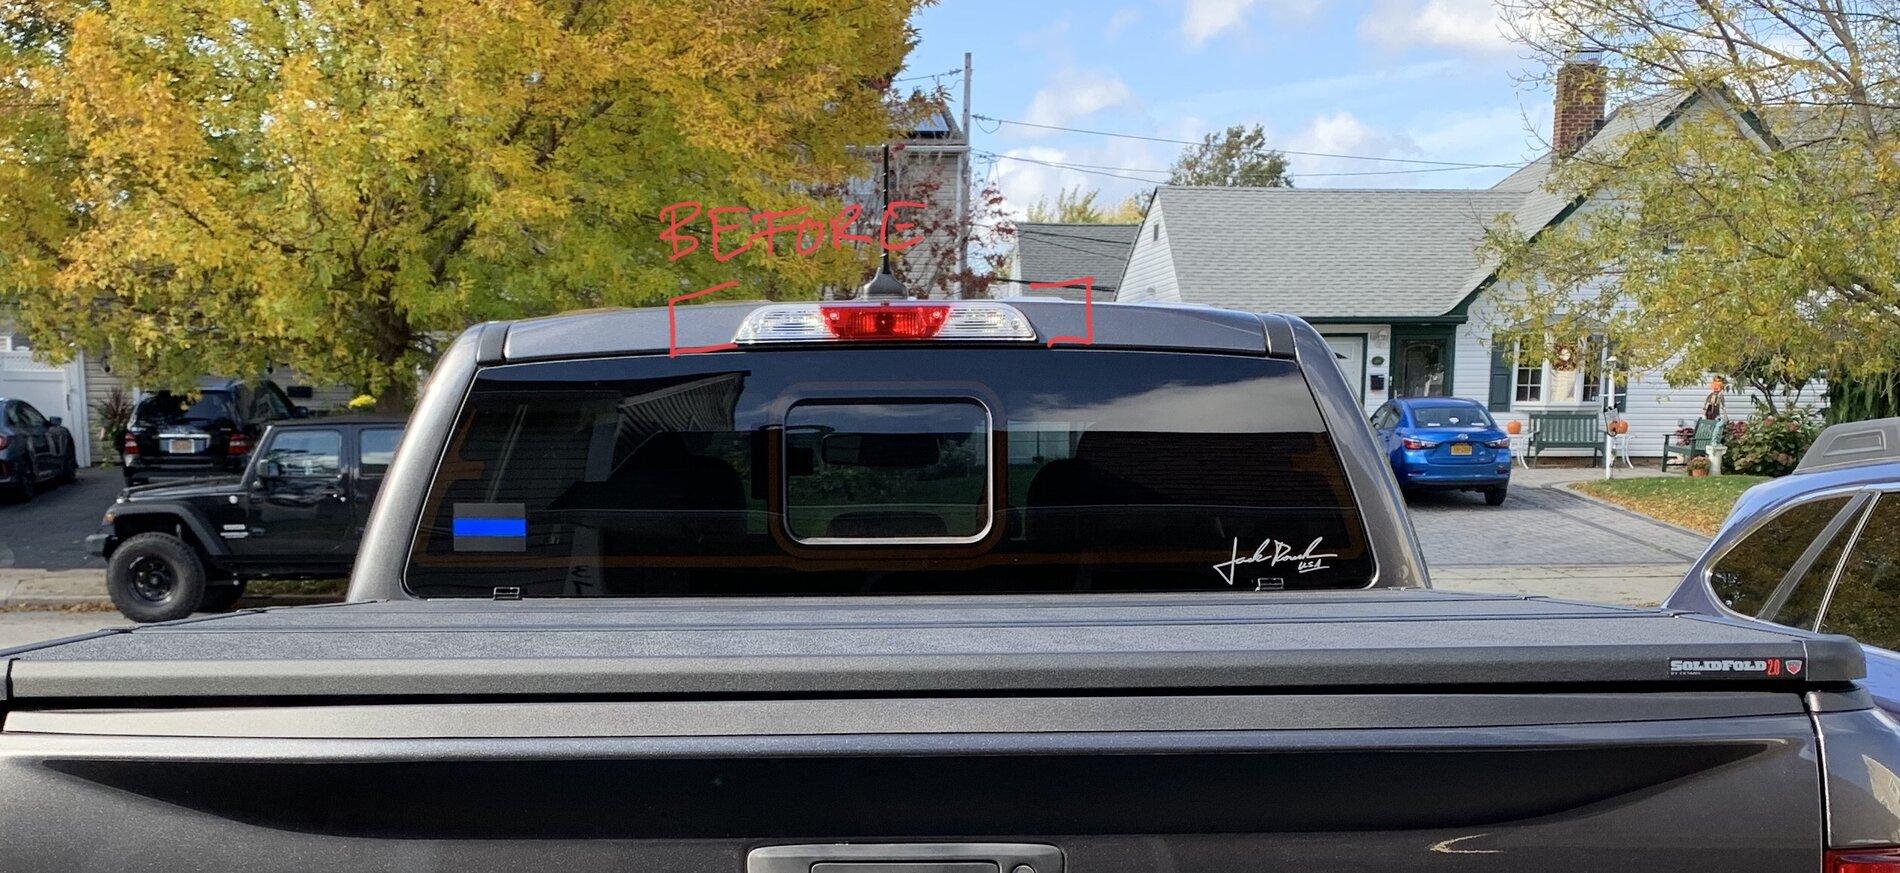
Anyway, I thought it was an easy plug and play, but its not!
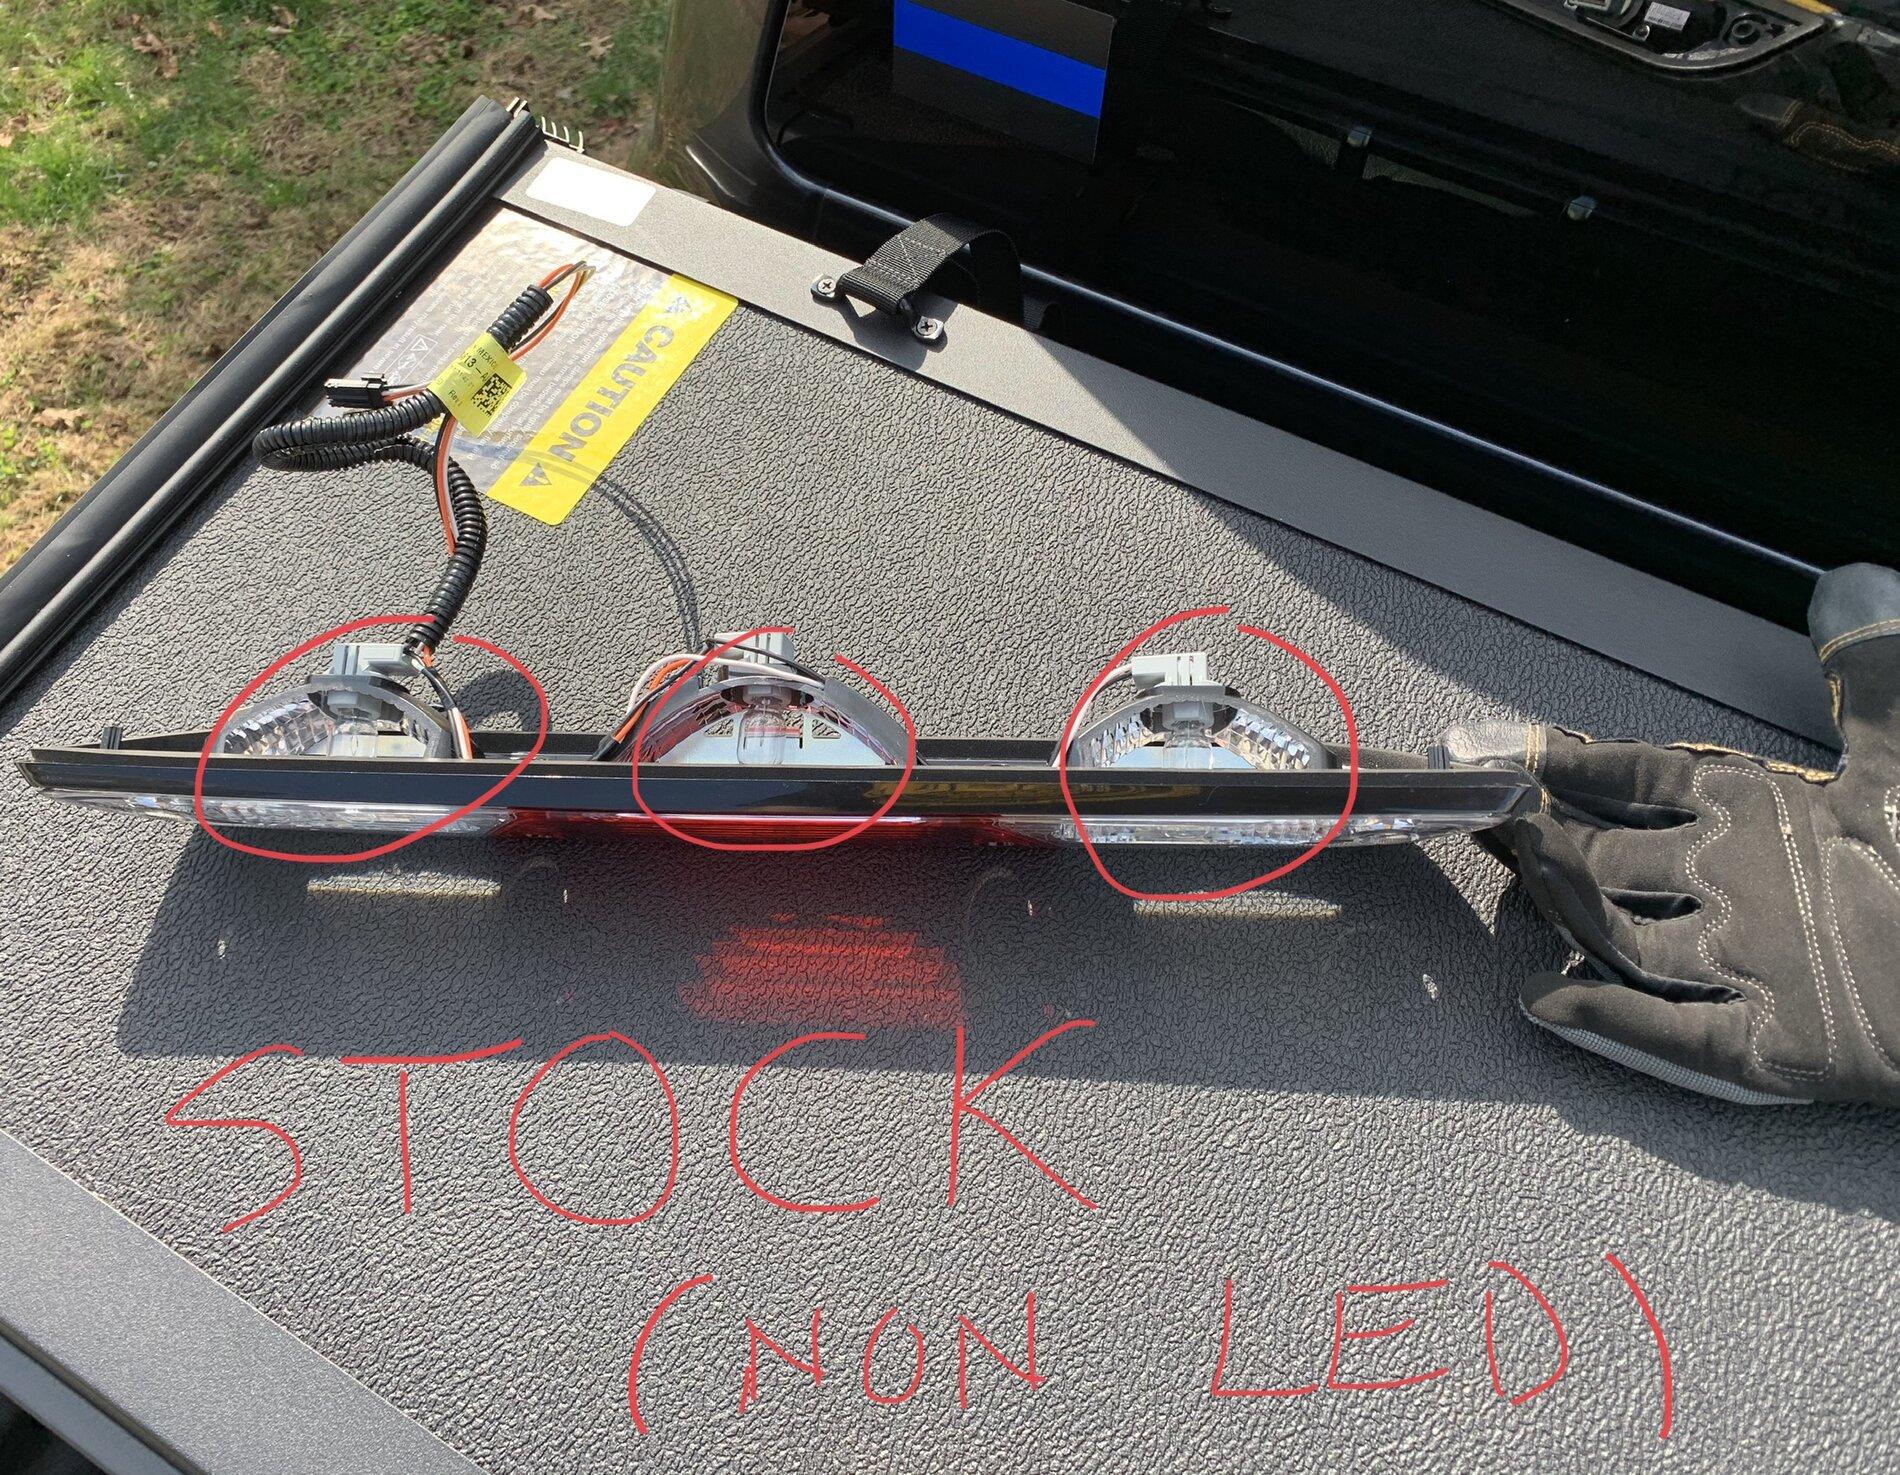
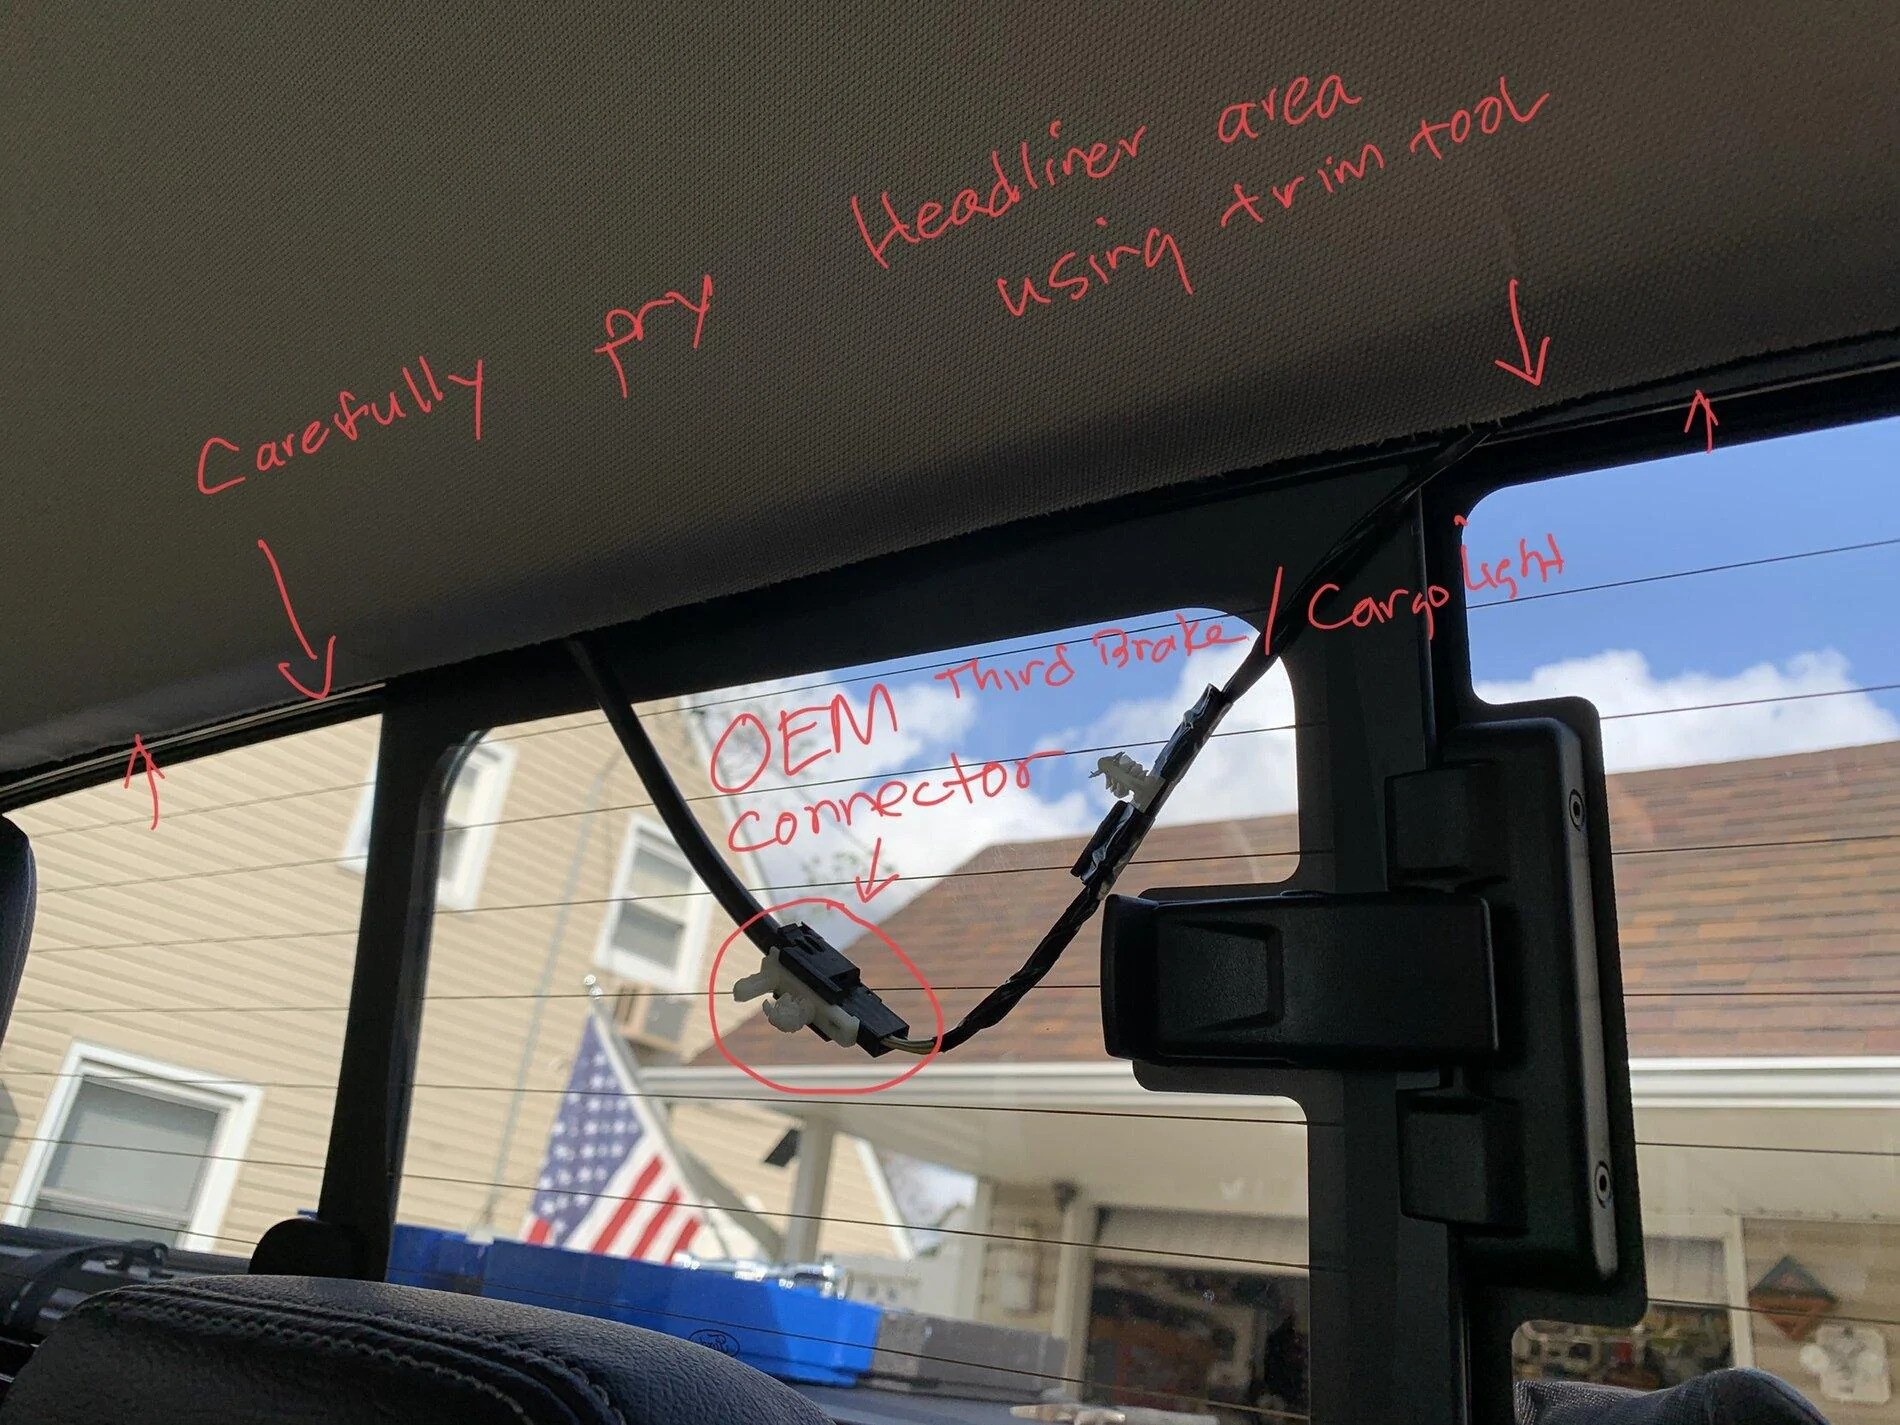
Removing the oem cargo/ brake light was easy, but unclipping and unplugging
the oem connector was a PITA! The oem wiring was too short to reach from the outside!
So, here’s a few pics and tips in case you decide to upgrade yours:
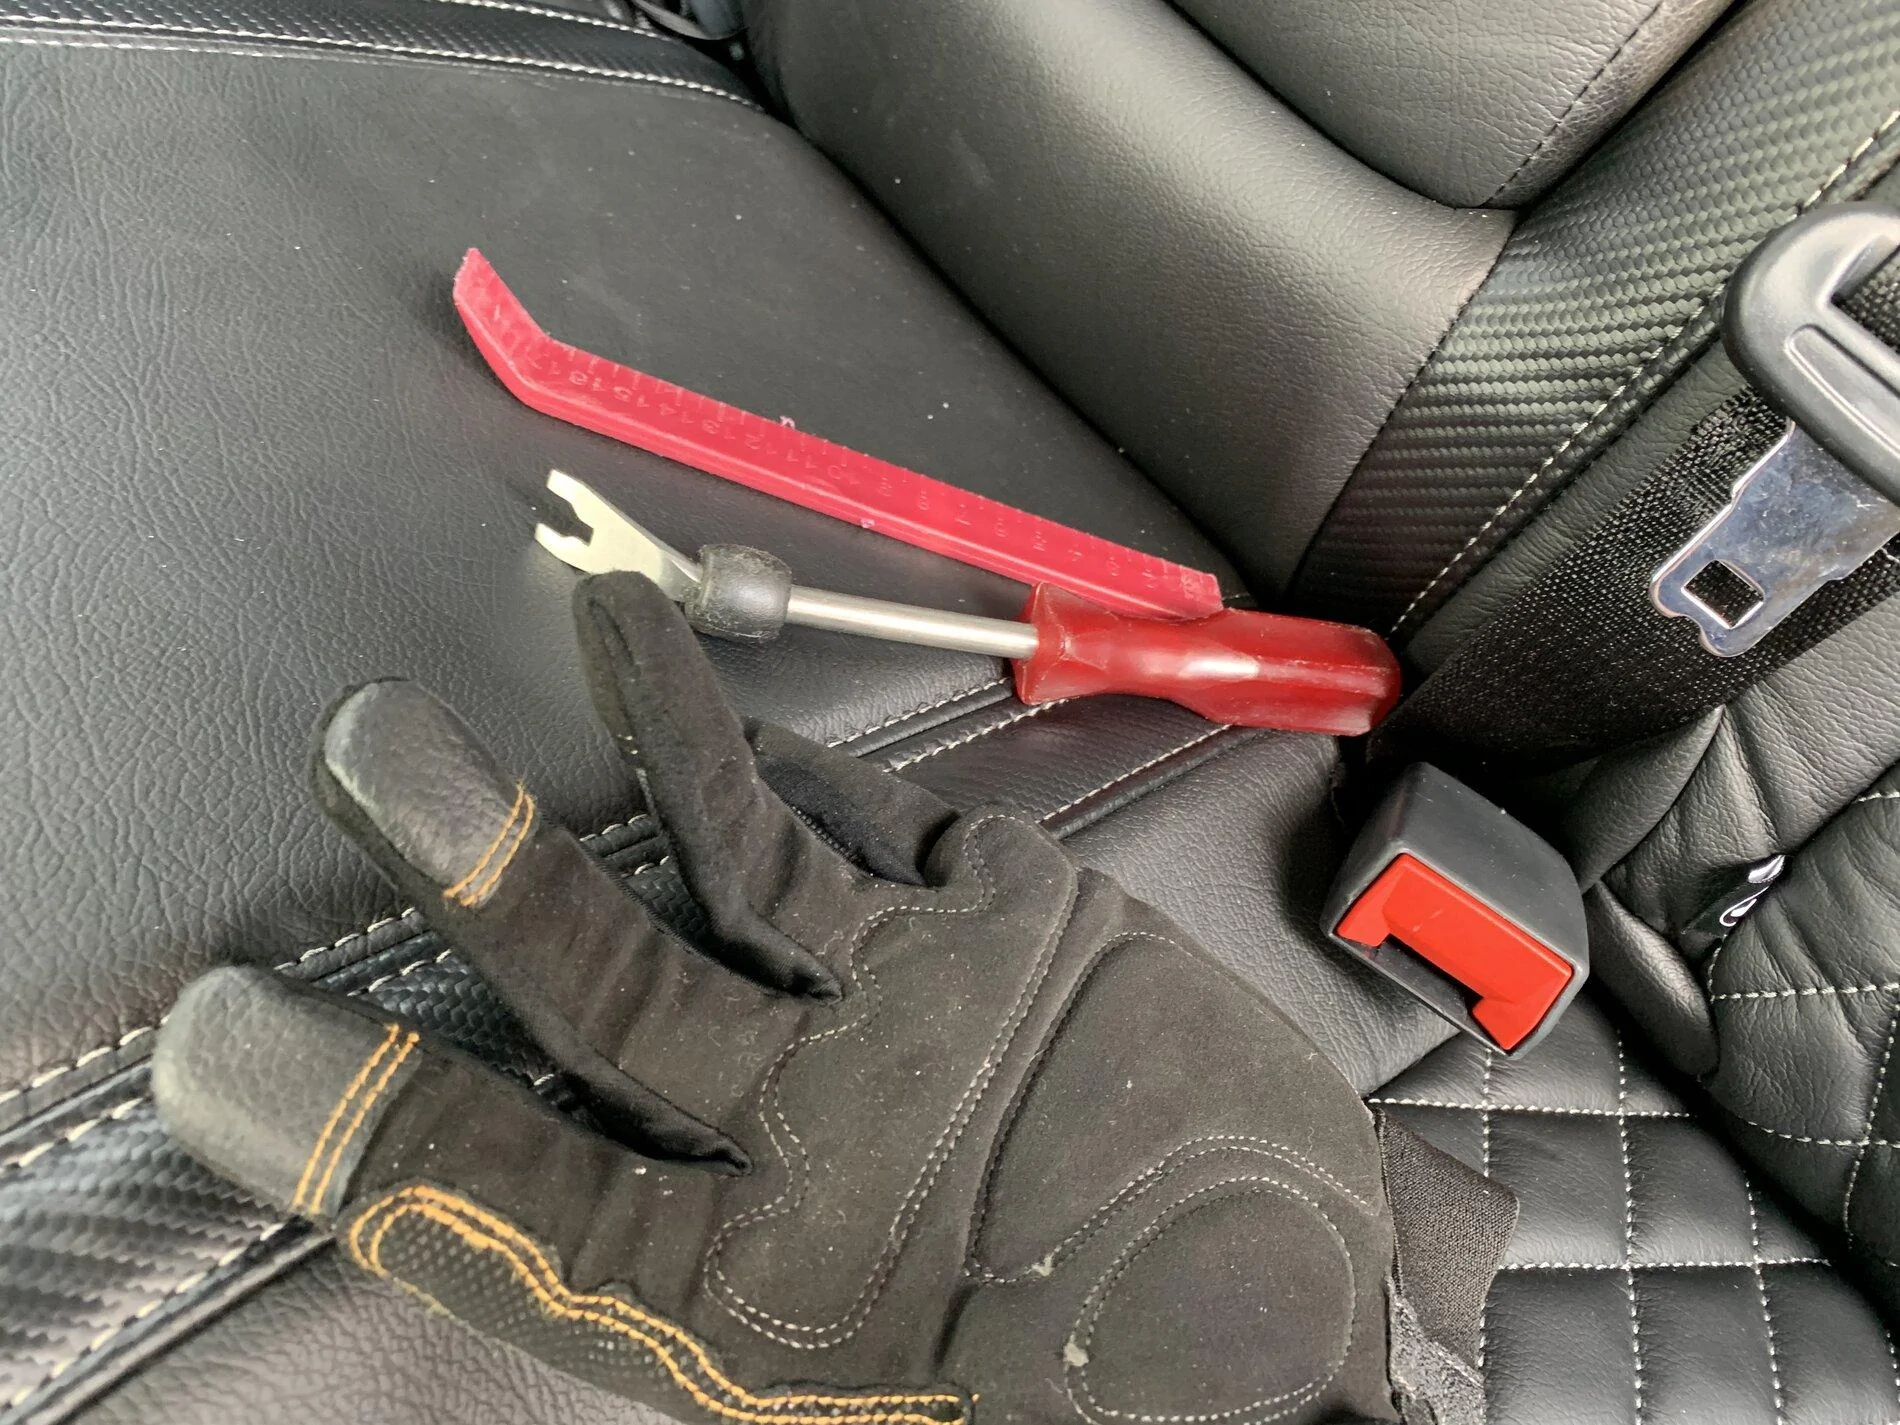
Get a moulding, trim piece removal tool similar to these two in the pics.
Carefully pry at the rear most end of the headliner (opening the center rear window would make things a bit easier esp if you have large hands)
Pry the headliner just enough to be able to reach in and unplug the cargo light from the oem connector.( see pic)
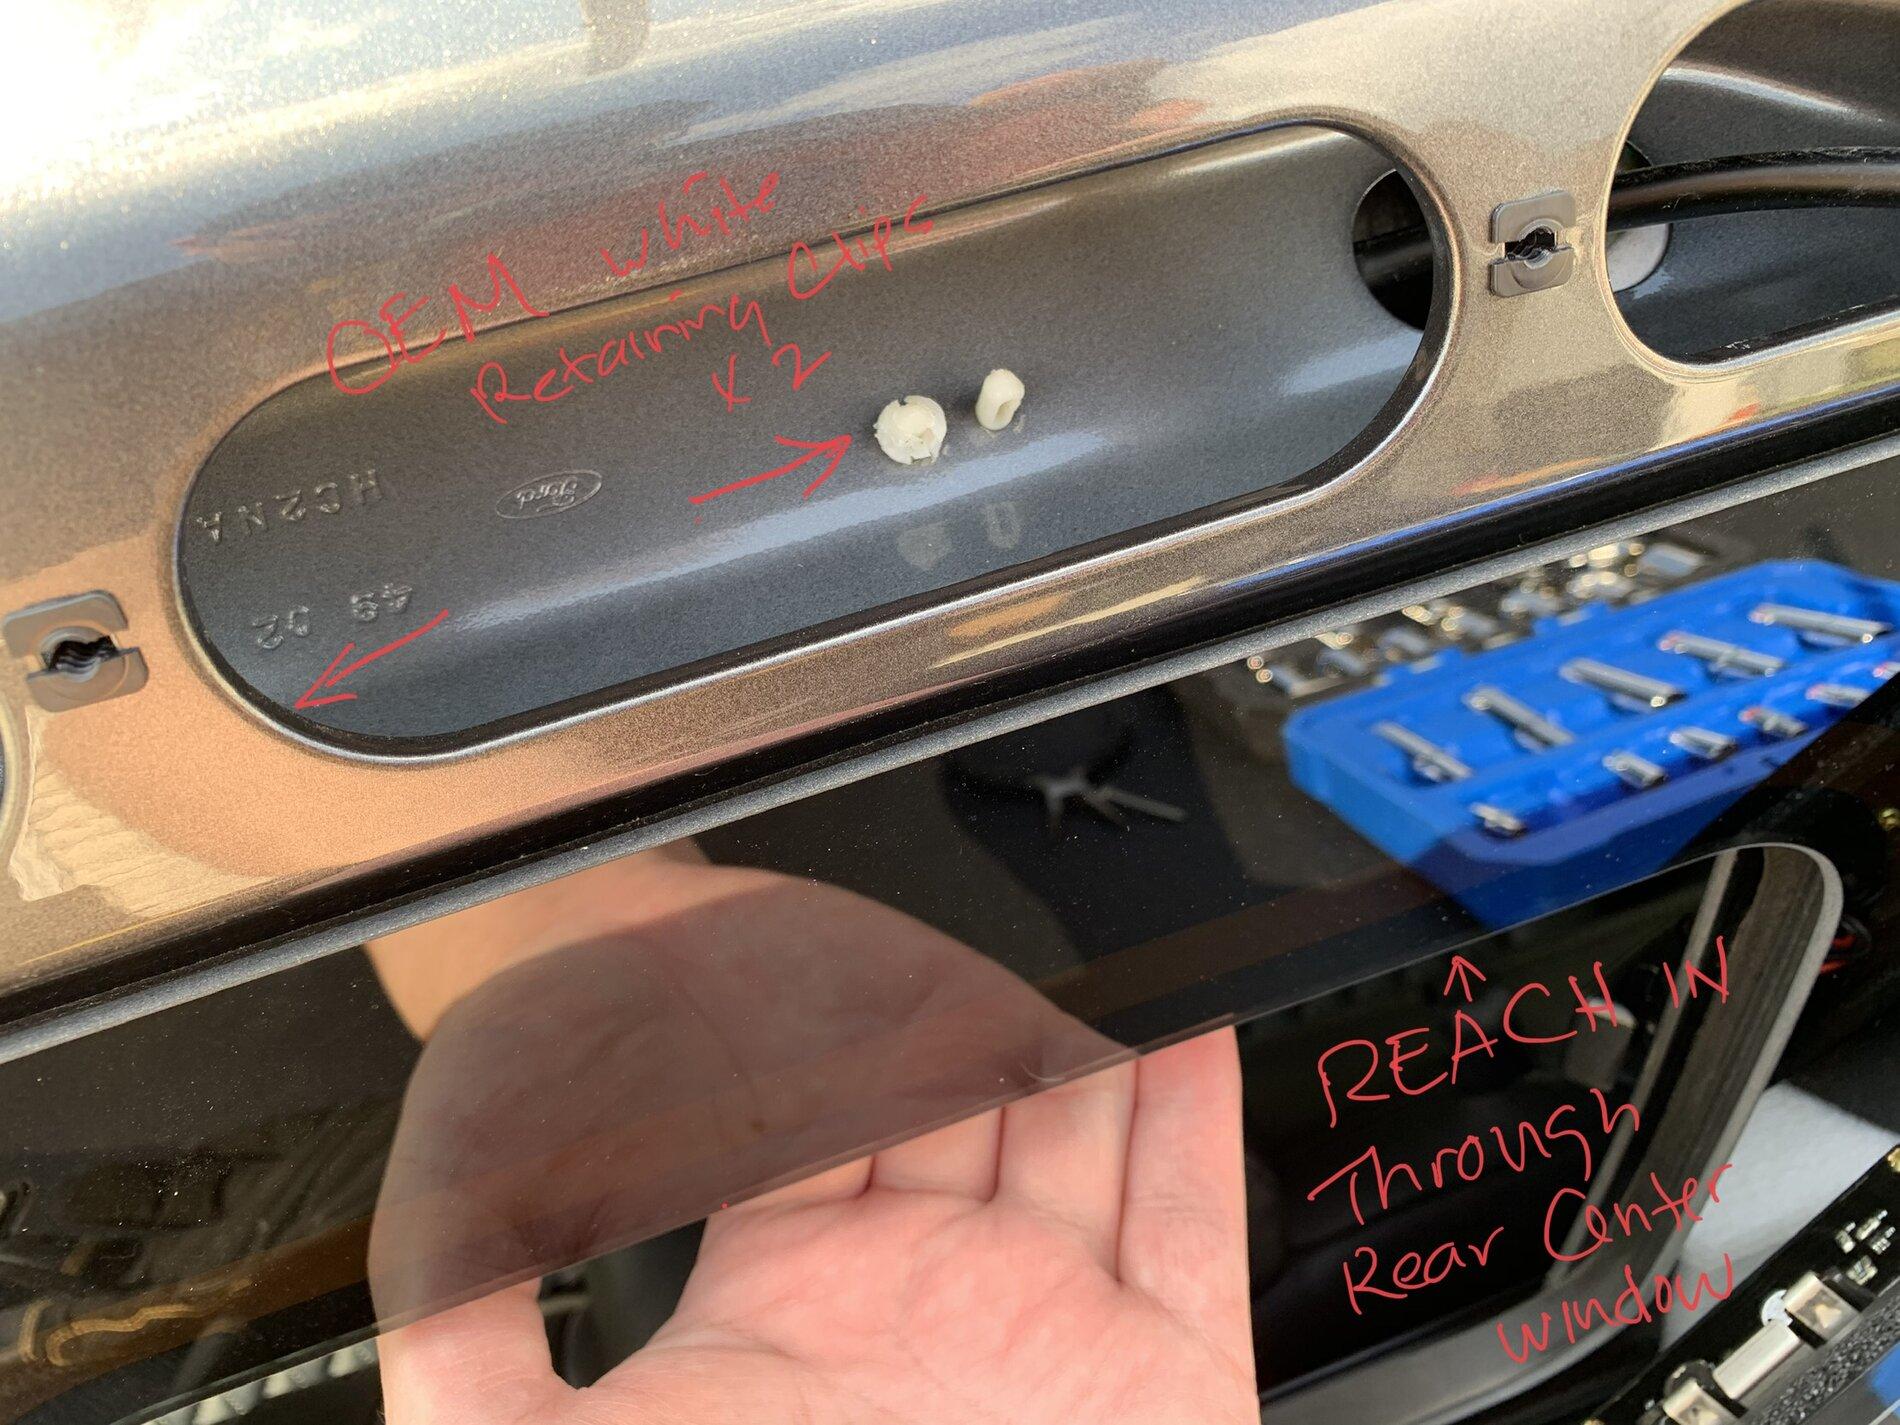
If you have the center rear window- open it up.
It would make it easier to put the clip back into the oem holes.
( from the outside, reach in through the center window and into the open area of the headliner, while looking through the mount opening then pop the oem clips back into place) It will make sense if you look at the pic.
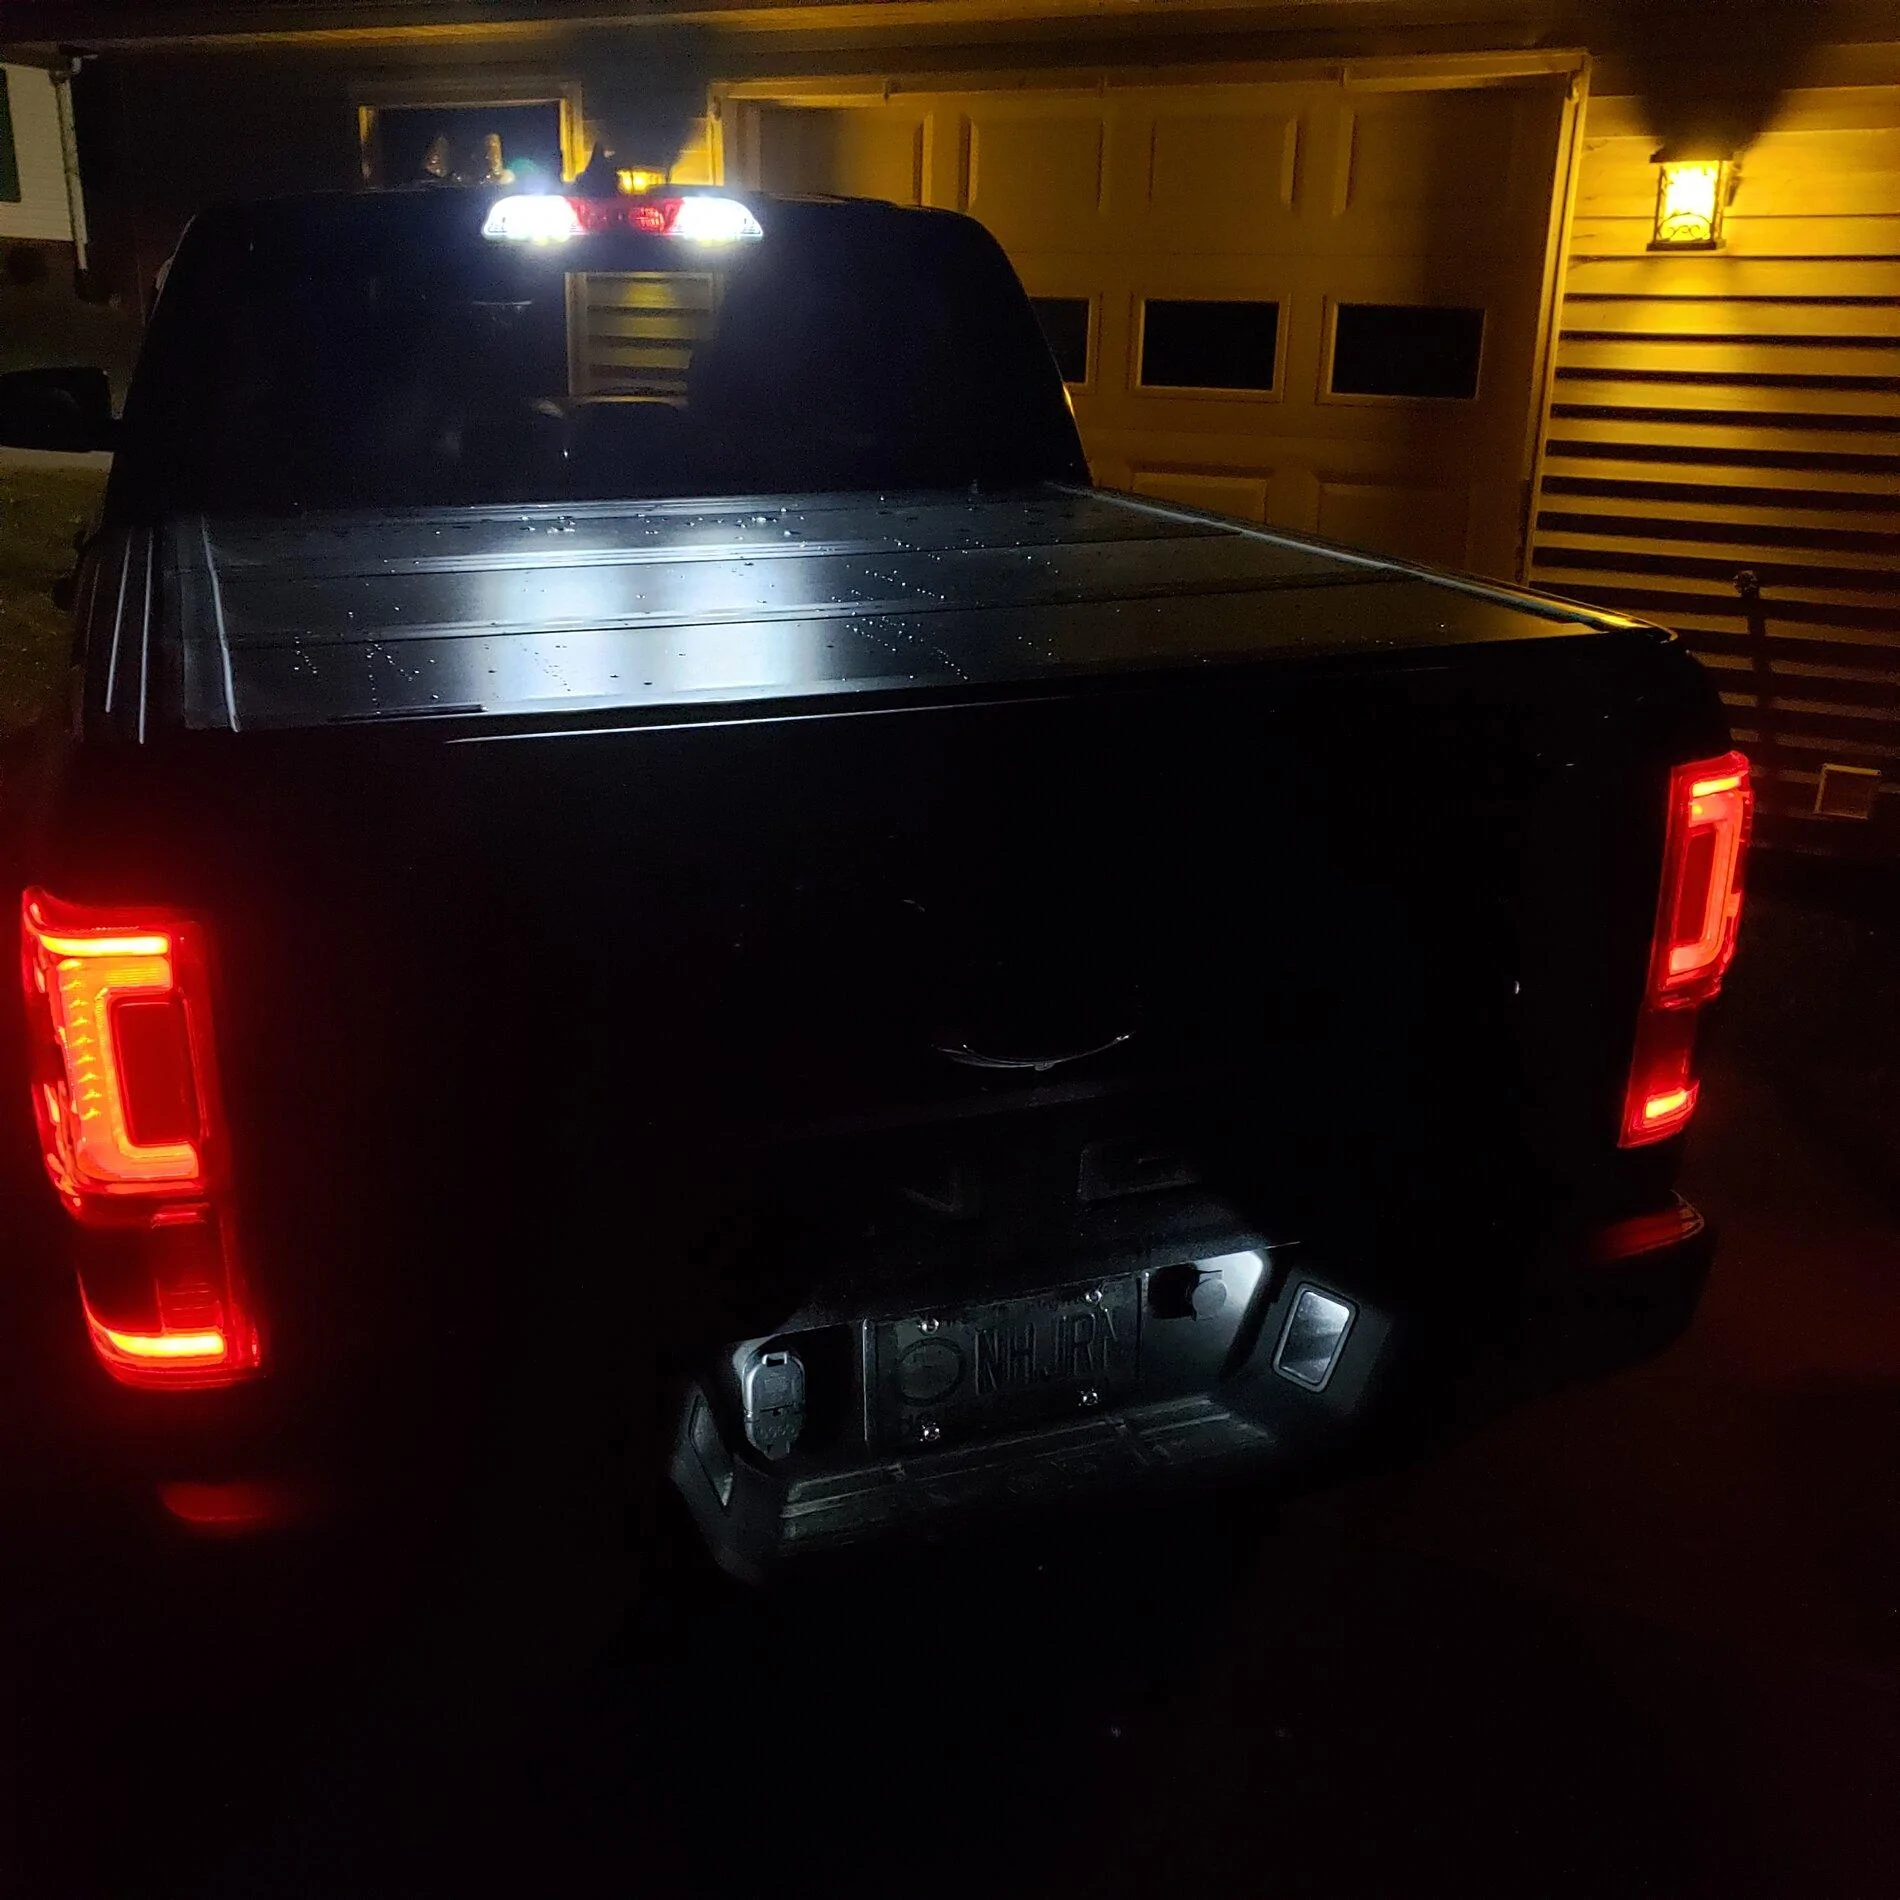
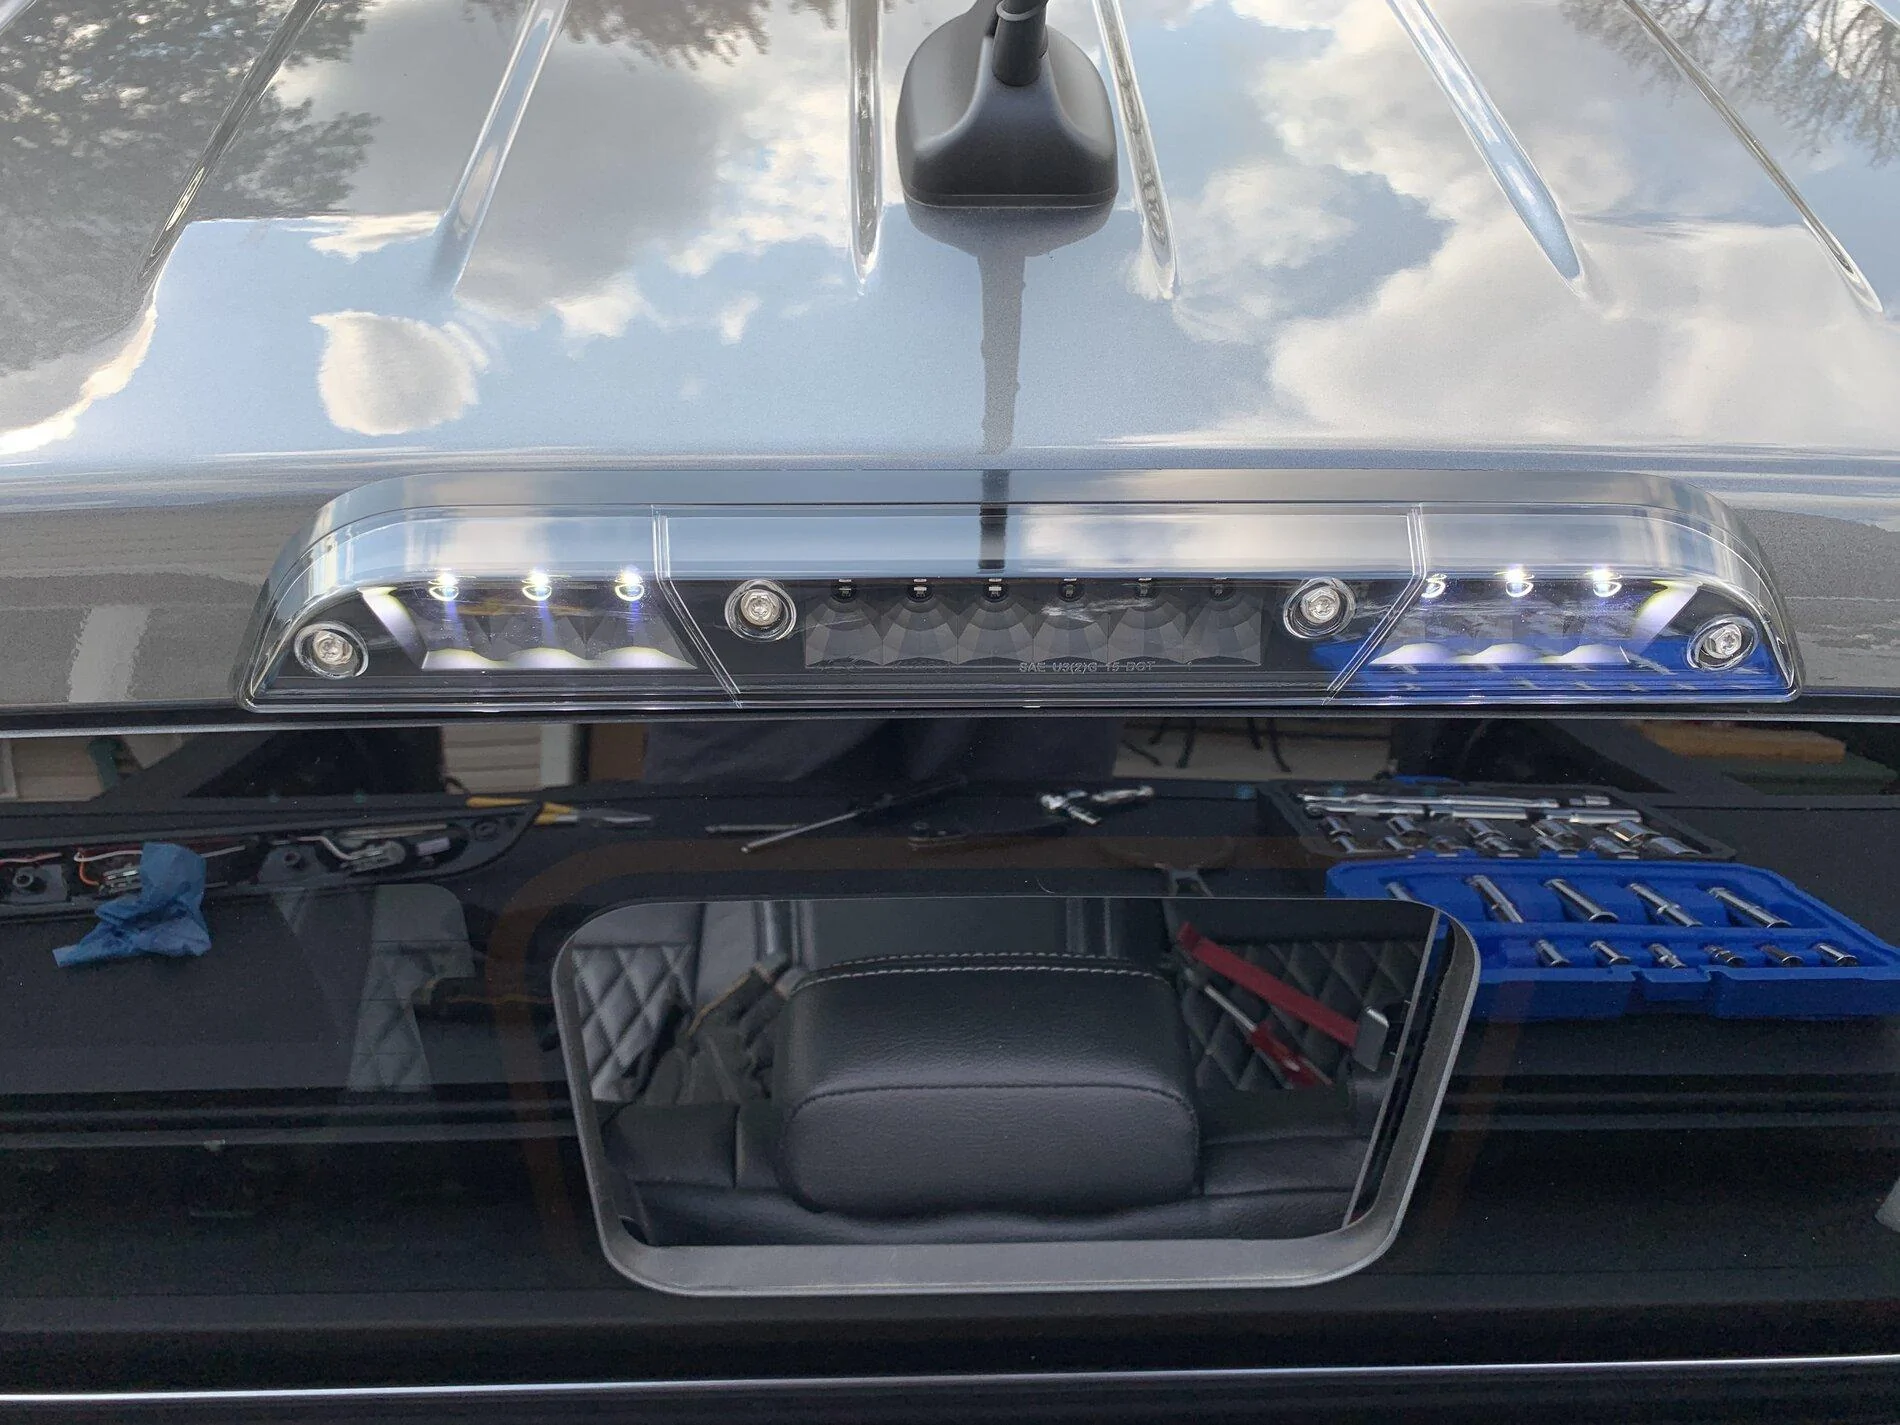
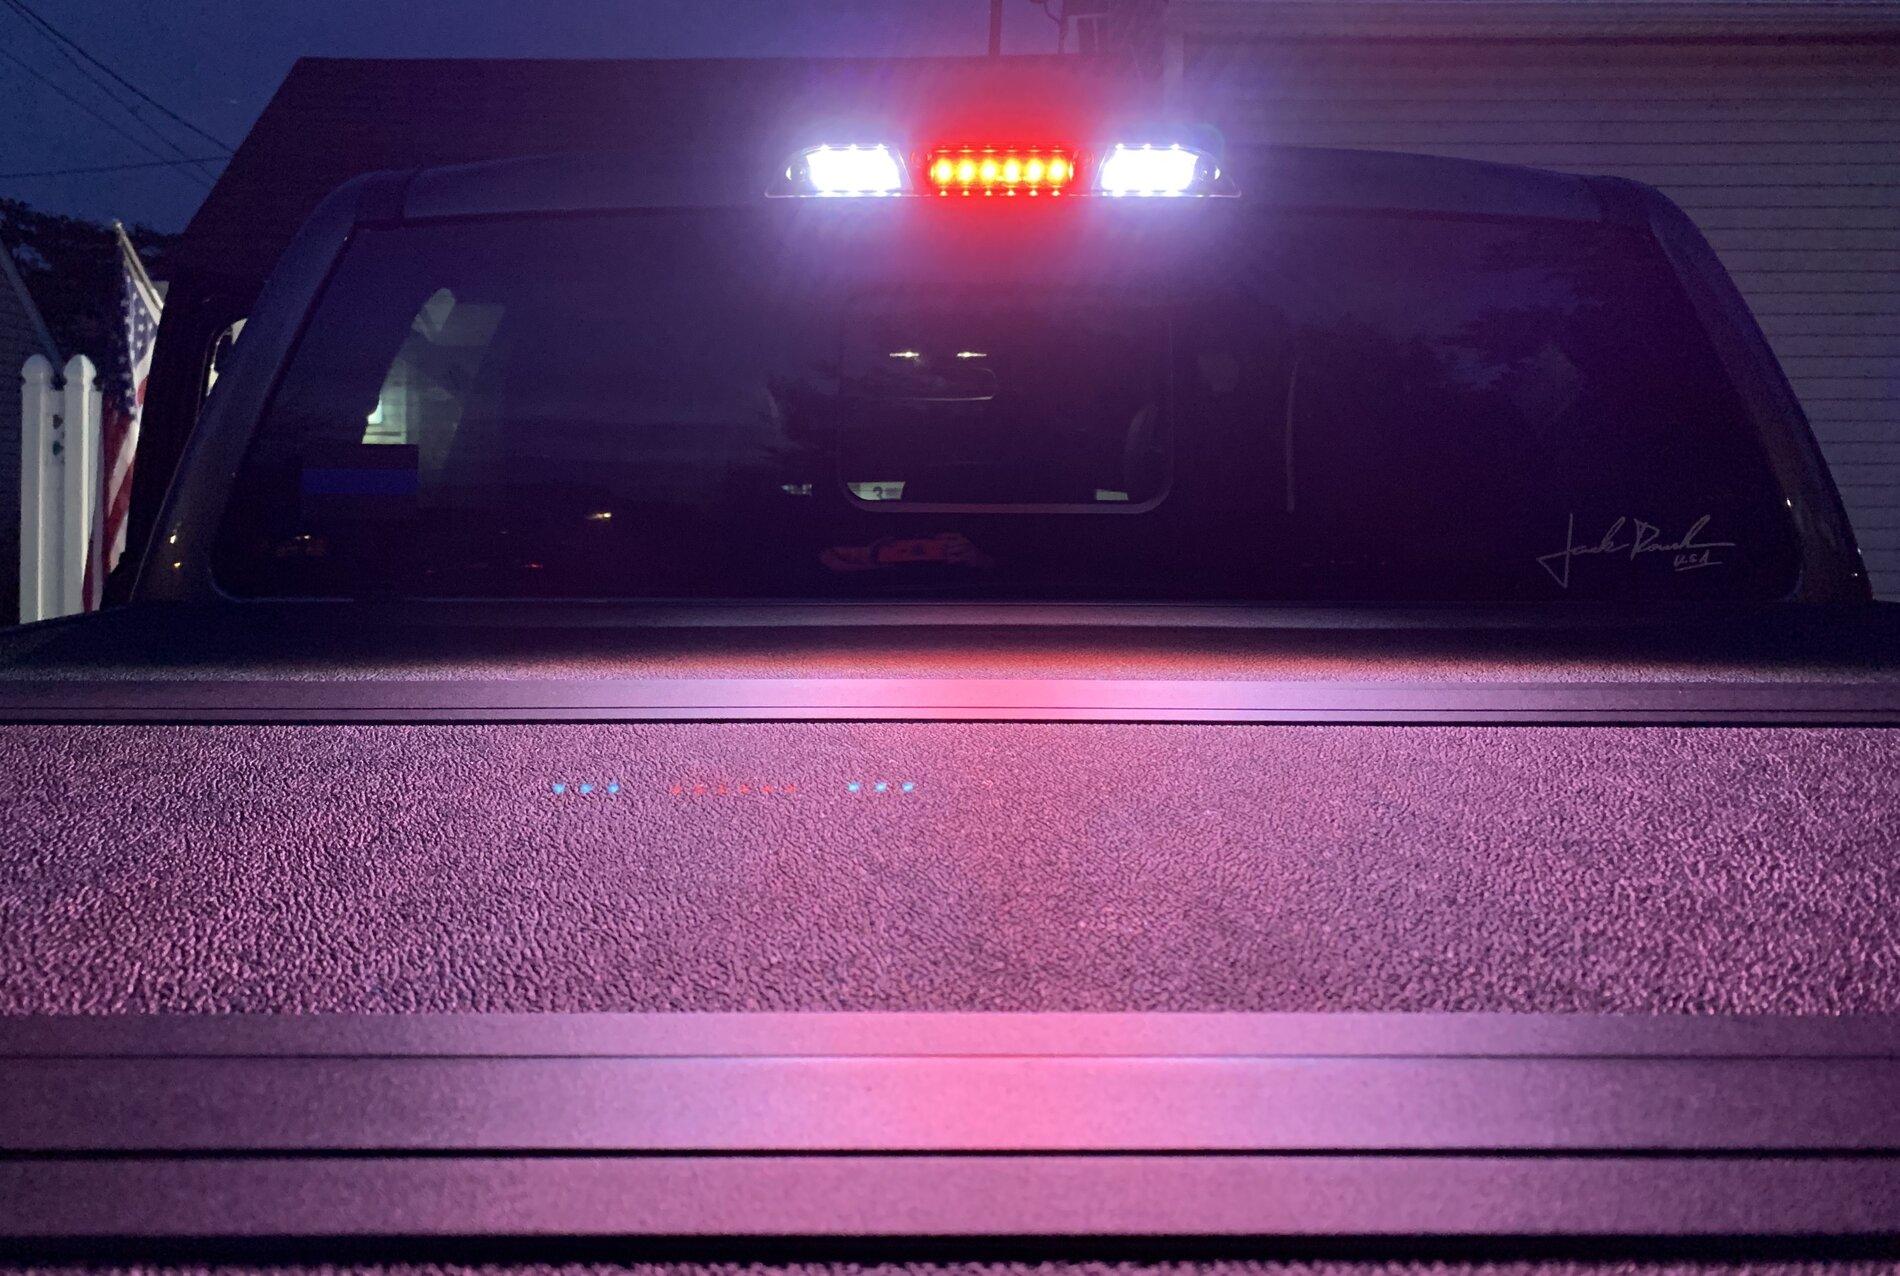
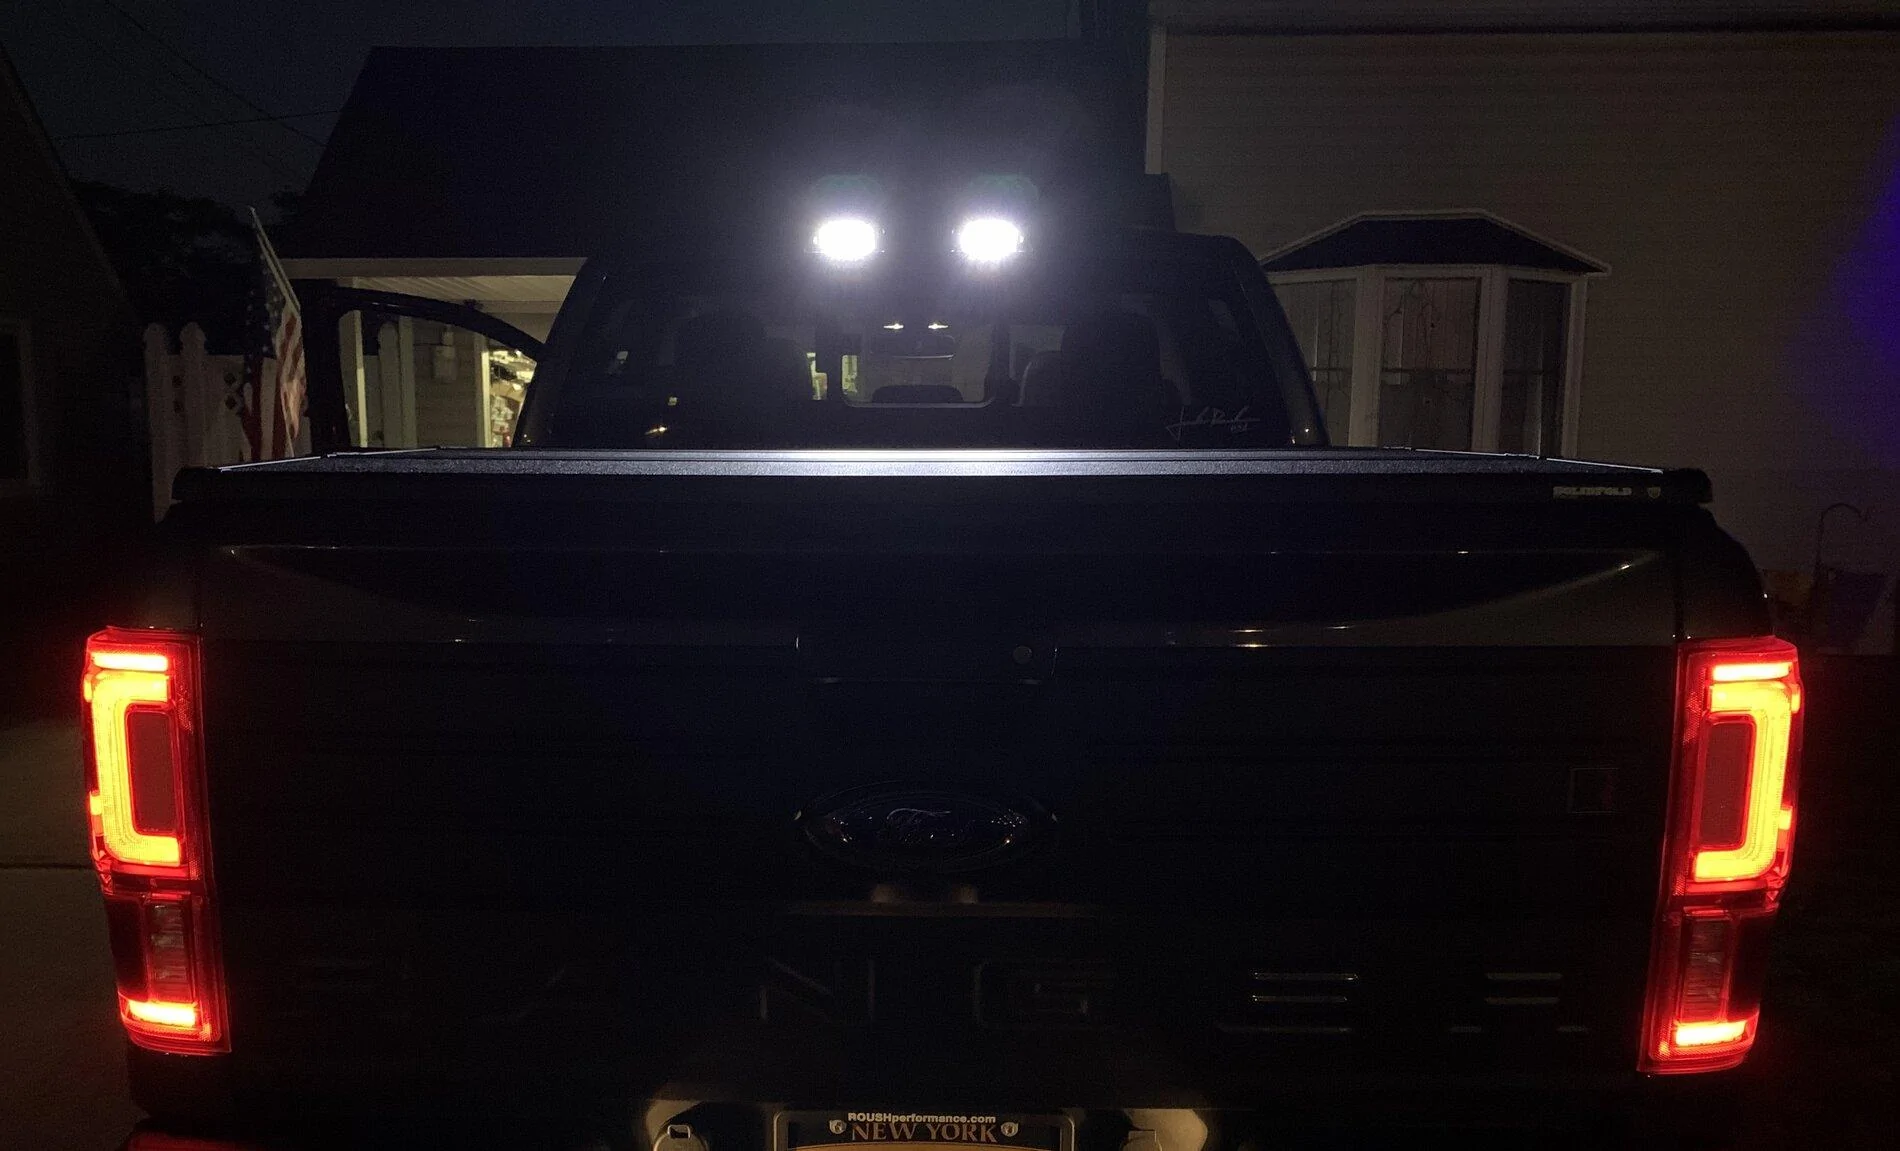
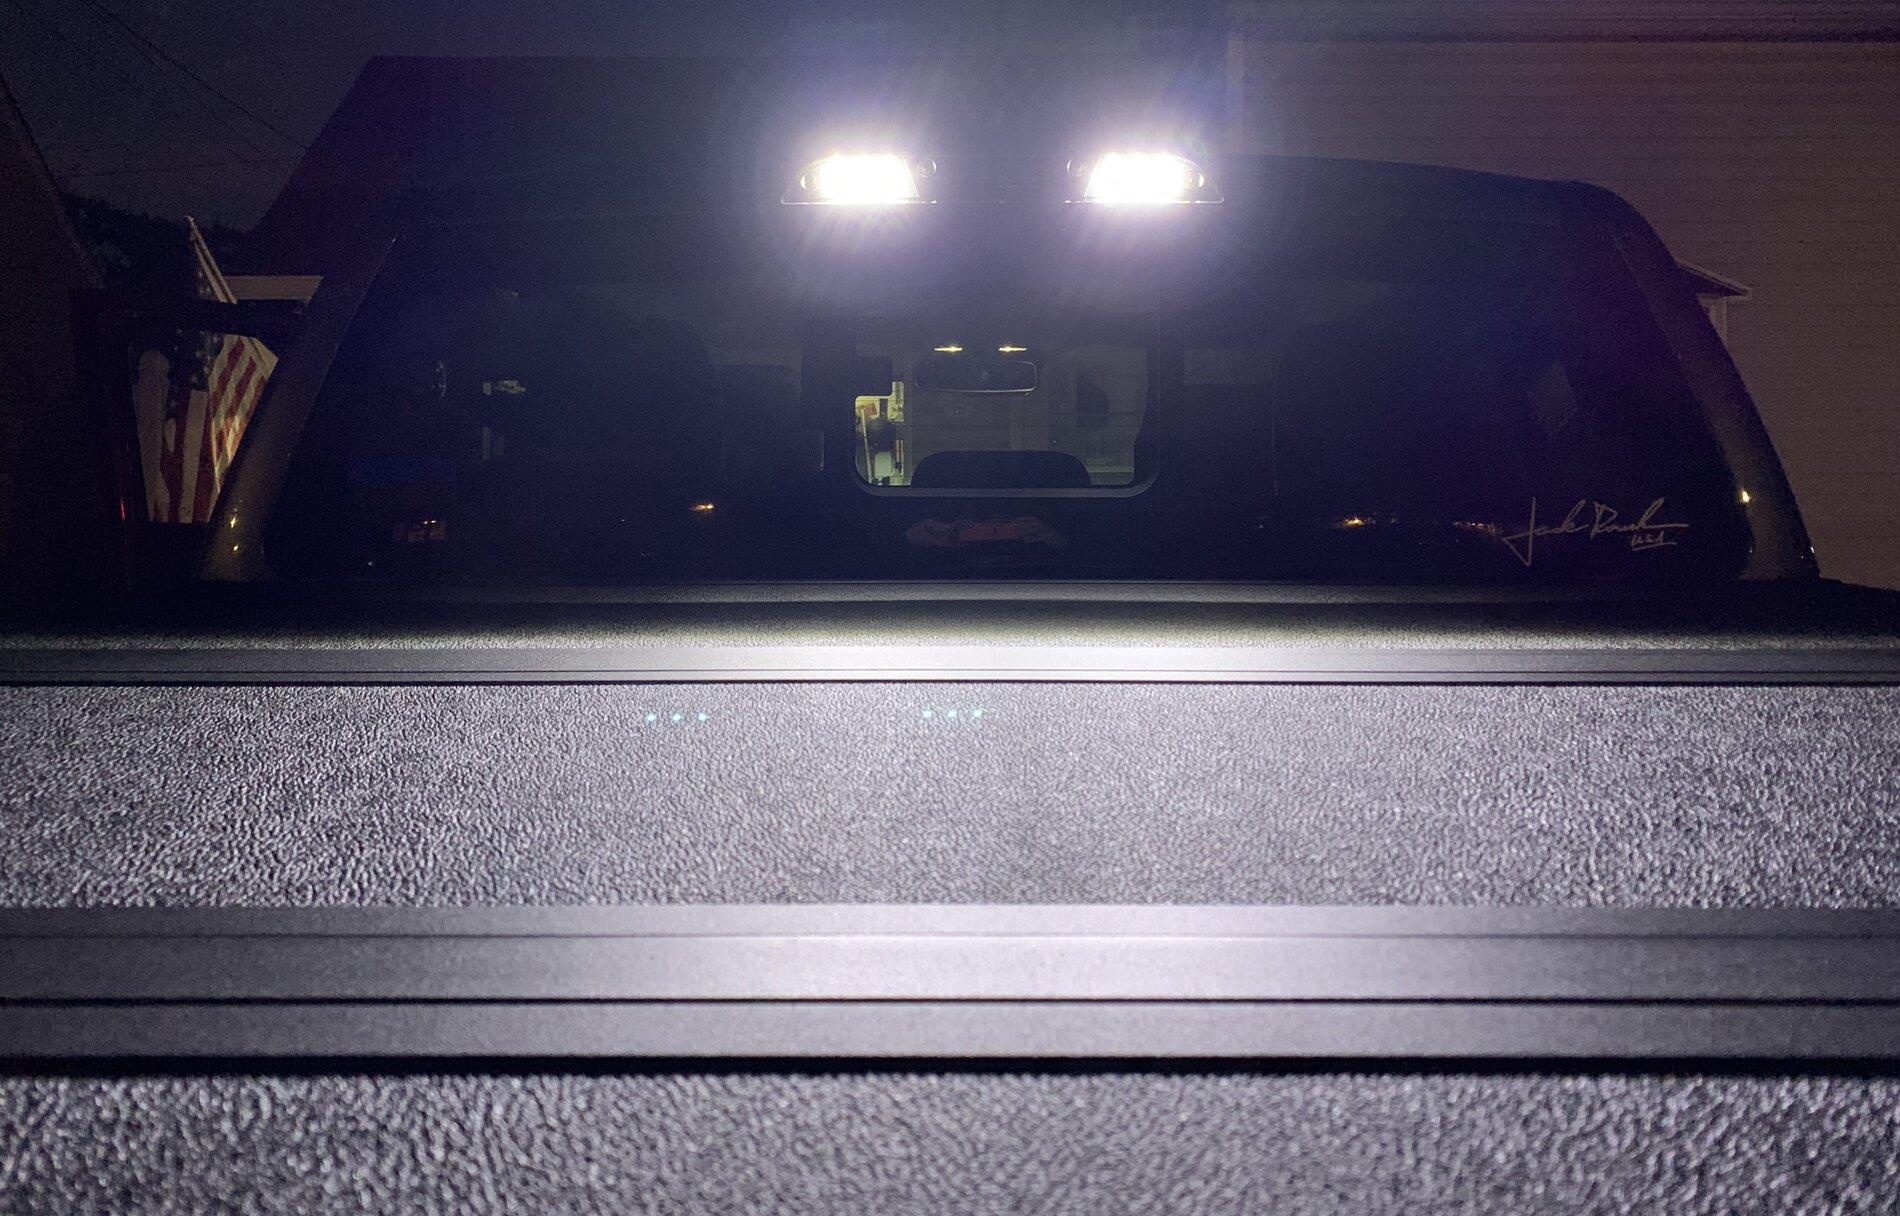
Once you‘re satisfied that the new light you just added, works as it should...
(Check brake light, and cargo light function)
Carefully guide and replace the headliner.
Install the new light assembly using the 4 oem screws, check that the included gasket seals properly, and your done!
Hope this helps somebody in the forum and save some future headaches. lol


https://www.amazon.com/gp/product/B07BTPSQWJ/ref=ppx_yo_dt_b_asin_title_o08_s00?ie=UTF8&th=1
I thought the blackout look would compliment the magnetic paint on my Ranger.
Anyway, I thought it was an easy plug and play, but its not!
Removing the oem cargo/ brake light was easy, but unclipping and unplugging
the oem connector was a PITA! The oem wiring was too short to reach from the outside!
So, here’s a few pics and tips in case you decide to upgrade yours:
Get a moulding, trim piece removal tool similar to these two in the pics.
Carefully pry at the rear most end of the headliner (opening the center rear window would make things a bit easier esp if you have large hands)
Pry the headliner just enough to be able to reach in and unplug the cargo light from the oem connector.( see pic)
If you have the center rear window- open it up.
It would make it easier to put the clip back into the oem holes.
( from the outside, reach in through the center window and into the open area of the headliner, while looking through the mount opening then pop the oem clips back into place) It will make sense if you look at the pic.
Once you‘re satisfied that the new light you just added, works as it should...
(Check brake light, and cargo light function)
Carefully guide and replace the headliner.
Install the new light assembly using the 4 oem screws, check that the included gasket seals properly, and your done!
Hope this helps somebody in the forum and save some future headaches. lol
Sponsored


 Happens a lot. or maybe its a sign to save money