OP
OP
OFC Ranger
Well-Known Member
- Thread starter
- #91
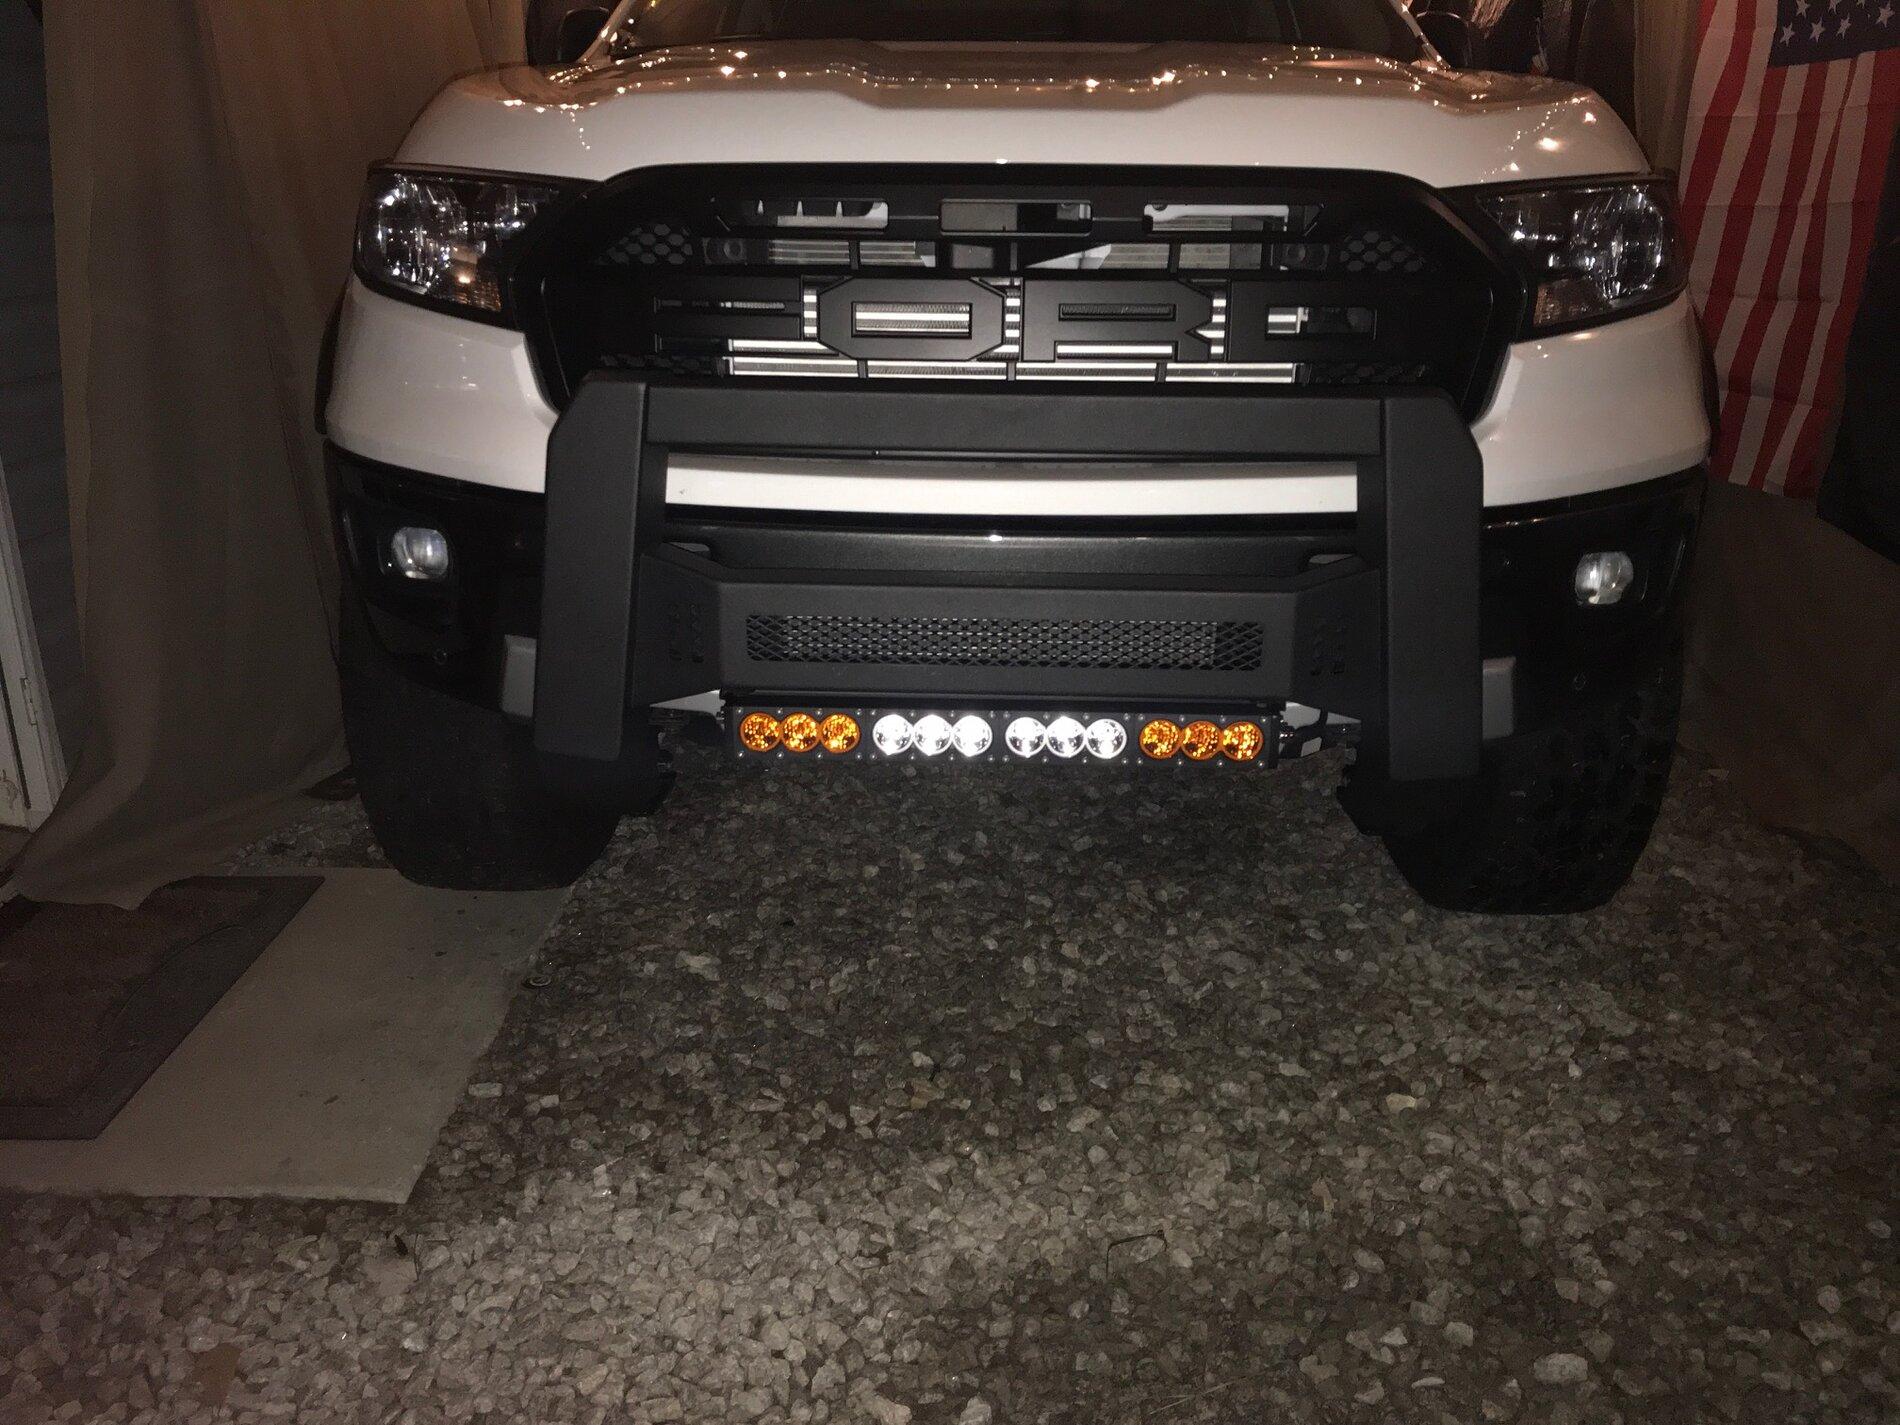
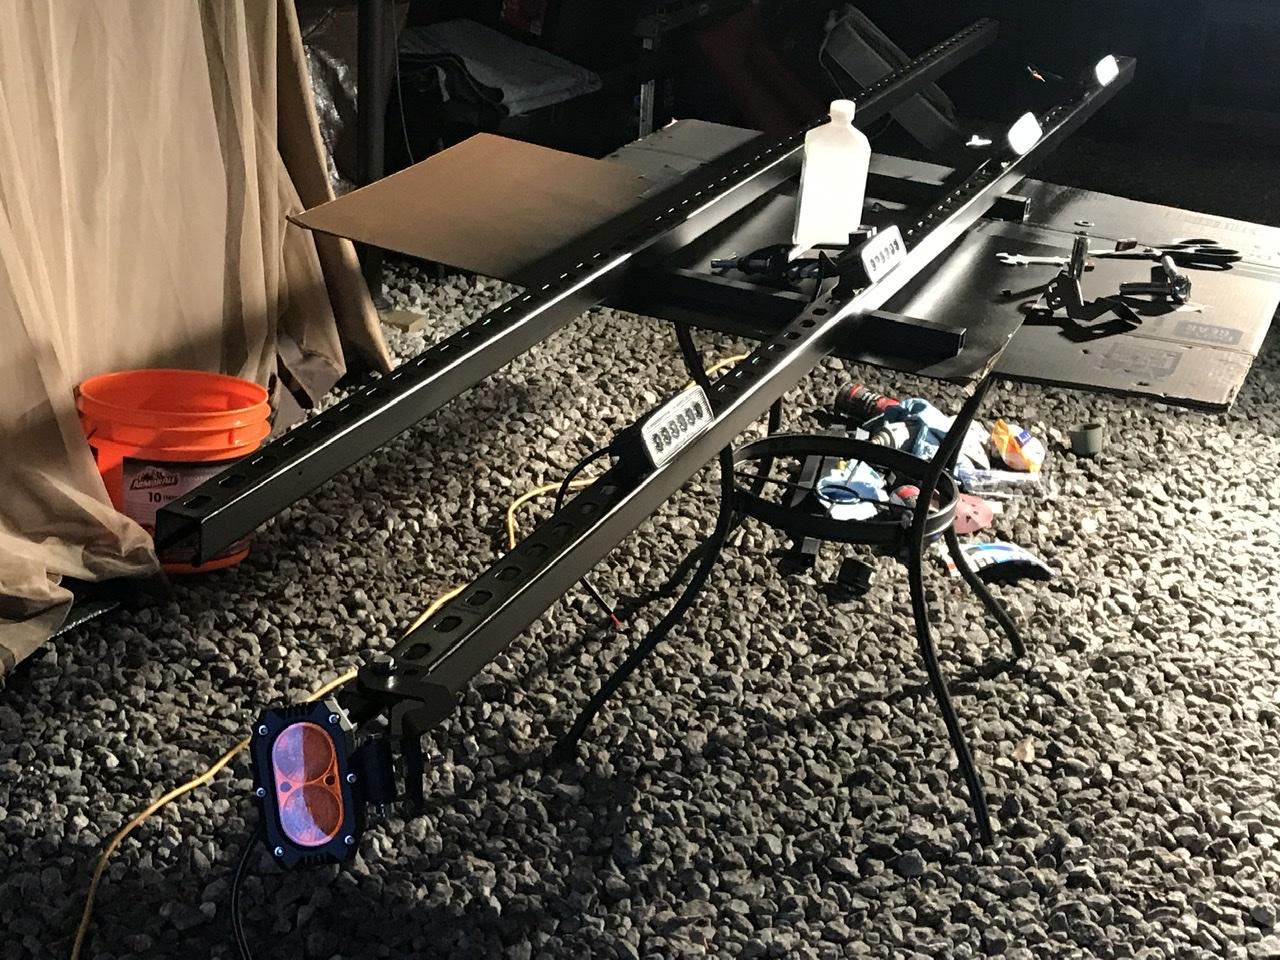
New light bar should be here Thursday.
Also I think I have an idea for a ladder system using some 45 degree stand off brackets I had sitting around in a spare parts bin. I think I am going to build a telescopic system from scratch using aluminum again.

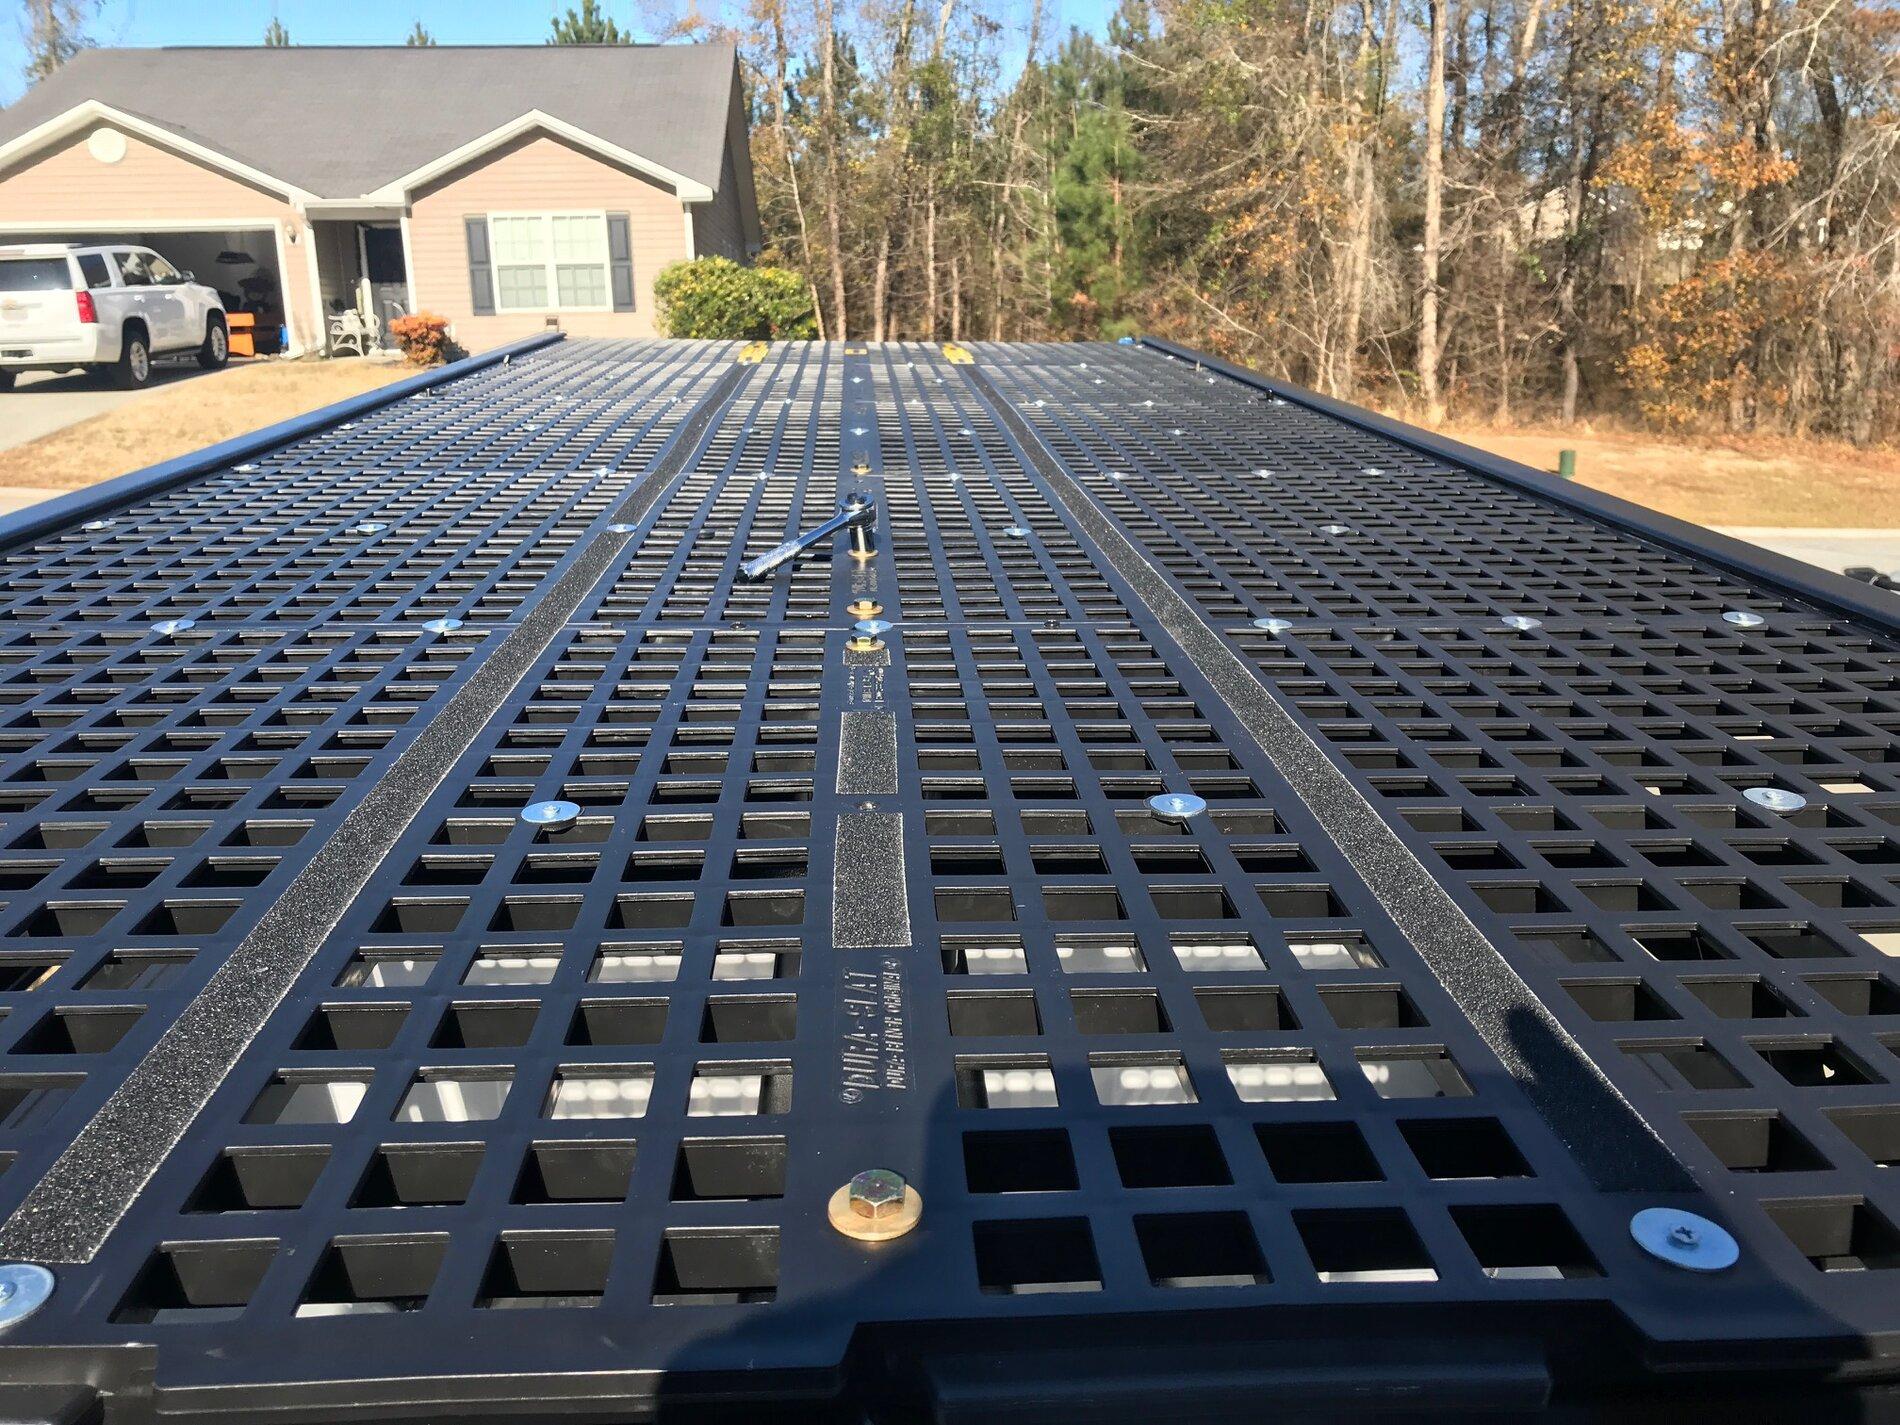
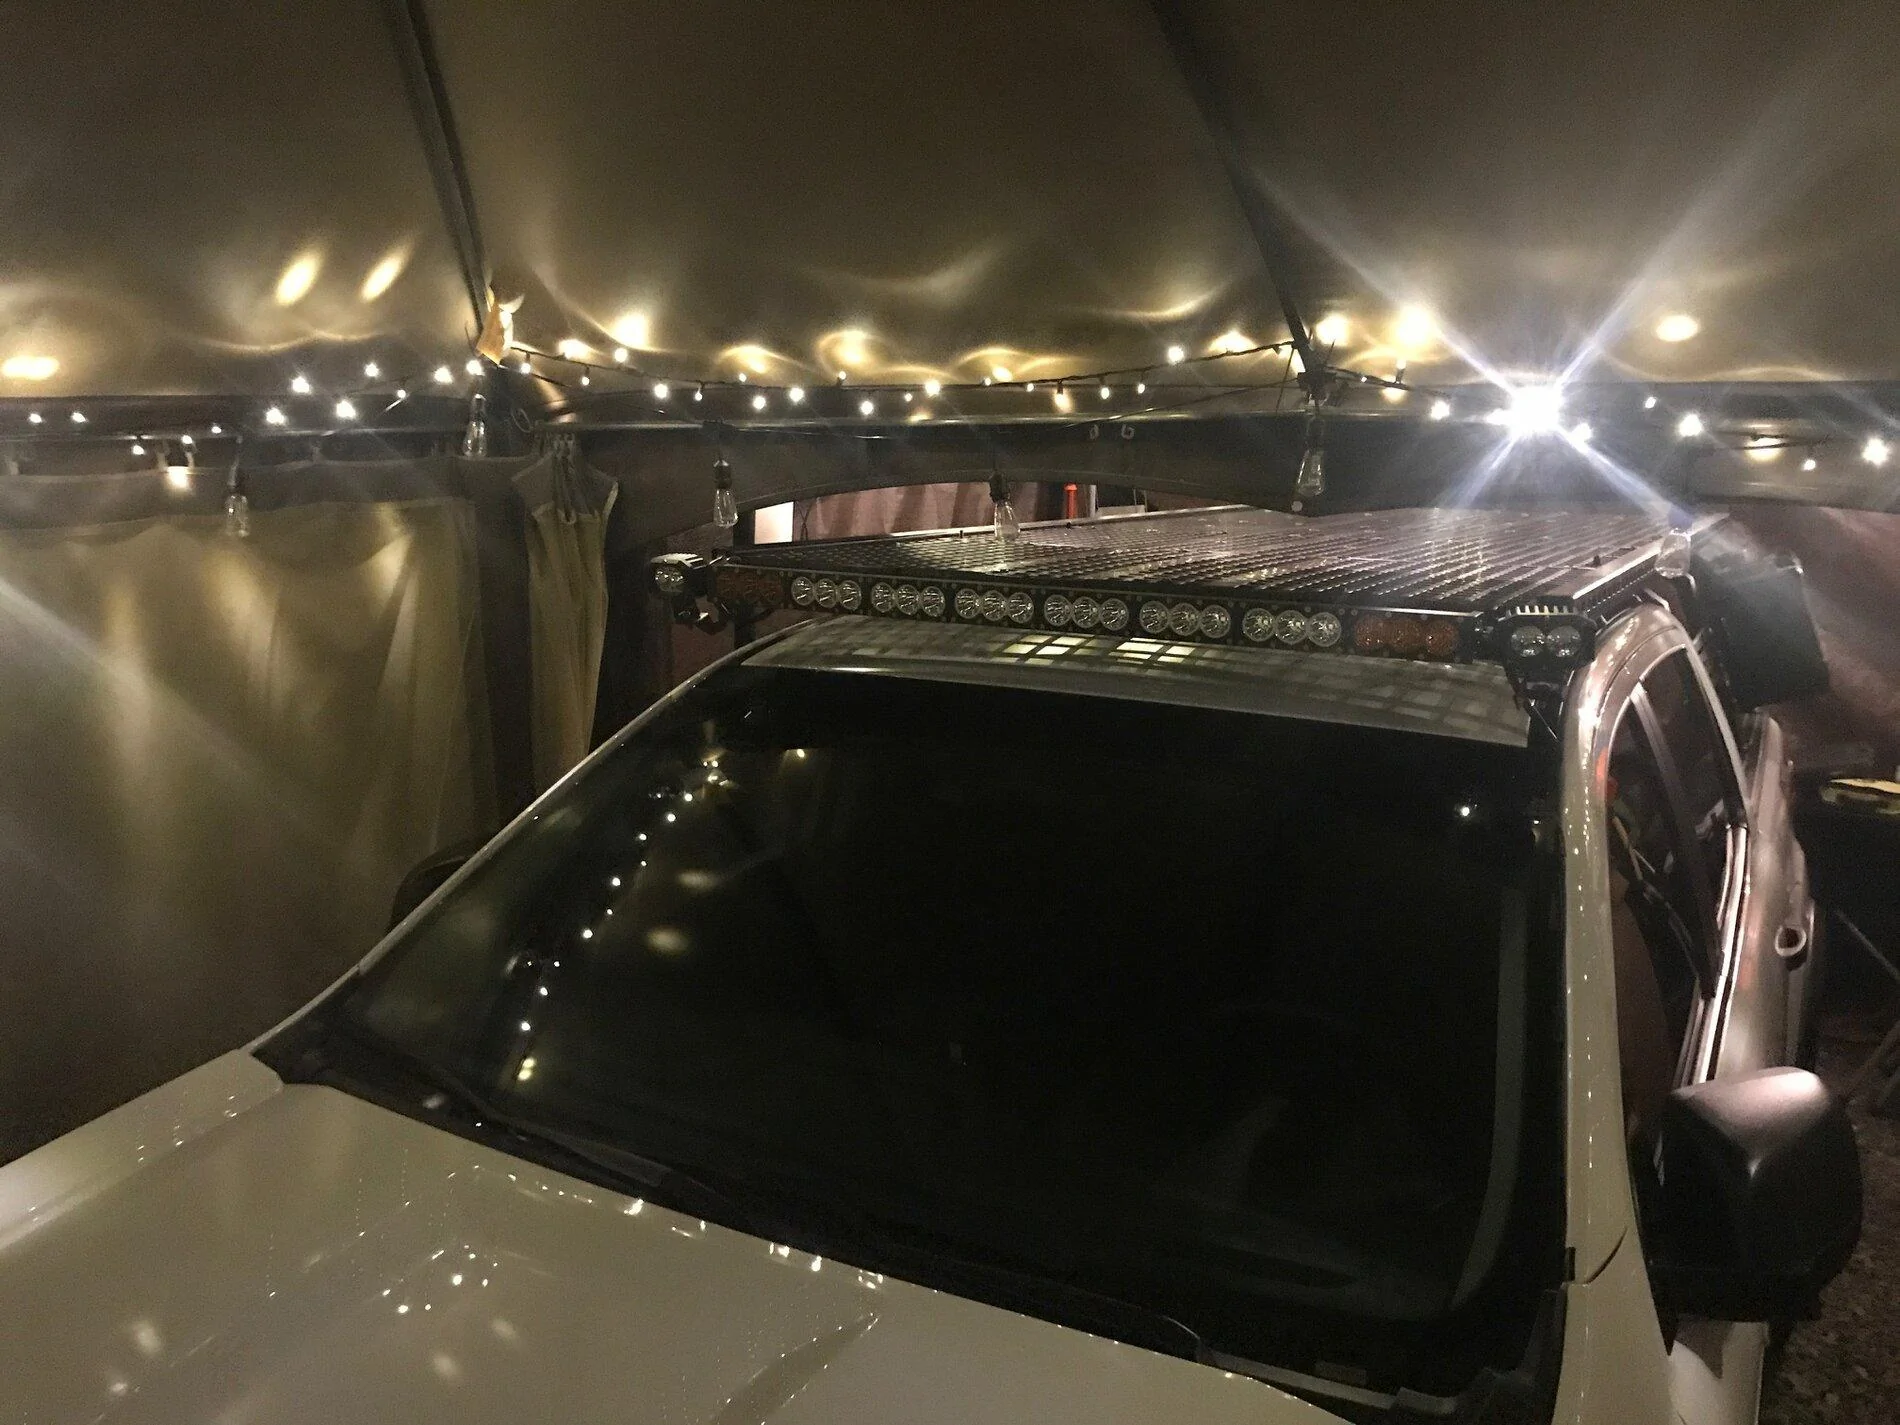
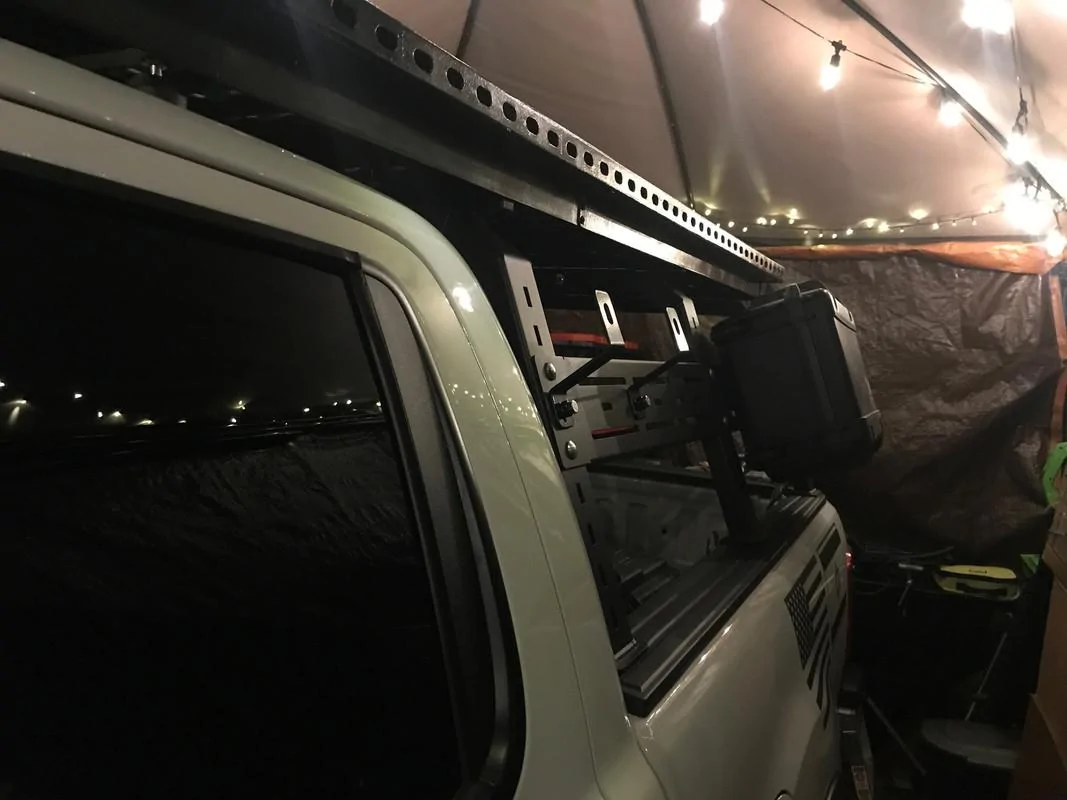
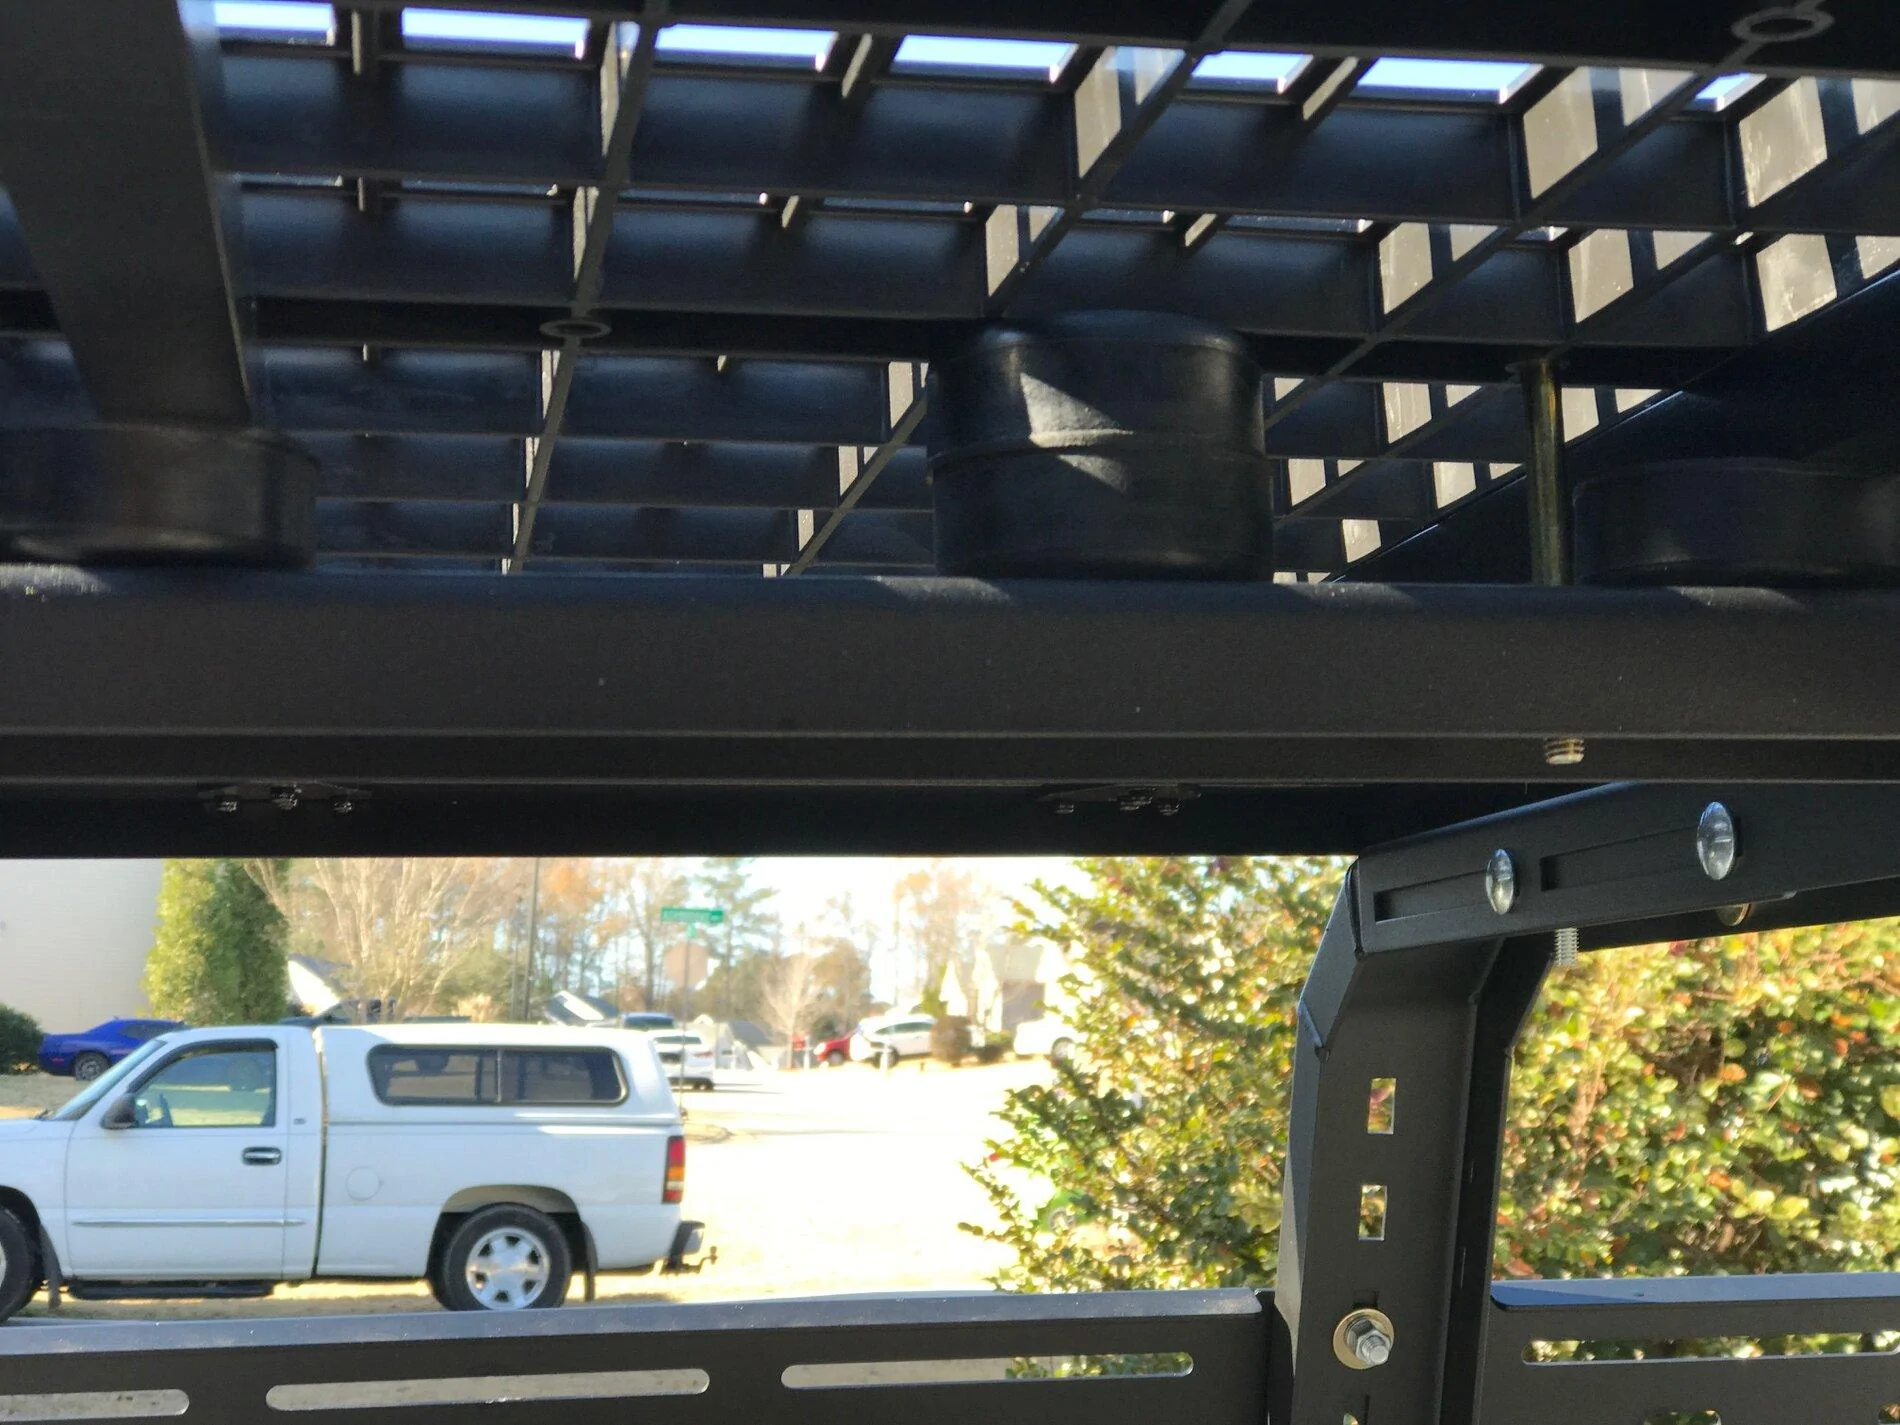
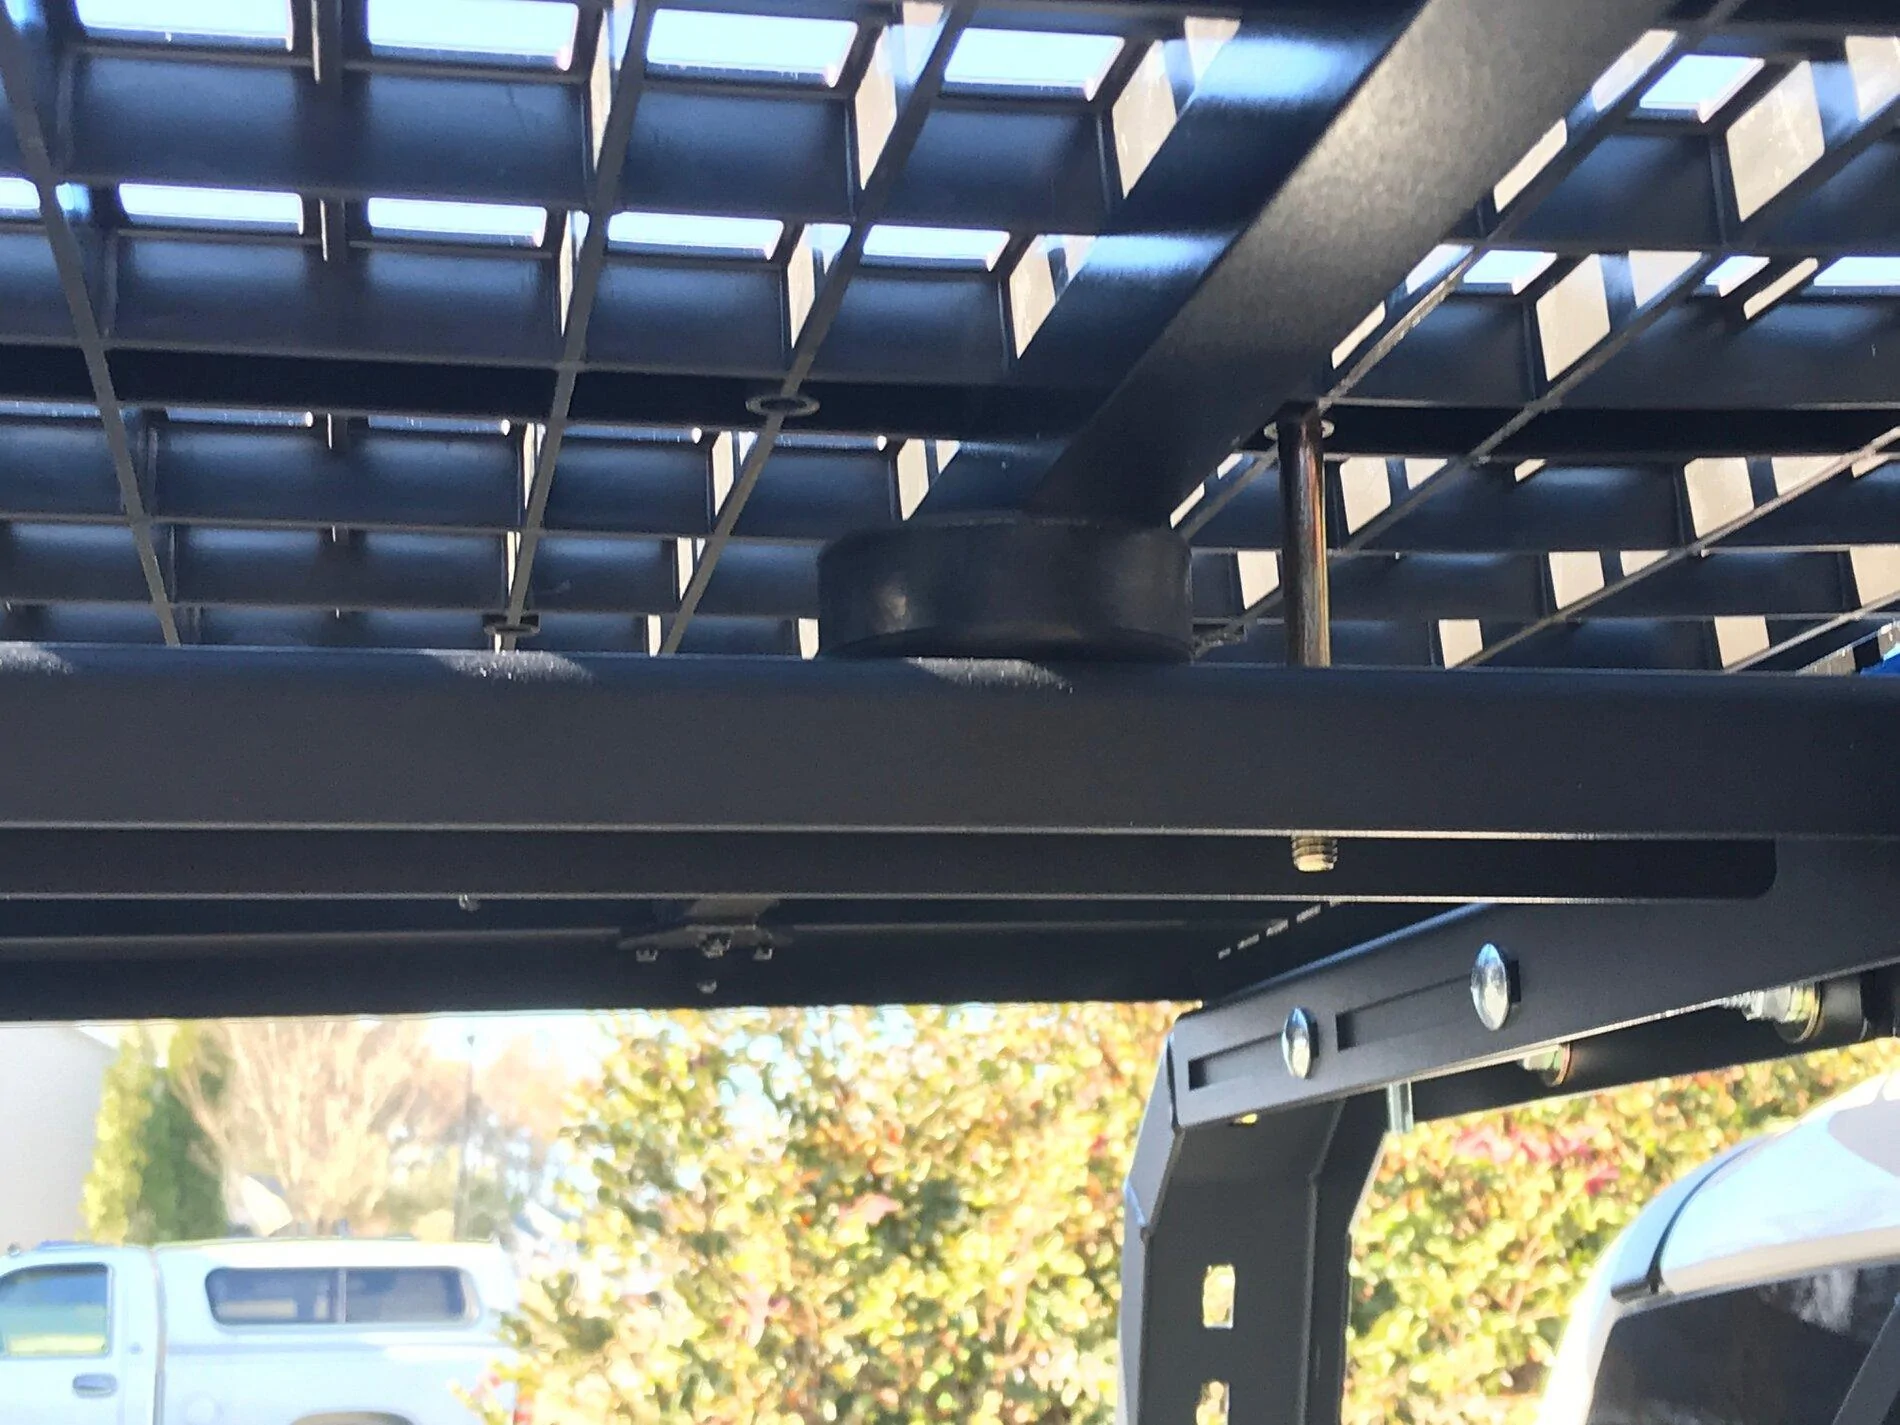
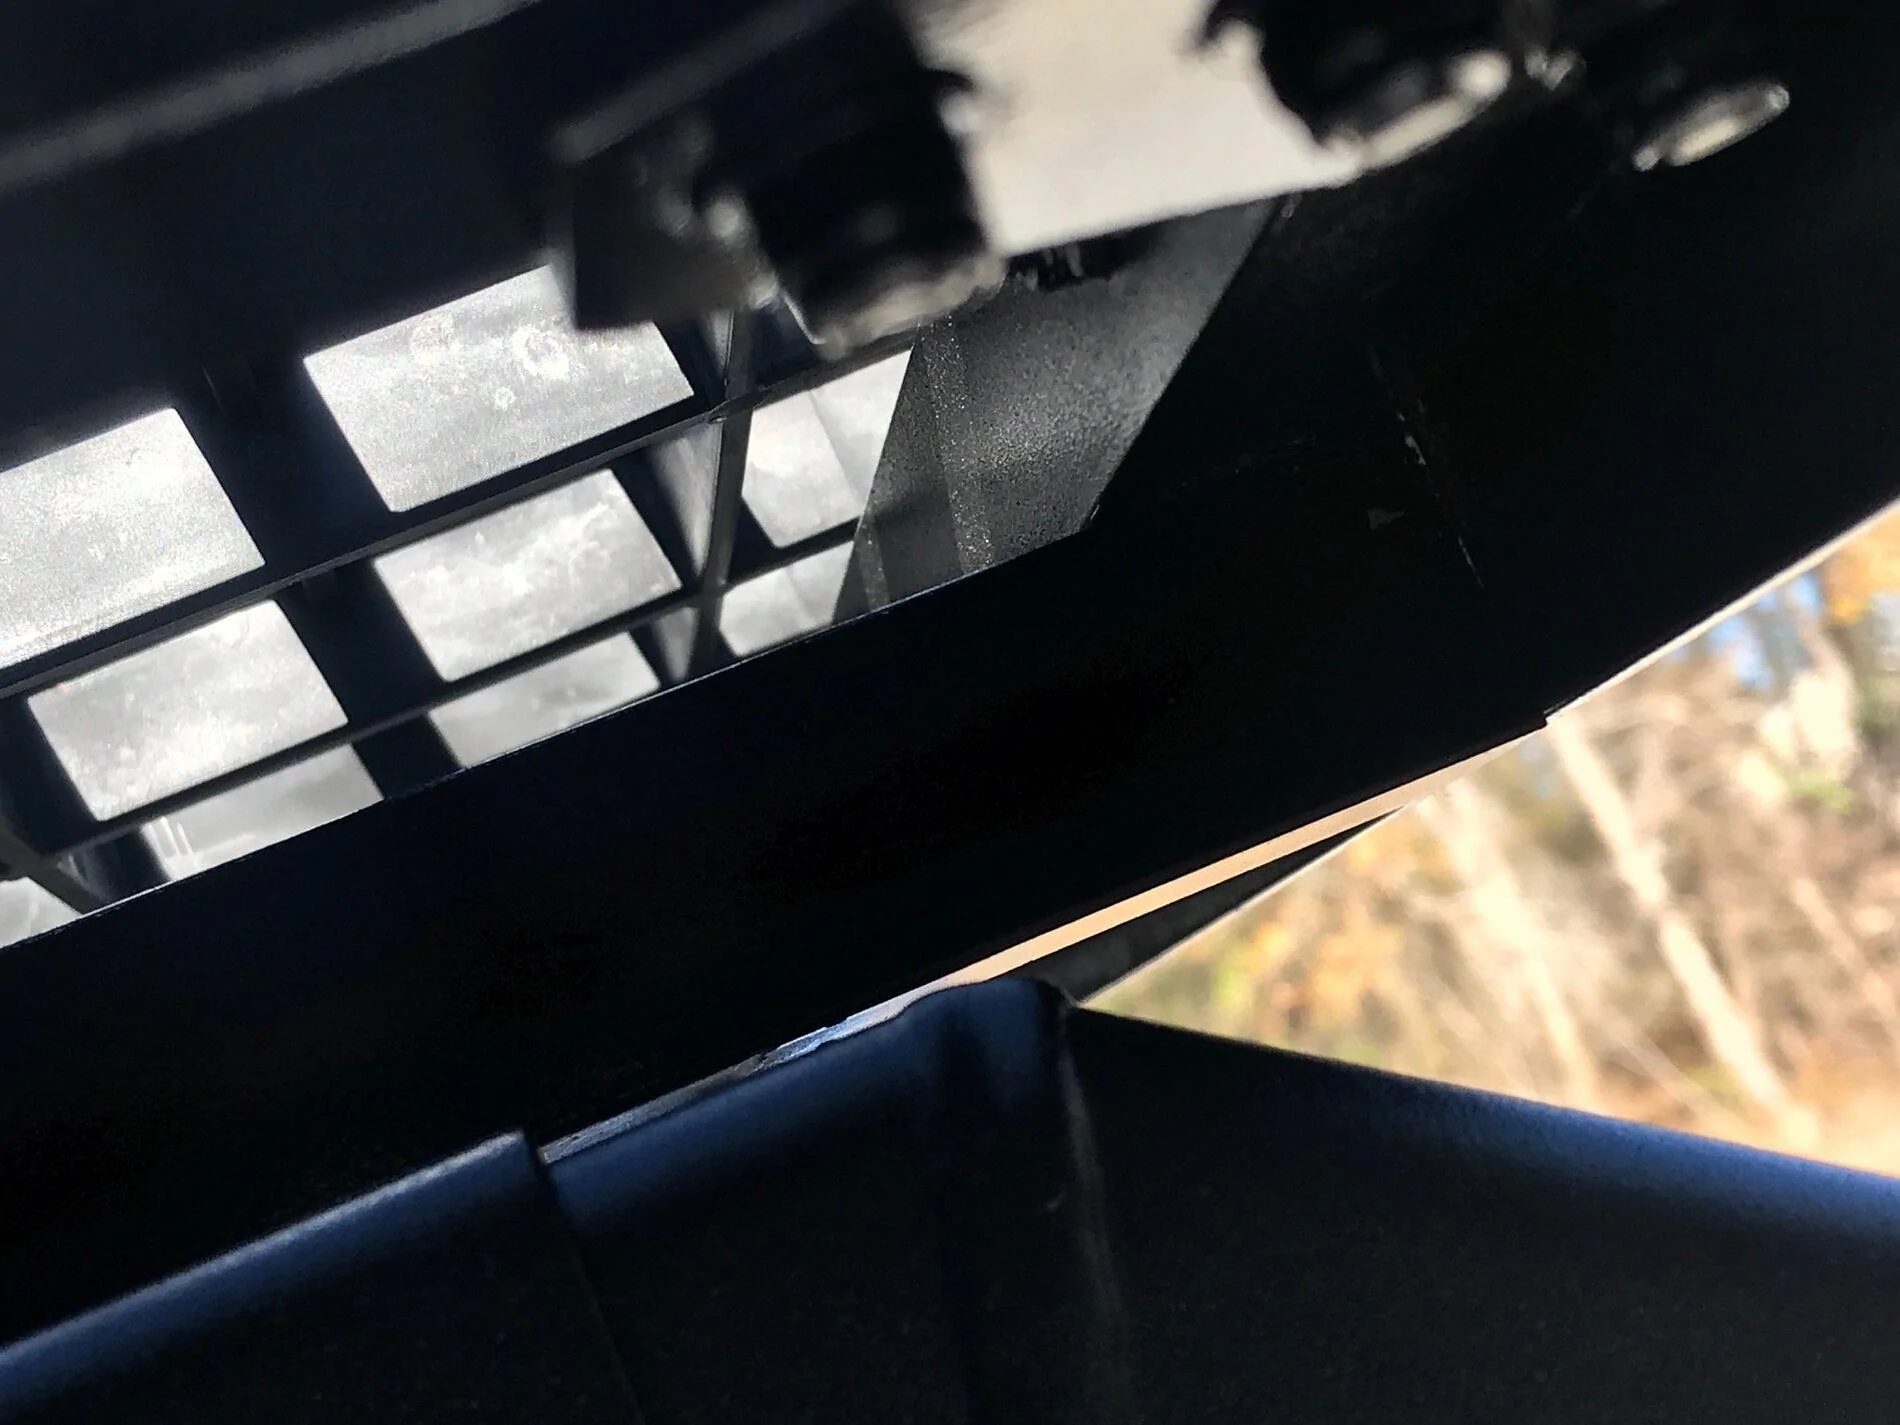
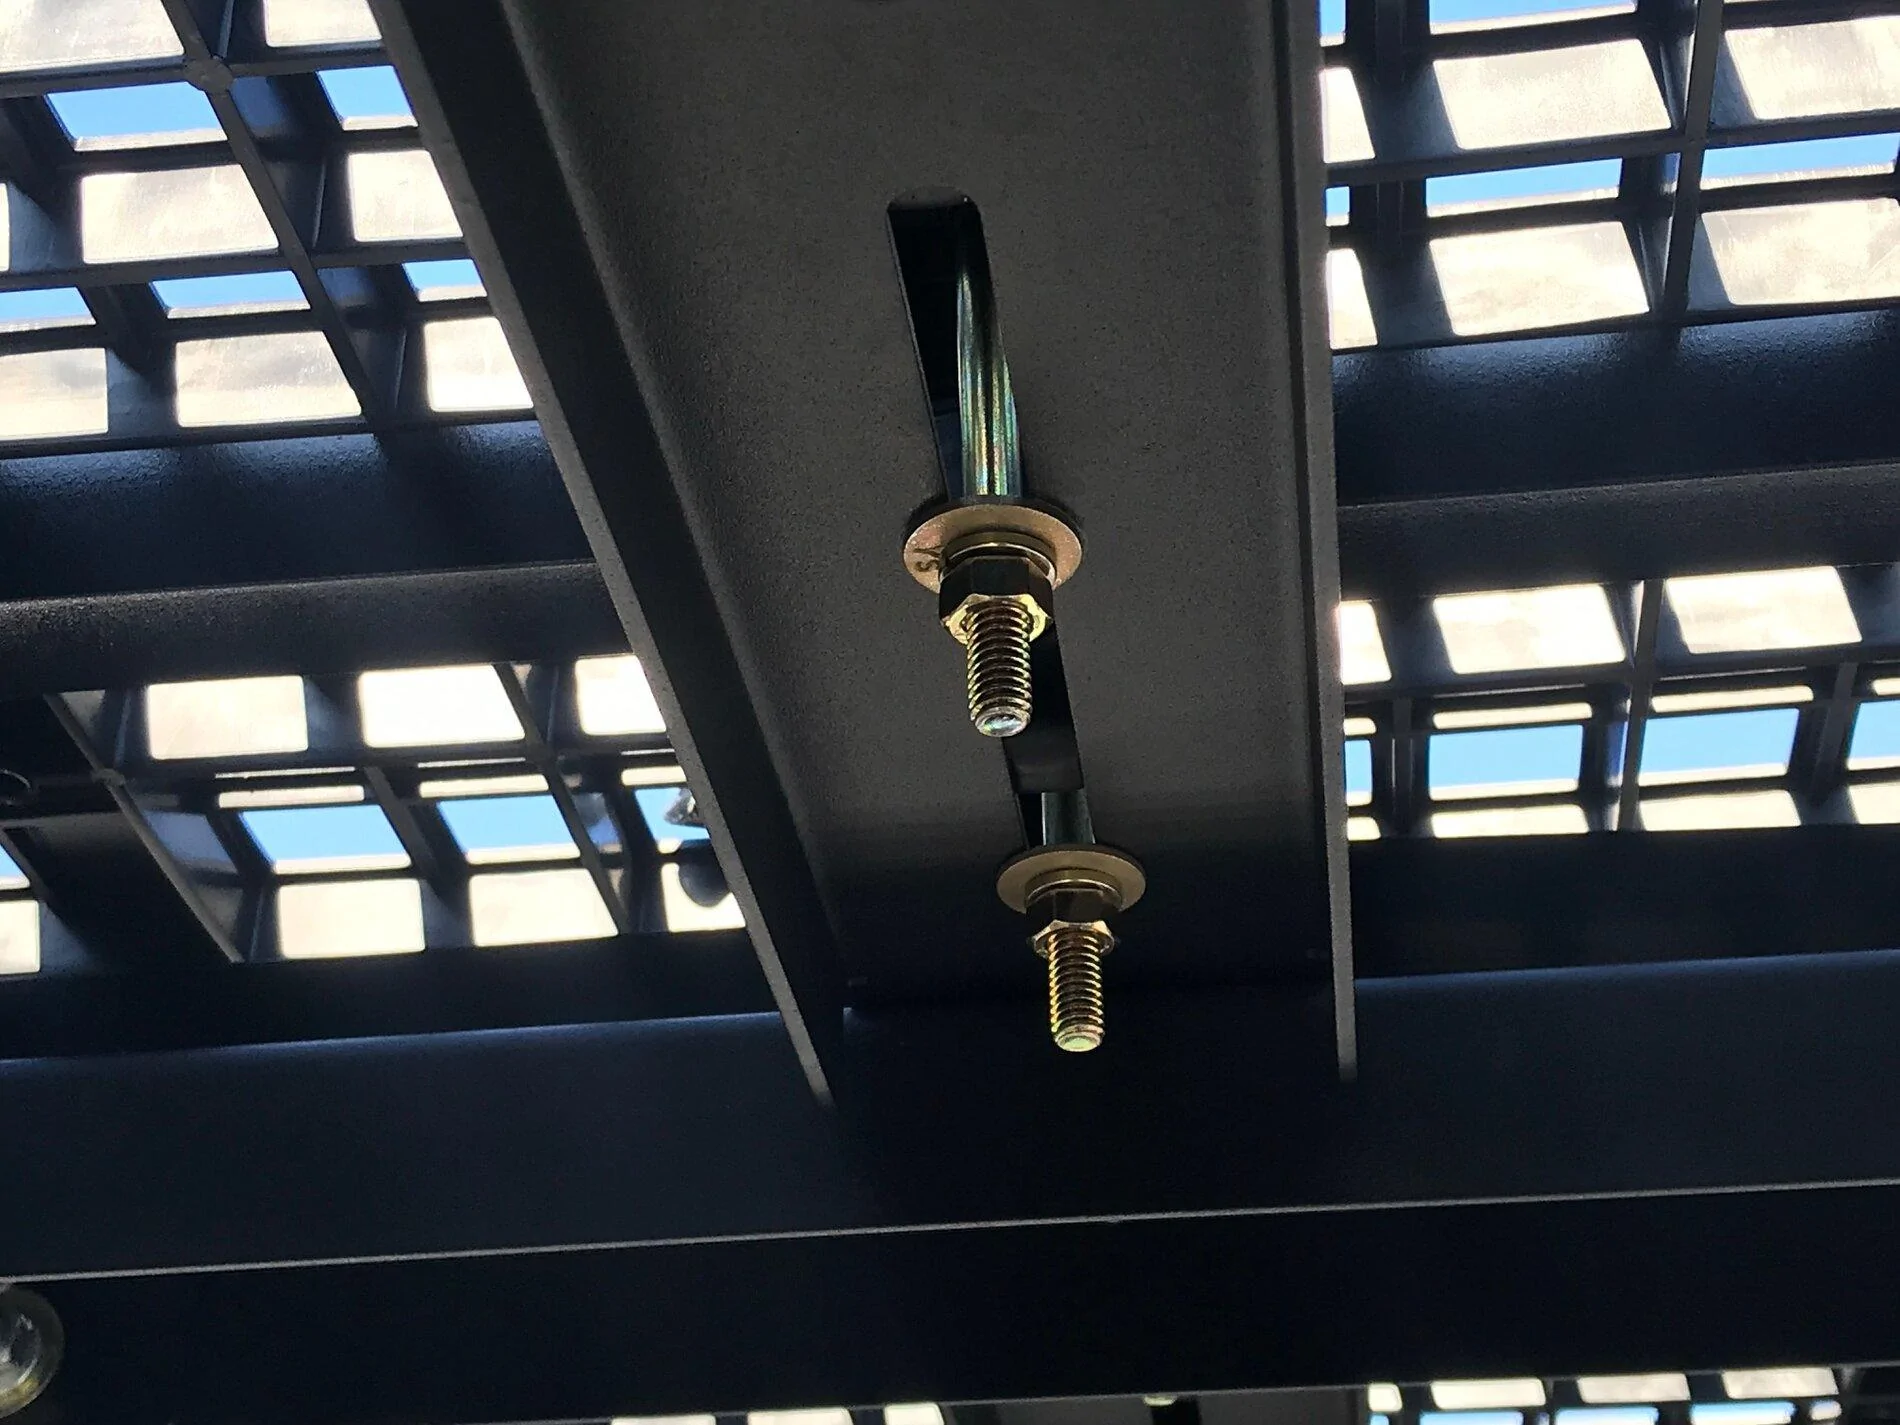
Also here are some more details regarding platform support. The outside rests on additional aluminum square attached directly to the RCI bed rack. The cross-beams get extra support by way of these jumbo rubber spacers. The spacers are then sandwiched with no possibily of movement once the carriage bolts are tightened down which connects the upper rack directly through the middle spine of the RCI bed rack. I can say without a doubt any possible failure, even in extreme off road conditions would have to occur above the cab, but even then, I am beginning to doubt any failure could occur up there either. Once the steel skirting was installed it was like the aluminum frame putting on armor.
There is virtually no give in the rack even when my big butt stands on top.

Also I think I have an idea for a ladder system using some 45 degree stand off brackets I had sitting around in a spare parts bin. I think I am going to build a telescopic system from scratch using aluminum again.
Also here are some more details regarding platform support. The outside rests on additional aluminum square attached directly to the RCI bed rack. The cross-beams get extra support by way of these jumbo rubber spacers. The spacers are then sandwiched with no possibily of movement once the carriage bolts are tightened down which connects the upper rack directly through the middle spine of the RCI bed rack. I can say without a doubt any possible failure, even in extreme off road conditions would have to occur above the cab, but even then, I am beginning to doubt any failure could occur up there either. Once the steel skirting was installed it was like the aluminum frame putting on armor.
There is virtually no give in the rack even when my big butt stands on top.
Sponsored