Dr_Strangelove
Well-Known Member
- First Name
- Adam
- Joined
- Oct 14, 2022
- Threads
- 12
- Messages
- 1,136
- Reaction score
- 5,218
- Location
- Henderson, NV
- Vehicle(s)
- '22 XLT Supercrew 4x4
- Occupation
- Art, Design, Photo & Video
- Thread starter
- #1
I spent last weekend applying Adam's UV Ceramic Coating to my brand new truck and am very happy with the results; insofar as the application and finished product go. I will update this thread periodically to update everyone as to how happy I am with the longevity of the product. According to the instructions, with proper ceramic coating maintenance this is should be measured in years, which is why I decided to go with a ceramic coating over a wax.
Link to entire kit with UV flashlight included ($105 at of time of posting): https://adamspolishes.com/collectio...ramic-paint-coating-uv?variant=31164282962017
I will not go over how to apply this product as it is applied exactly the same way as any other ceramic coating, and there are already an abundance of fantastic videos and write-up guides online for us to follow with a simple google search. What is special about this product, however, is the UV dye additive in the Adam's ceramic coating. Check this out:

Oooooooooo. It glooooooooows. (Under UV light.)

You can see on the right hand side of this fender panel where I have begun applying the product. Under UV light it glows in the dark! This leaves the installer 0 room for error in leaving streaks, smudges, or worse yet, a bald spot.
The kit comes with a few high quality microfiber towels for applying the included pre-treatment that removes all chemical & soap residues. It also comes with a post-treatment graphene spray which I'm sure is similar in nature to 303 Aerospace which is popular on these forums. It is recommended to maintain the coating every 3-months with either Adam's Ceramic Coating Spray or Adam's Graphene Spray. Which I'm sure is in itself doing quite a bit of the heavy lifting with regards to basic paint protection and water wicking properties. It also comes with the alcantara cloths and microfiber sponges for applying the ceramic product, and because I do not already own a UV light I purchased the kit that includes a UV flashlight.
What the kit does not come with is any of the products for the processes outside of the ceramic process. You will need your own automotive clay and detail spray for that process, you will need your own iron remover, and you will need your own polish and rotary buffer for the buffing stage. Those can be significant costs if you do not already own those items. Fortunately for me I already had everything else I needed.
I wanted to treat my paint as soon as possible because, although the truck's new-ness did not mean I could skip steps, It meant that my steps involved less scrubbing and less dubbing. Adam's Polishes - as well as every other ceramic coating manufacturer - makes it abundantly clear that for best results you must wash the car completely, clay bar the car, remove iron contaminants, rotary buff the paint, remove grease & residues (provided,) and then perform the ceramic treatment. Yeah. It's a lot of scrub-a-dub no matter which way you cut it. Even with a new vehicle this process took me a full working day from 8am to 5 pm to complete all steps. That explains why this treatment is so dang expensive if you do not DIY. That said, I did not find the process to be difficult whatsoever. The kit came with more than enough product to cover the entire truck. I felt that I over-applied to ensure 100% coverage and I was still left with 25% left of the bottle.
For what it is worth - because I would not recommend you make any assumptions about your own vehicle - by the time I had gotten to the iron remover stage I could not get the solution to change color anywhere I sprayed on the truck, so I believe that by the time I was done with the wash and clay I had managed to remove the little iron residue that had managed to get on my month-old (from blend date) vehicle. I probably could have skipped this step but I was already a "frog in the pot" so I took off my swim trunks and enjoyed the bubbles in the hot tub! "In cleaning my car, I clean my soul." - James May.
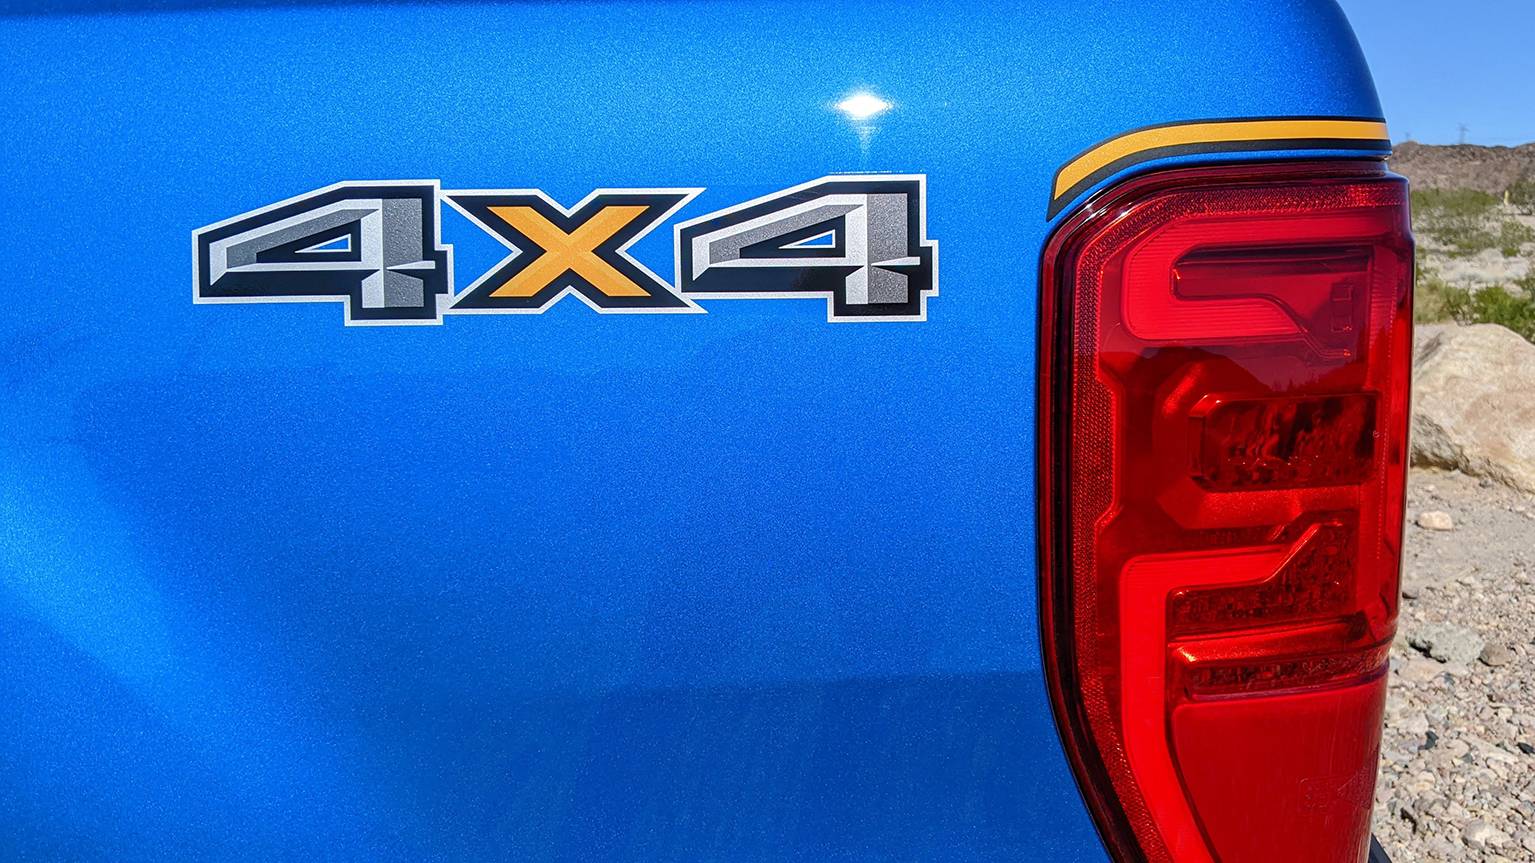
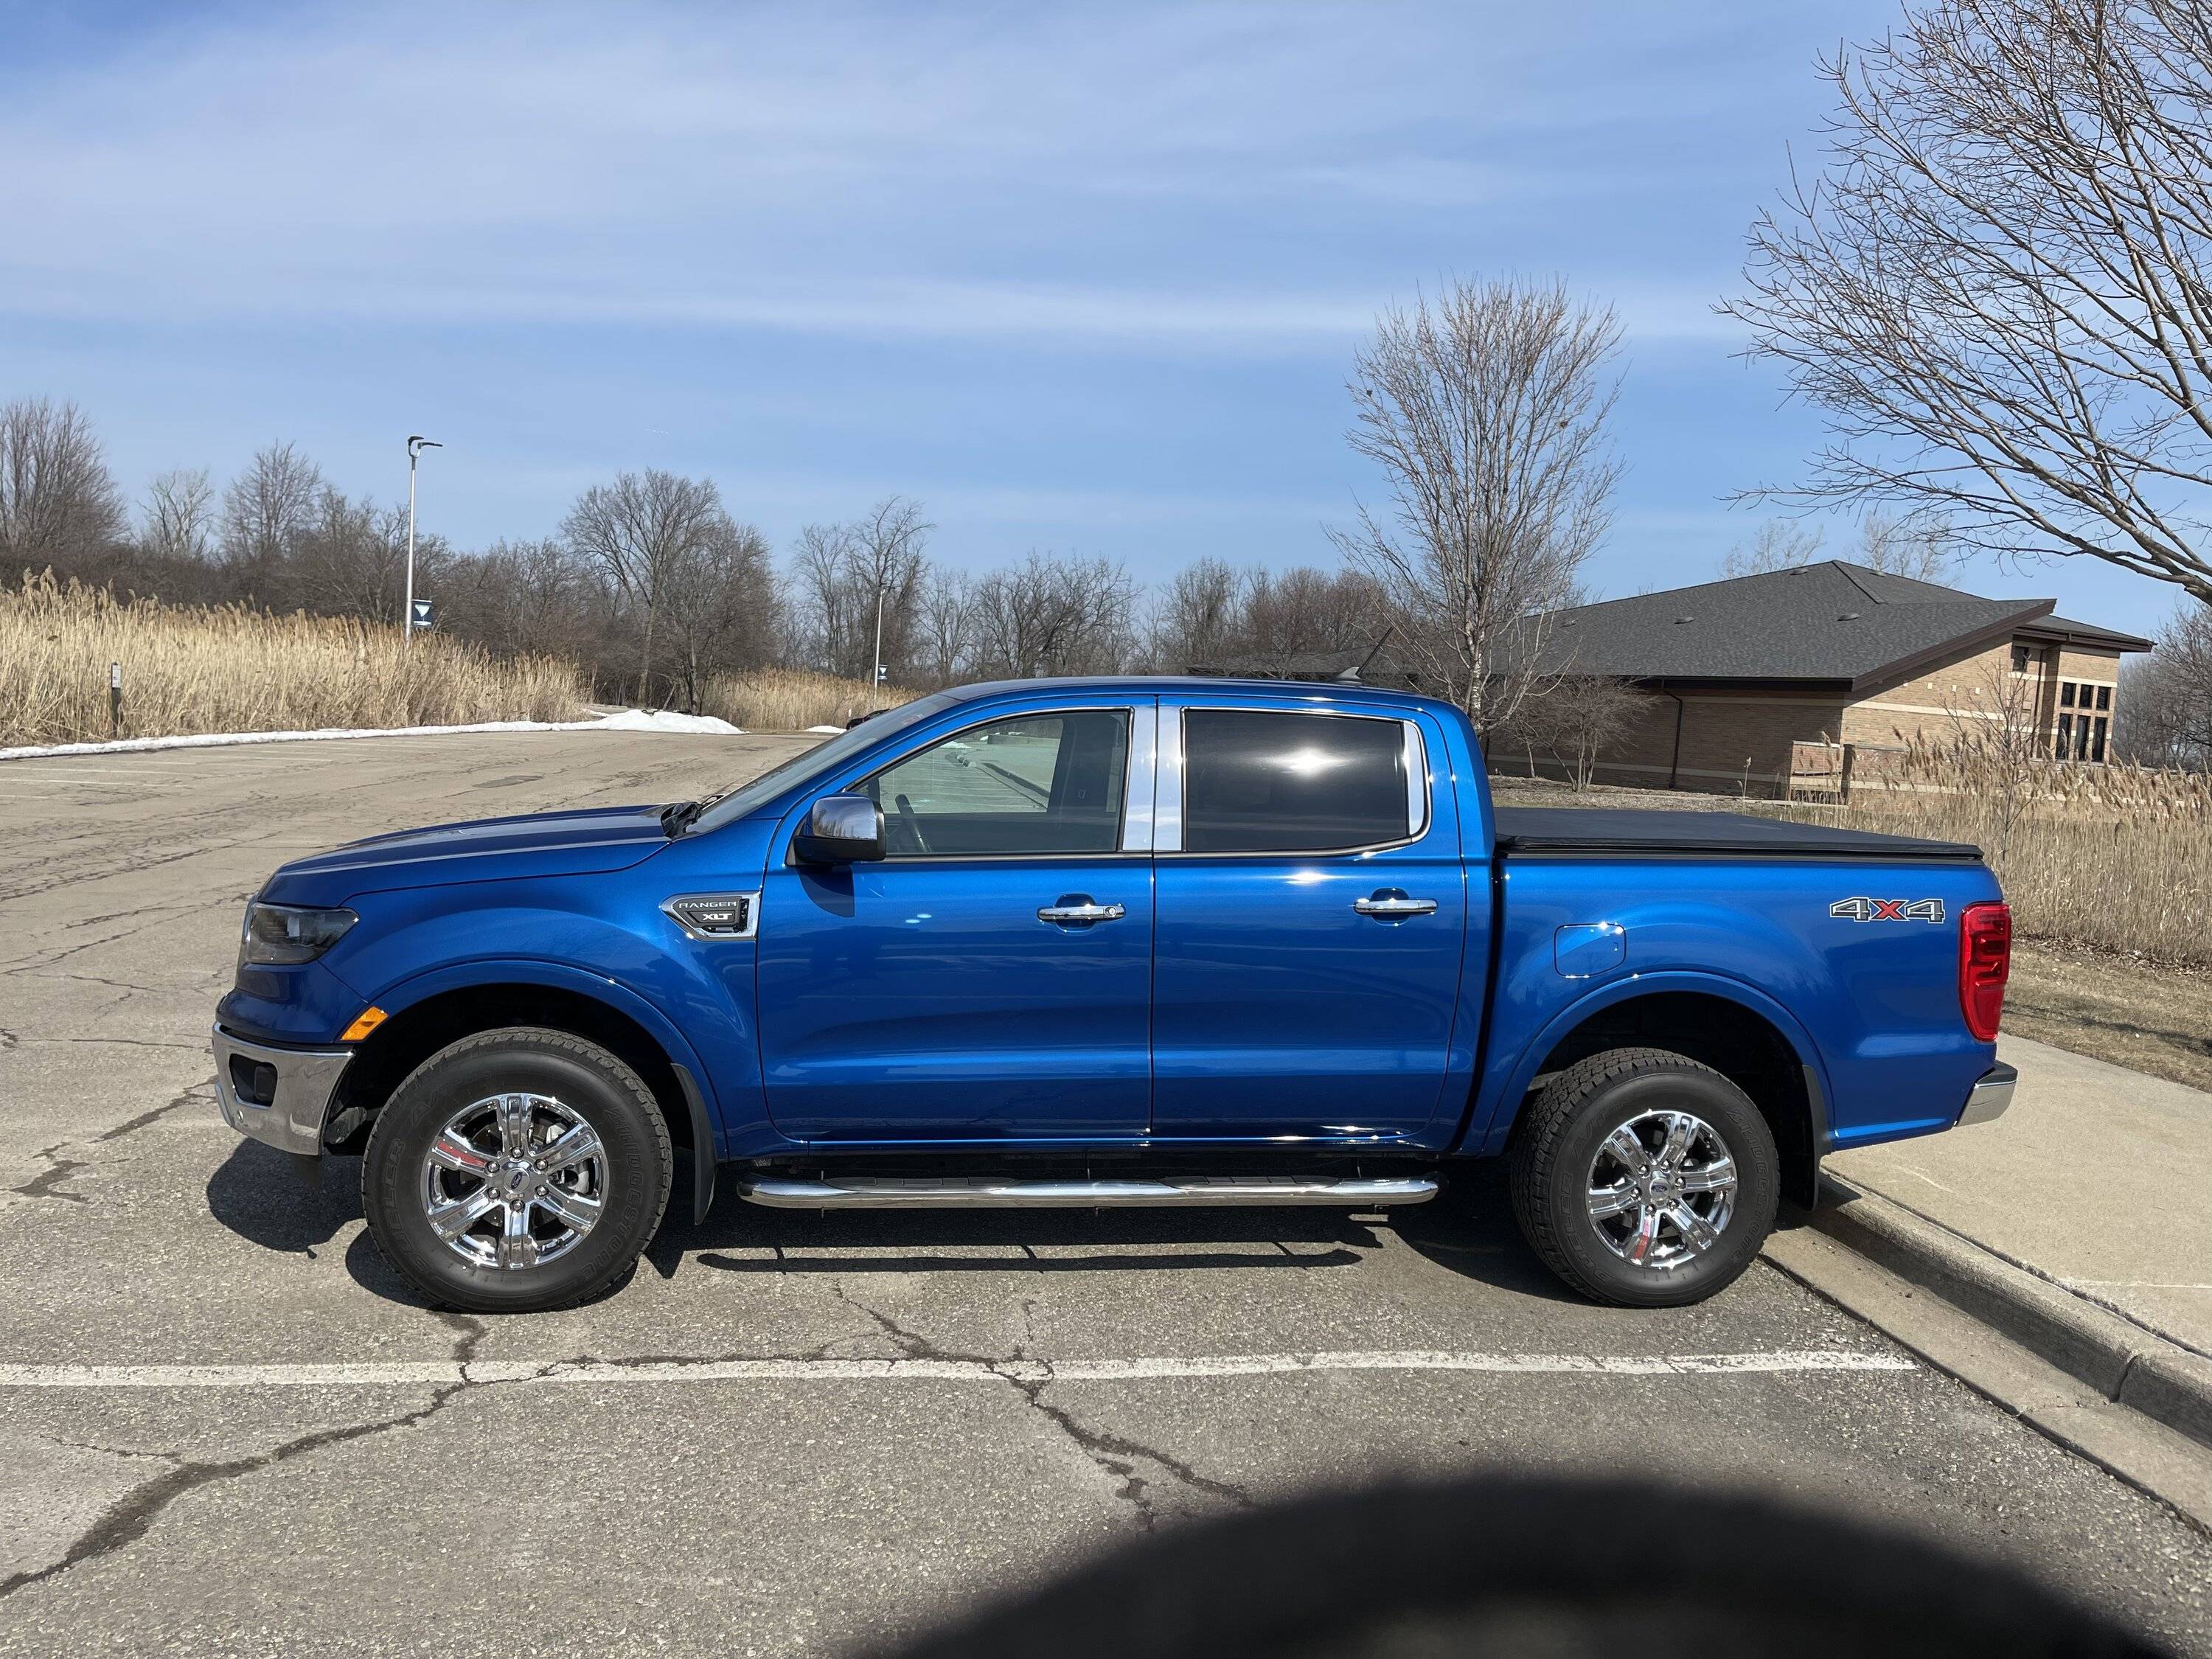
Without further ado, I'm back to my old photo spot with a freshly ceramic coated Velocity Blue Ranger XLT Splash in the sun.

Absolutely recommend this product for a first time DIY installer.
Link to entire kit with UV flashlight included ($105 at of time of posting): https://adamspolishes.com/collectio...ramic-paint-coating-uv?variant=31164282962017
I will not go over how to apply this product as it is applied exactly the same way as any other ceramic coating, and there are already an abundance of fantastic videos and write-up guides online for us to follow with a simple google search. What is special about this product, however, is the UV dye additive in the Adam's ceramic coating. Check this out:
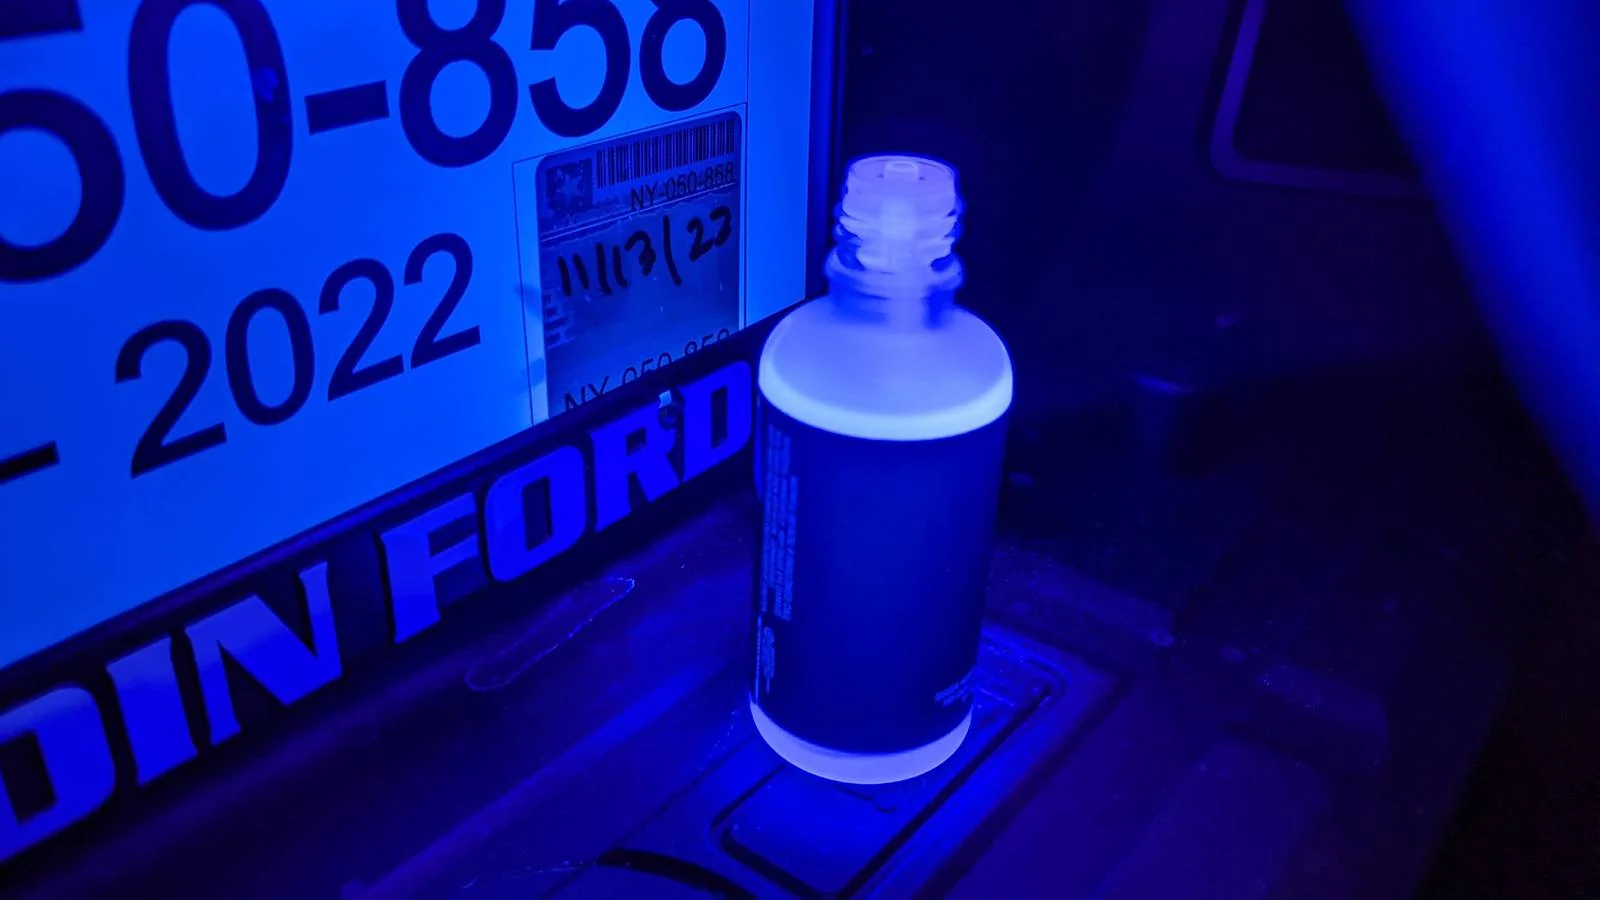
Oooooooooo. It glooooooooows. (Under UV light.)
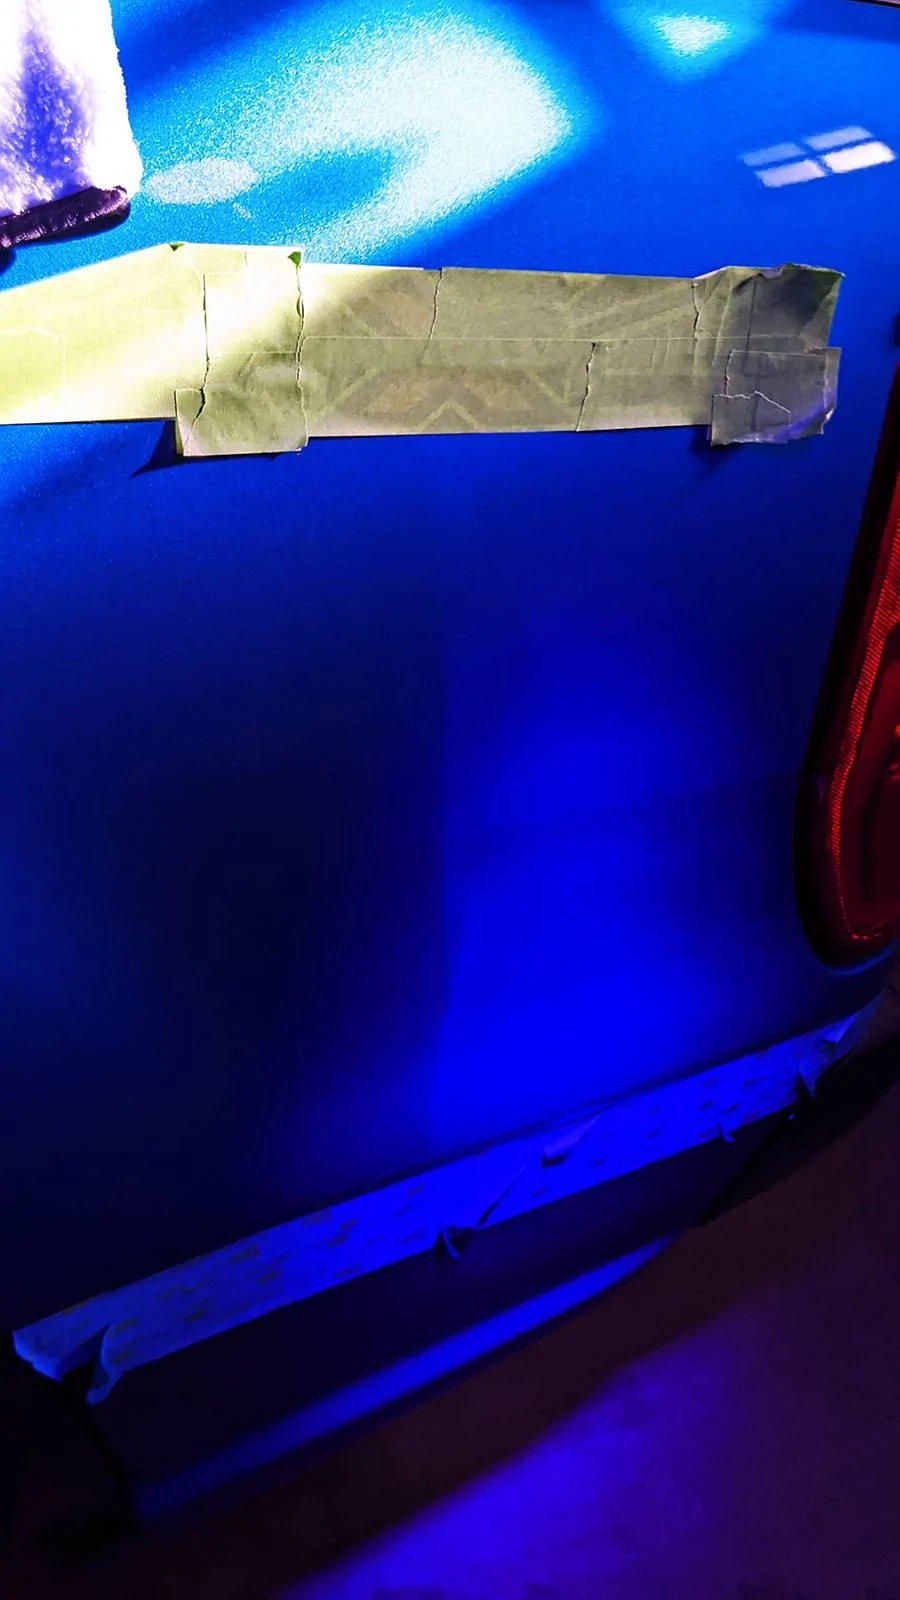
You can see on the right hand side of this fender panel where I have begun applying the product. Under UV light it glows in the dark! This leaves the installer 0 room for error in leaving streaks, smudges, or worse yet, a bald spot.
The kit comes with a few high quality microfiber towels for applying the included pre-treatment that removes all chemical & soap residues. It also comes with a post-treatment graphene spray which I'm sure is similar in nature to 303 Aerospace which is popular on these forums. It is recommended to maintain the coating every 3-months with either Adam's Ceramic Coating Spray or Adam's Graphene Spray. Which I'm sure is in itself doing quite a bit of the heavy lifting with regards to basic paint protection and water wicking properties. It also comes with the alcantara cloths and microfiber sponges for applying the ceramic product, and because I do not already own a UV light I purchased the kit that includes a UV flashlight.
What the kit does not come with is any of the products for the processes outside of the ceramic process. You will need your own automotive clay and detail spray for that process, you will need your own iron remover, and you will need your own polish and rotary buffer for the buffing stage. Those can be significant costs if you do not already own those items. Fortunately for me I already had everything else I needed.
I wanted to treat my paint as soon as possible because, although the truck's new-ness did not mean I could skip steps, It meant that my steps involved less scrubbing and less dubbing. Adam's Polishes - as well as every other ceramic coating manufacturer - makes it abundantly clear that for best results you must wash the car completely, clay bar the car, remove iron contaminants, rotary buff the paint, remove grease & residues (provided,) and then perform the ceramic treatment. Yeah. It's a lot of scrub-a-dub no matter which way you cut it. Even with a new vehicle this process took me a full working day from 8am to 5 pm to complete all steps. That explains why this treatment is so dang expensive if you do not DIY. That said, I did not find the process to be difficult whatsoever. The kit came with more than enough product to cover the entire truck. I felt that I over-applied to ensure 100% coverage and I was still left with 25% left of the bottle.
For what it is worth - because I would not recommend you make any assumptions about your own vehicle - by the time I had gotten to the iron remover stage I could not get the solution to change color anywhere I sprayed on the truck, so I believe that by the time I was done with the wash and clay I had managed to remove the little iron residue that had managed to get on my month-old (from blend date) vehicle. I probably could have skipped this step but I was already a "frog in the pot" so I took off my swim trunks and enjoyed the bubbles in the hot tub! "In cleaning my car, I clean my soul." - James May.
Without further ado, I'm back to my old photo spot with a freshly ceramic coated Velocity Blue Ranger XLT Splash in the sun.
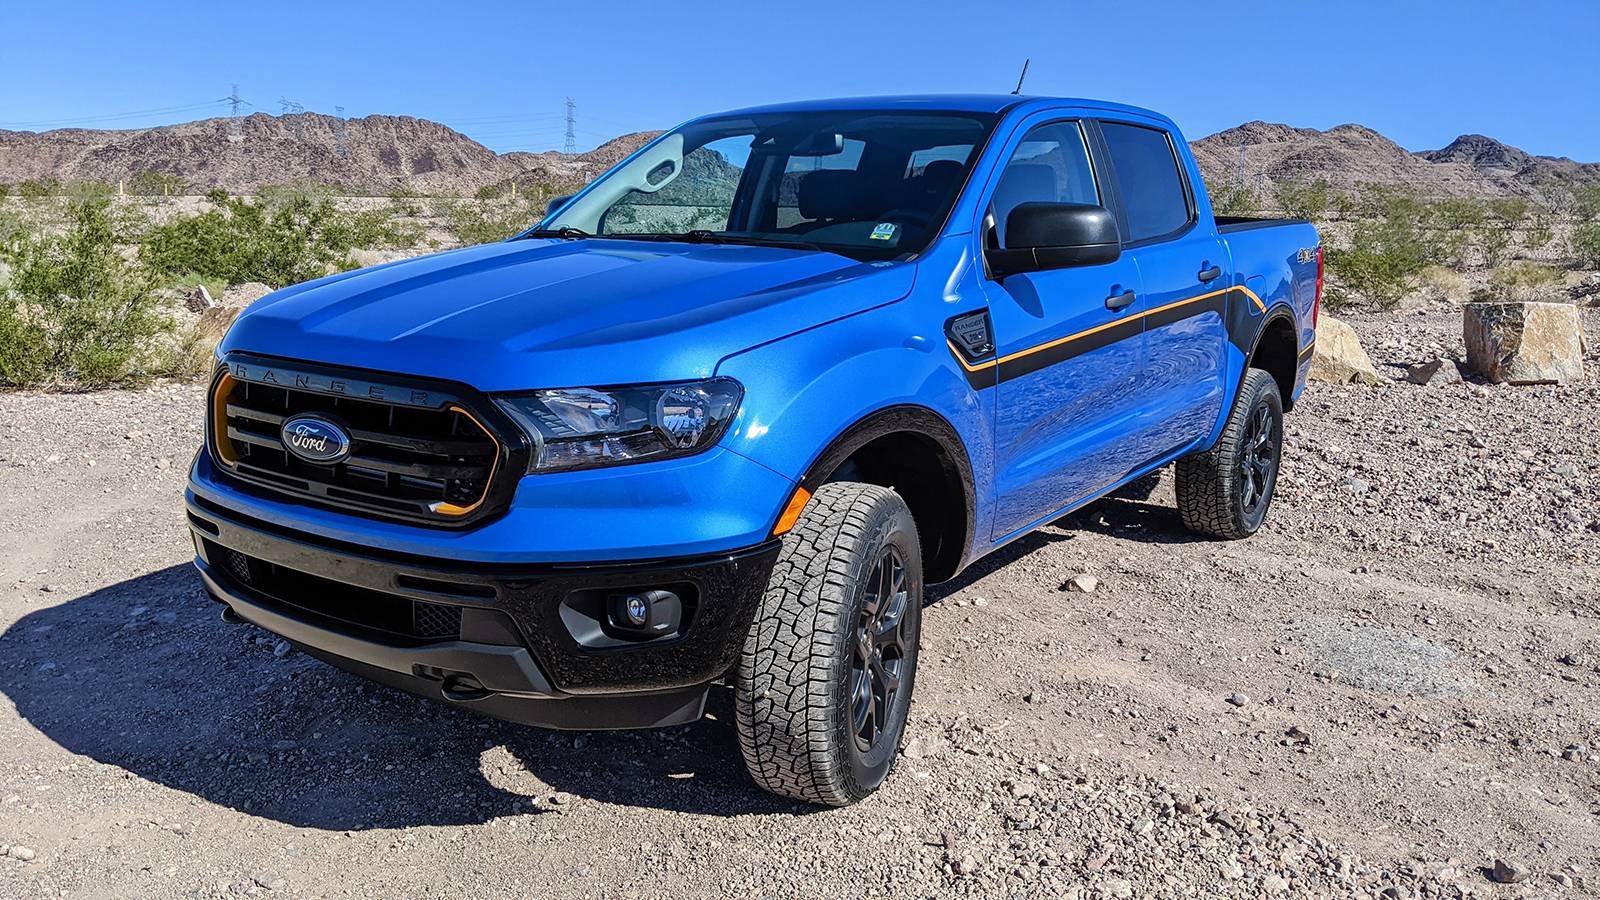
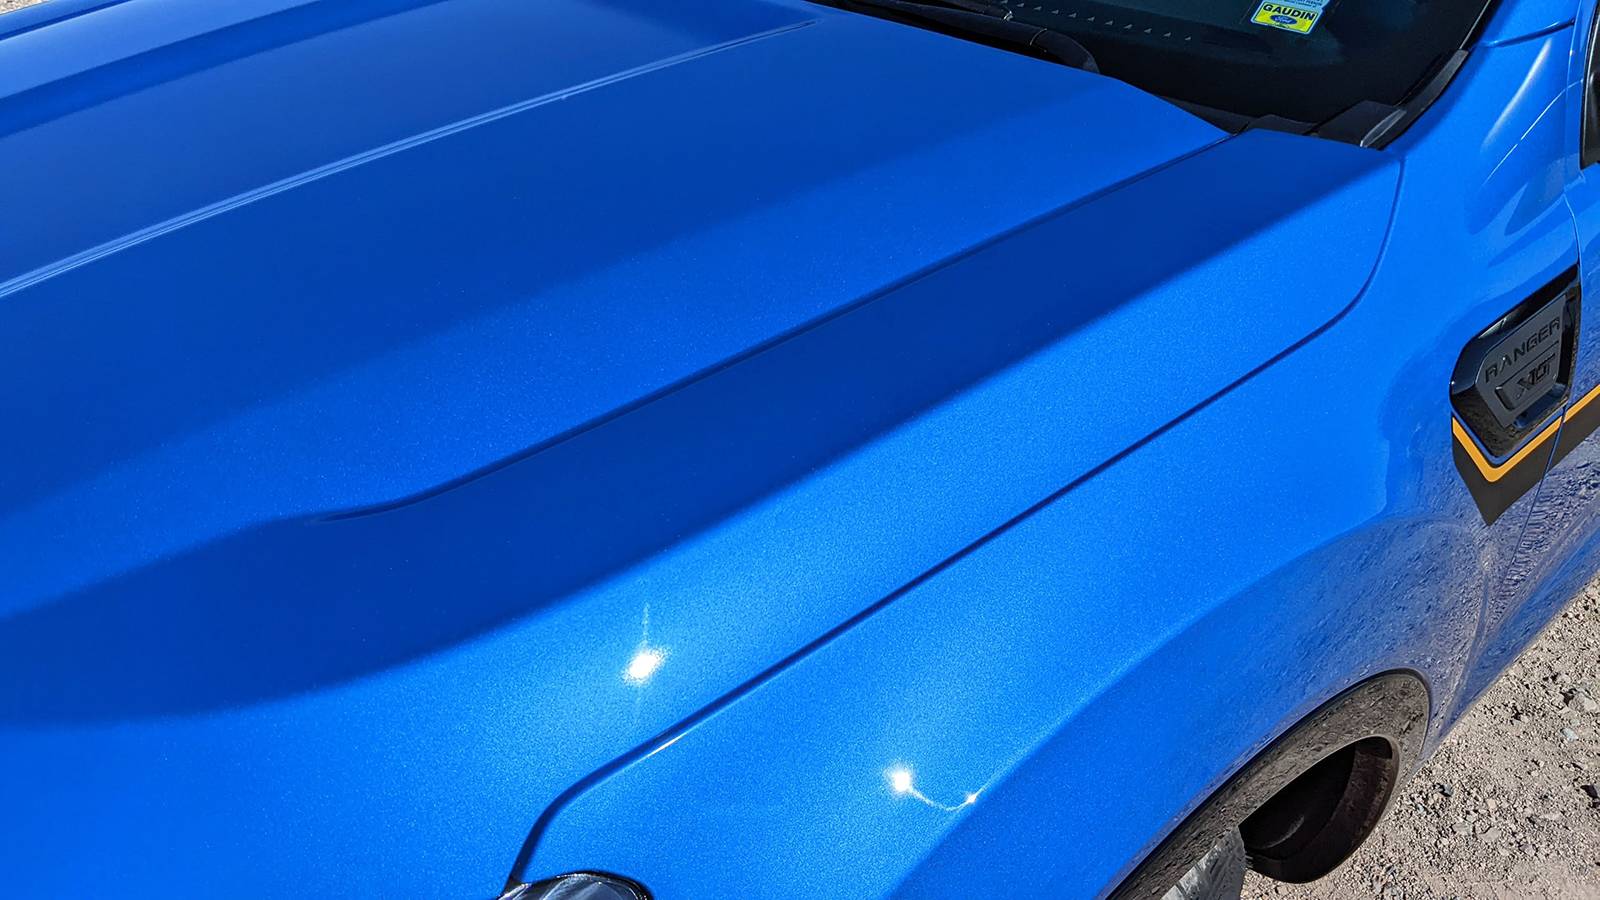
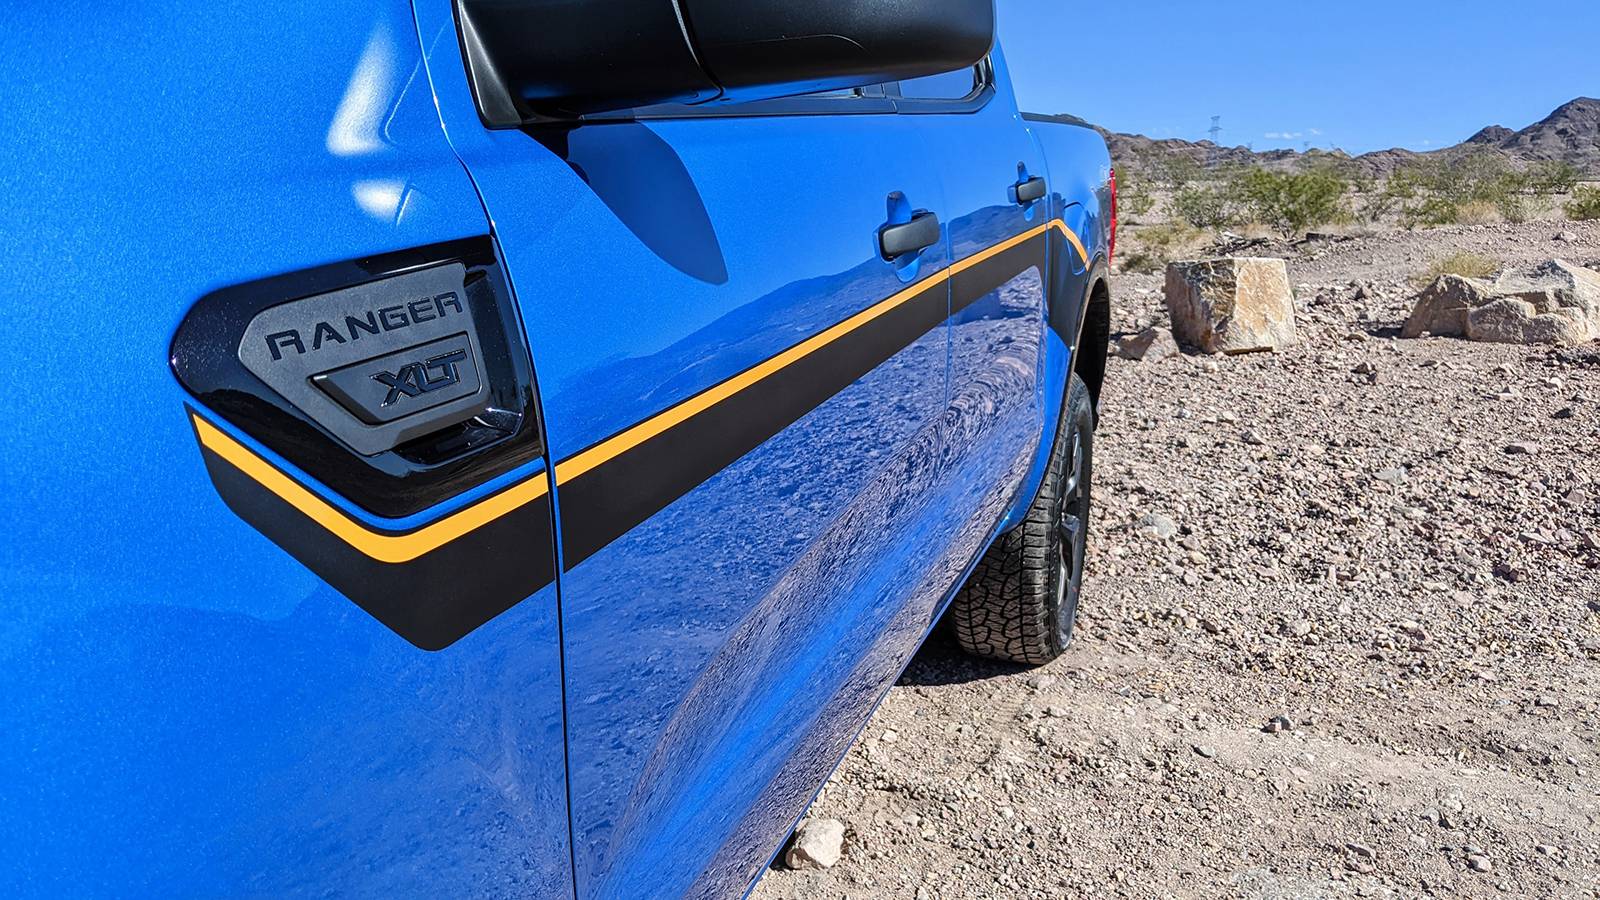
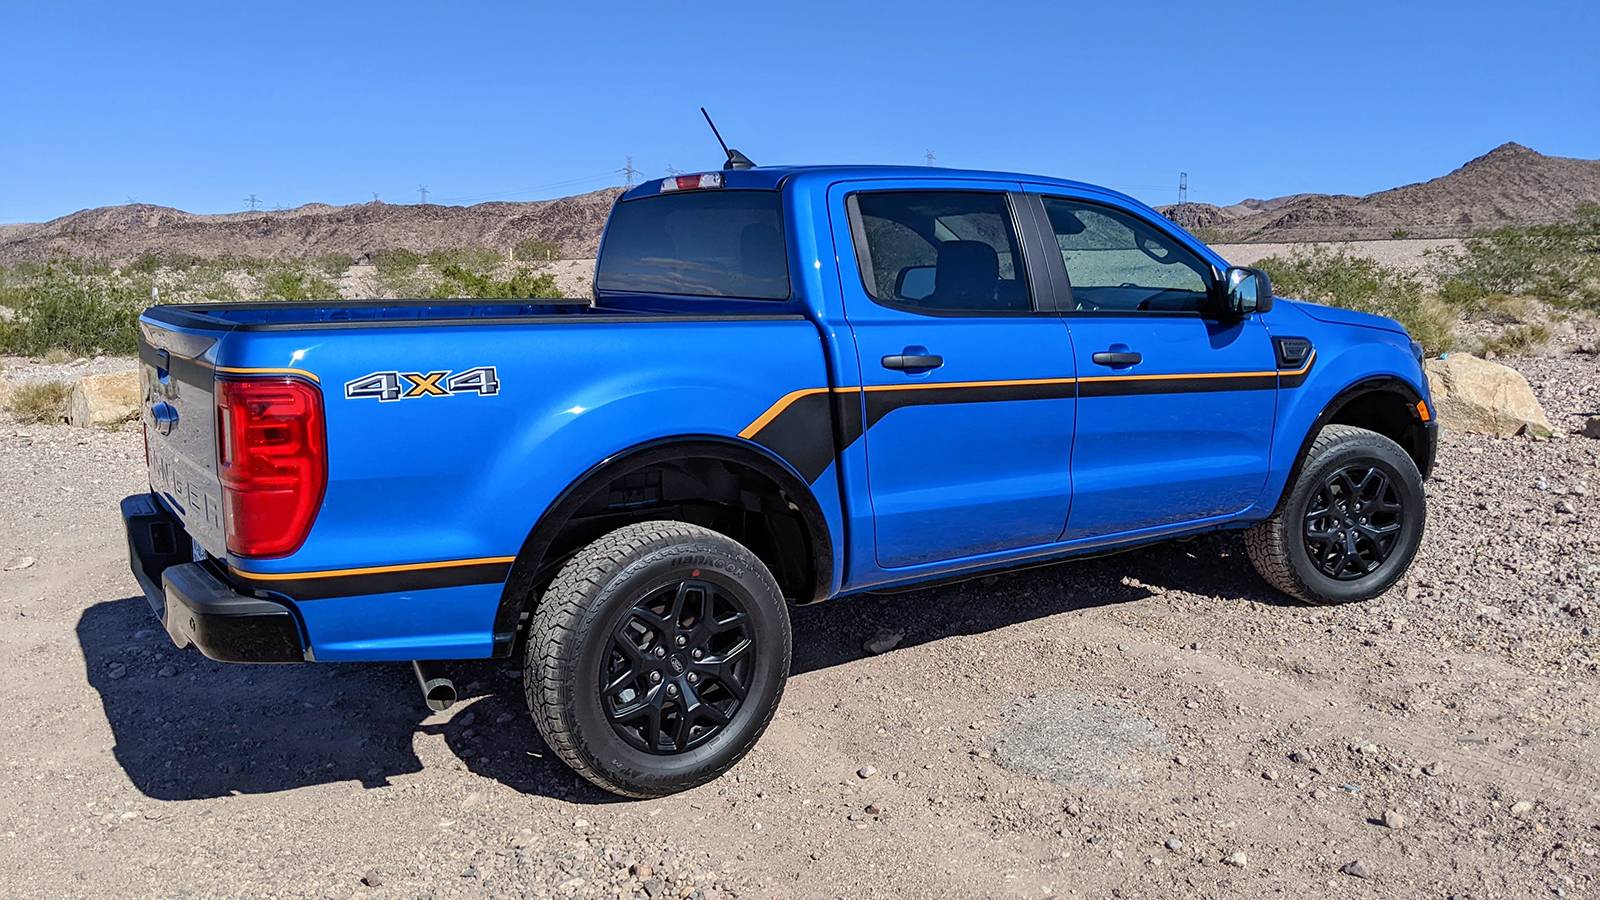
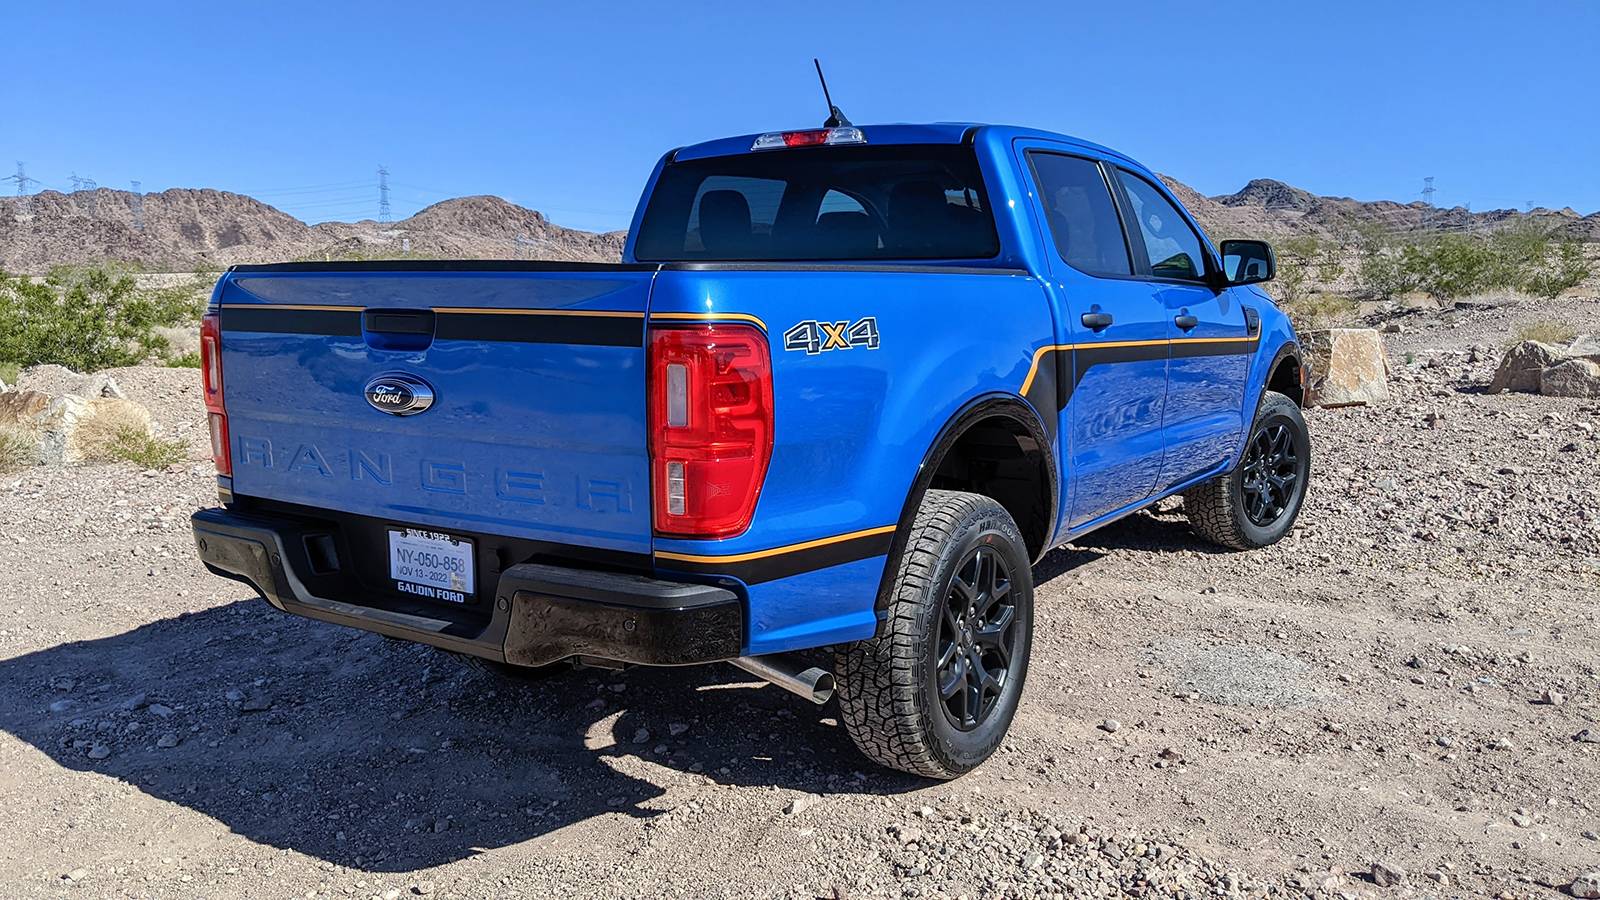
Absolutely recommend this product for a first time DIY installer.
Sponsored
")