Apples
Well-Known Member
- First Name
- Alan
- Joined
- Jun 14, 2020
- Threads
- 20
- Messages
- 687
- Reaction score
- 1,318
- Location
- Roswell, NM
- Vehicle(s)
- 2019 Ranger XLT
- Occupation
- Retired
- Thread starter
- #1
I don't know how many folks have taken the time to install a boost gauge on their Ranger. Those who have, I'd like some comments from.
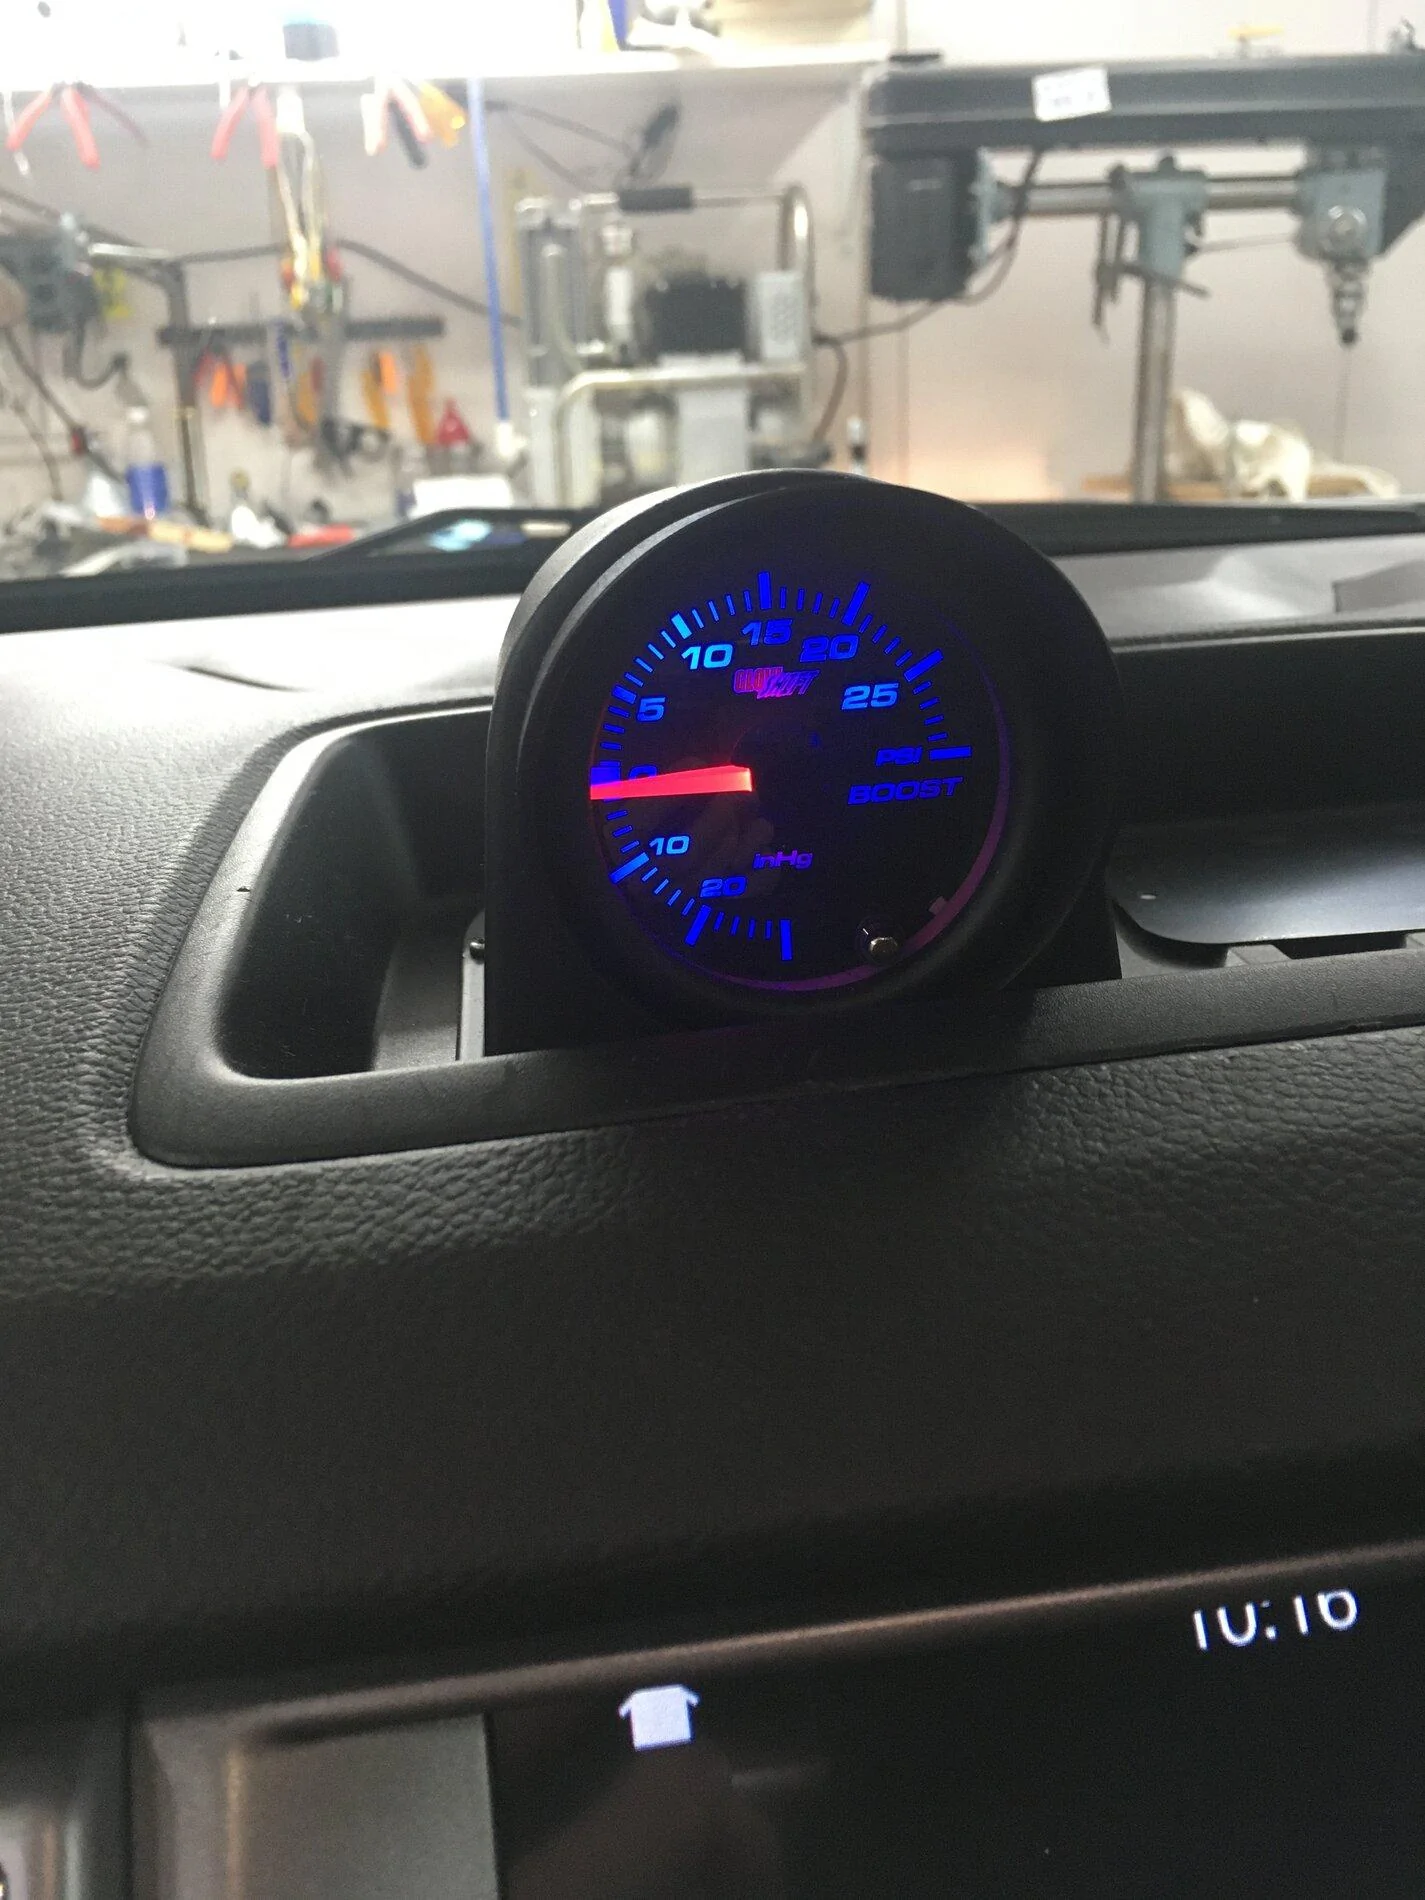
I'm seeing max boost at about 22 psi (I have the Ford Performance tune), but typically at lower ambient temperatures—say between 50° to about 75° or so. My boost drops about 2 psi as the RPM approaches redline, which I expect is normal. It also goes down at higher ambients, which is also normal.
I've read that the normal boost range is 17 to 18 pounds, but I didn't install my gauge until after the software upgrade.
By the way, this is the kit I used: (https://cp-e.com/shop/product/ford-ecoboost-2-3l-turbo-maptap/)
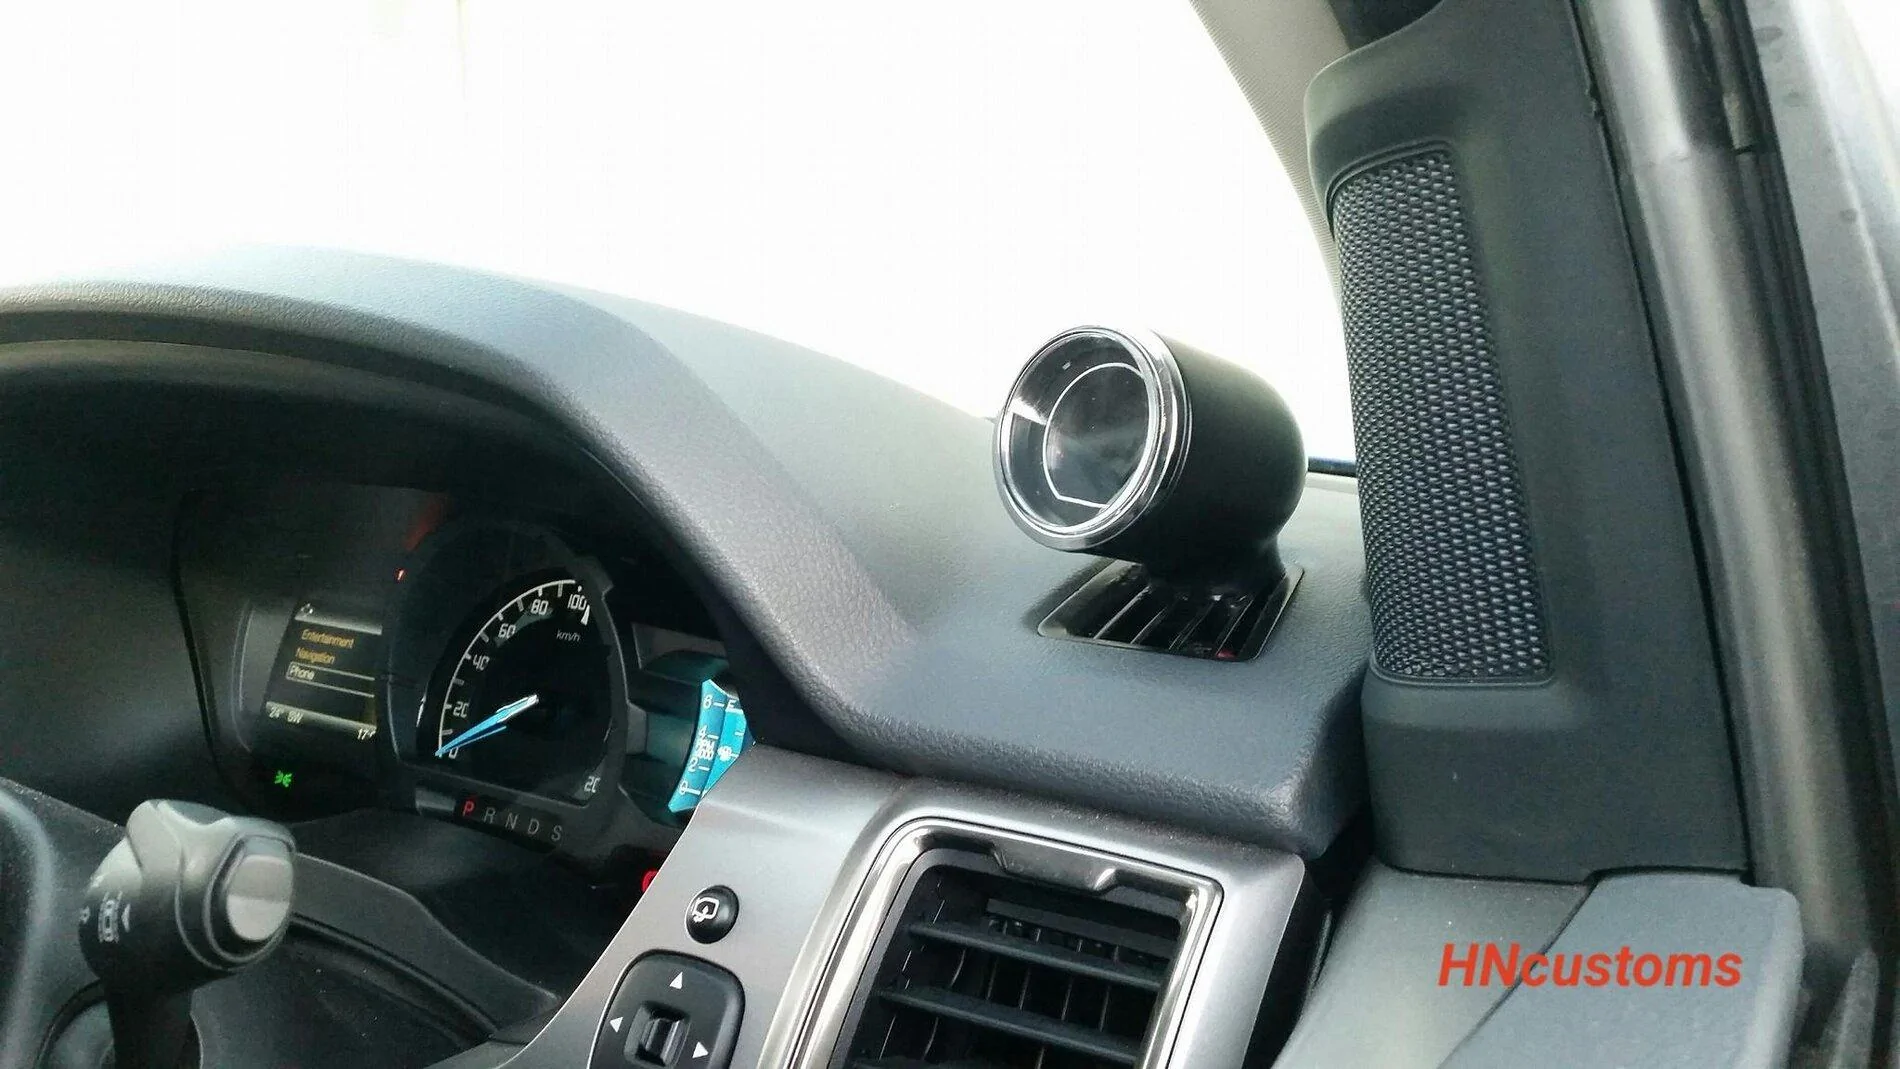
As I said before, it is difficult to get the connections made due to the location of the "nipple" on the intake manifold. That part took me about 10 minutes, and about 3 minor cuts! The hard part was fishing the tubing down through the heater ducting. I had to take out the top-of-dash tray, after which it went the first time. I mounted my gauge in the tray.
If you use nylon 1/4" OD tubing, and a "PLASTIC" wire fish tape (available from Home Disappointment), fish the tubing above and to the left the hood release cable as seen from the inside of the cabin. With a little effort, you can then pull the tubing by simply pushing it over the ferrel on the fish tape, and pull from the engine side. Took me about 20 minutes total.
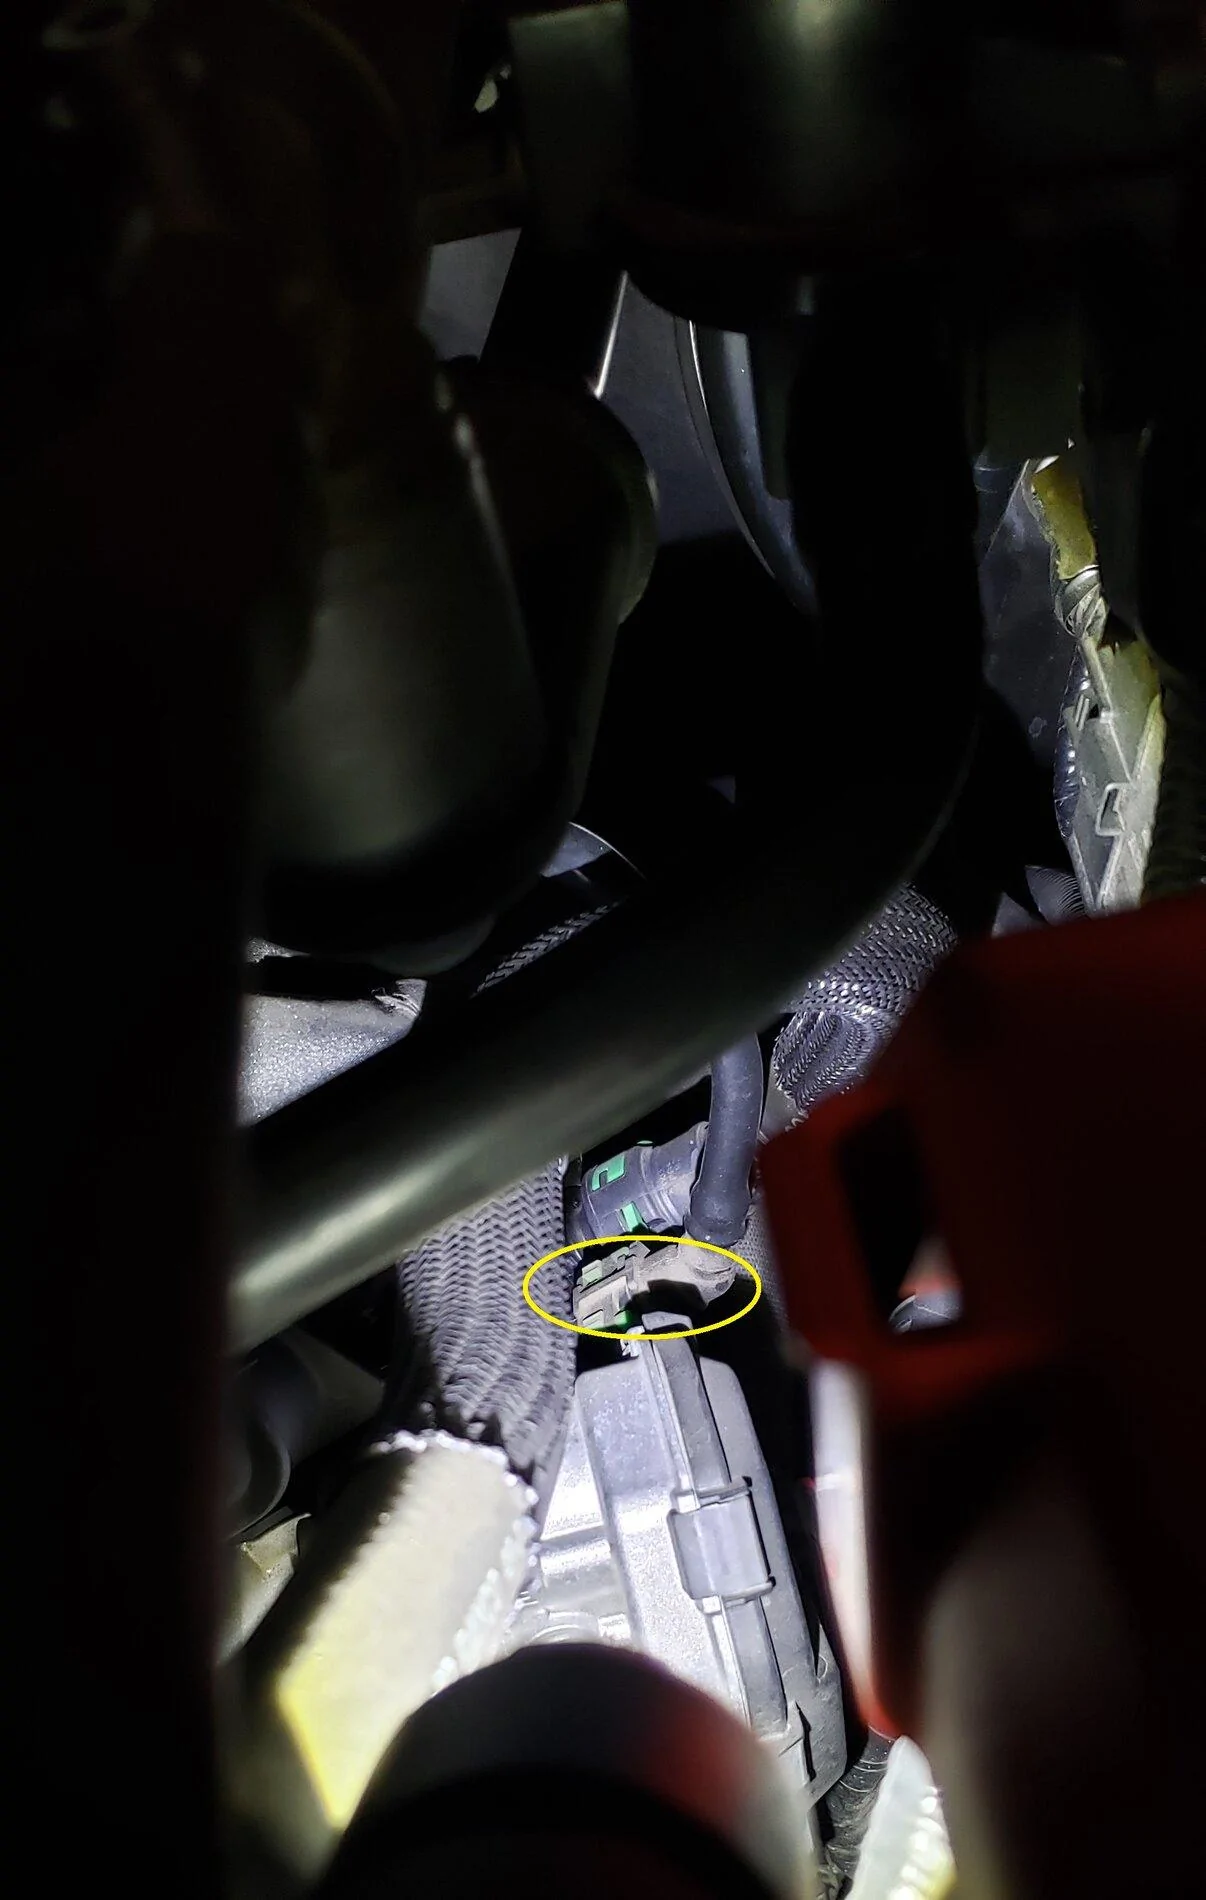
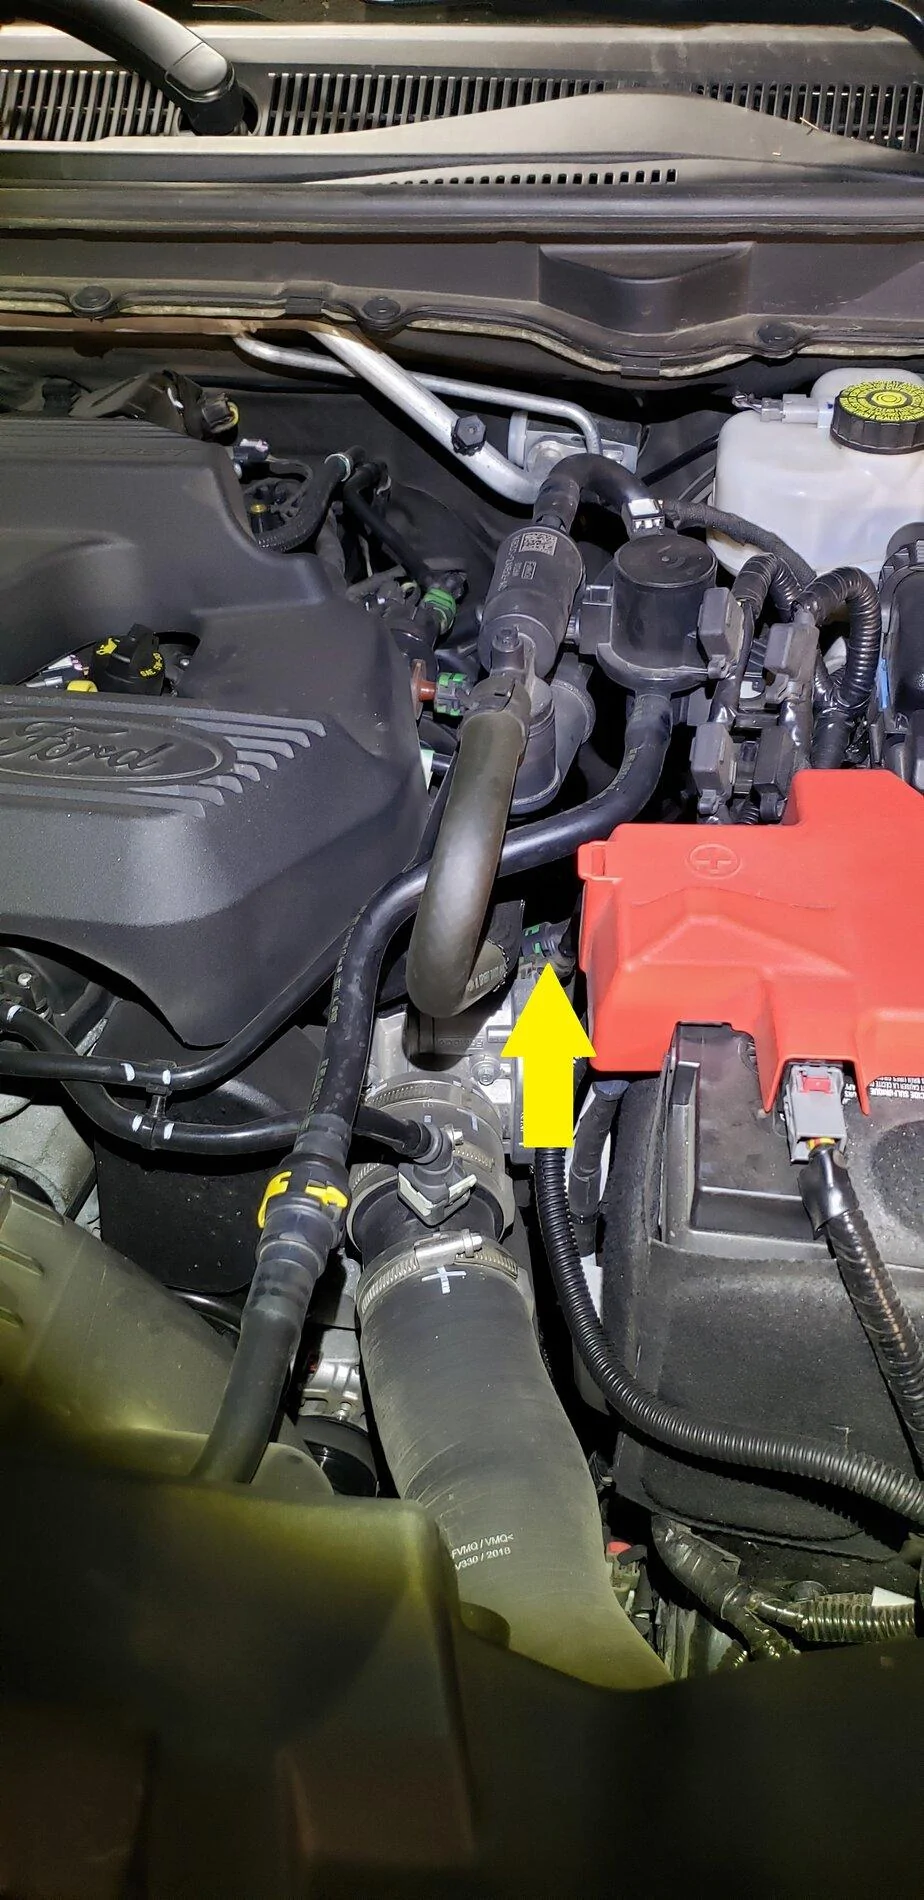
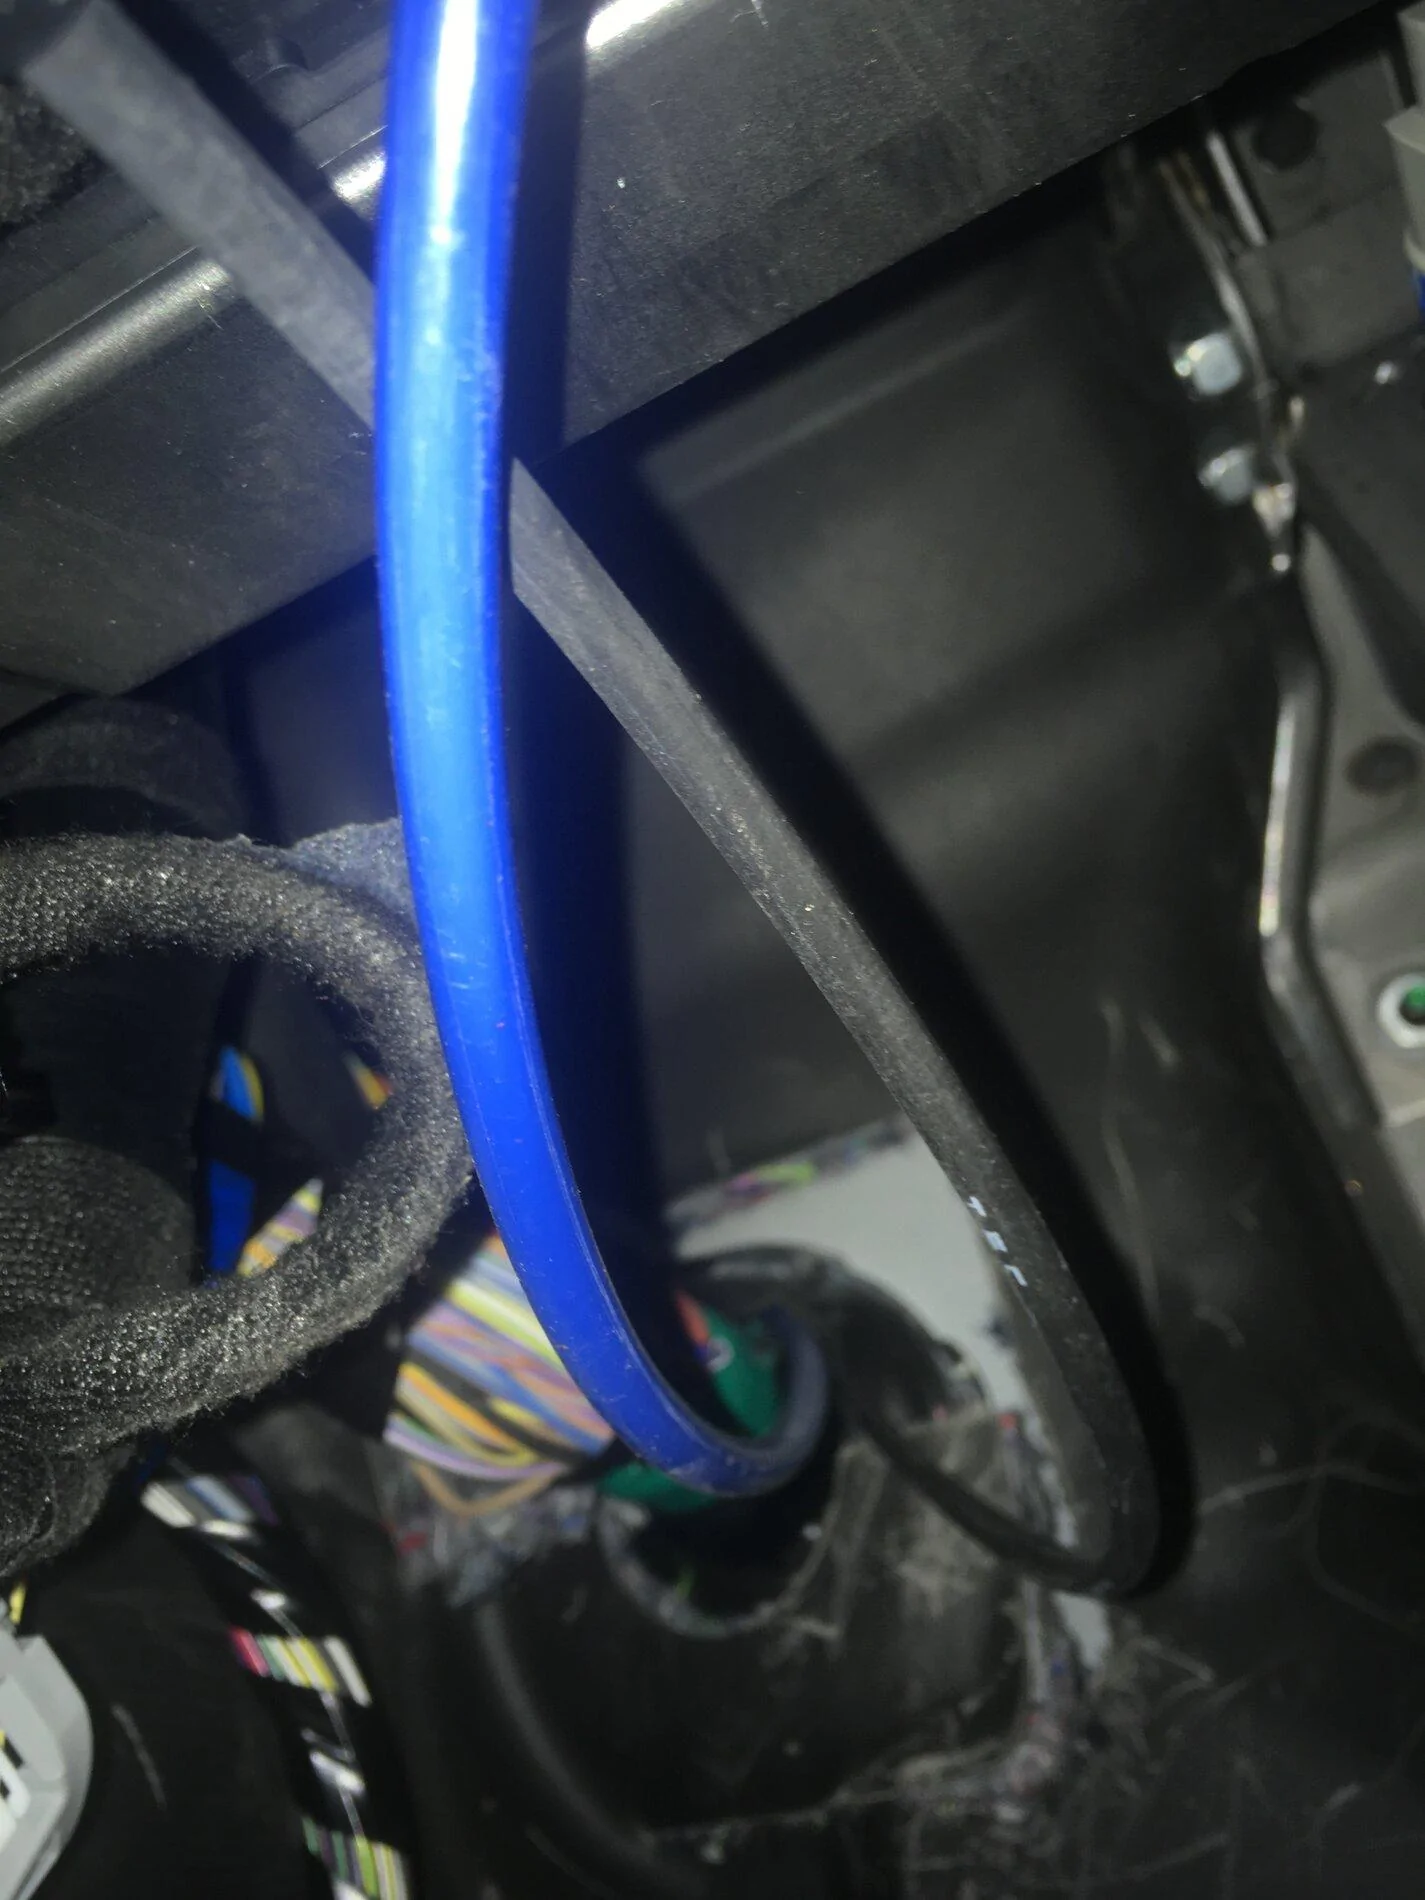
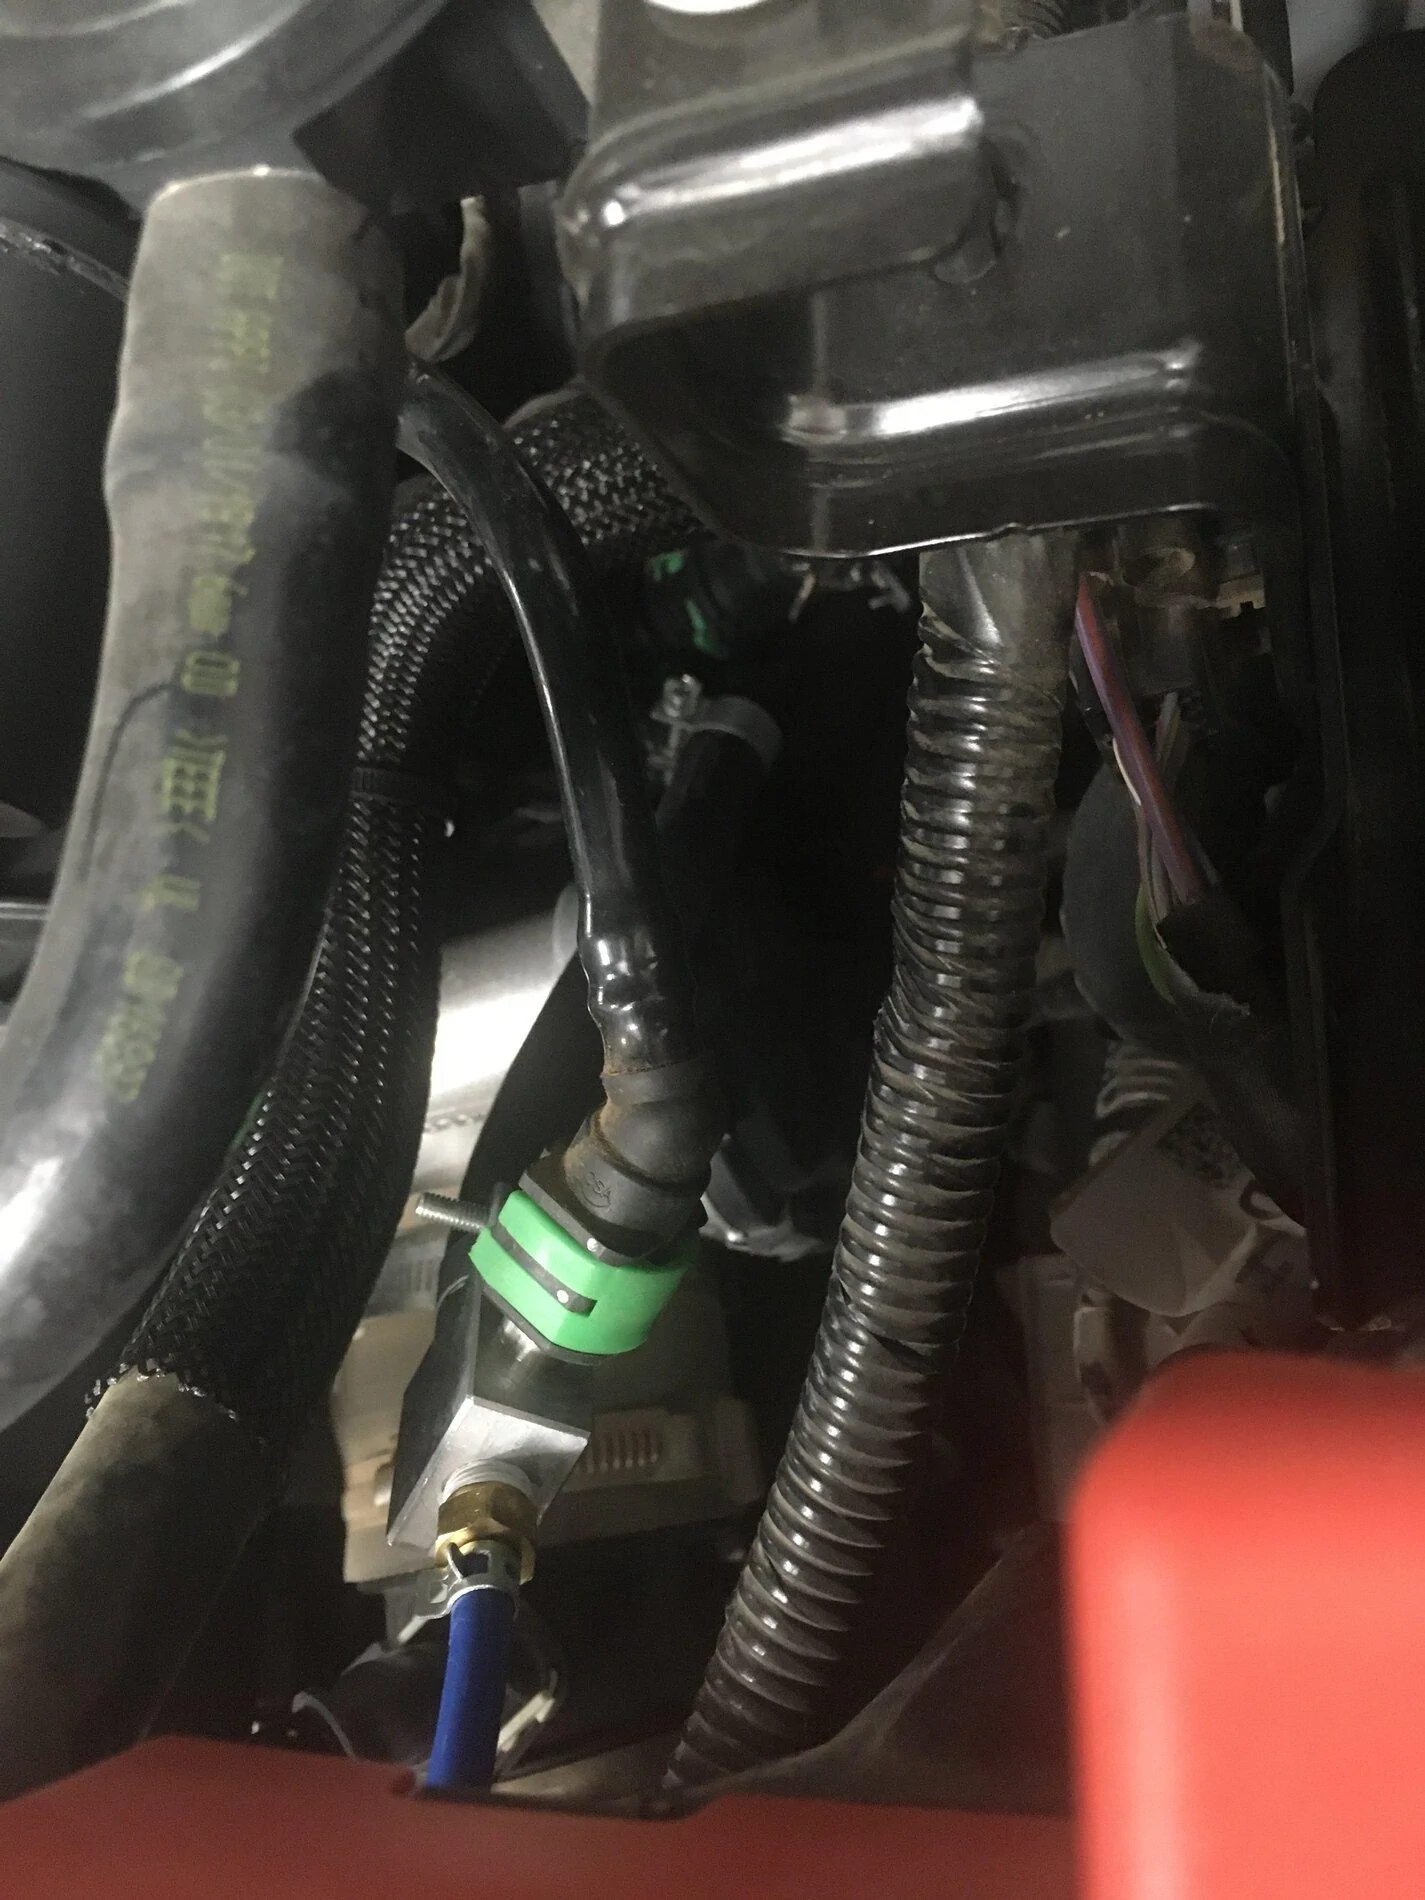
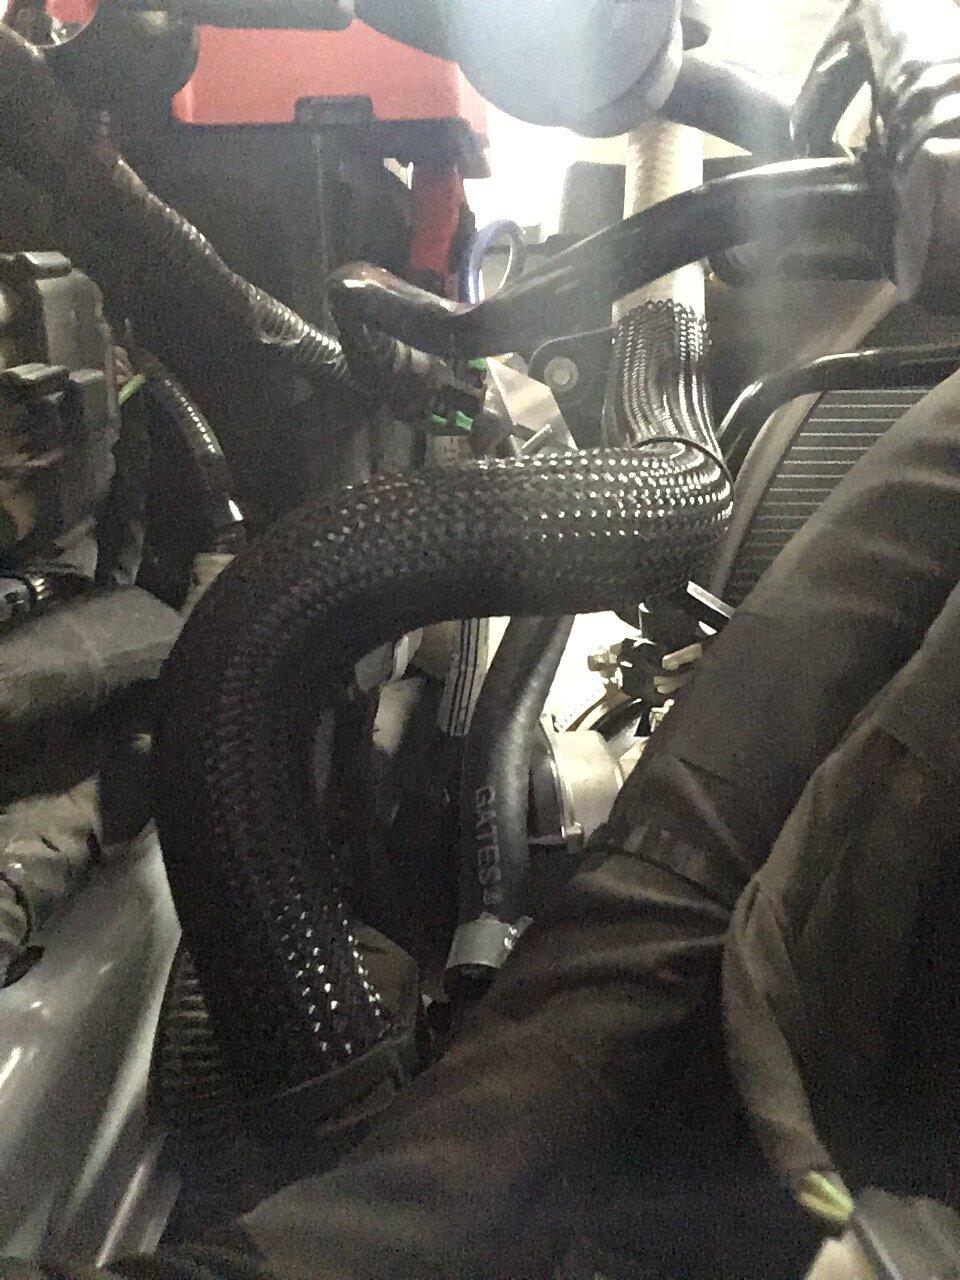
Here are the best photos I can take. Space is at a premium, and without some sort of "snorkel" camera, this is about as good as it gets.
The blue nylon tube is the pressure line.
There are two connections to the intake manifold. The front one (in this case) is the MAP connection. The other is much too big for the "kit".
The third photo is shows the "kit" connections.
From here, you're sort of on your own. That said, it isn't rocket science.


I'm seeing max boost at about 22 psi (I have the Ford Performance tune), but typically at lower ambient temperatures—say between 50° to about 75° or so. My boost drops about 2 psi as the RPM approaches redline, which I expect is normal. It also goes down at higher ambients, which is also normal.
I've read that the normal boost range is 17 to 18 pounds, but I didn't install my gauge until after the software upgrade.
By the way, this is the kit I used: (https://cp-e.com/shop/product/ford-ecoboost-2-3l-turbo-maptap/)
As I said before, it is difficult to get the connections made due to the location of the "nipple" on the intake manifold. That part took me about 10 minutes, and about 3 minor cuts! The hard part was fishing the tubing down through the heater ducting. I had to take out the top-of-dash tray, after which it went the first time. I mounted my gauge in the tray.
If you use nylon 1/4" OD tubing, and a "PLASTIC" wire fish tape (available from Home Disappointment), fish the tubing above and to the left the hood release cable as seen from the inside of the cabin. With a little effort, you can then pull the tubing by simply pushing it over the ferrel on the fish tape, and pull from the engine side. Took me about 20 minutes total.
Here are the best photos I can take. Space is at a premium, and without some sort of "snorkel" camera, this is about as good as it gets.
The blue nylon tube is the pressure line.
There are two connections to the intake manifold. The front one (in this case) is the MAP connection. The other is much too big for the "kit".
The third photo is shows the "kit" connections.
From here, you're sort of on your own. That said, it isn't rocket science.
Sponsored
Last edited: