DMac
Well-Known Member
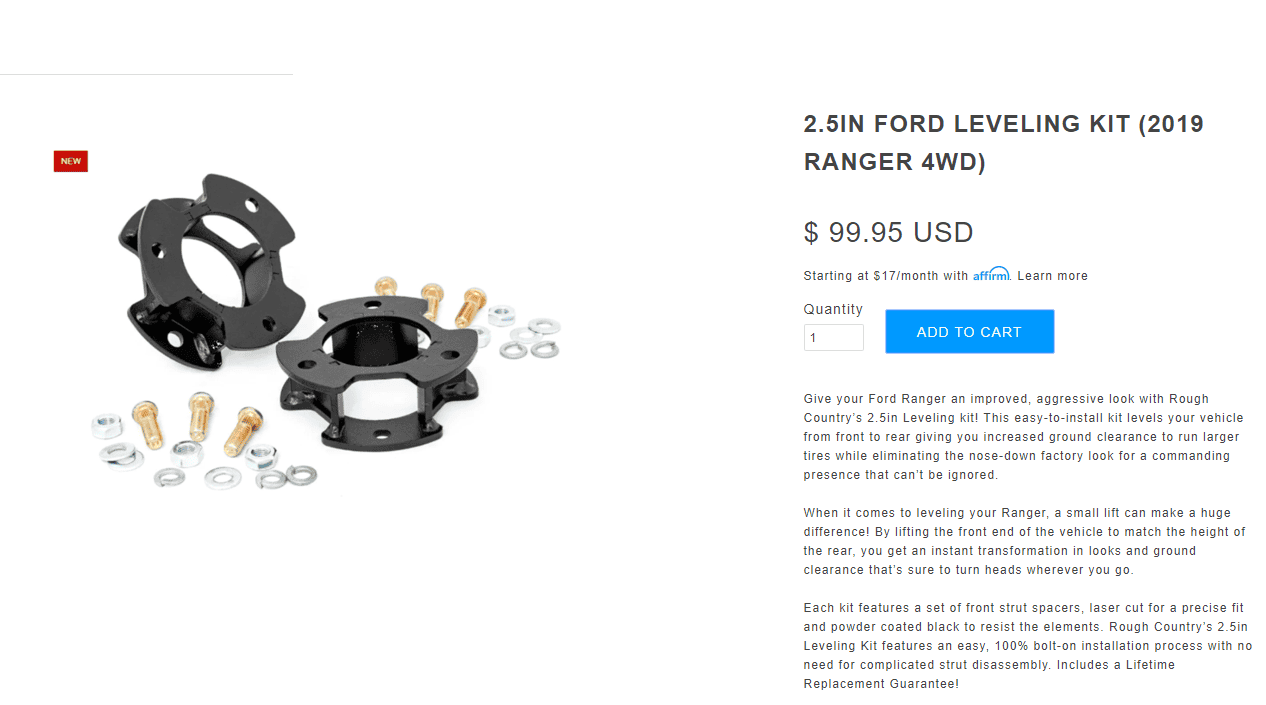
I don’t know why Rough Country specs that you should remove the lower bolts on the install of their kit. If you are using their kit, just jack up the truck and take a good paint pin and mark all four cams on the lower control arm bolts (I make 3, make lines on cams and body for reference) then remove the tie rod, remove the 2 lower strut nuts, loosen the 3 upper strut nuts, then remove the lower control arm bolts (I place a small jack under it), lower the control arm and then remove the upper 3 nuts from the strut and slide it down and out.Yeah that's the one. Mine came in a Rough Country package with their instructions. "Easy Bolt On", I guess that depends on your definition of easy lol. If you have a shop press then it'll make the job 200% easier. It's pretty straight forward and it only took me a couple of hours to complete. Just be careful if you need to hammer out the tapers not to hit the threads of the bolts directly. They appear to be aluminum and are easily damaged.
Install the spacer, slip it back in and align the lower strut bolts (worst part) use a bit of downward pressure to create space and the top will slip in. Put the top nuts on, then the bottom, but don’t tighten.
Use the small jack to lift the control arm back into place and have a little fight realigning the holes (put the correct bolt/cam combo on the proper sides and align your marks on the lowers arm and tighten, then tighten the strut into place, reinstall the tie-rod (use new nuts here) and move on to the other side. If your marks are good and you line them back up, you won’t be terribly out of alignment, but still go get one, because it’s necessary after taking the front end apart.
Sponsored
Last edited: