mark_anderson_us
Well-Known Member
- Thread starter
- #1
Hi All
Got this done at the weekend. Took me about 8 hours to install brackets (including adapting decked brackets) and assemble (all solo). Getting the sides in the slots is a real pain and those 40 or so load spreaders on the front and back are a royal PITA.
A buddy came to help me lift it. We put a 2x6 between two short ladders and lifted it onto that. My buddy balanced it while I backed in. The cap was about 6 inches below the rails. We lifted it forward half onto the rails and onto 2 pieces of 3/4 EMT conduit spanning the rails. This allowed us to simply roll it back and forth on the conduit the get the position accurate.
Some notes
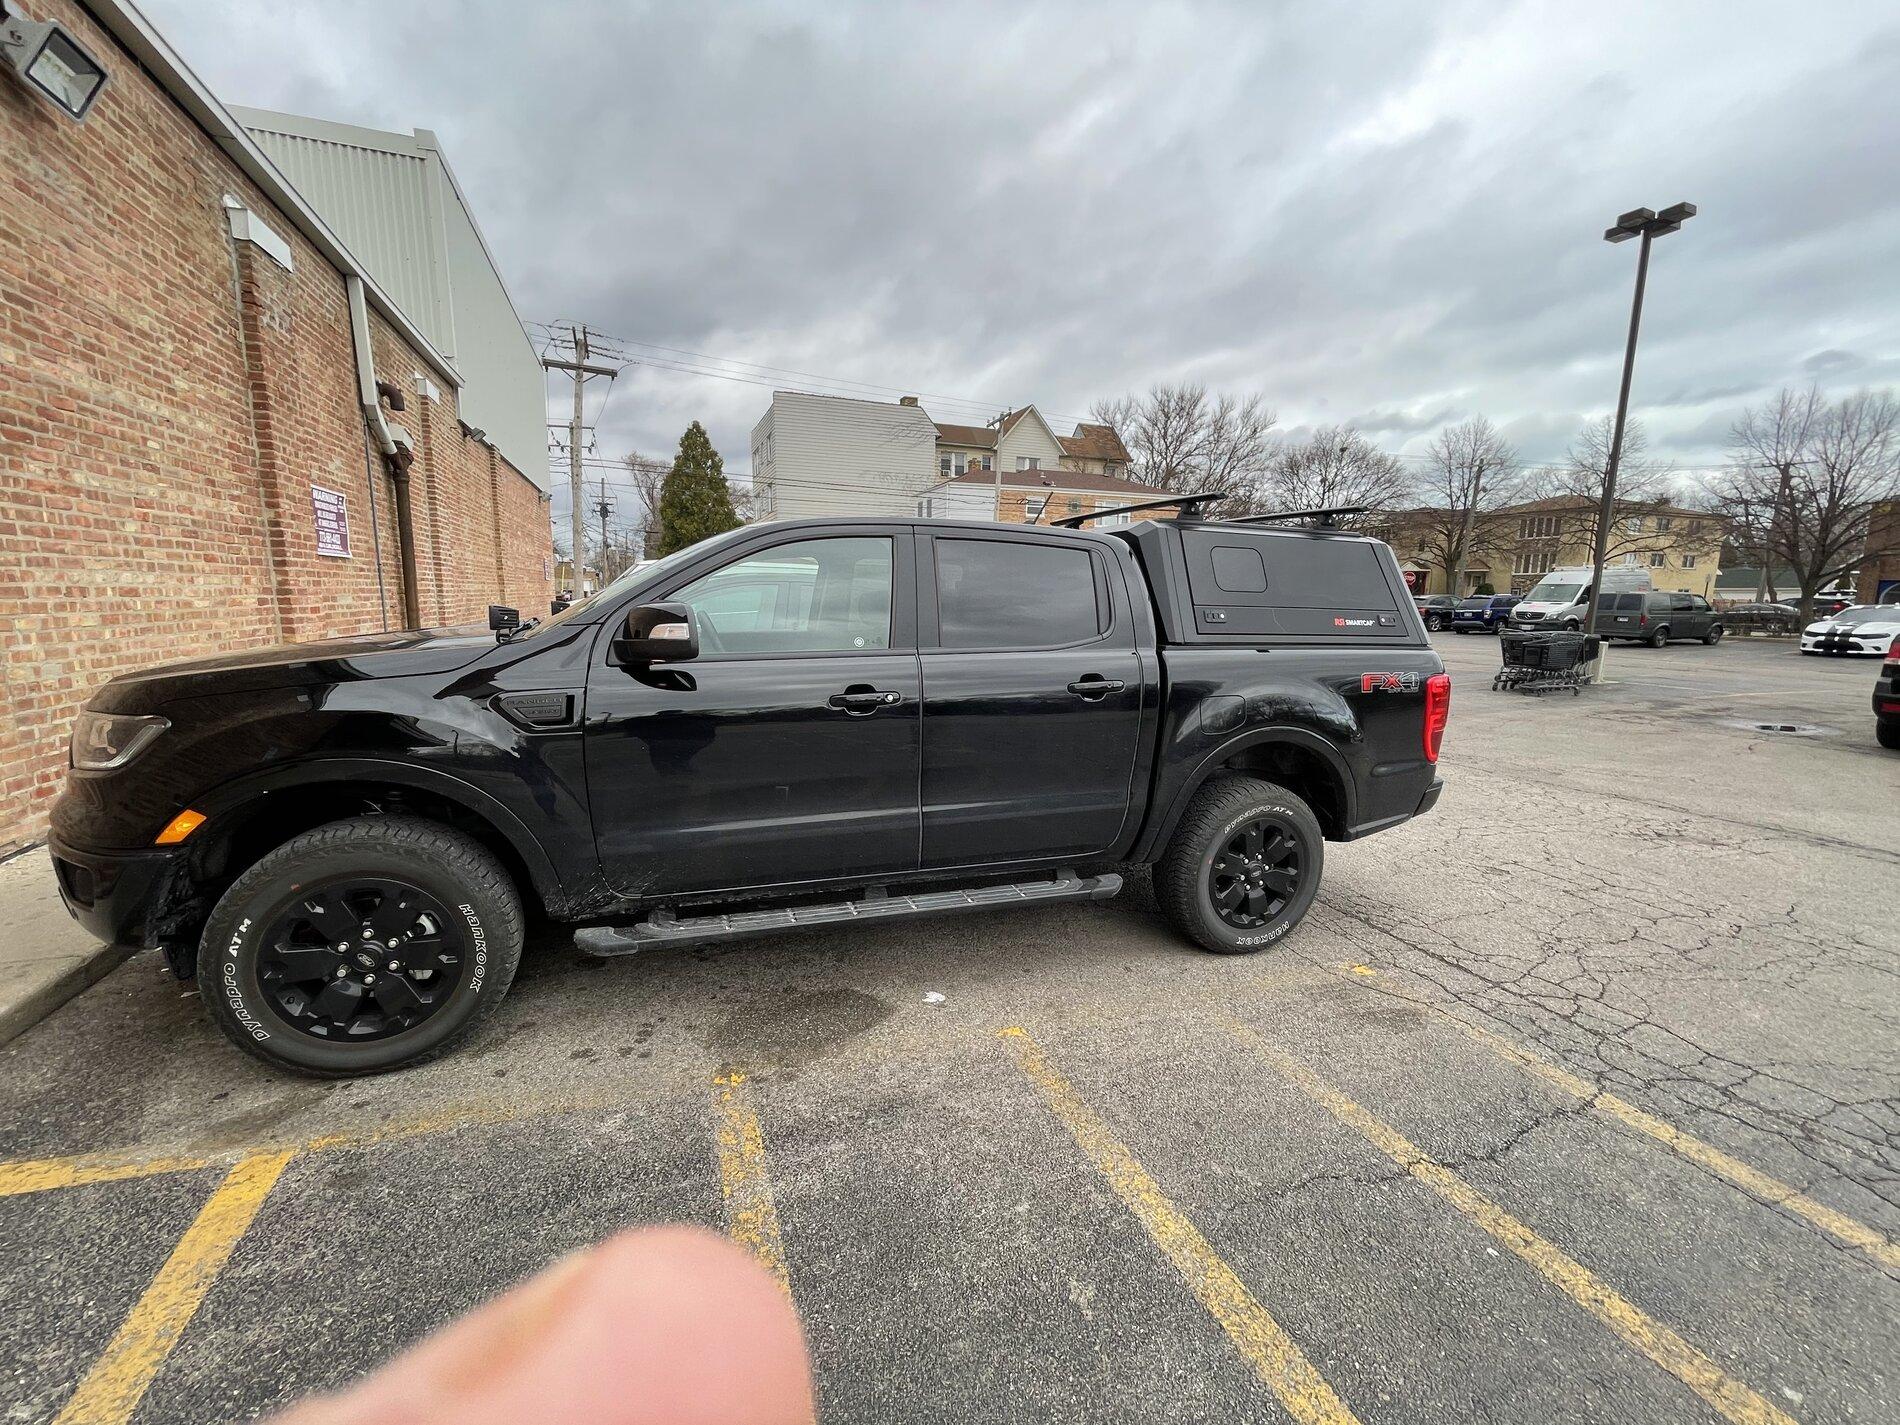
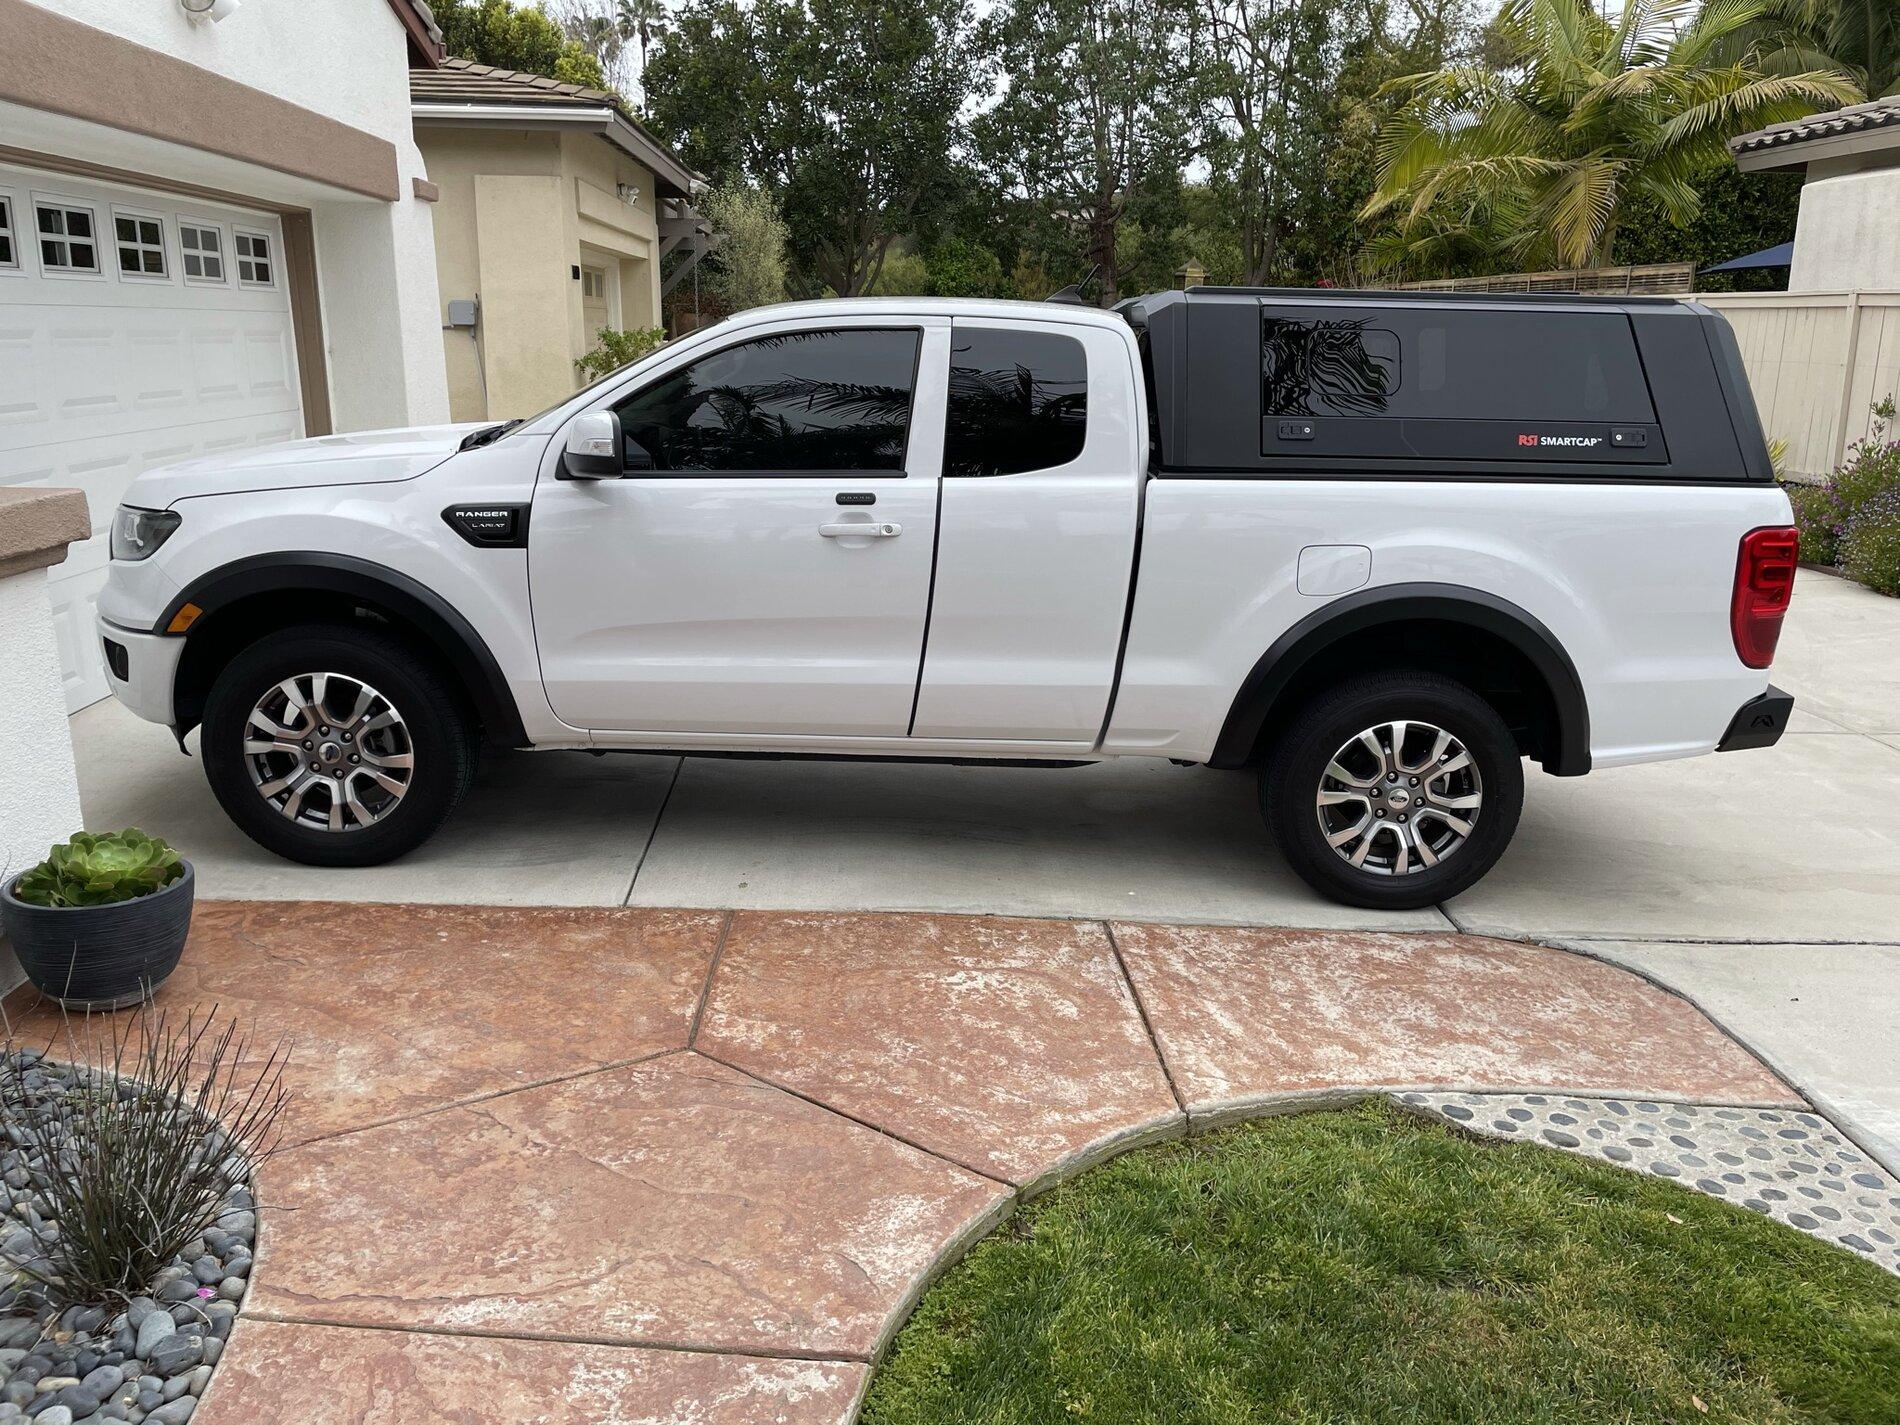
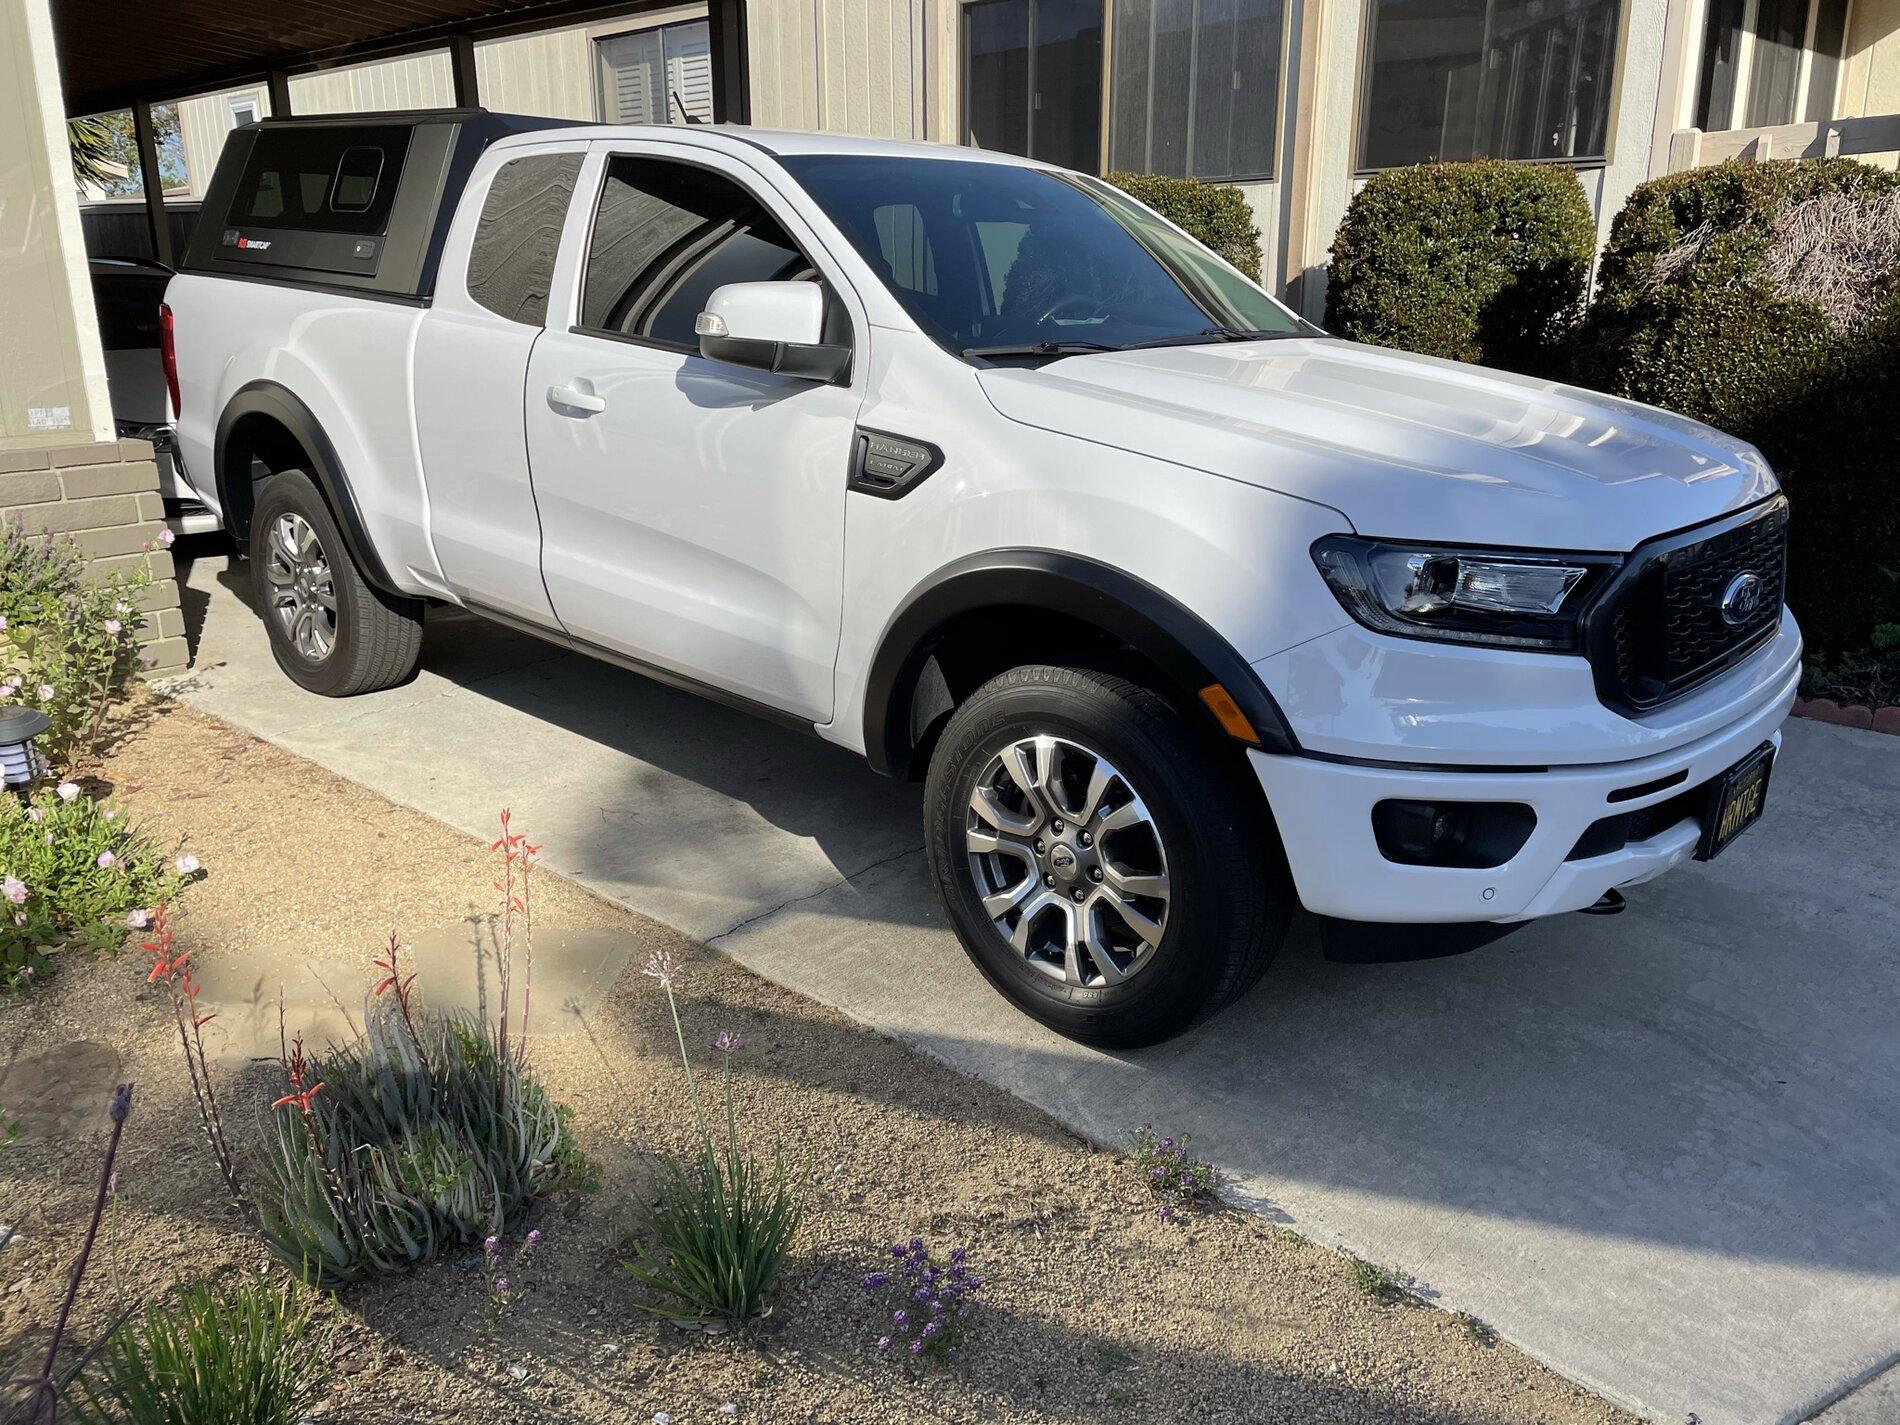
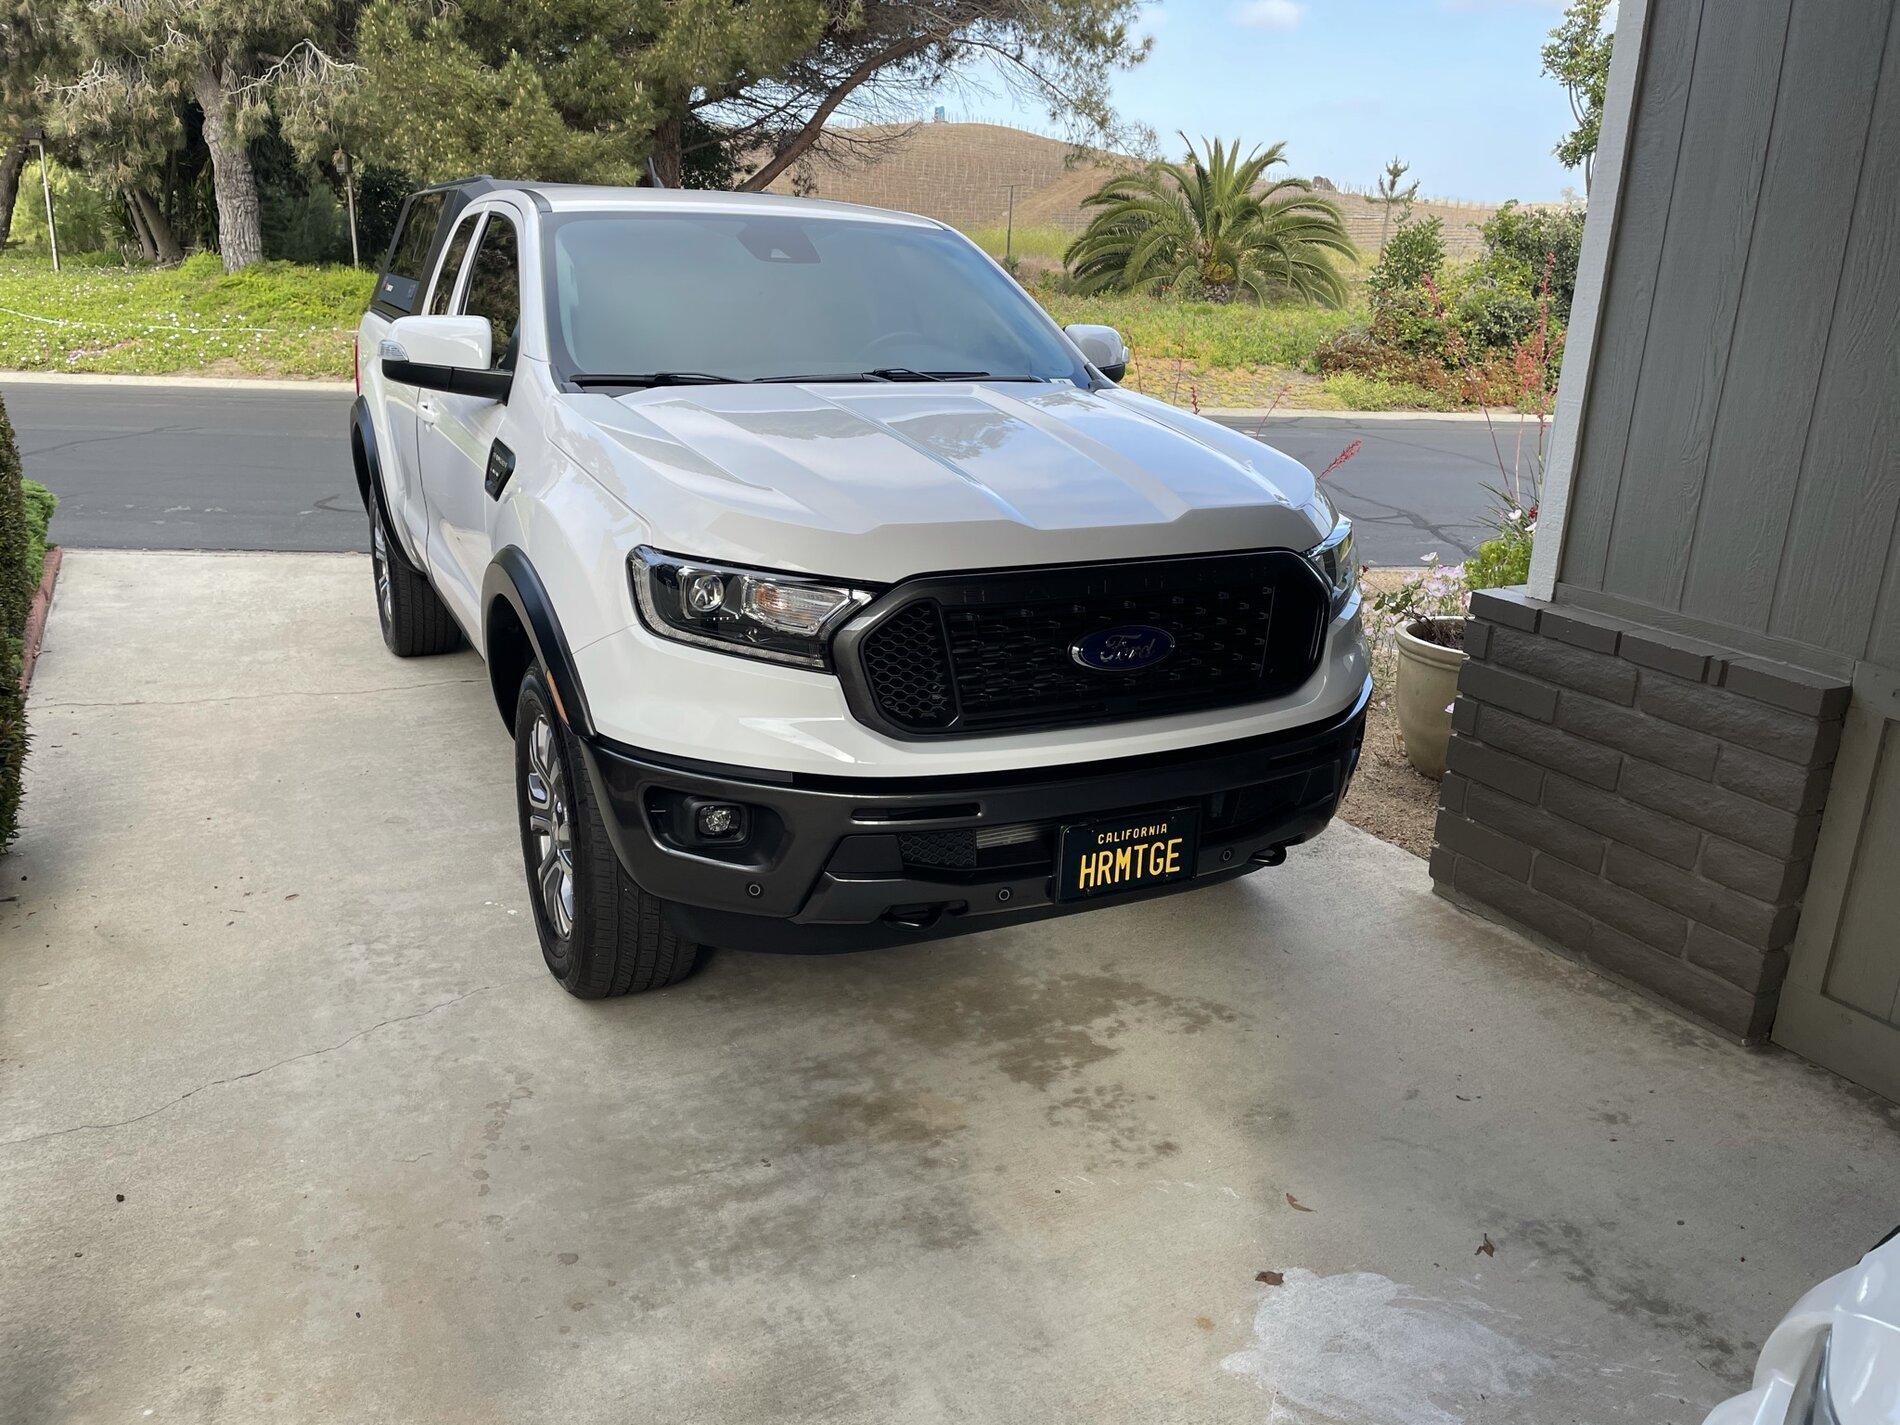
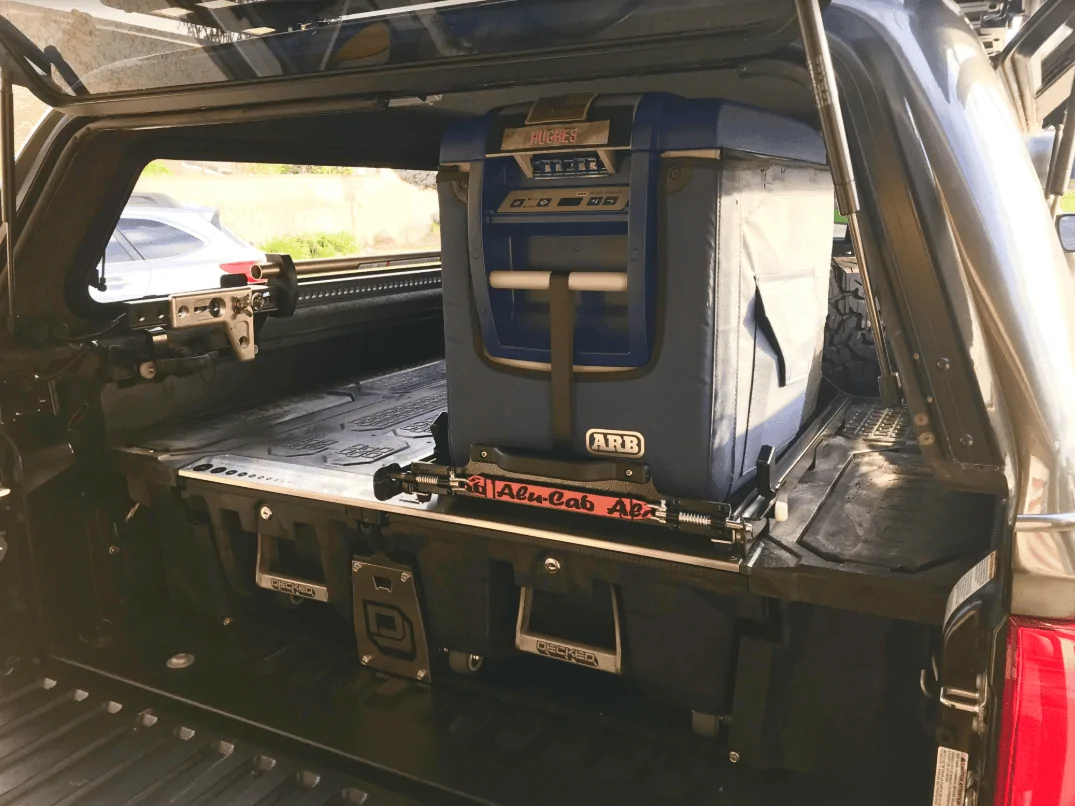
Here's some pix (finished one is a poor, in-garage shot with wide angle, will post some better ones soon)
Thanks to FourSquare for his posts: https://www.ranger5g.com/forum/threads/decked-w-topper.9602/page-2#post-200007

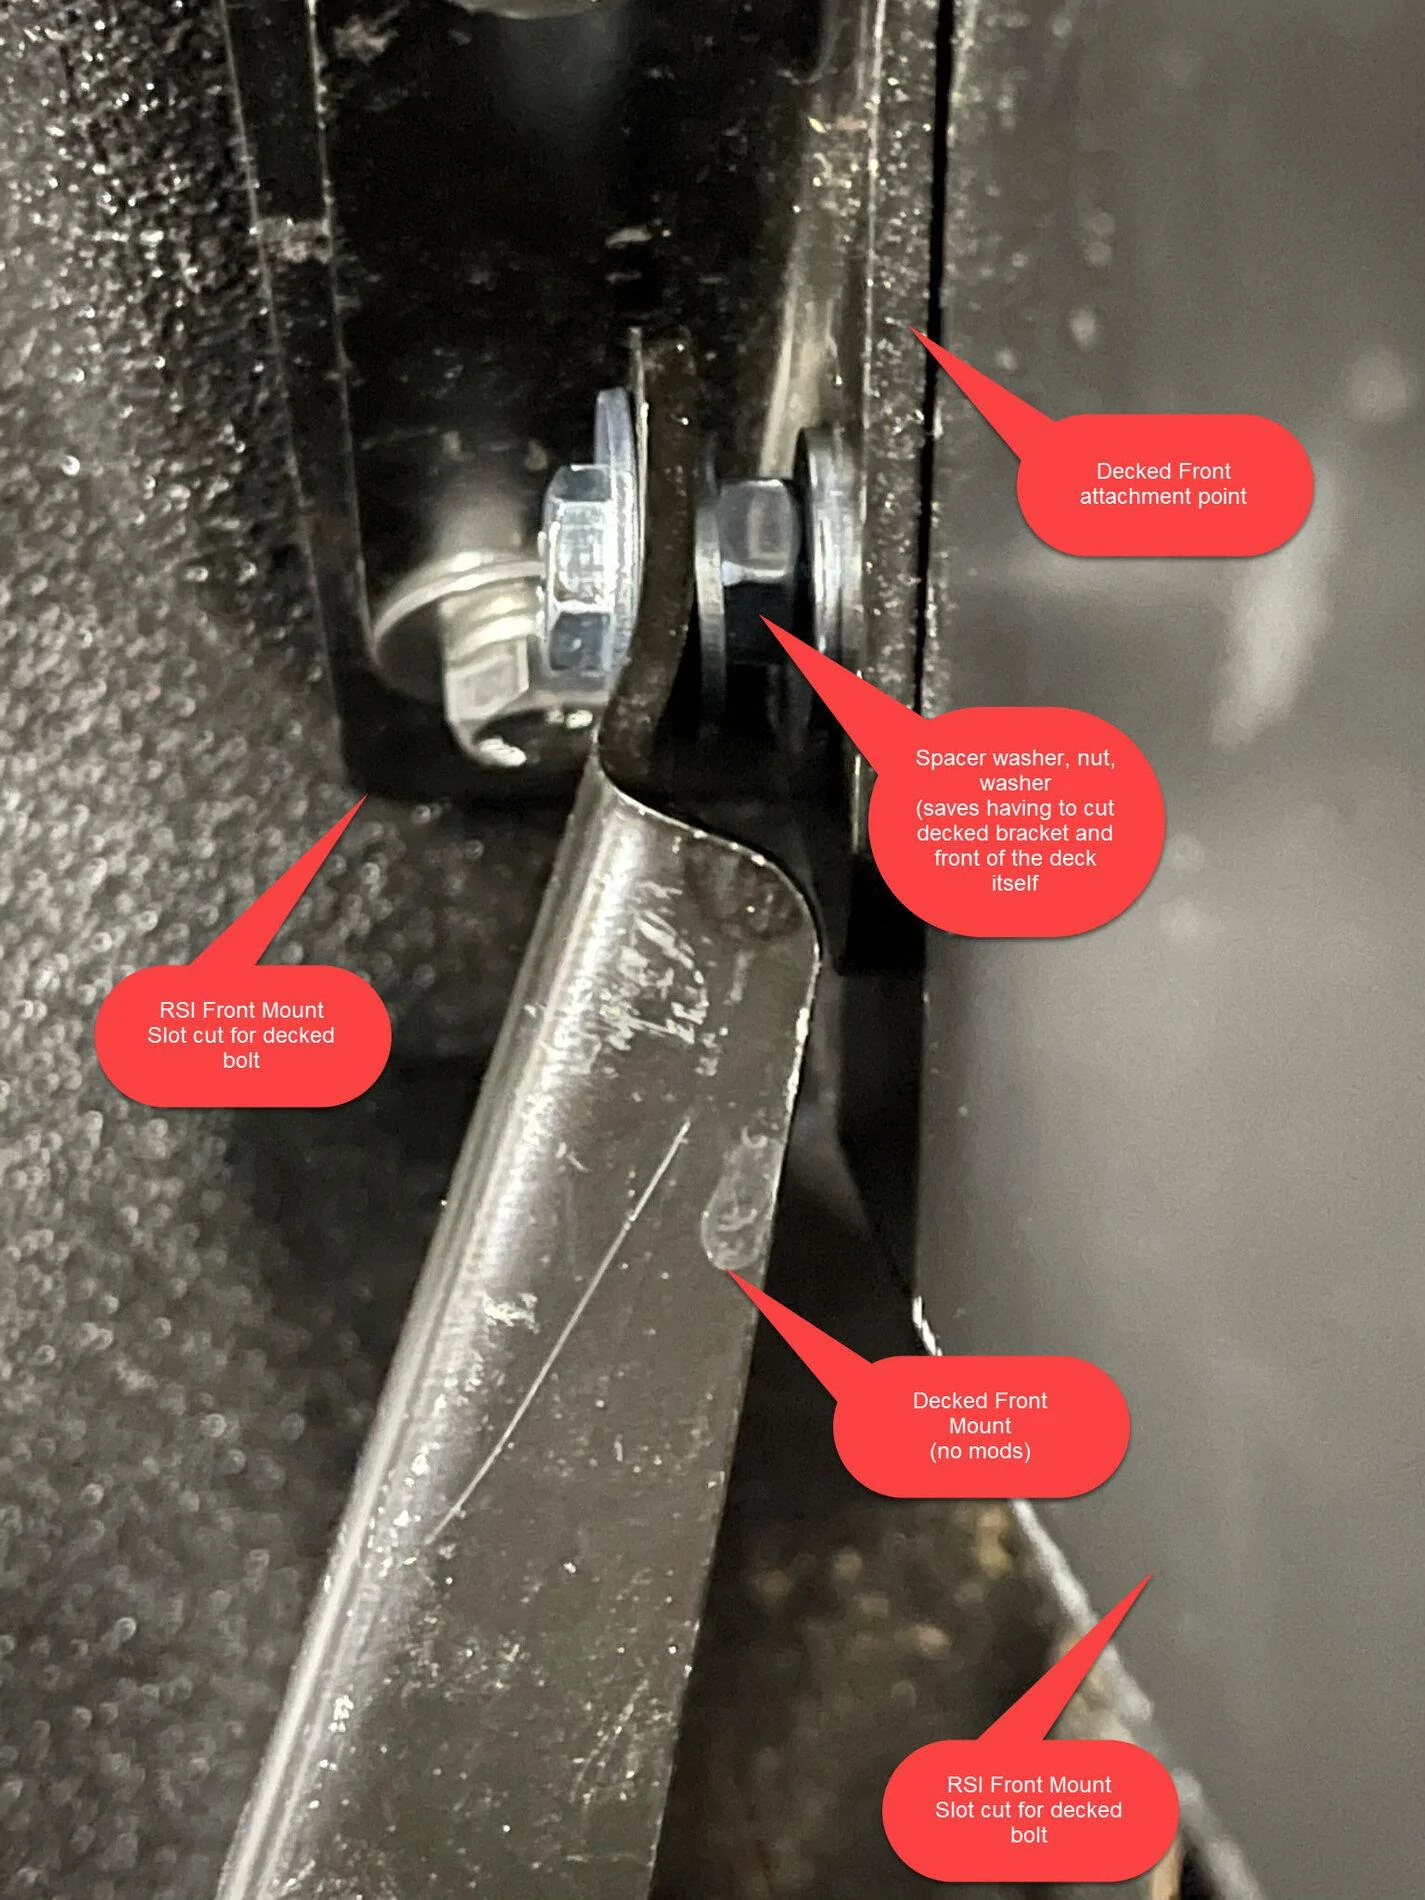
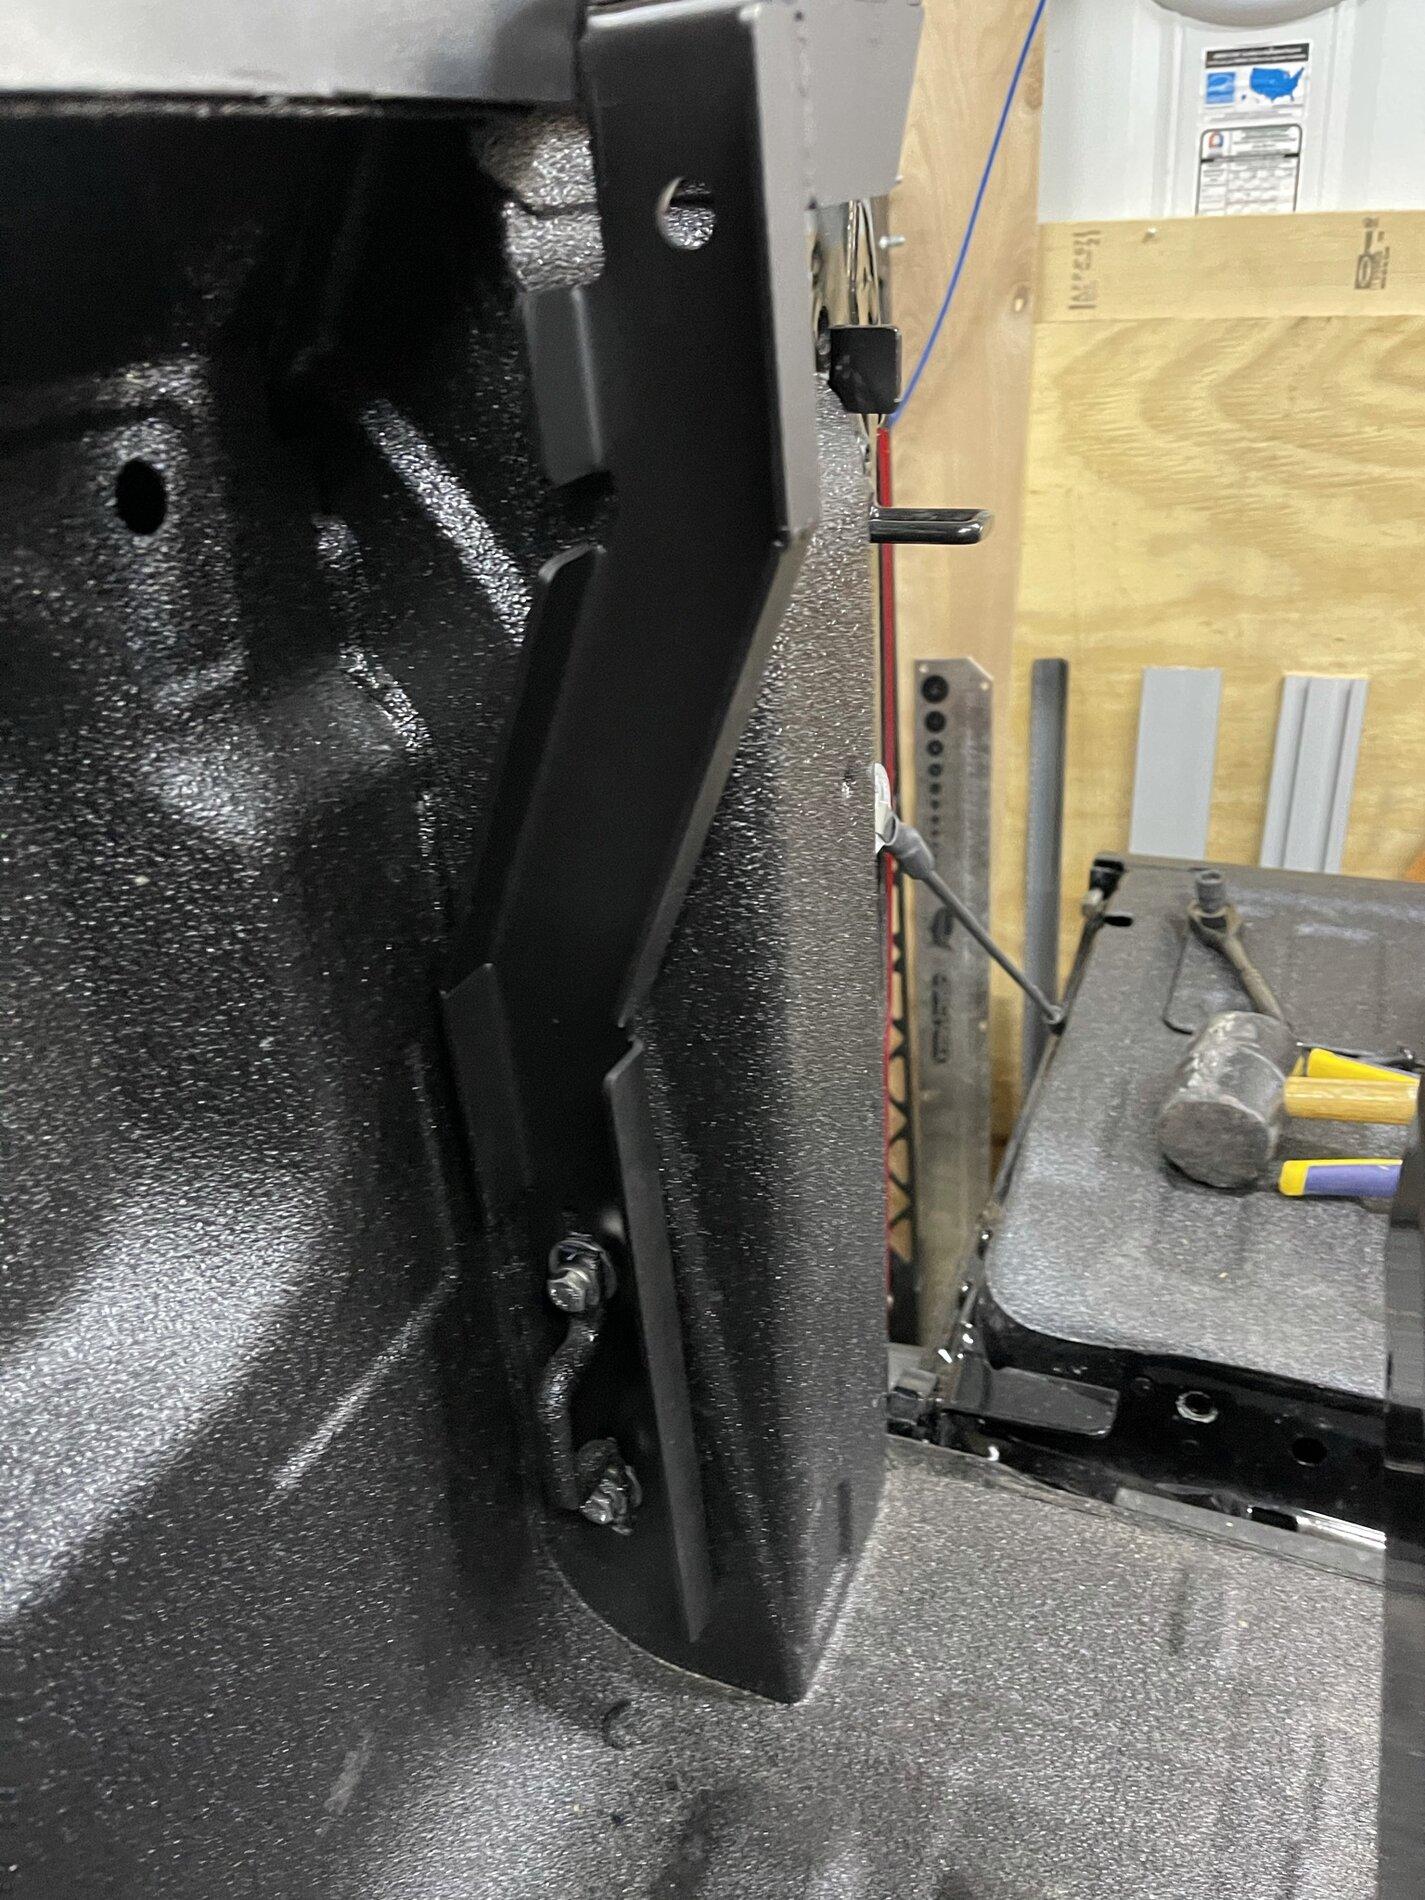
I basically kept the decked front mount, placed it on top of RSI mount, marked a hole and then cut a horizontal slot (3 drill holes) - see below. By using a spacer between the decked support arm and decked mounting bracket, I didn't have to cut the support arm or the front of the top decking. It moved the drawers back about 1/2 inch, which is no big deal (for me)

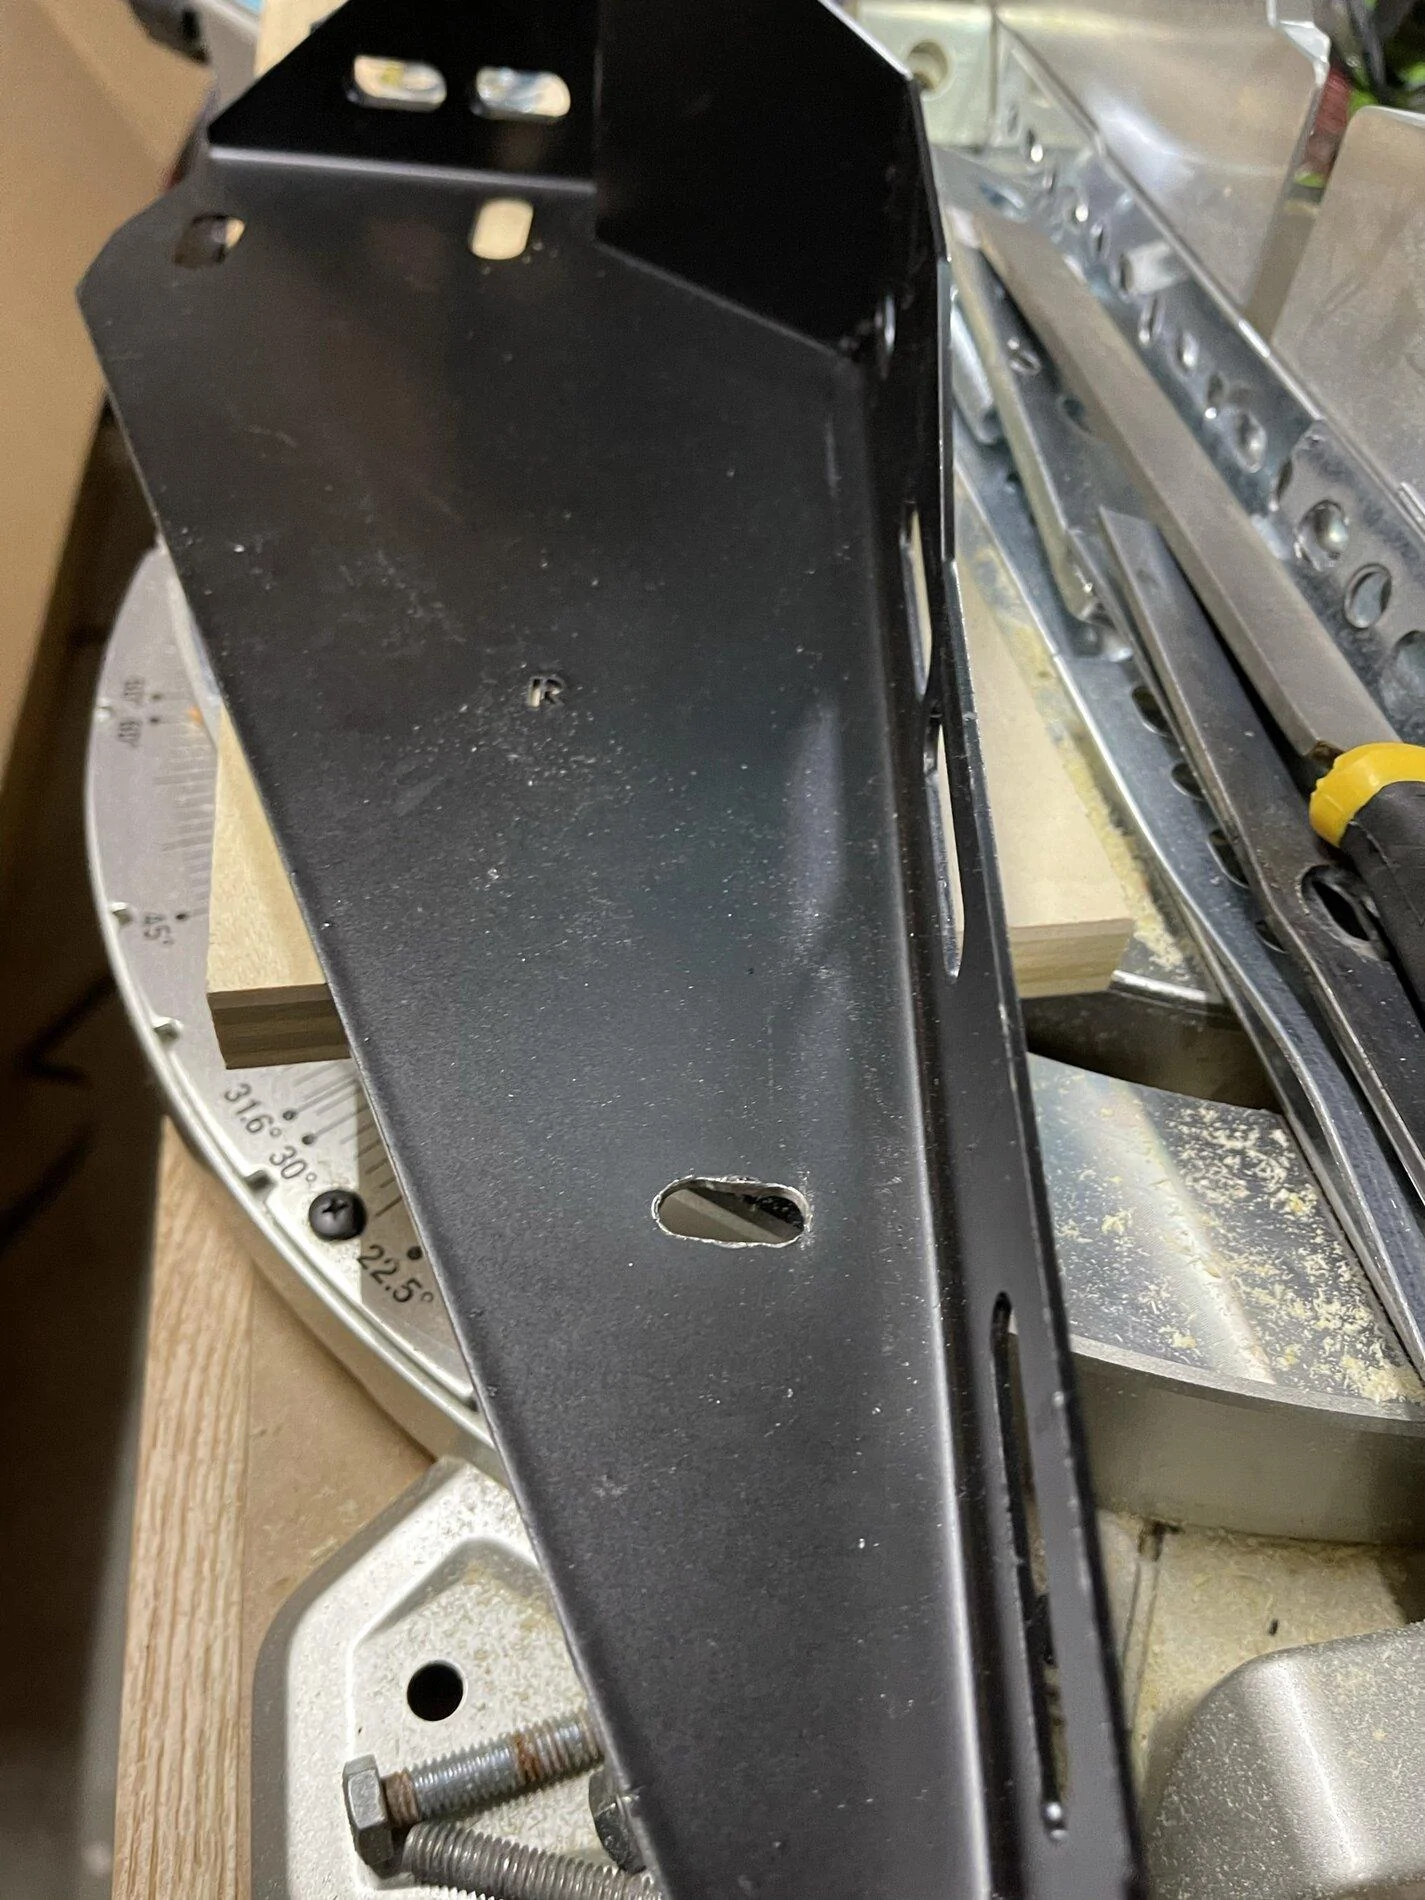
Slot cut in front support for decked bolt to pass through
Cut this slot after the cap is fully installed, as that's when you'll know the final height of the front and rear supports. You could just drill one hole but the slot gives you side to side adjustment on the drawers.
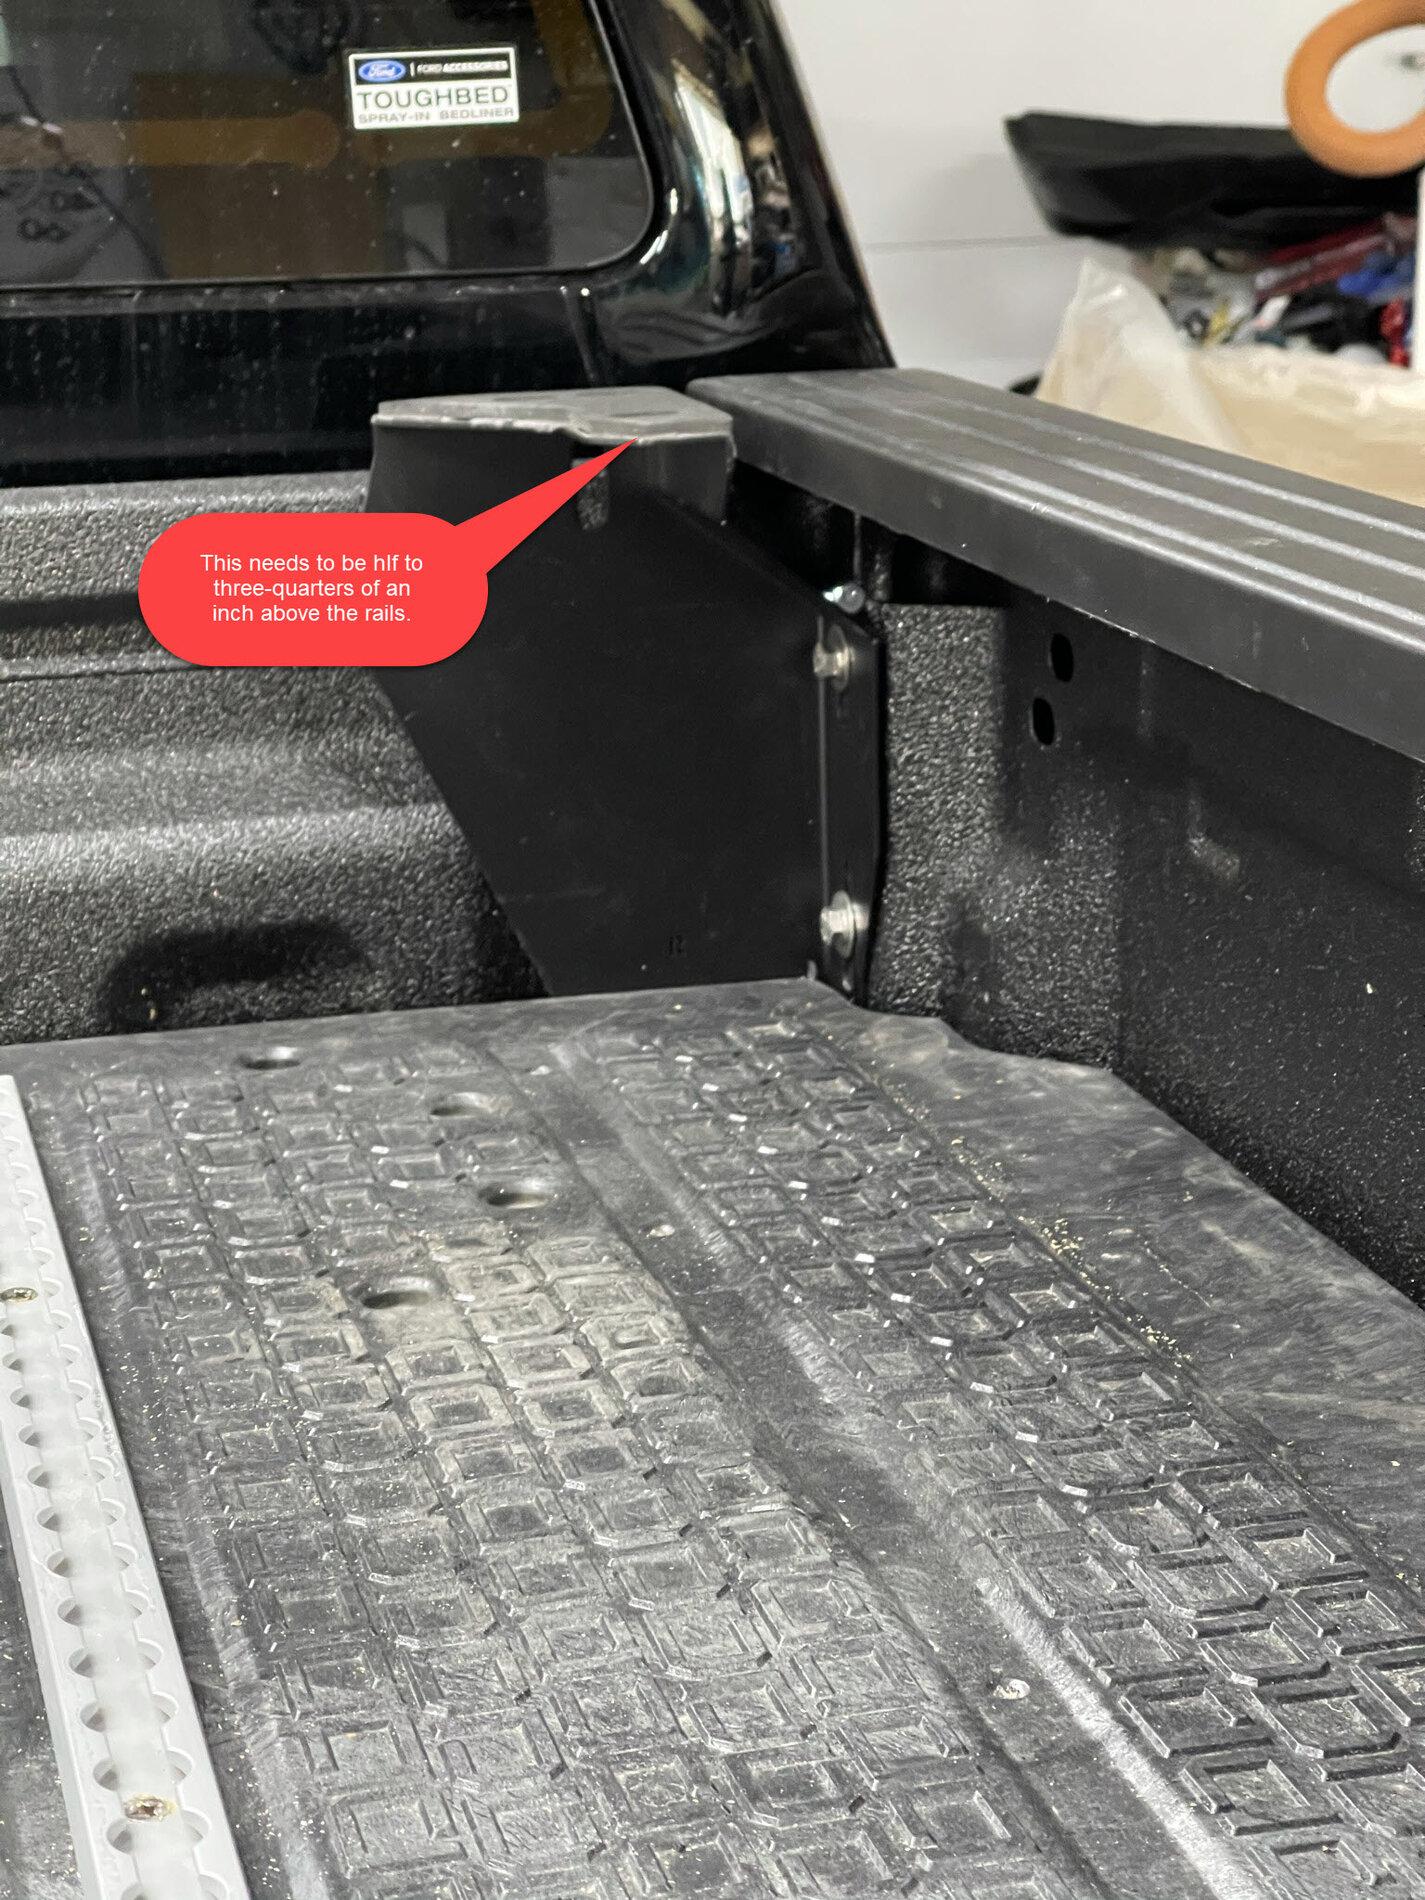
I left about 1/8 inch gap between the top of the front support and rear supports and the cap, so that the gasket would compress as I tightened the bolts. The mounting flanges on the cap bend easily, so don't leave too big a gap. Zero about what to do in the install guide, so no idea what's correct

rear bracket installed
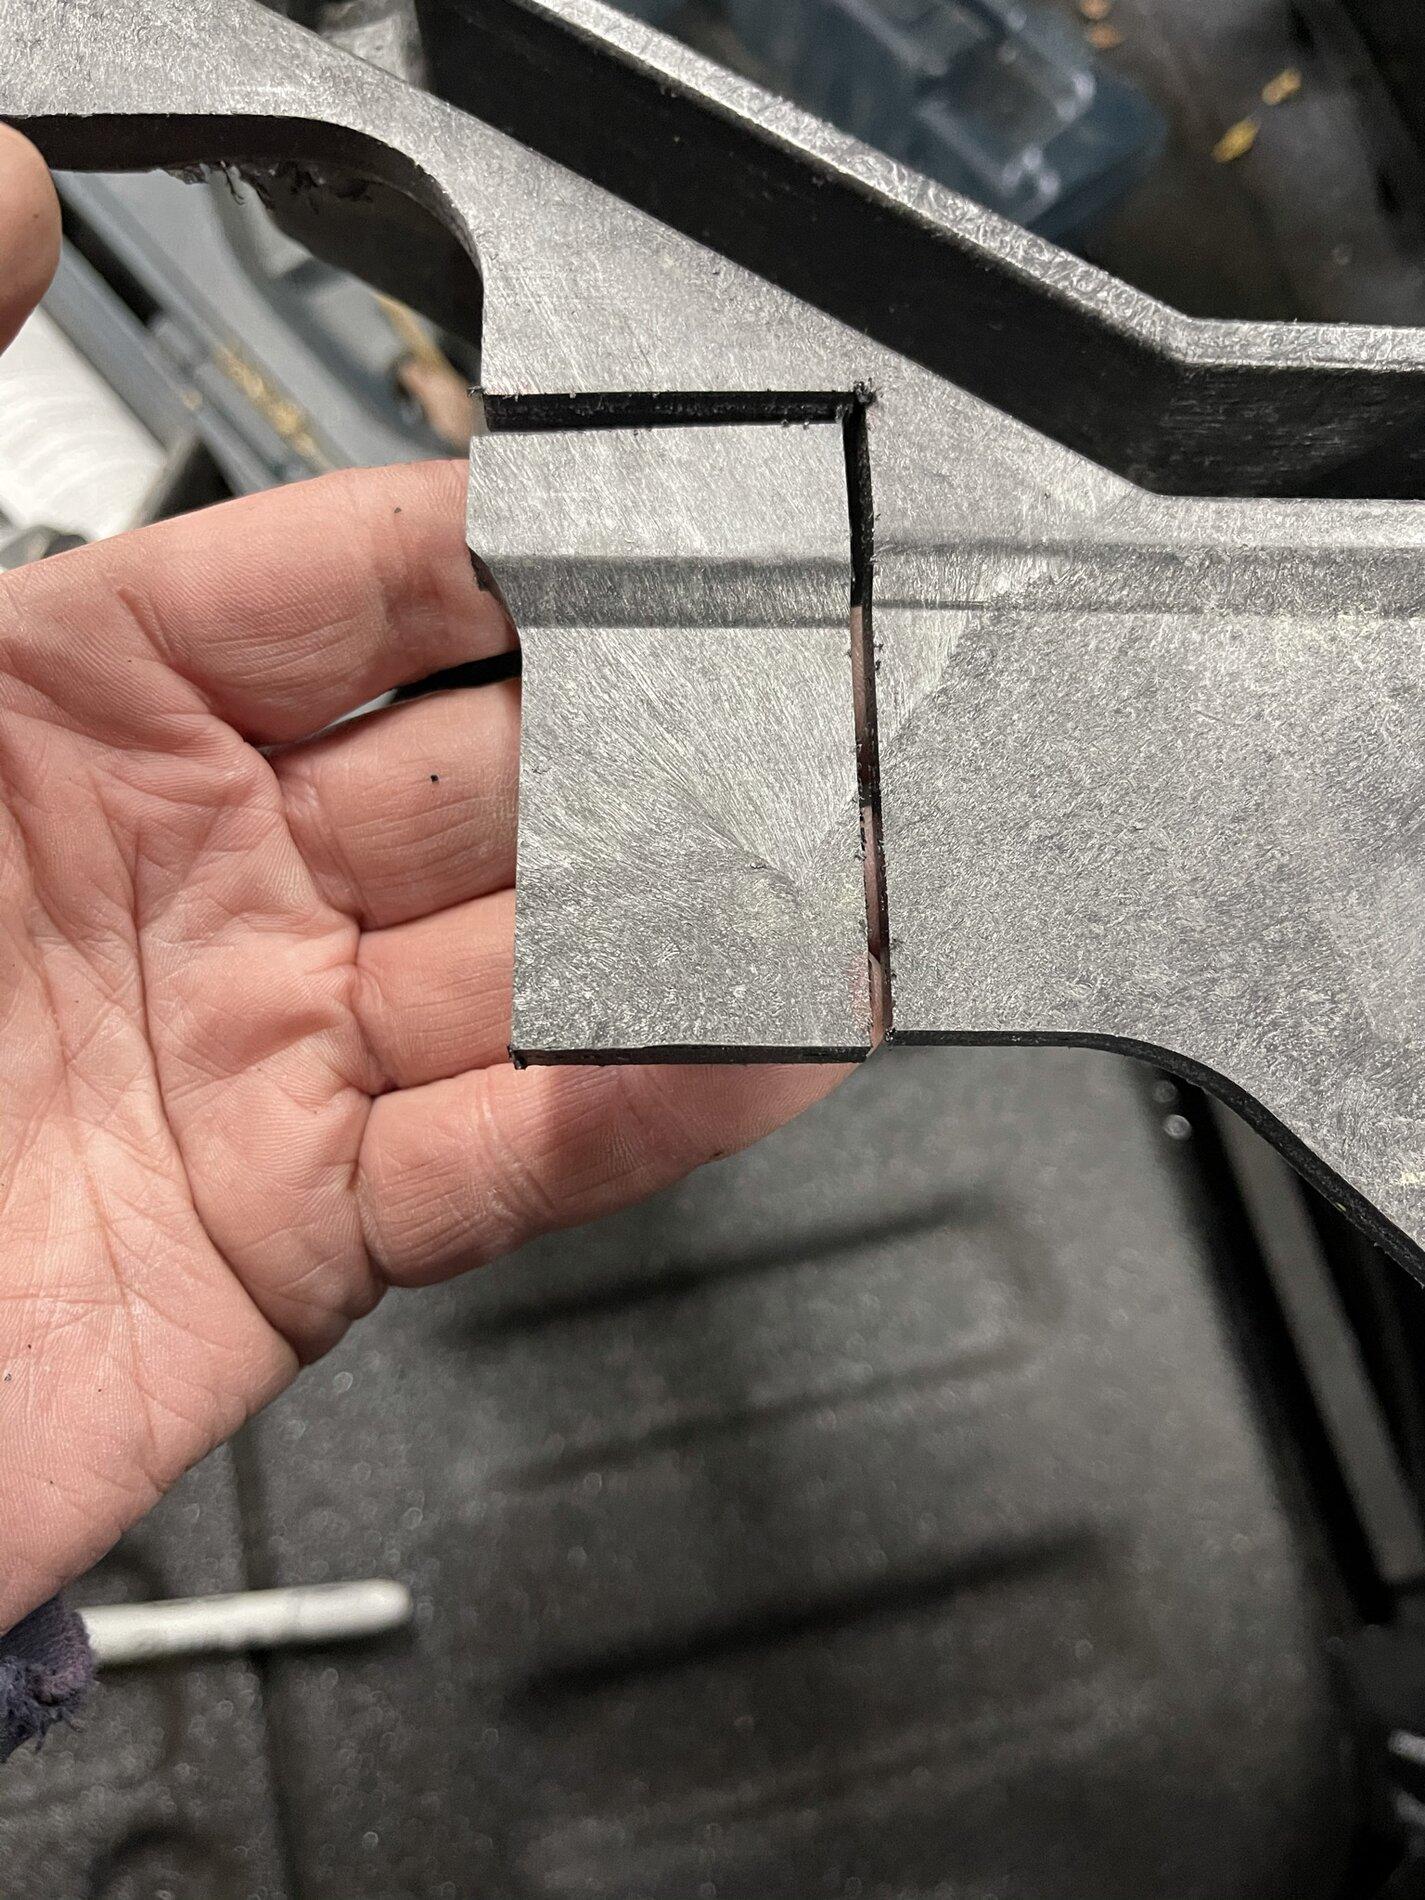
This was the only mod required to the decked system. Cut about 2x3 notch to allow for the rear supports
Got this done at the weekend. Took me about 8 hours to install brackets (including adapting decked brackets) and assemble (all solo). Getting the sides in the slots is a real pain and those 40 or so load spreaders on the front and back are a royal PITA.
A buddy came to help me lift it. We put a 2x6 between two short ladders and lifted it onto that. My buddy balanced it while I backed in. The cap was about 6 inches below the rails. We lifted it forward half onto the rails and onto 2 pieces of 3/4 EMT conduit spanning the rails. This allowed us to simply roll it back and forth on the conduit the get the position accurate.
Some notes
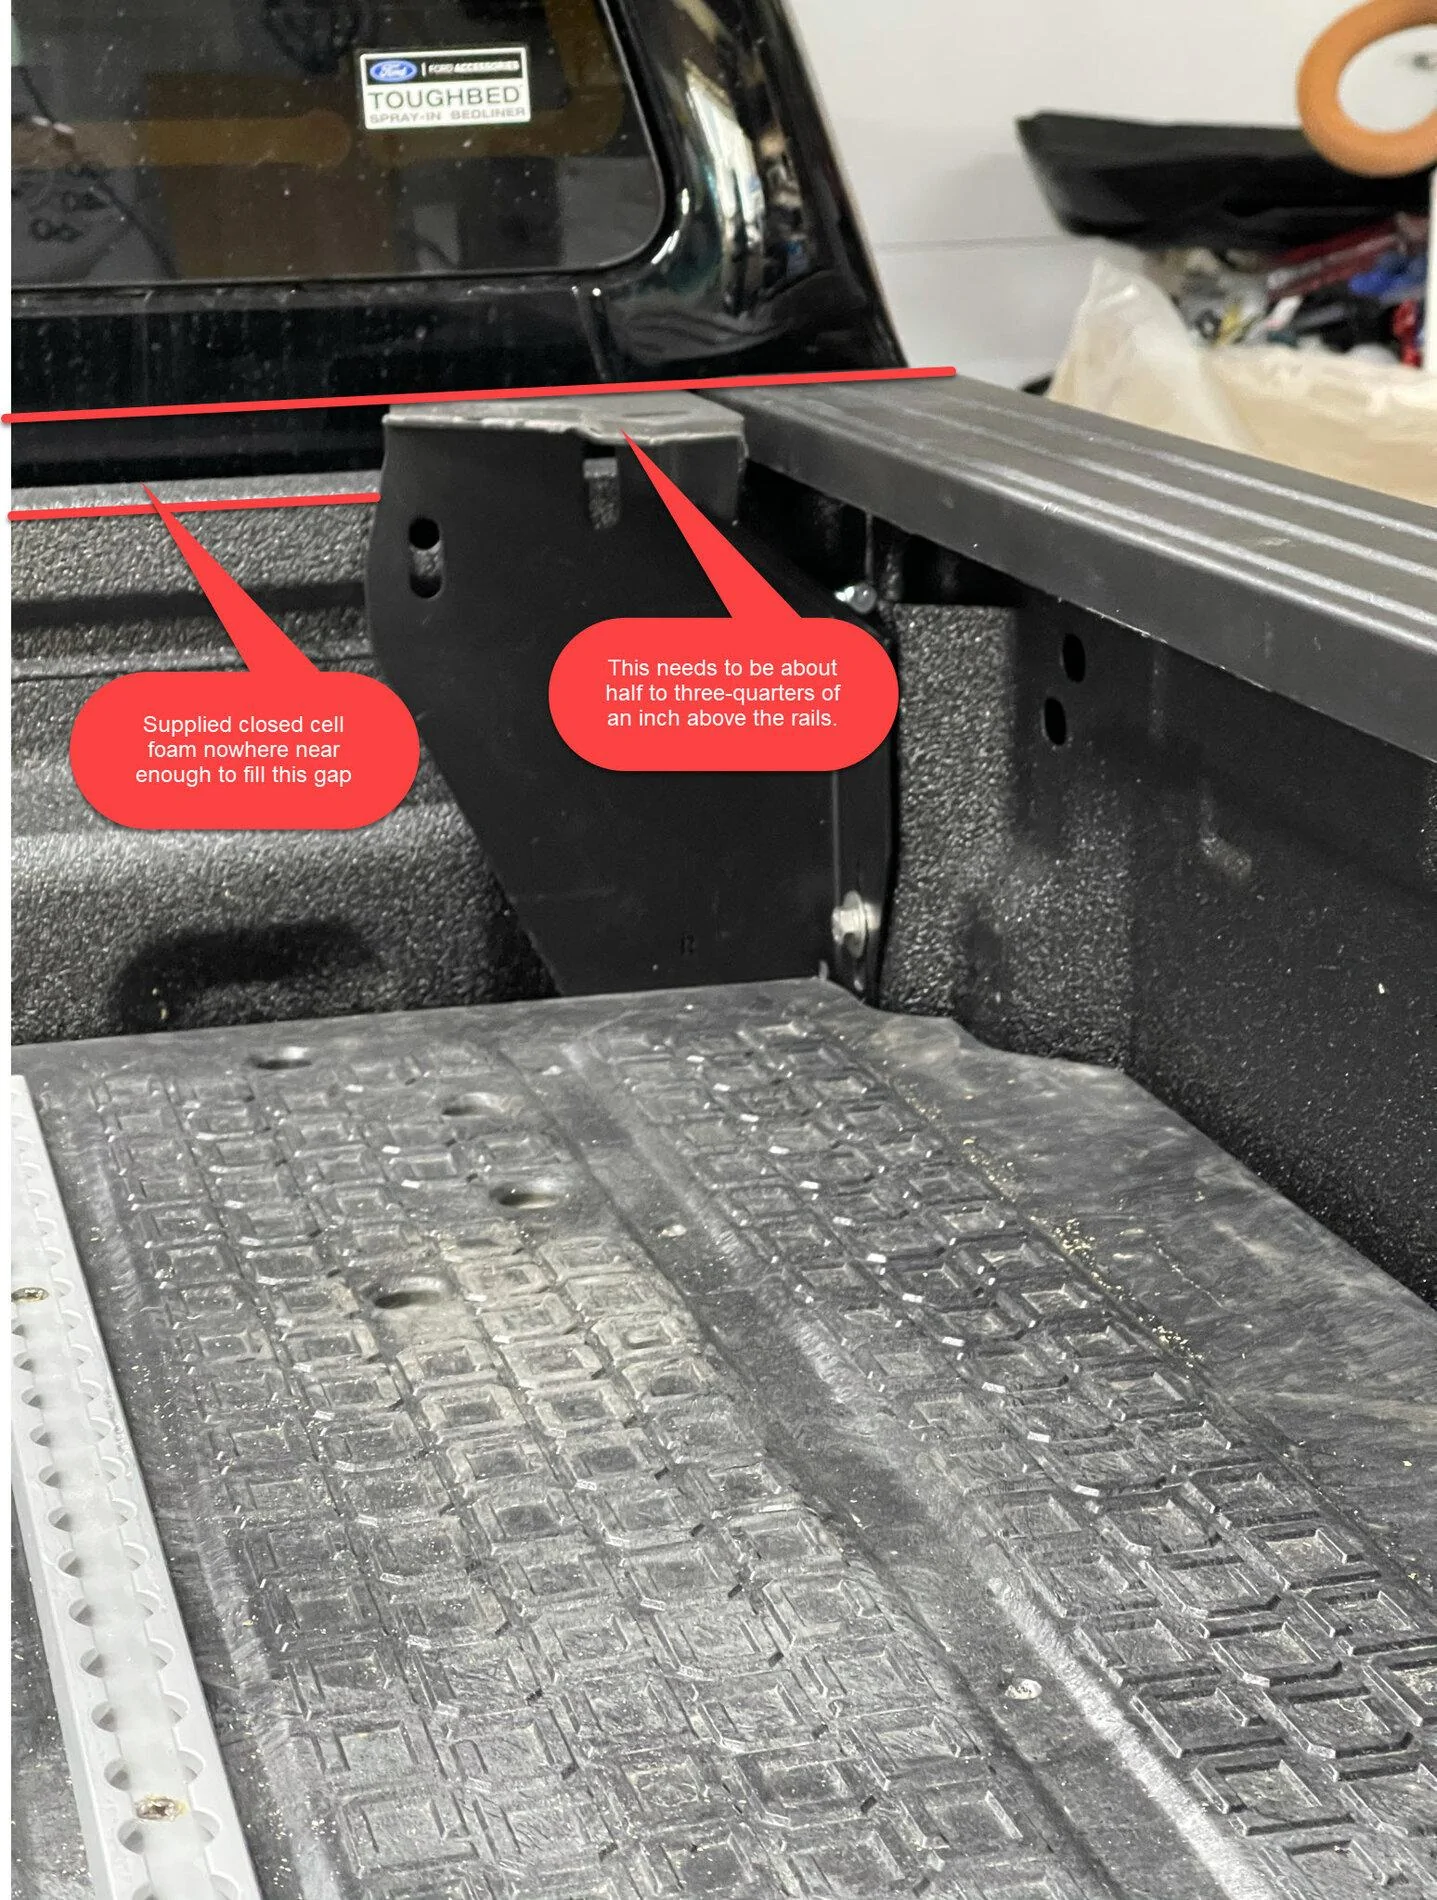
- There is not enough closed cell foam to fill the gap between the front of the bed and the rails (see pic). Luckily I had just enough D Gasket left, so I put down supplied closed cell foam and then the left over D Gasket. (Couldn't face another trip to Lowes
") )
) - The front and rear mounting brackets need to sit about 3/4 inch above the rails. do not tighten the bolts anchoring these to the truck bed until the cap is installed and bolted to these
- There is no harness for the 3rd brake light (and apparently it doesn't work with tow-package anyway), so now, after spending $4k, I'm driving an illegal vehicle. Nothing from RSI support yet
- Single mod I made to the decked system was cutting out a piece about 2-inch x 3-inch on back corners (see pic below)
- I used longer bolts to attach the cap tot he brackets
- The topper is about 4 inched higher than the cab. Wasn't aware of that as there are so few pix on RSI site.
Here's some pix (finished one is a poor, in-garage shot with wide angle, will post some better ones soon)
Thanks to FourSquare for his posts: https://www.ranger5g.com/forum/threads/decked-w-topper.9602/page-2#post-200007

I basically kept the decked front mount, placed it on top of RSI mount, marked a hole and then cut a horizontal slot (3 drill holes) - see below. By using a spacer between the decked support arm and decked mounting bracket, I didn't have to cut the support arm or the front of the top decking. It moved the drawers back about 1/2 inch, which is no big deal (for me)
Slot cut in front support for decked bolt to pass through
Cut this slot after the cap is fully installed, as that's when you'll know the final height of the front and rear supports. You could just drill one hole but the slot gives you side to side adjustment on the drawers.
I left about 1/8 inch gap between the top of the front support and rear supports and the cap, so that the gasket would compress as I tightened the bolts. The mounting flanges on the cap bend easily, so don't leave too big a gap. Zero about what to do in the install guide, so no idea what's correct
rear bracket installed
This was the only mod required to the decked system. Cut about 2x3 notch to allow for the rear supports


Sponsored