mark_anderson_us
Well-Known Member
- Thread starter
- #16
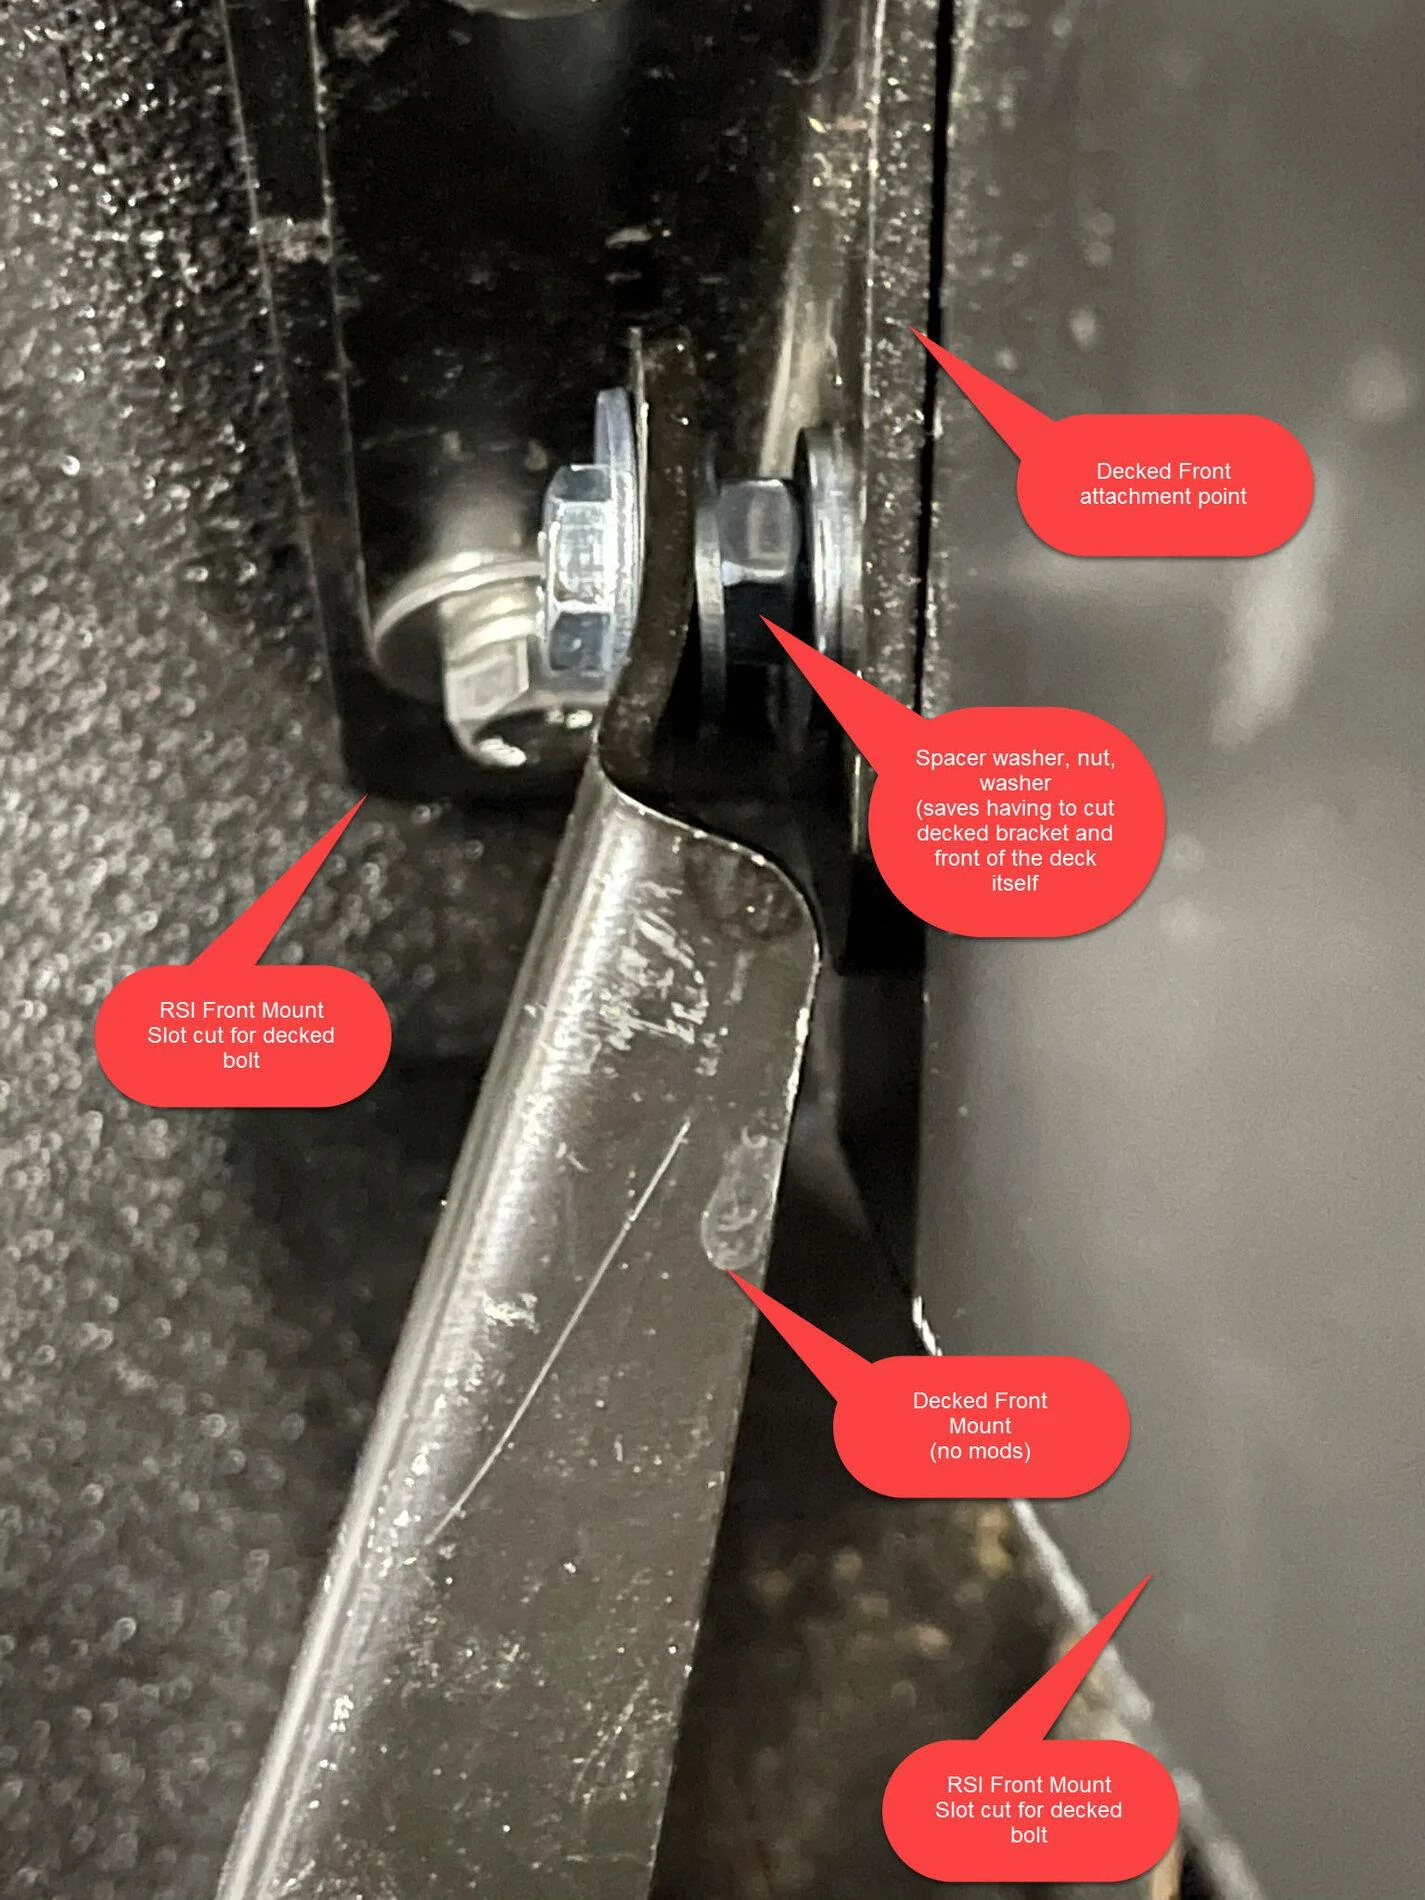
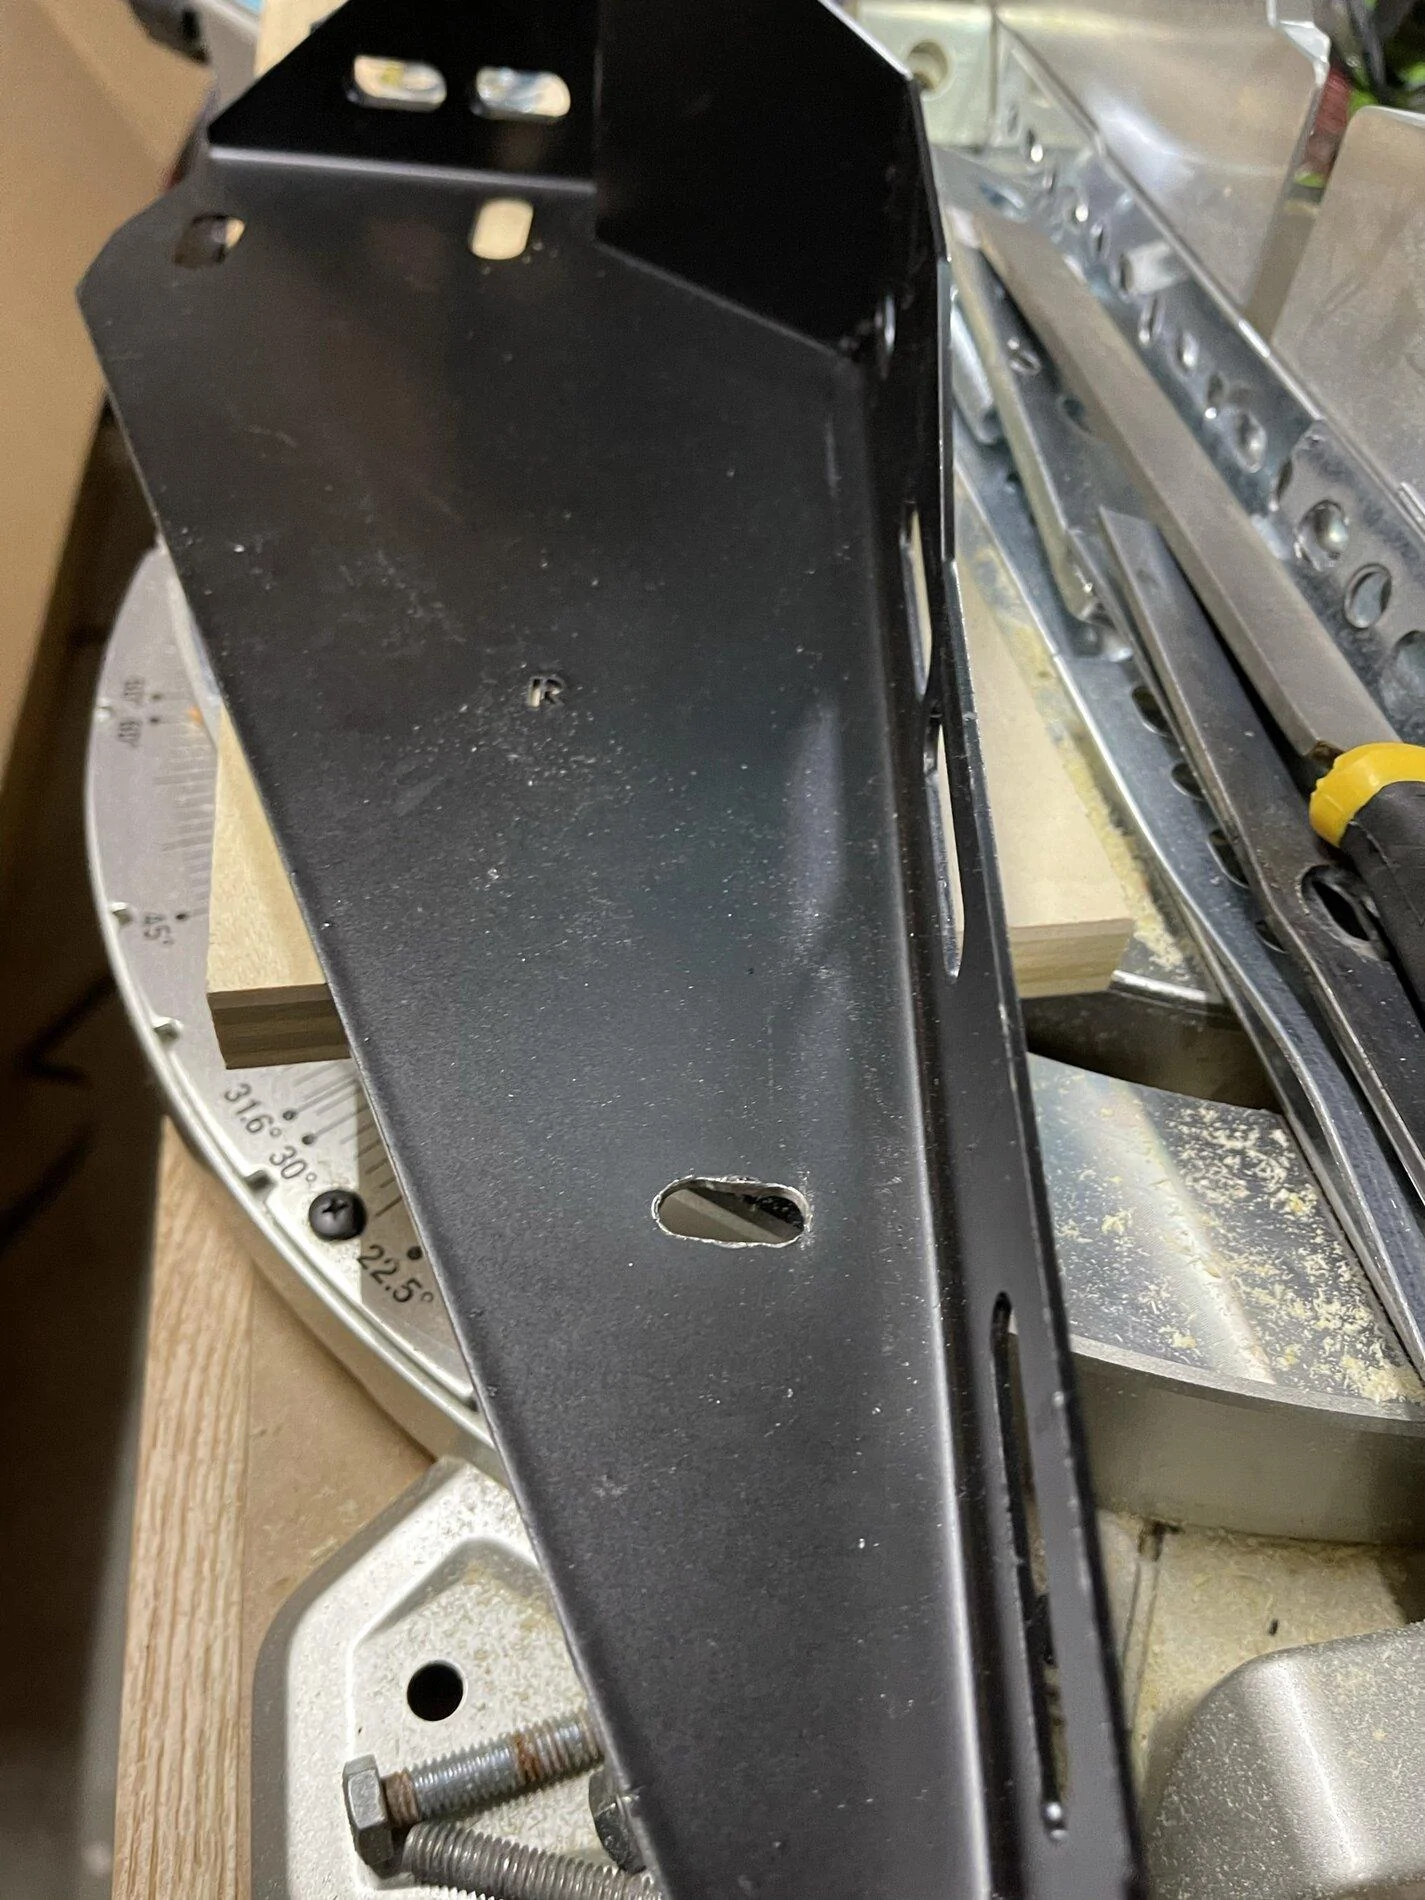
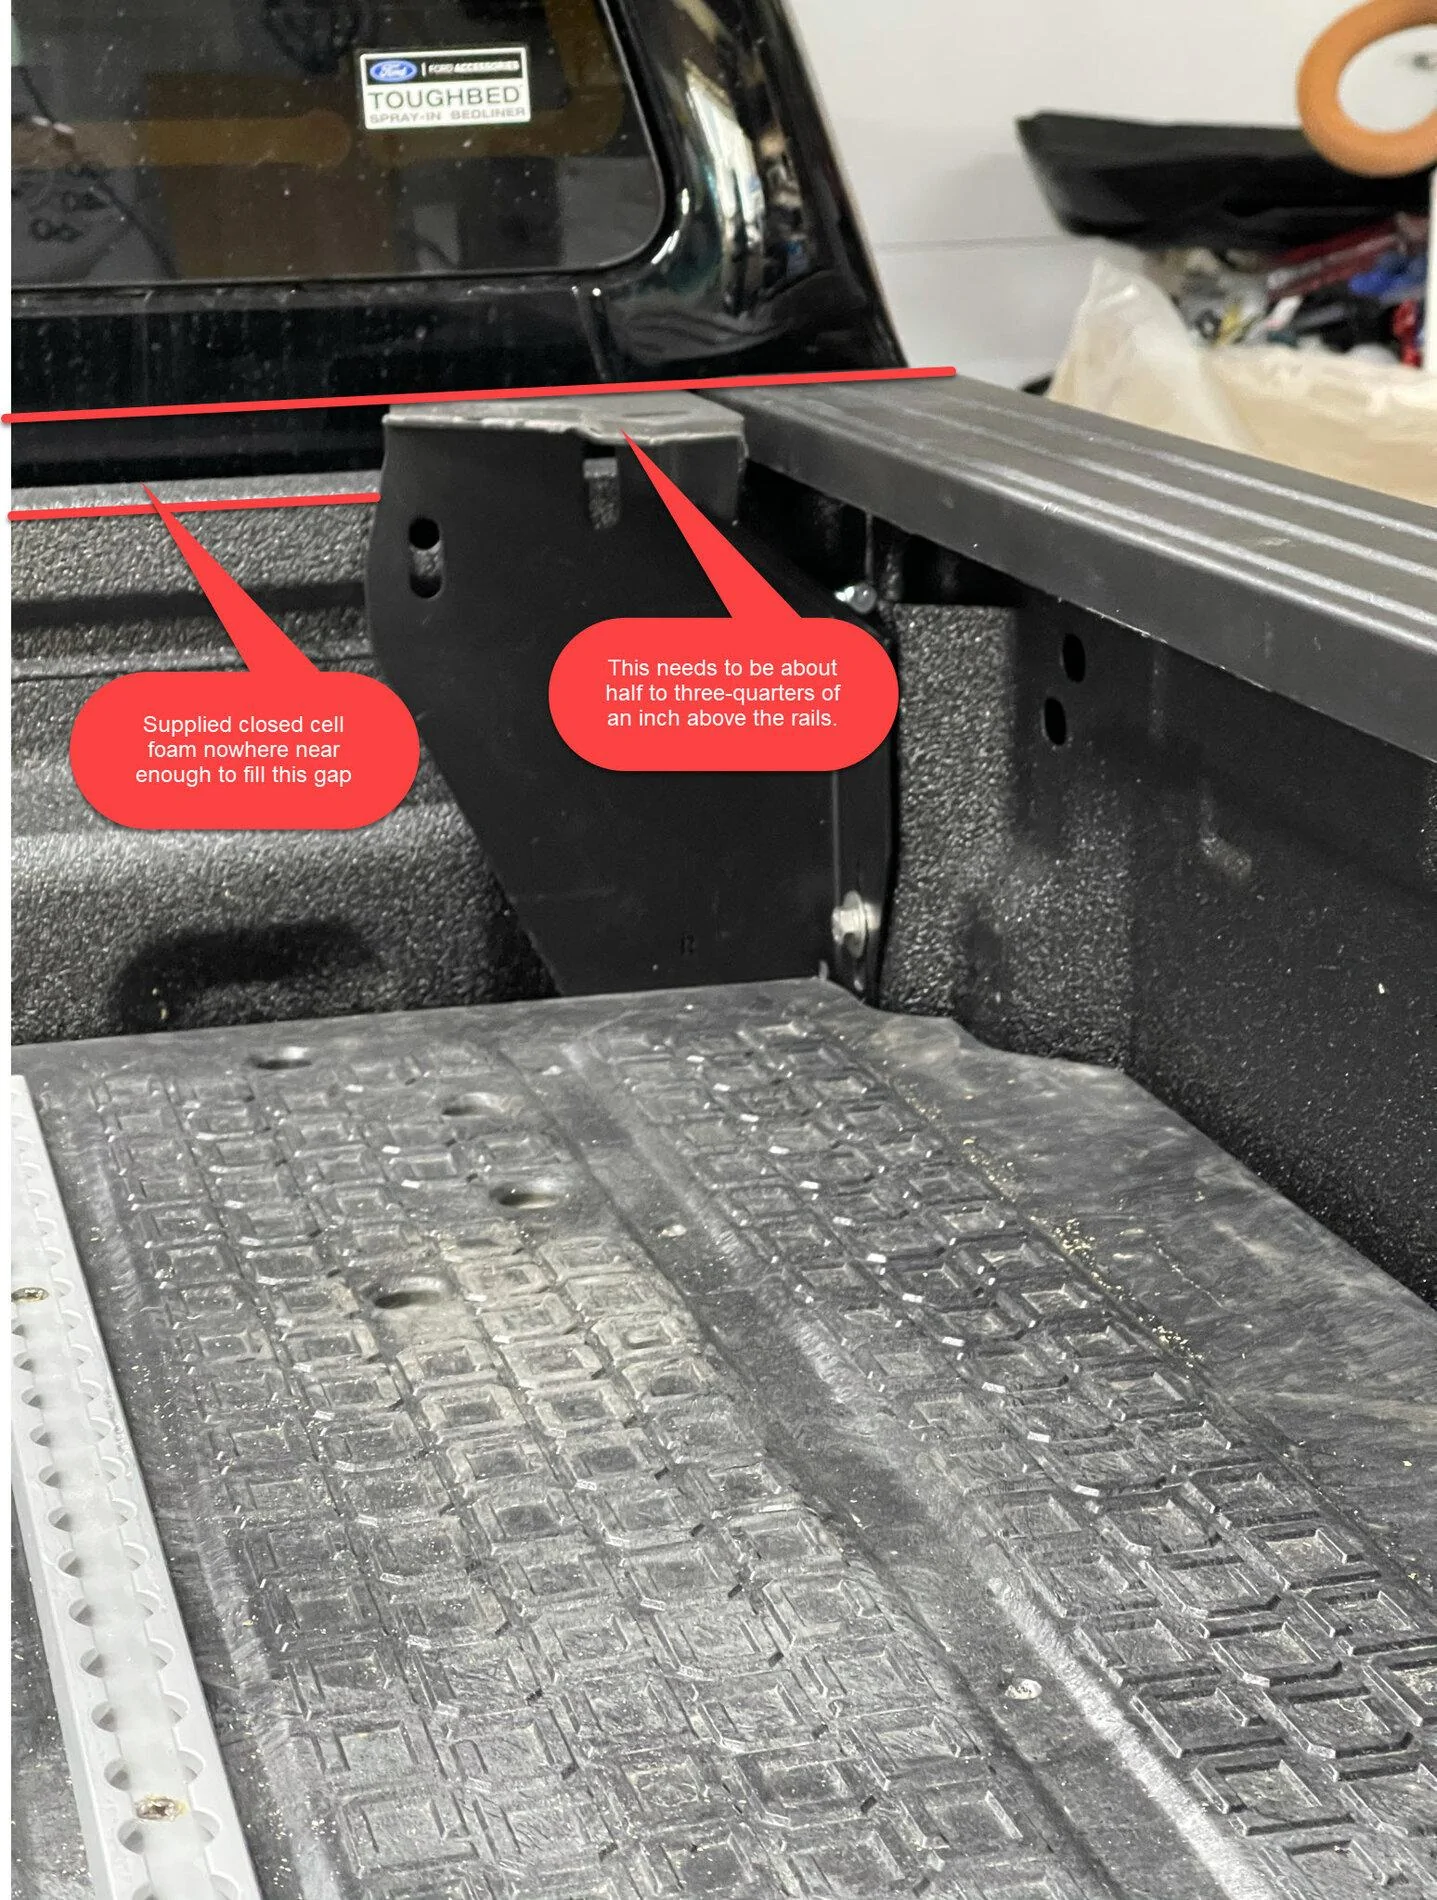
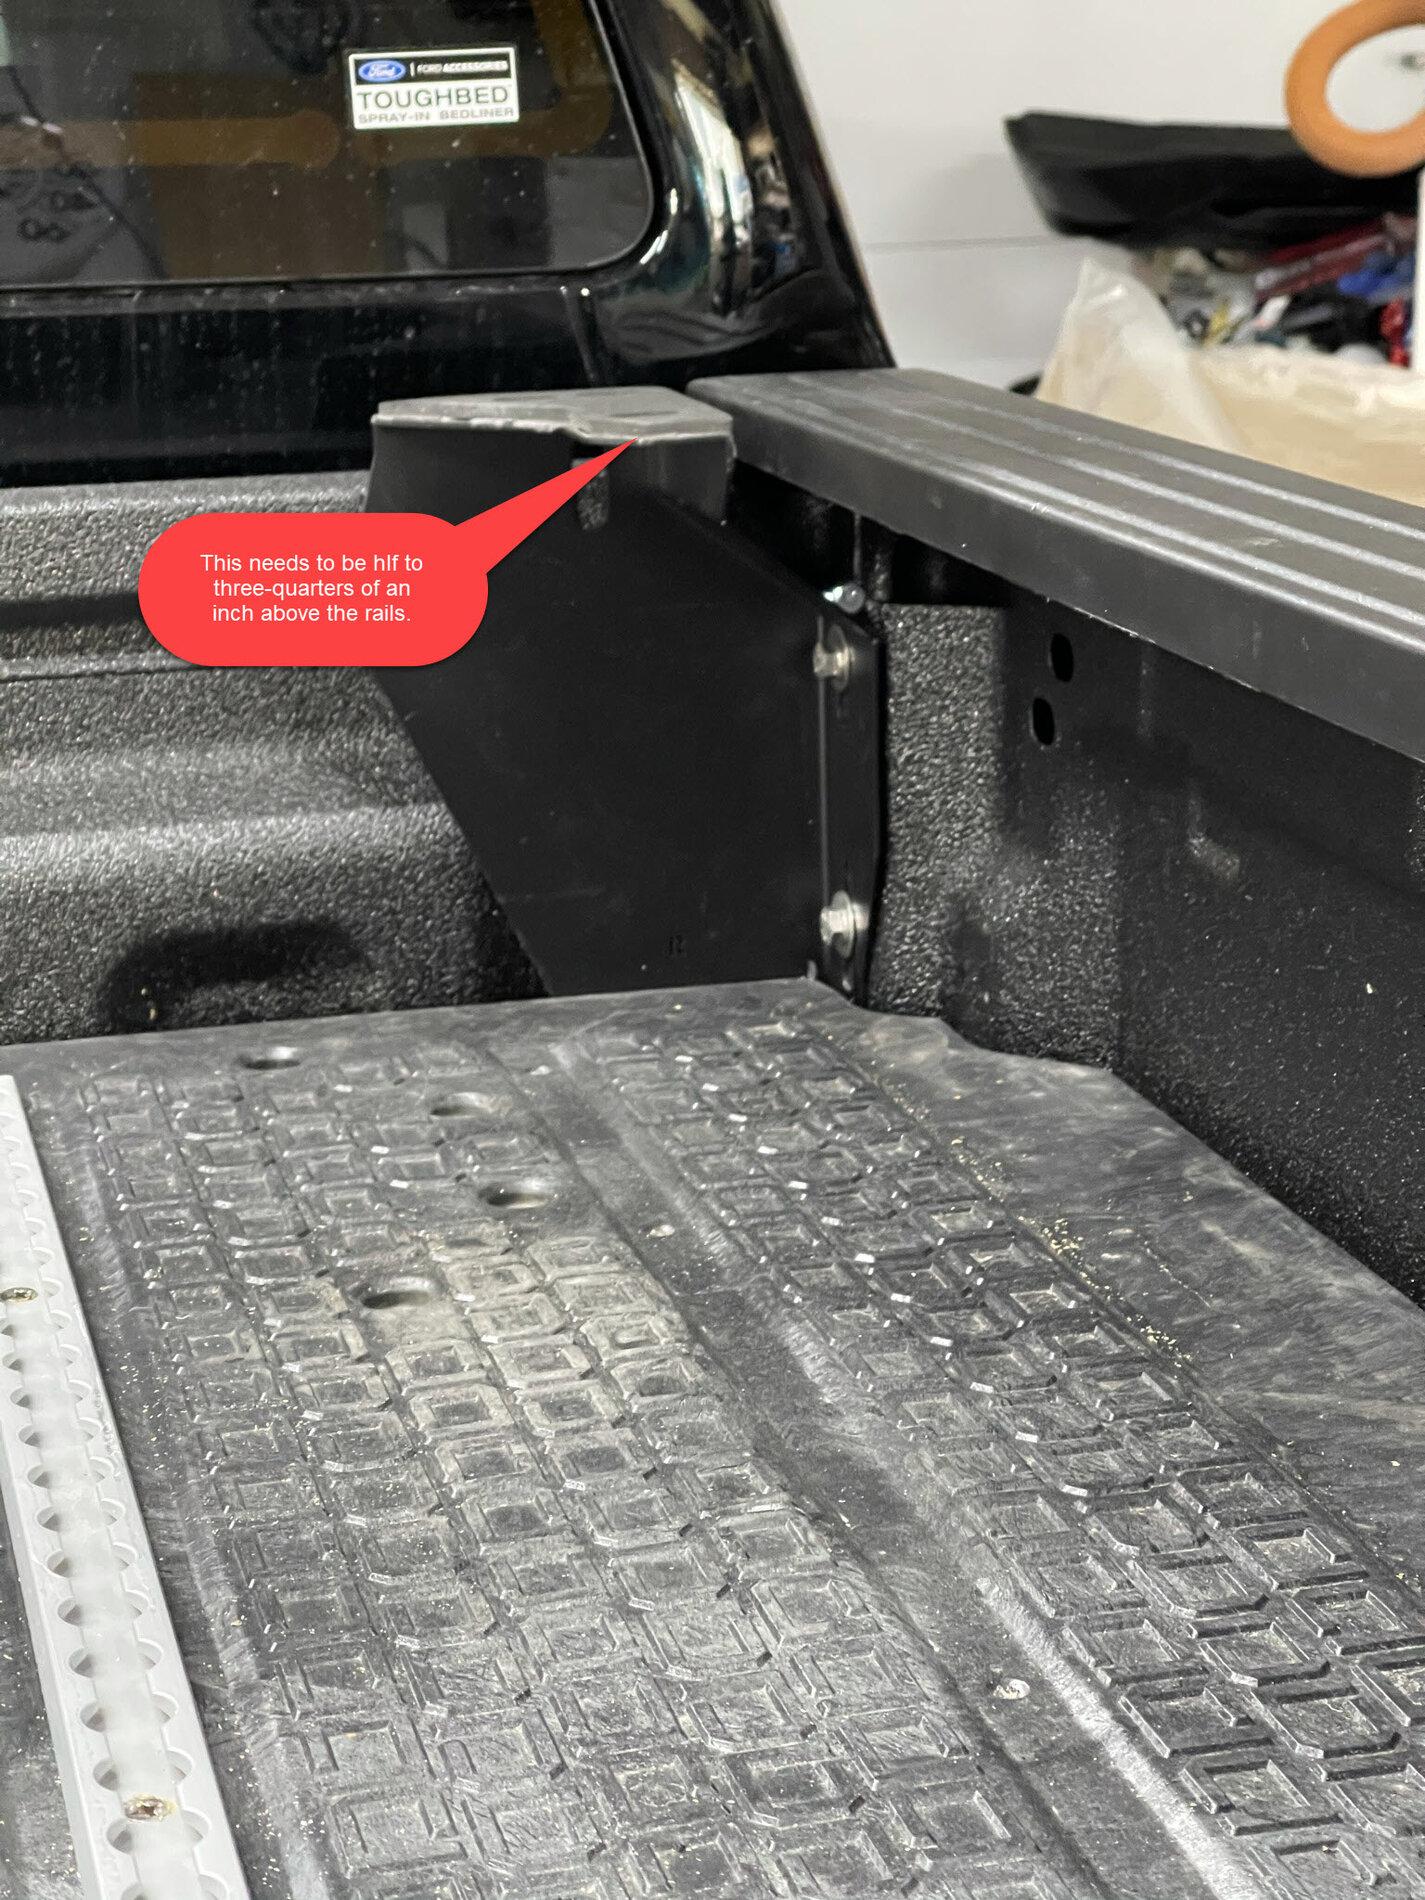
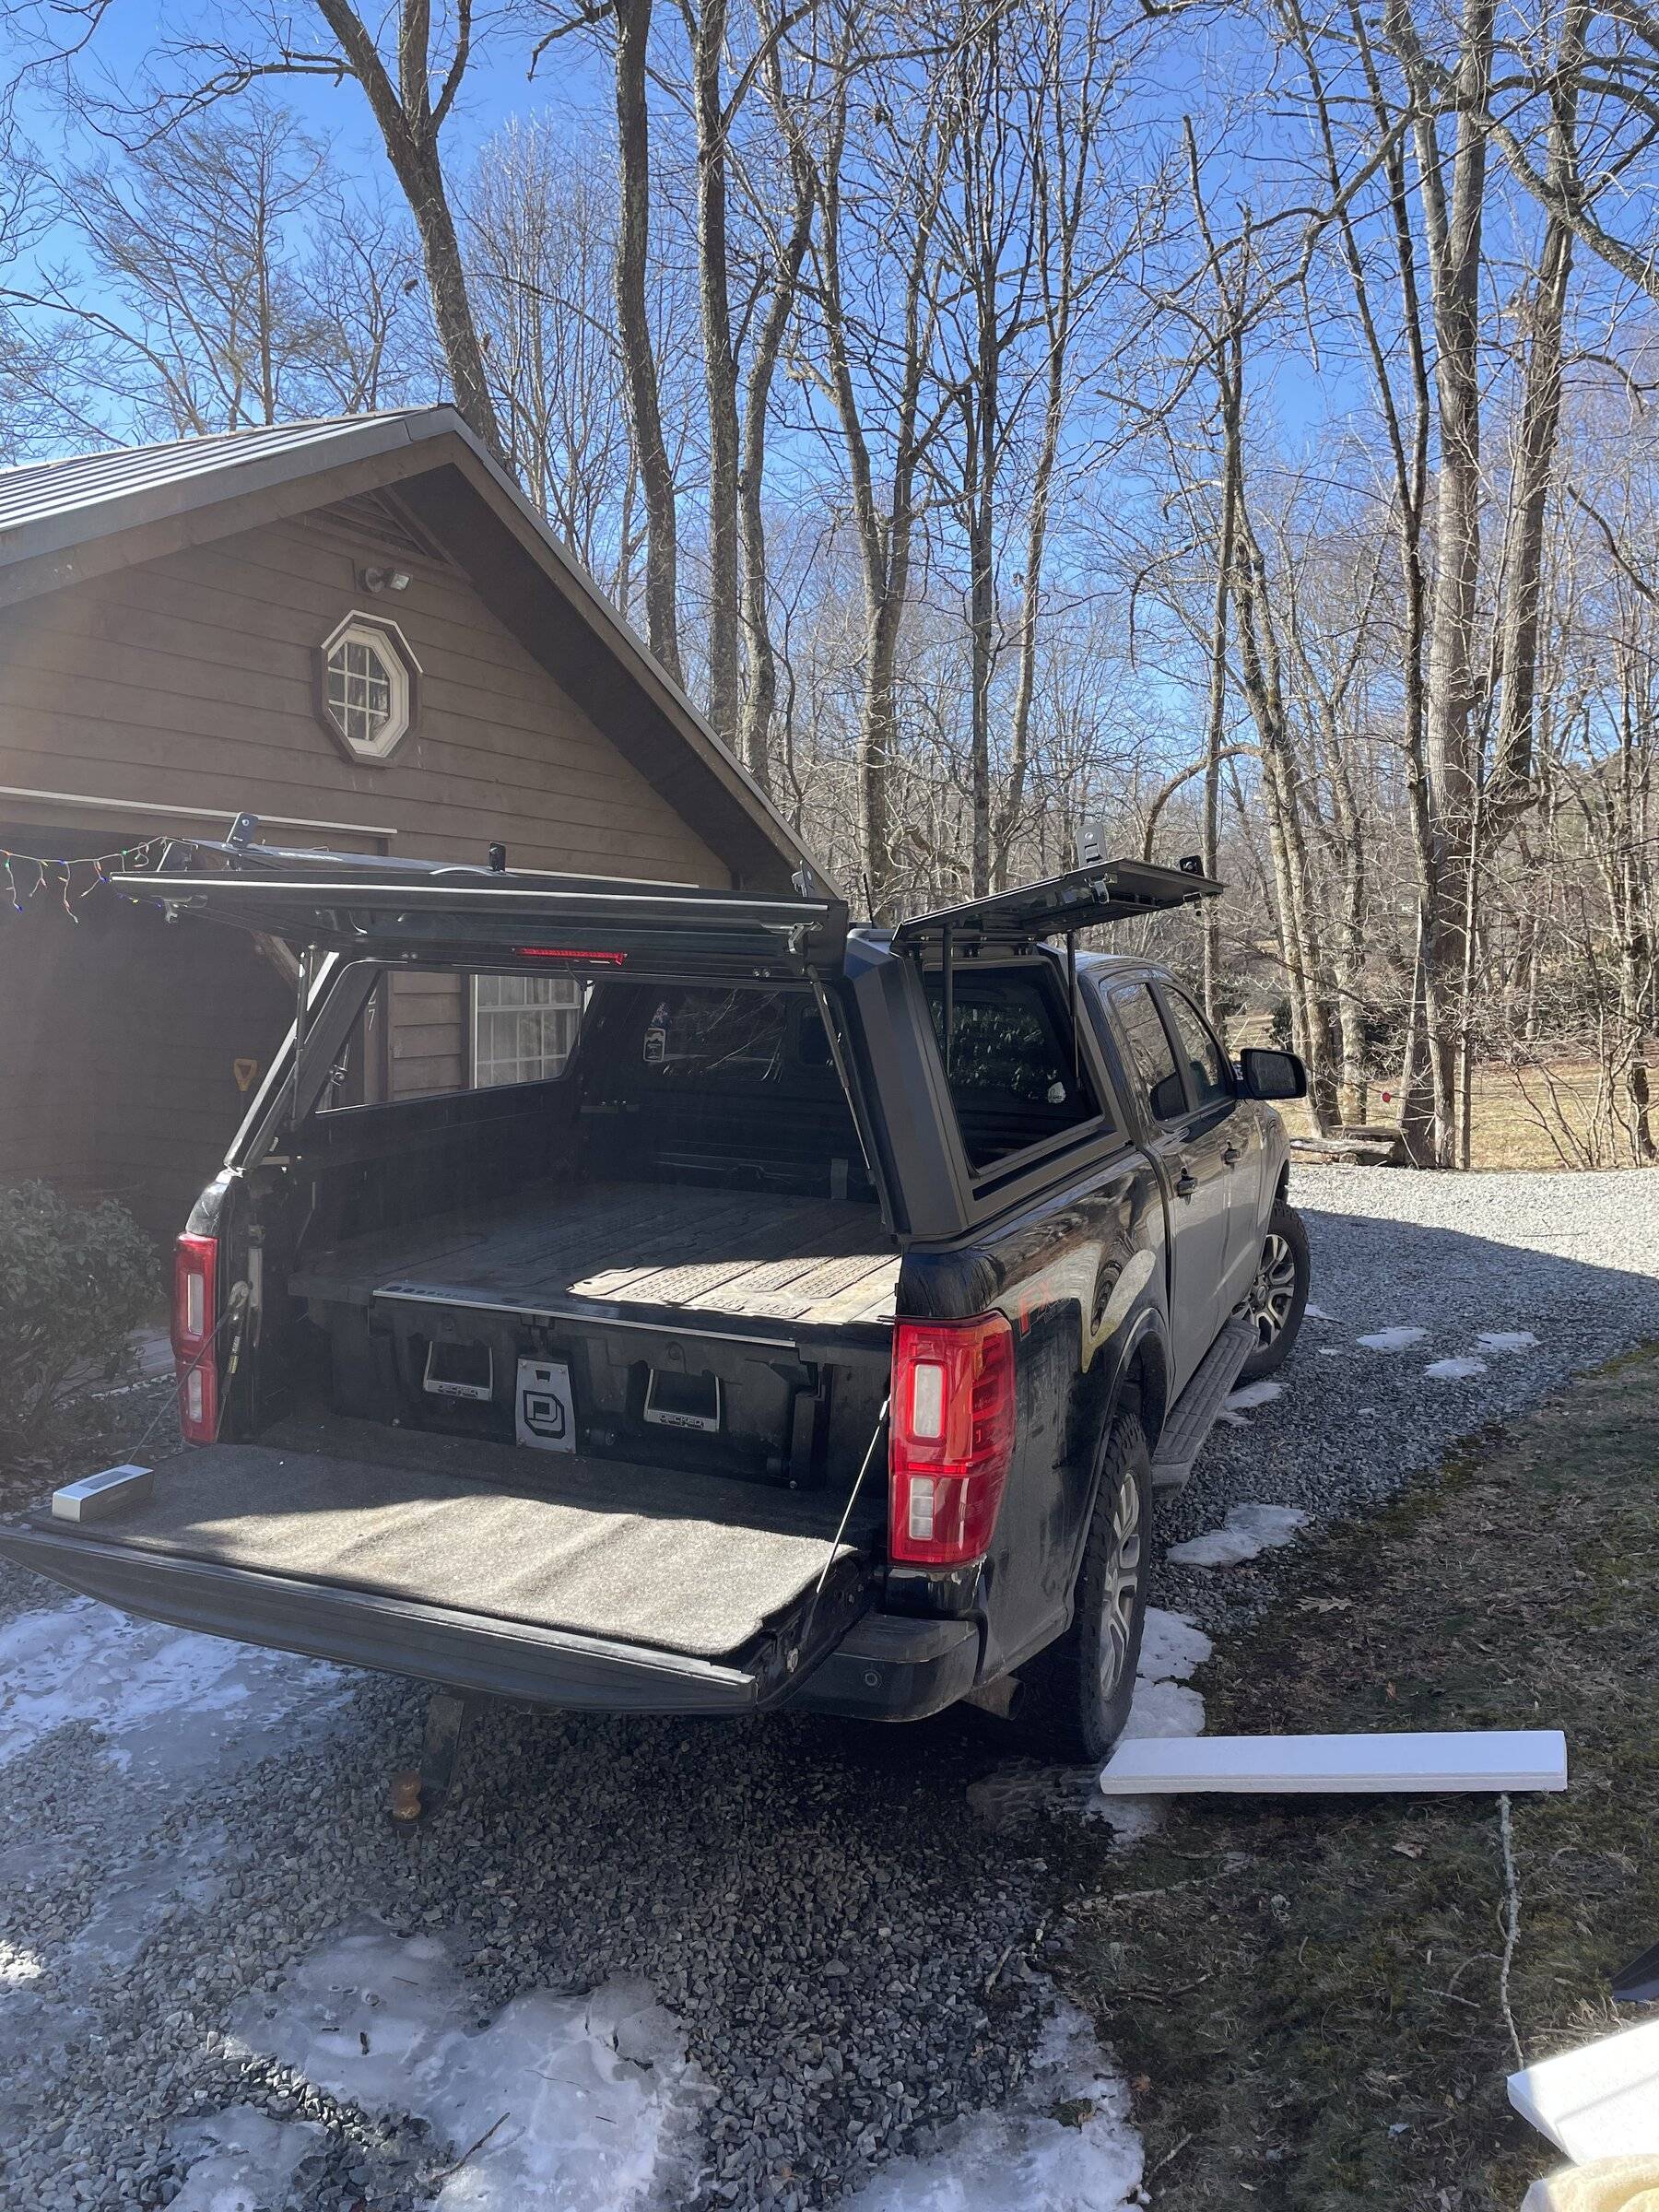
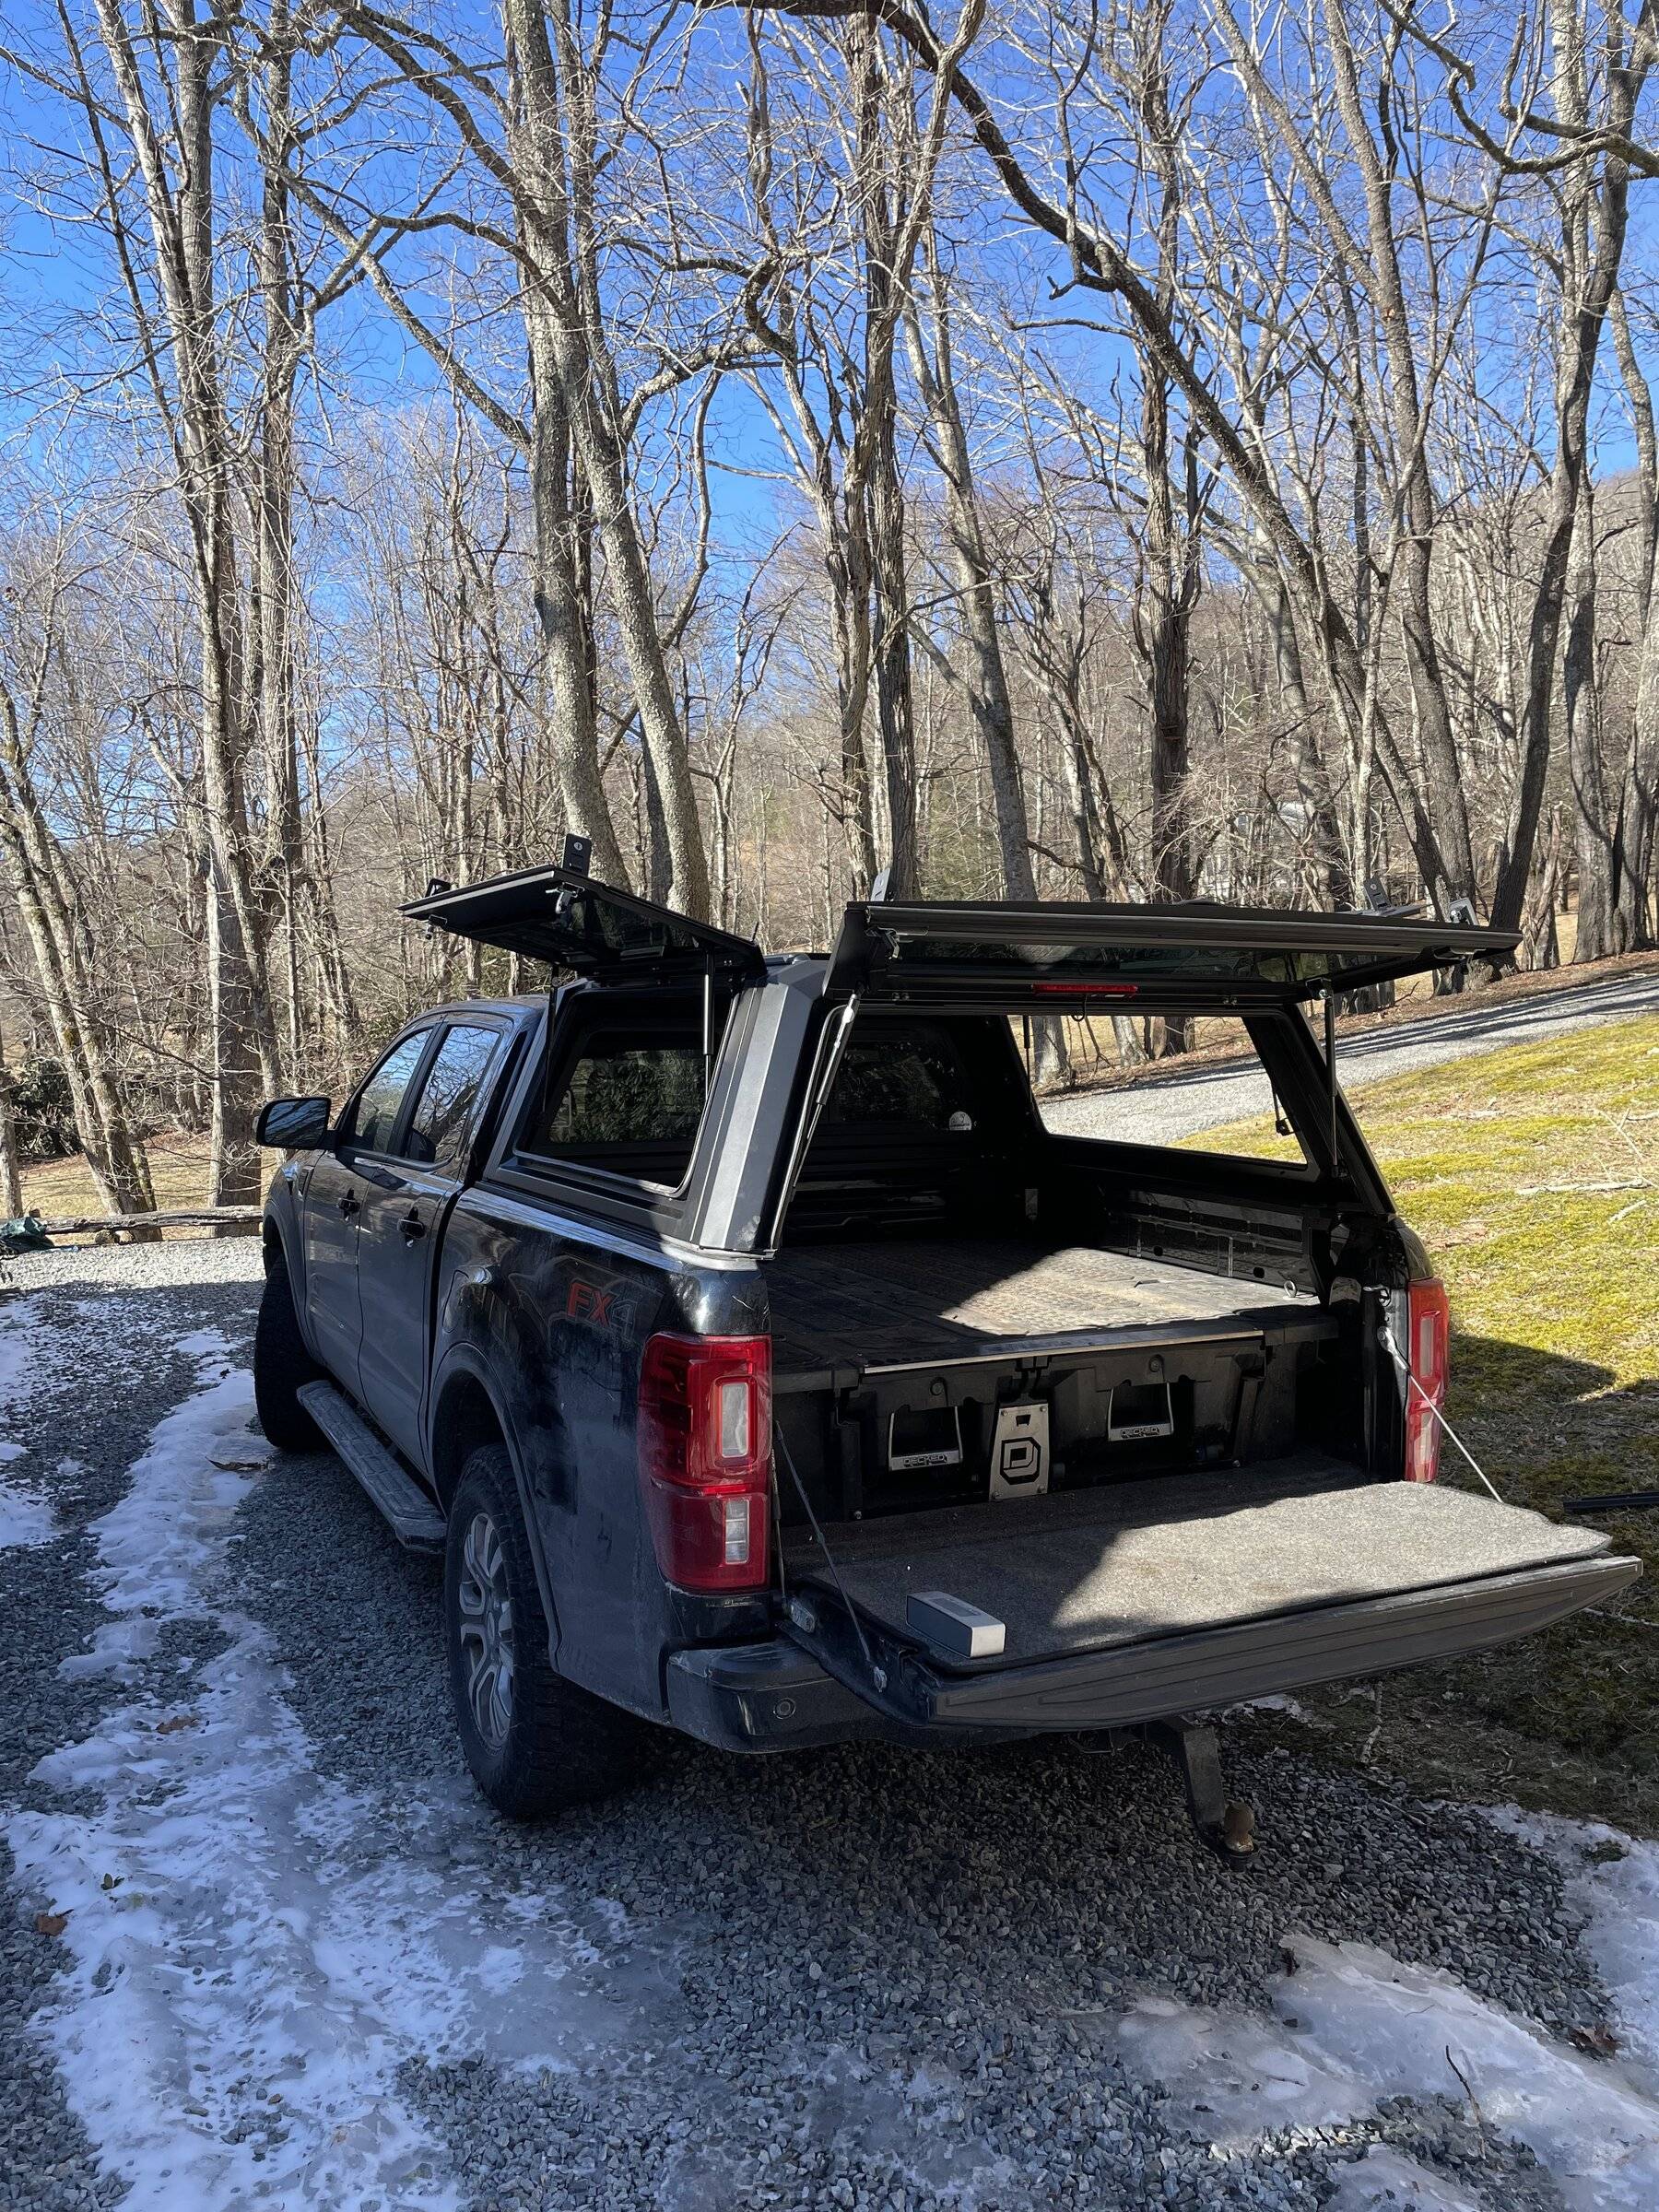
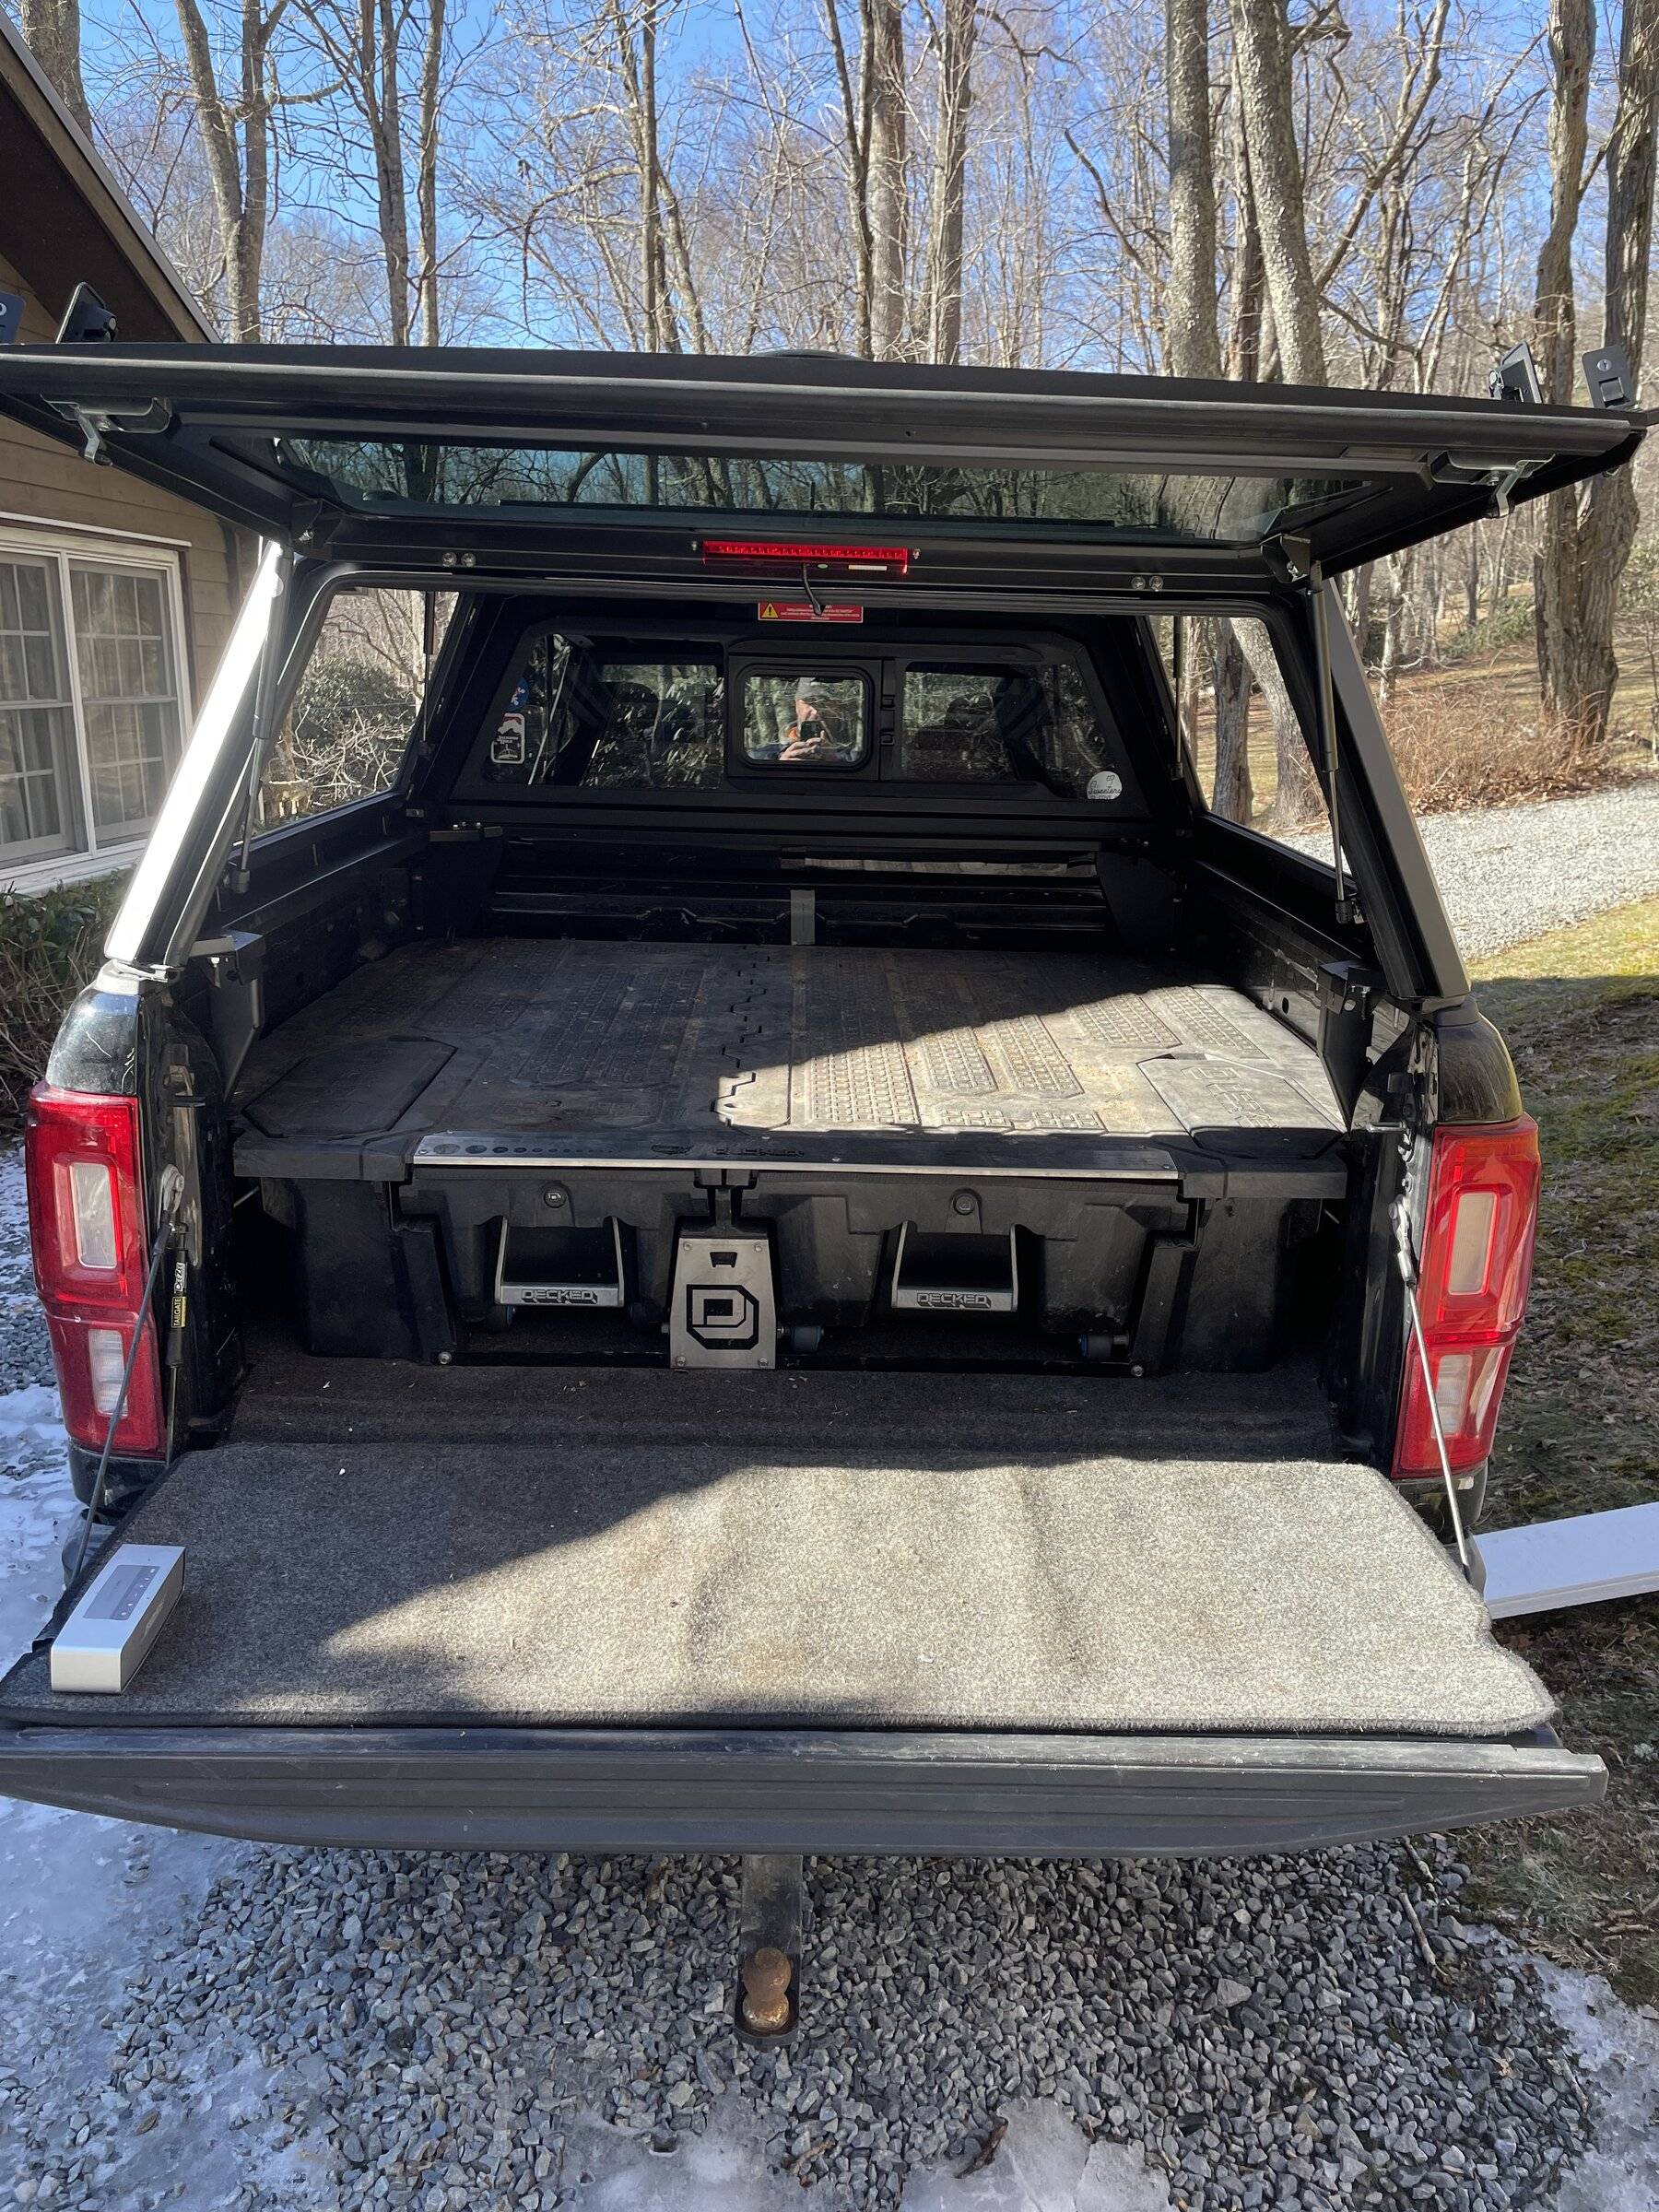
It's a hair over 25-inches on SmartCap with DeckedWith the hatch open and the fridge on a Decked, will a fridge fit on a slide out using RSI Smartcap? (See picture - I think of a Taco)
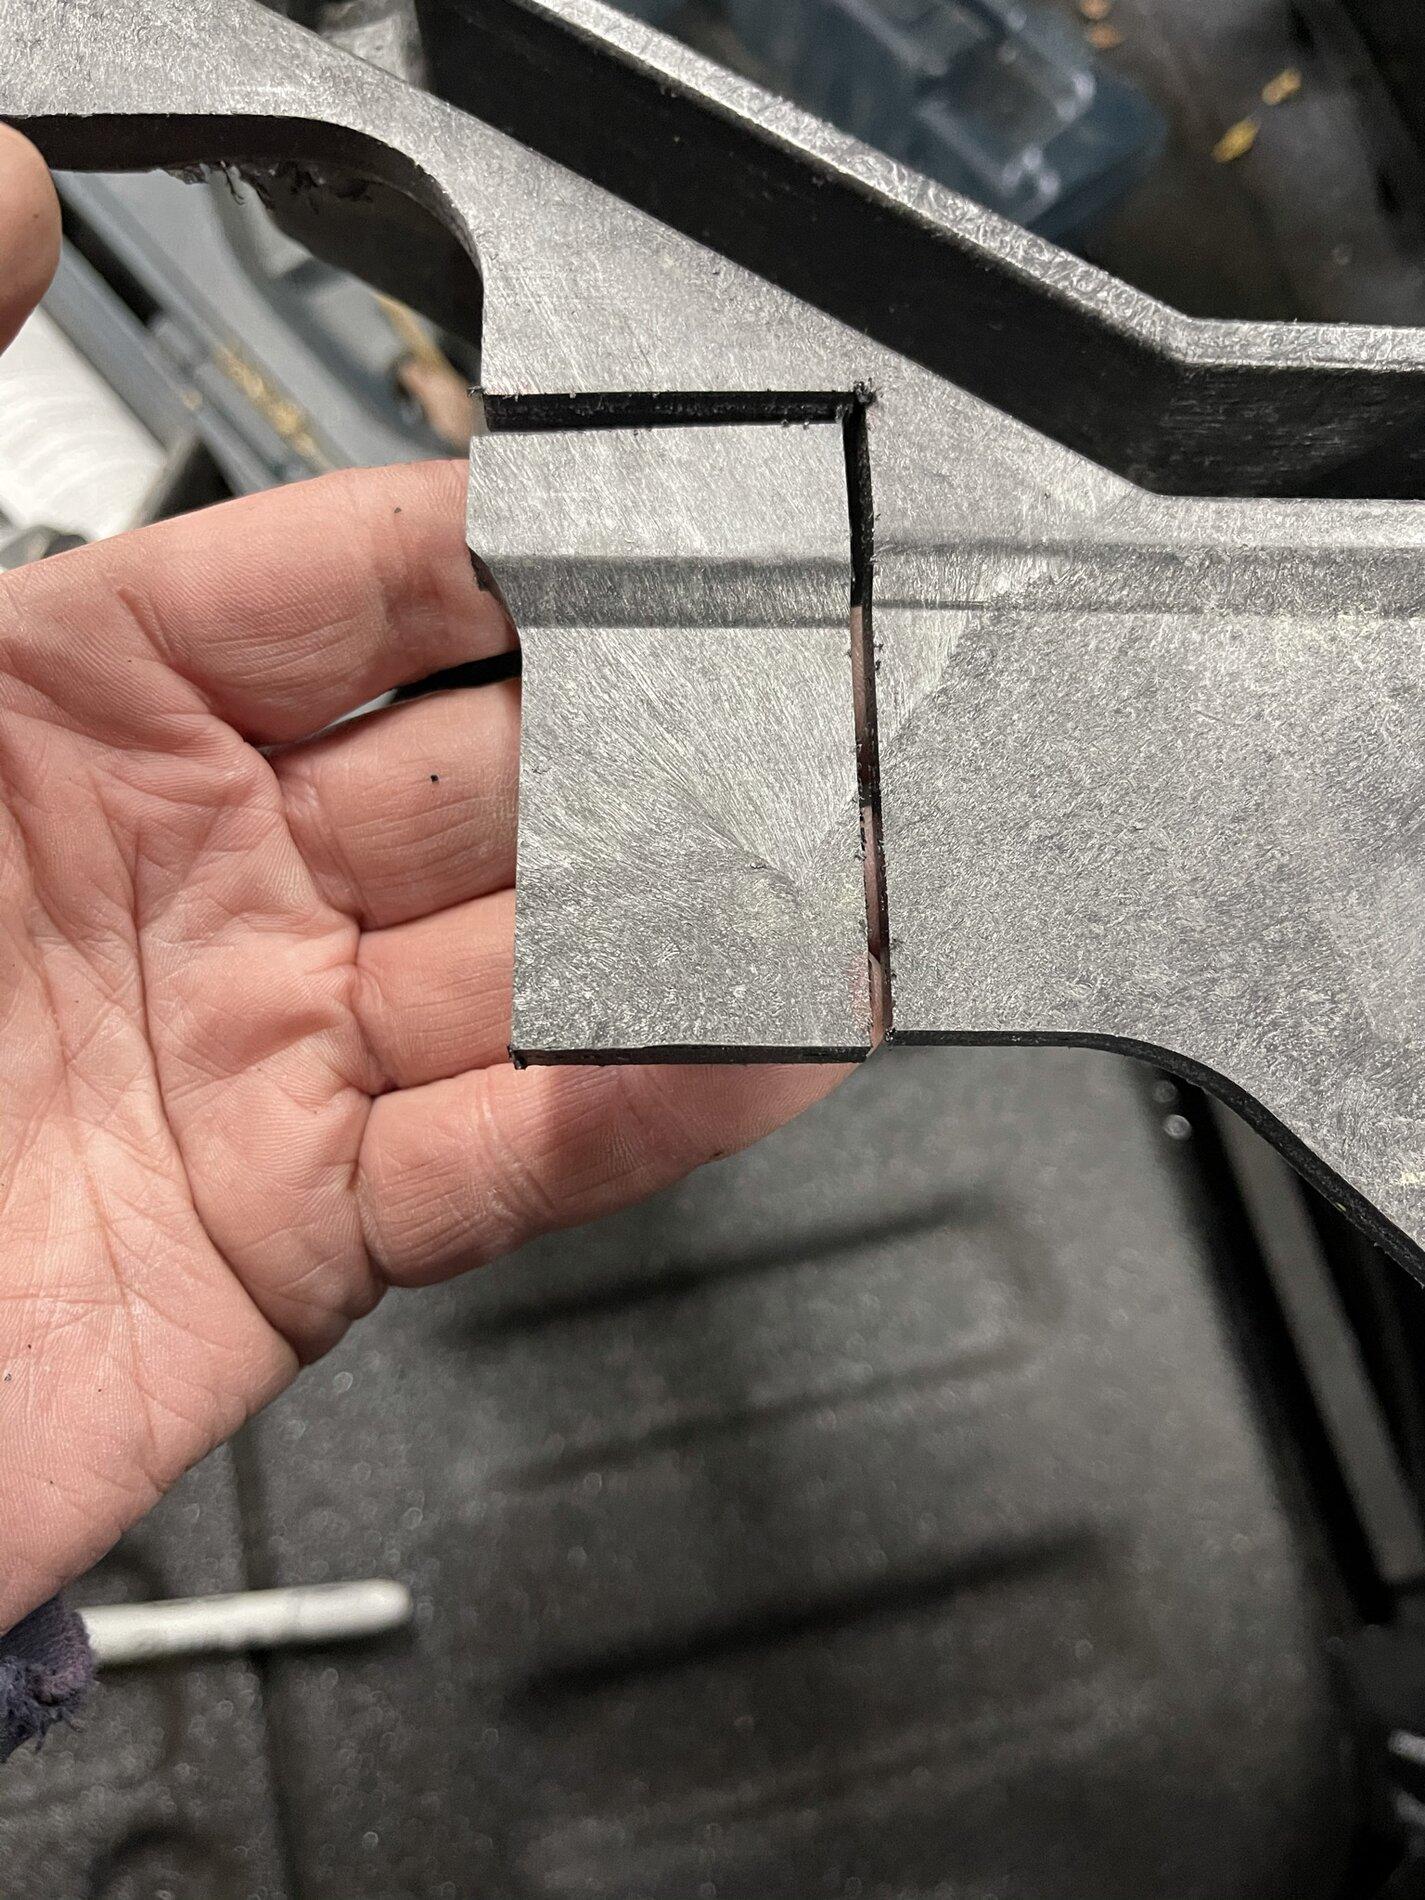
According to that user’s write up, he had to trip his topper a bit. Wondering if RSI is tall enough to avoid trimming?
Sponsored
") )
)