Dr. Zaius
Well-Known Member
- First Name
- Dennis
- Joined
- Dec 20, 2019
- Threads
- 76
- Messages
- 6,666
- Reaction score
- 40,684
- Location
- Living The Dream
- Vehicle(s)
- 2019 Ranger XLT FX4
- Thread starter
- #1
Long and pic heavy so buckle up...
Short version: I'm going to be adding an amplifier soon and the factory speakers are woeful so they gotta go.
Long version:
Remove the rear door panel. Held on by 5 torx T25 screws and plastic snaps.
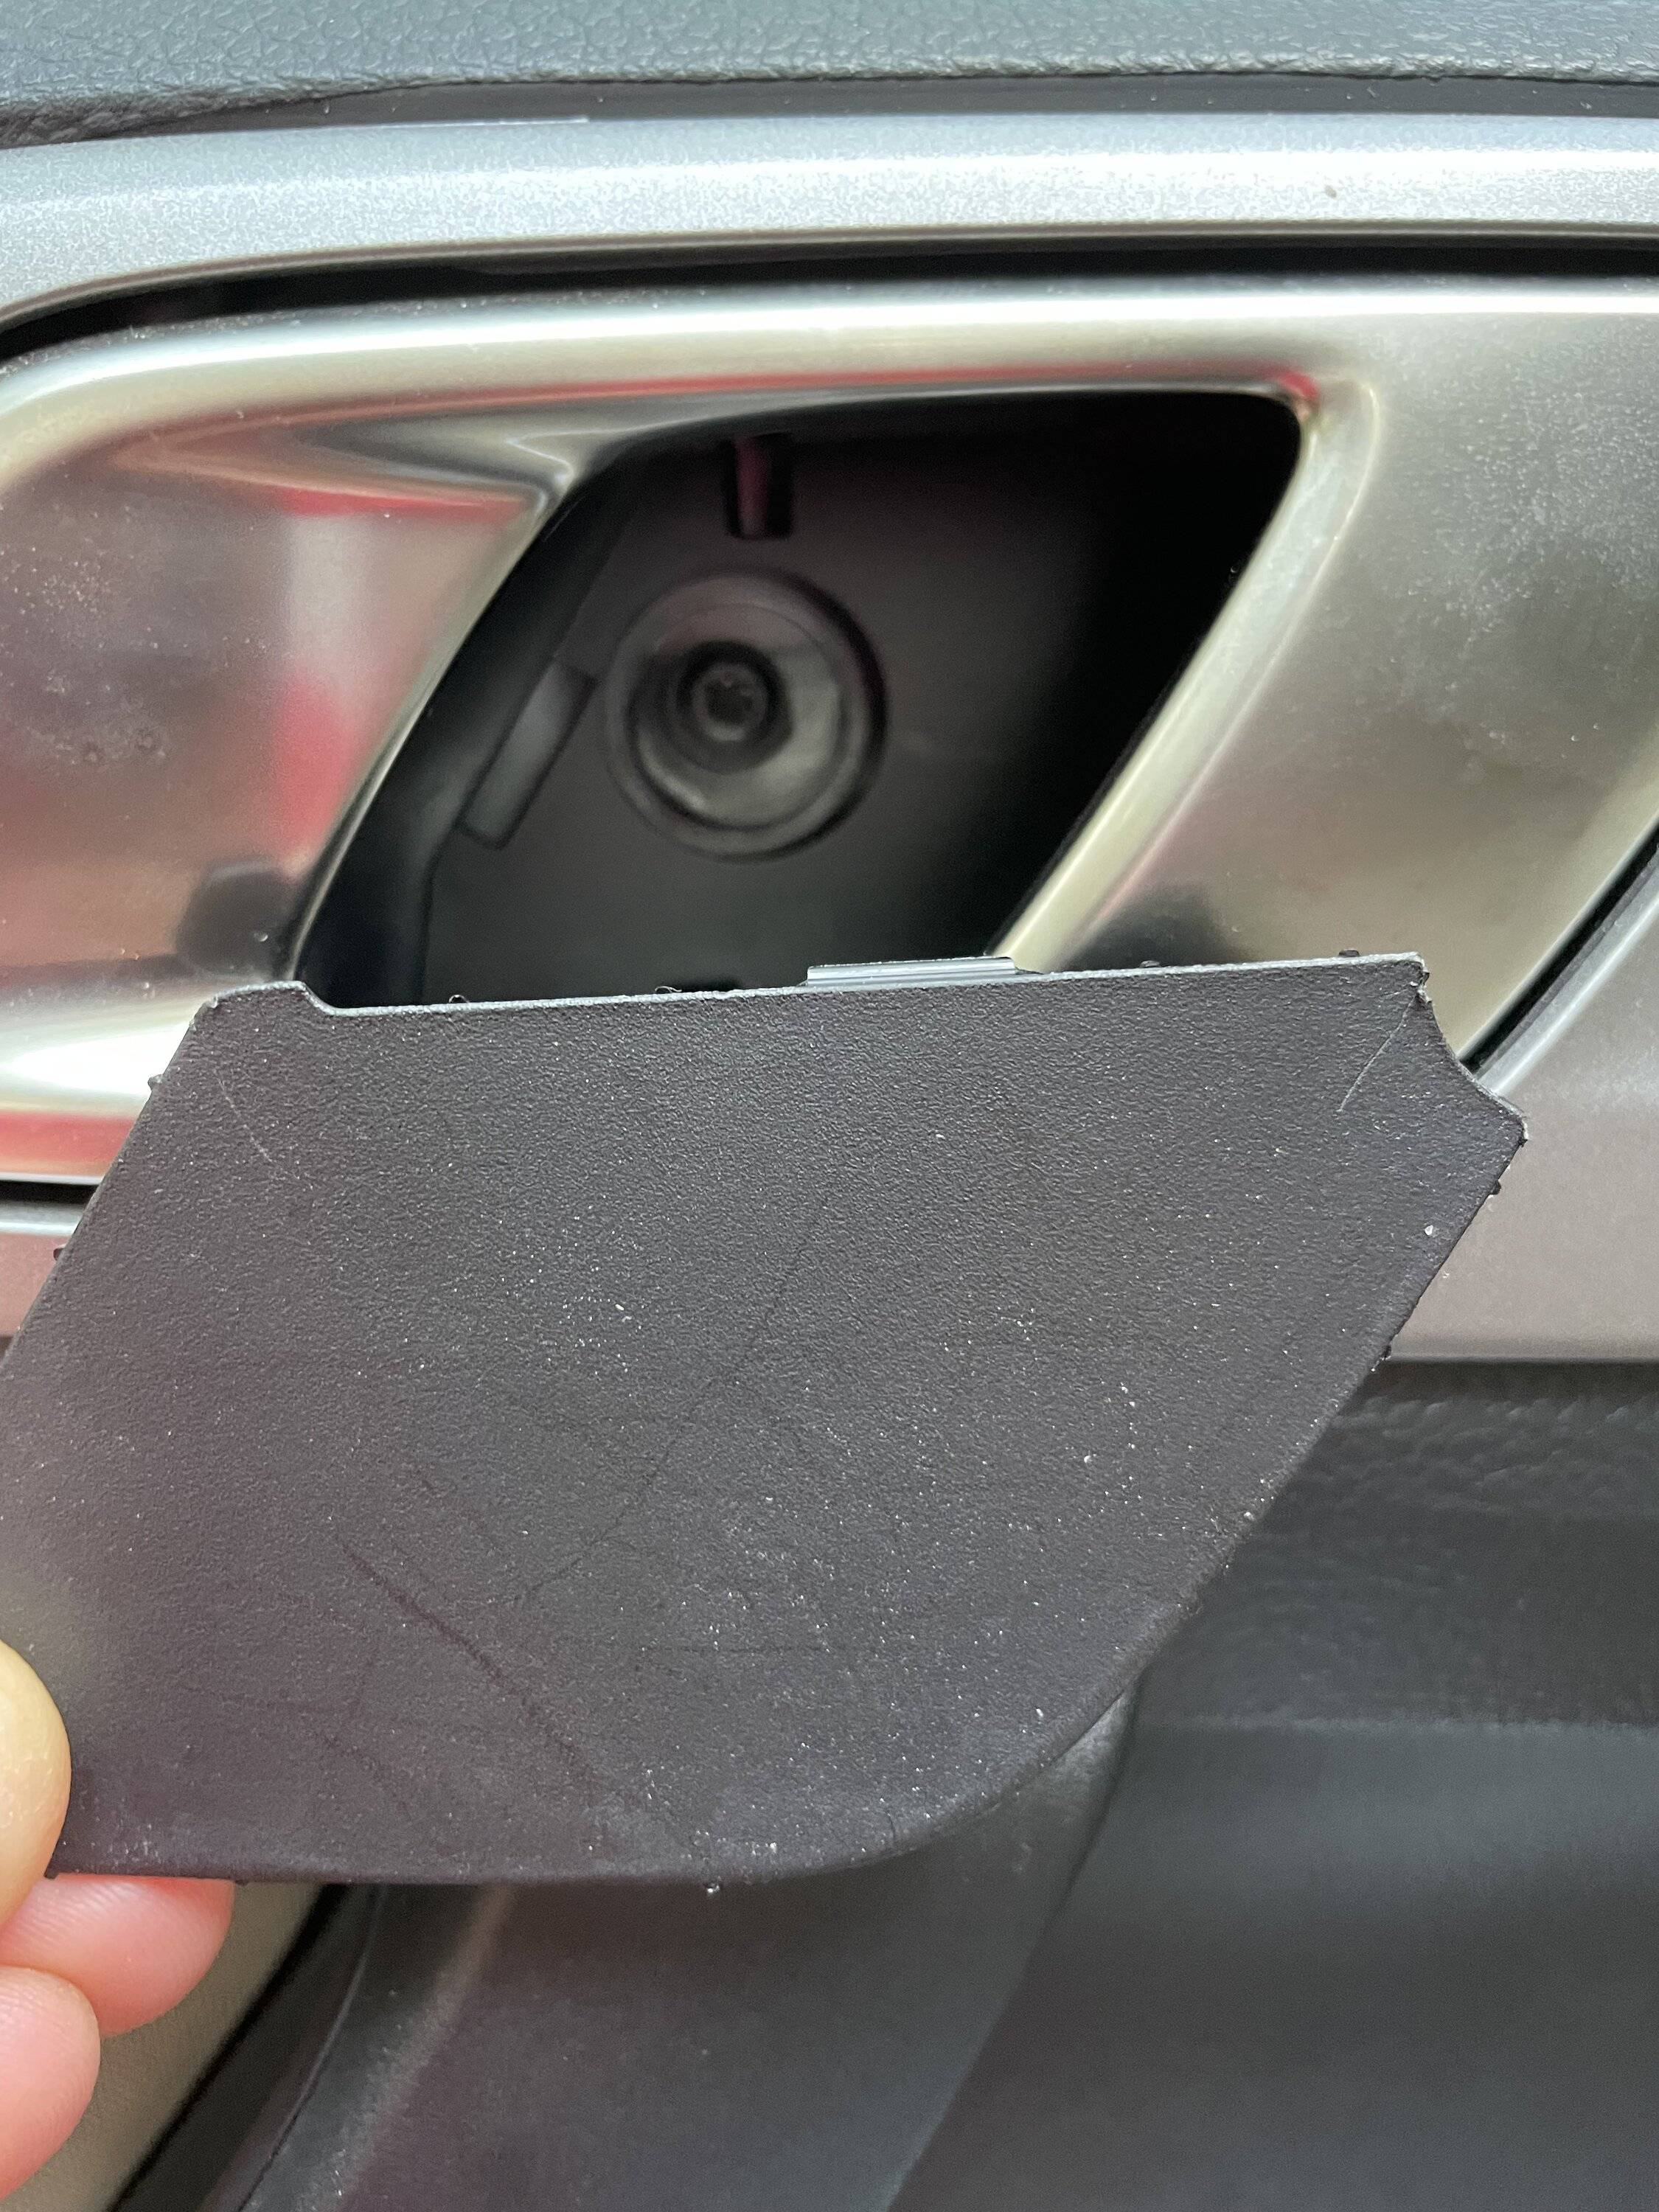
First remove the little snap-in cover behind the door pull and one of the torx screws is there

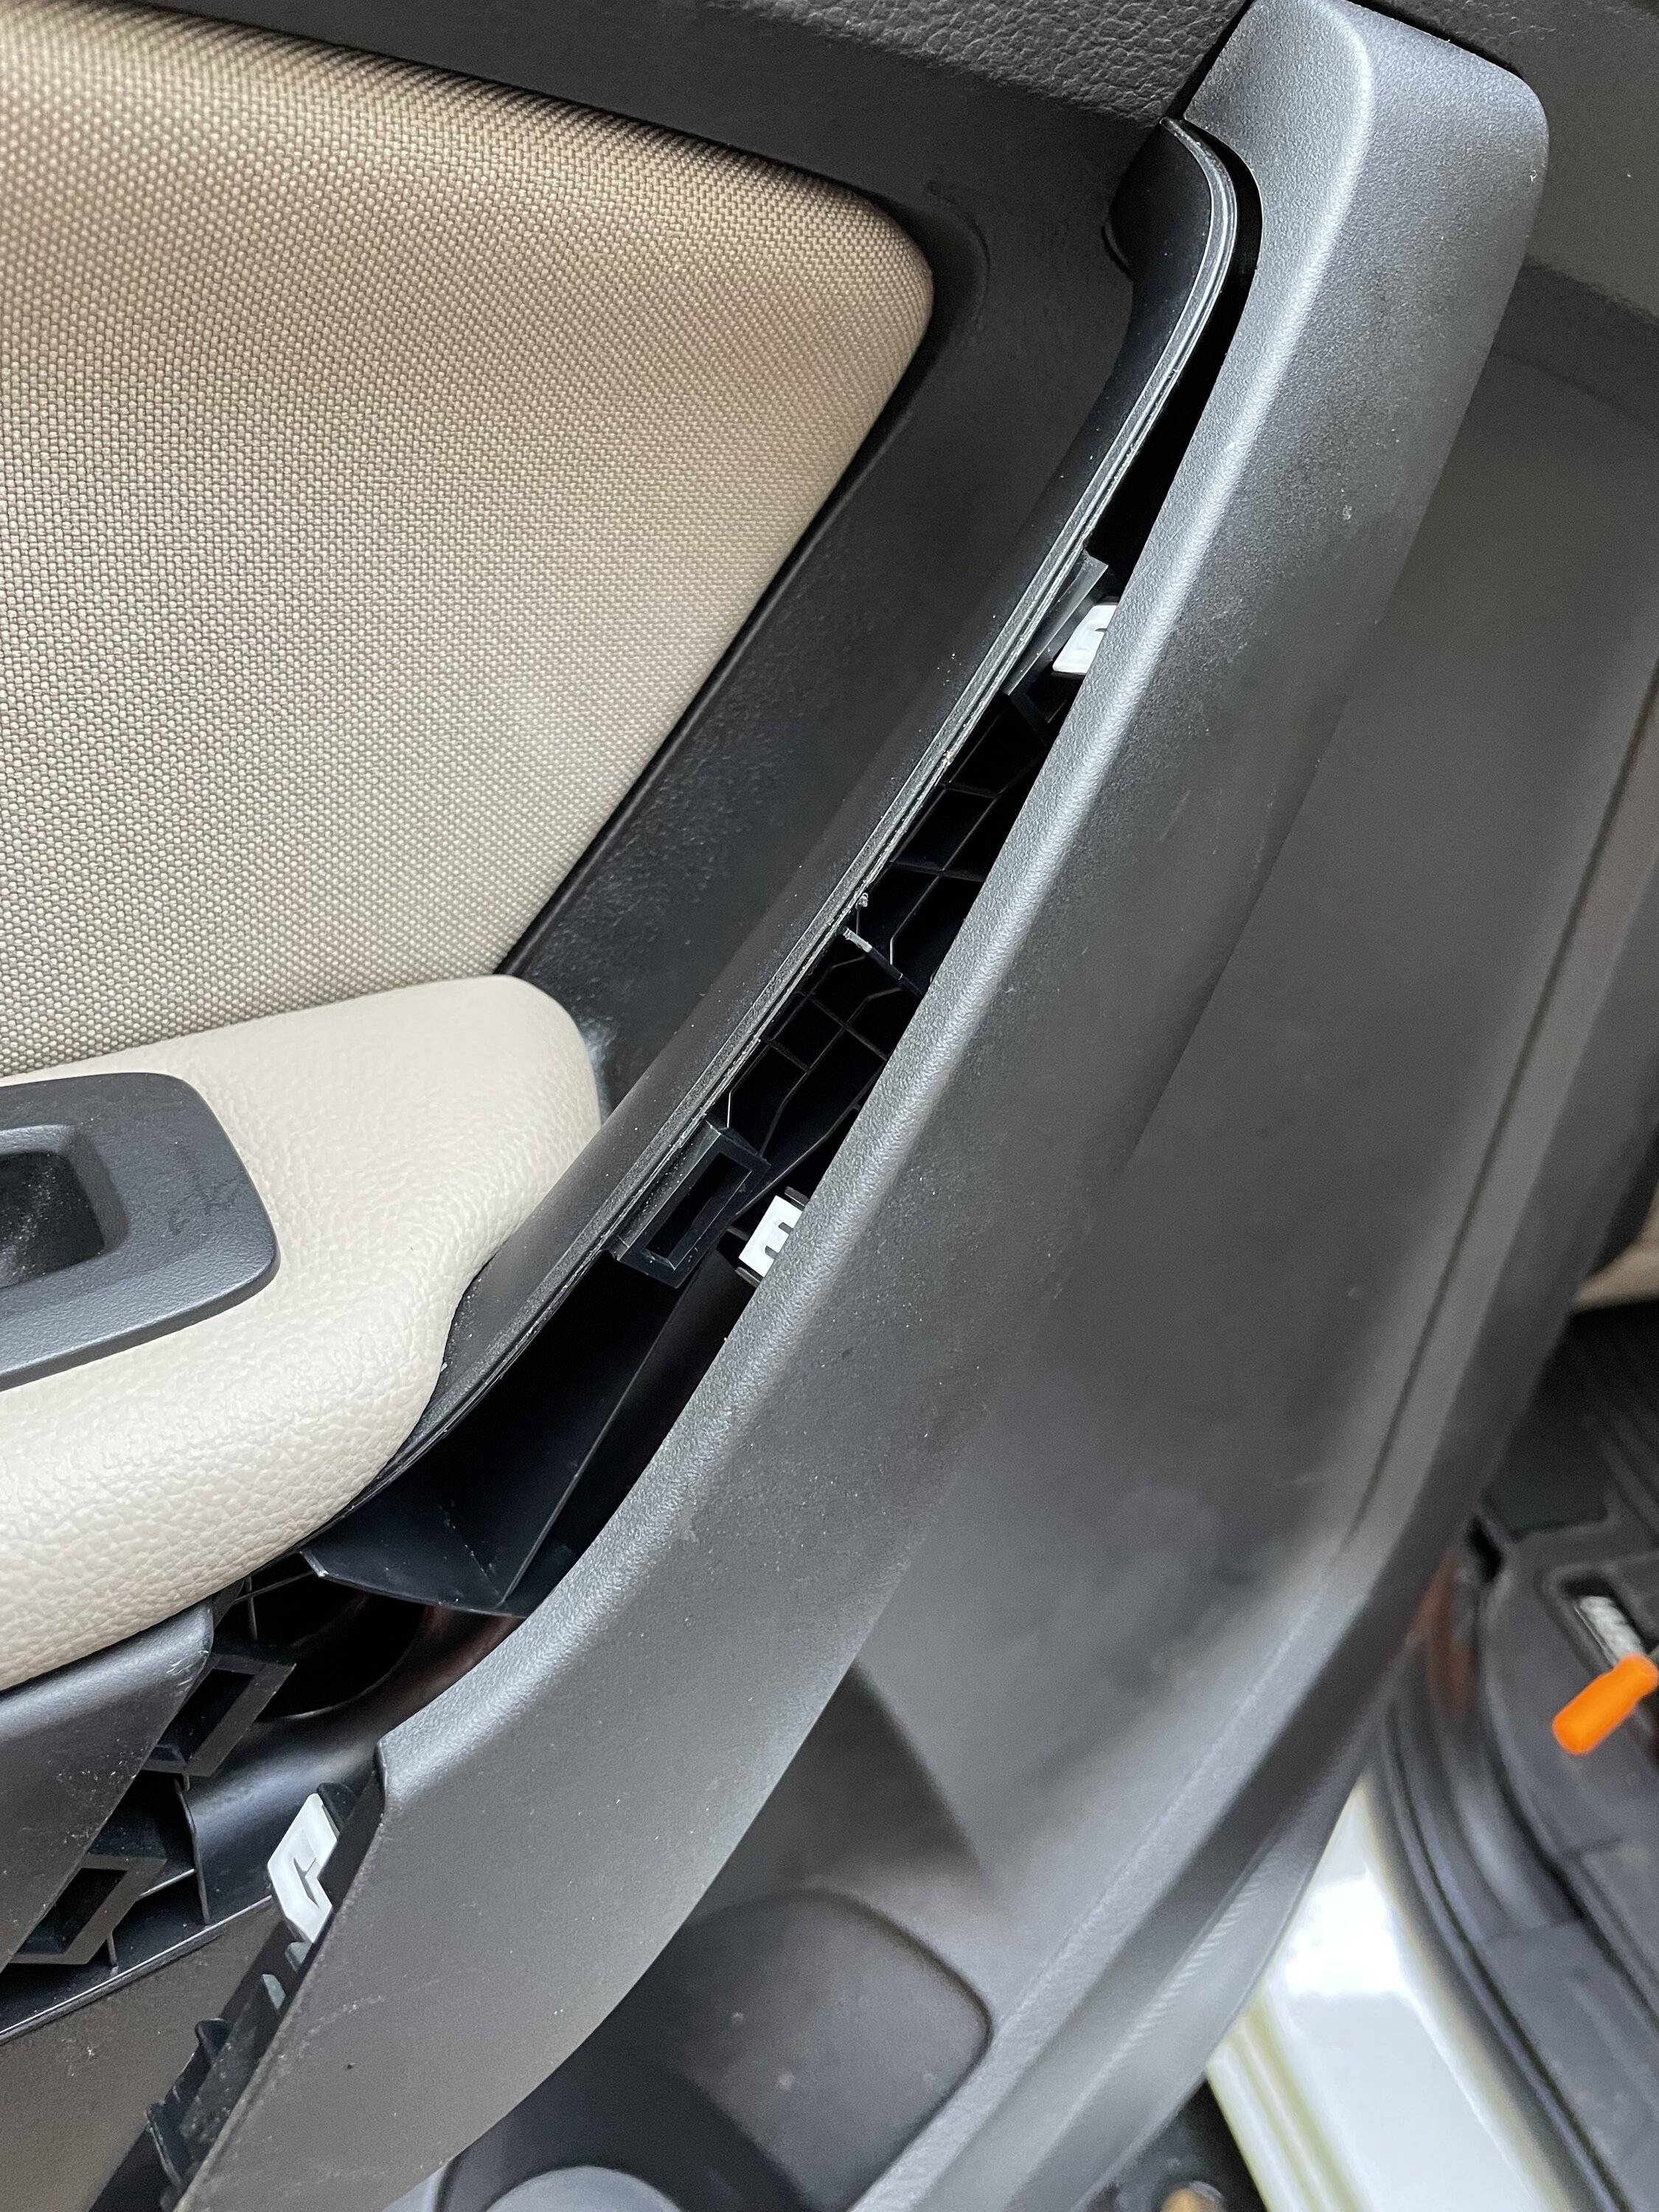
Now remove the trim piece on the armrest, held on with plastic clips, that is covering 2 more torx bits. The last 2 torx bits are along the bottom. Then you can pop the panel off starting at the bottom.
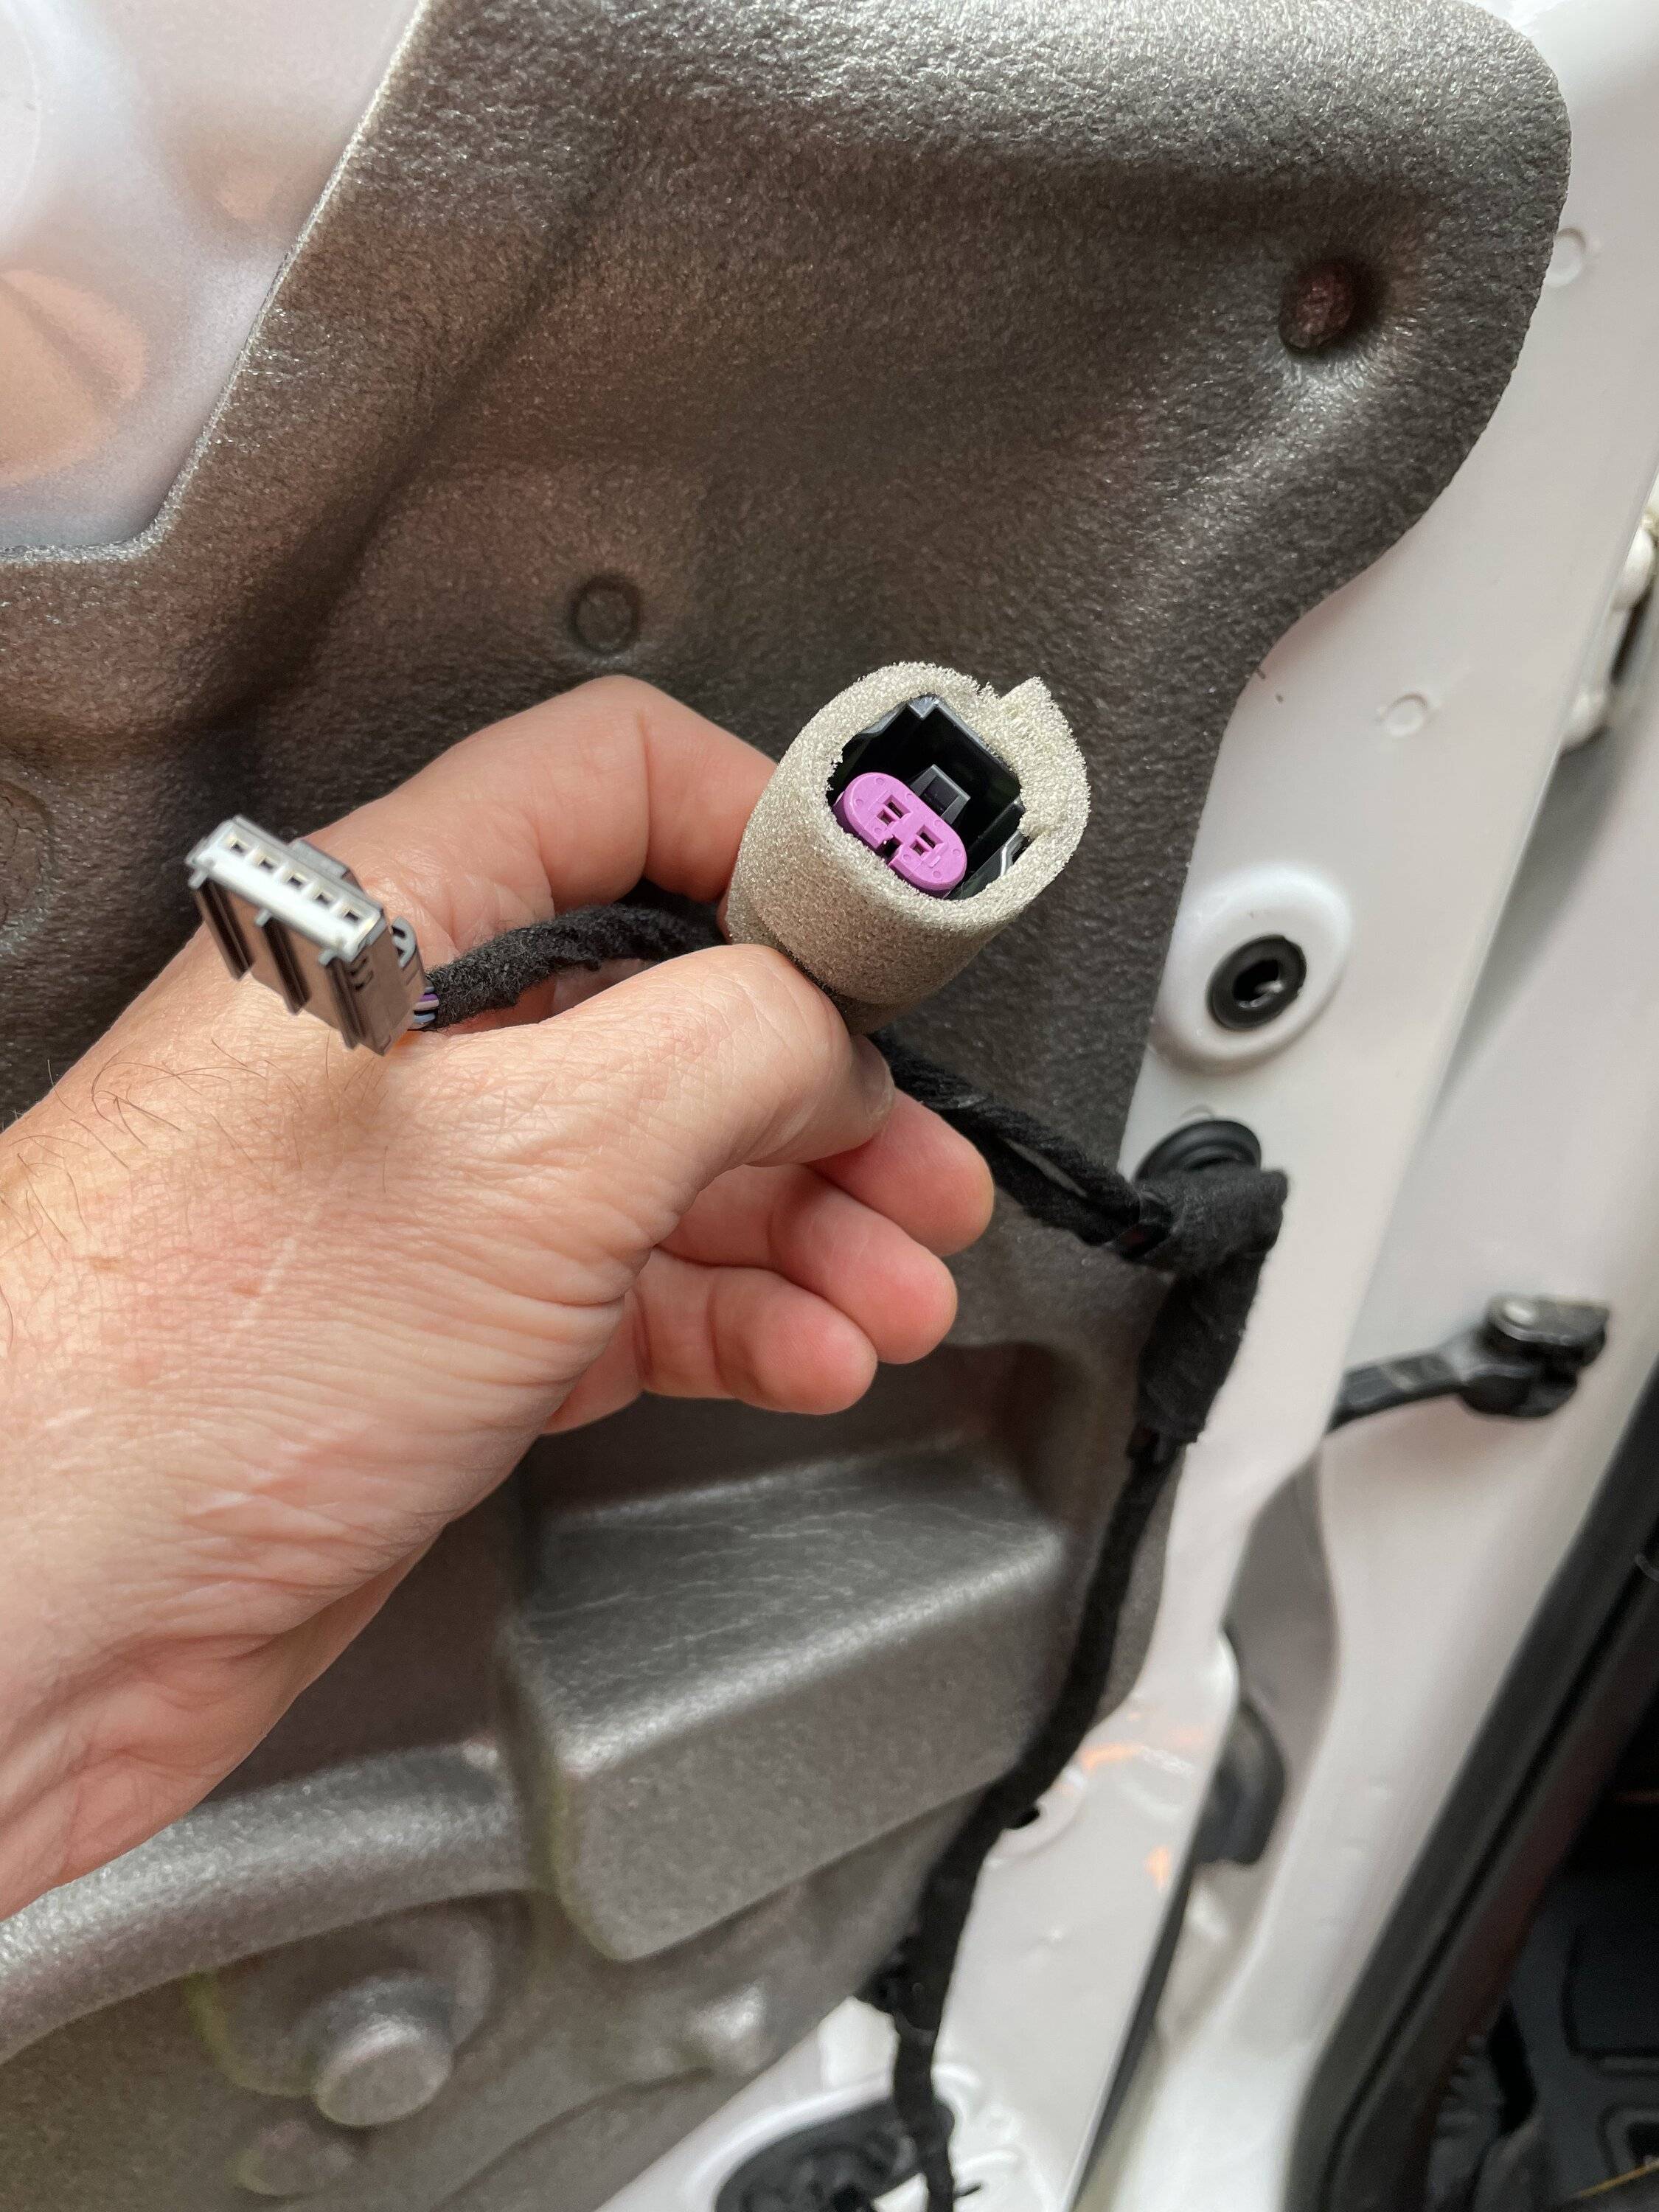
Now there are 3 electrical connections to disconnect: The power window switch, the power lock switch, and the large round connector that is the backlight for the lock switch. Here is the lock and backlight connector.
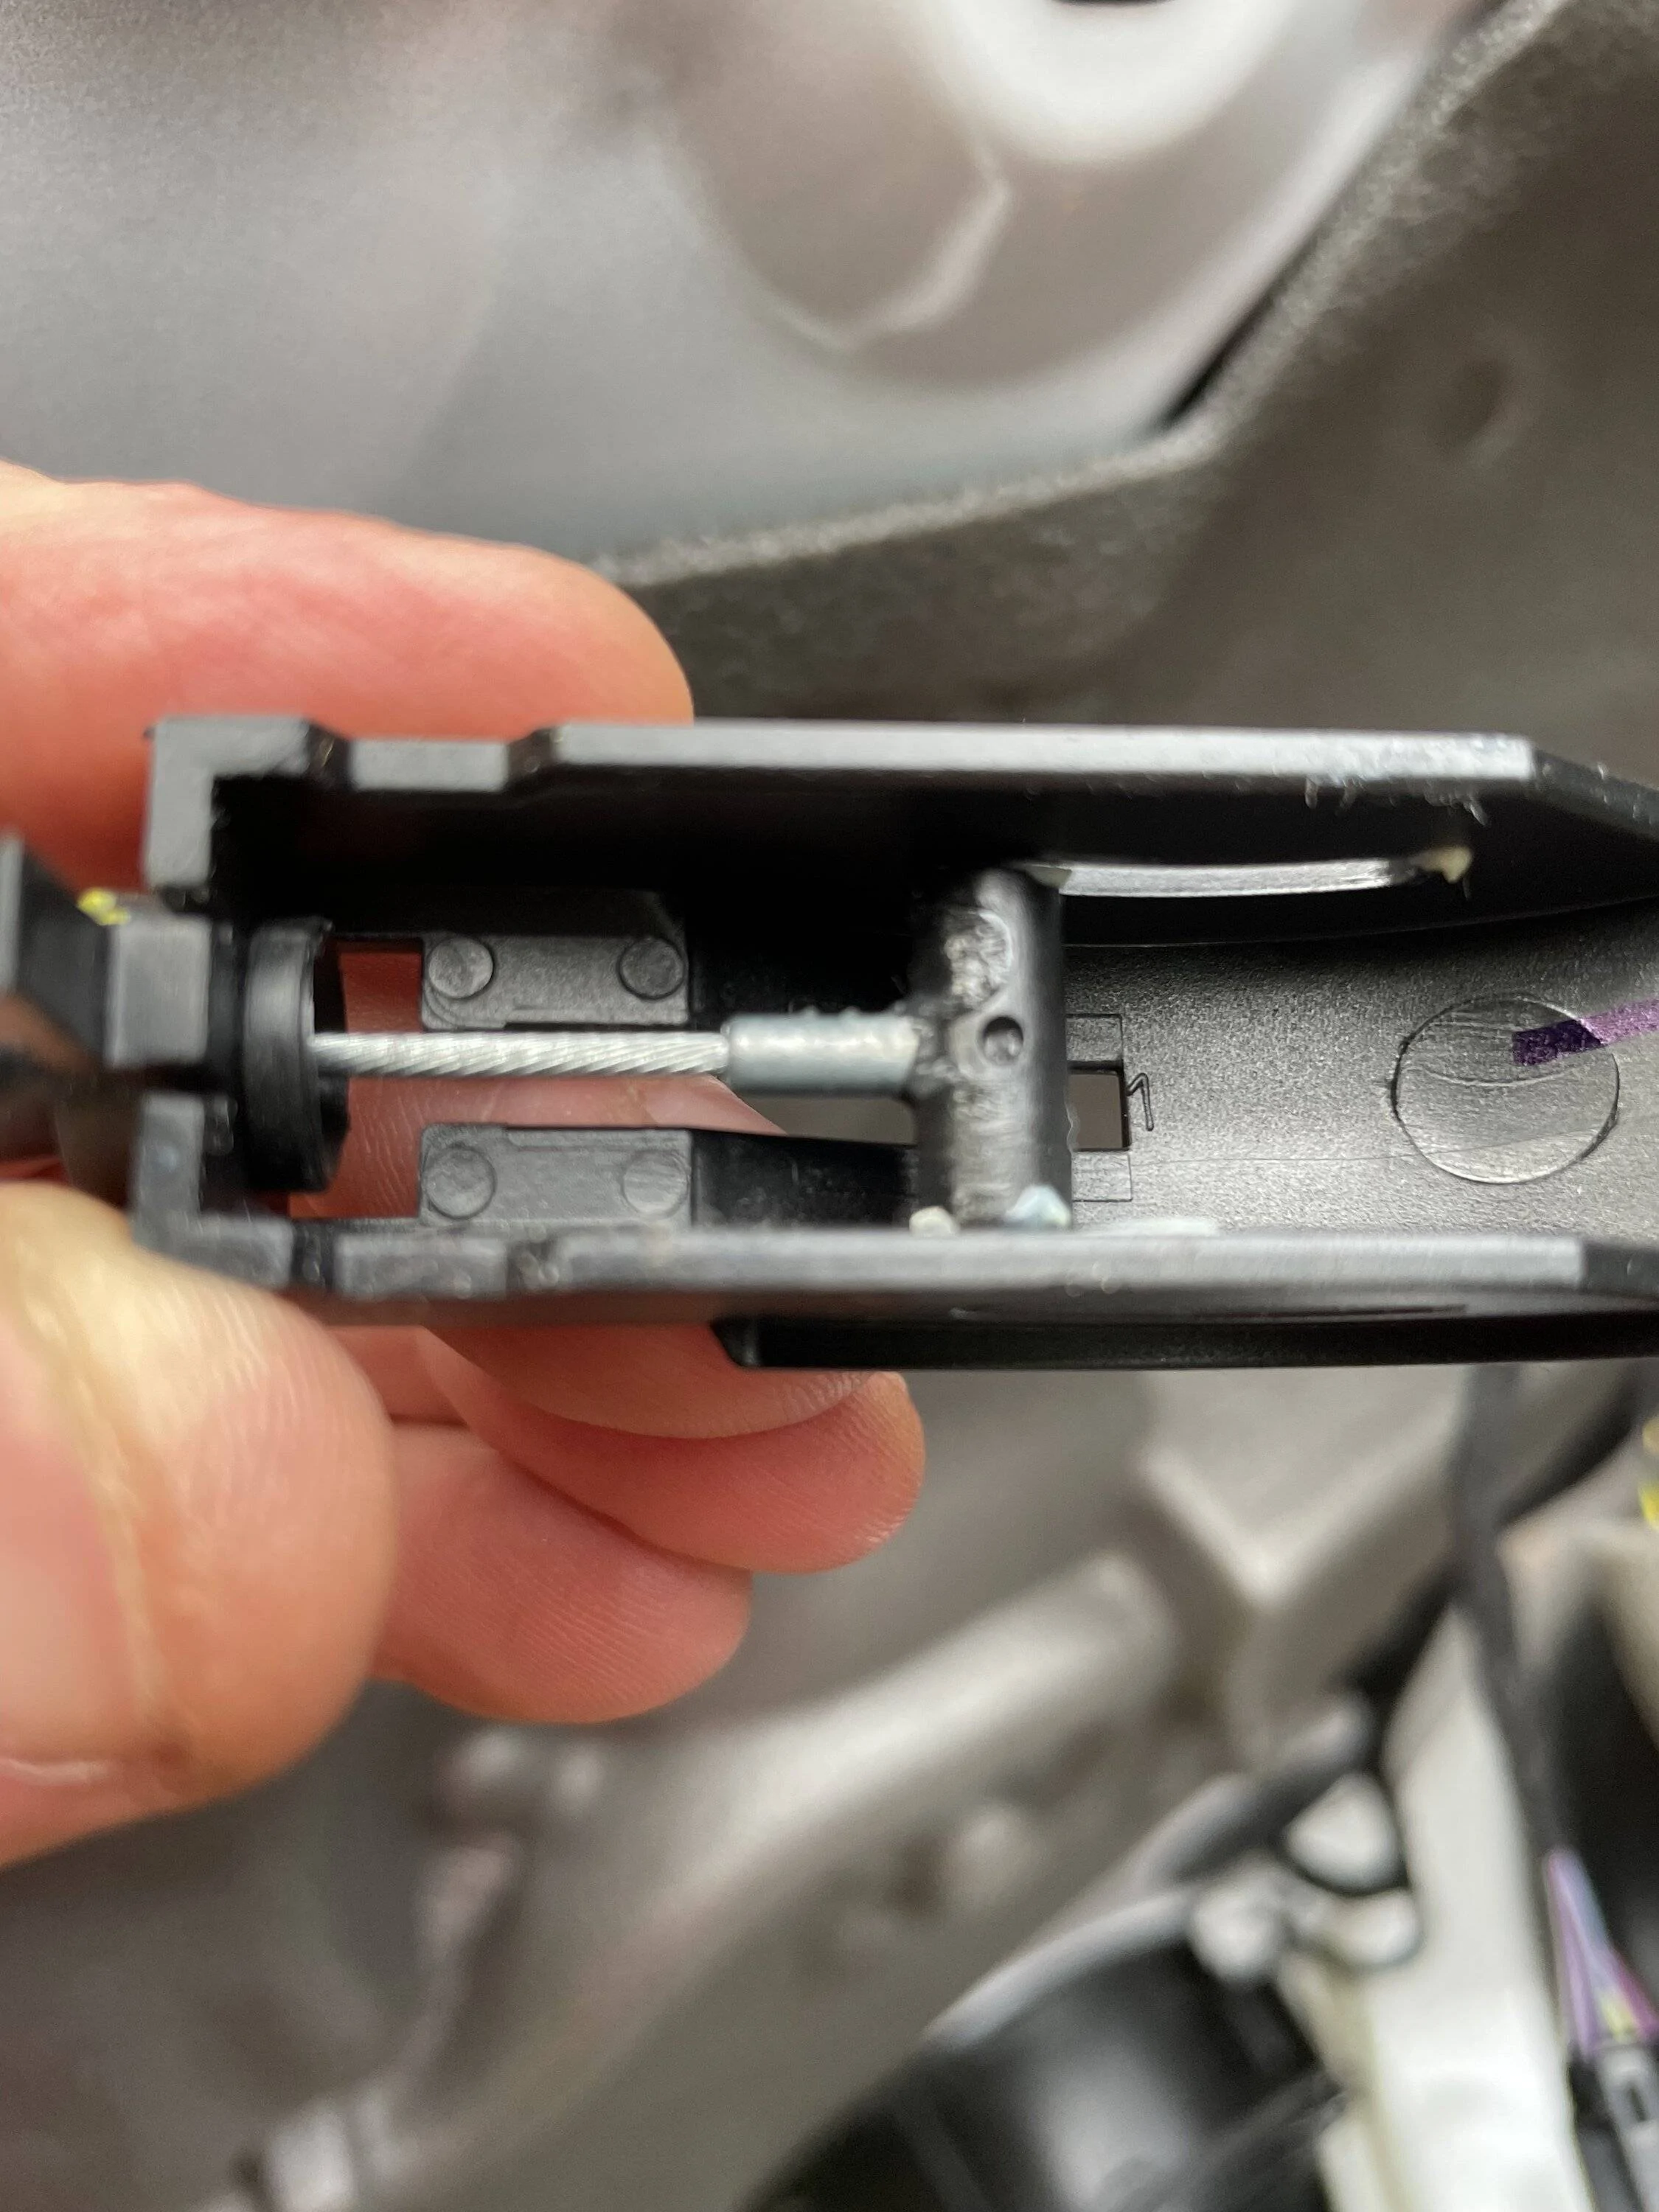
Then unclip the door handle cable. I'll detail that connection later.
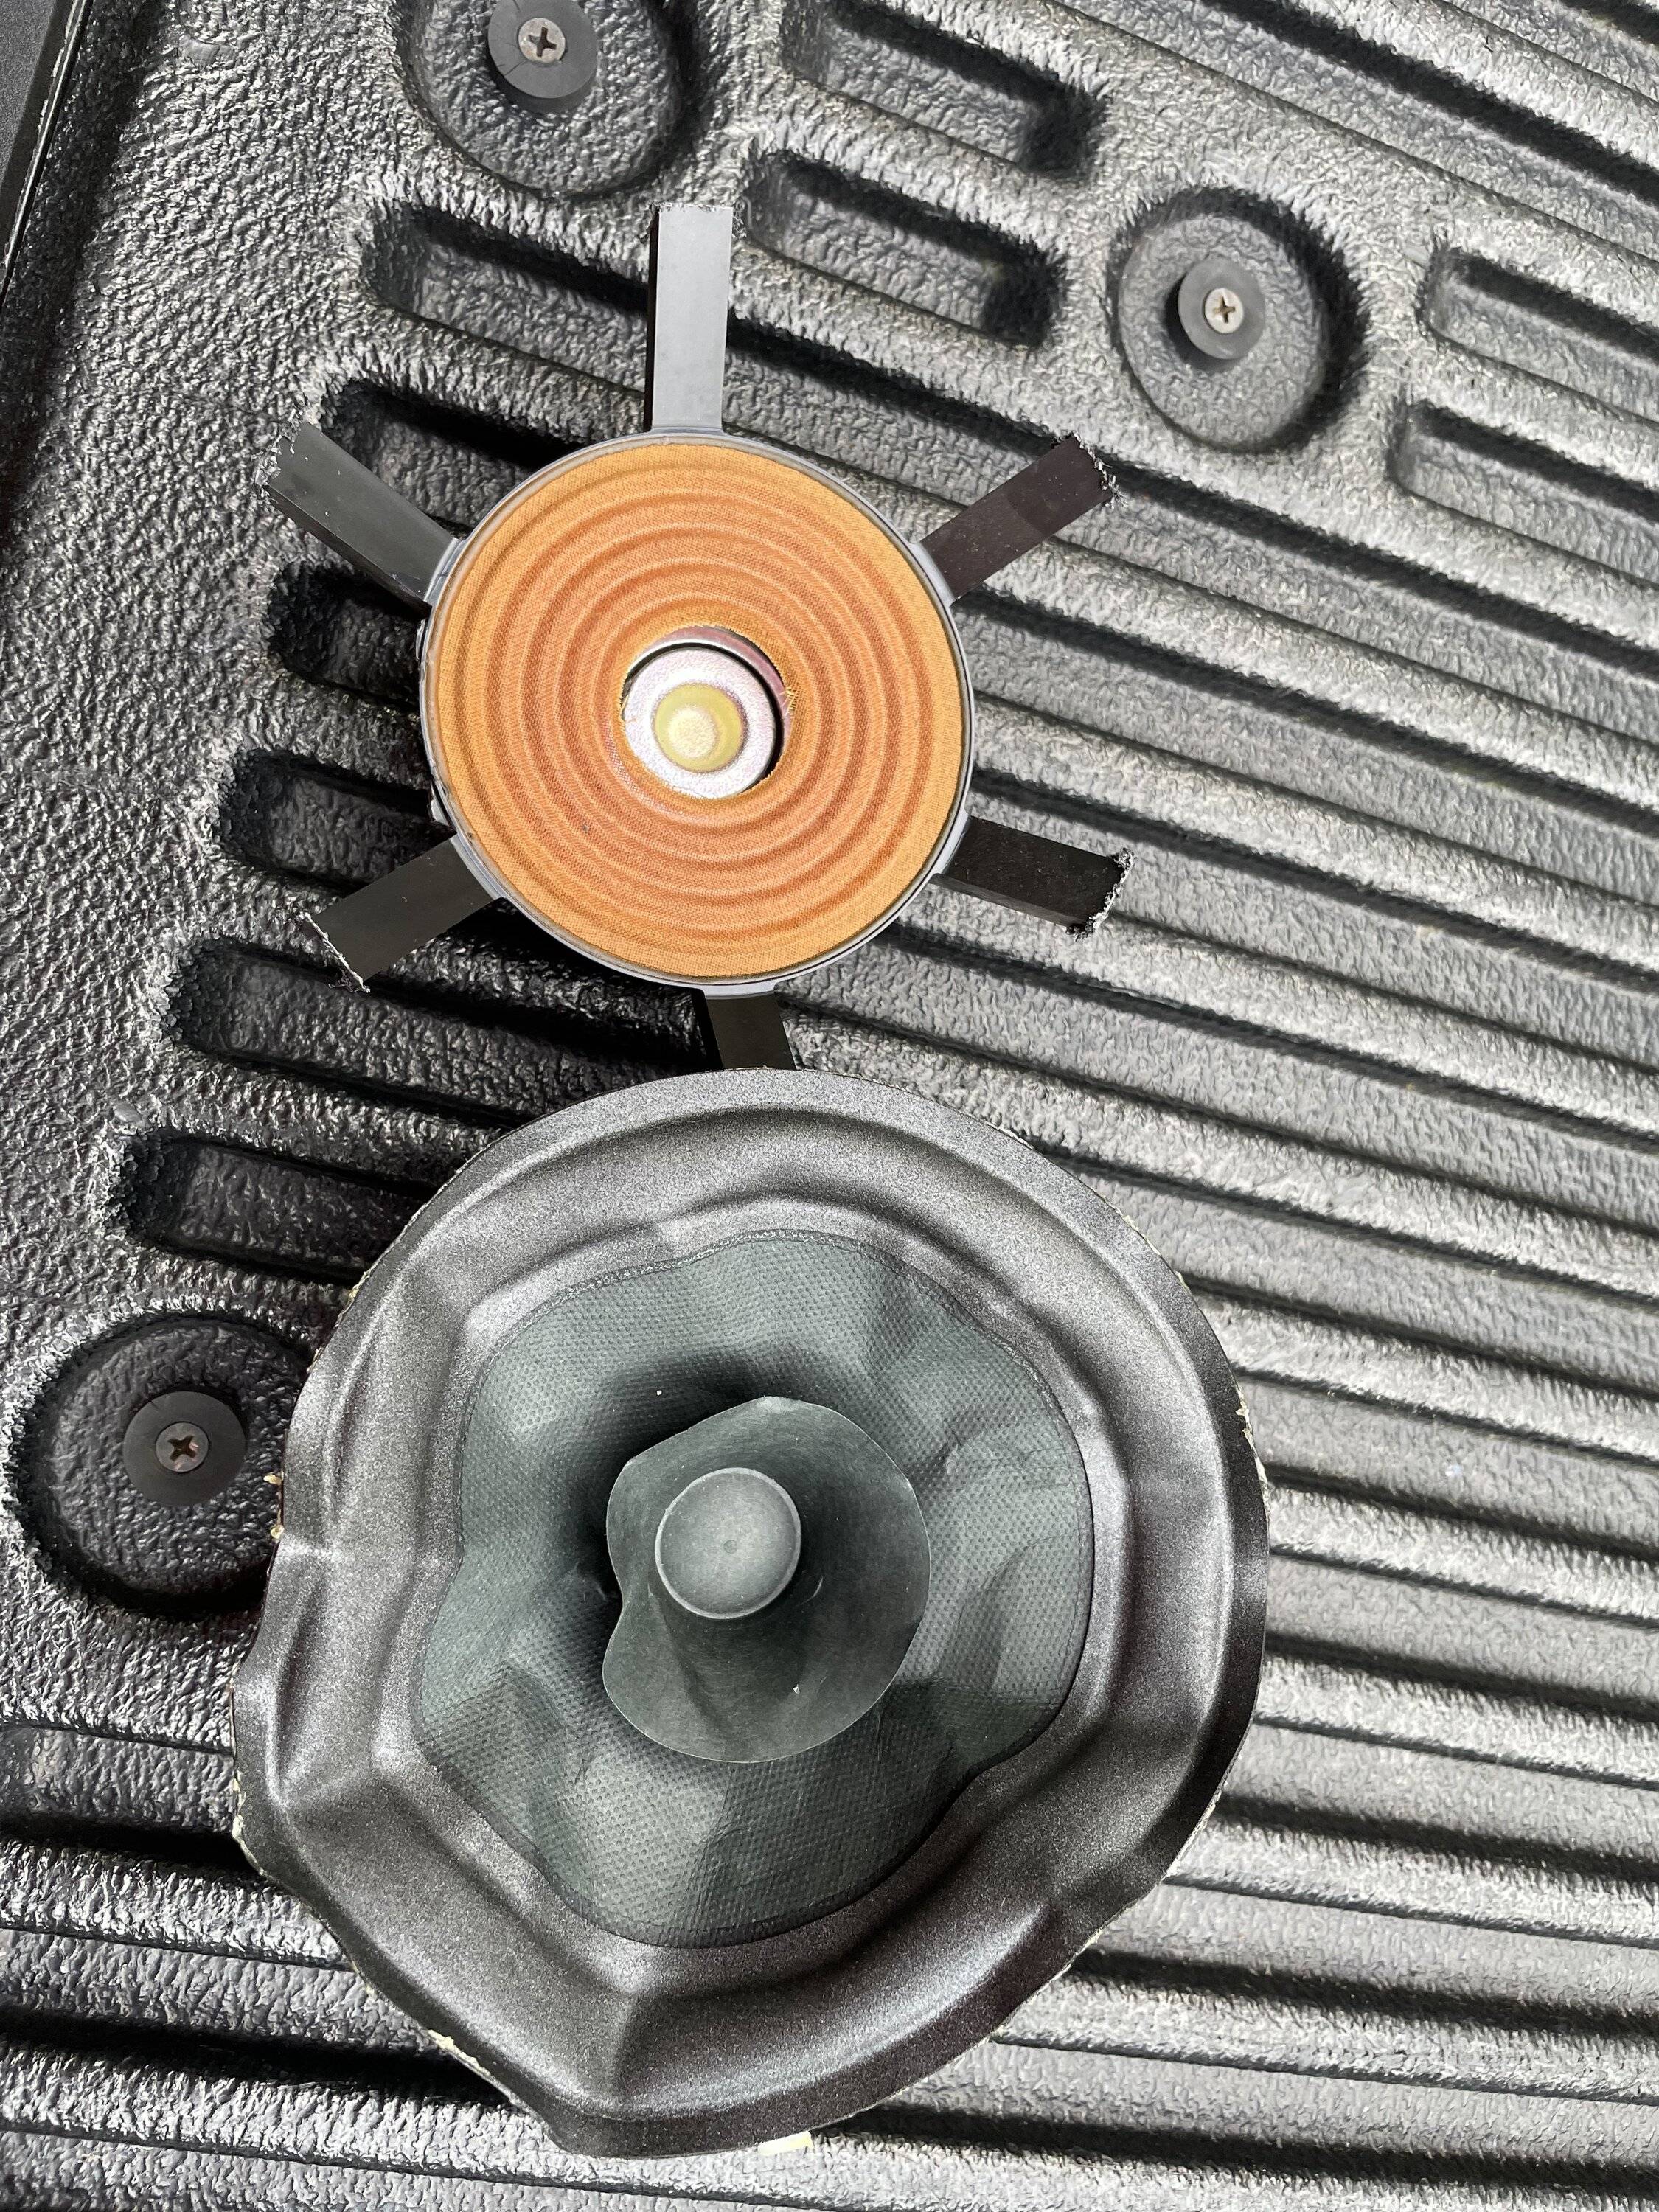
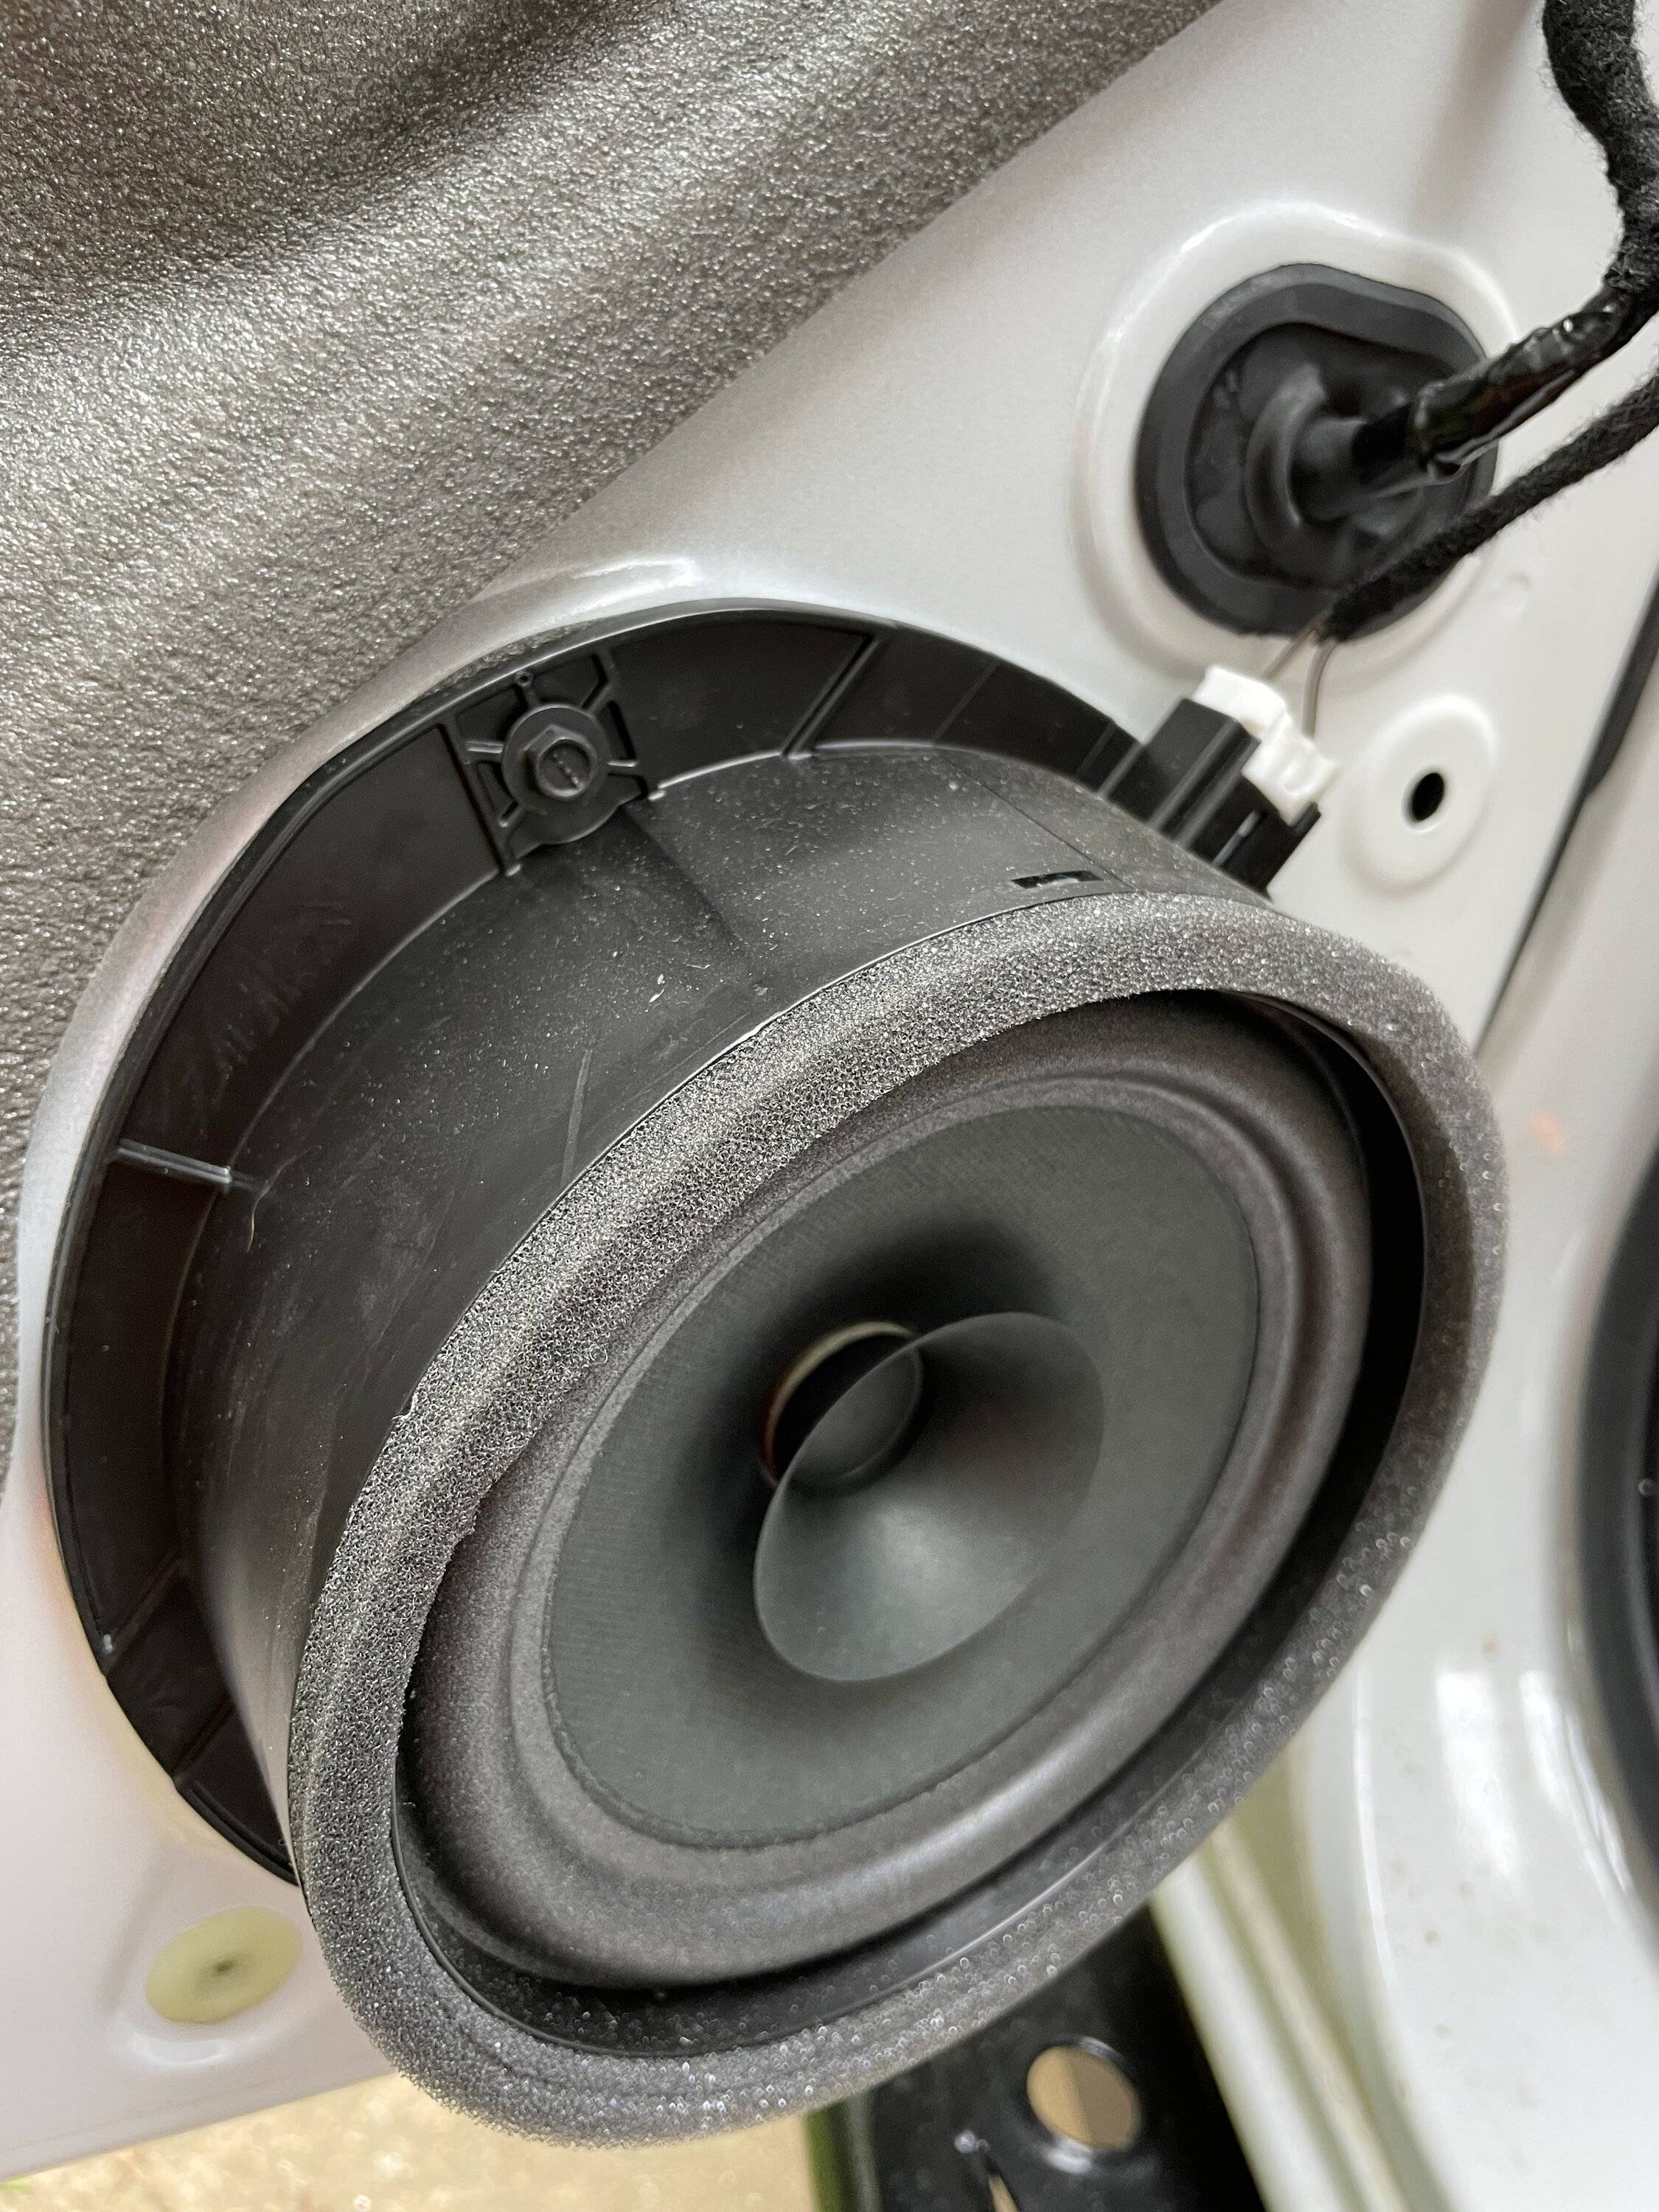
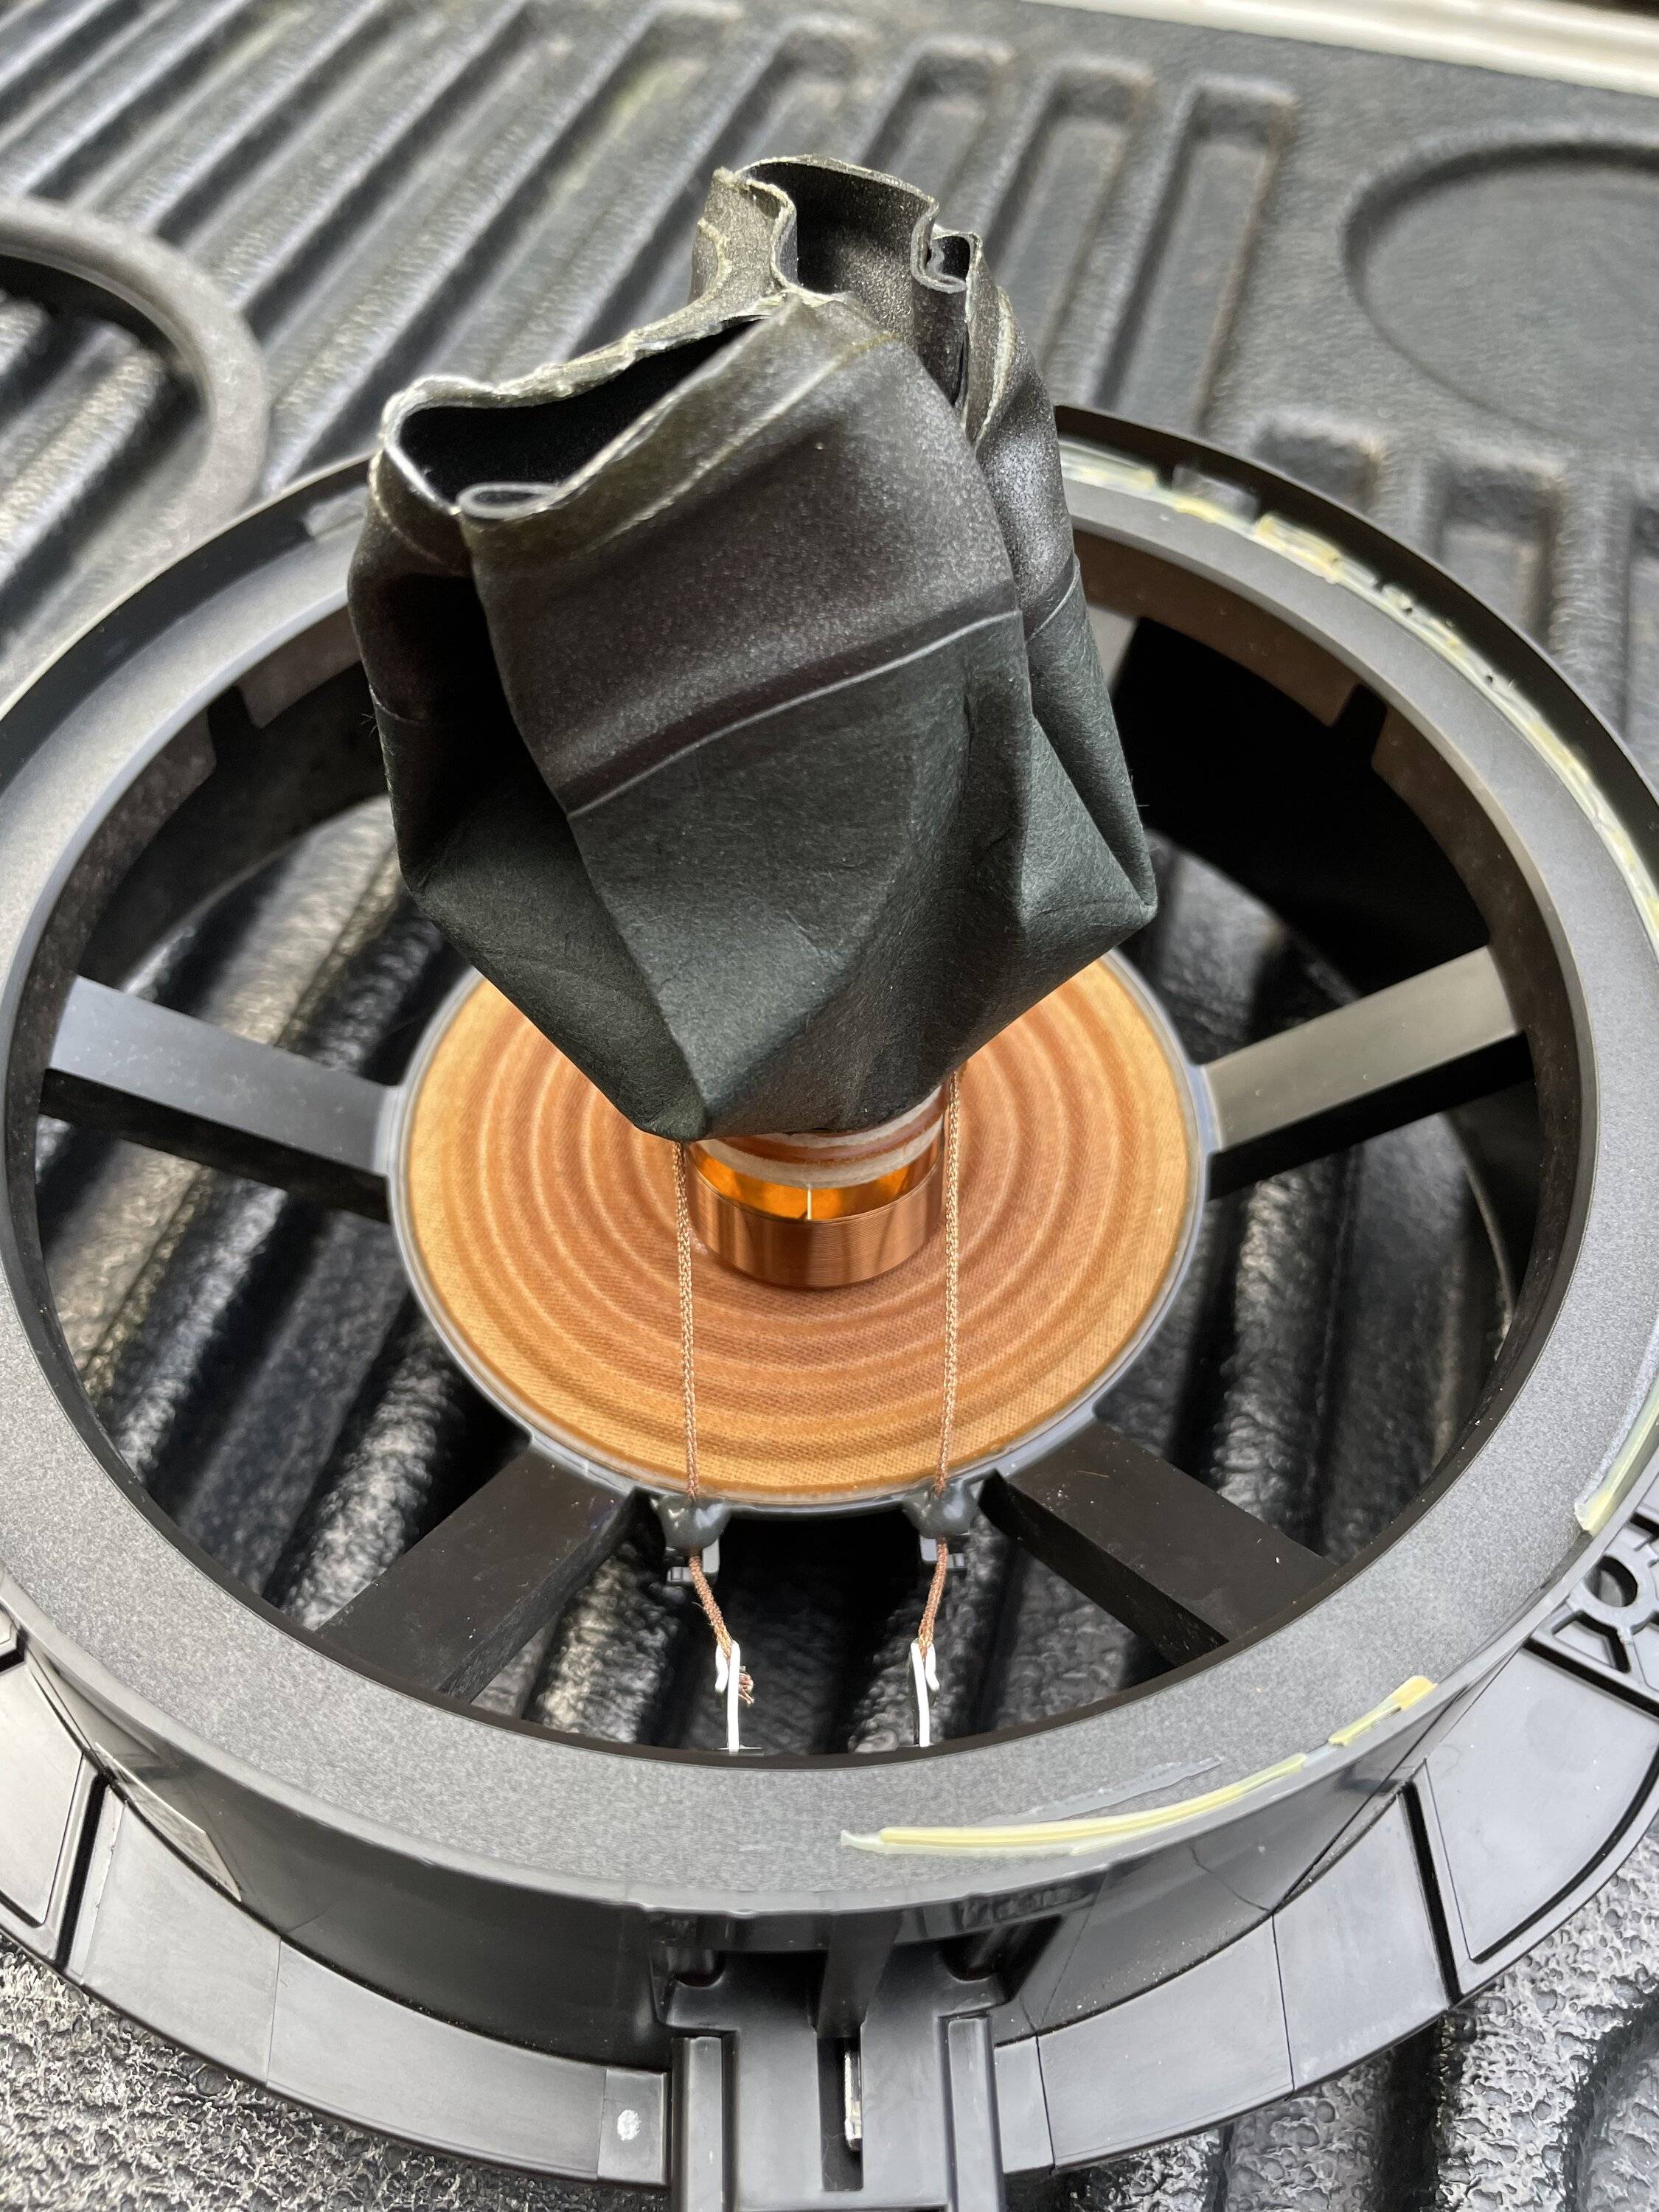
There she is, the awesome factory paper speaker.
I had purchased the wiring and mounting adapters and ended up using none of them. I decided to use the factory mount and wiring.
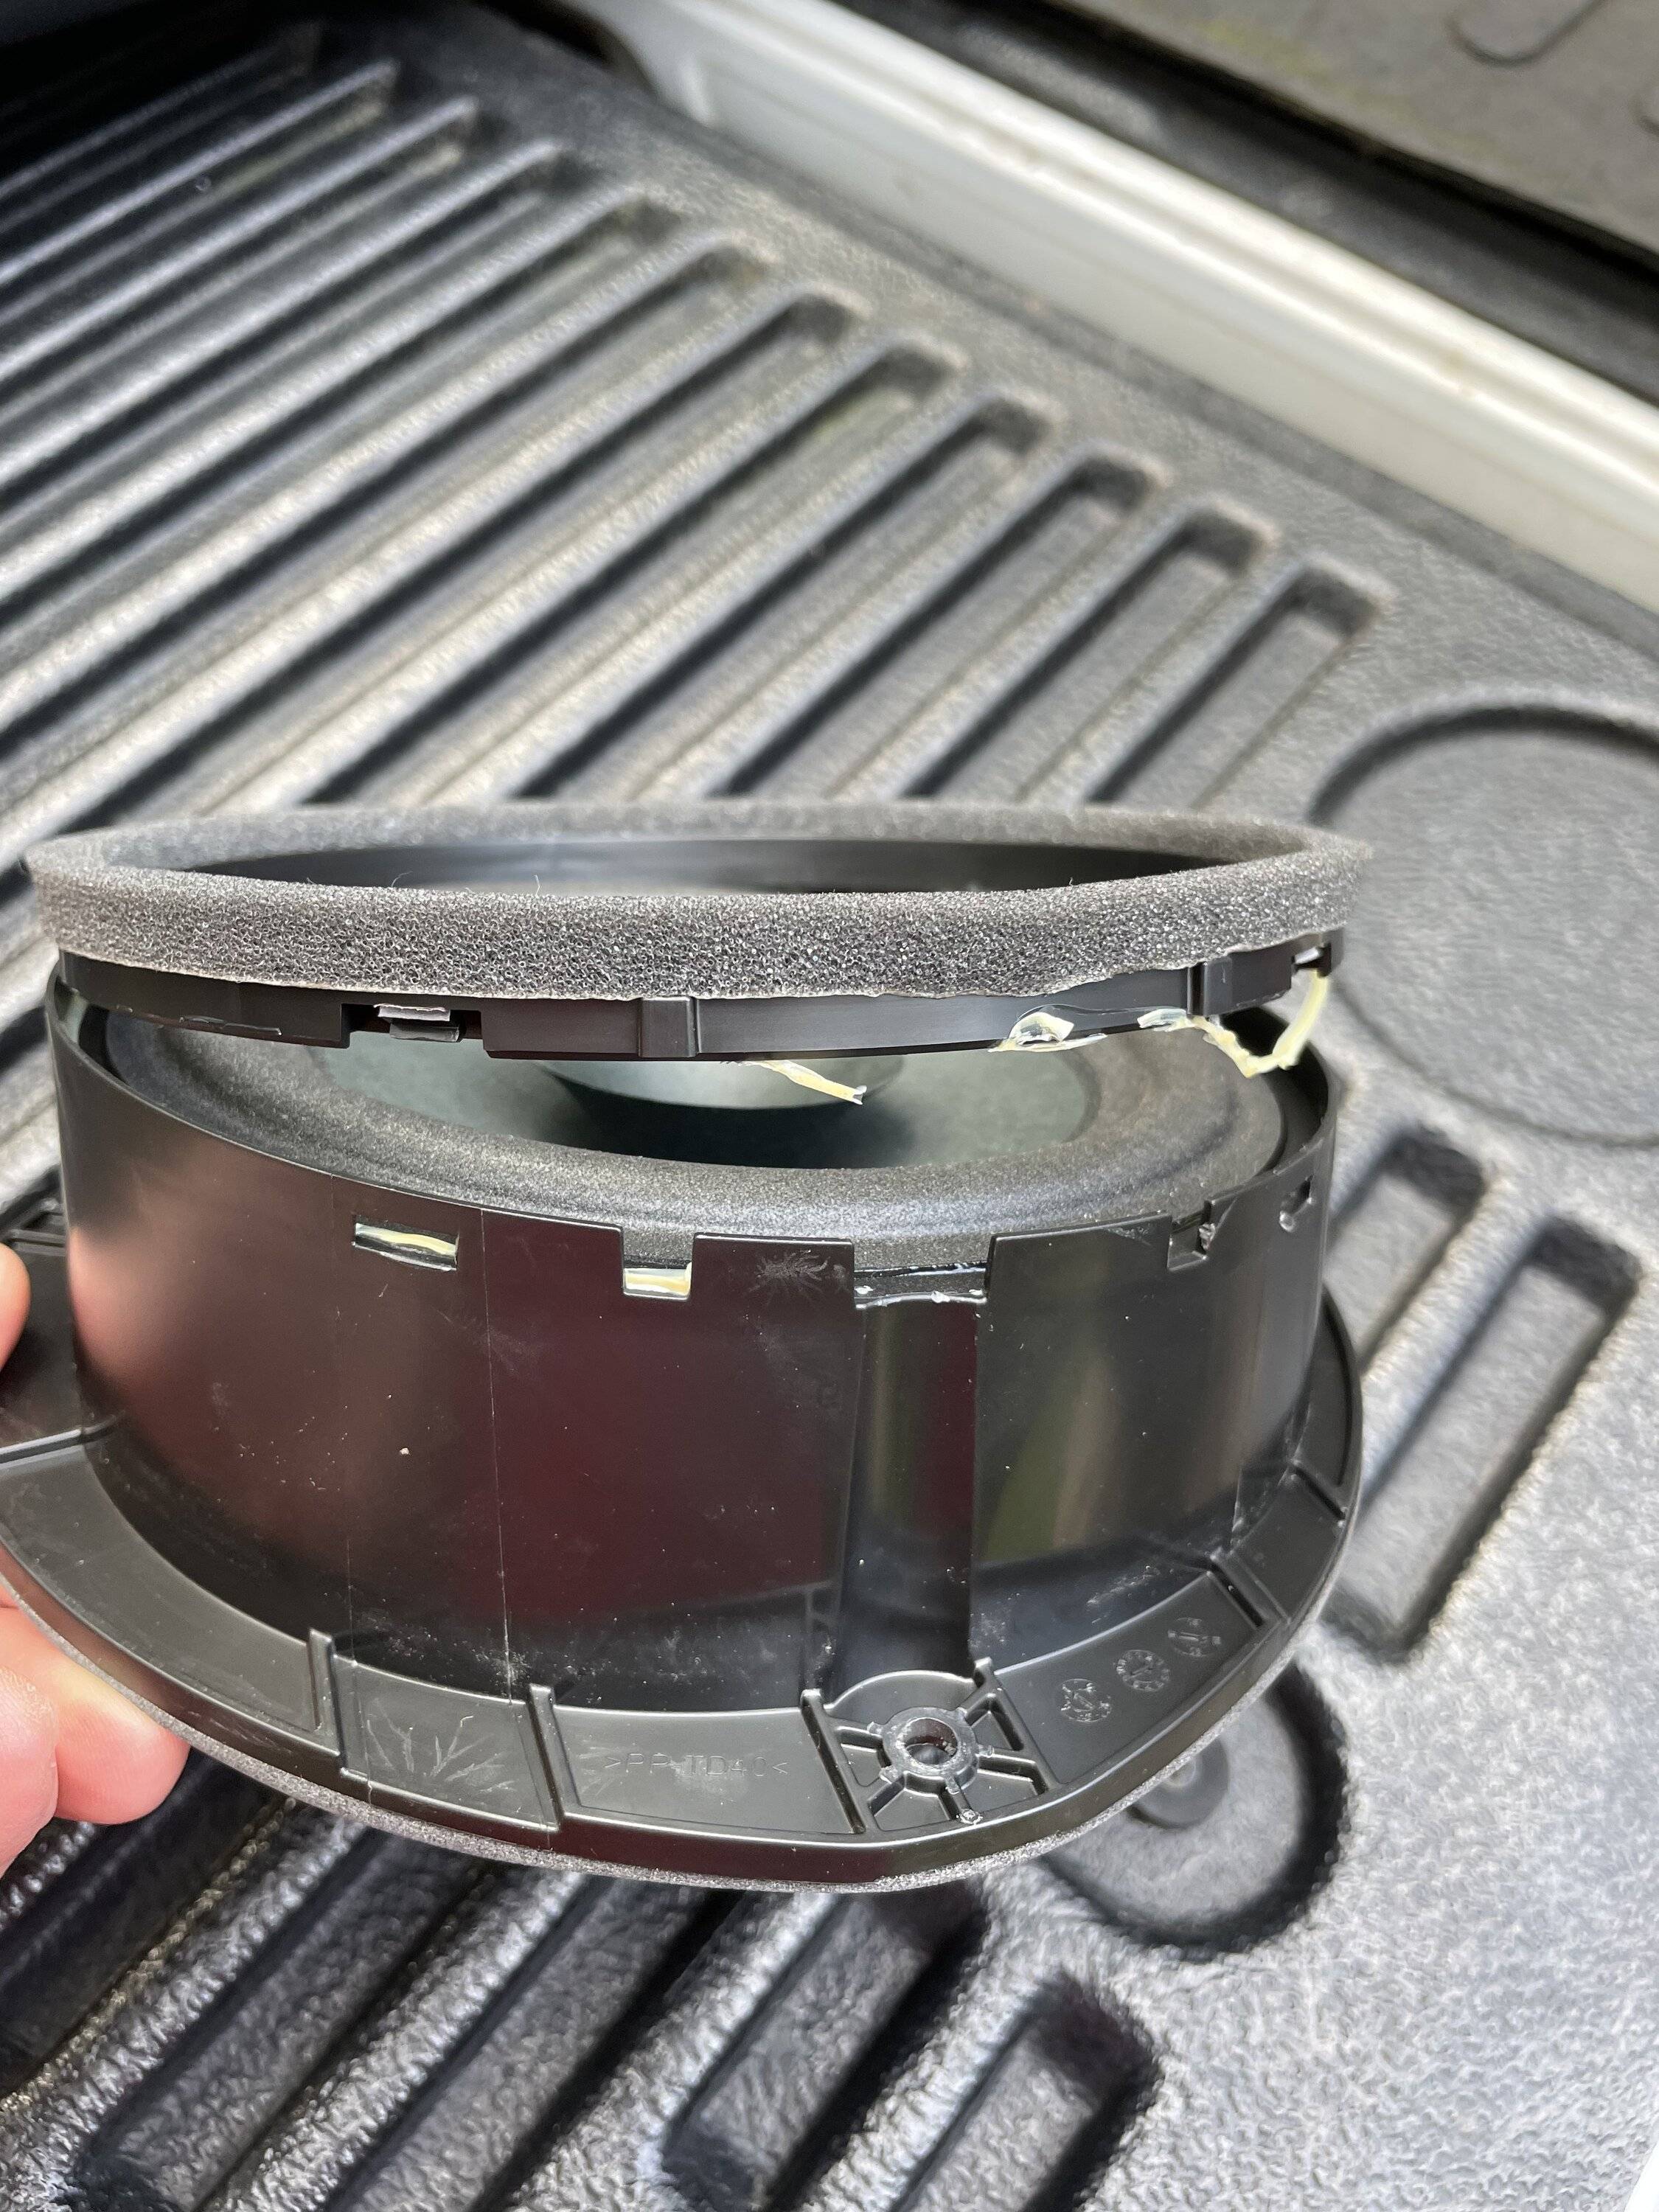
The factory speaker mount has a plastic ring on the top with a foam seal. The ring is held in place by 3 snaps and a bit of glue. The ring is keyed so it can only go back on one way. I took it all apart.
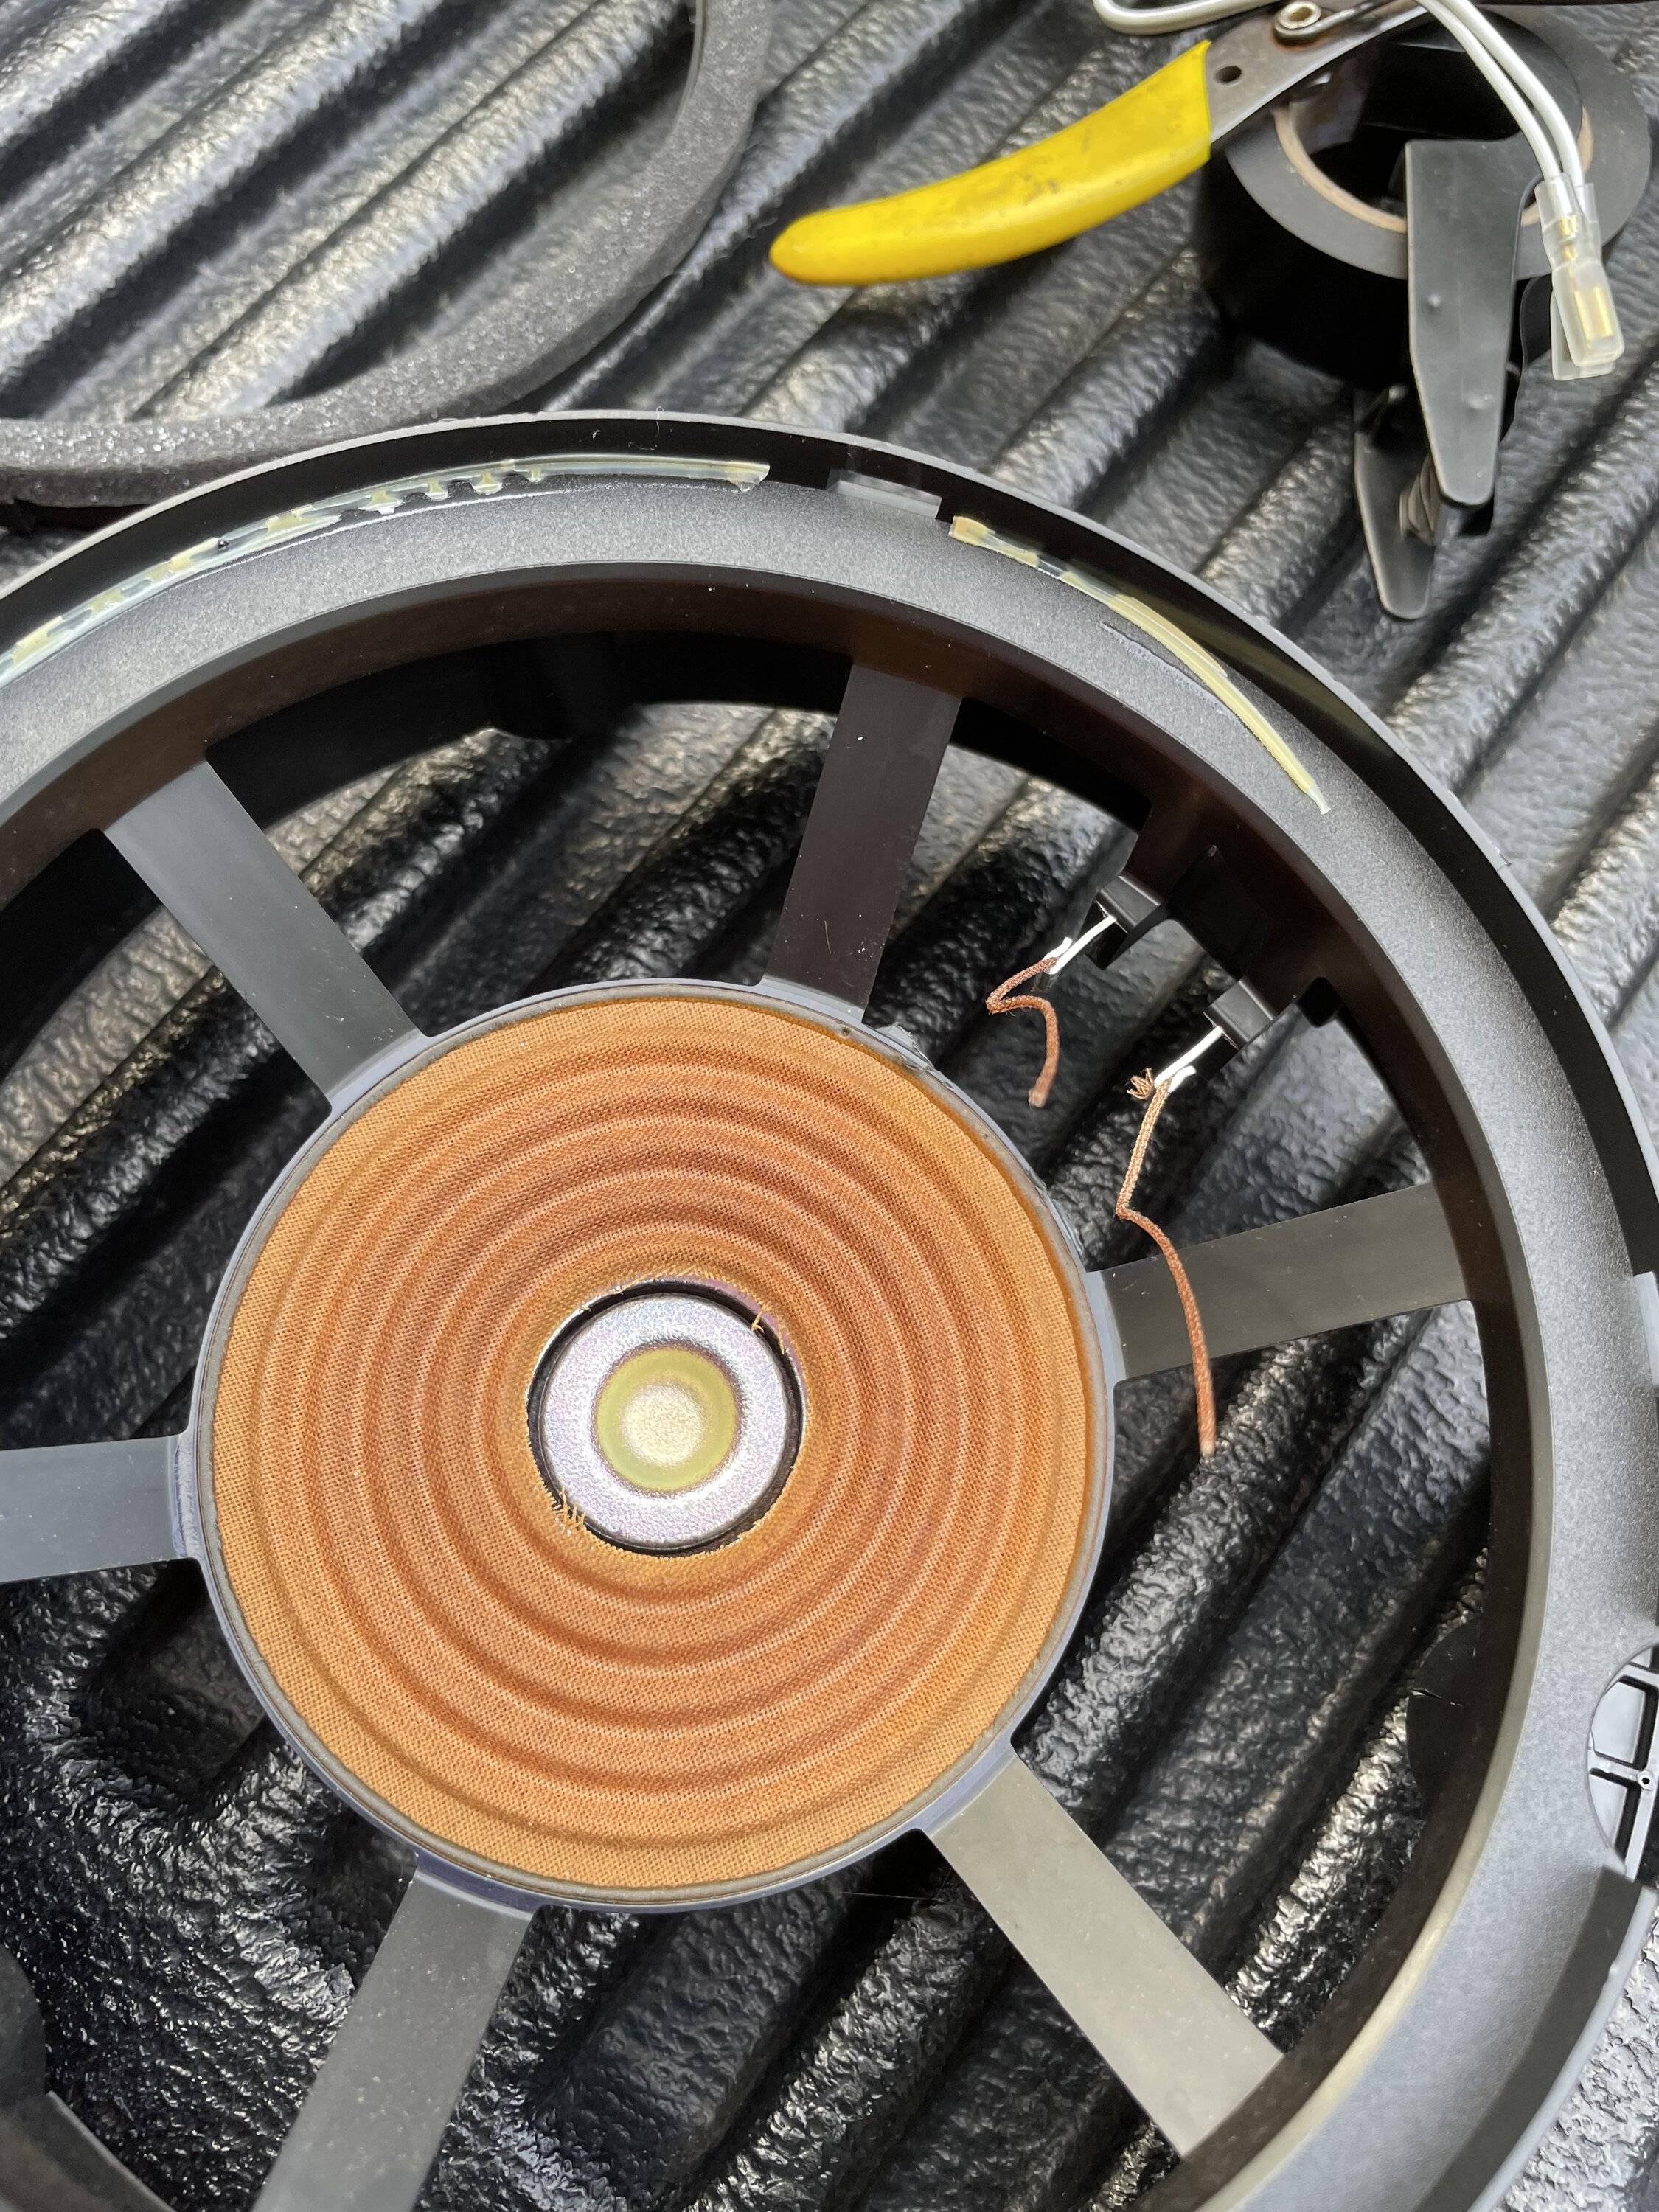
Now we can get to the speaker mount. The cone is just glued to the lip of the plastic mount.
No turning back now...
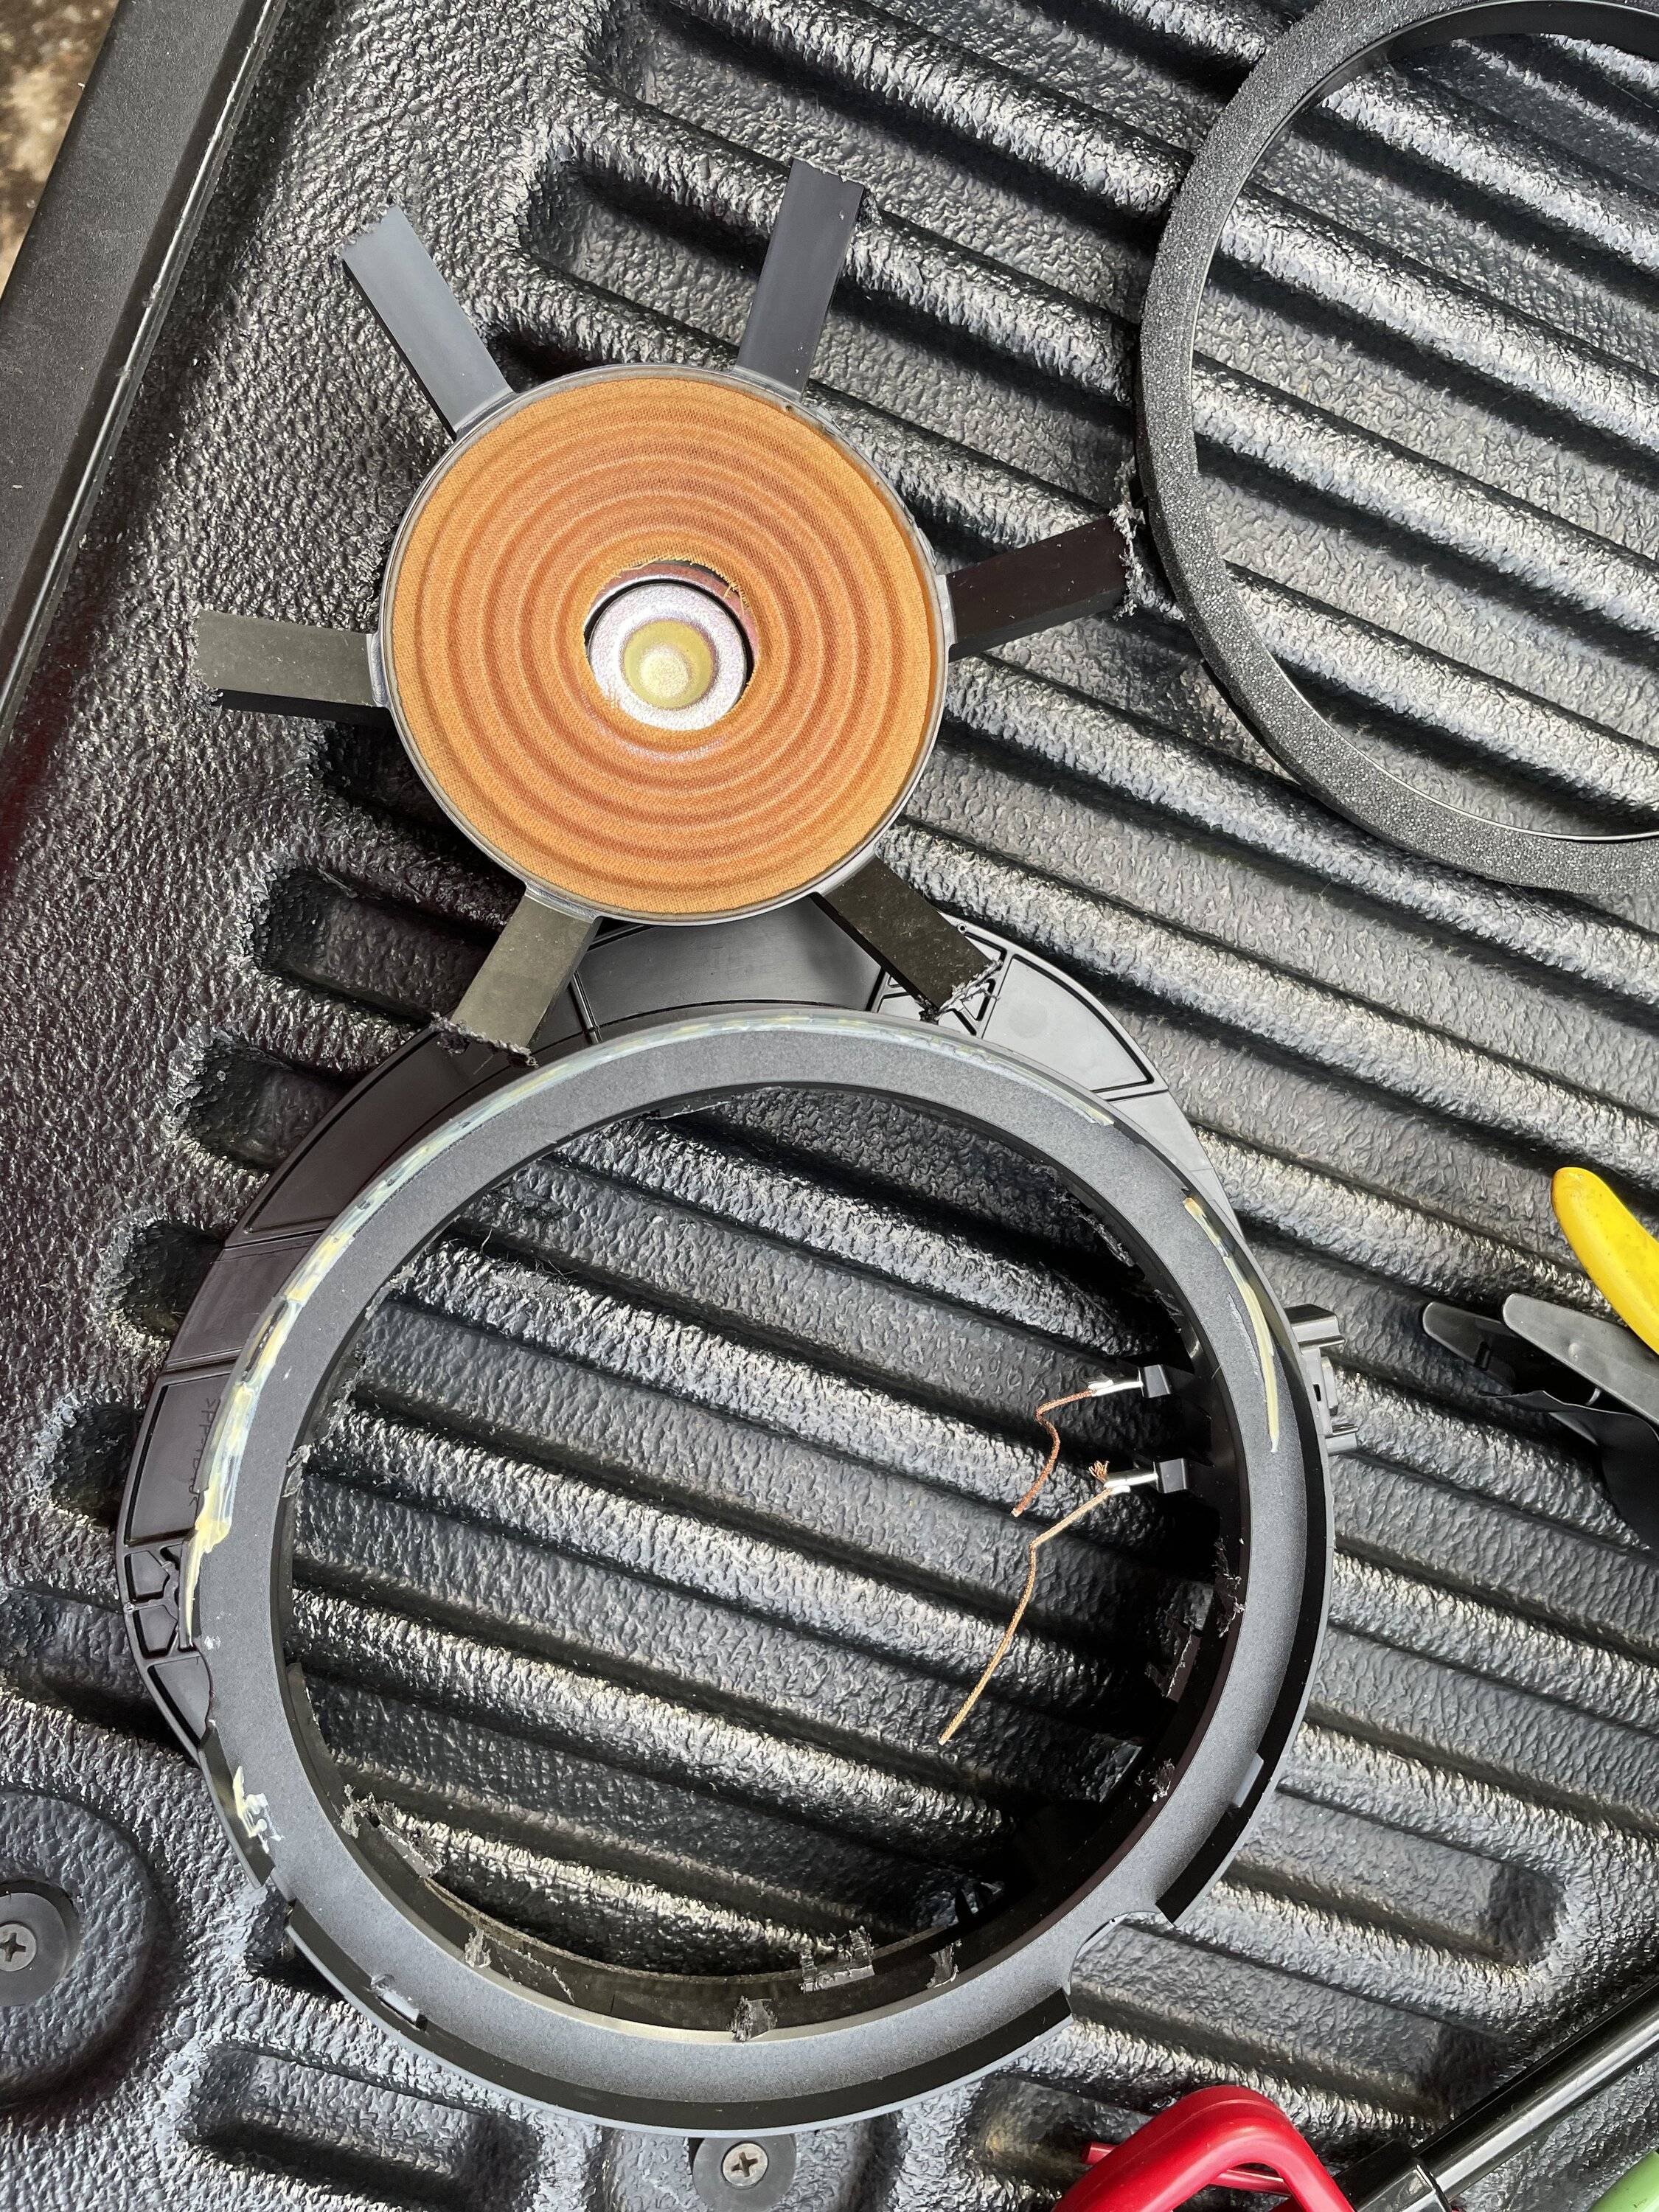
I pulled the cone off and left the factory wiring so that I could connect my Pioneer speakers there. After removing the cone you have several plastic ribs that need to be removed so you can mount your aftermarket speakers.
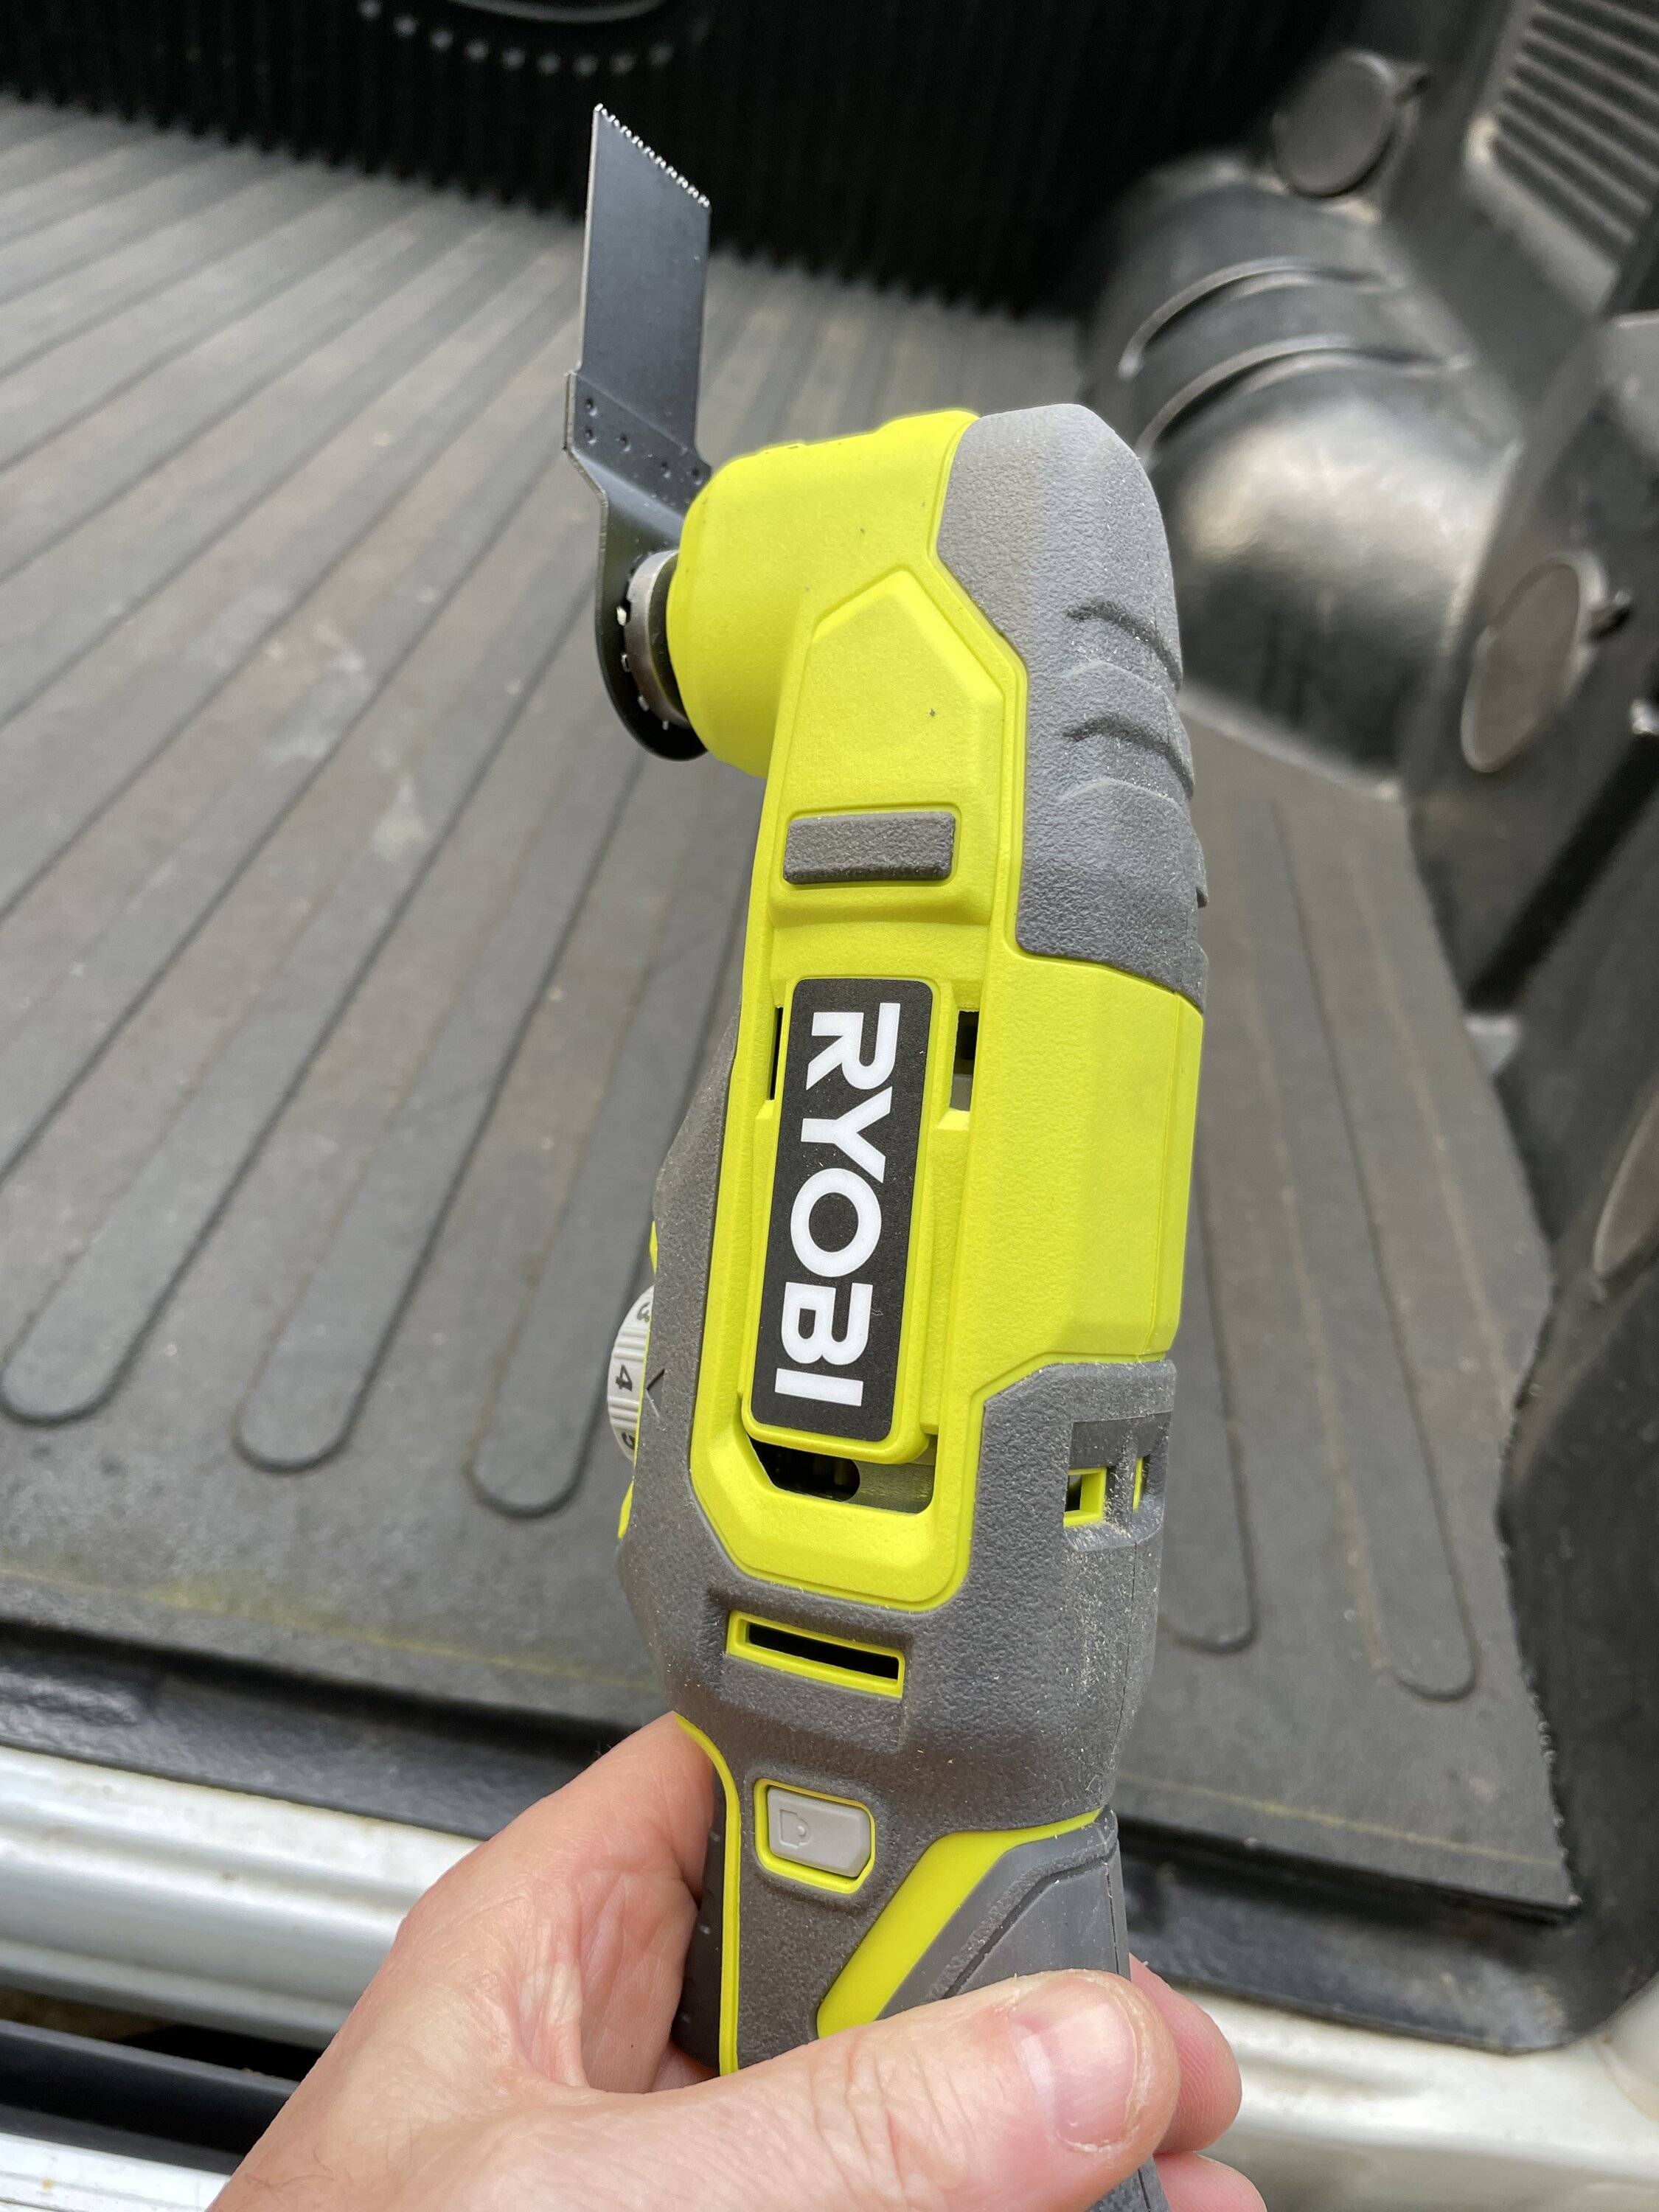
I used my oscillating saw and it literally took 2 seconds per rib to cut them out.
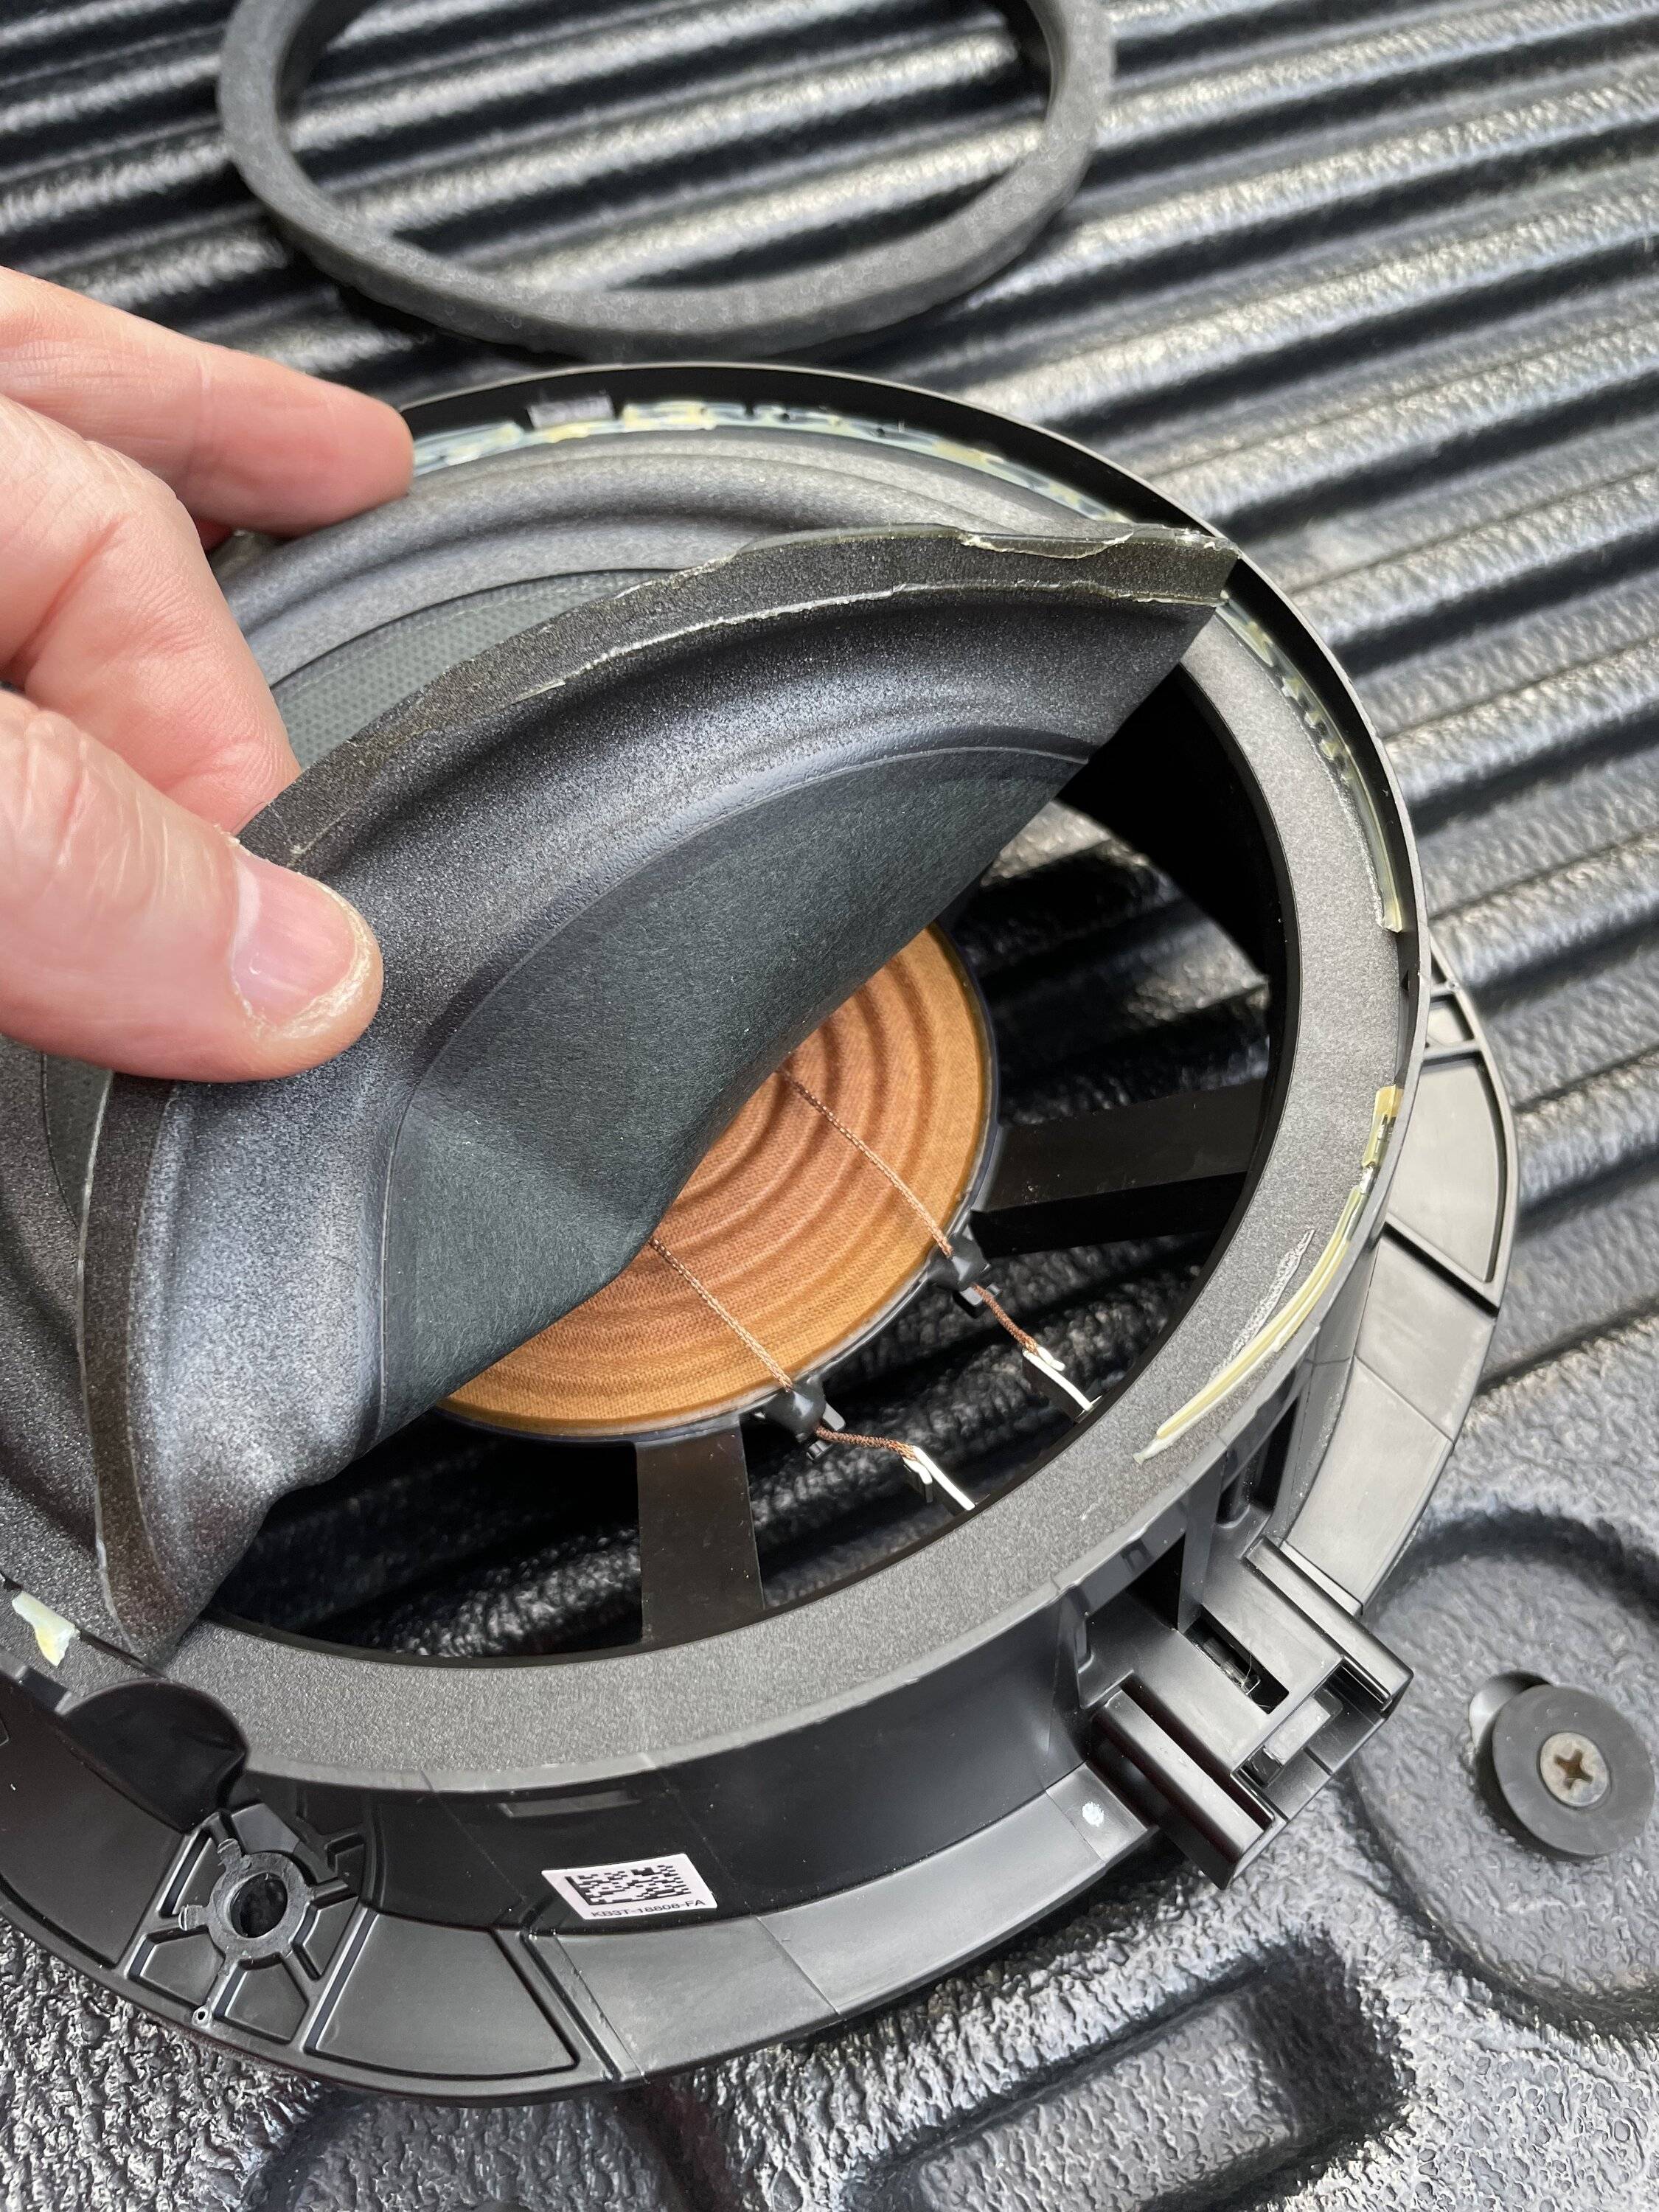
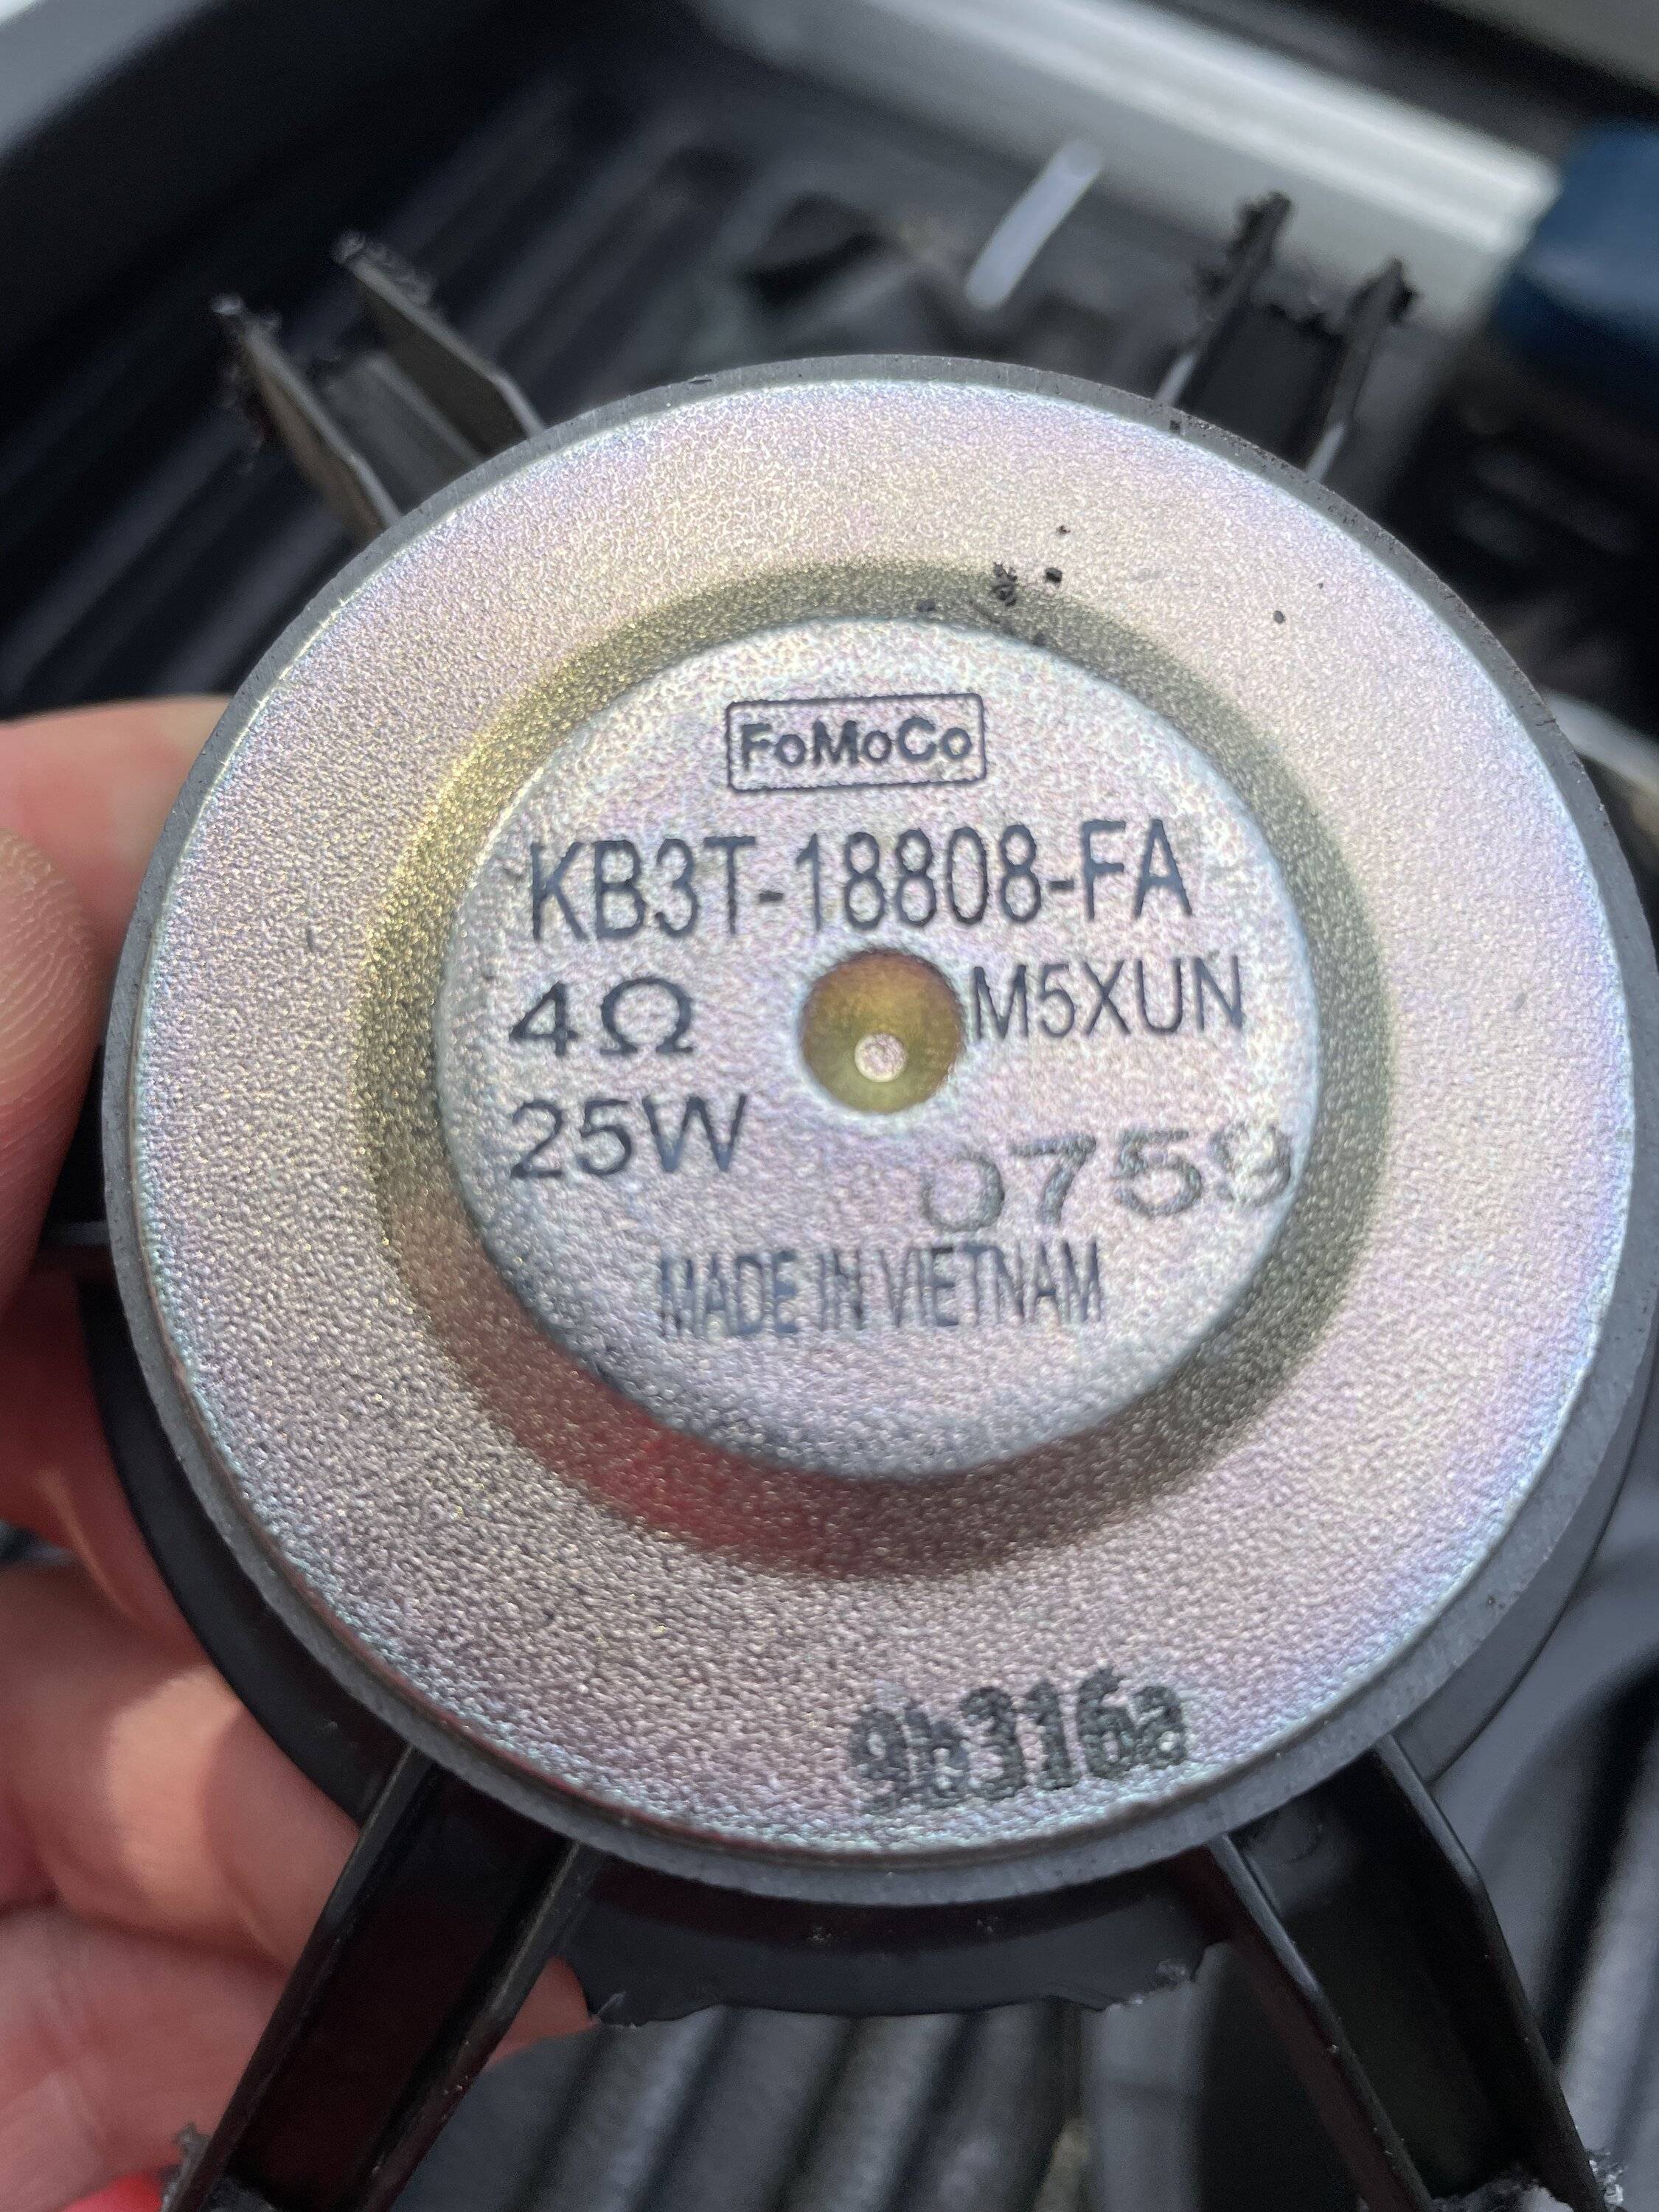
Here you can see the impressive power rating of the factory speaker. I don't think it would've lasted long behind a 1200 watt amp. I'm kinda surprised that it's 4 ohm instead of 2 ohm.
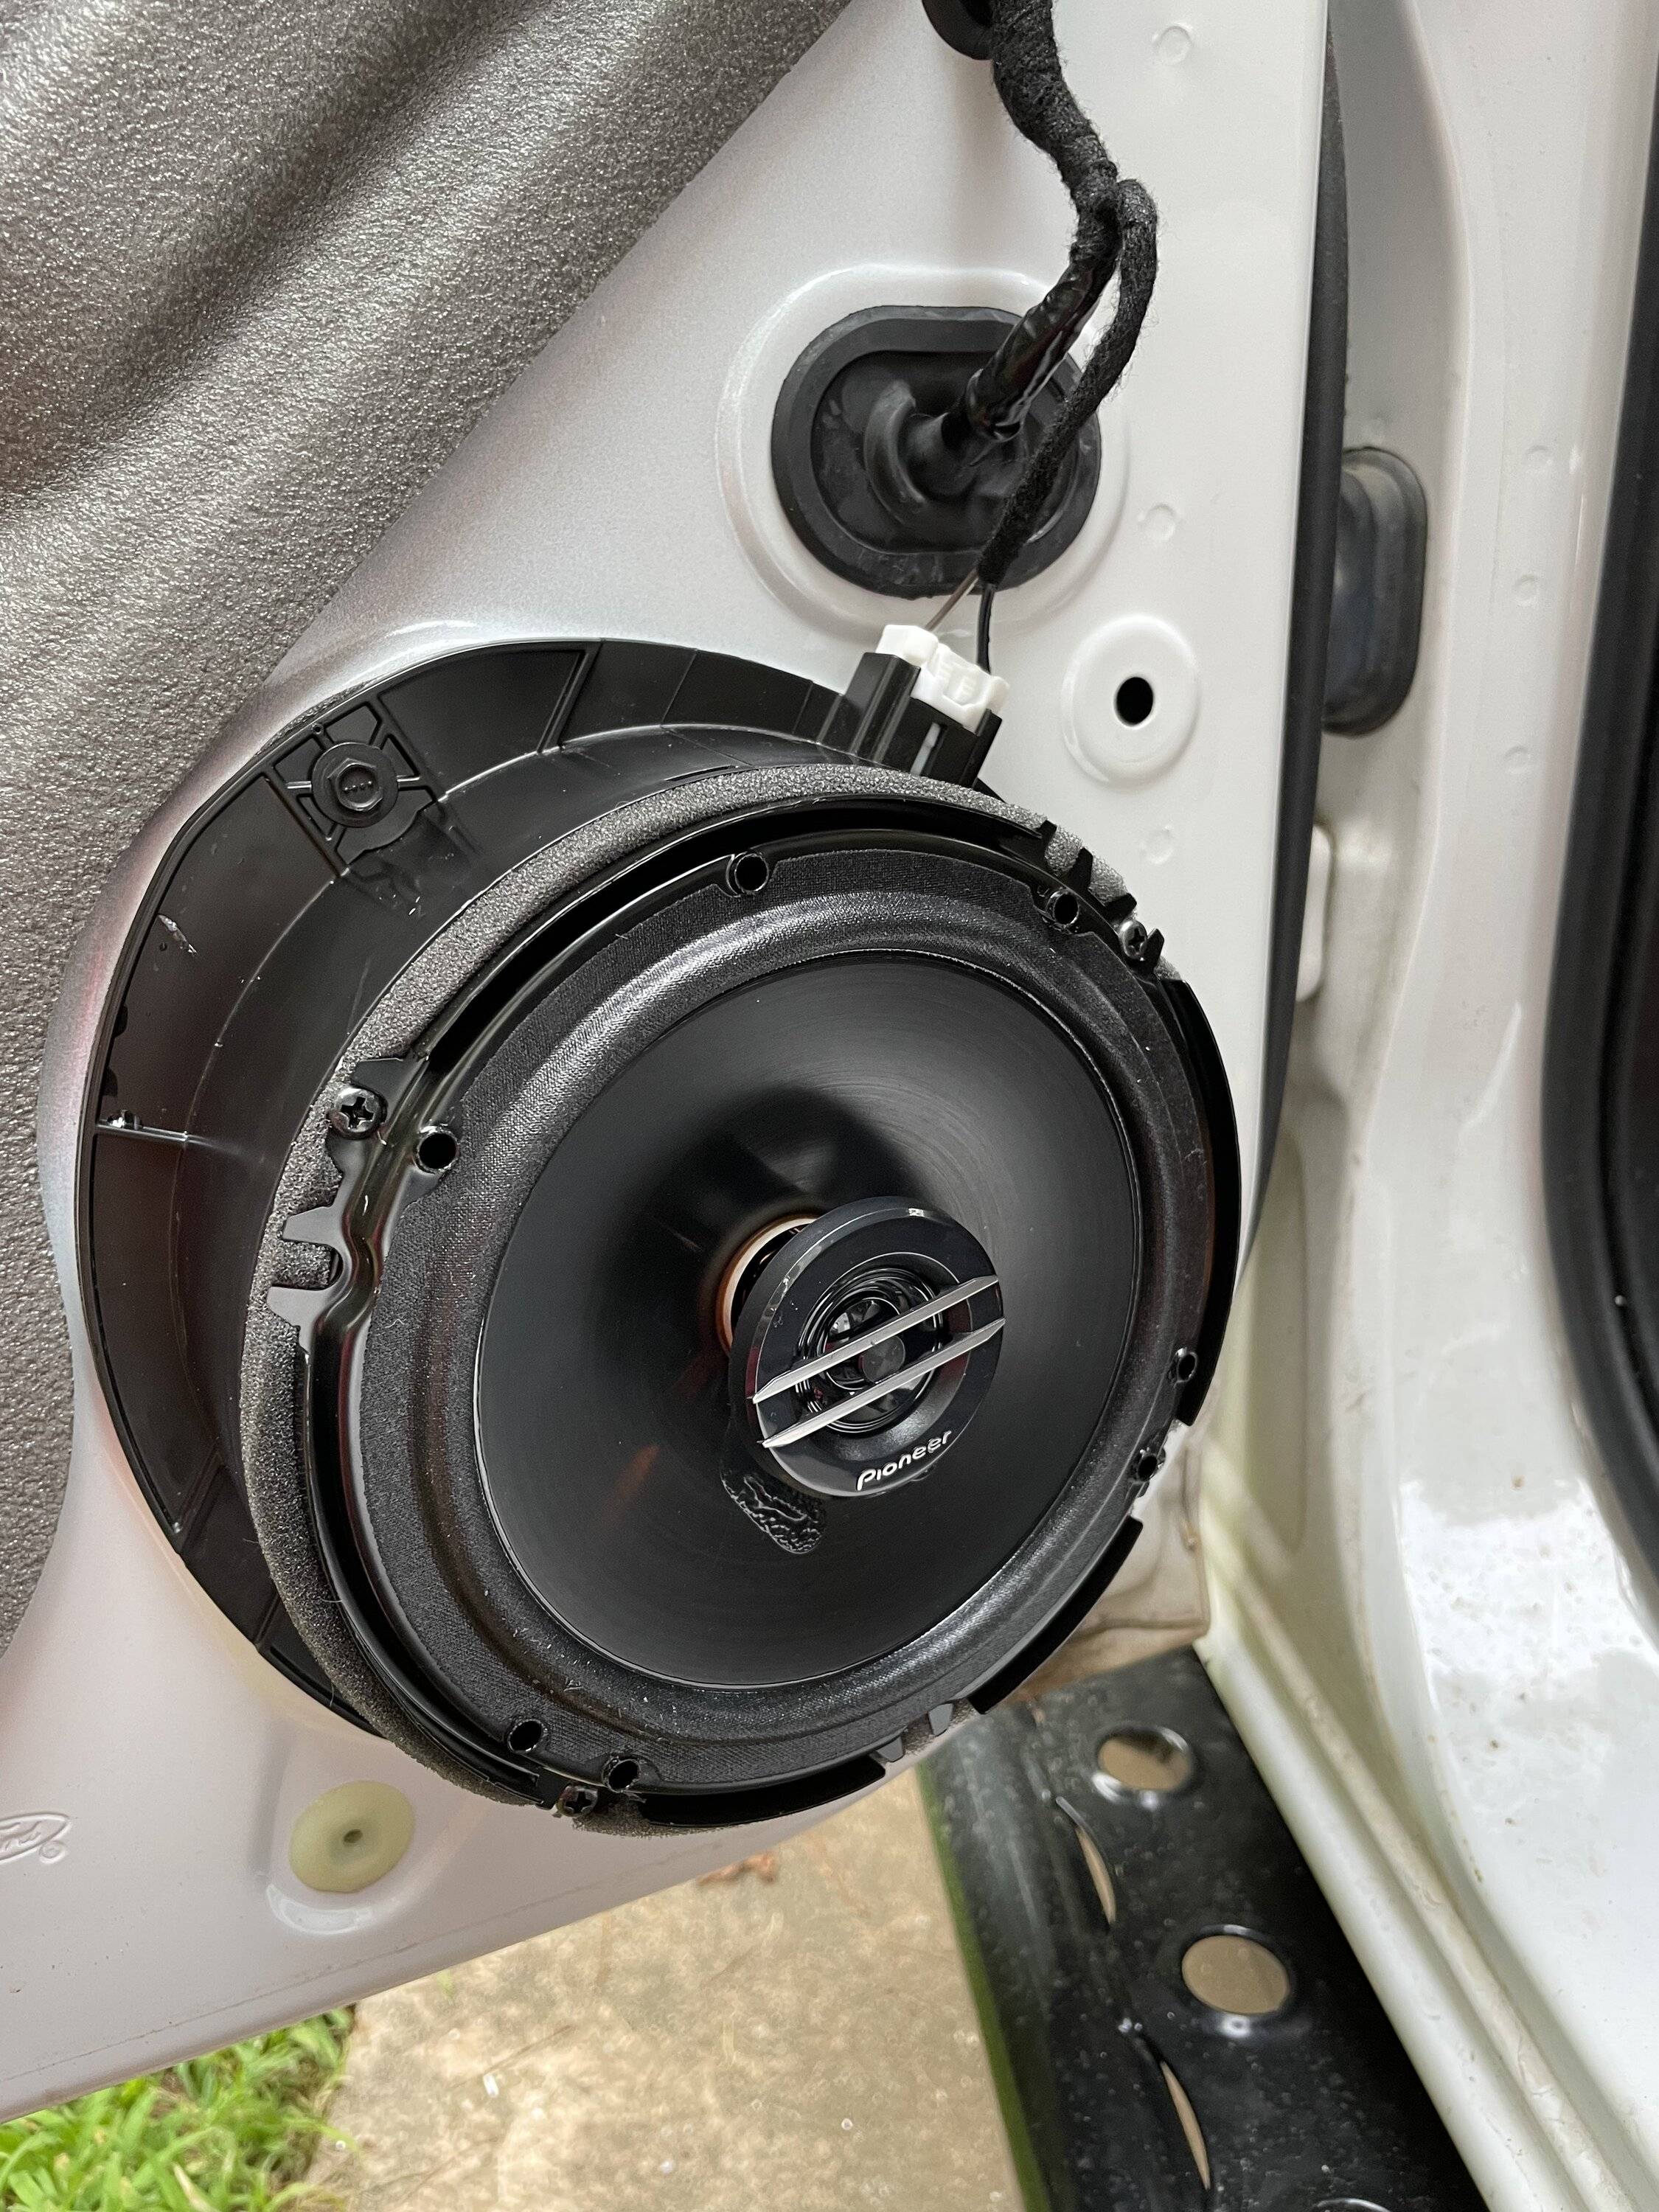
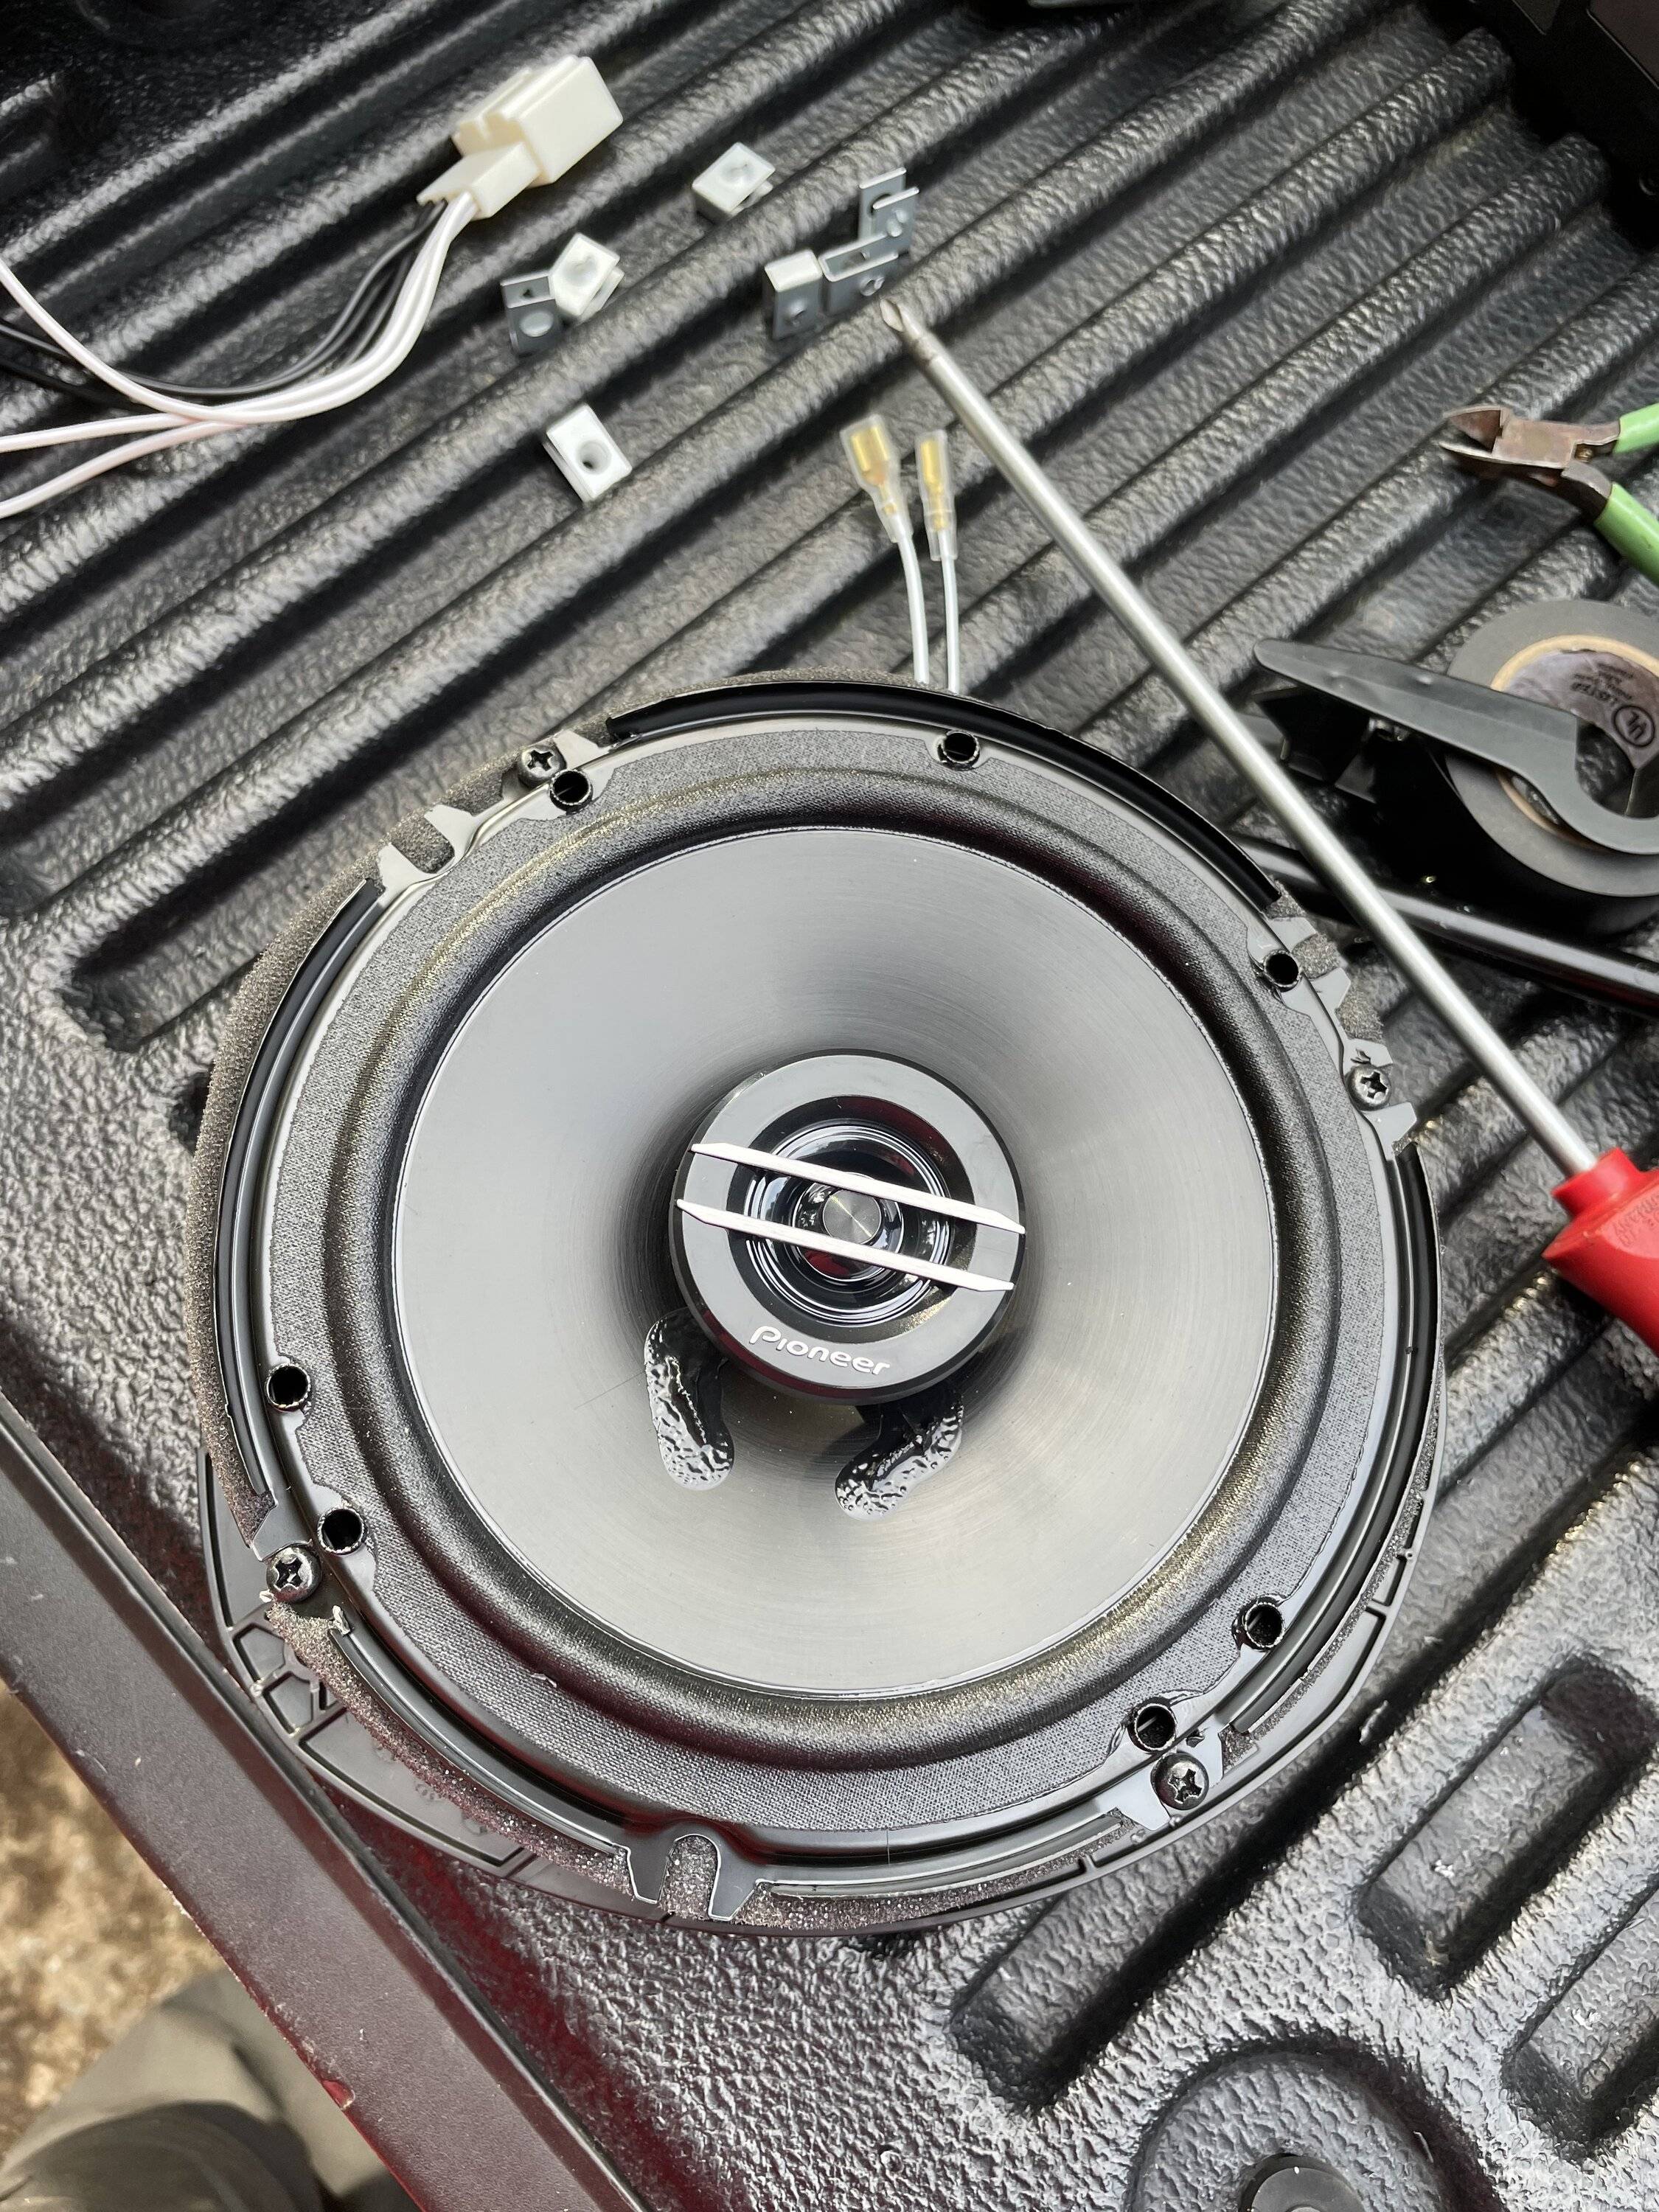
Since the rear speakers are more for fill, I just used a set of Pioneer 300 watt coaxials. They do sound better than factory but that's kind of a low bar. So I sat them on top of the mount with the foam ring and drilled 4 holes through the ring and the lip of the mount, then used the supplied screws to cinch them up.
Continued in next post...
Short version: I'm going to be adding an amplifier soon and the factory speakers are woeful so they gotta go.
Long version:
Remove the rear door panel. Held on by 5 torx T25 screws and plastic snaps.
First remove the little snap-in cover behind the door pull and one of the torx screws is there
Now remove the trim piece on the armrest, held on with plastic clips, that is covering 2 more torx bits. The last 2 torx bits are along the bottom. Then you can pop the panel off starting at the bottom.
Now there are 3 electrical connections to disconnect: The power window switch, the power lock switch, and the large round connector that is the backlight for the lock switch. Here is the lock and backlight connector.
Then unclip the door handle cable. I'll detail that connection later.
There she is, the awesome factory paper speaker.
I had purchased the wiring and mounting adapters and ended up using none of them. I decided to use the factory mount and wiring.
The factory speaker mount has a plastic ring on the top with a foam seal. The ring is held in place by 3 snaps and a bit of glue. The ring is keyed so it can only go back on one way. I took it all apart.
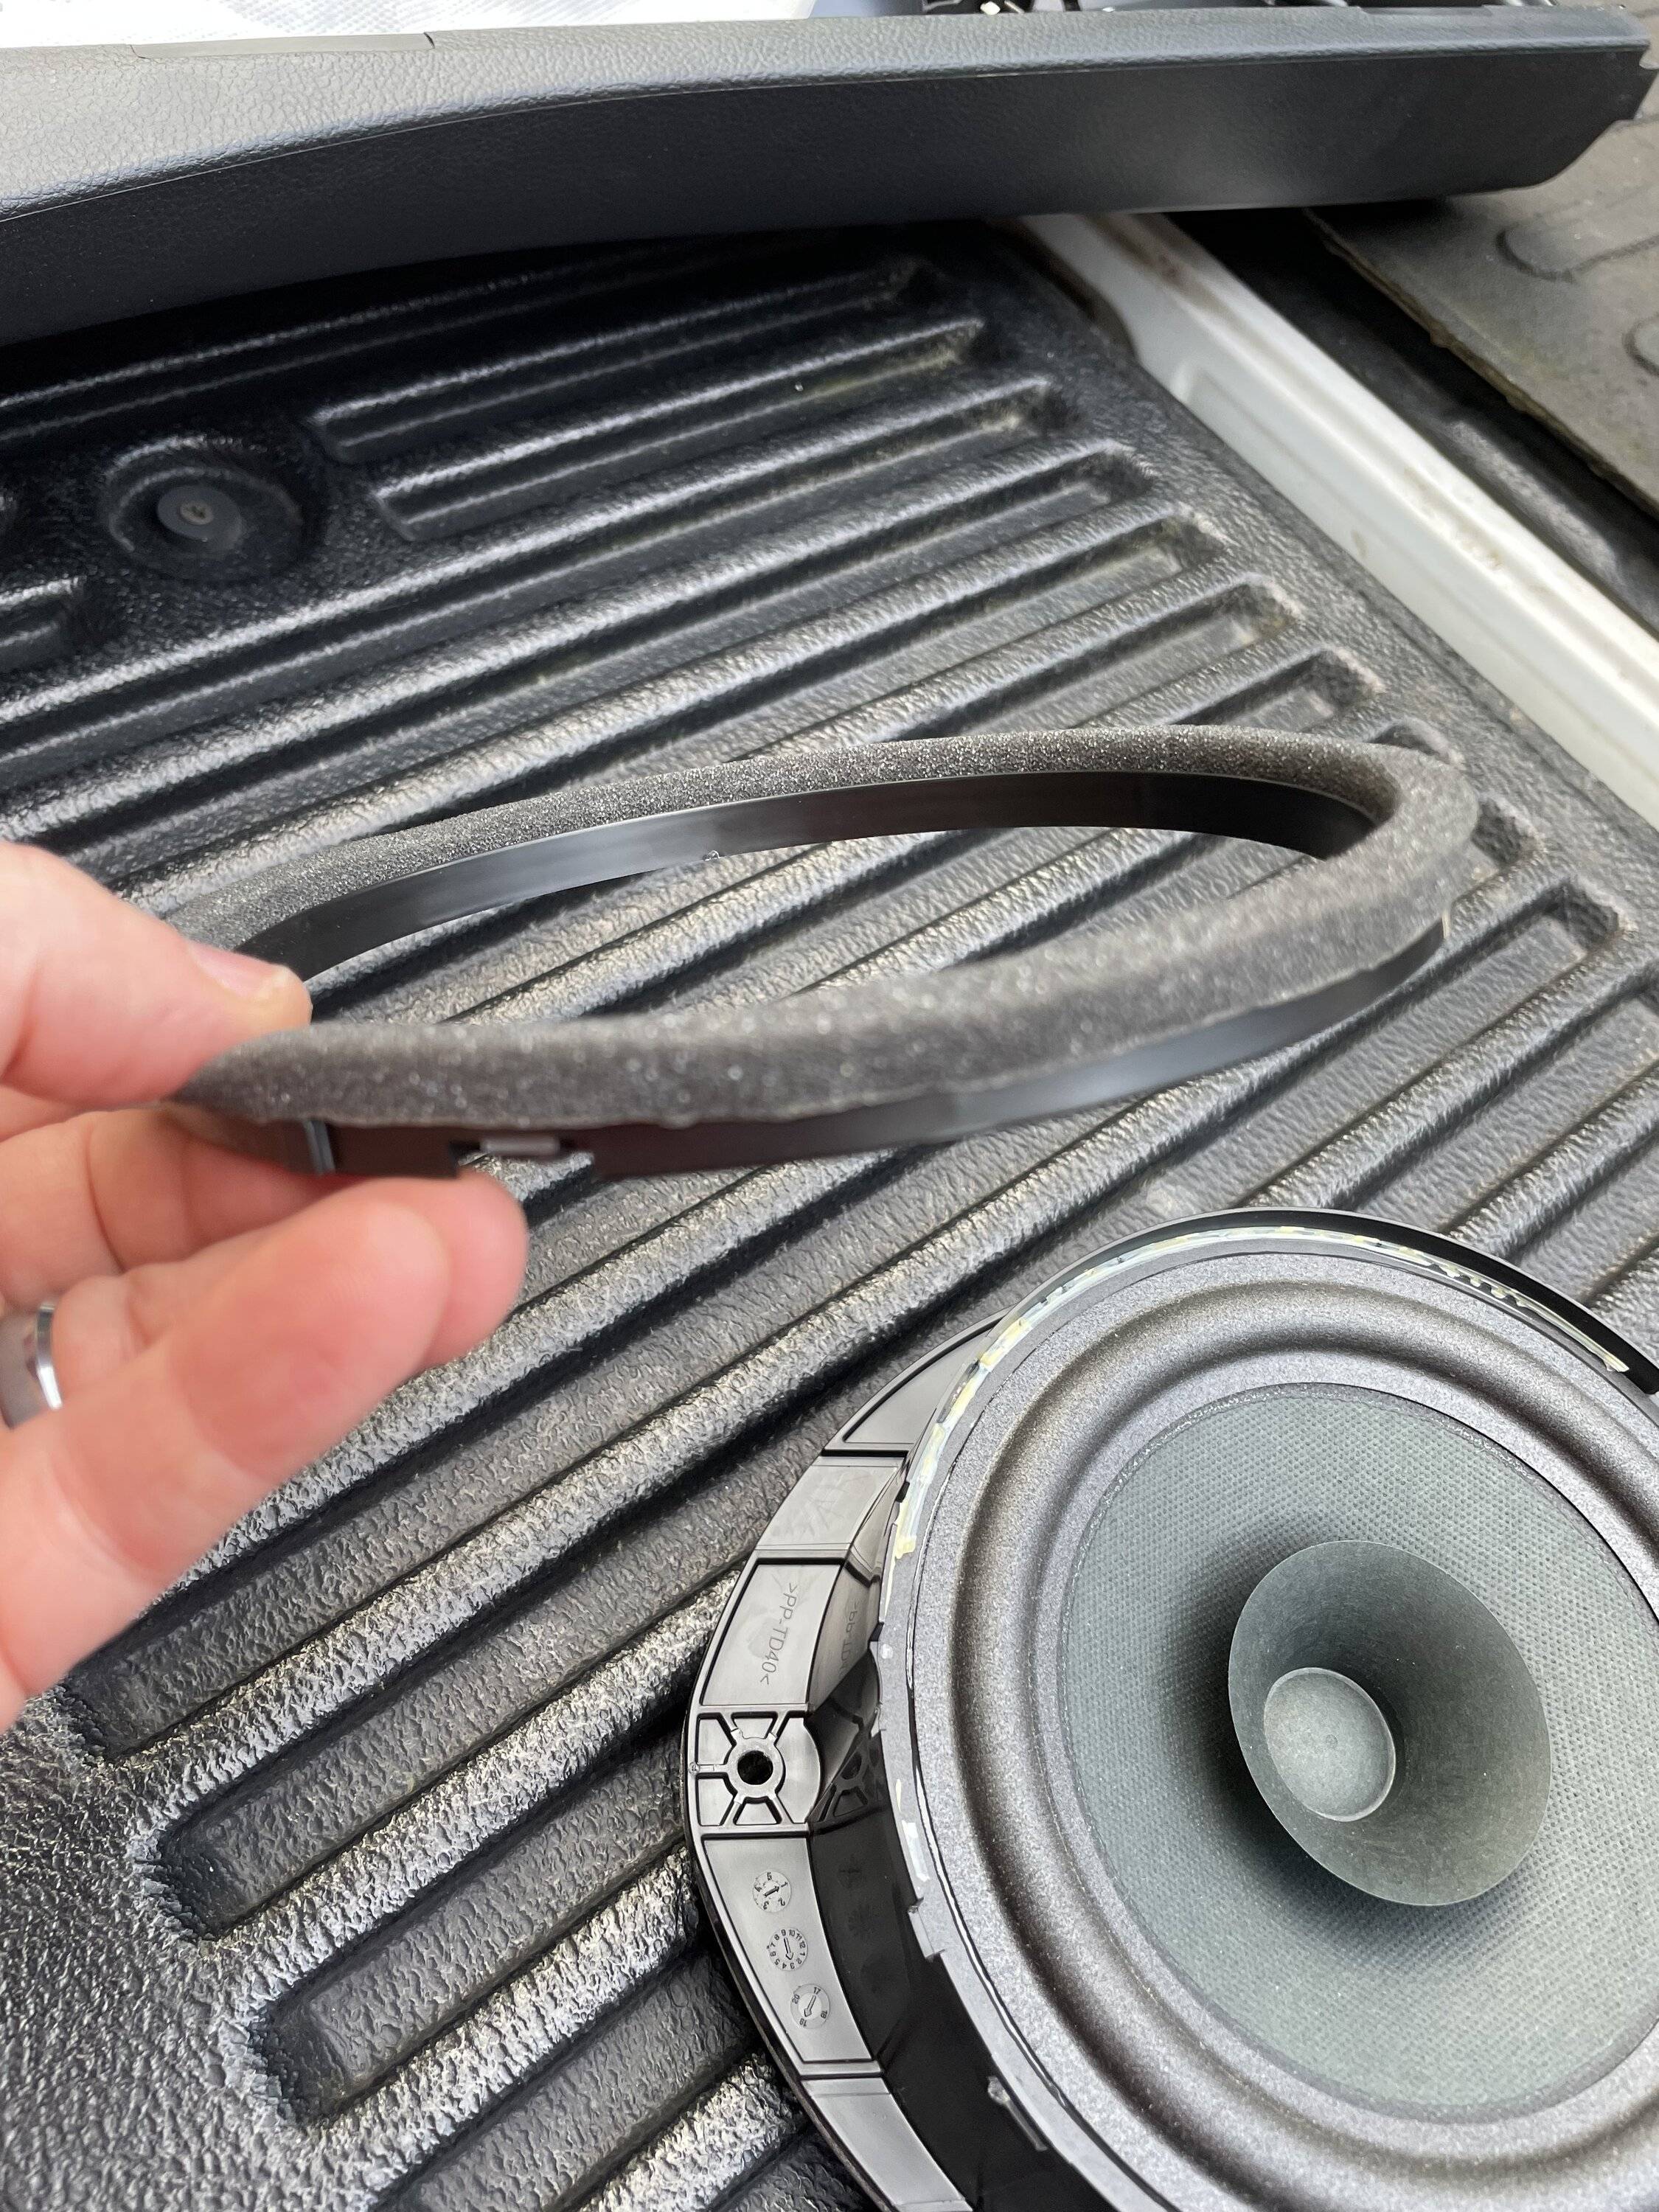
Now we can get to the speaker mount. The cone is just glued to the lip of the plastic mount.
No turning back now...
I pulled the cone off and left the factory wiring so that I could connect my Pioneer speakers there. After removing the cone you have several plastic ribs that need to be removed so you can mount your aftermarket speakers.
I used my oscillating saw and it literally took 2 seconds per rib to cut them out.
Here you can see the impressive power rating of the factory speaker. I don't think it would've lasted long behind a 1200 watt amp. I'm kinda surprised that it's 4 ohm instead of 2 ohm.
Since the rear speakers are more for fill, I just used a set of Pioneer 300 watt coaxials. They do sound better than factory but that's kind of a low bar. So I sat them on top of the mount with the foam ring and drilled 4 holes through the ring and the lip of the mount, then used the supplied screws to cinch them up.
Continued in next post...
Sponsored
Last edited: