tehschkott
Well-Known Member
- First Name
- Scott
- Joined
- Sep 5, 2020
- Threads
- 25
- Messages
- 278
- Reaction score
- 384
- Location
- Flavor Country
- Vehicle(s)
- 2020 Ranger Lariat Crew Cab 4x4
- Occupation
- Cat herder
- Vehicle Showcase
- 1
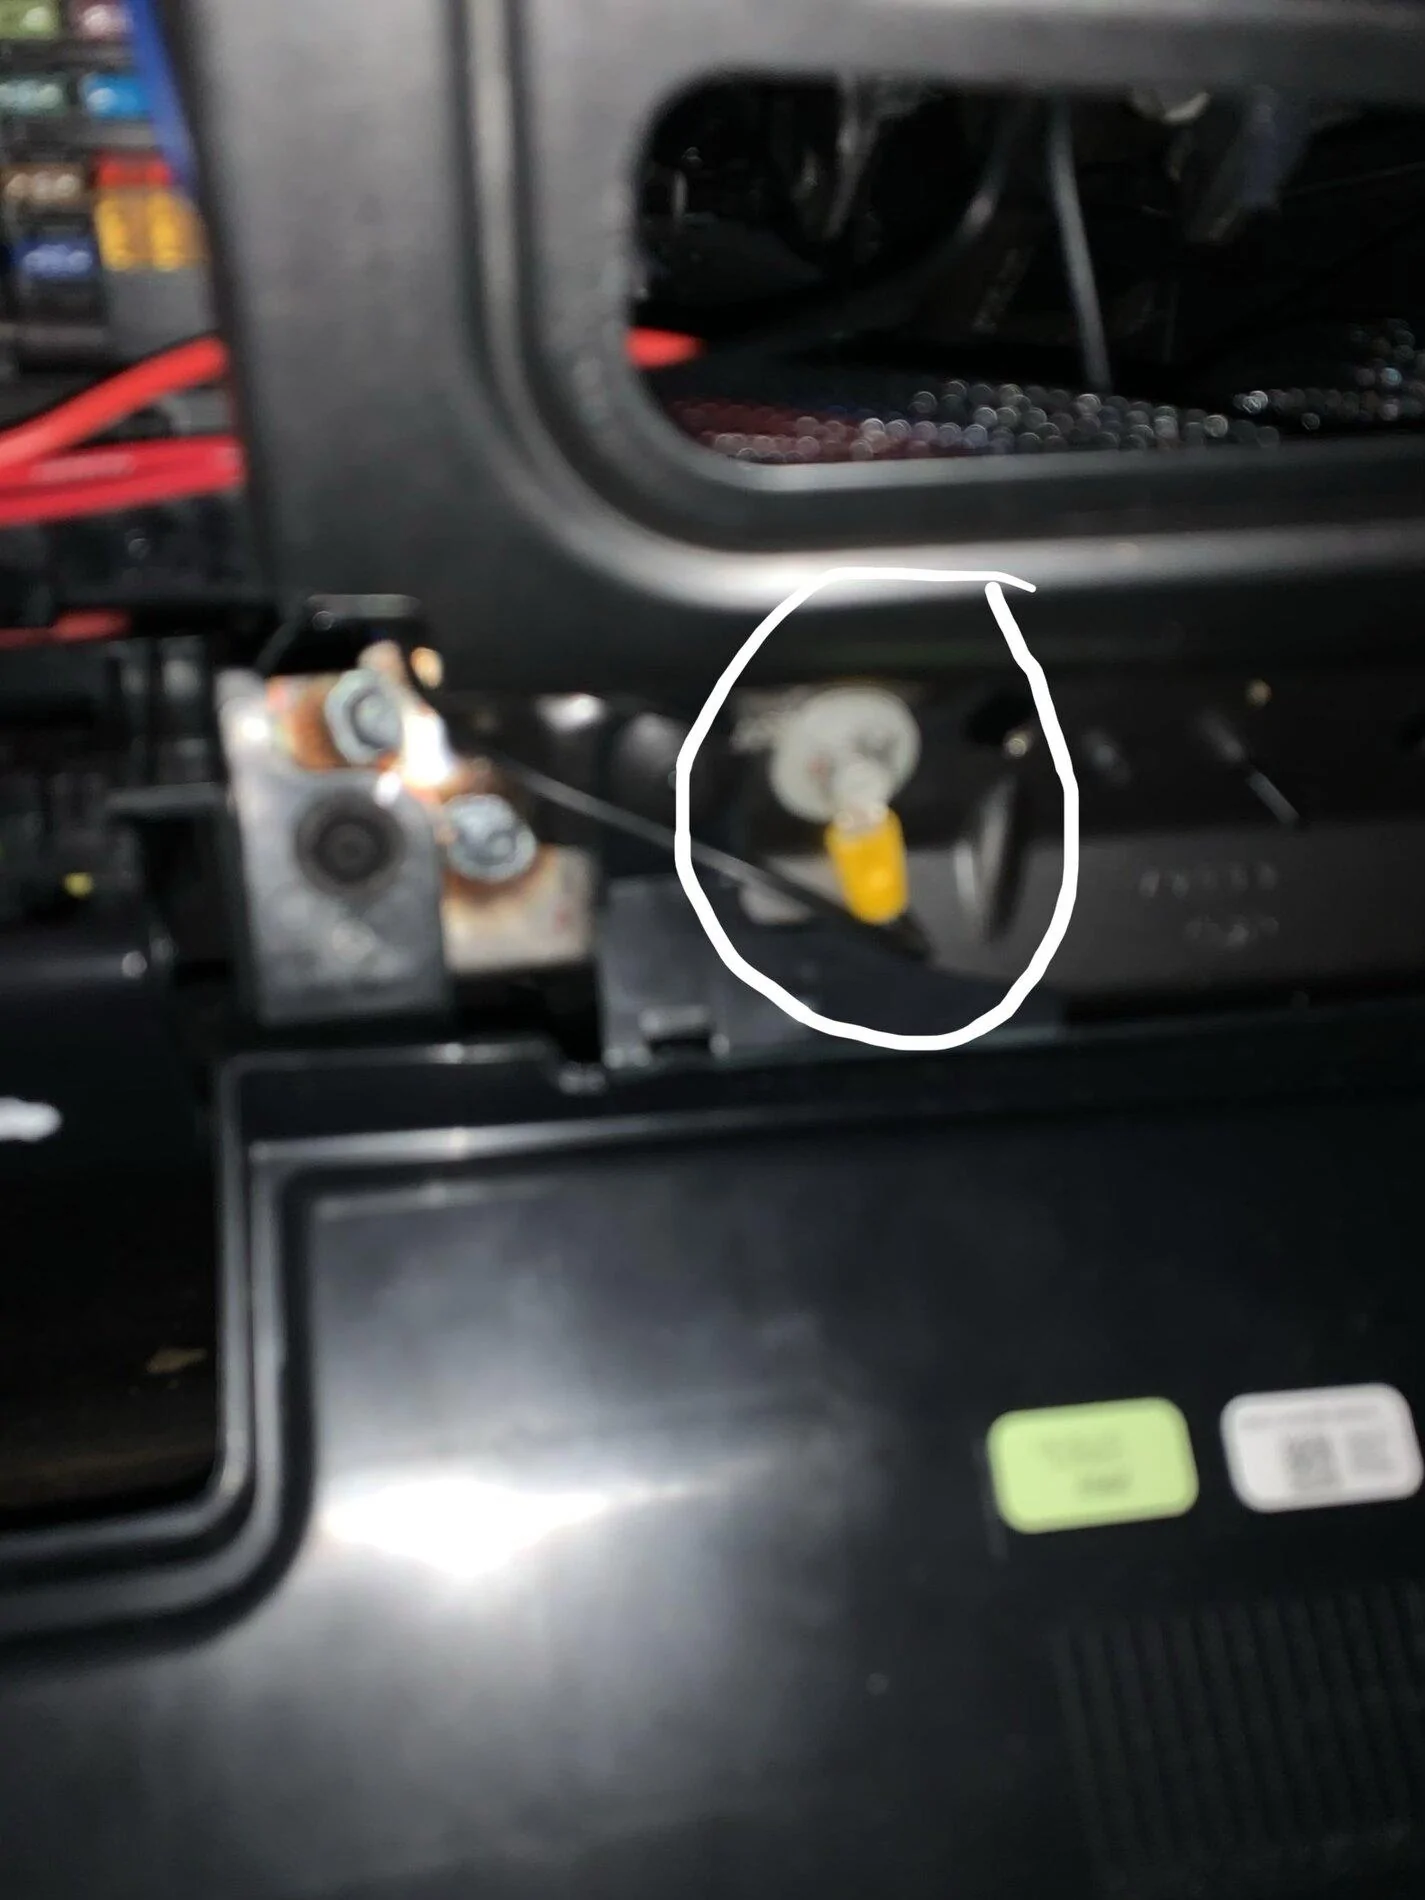
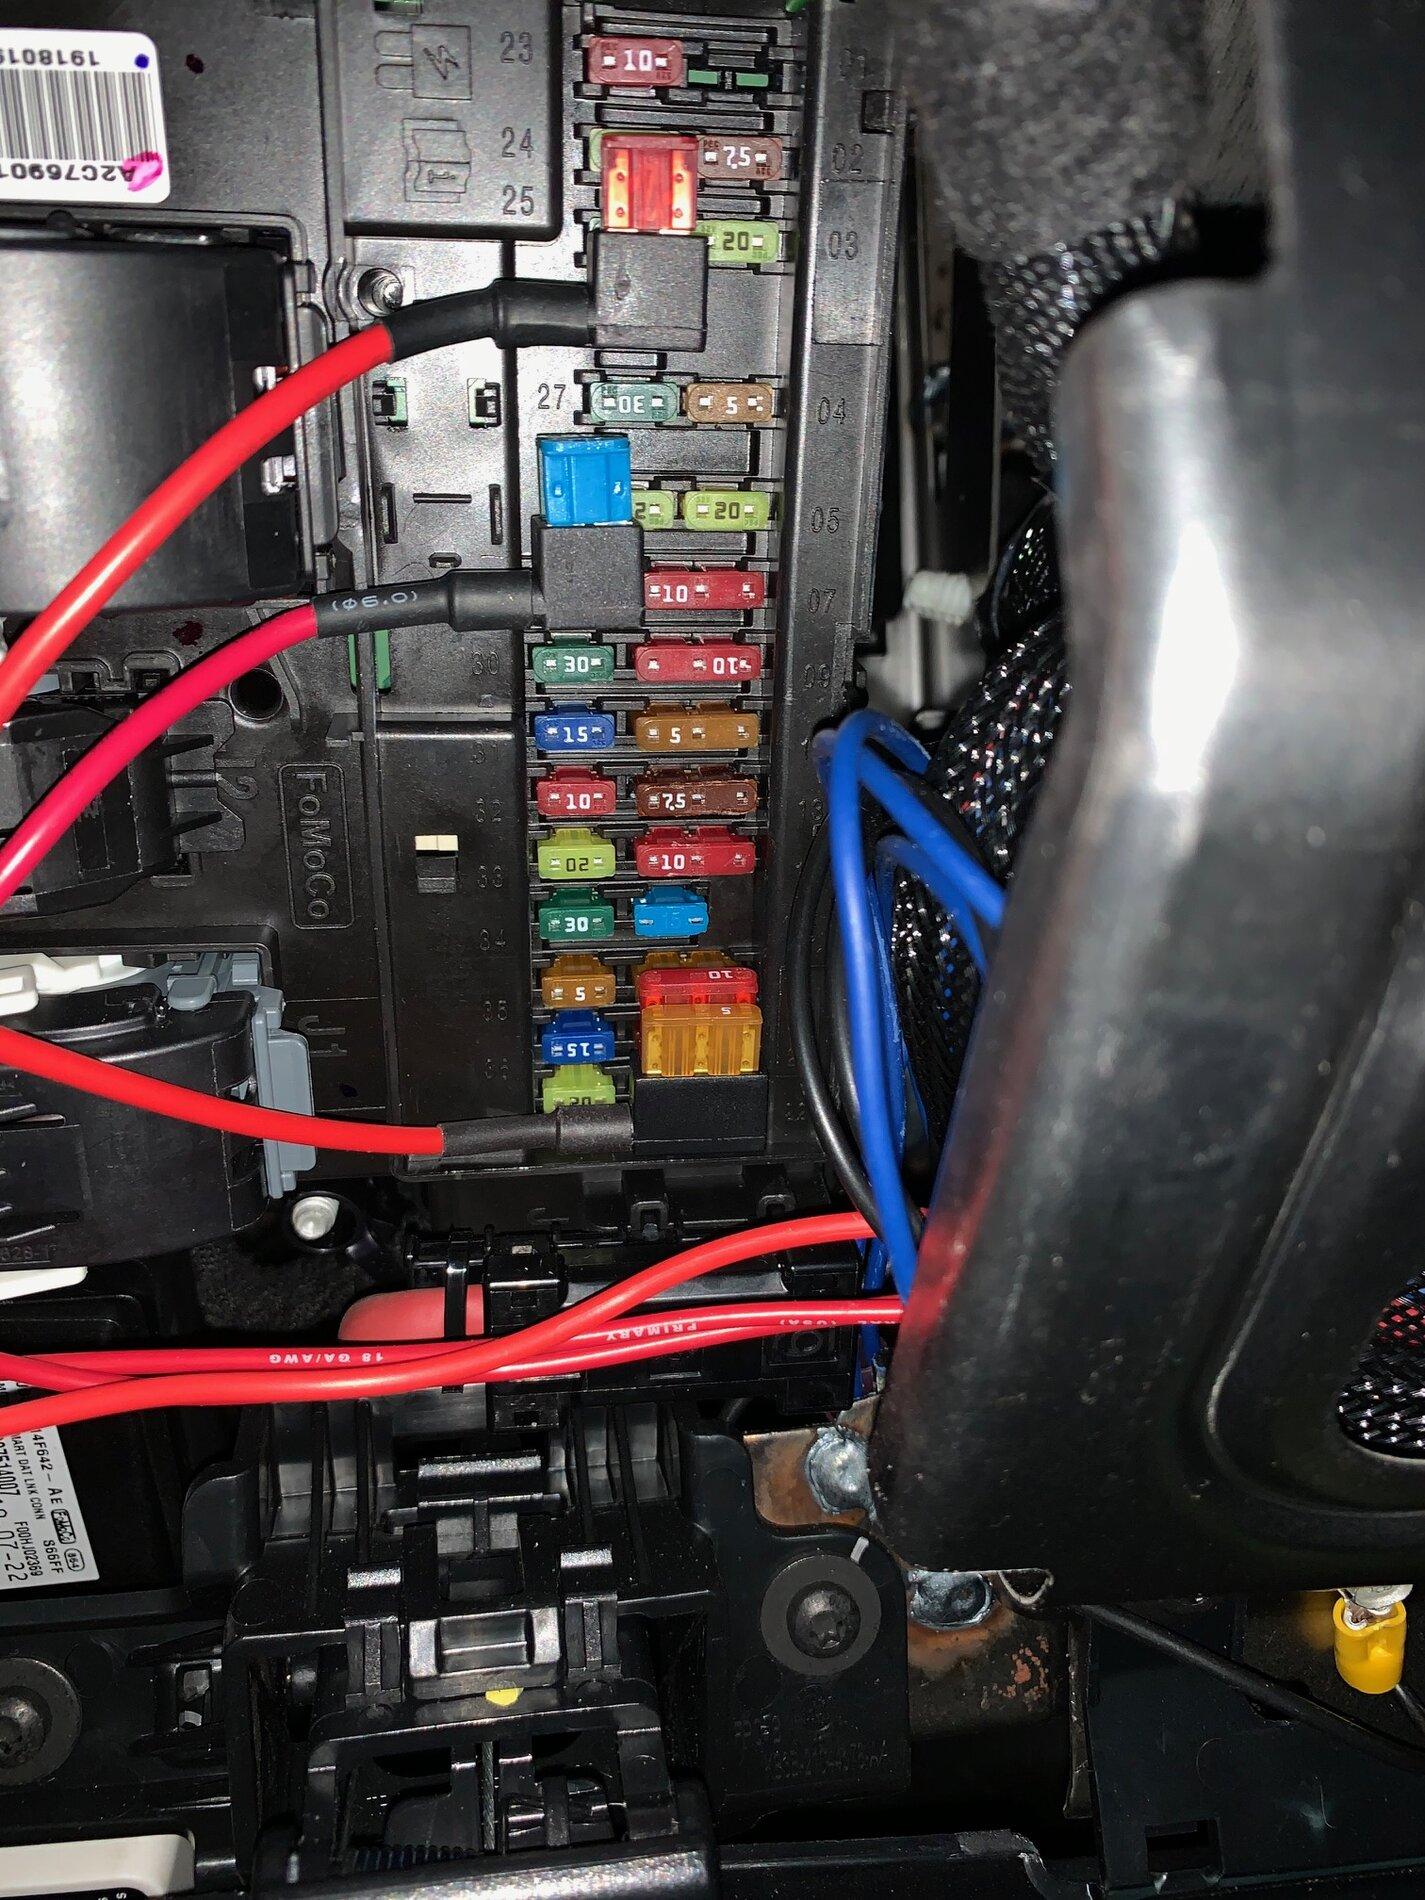
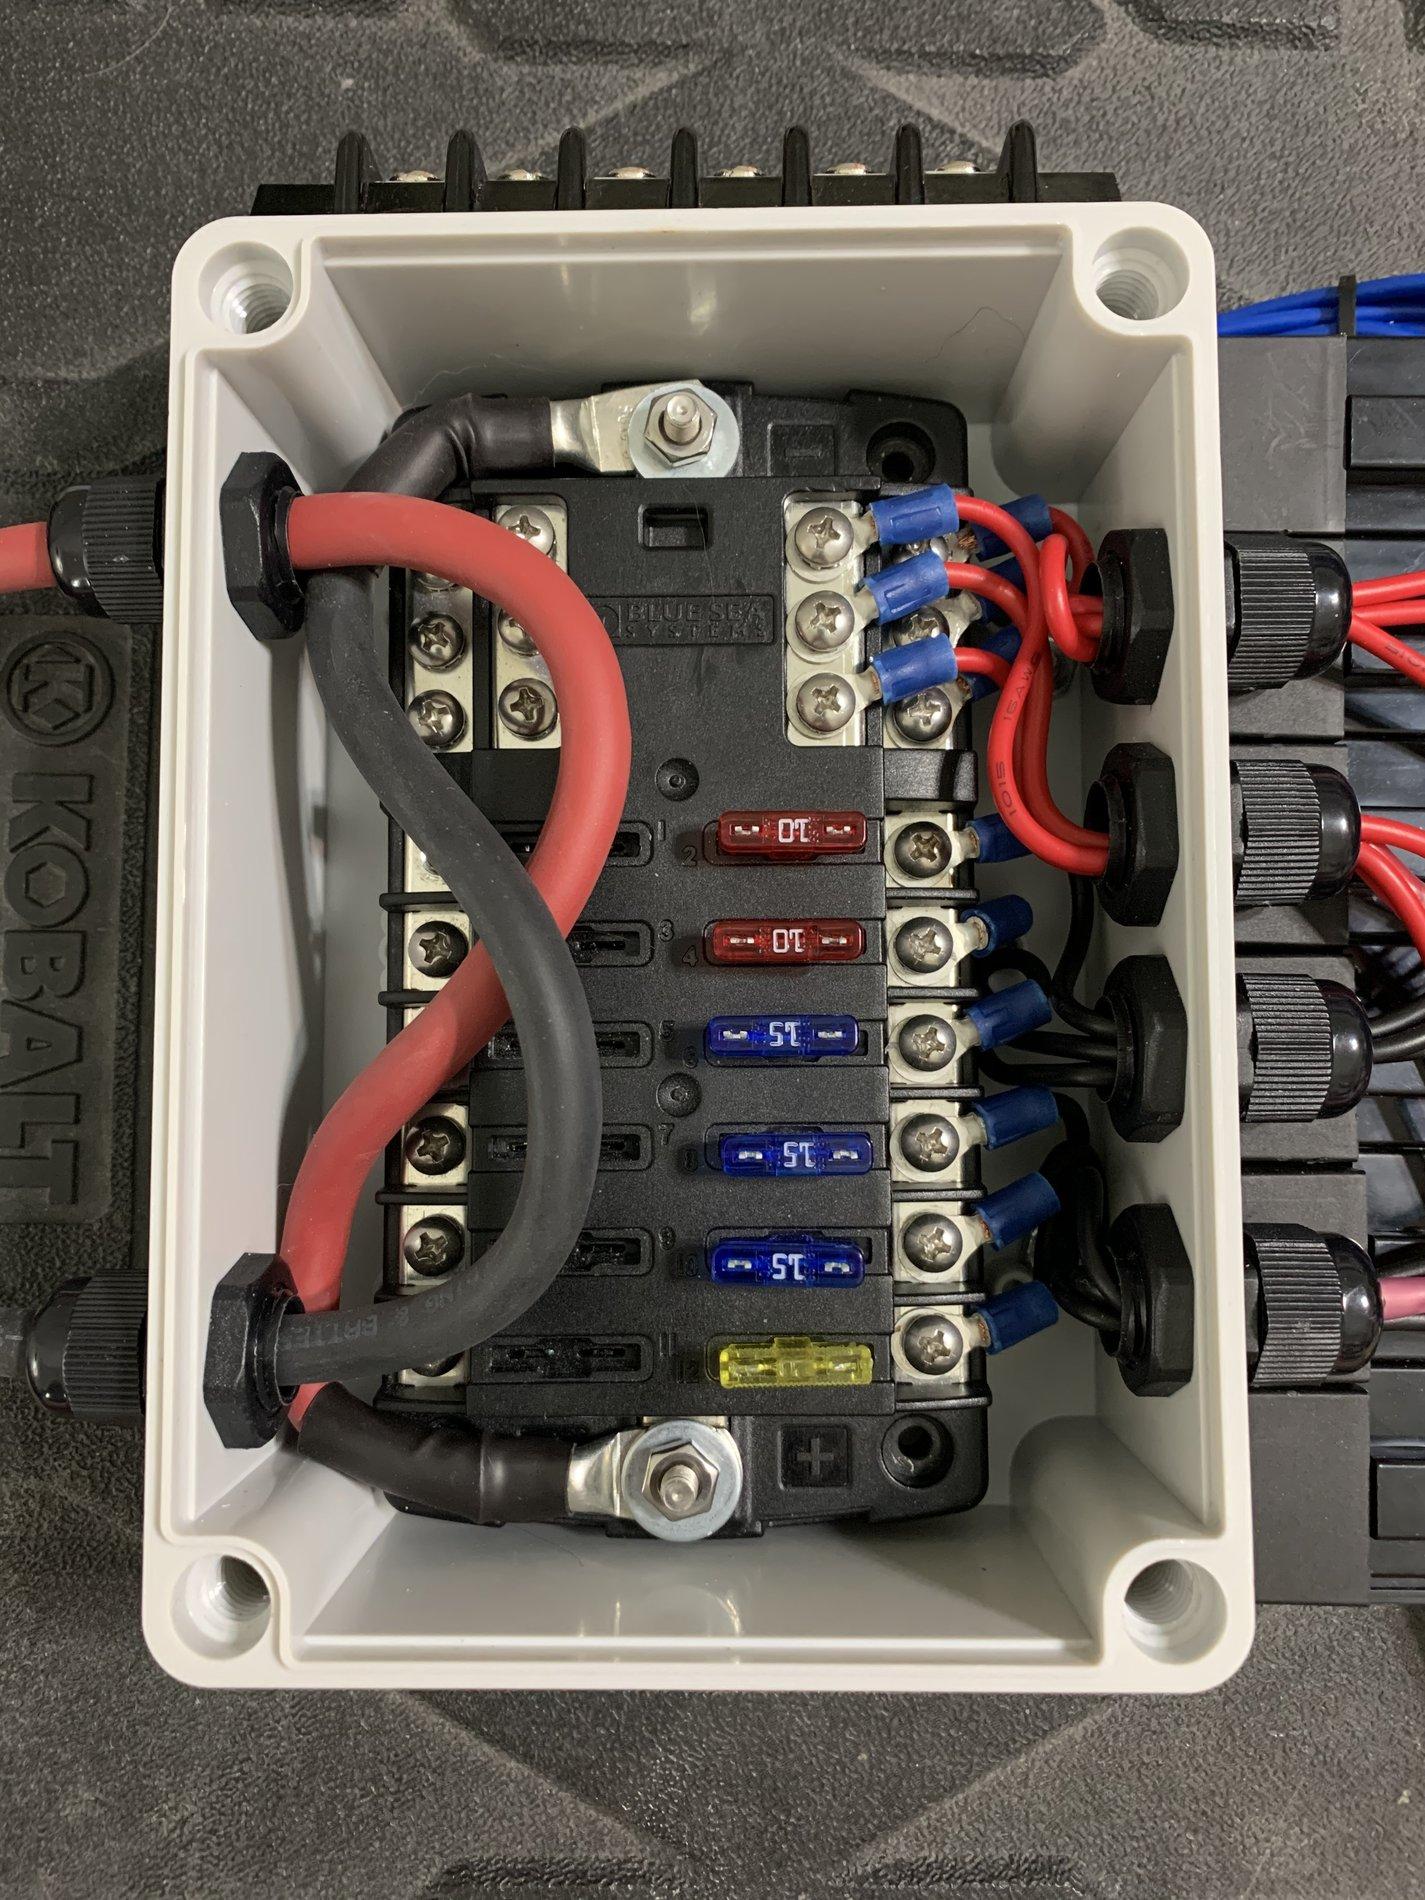
That does look super clean, for what it is, you're right. Nicely done.I'm with you, but this style of tap looks better, especially when paired with a nicely made harness.
Sponsored