Fawnbuster
Well-Known Member
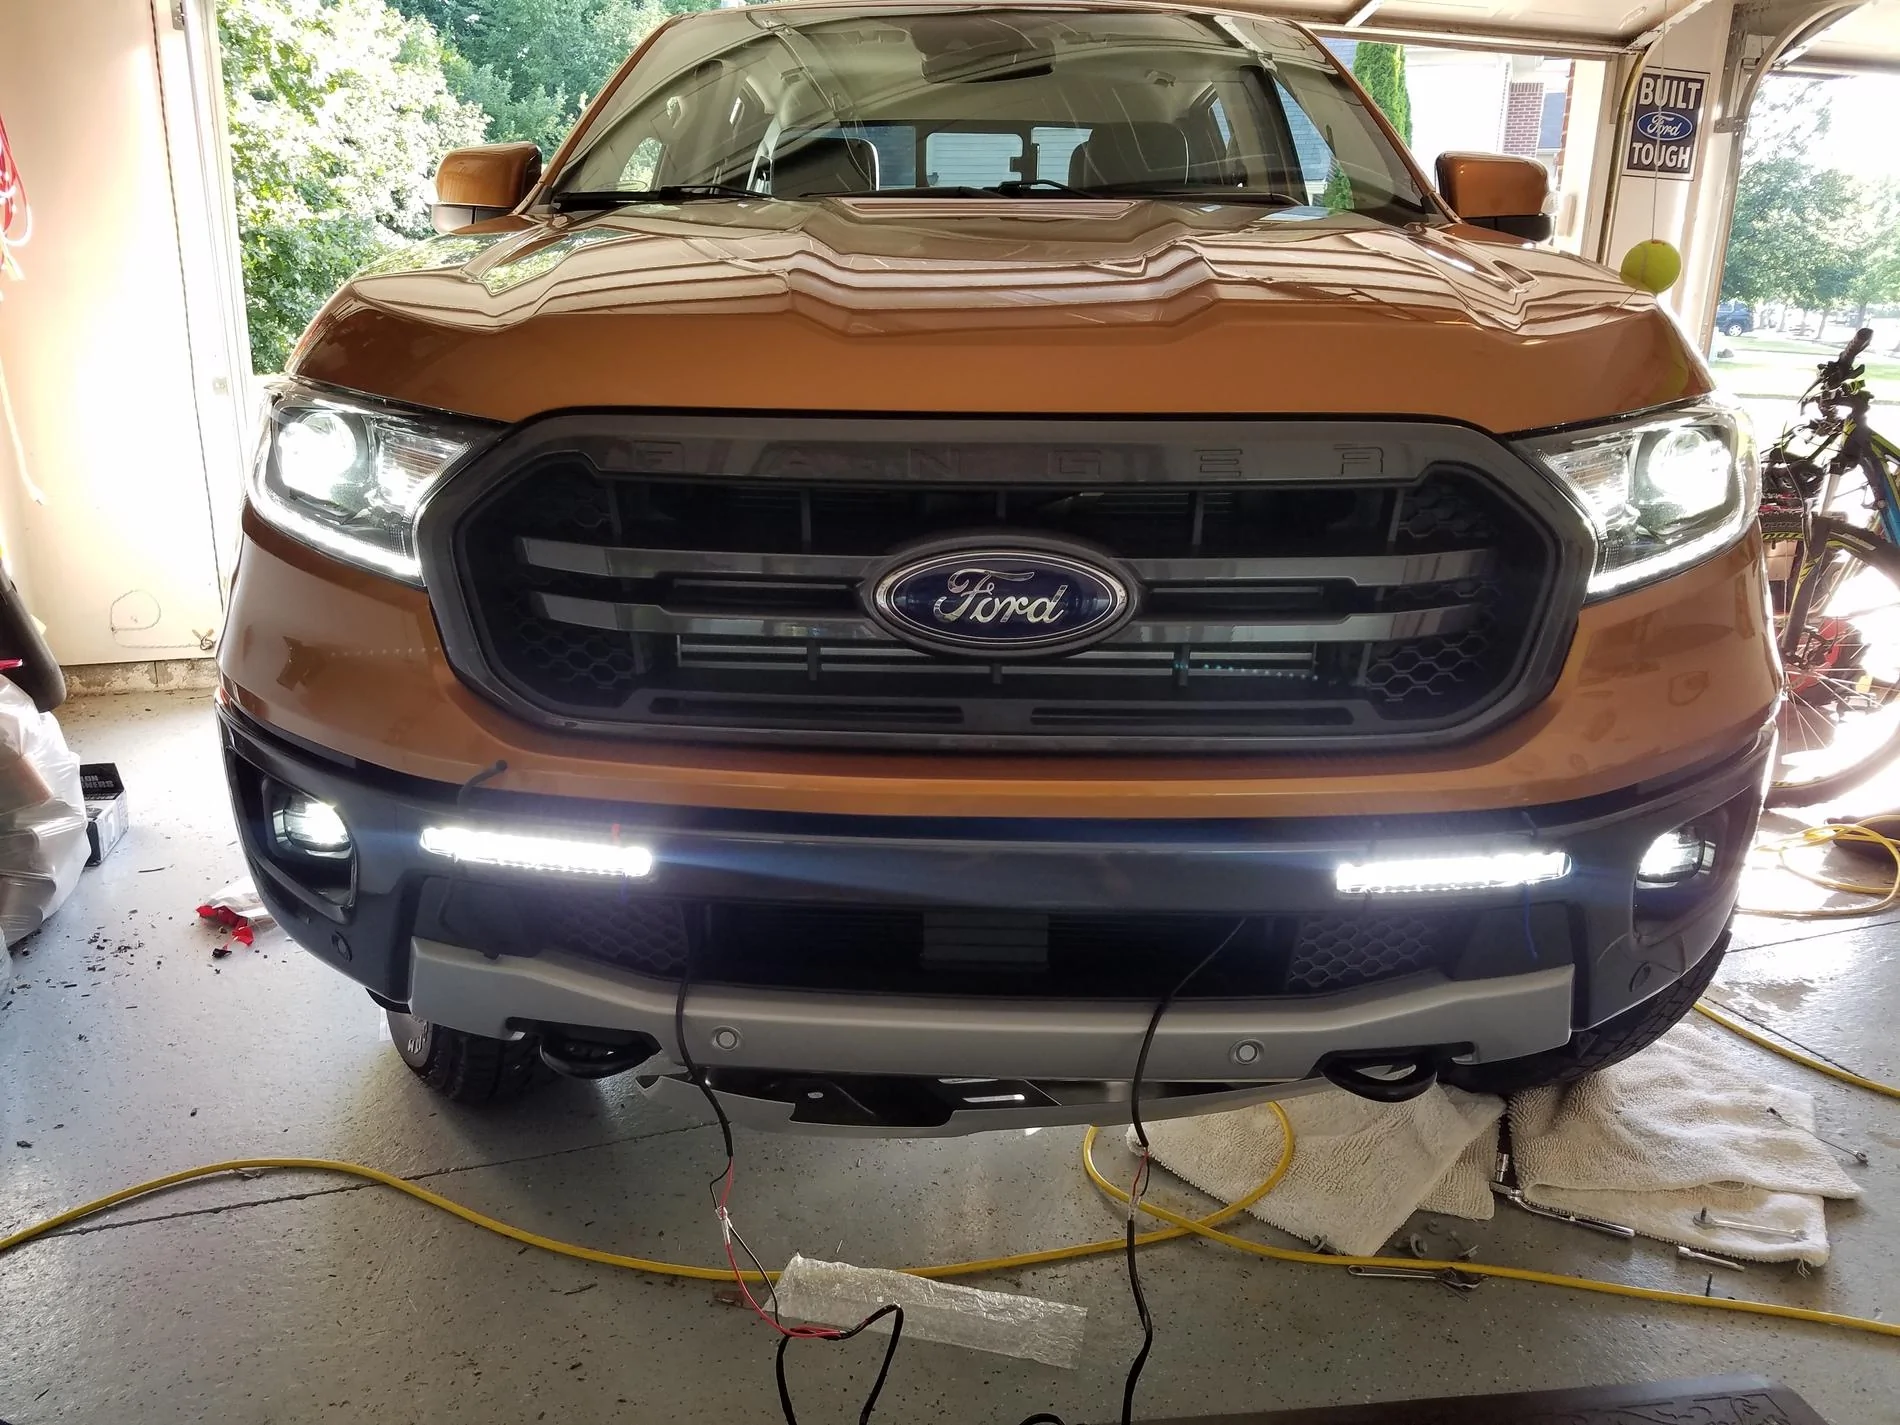
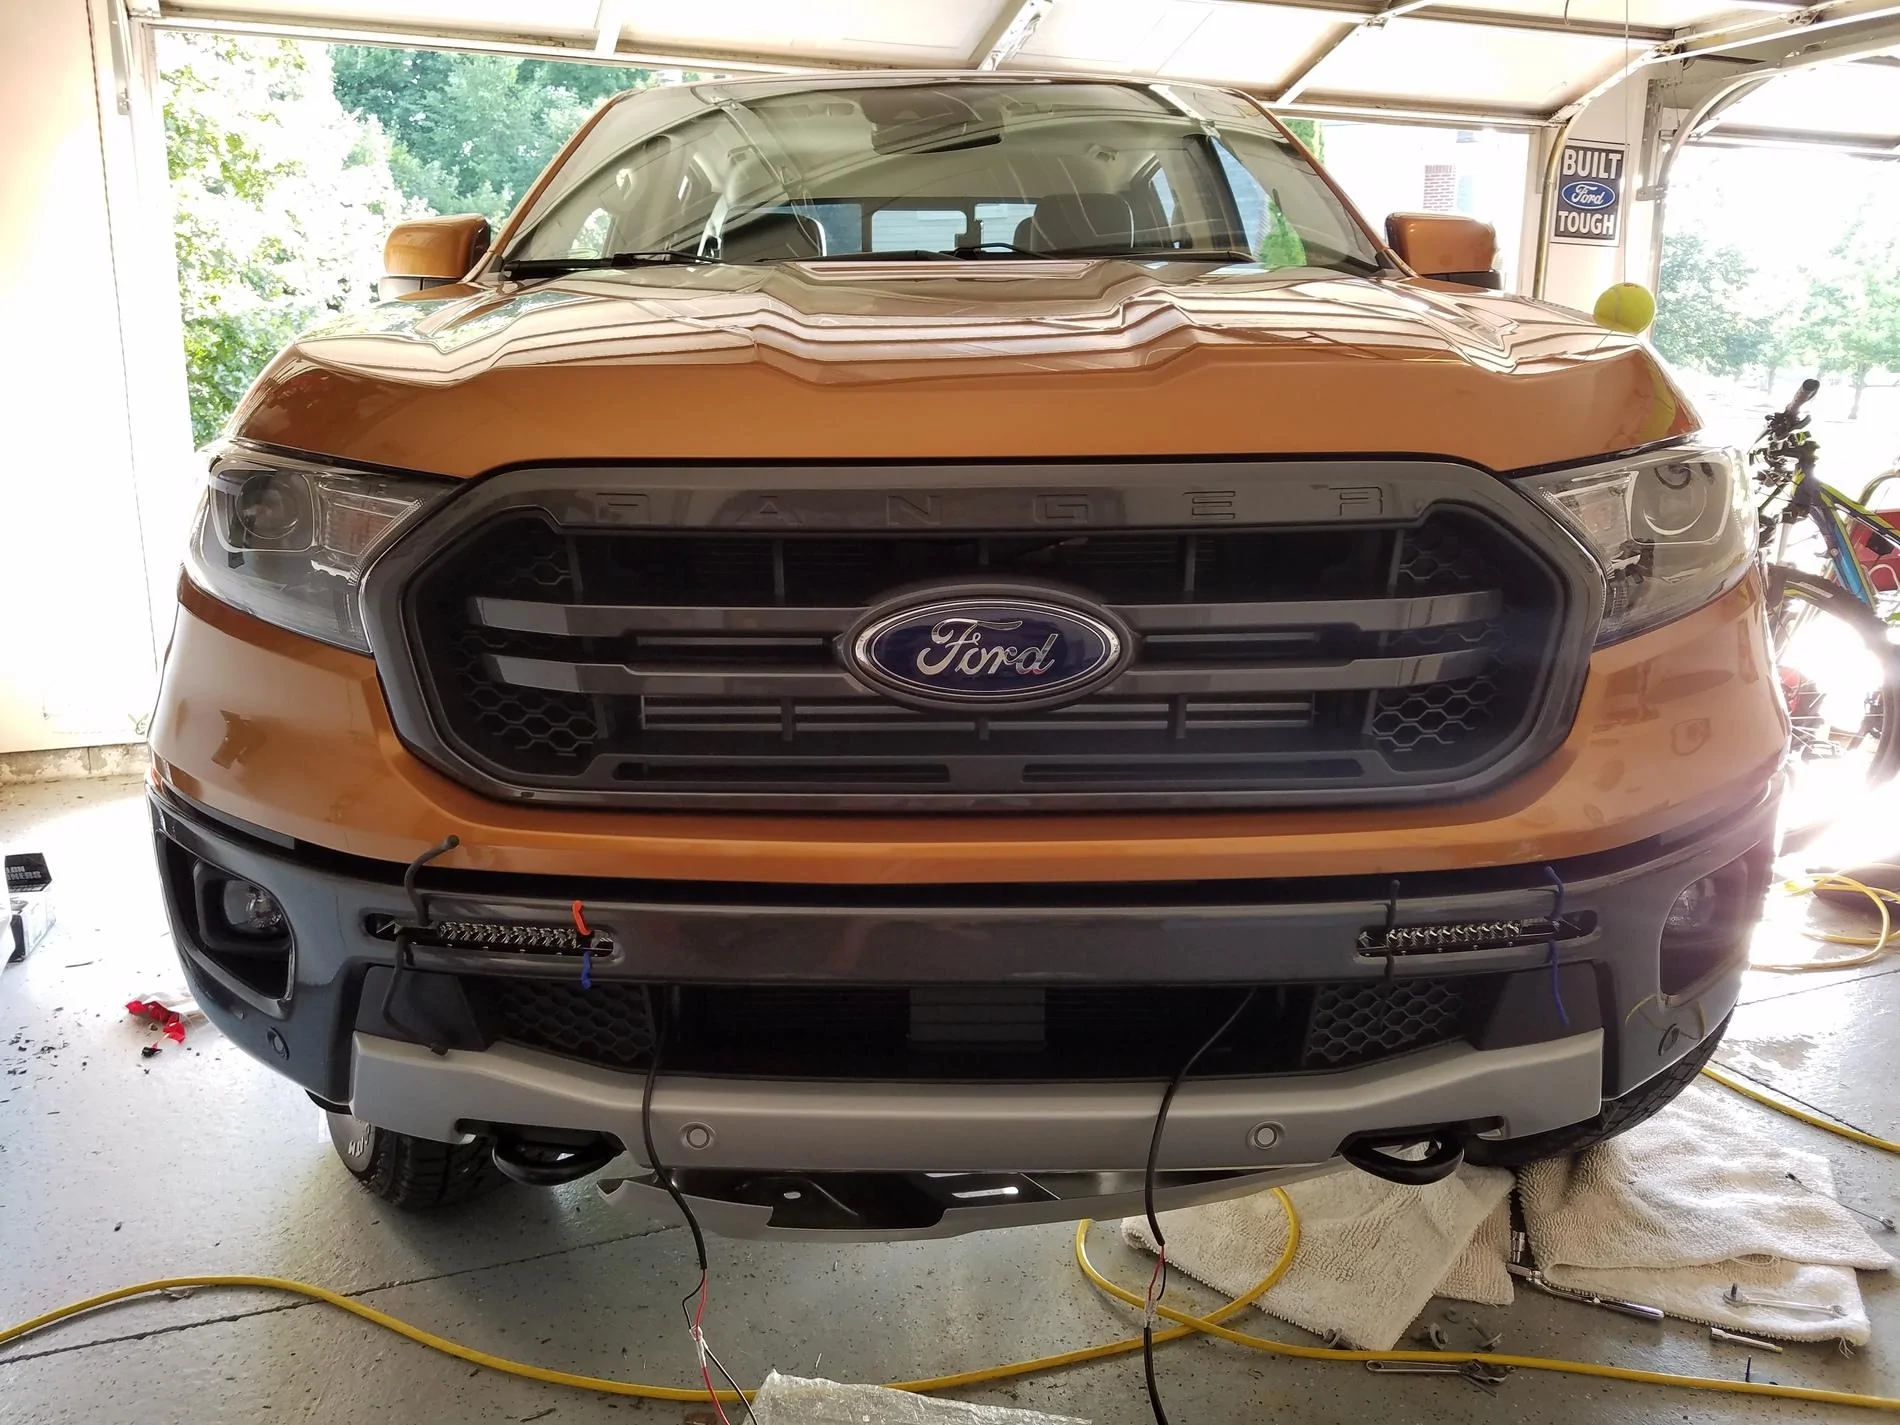
Thanks! Yes that one is quite pricey.Neither of these Rough Country kits are sold with amber LED's. Both the 6" dual kit and the 20" single kit are both white lights. Concerning your Light Force switches, you can definitely wire them up to power on/off the lights.
Another option is the Baja Designs S8 20" light bar. This kit is available in amber but is more expensive than the Rough Country. It's by far and away a better light with a lifetime warranty, quite a bit brighter, better built, etc but the price tag reflects that.
Link ---->>>> OFFROADALLIANCE.COM
Sponsored