geophb
Well-Known Member
- Thread starter
- #1
Here is a old school quick upgrade you can do with parts store halogen bulbs and some minor trimming. This upgrade has been around for ages but I haven't found anyone doing it with the ranger. Lots of info around if you search for it.
Quick note on leds. Yes you can put in leds, and yes there are some good ones. Thats not what this is thread is about.
I like halogens for the color (easier on my eyes) and the heat from halogens keeps the ice build up off the headlights better than leds. And I drive a lot in the winter.
Factory bulbs are:
High beam- 9005
Low Beam- H11
Fog lights- H11
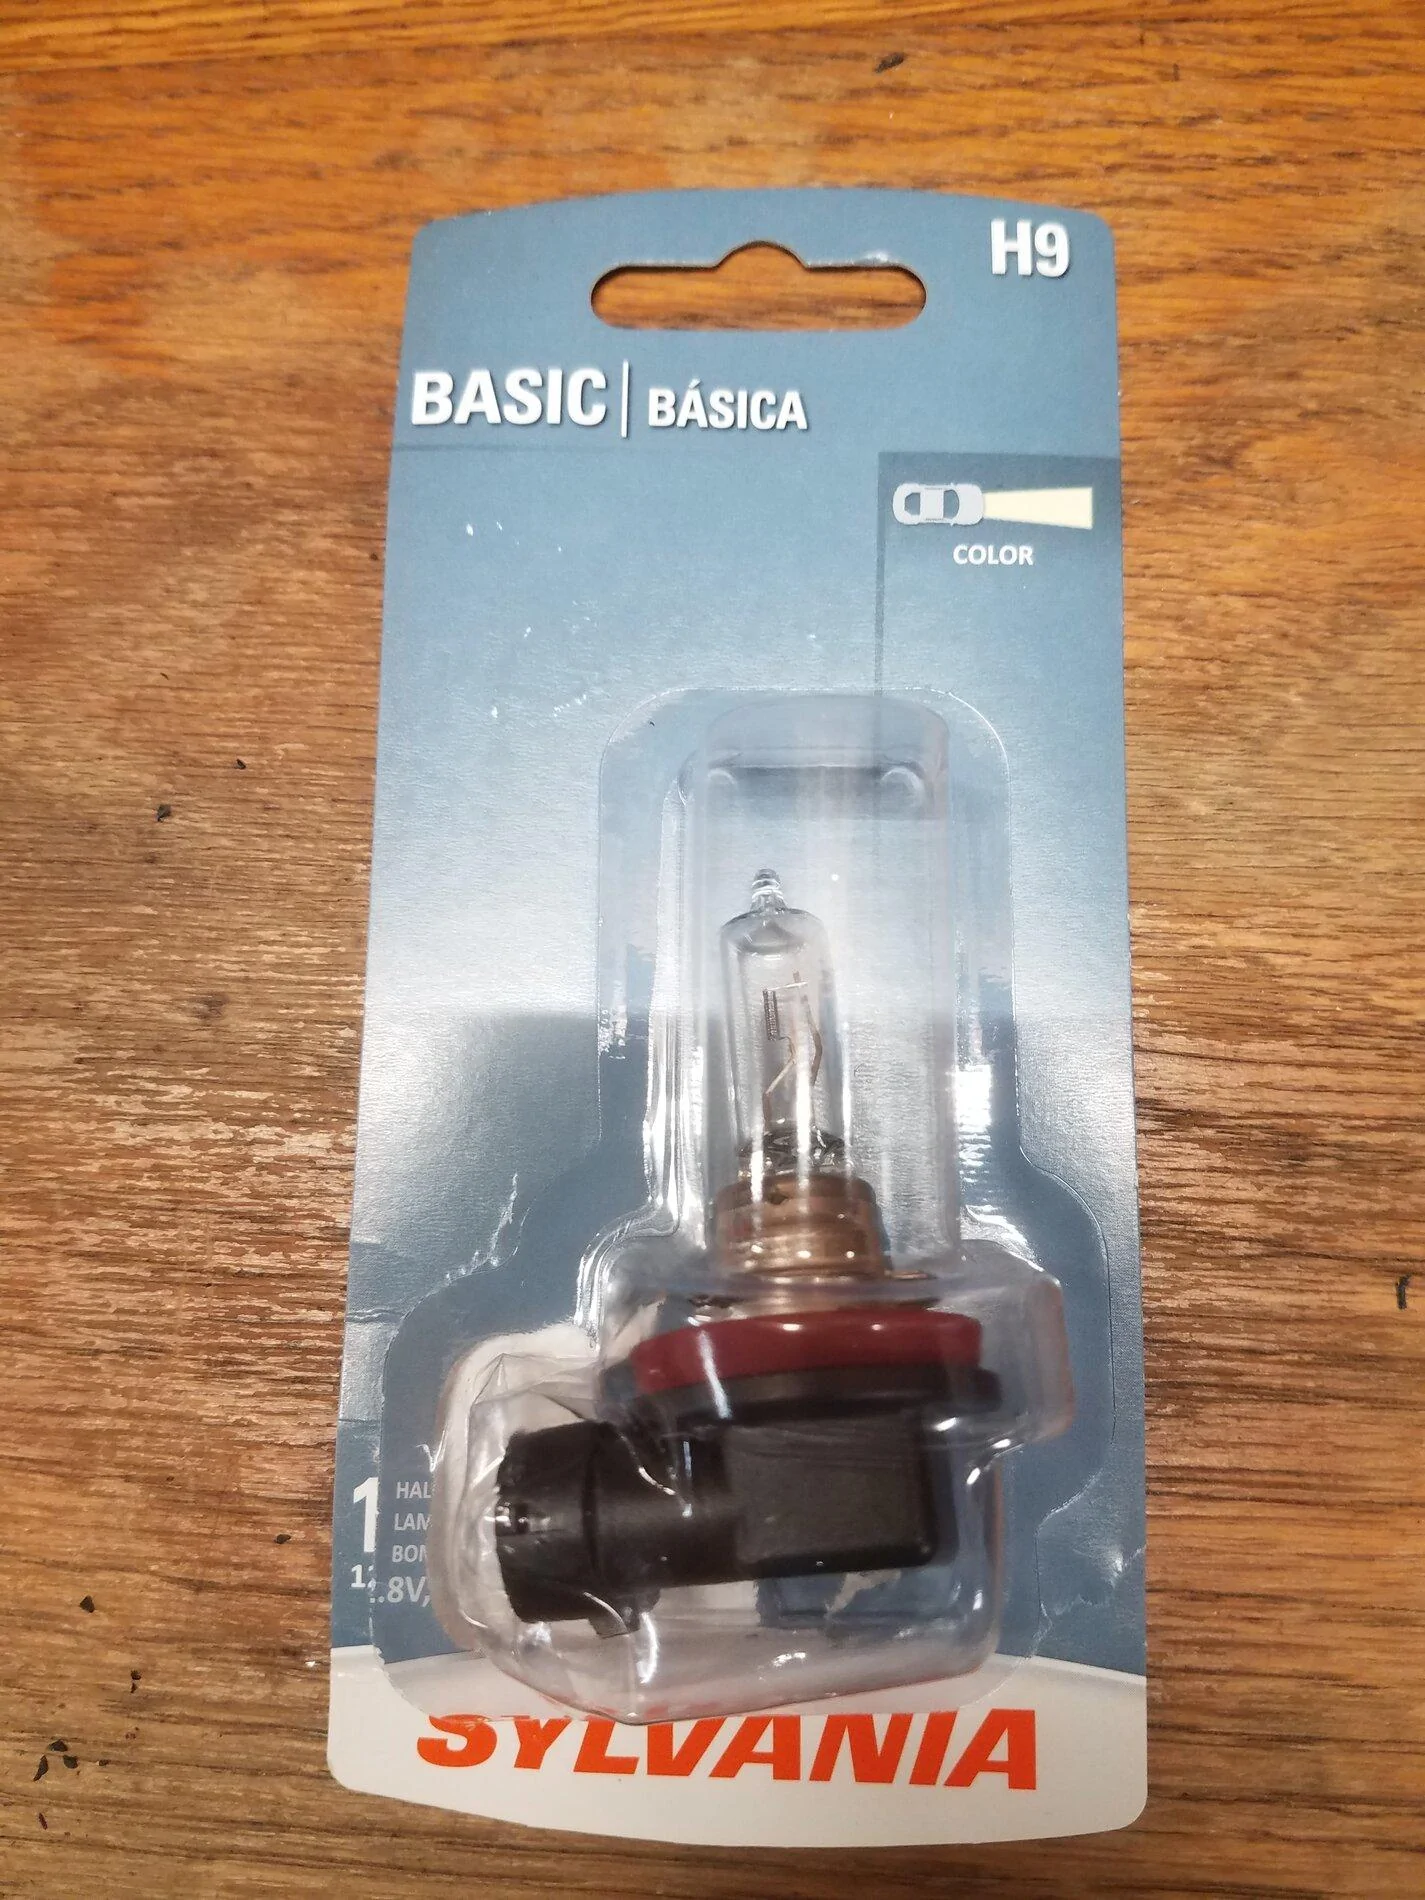
-H11 bulbs are very similar to H9. But the H9 are a 65w bulb instead of 55w thus more light output.
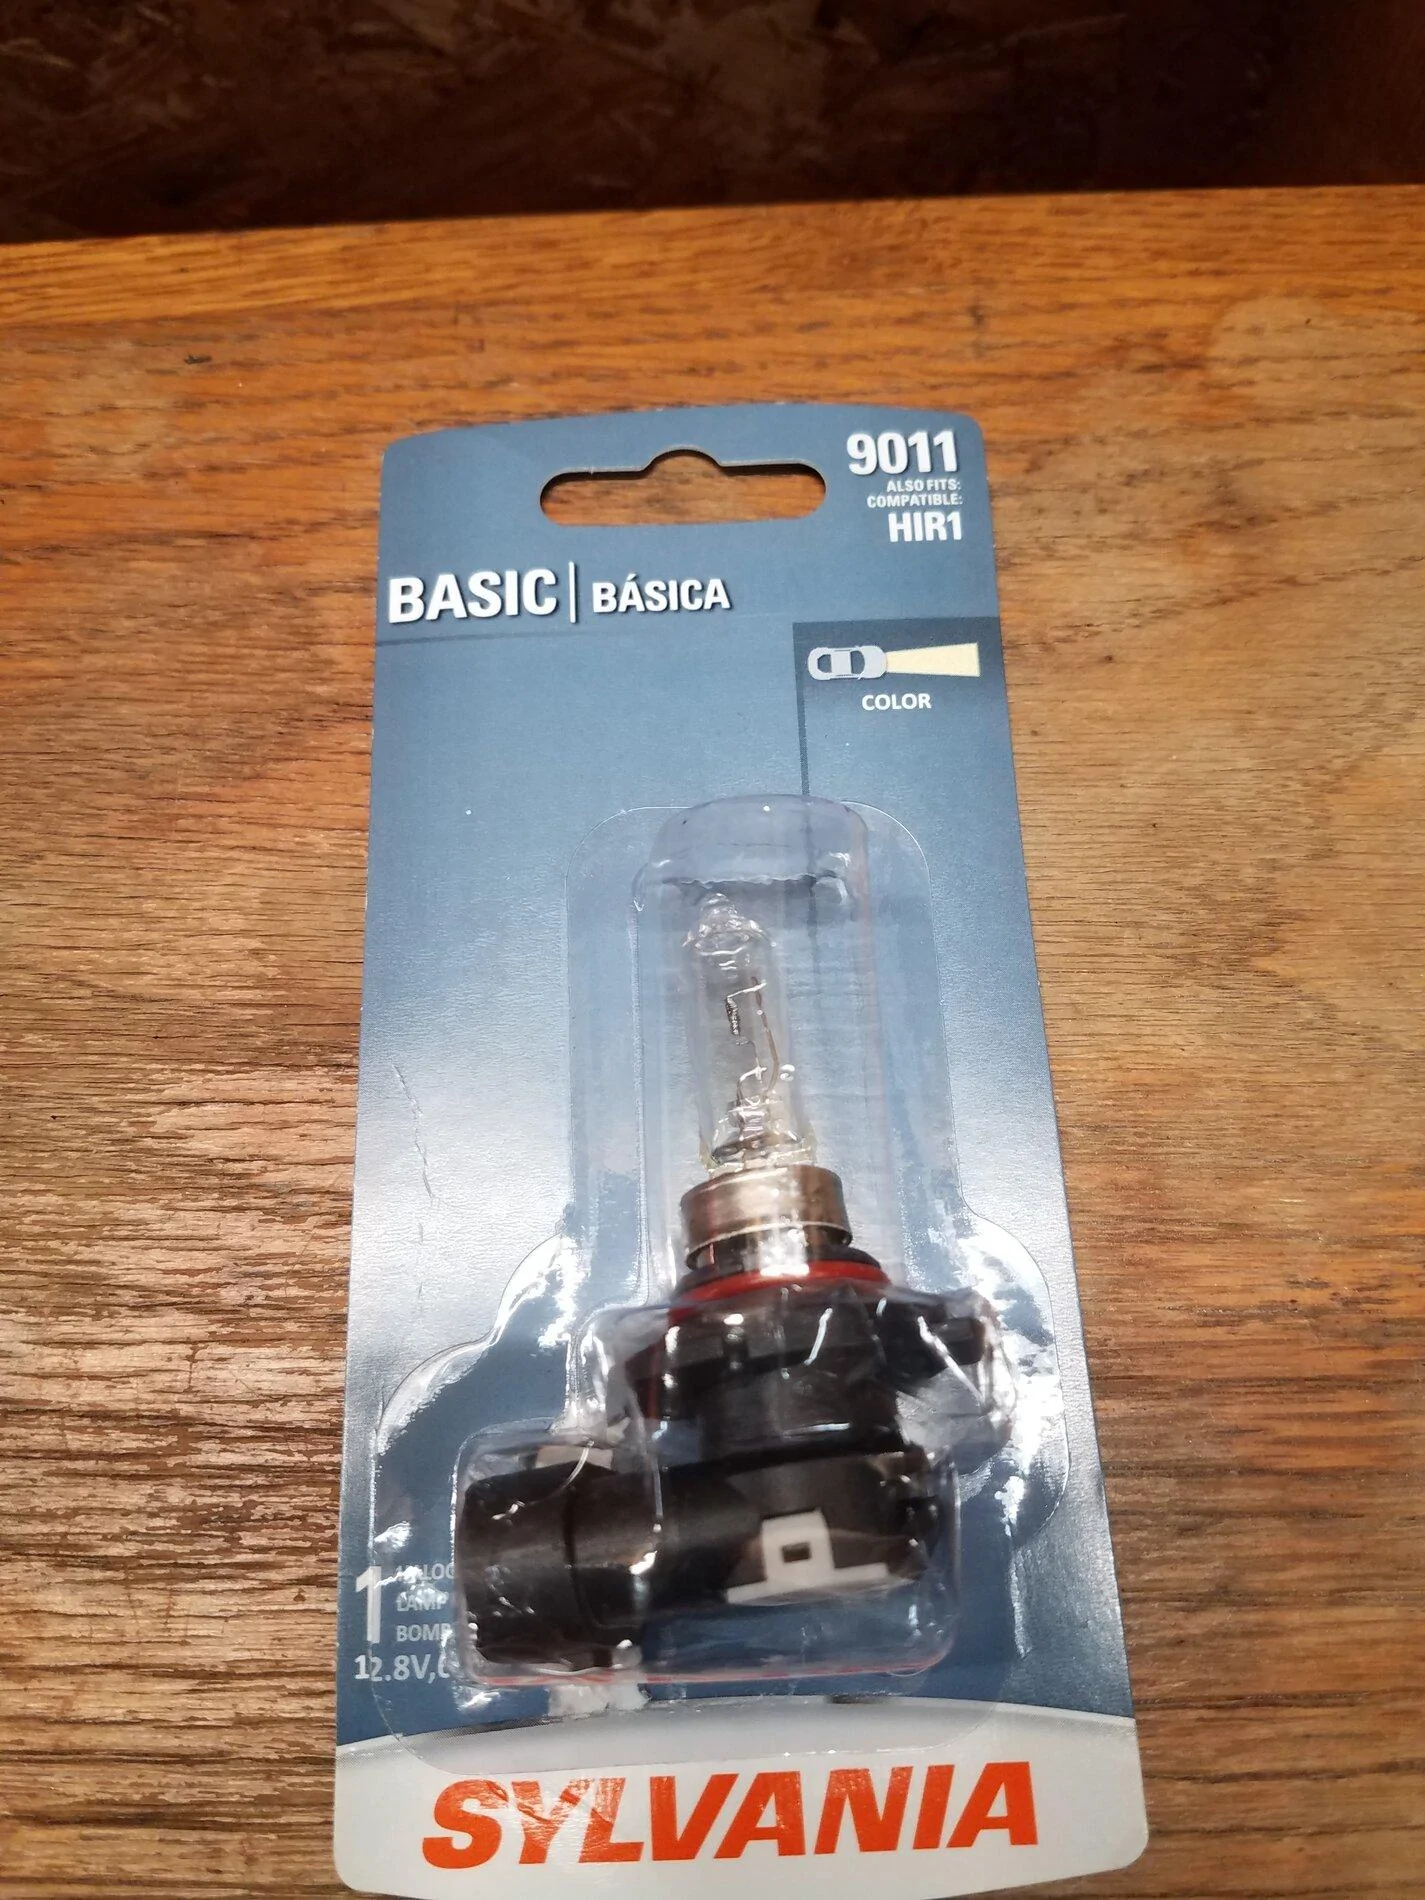
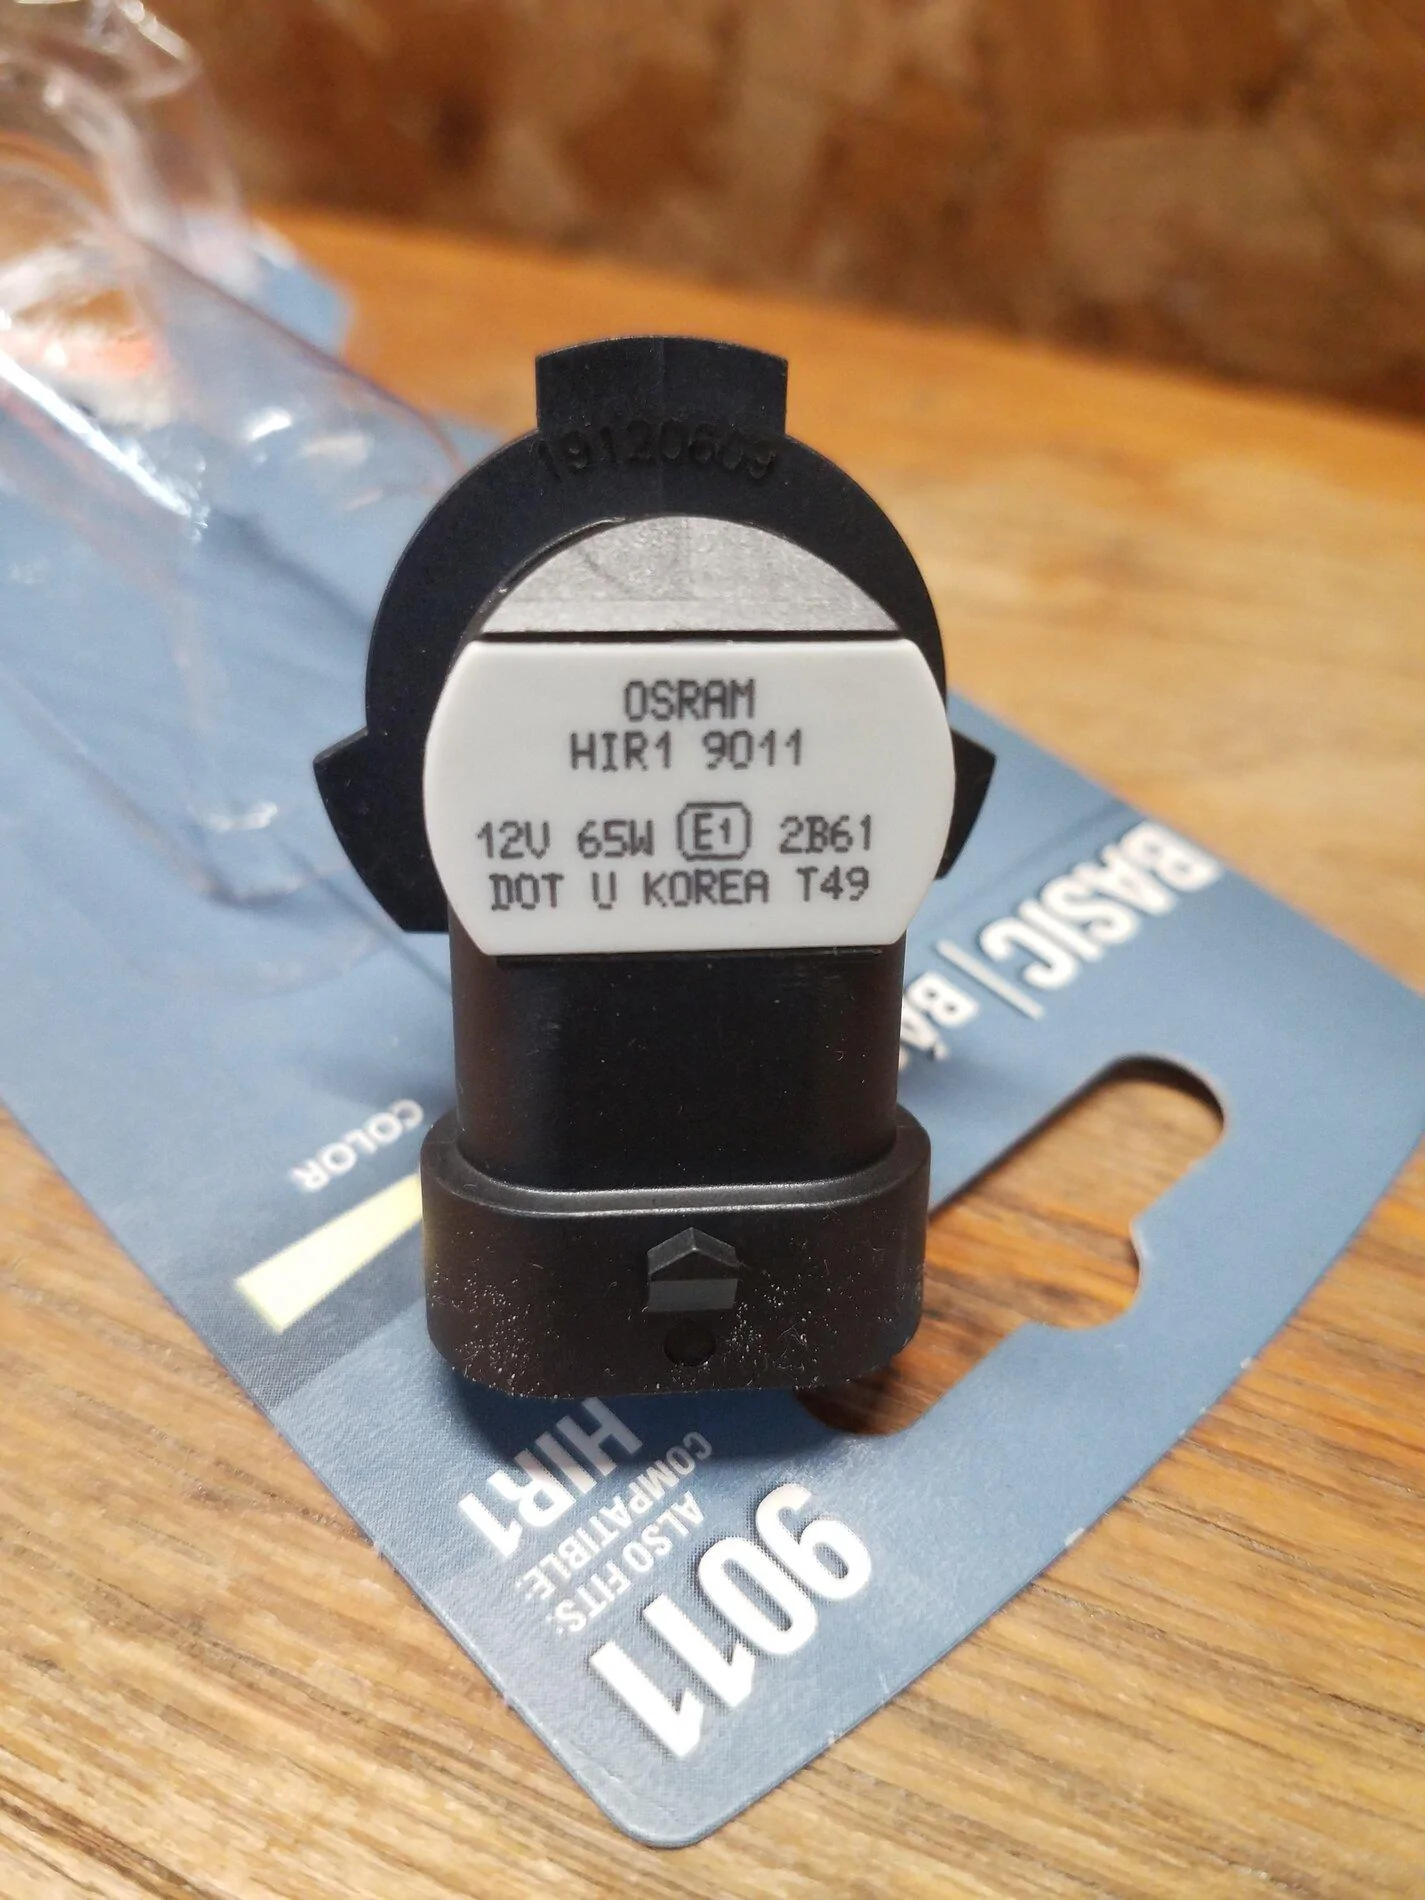
-9005 bulbs are very similar to the 9011 HIR bulb. Both 65W but HIR bulbs have a coating that reflects heat back on the filament to make them burn hotter and brighter without increasing actual heat output into the housing. This is NOT the same coating that makes some bulbs appear whiter.
These are a sylvania basic part: Note the bulbs say osram on the back as sylvania owns osram now I believe. These are very good bulbs and do not have the coating that makes them look whiter or have a shortened lifespan. These are considered long life bulbs, and will last as long as factory. The factory bulbs were sylvania, in case anyone is wondering.
I bought mine at oreilly auto parts.
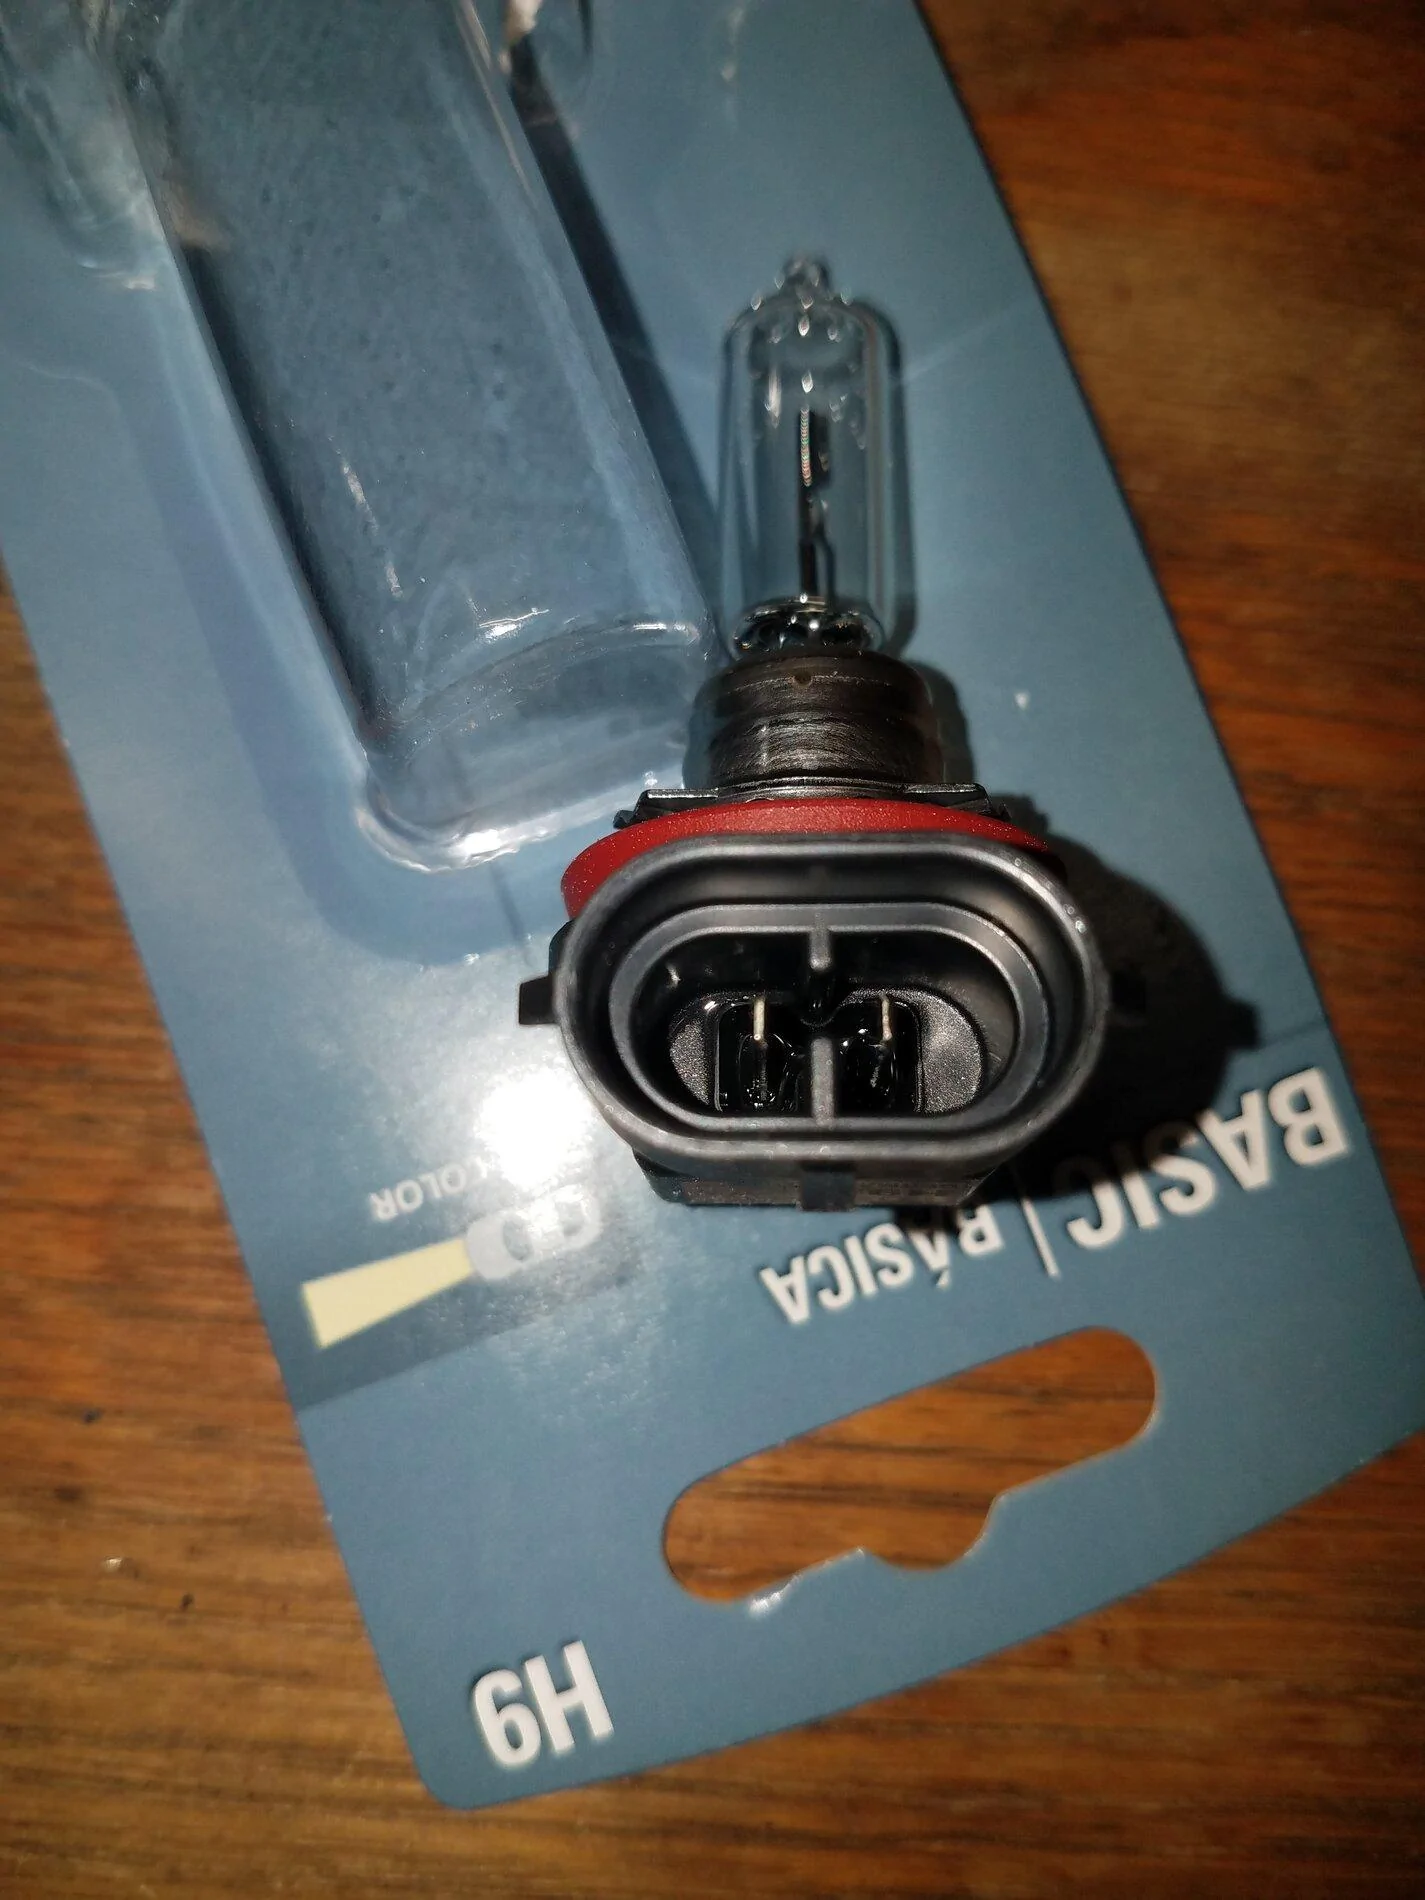
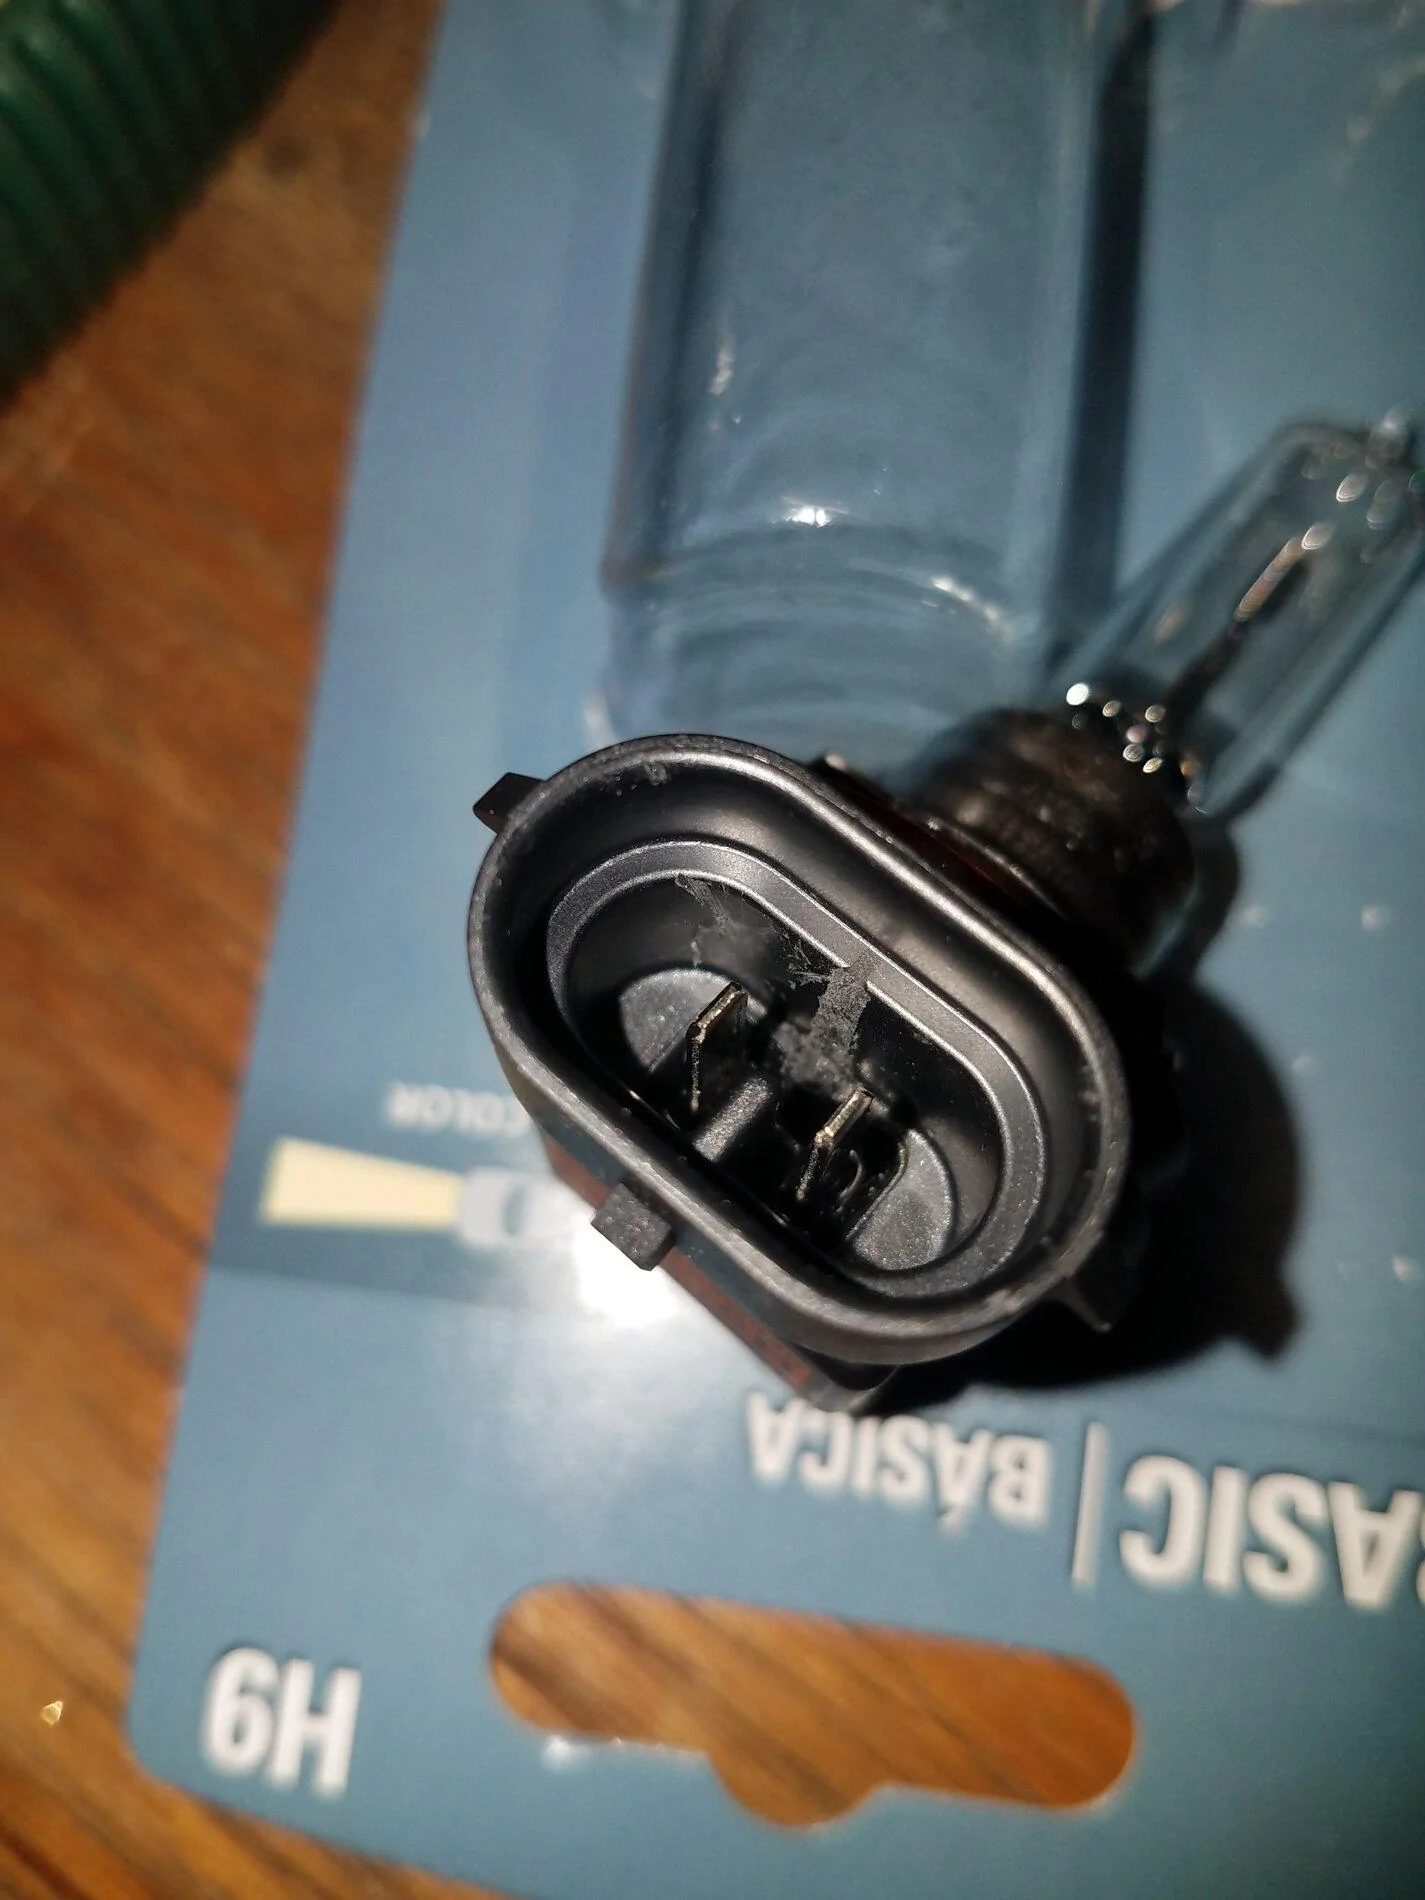
H9 - Part #H9BP $16 x4
9011 - Part #9011BP $25 x2
Total cost = $114 plus tax

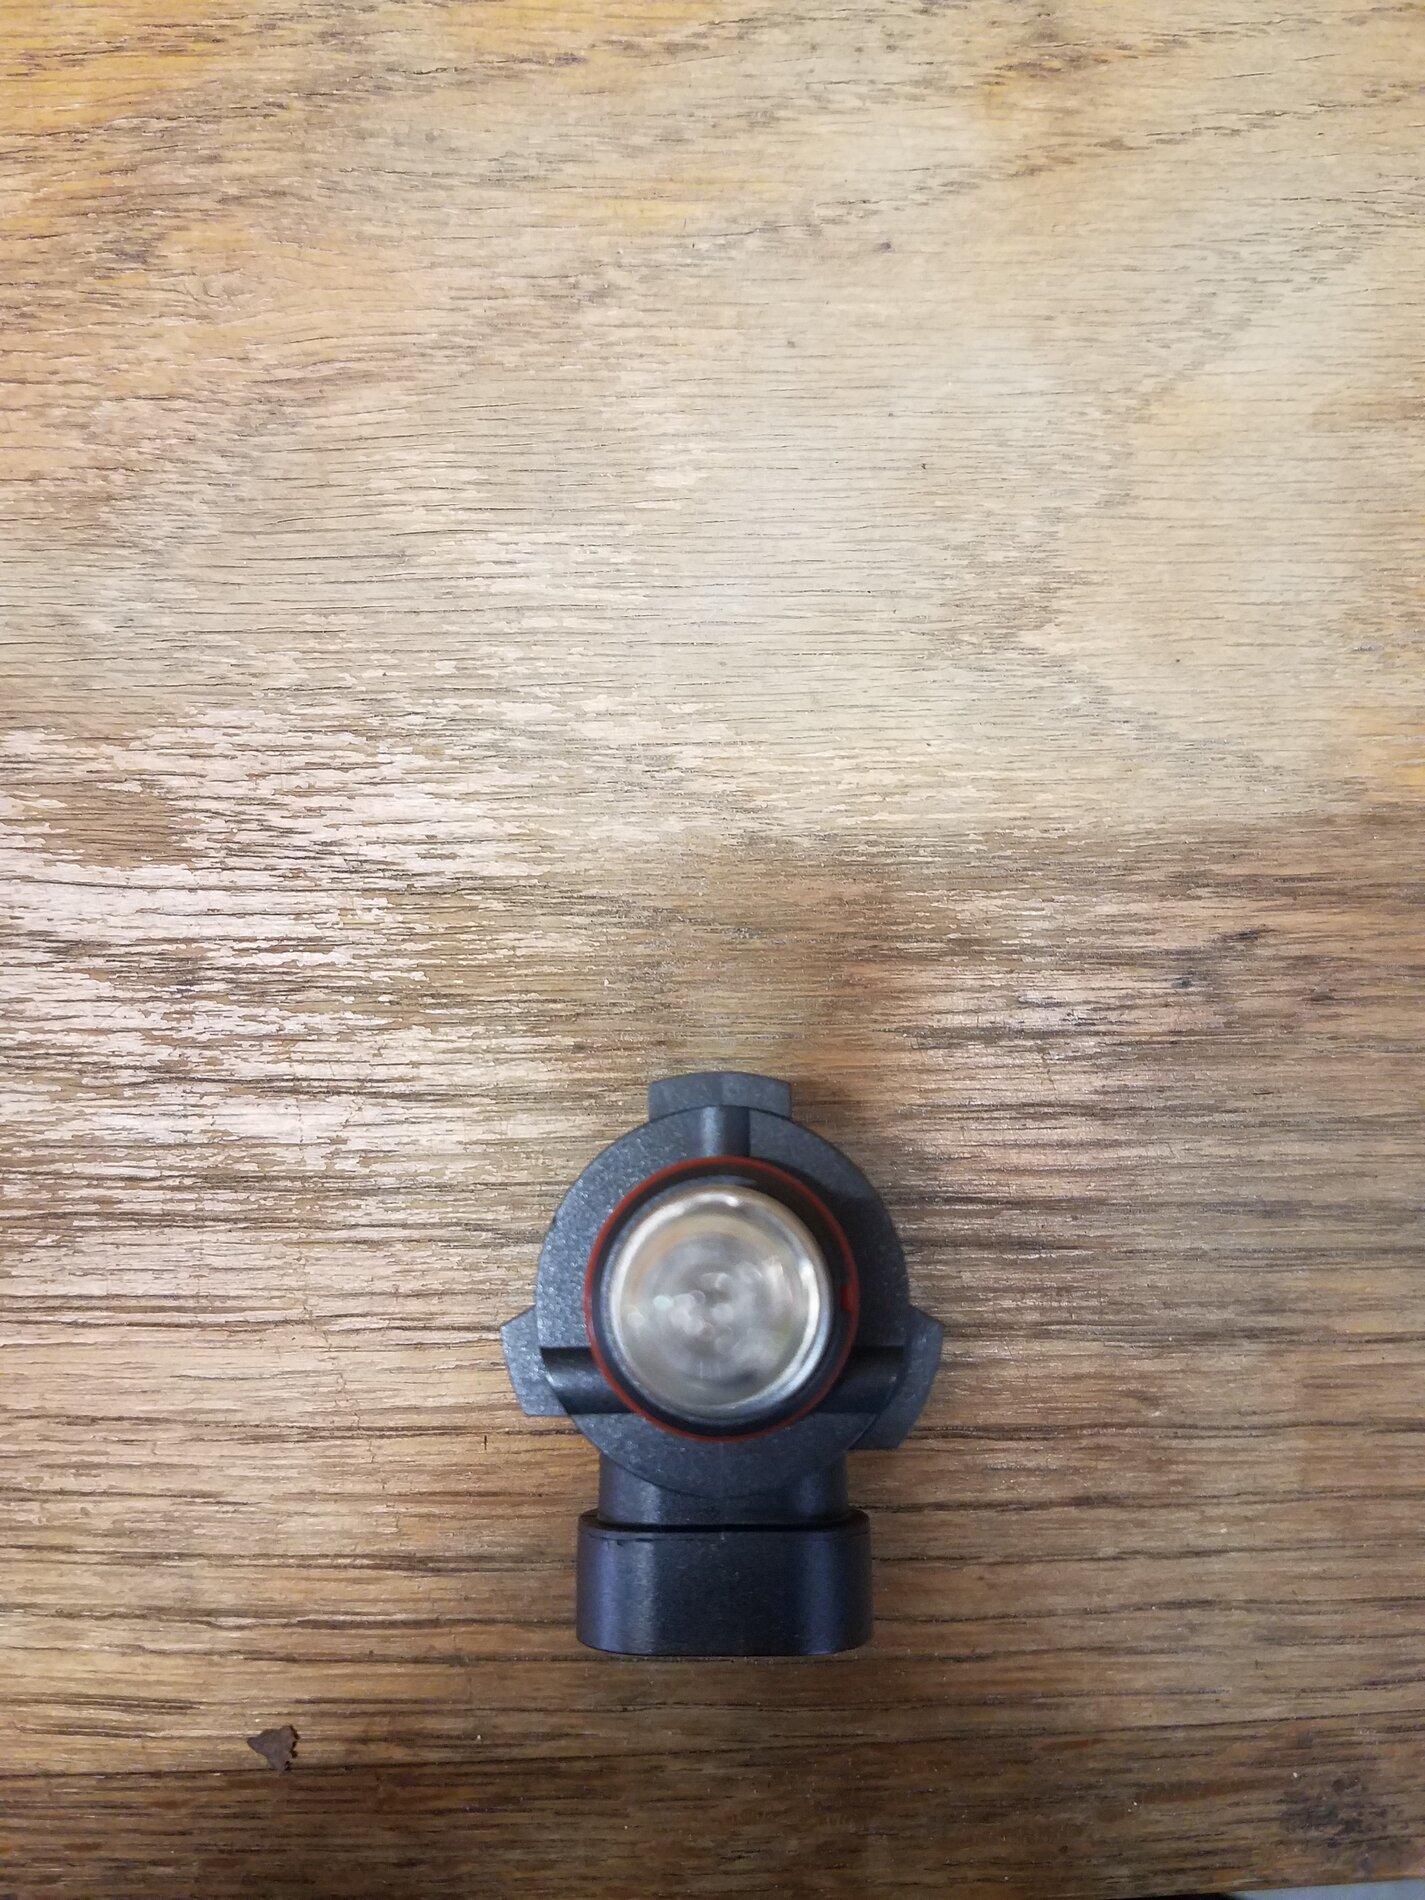
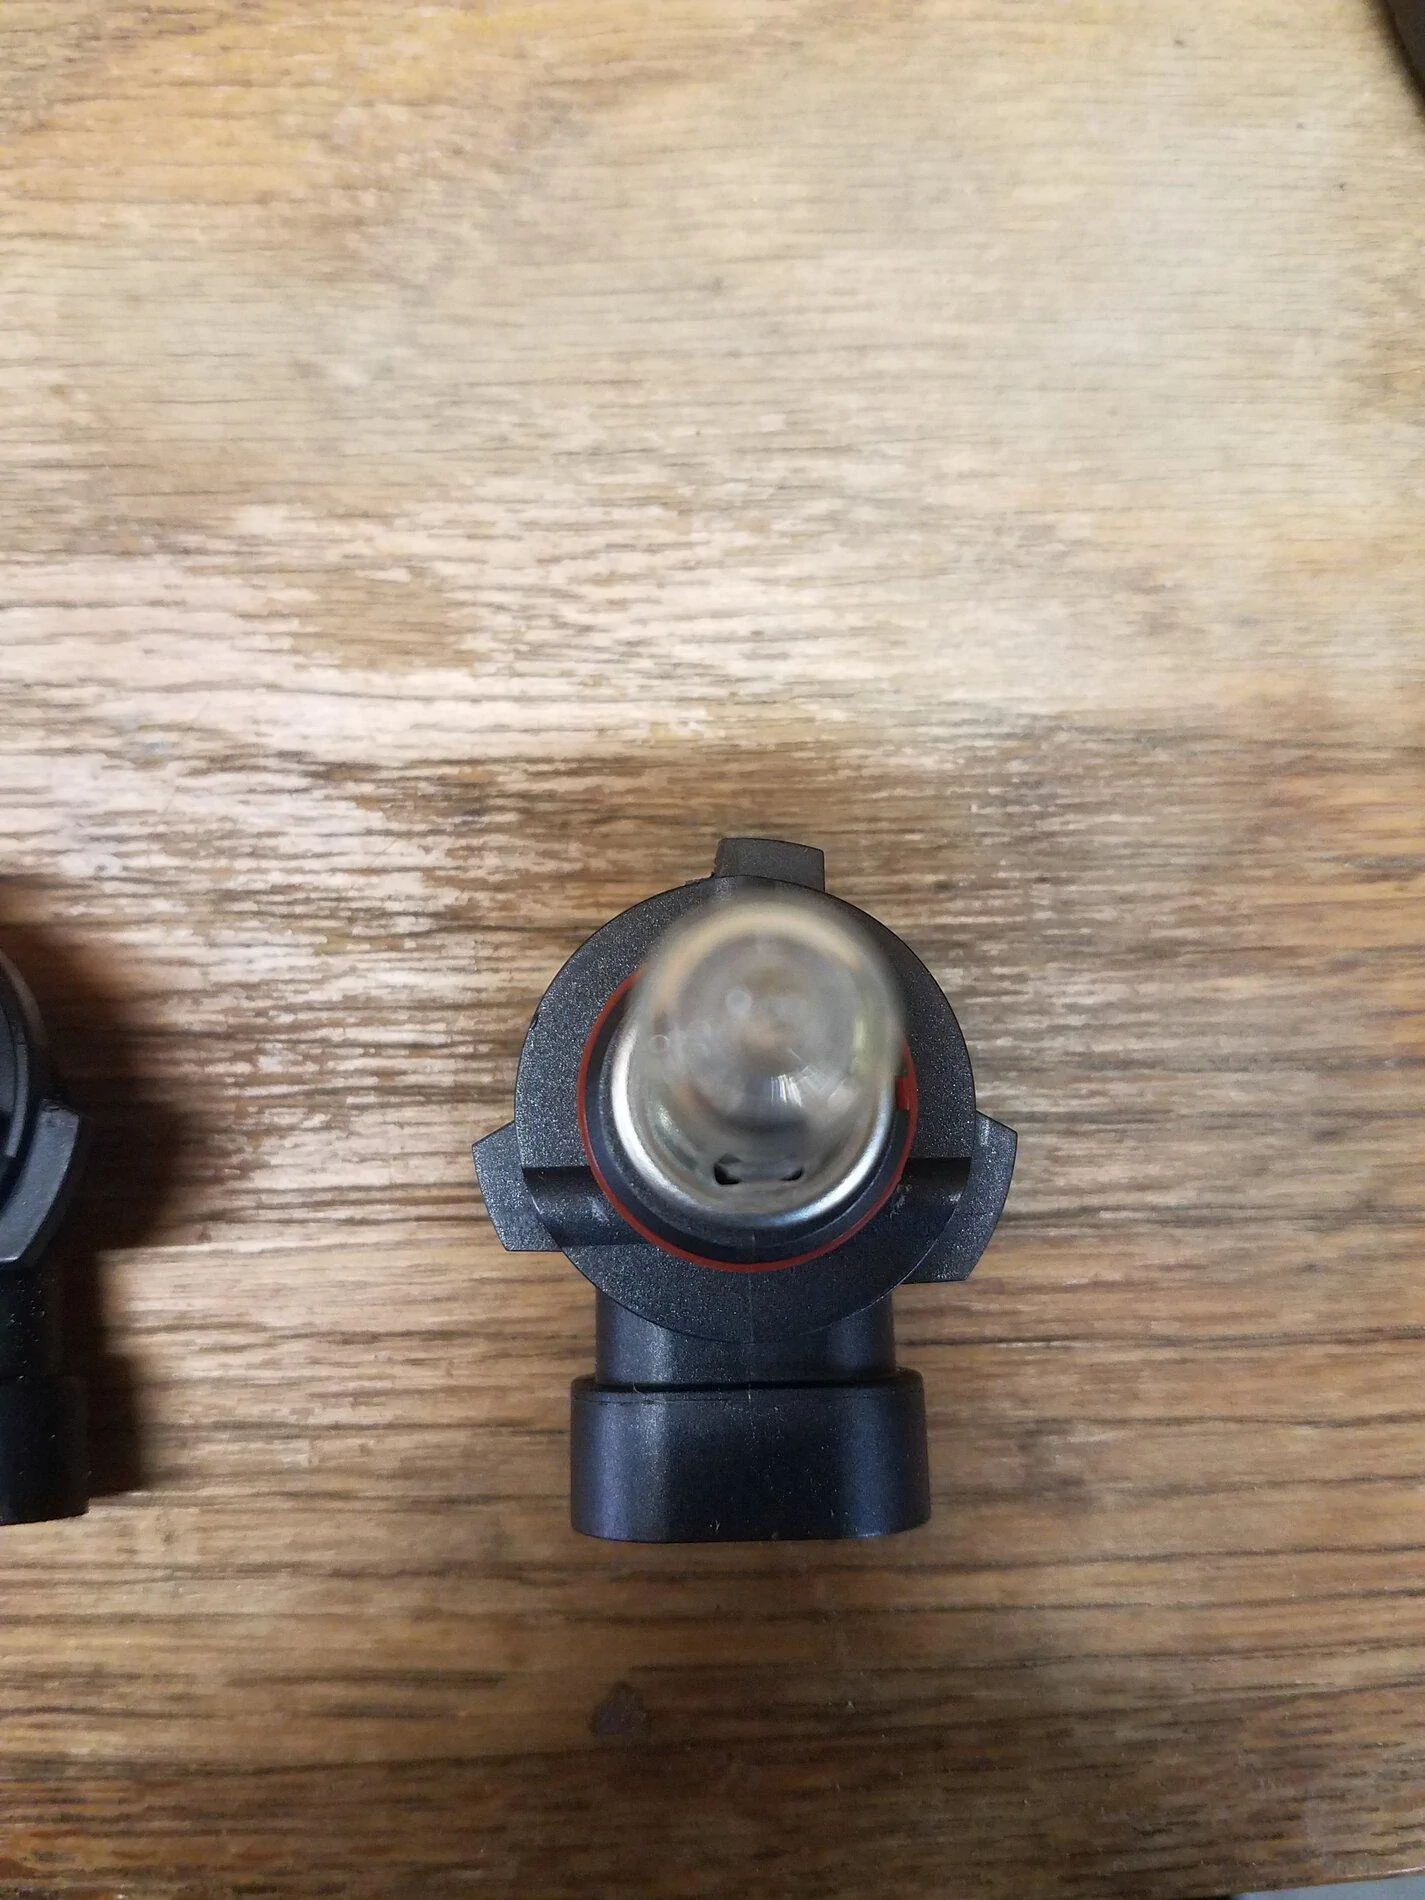
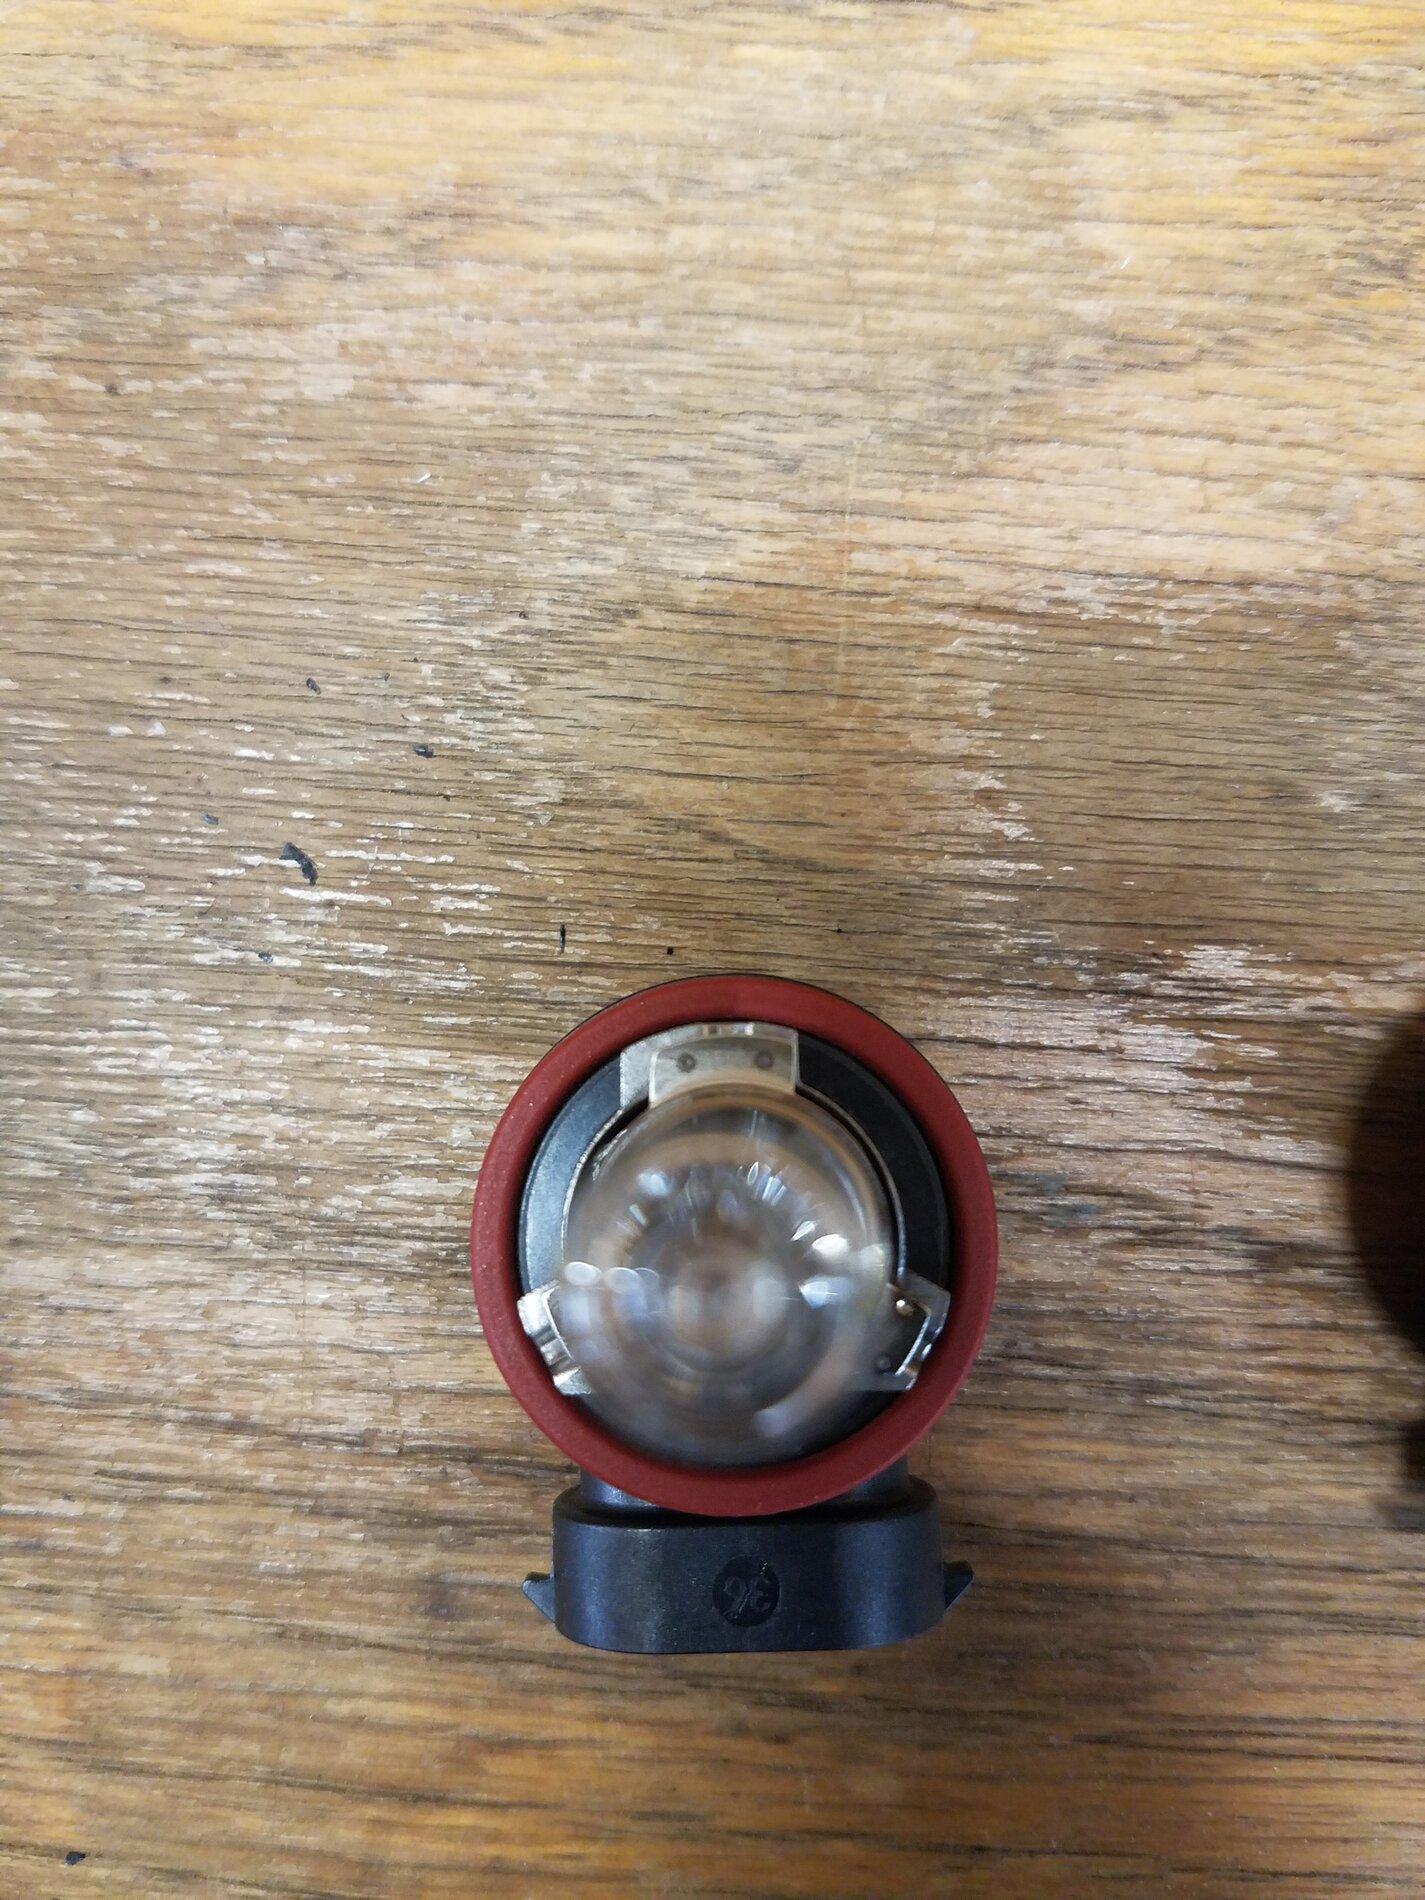
High beam 9005 to 9011 HIR Required modifications: Trim the tab on top. It will fit in there unmodified BUT it wont lock in until you trim the tab as shown. I just clipped it with a pair of side cutters. Electrical plug is the same between 9005 and 9011.
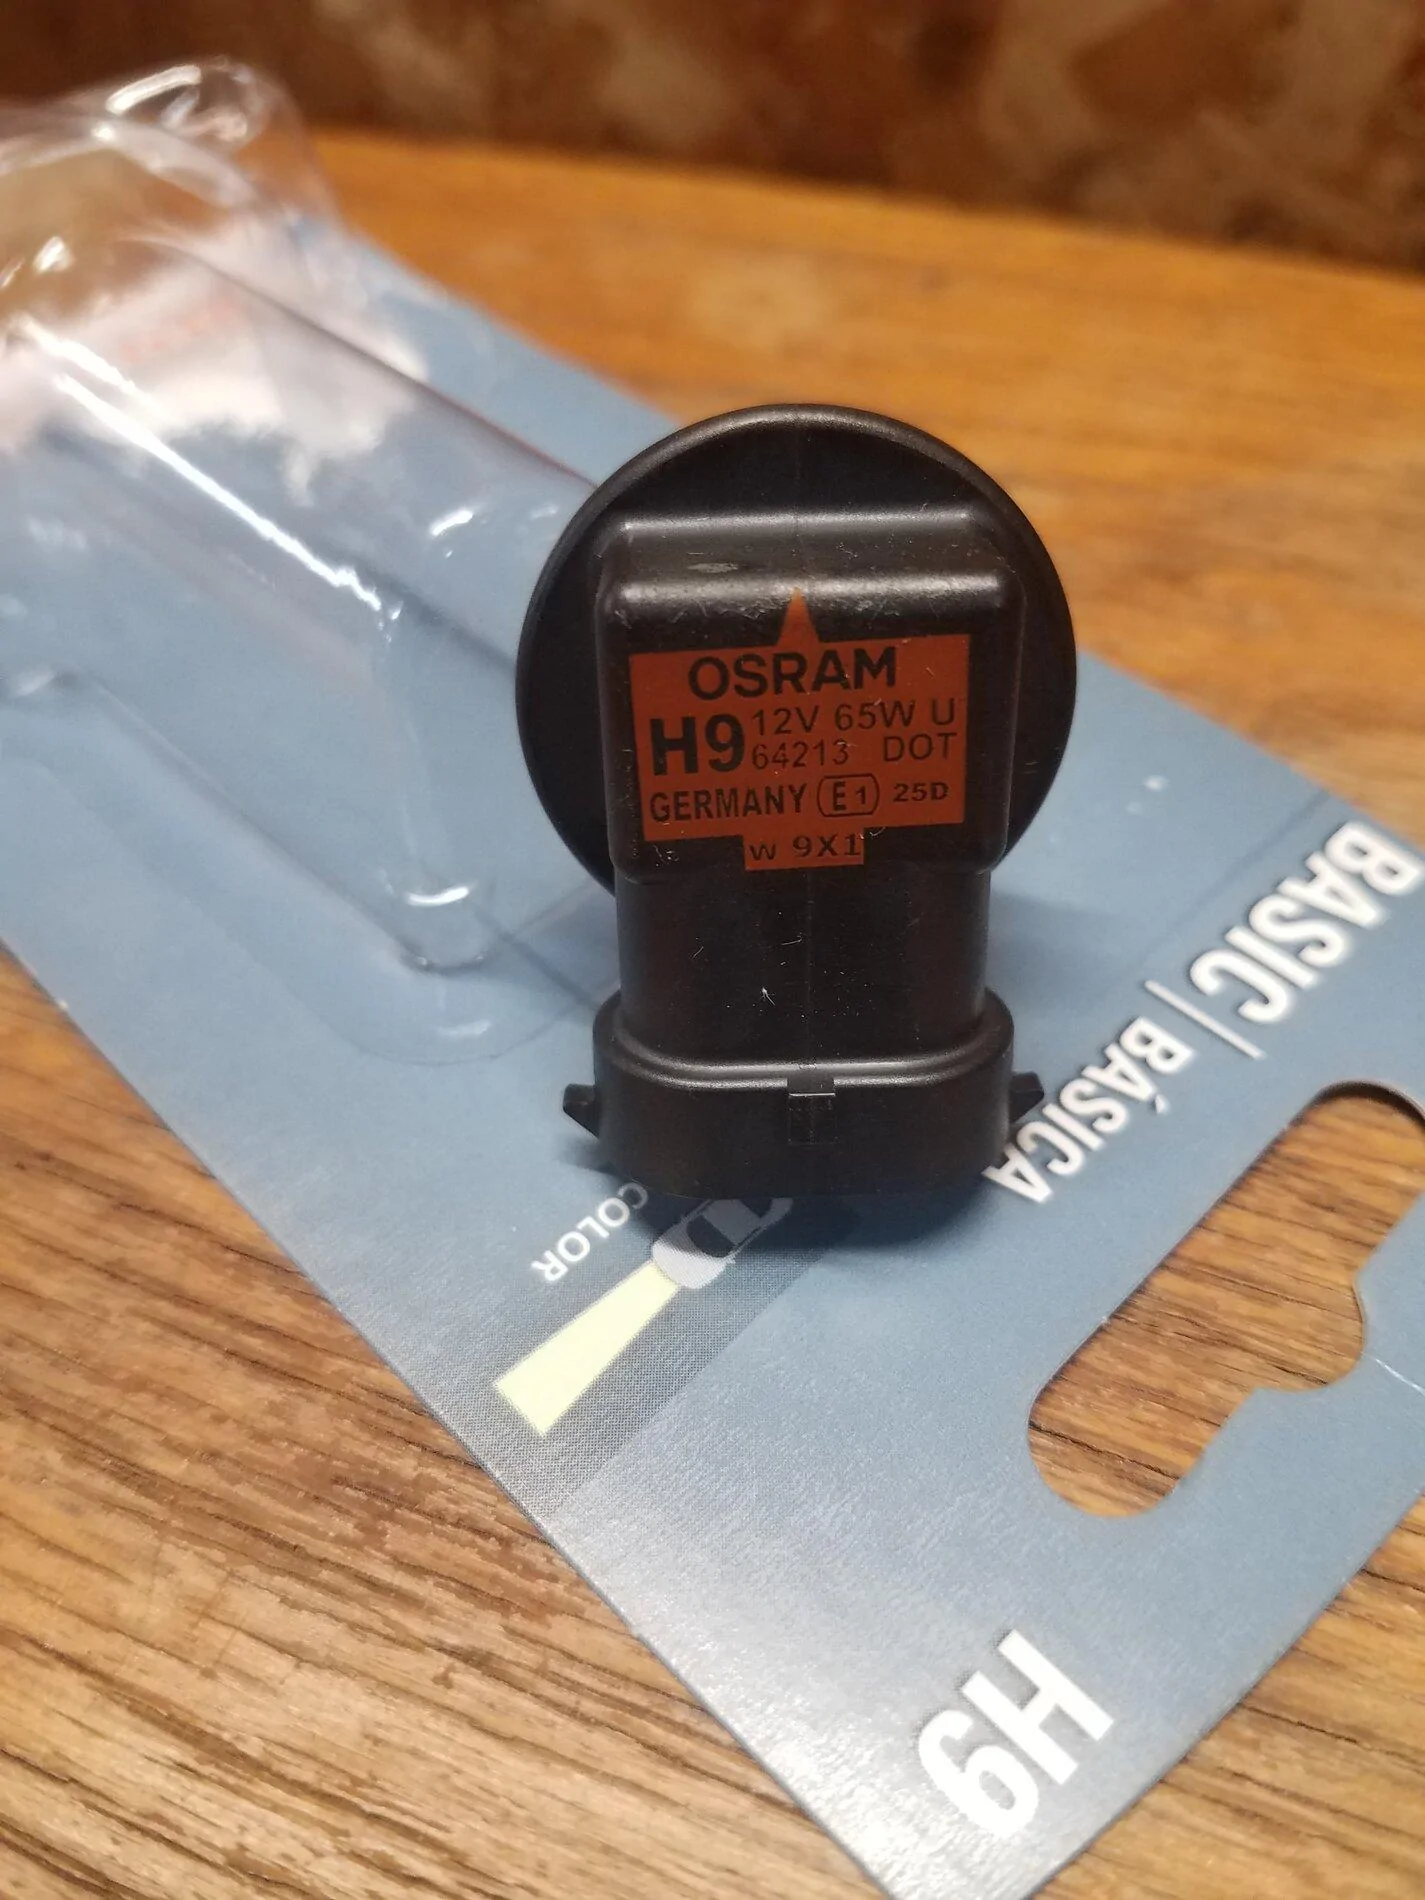
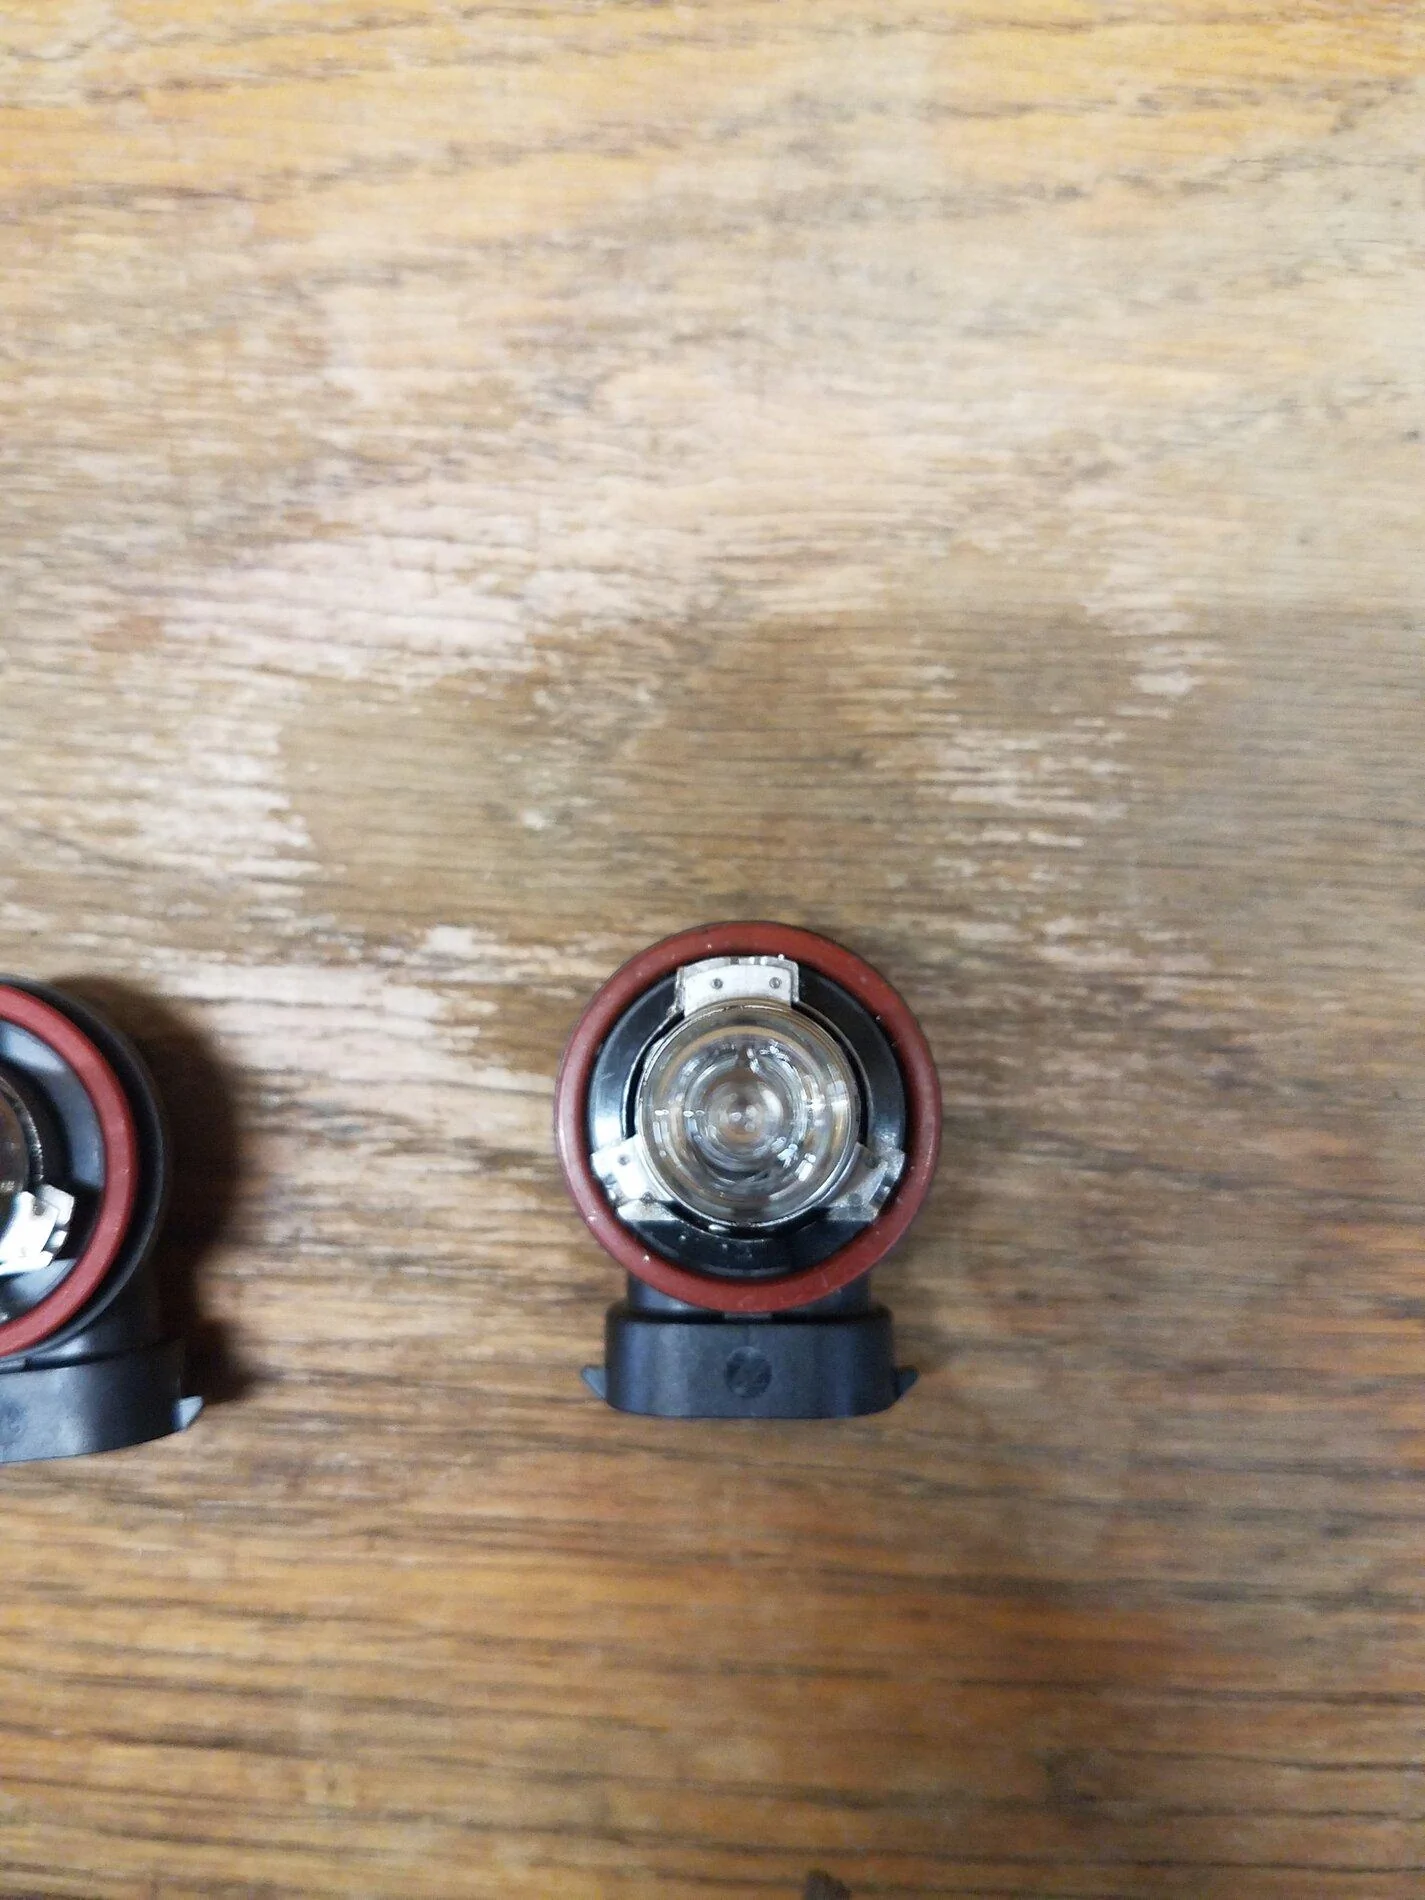
Low Beam and Fog H11 to H9 Required Modifications: Cut the smaller inside tab in the electrical connections. You need to remove it all the way down the bottom of the plug for the electrical connector to seat properly. I used a utility knife to slowly cut it away, there may be other/better methods. It is a thermoset plastic so it kind of just crumbles/breaks apart instead of cutting like regular plastic.
Low Beam Only: For the low beams I had to modify a small piece of the larger tab, similar to the High beam. I used pair of side cutters for this also. The fog lights did not need this modification, I was able fit in there without trimming the tab.
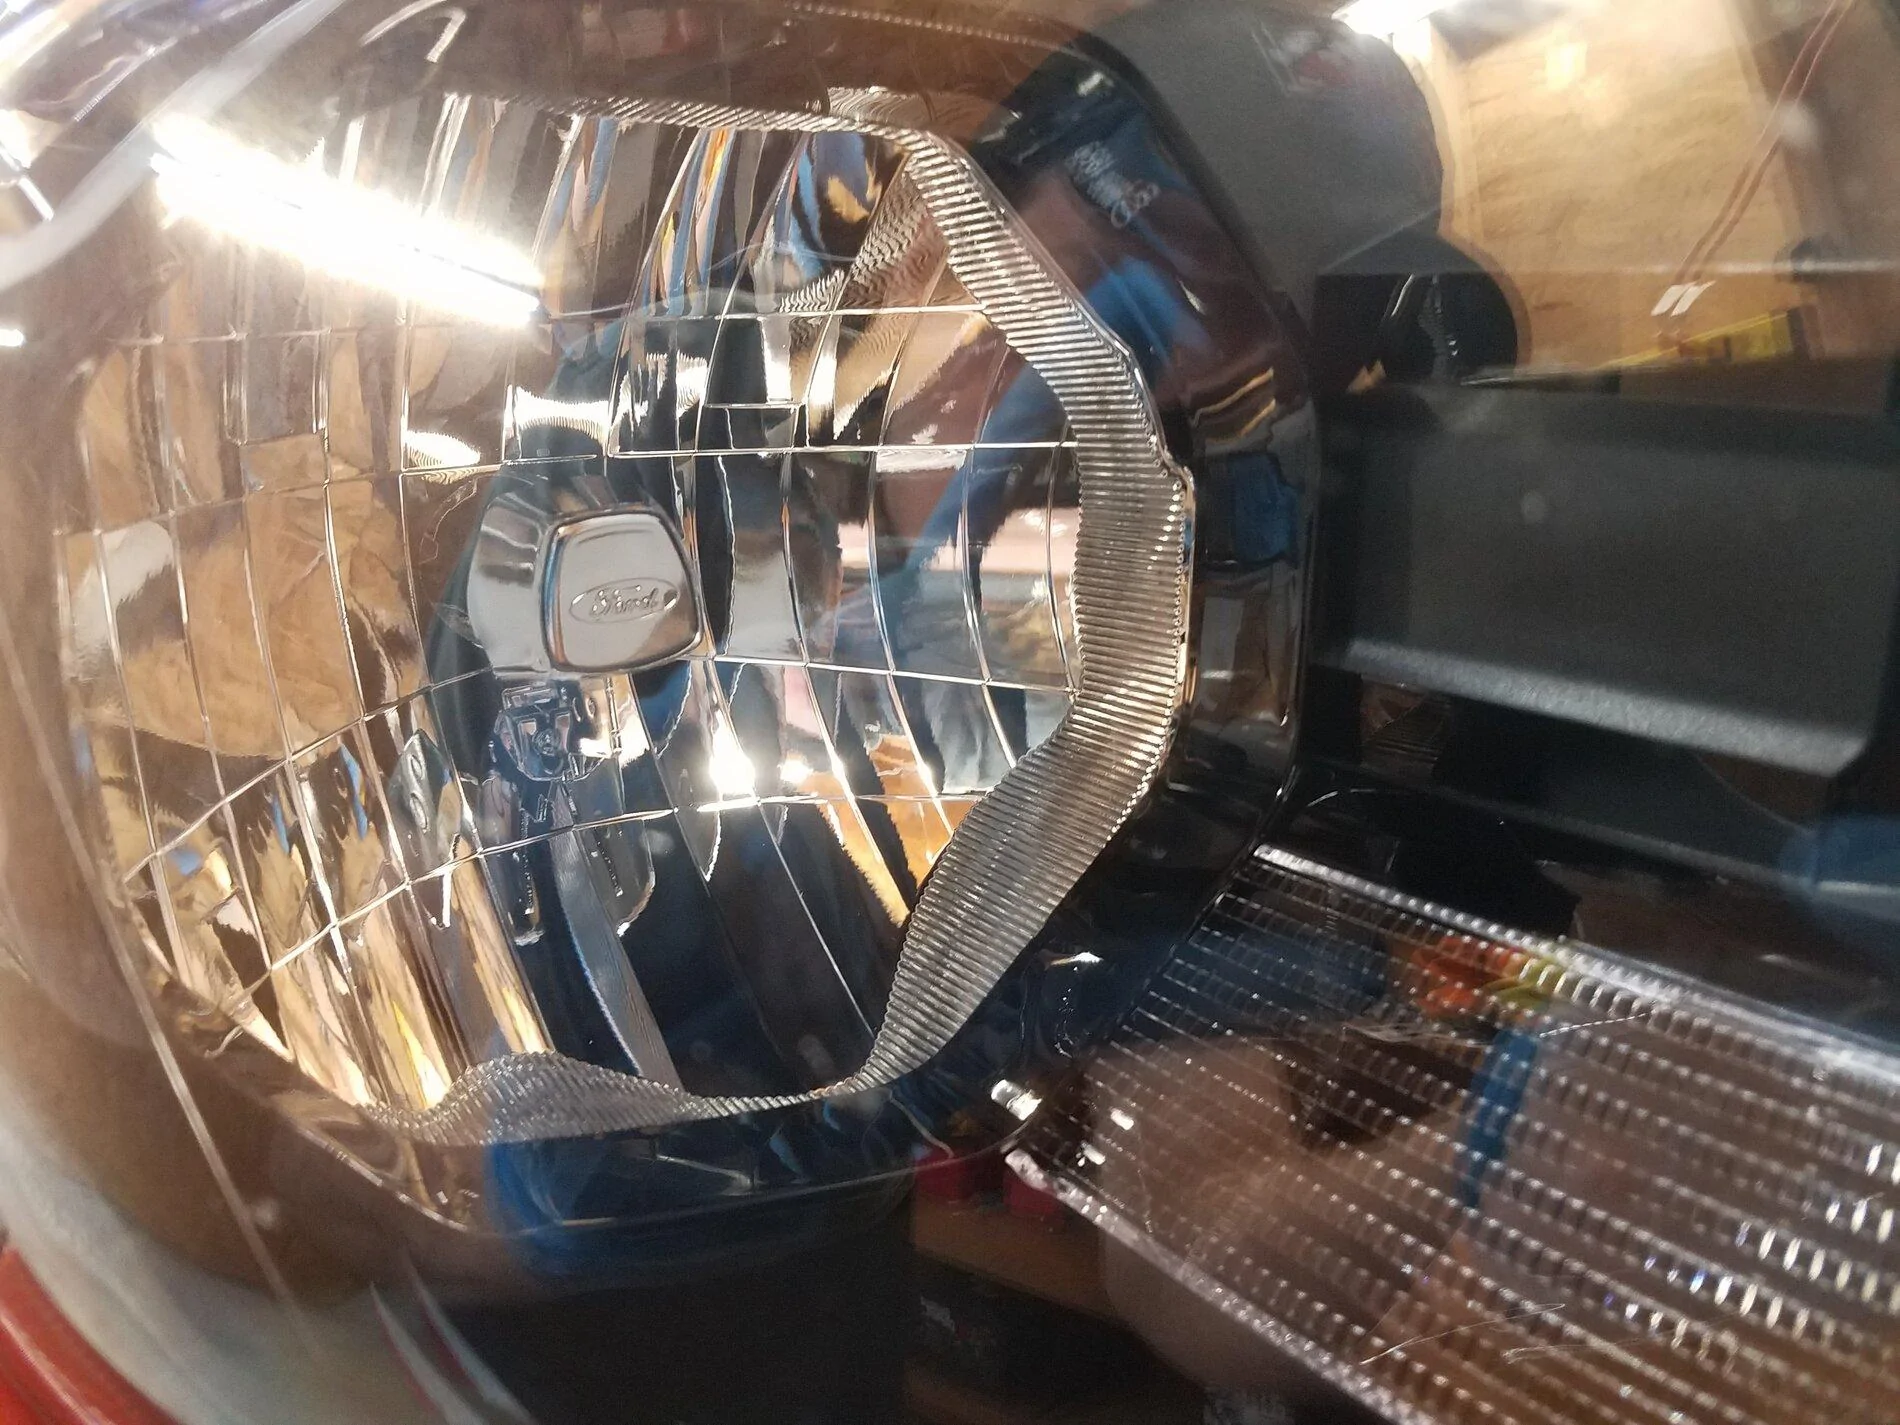
Some say that the H9 can cause glare due to the fact that the H9 is not shielded where the H11 is (the little paint cap looking thing on the tip of the bulb). That could be the case in some housings but the ranger has a built in shield to the housing, so this is a non-issue. The high beams are obviously not shielded for longer light throw and you shouldn't be passing people with your high beams on anyway.

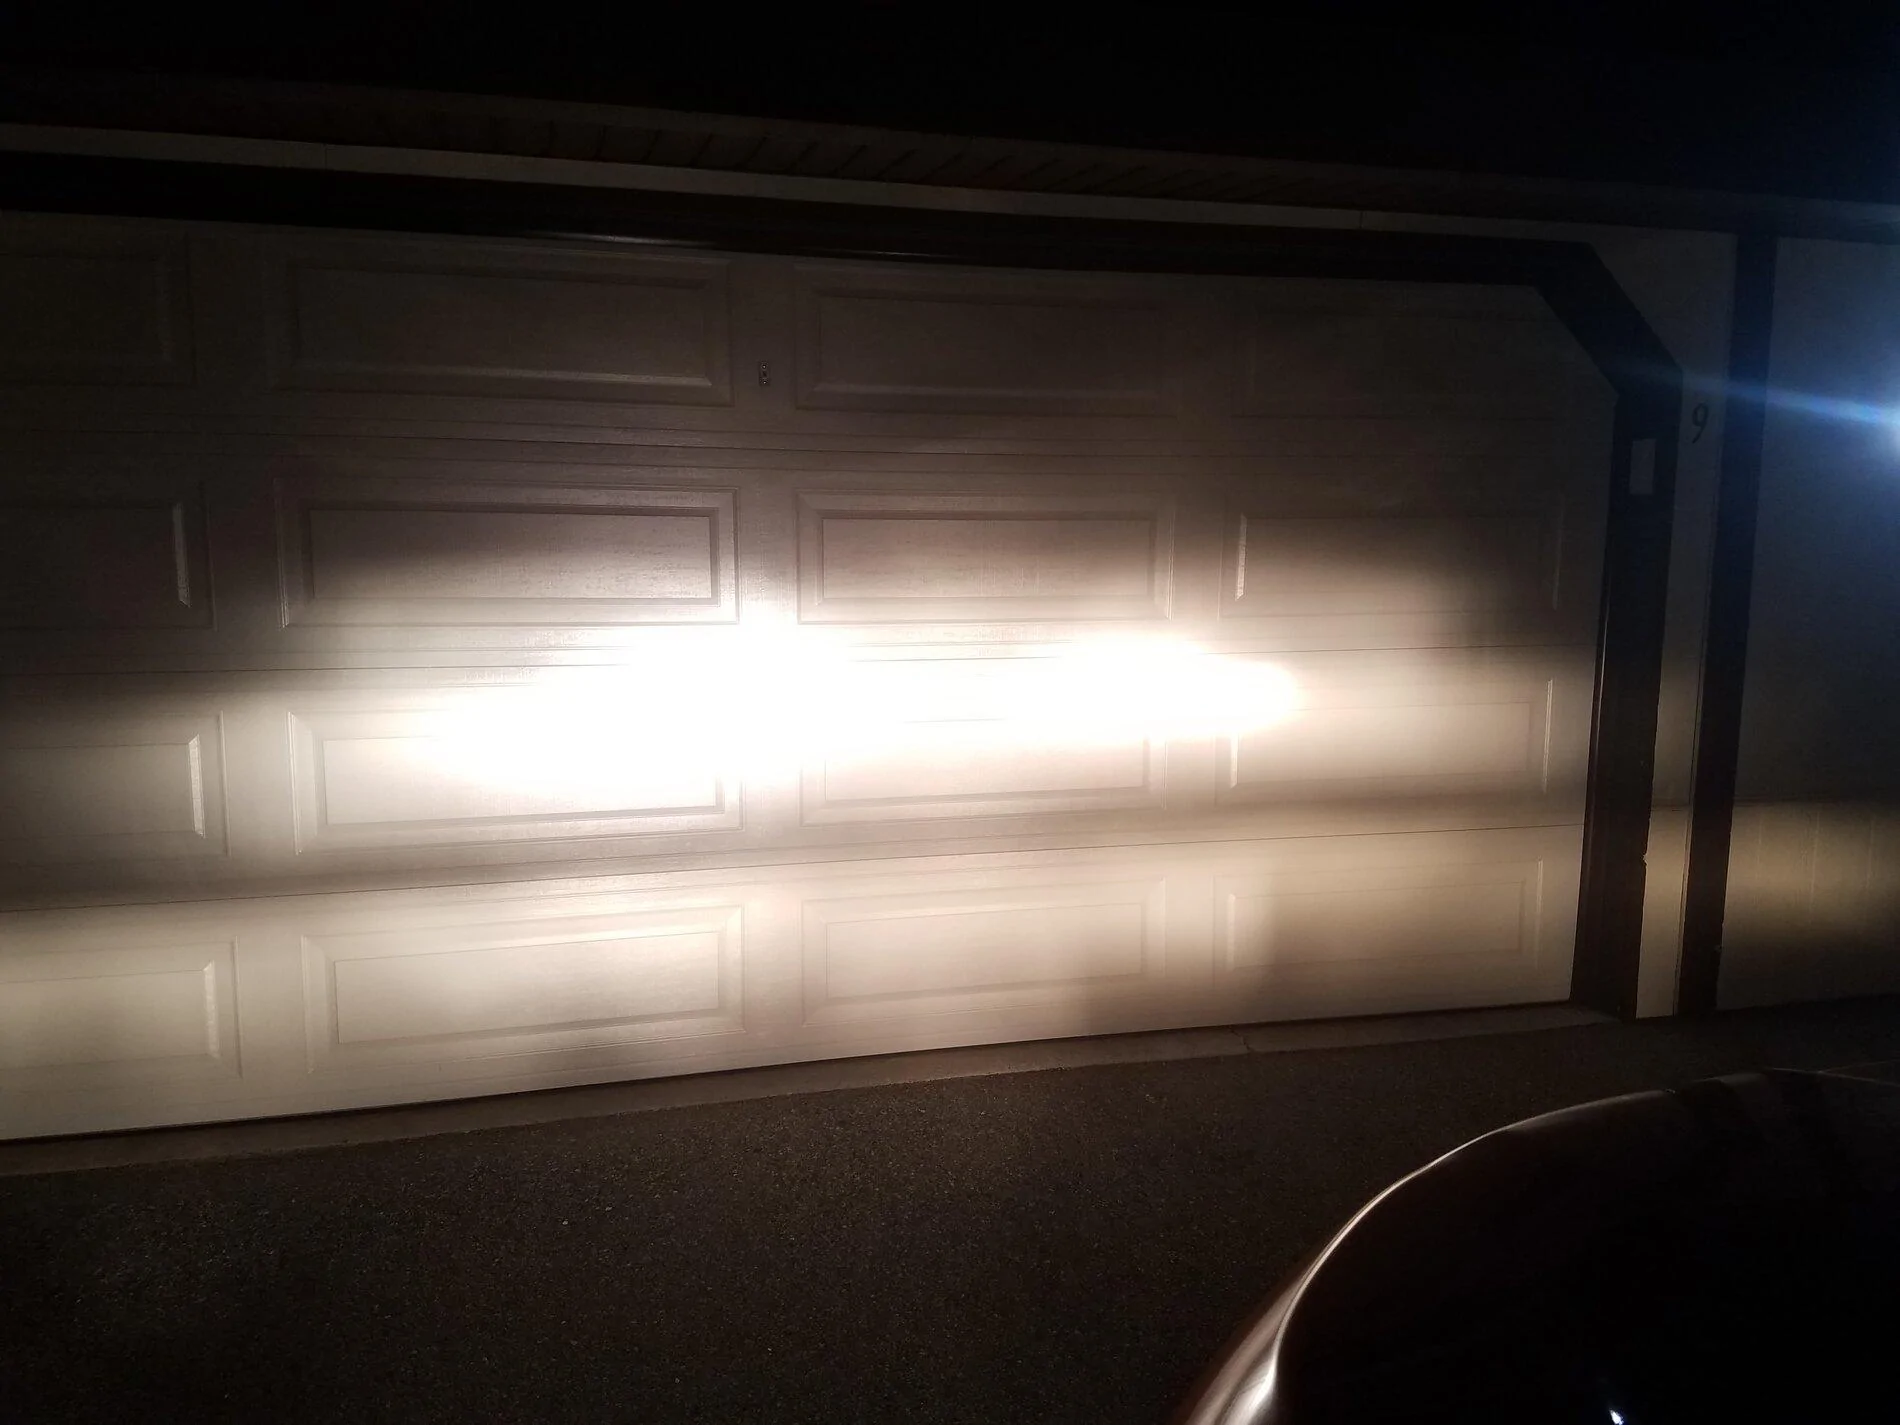
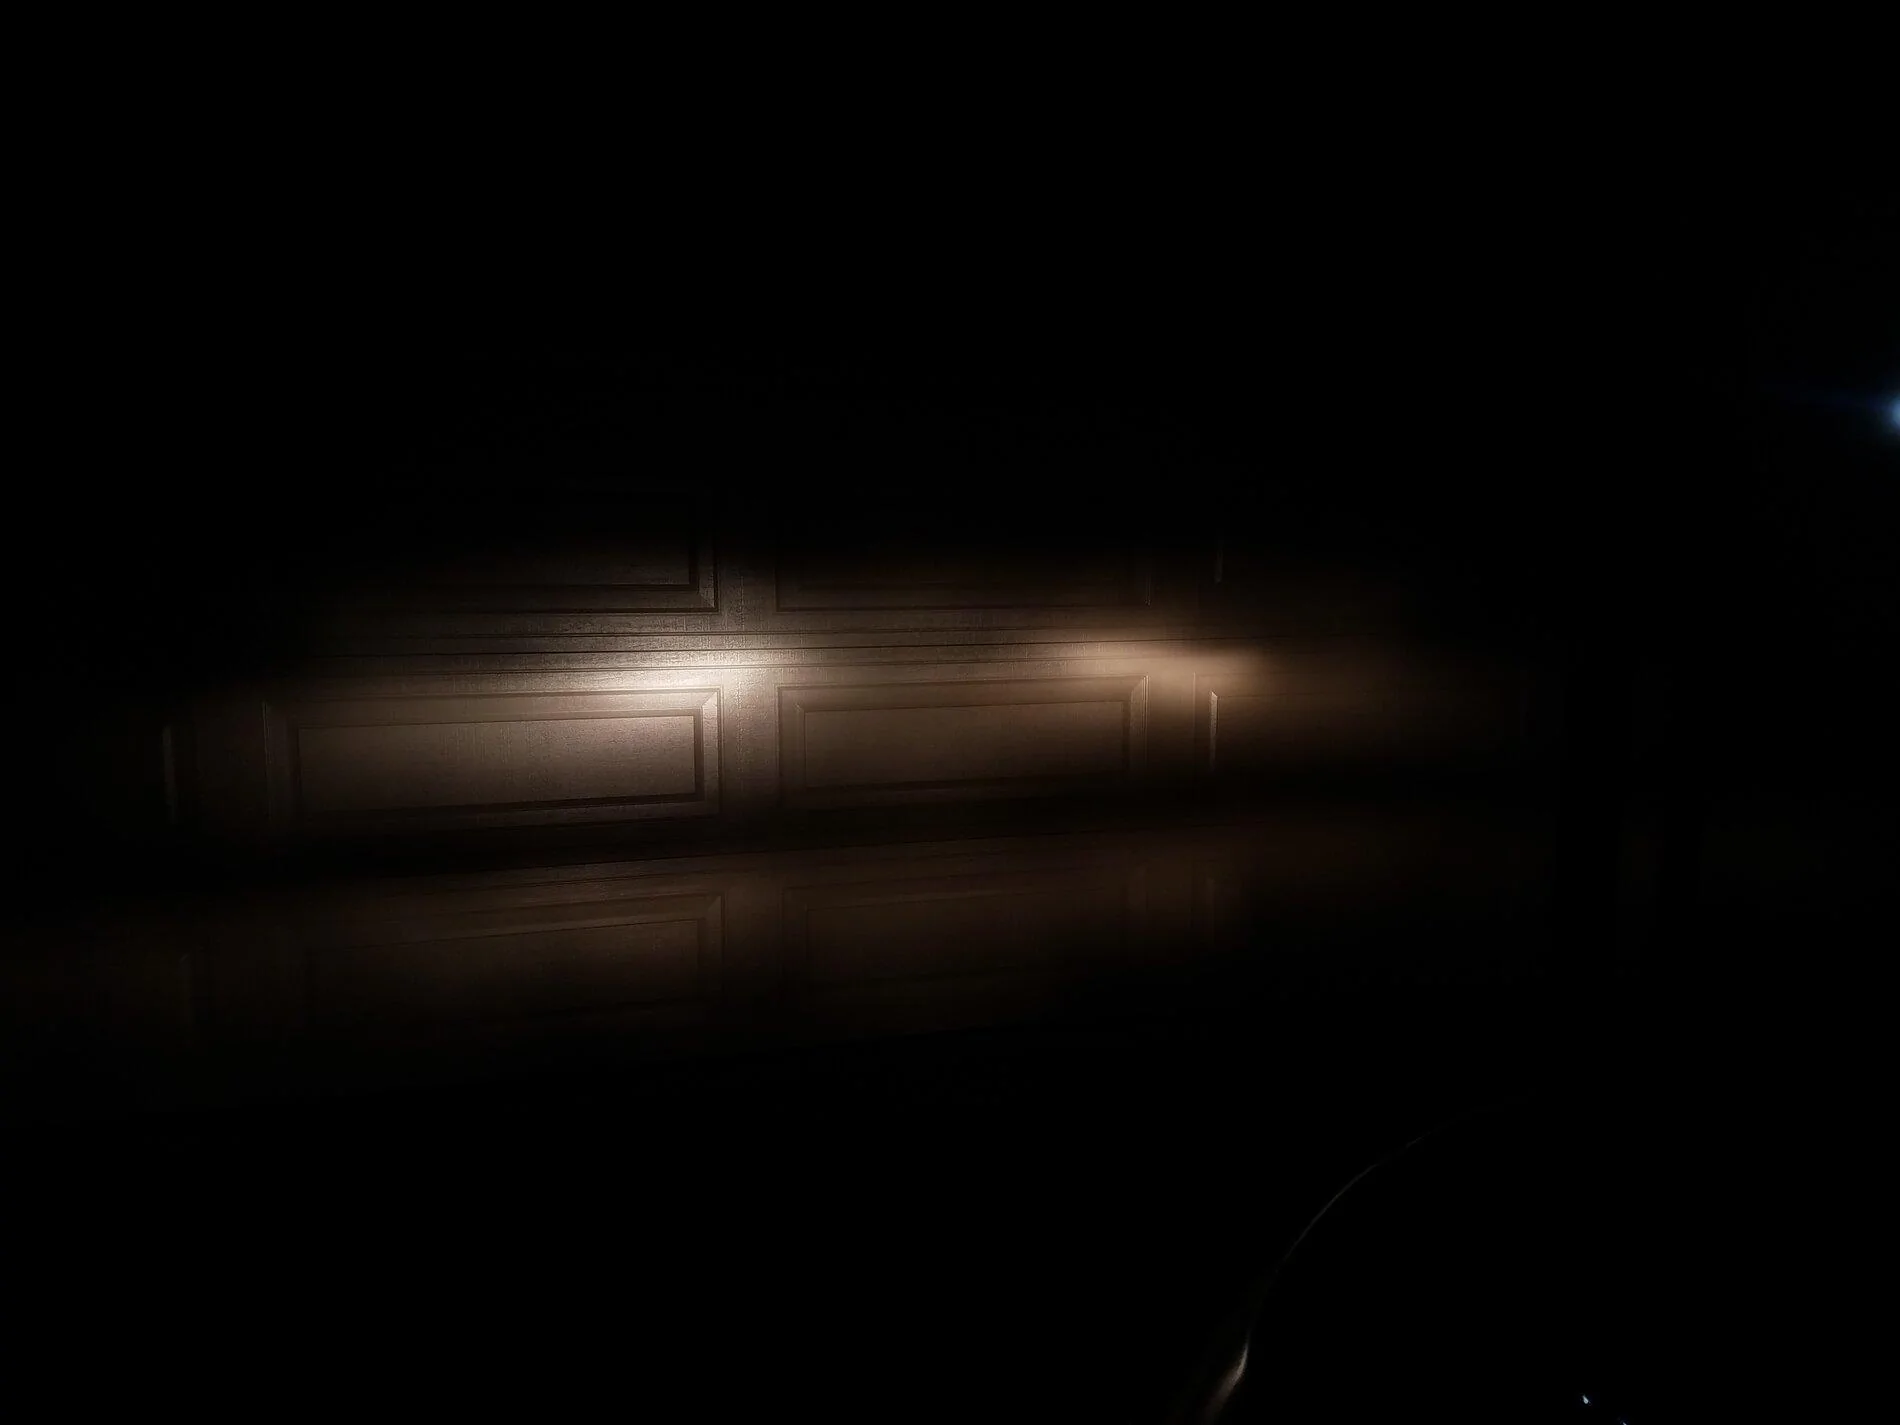
Comparison: Driver side(left) has all three bulbs upgraded, Passenger side(right) is stock bulbs. I used different lighting adjustments between the pictures. These are just to compare between the driver and passenger sides. This is with all 6 lights lit up ( fog, lows, and highs).
Make sure to adjust your headlights. I have had to raise my lights on EVERY vehicle I purchase as the factory has them aimed aggressively into the ground. Its almost borderline dangerous because you cant see past 10ft with the factory aiming. DO NOT raise them too high or you will blind everyone.
Final thoughts: It is much brighter and exactly what I was looking for. Wasn't looking for insane brightness or expensive parts. No factory components were modified and I used easily sourceable parts. $115 for a halogen swap isn't for everyone though.
I tried to get a light output picture on the road but it incredibly hard to get a good representation, and I gave up after a few tries.
I think my next mod is a 20inch light bar in the lower bumper to fill that giant open hole.
Data notes: Because the ranger is designed to run both low and high bulbs at the same time when the high beams are on, the extra wattage increase is only 8.3% per housing and 18% increase for the each fog light housing. Total amp draw @12v is 32.5 amp vs 29.2 amp (increase of 11%), this is with all 6 lights on via the forscan "bambi" mod. The factory housings and wiring will have ZERO issues handling the extra load.
Quick note on leds. Yes you can put in leds, and yes there are some good ones. Thats not what this is thread is about.
I like halogens for the color (easier on my eyes) and the heat from halogens keeps the ice build up off the headlights better than leds. And I drive a lot in the winter.
Factory bulbs are:
High beam- 9005
Low Beam- H11
Fog lights- H11
-H11 bulbs are very similar to H9. But the H9 are a 65w bulb instead of 55w thus more light output.
-9005 bulbs are very similar to the 9011 HIR bulb. Both 65W but HIR bulbs have a coating that reflects heat back on the filament to make them burn hotter and brighter without increasing actual heat output into the housing. This is NOT the same coating that makes some bulbs appear whiter.
These are a sylvania basic part: Note the bulbs say osram on the back as sylvania owns osram now I believe. These are very good bulbs and do not have the coating that makes them look whiter or have a shortened lifespan. These are considered long life bulbs, and will last as long as factory. The factory bulbs were sylvania, in case anyone is wondering.
I bought mine at oreilly auto parts.
H9 - Part #H9BP $16 x4
9011 - Part #9011BP $25 x2
Total cost = $114 plus tax
High beam 9005 to 9011 HIR Required modifications: Trim the tab on top. It will fit in there unmodified BUT it wont lock in until you trim the tab as shown. I just clipped it with a pair of side cutters. Electrical plug is the same between 9005 and 9011.
Low Beam and Fog H11 to H9 Required Modifications: Cut the smaller inside tab in the electrical connections. You need to remove it all the way down the bottom of the plug for the electrical connector to seat properly. I used a utility knife to slowly cut it away, there may be other/better methods. It is a thermoset plastic so it kind of just crumbles/breaks apart instead of cutting like regular plastic.
Low Beam Only: For the low beams I had to modify a small piece of the larger tab, similar to the High beam. I used pair of side cutters for this also. The fog lights did not need this modification, I was able fit in there without trimming the tab.
Some say that the H9 can cause glare due to the fact that the H9 is not shielded where the H11 is (the little paint cap looking thing on the tip of the bulb). That could be the case in some housings but the ranger has a built in shield to the housing, so this is a non-issue. The high beams are obviously not shielded for longer light throw and you shouldn't be passing people with your high beams on anyway.
Comparison: Driver side(left) has all three bulbs upgraded, Passenger side(right) is stock bulbs. I used different lighting adjustments between the pictures. These are just to compare between the driver and passenger sides. This is with all 6 lights lit up ( fog, lows, and highs).
Make sure to adjust your headlights. I have had to raise my lights on EVERY vehicle I purchase as the factory has them aimed aggressively into the ground. Its almost borderline dangerous because you cant see past 10ft with the factory aiming. DO NOT raise them too high or you will blind everyone.
Final thoughts: It is much brighter and exactly what I was looking for. Wasn't looking for insane brightness or expensive parts. No factory components were modified and I used easily sourceable parts. $115 for a halogen swap isn't for everyone though.
I tried to get a light output picture on the road but it incredibly hard to get a good representation, and I gave up after a few tries.
I think my next mod is a 20inch light bar in the lower bumper to fill that giant open hole.
Data notes: Because the ranger is designed to run both low and high bulbs at the same time when the high beams are on, the extra wattage increase is only 8.3% per housing and 18% increase for the each fog light housing. Total amp draw @12v is 32.5 amp vs 29.2 amp (increase of 11%), this is with all 6 lights on via the forscan "bambi" mod. The factory housings and wiring will have ZERO issues handling the extra load.
Sponsored
Last edited:

