OP
OP
djrobb
Well-Known Member
- First Name
- David
- Joined
- Nov 12, 2018
- Threads
- 21
- Messages
- 409
- Reaction score
- 343
- Location
- Alexandria,Va
- Vehicle(s)
- 2006 Tacoma 4dr Sport Long Bed
- Vehicle Showcase
- 1
- Thread starter
- #16
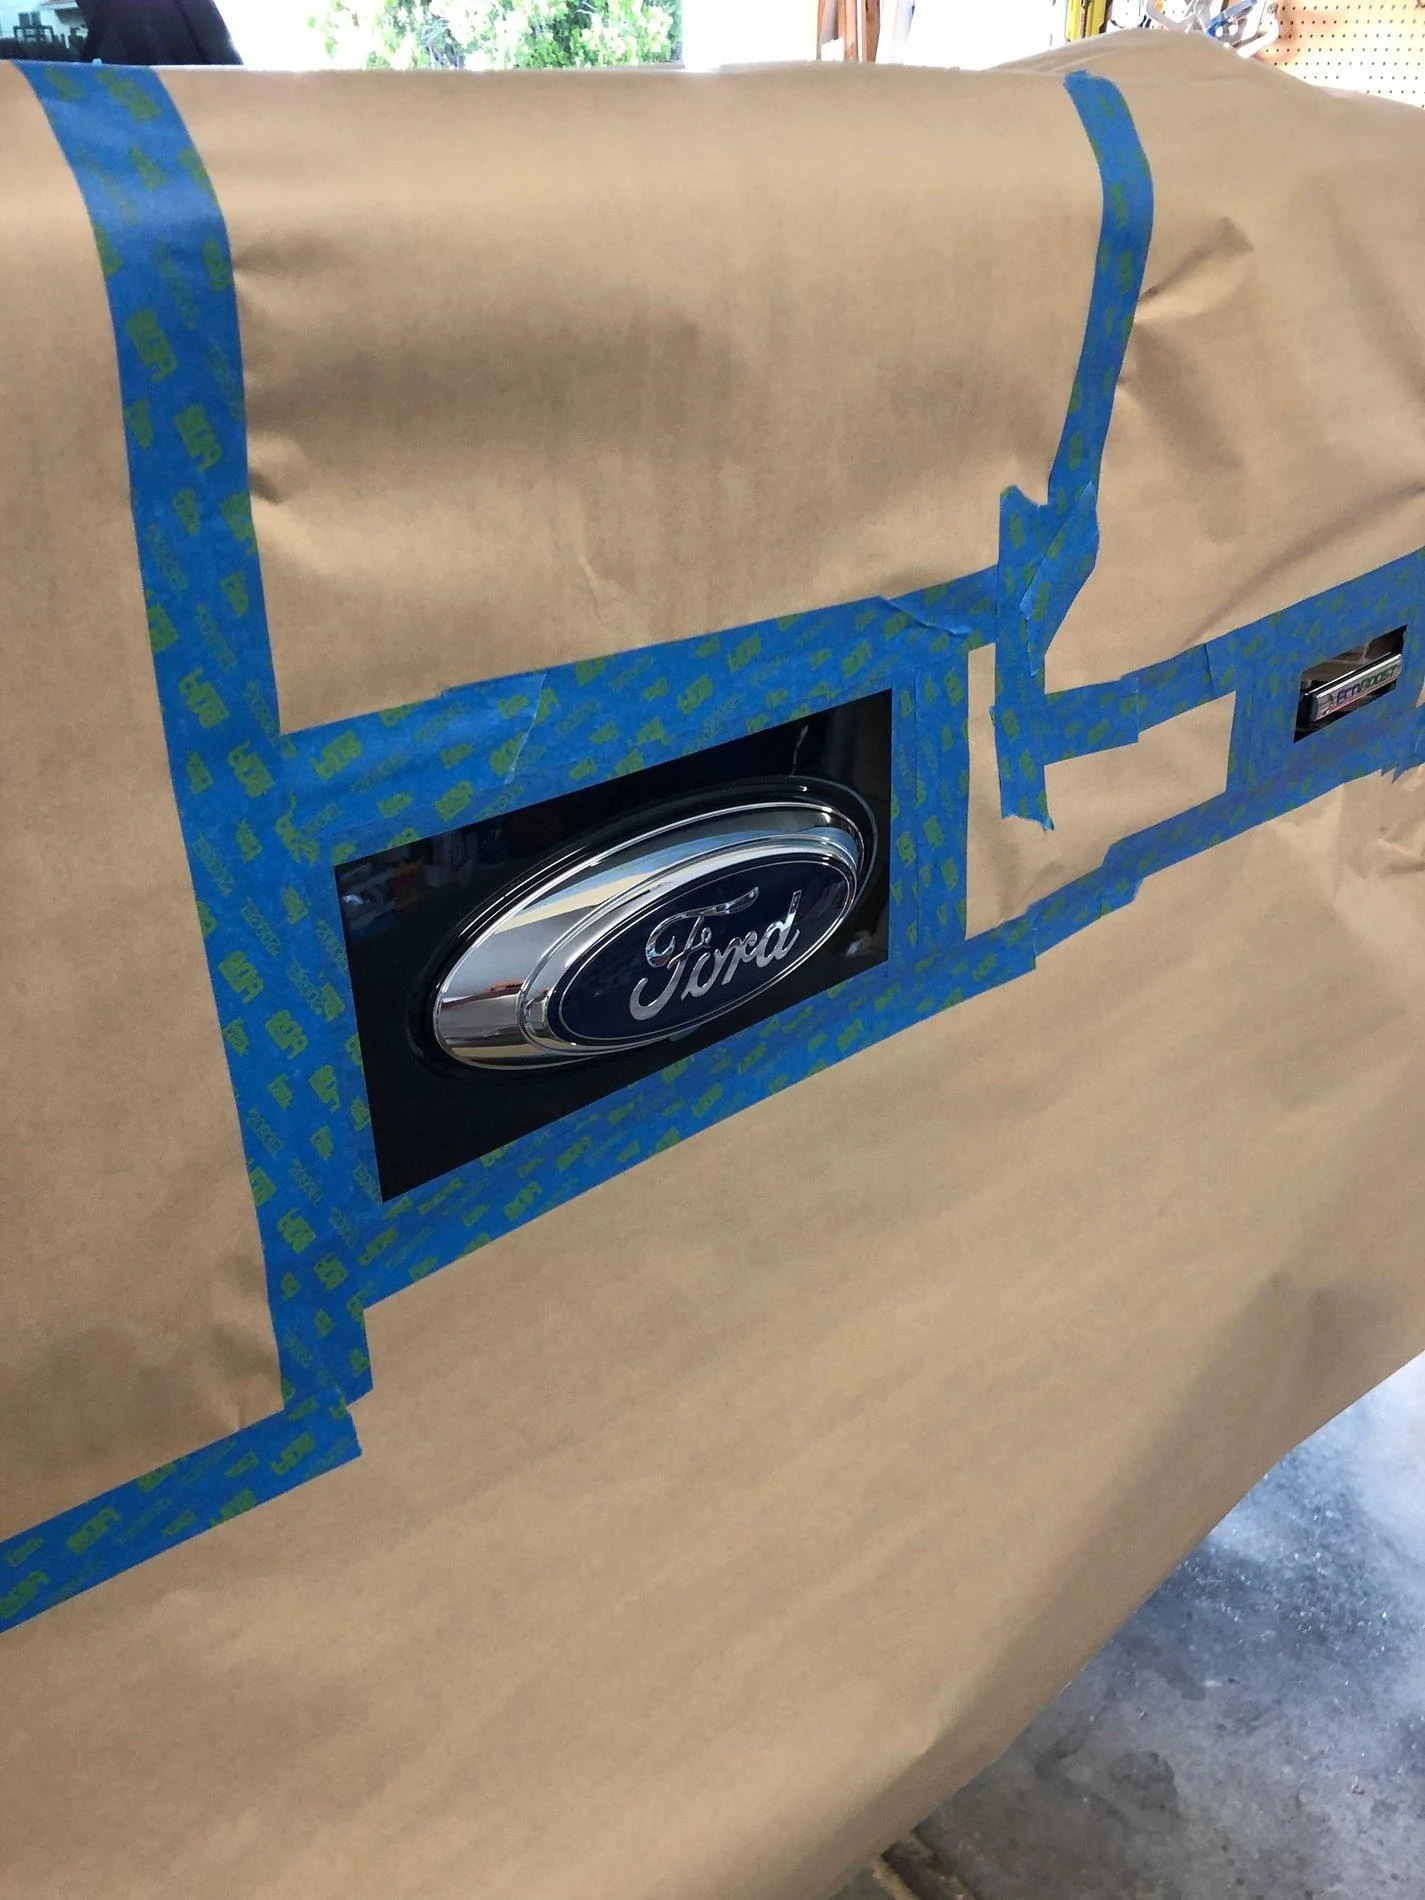
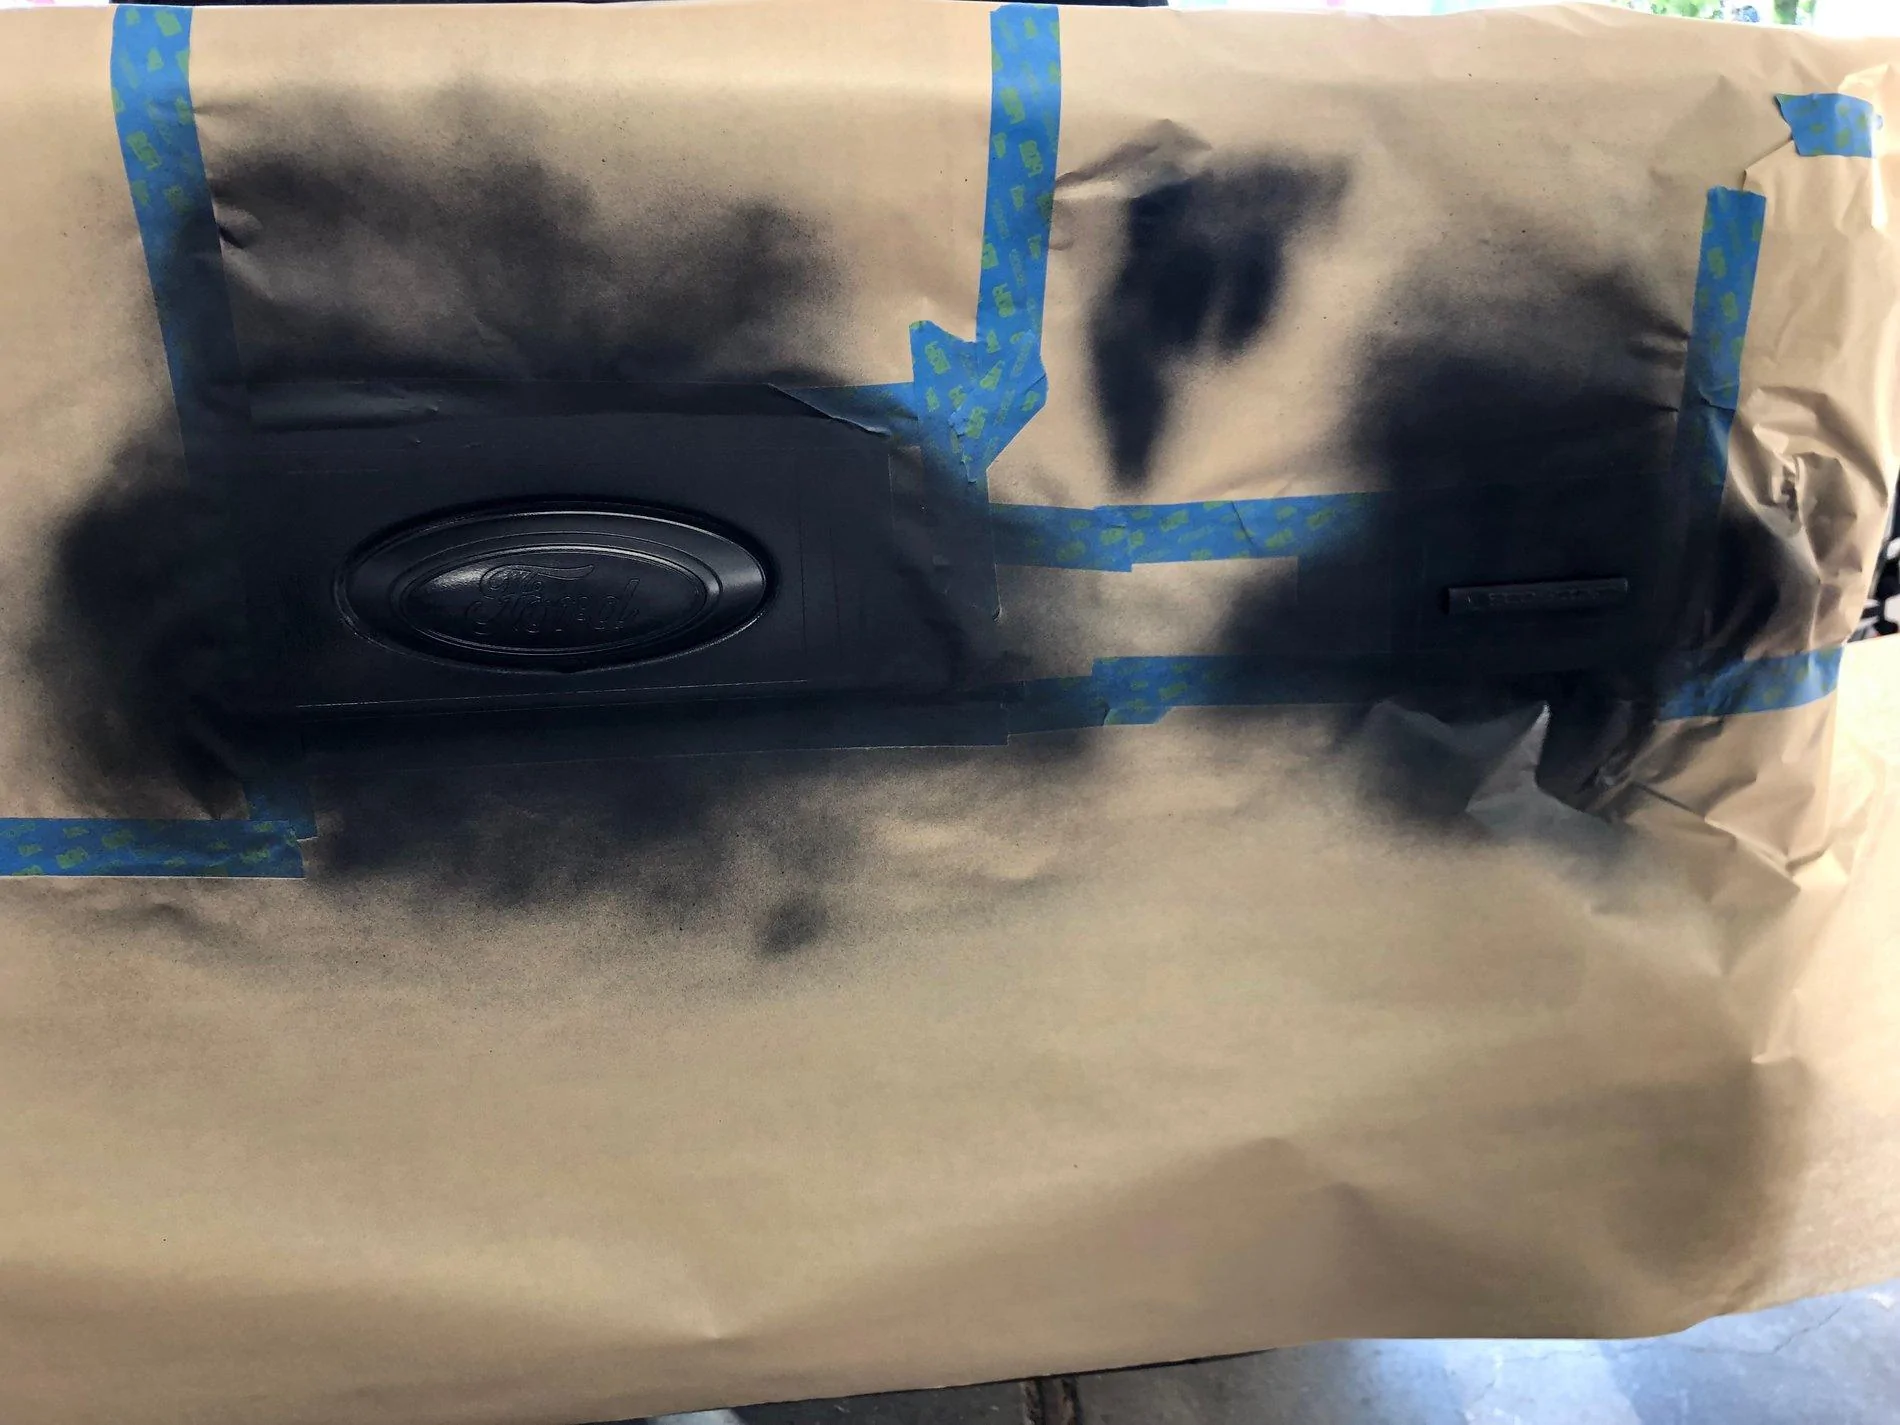
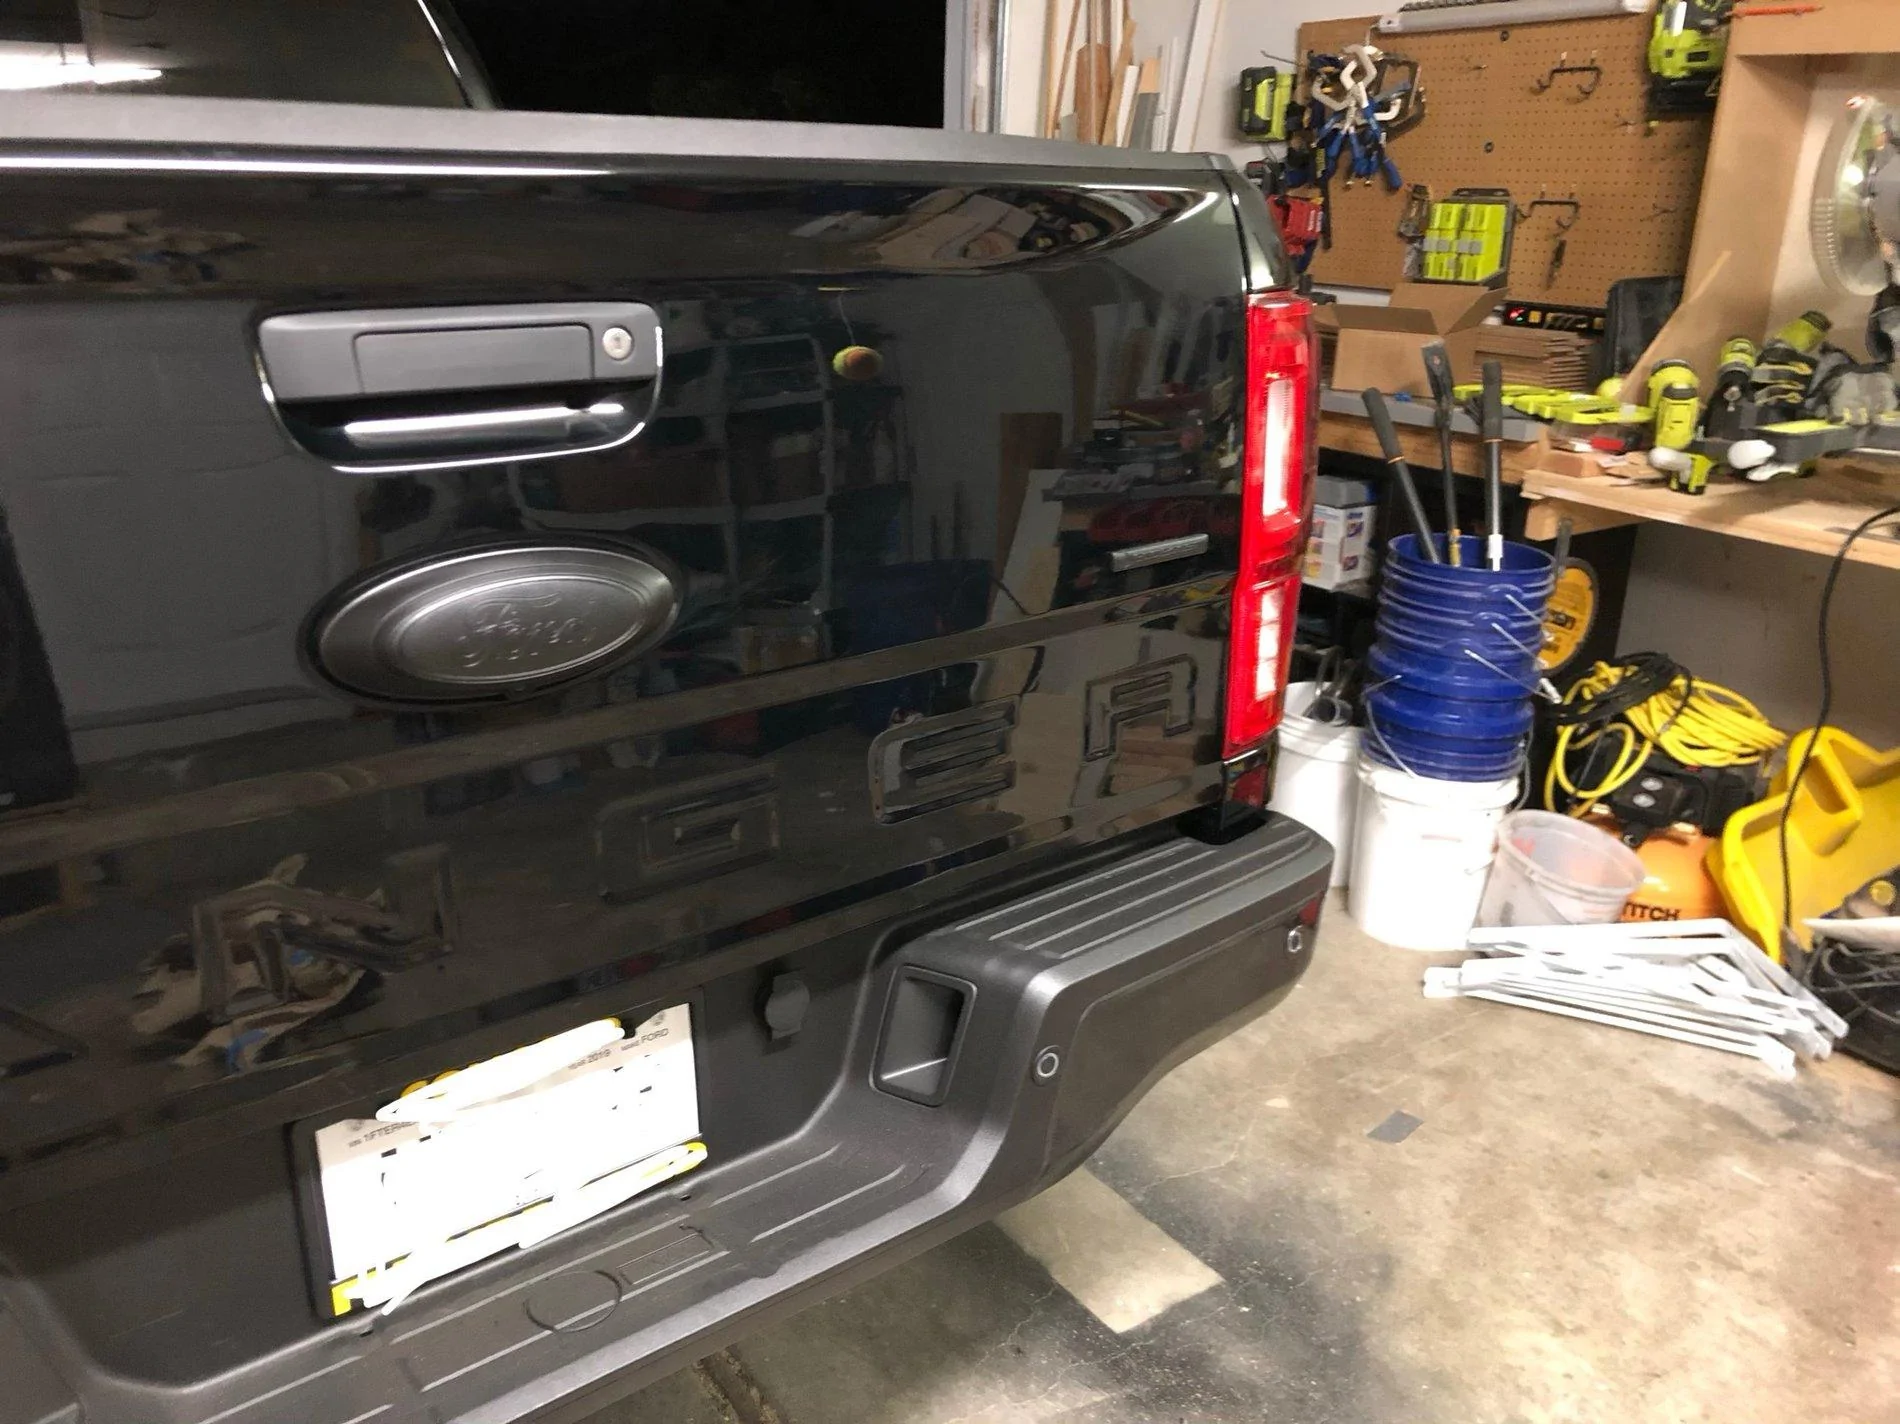
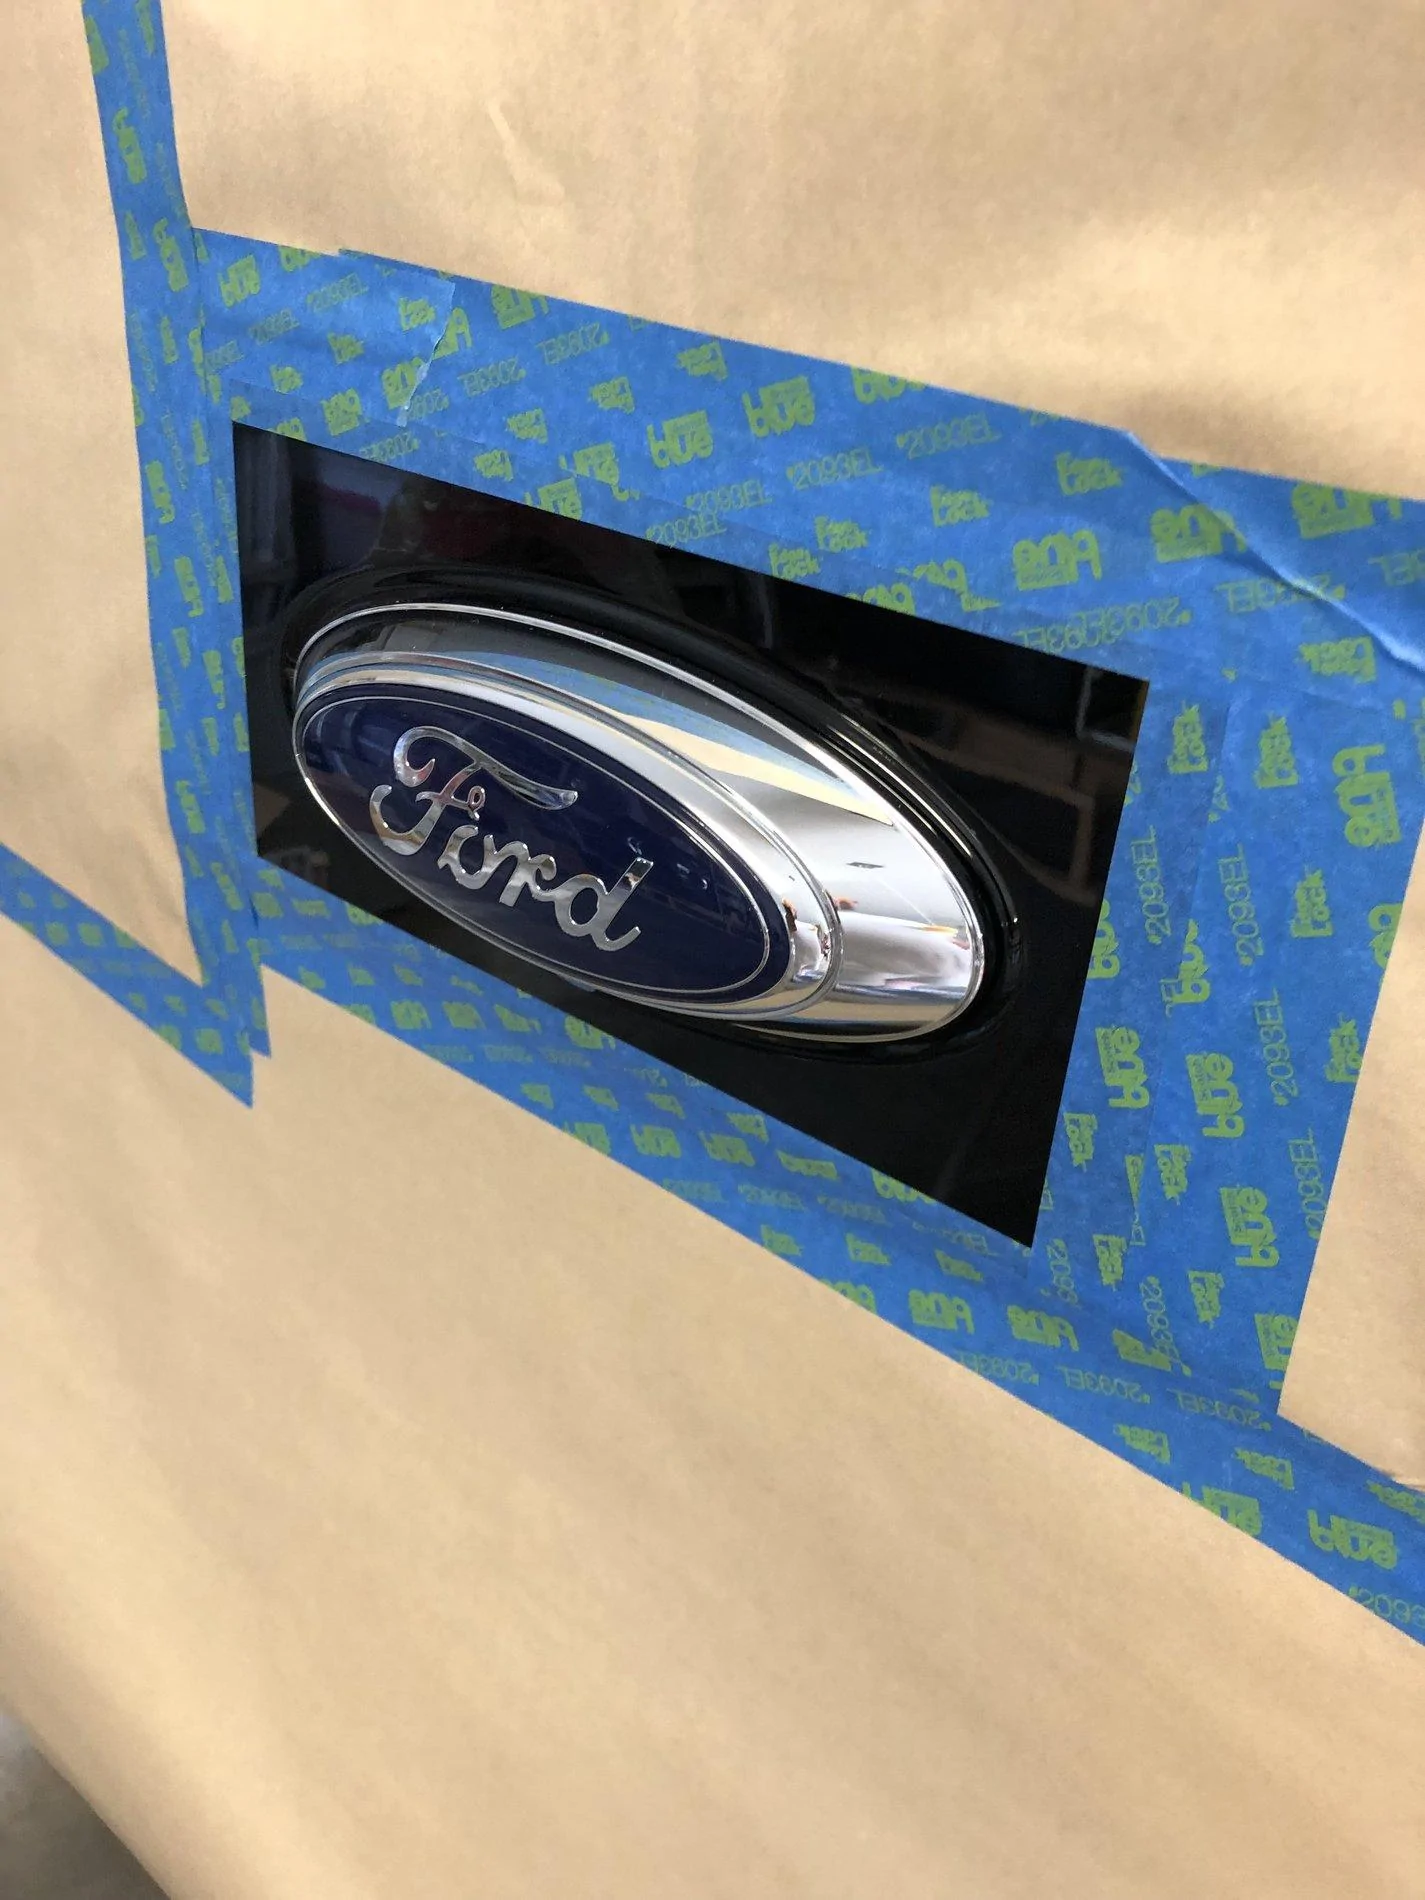
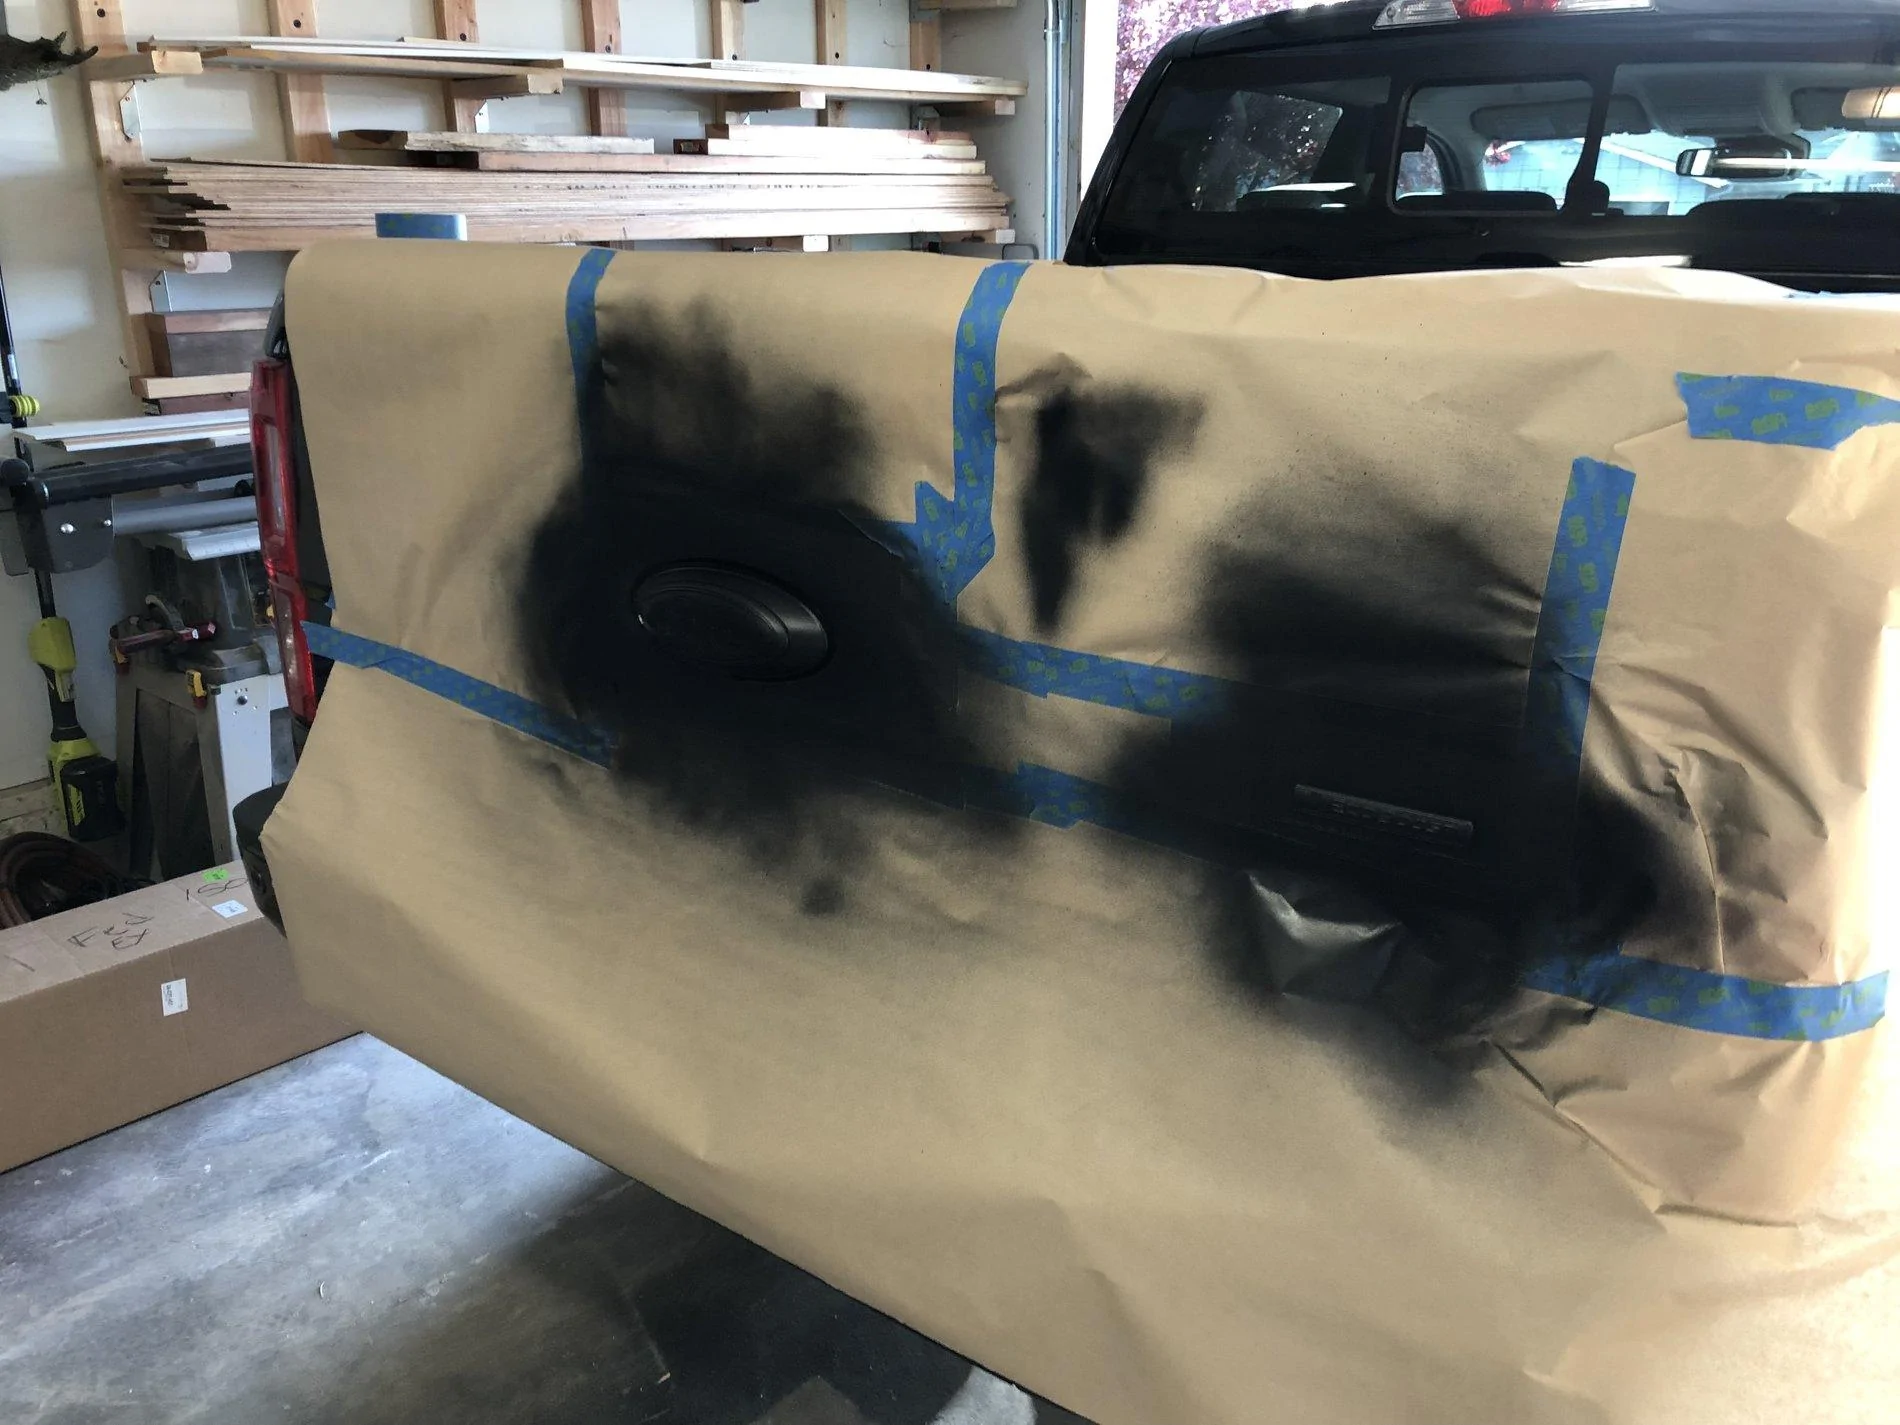
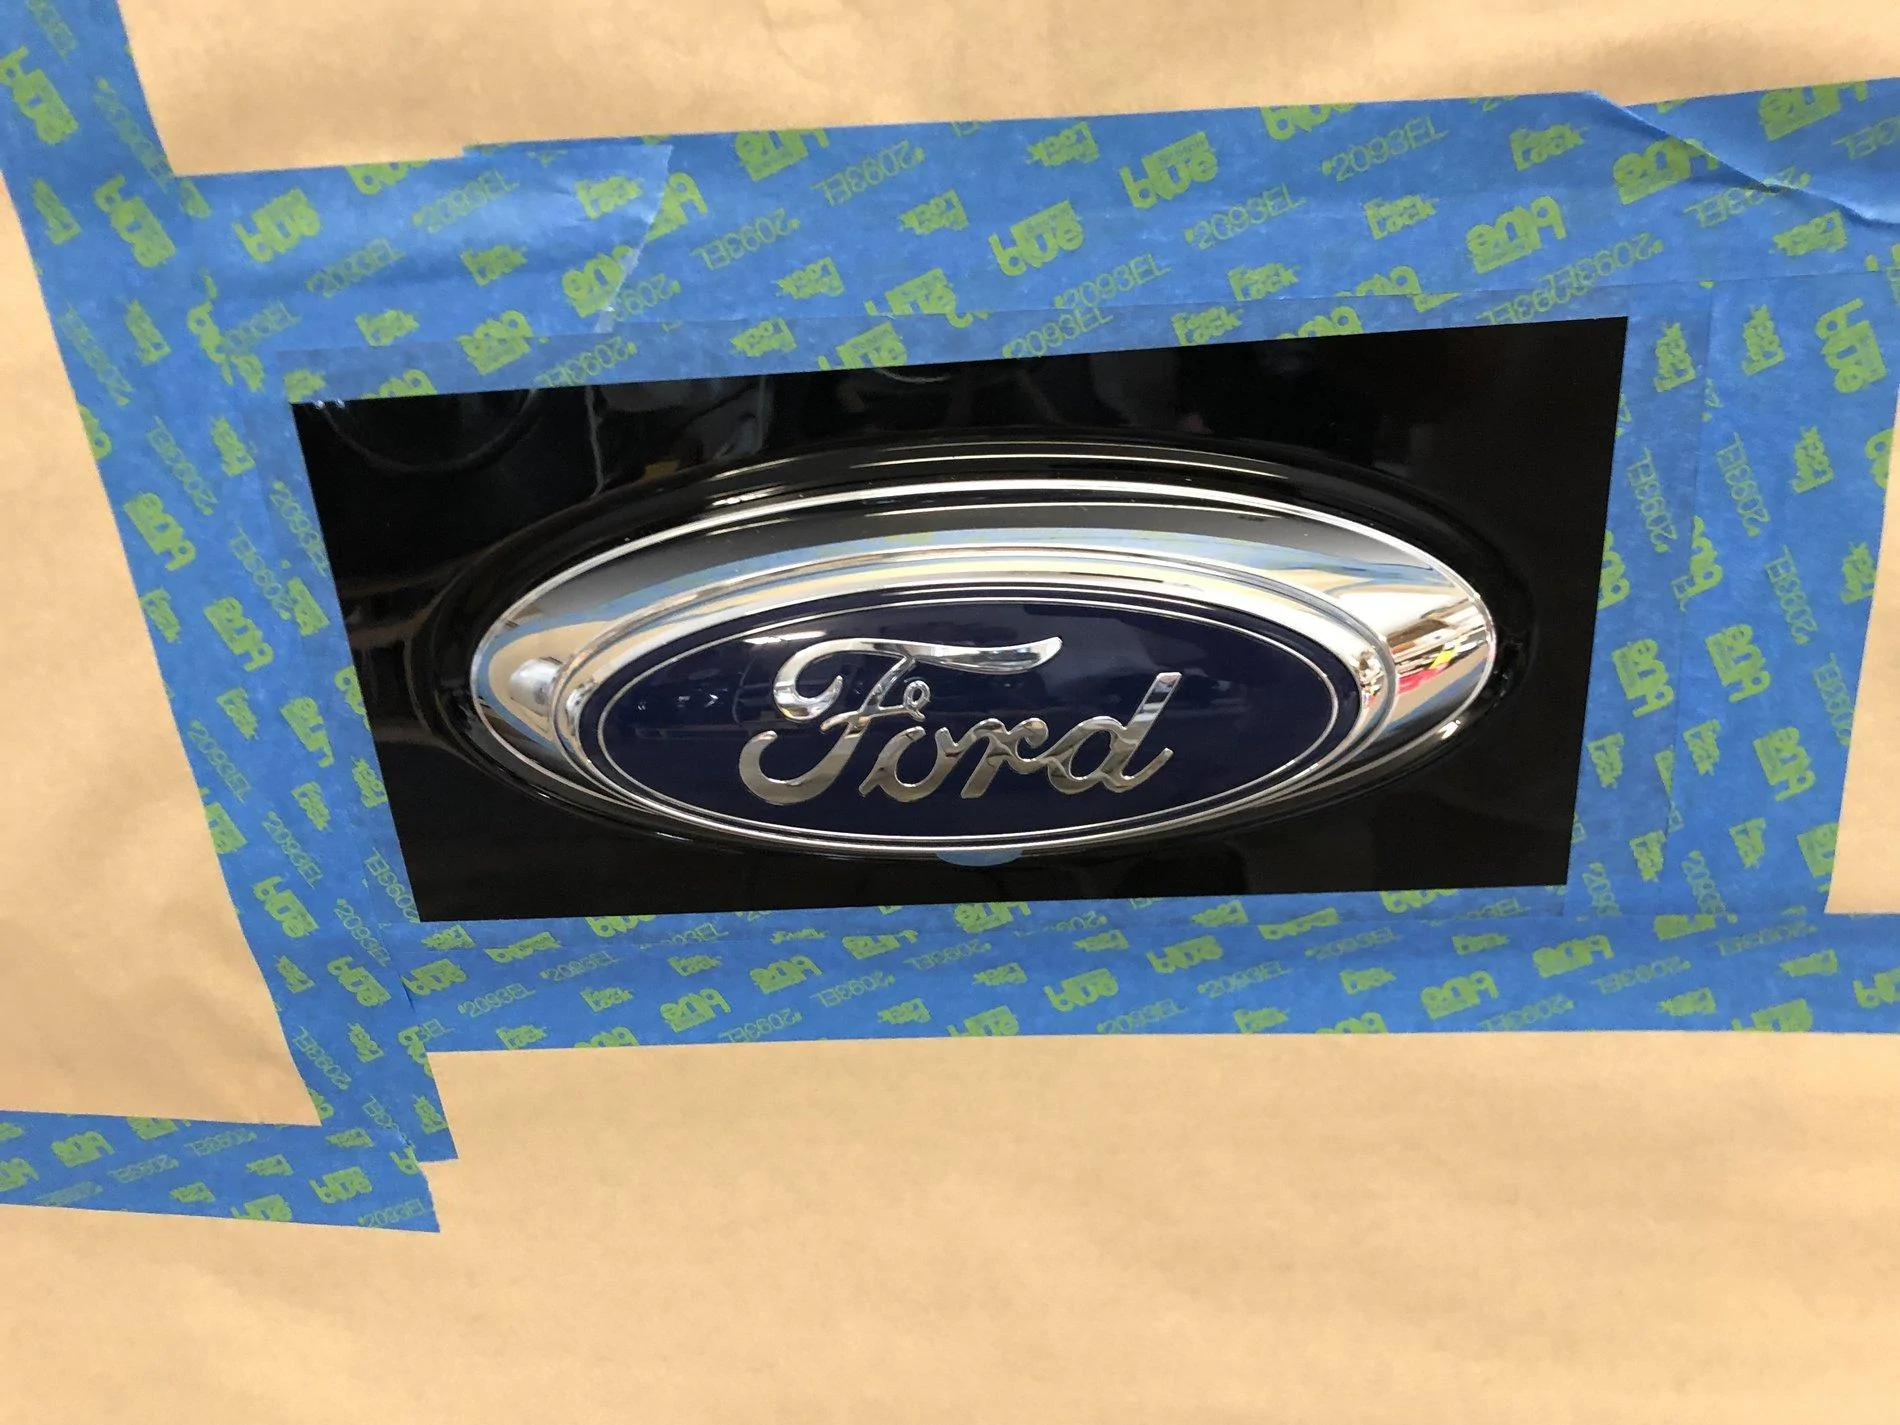
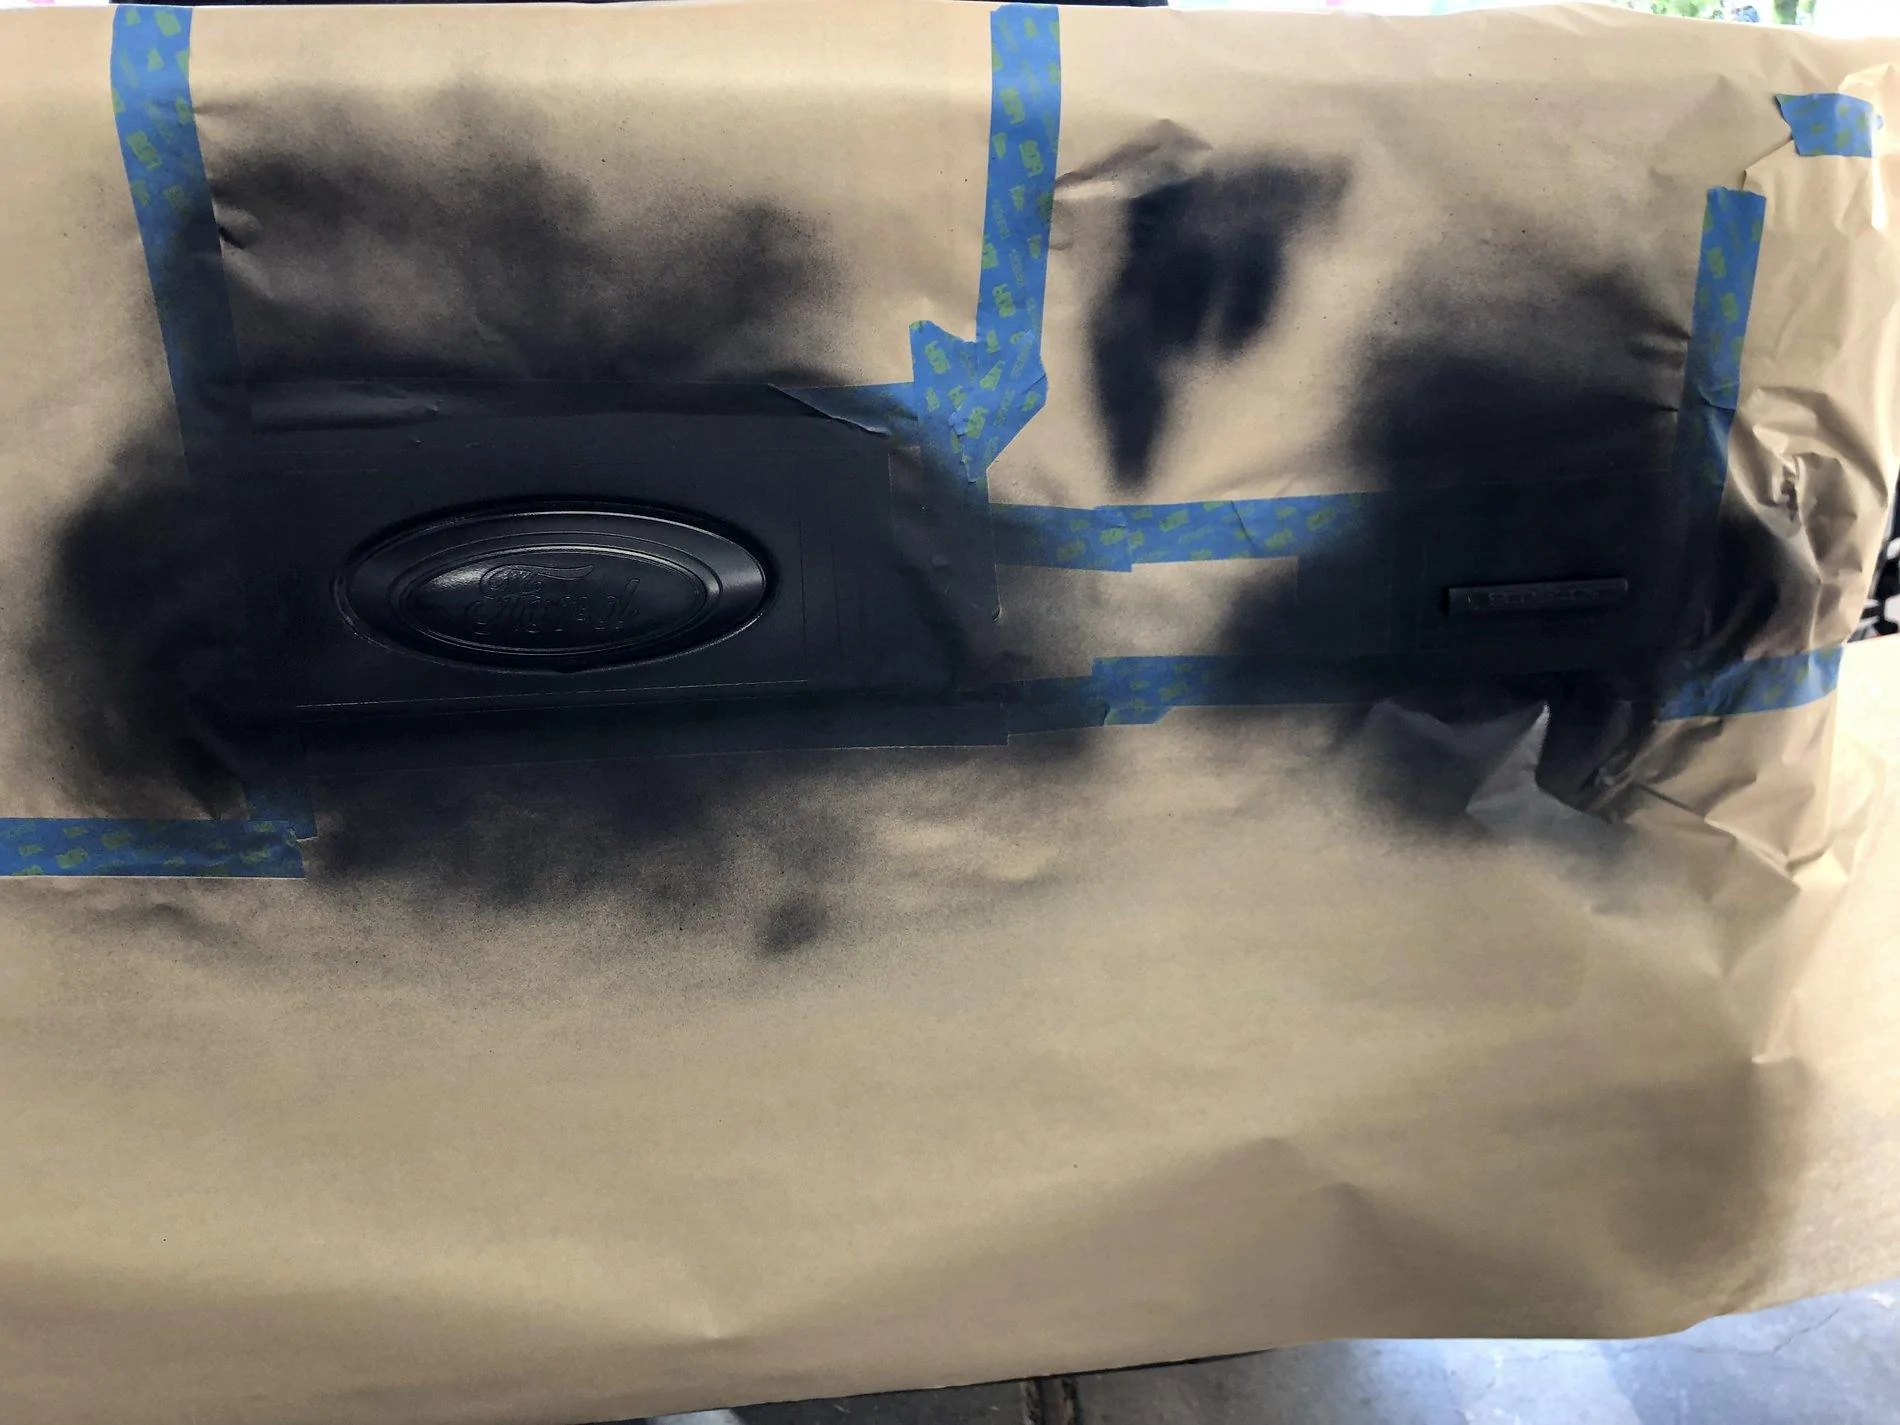
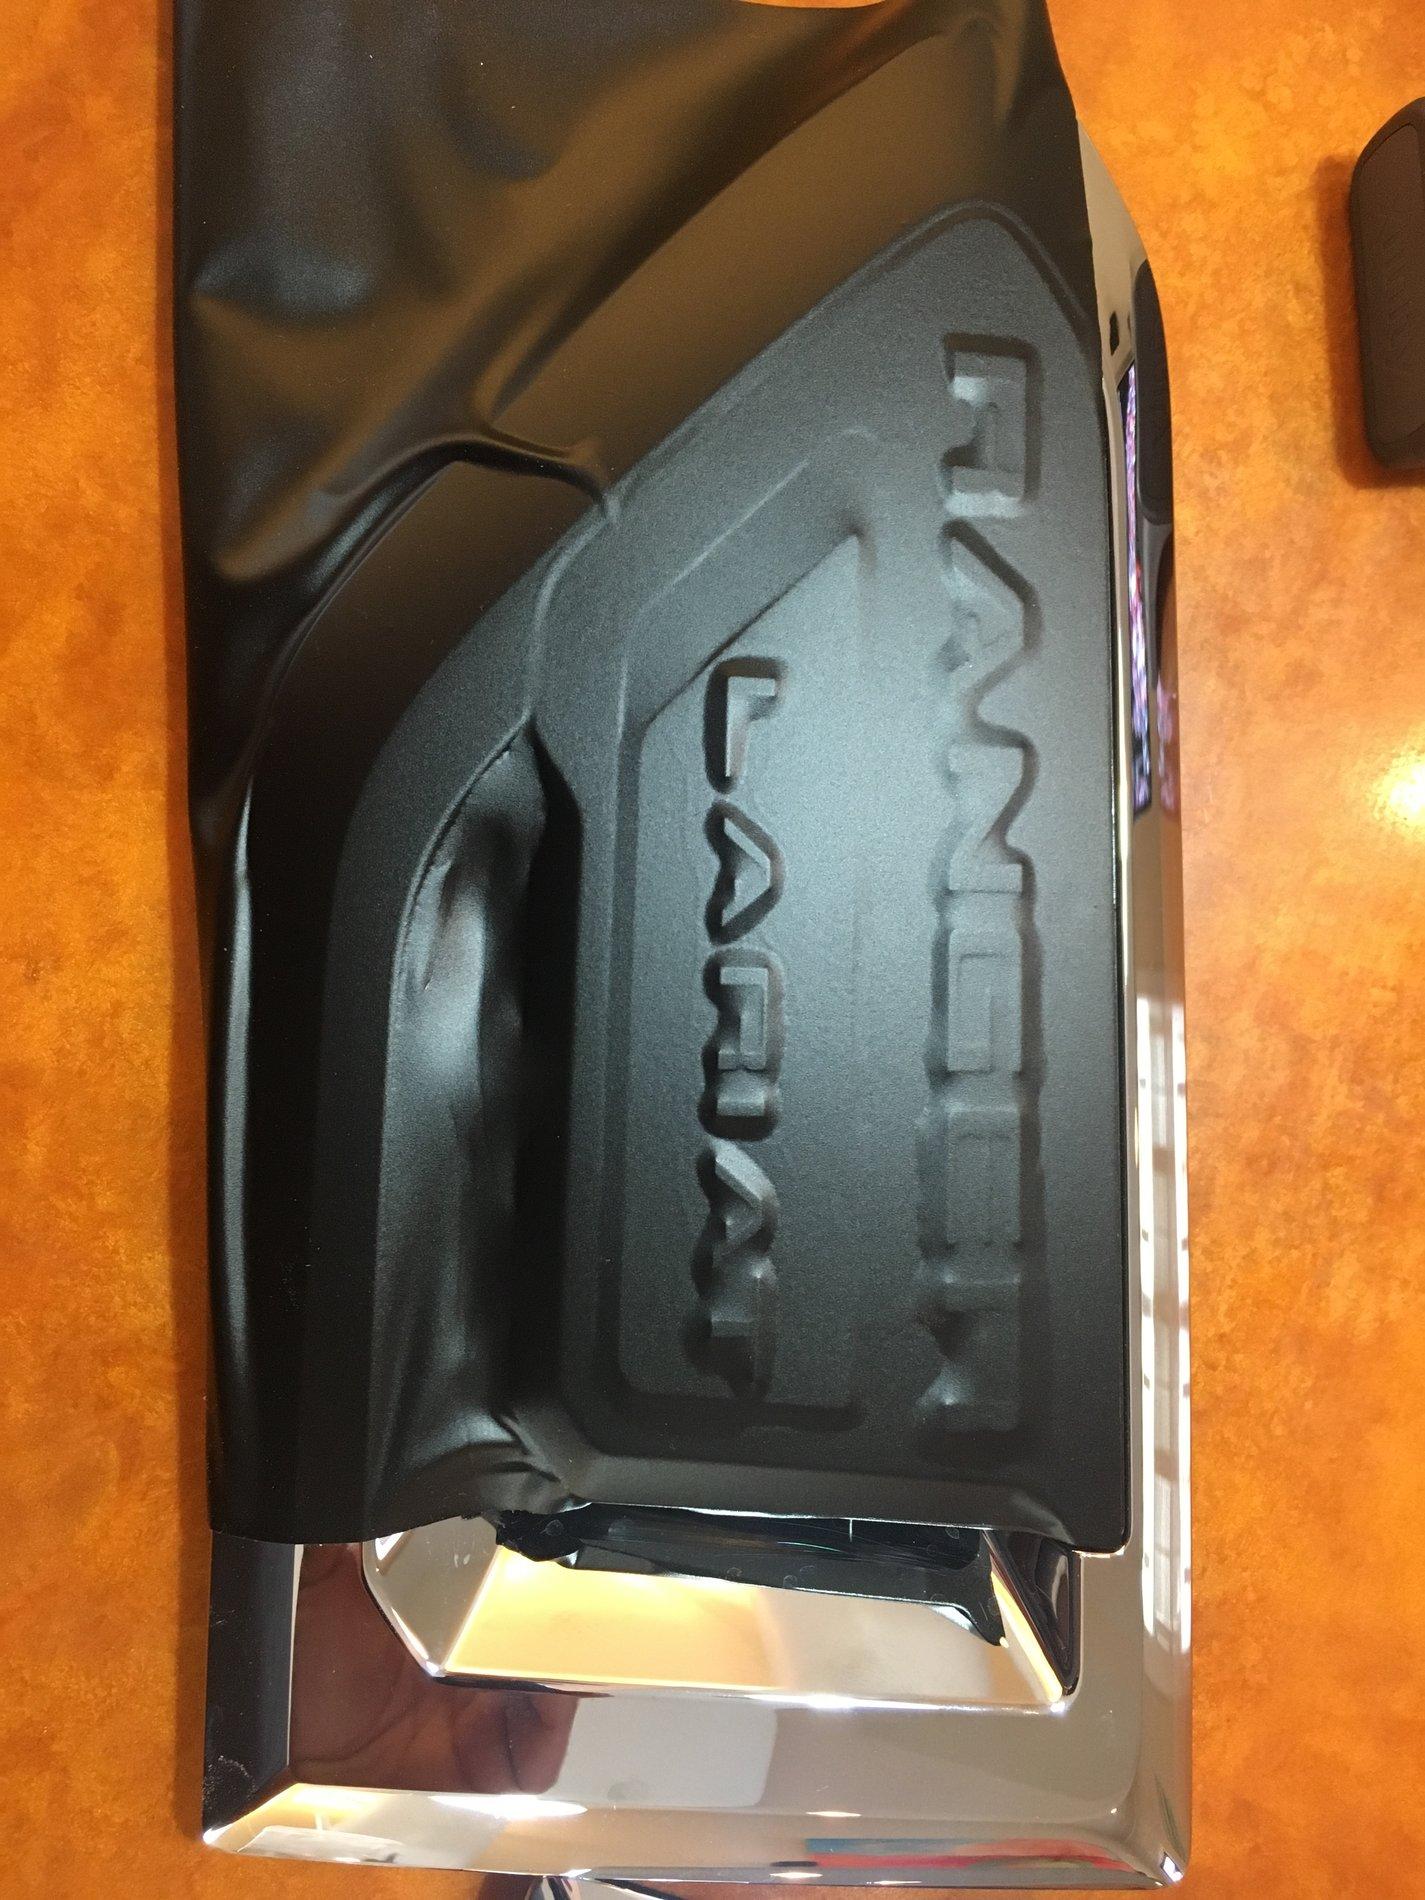
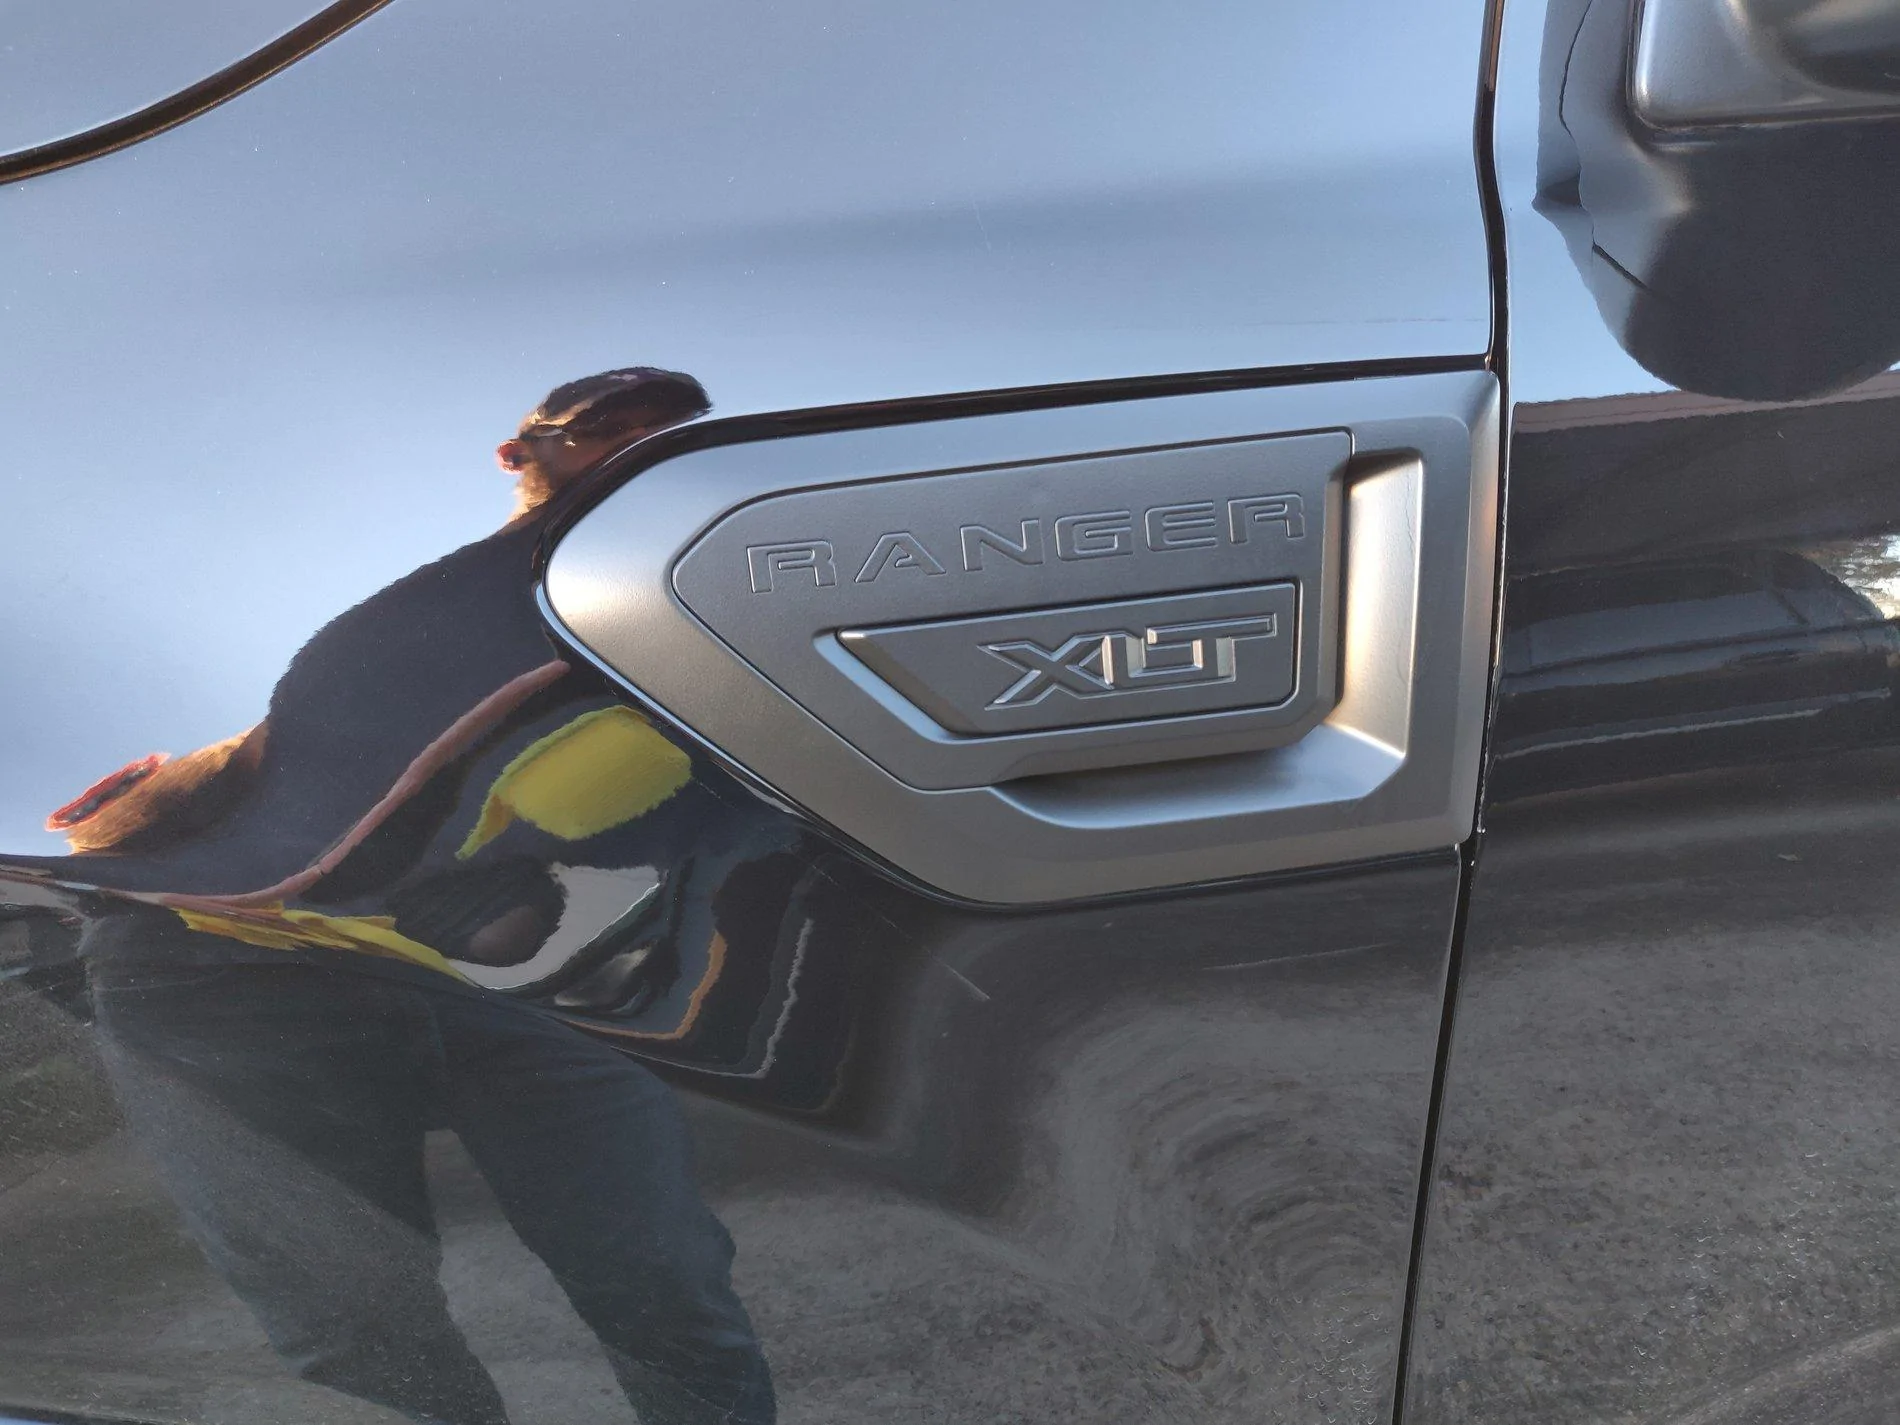
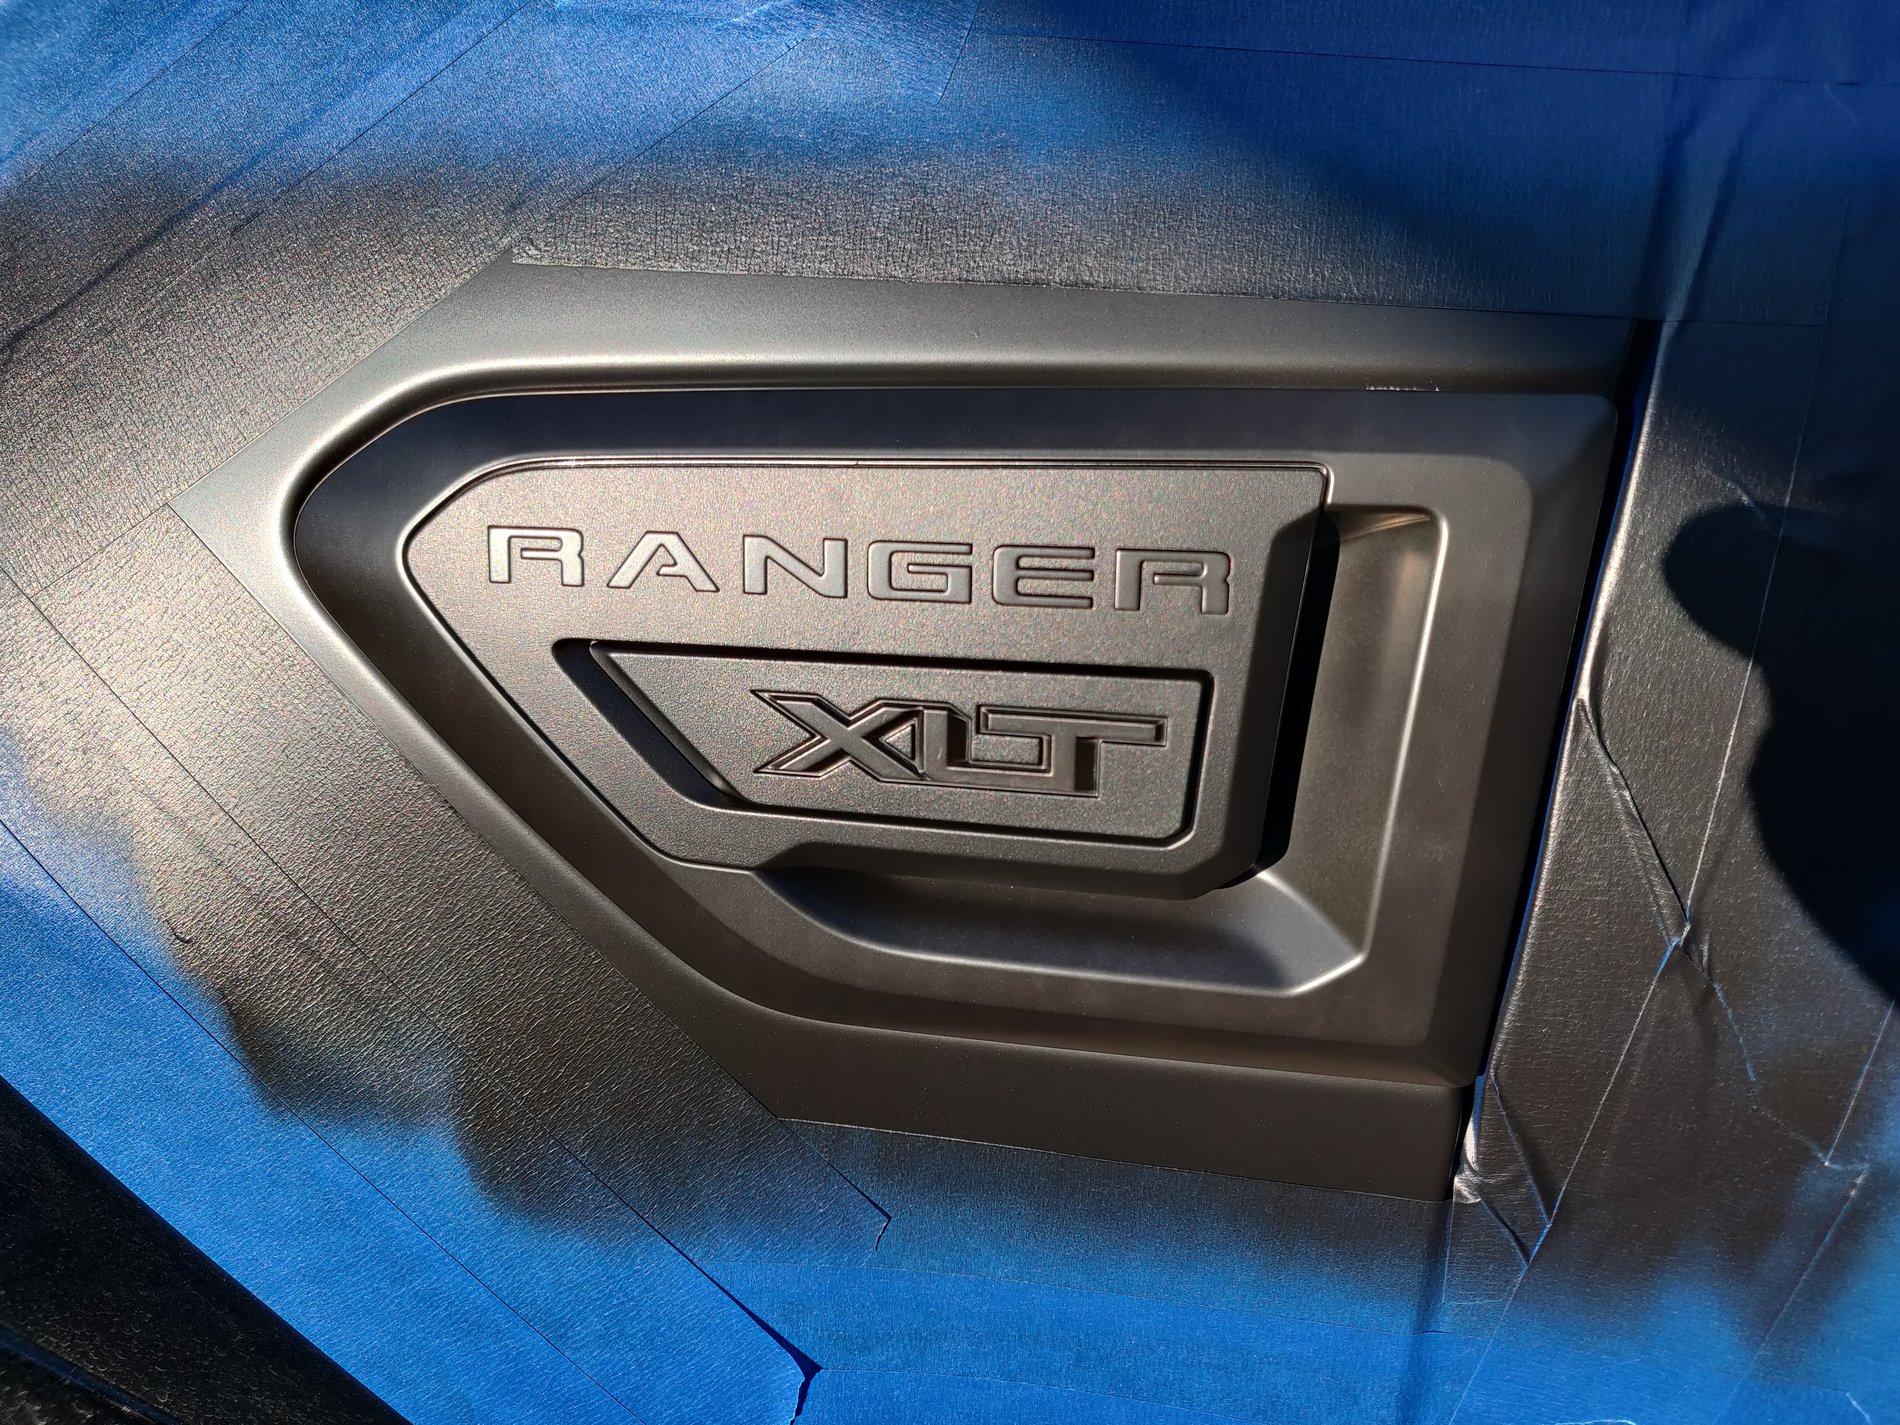
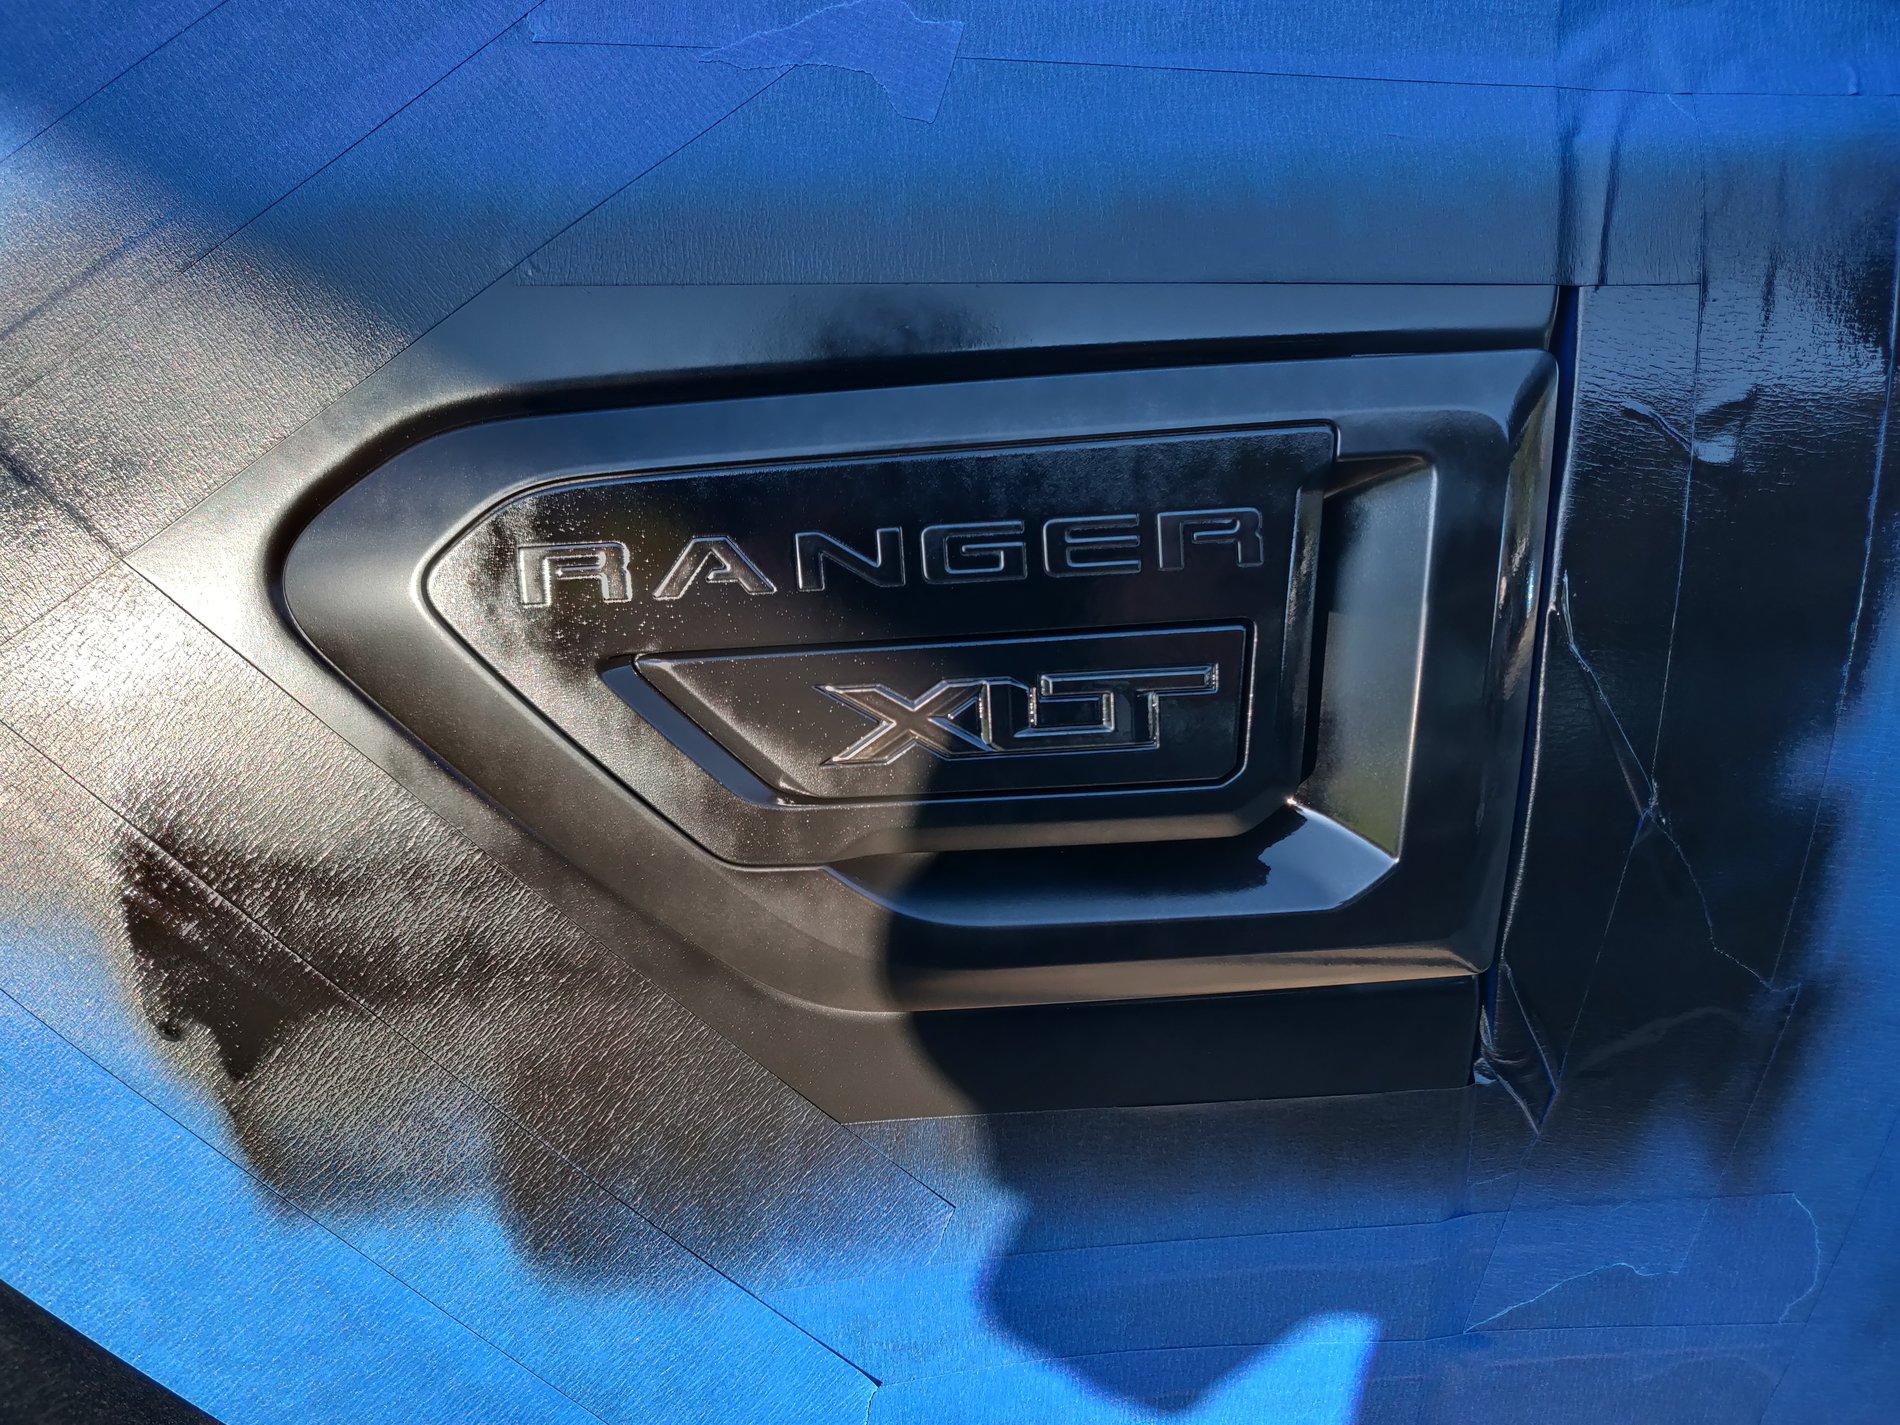
Did you remove the rear emblem to dip it or did you mask the truck?I am going to plasti dip the gills matte black this week/weekend and will post some pics. Did the emblems this past weekend and came out pretty good...
Sponsored