Sponsored
Search results
-

Finally towed this weekend
It's on page 148 of the manual. The button is one of them in this area of the console that I have circled in red. Looks like the indicator icon from page 86. Hope this helps! -
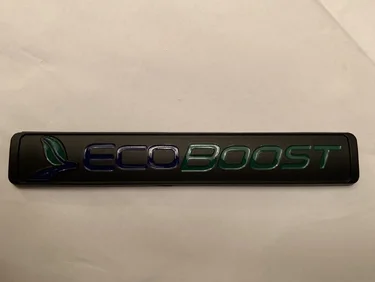
California WTS Black/Blue/Green Ecoboost Badge
Bump. Still have two available.- oggvorbis
- Post #2
- Forum: Exterior Parts & Accessories
-
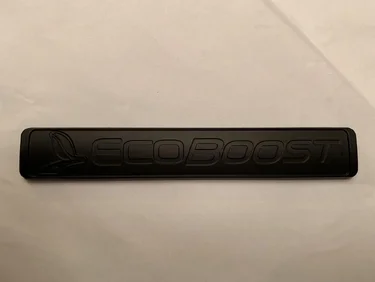
California WTS Ecoboost Matte Black Badge
Both sold! Thanks guys!- oggvorbis
- Post #4
- Forum: Exterior Parts & Accessories
-
2019 Ford Ranger Reviews Compilation
Not really much of a review or comparison video but more like taking these two trucks around a dirt short track pretty fast and hitting some jumps!- oggvorbis
- Post #539
- Forum: General Ford Ranger Topics
-
Radar detector installation assistance
Not a problem, we're all in here to help each other. If you have this Gray three wire plug, you can tap in to the blue wire for switchable 12v power and black for ground. If you don't have this, you could purchase these and use a fuse tap to get your power. Like in the photo below. Fuse... -
Radar detector installation assistance
Hi Rich, Your reply didn't post. Just the quote... -
Radar detector installation assistance
MirrorTap Installation I've got a Lariat so I'm not sure if you have the same harness behind the mirror, but from my post above you can see the gray harness that I tapped into to get switched power and ground from. you can see the red and black taps in the photo below. If you don't have... -
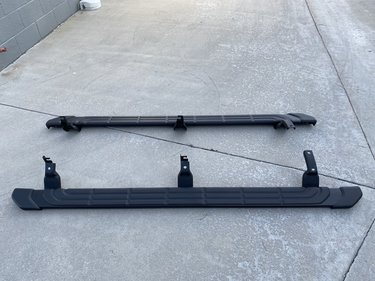
California Sold: WTS Used Factory Running Boards/Side Steps - Black - Supercrew - $200
Selling my factory running boards taken off after I ordered some frame mounted sliders. Asking $200 or best offer. Willing to meet anywhere in Orange County, Los Angeles, or Inland Empire. In good condition with no damage. Taken off at 12,000 miles. Garaged truck, mostly highway and city...- oggvorbis
- Thread
- Replies: 3
- Forum: Exterior Parts & Accessories
-
8492 - 2019 Ranger - Trailer Brake Controller Availability
I can confirm with what @robsquatch posted in that thread. I also was at the owners/engineering event in Saturday here in southern California and I spoke to multiple engineers regarding brake controllers and they all confirmed there won’t be and is no plans for an integrated controller for this... -
KING SHOCK 2.5 Ranger Kits Now Available
I don’t see an option for the finned reservoirs but compression adjusters is in the dropdown box under “king 2.5 trail kit,” a $570 option. You’ll probably just have to give them a call if they don’t see this.- oggvorbis
- Post #13
- Forum: Rogue Offroad [CANCELED]
-
KING SHOCK 2.5 Ranger Kits Now Available
They linked it in the first post... https://www.rogue-offroad.com/product-p/kingranger1.htm @Rogue Offroad also stated the build time would be 2-4 weeks. I would think that with King just releasing this, they'll probably be flooded with orders so I would think more like 4-6 weeks.- oggvorbis
- Post #11
- Forum: Rogue Offroad [CANCELED]
-
Removable Roof Racks
Both yakima and thule over the roof options mount the same way. You have crossbars that are mounted to a generic clamp/holder. The clamp is then paired with a vehicle specific kit/footpack that is essentially a rubber base and coated "hook" that cams in between the door and the roof. Here's...- oggvorbis
- Post #8
- Forum: Exterior Mods
-
MirrorTap Installation
If you didn't want to buy a Cellink, you could go with something like this if your dash camera is powered by micro/mini/type-C USB. https://www.amazon.com/gp/product/B072J3L2JN/ref=ppx_yo_dt_b_asin_title_o00_s00?ie=UTF8&psc=1- oggvorbis
- Post #15
- Forum: Interior Mods
-
MirrorTap Installation
I'm using a Cellink Neo Battery to power my dash cameras. Fits perfectly in the glovebox. I used the Micro2 Add-A-Fuse that came with it to get power from Fuse 37 in the driver side fuse panel. See the post below... Dashcam install- oggvorbis
- Post #14
- Forum: Interior Mods
-
8492 - 2019 Ranger - Trailer Brake Controller Availability
@Hambone437 posted this a few posts later on the thread... "To remove the top of the console off I had to first remove the lower dash panel piece that has the two 12 volt sockets. There are two screws holding that piece in place and to get to the screws, I had to remove the lower dash panel... -
8492 - 2019 Ranger - Trailer Brake Controller Availability
@Hambone437 Posted his install here on my Redarc Install thread... https://www.ranger5g.com/forum/threads/redarc-tow-pro-elite-install.1924/page-5#post-44865 Looks like he followed the Redarc install thread up to where we removed the fascia that houses the cigarette lighters then popped off... -
BEST rock sliders...
Did they say that they aren't fabricating this outside of a group buy? It's available to order off their website... https://www.relationsracewheels.com/products/bolt-on-rock-sliders-2019-ford-ranger?variant=22639168880722- oggvorbis
- Post #16
- Forum: Exterior Mods
-
Trailer Tow Package Does Contain 4 Wires for Aftermarket Brake Controller Install
There's no need to remove anything to get to the 4 tow wires. They're located out of the firewall to the left of the brake pedal. They may be wrapped together with electrical tape. See the Redarc walk-through for an idea of where it is... -
Outside Magazine Ranger Project
Excited to see how your build progresses. Like @Hack_Actual said, your goals and expectations for your Ranger mirrors exactly what I'm hoping for. Sidenote, came across your Indefinitely Wild blog a years ago when I was building out my '15 Subaru Outback to support my outdoor adventures...- oggvorbis
- Post #9
- Forum: Build Journals & Projects