WxNerd2015's Hot Pepper Red FX4

OP
OP
WxNerd2015

WxNerd2015

Well-Known Member
First Name
Trevor
Joined
Oct 17, 2018
Threads
9
Messages
296
Reaction score
1,032
Location
Gregory, Michigan
Vehicle(s)
2019 Ranger, 2011 Wrangler, 2017 Escape
Occupation
Applications Engineer
Vehicle Showcase
1
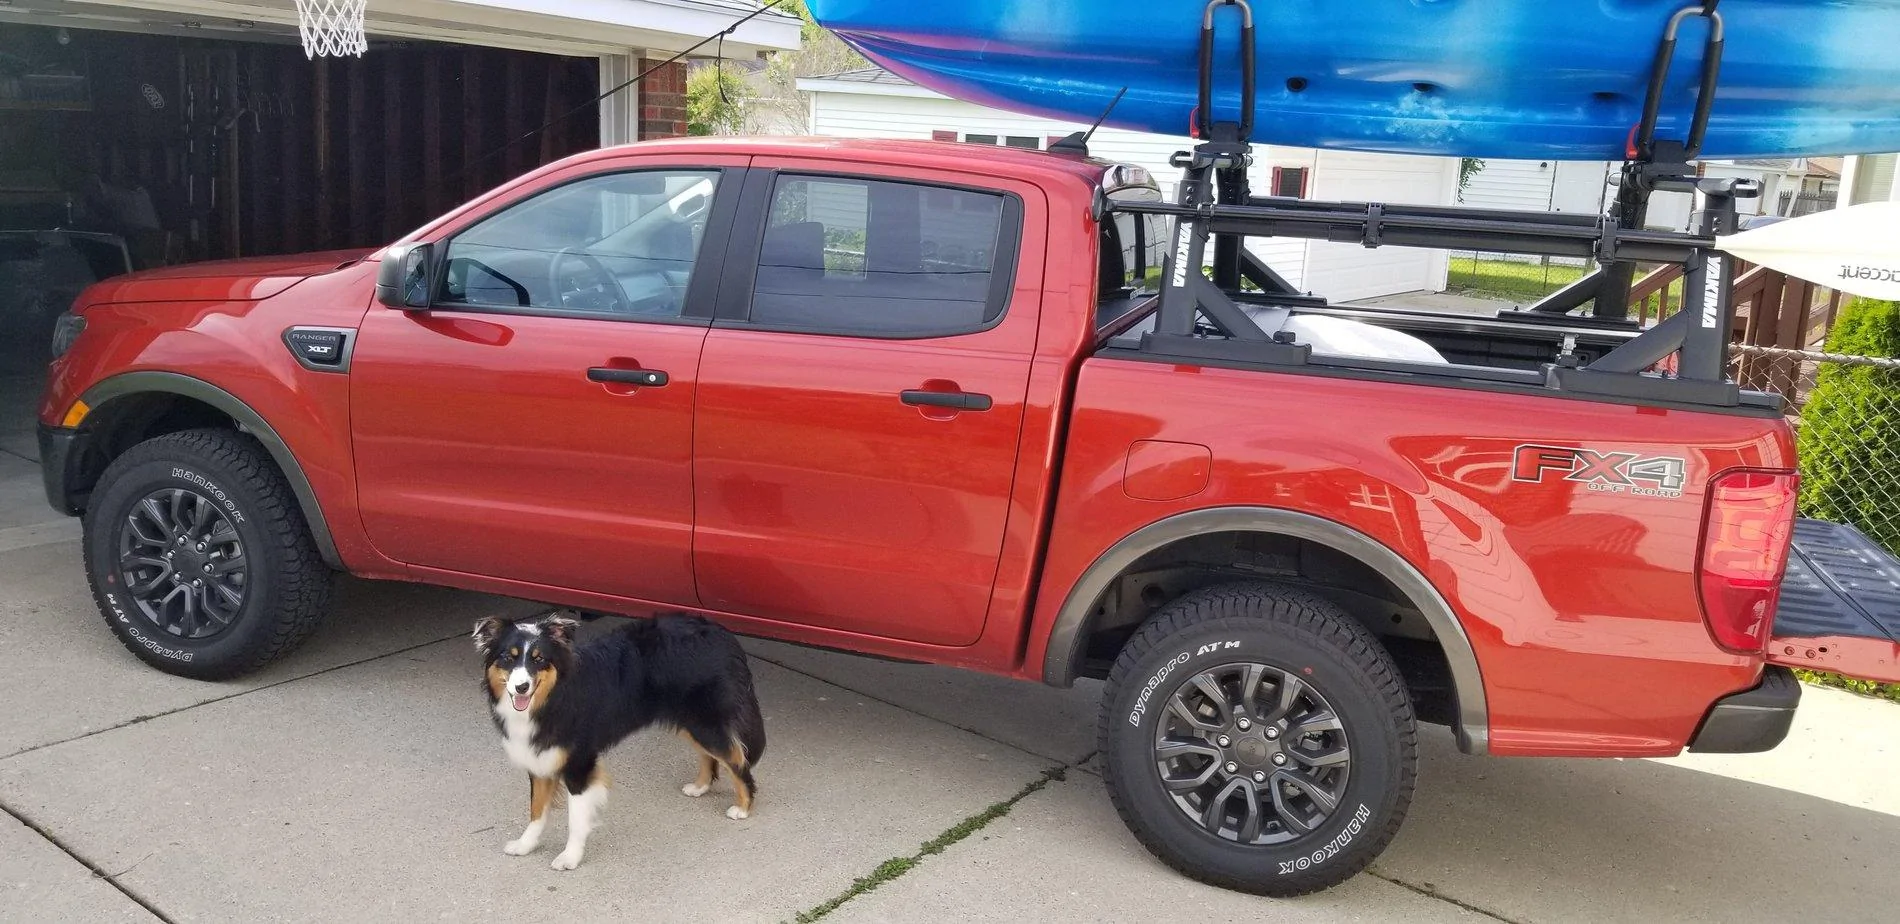
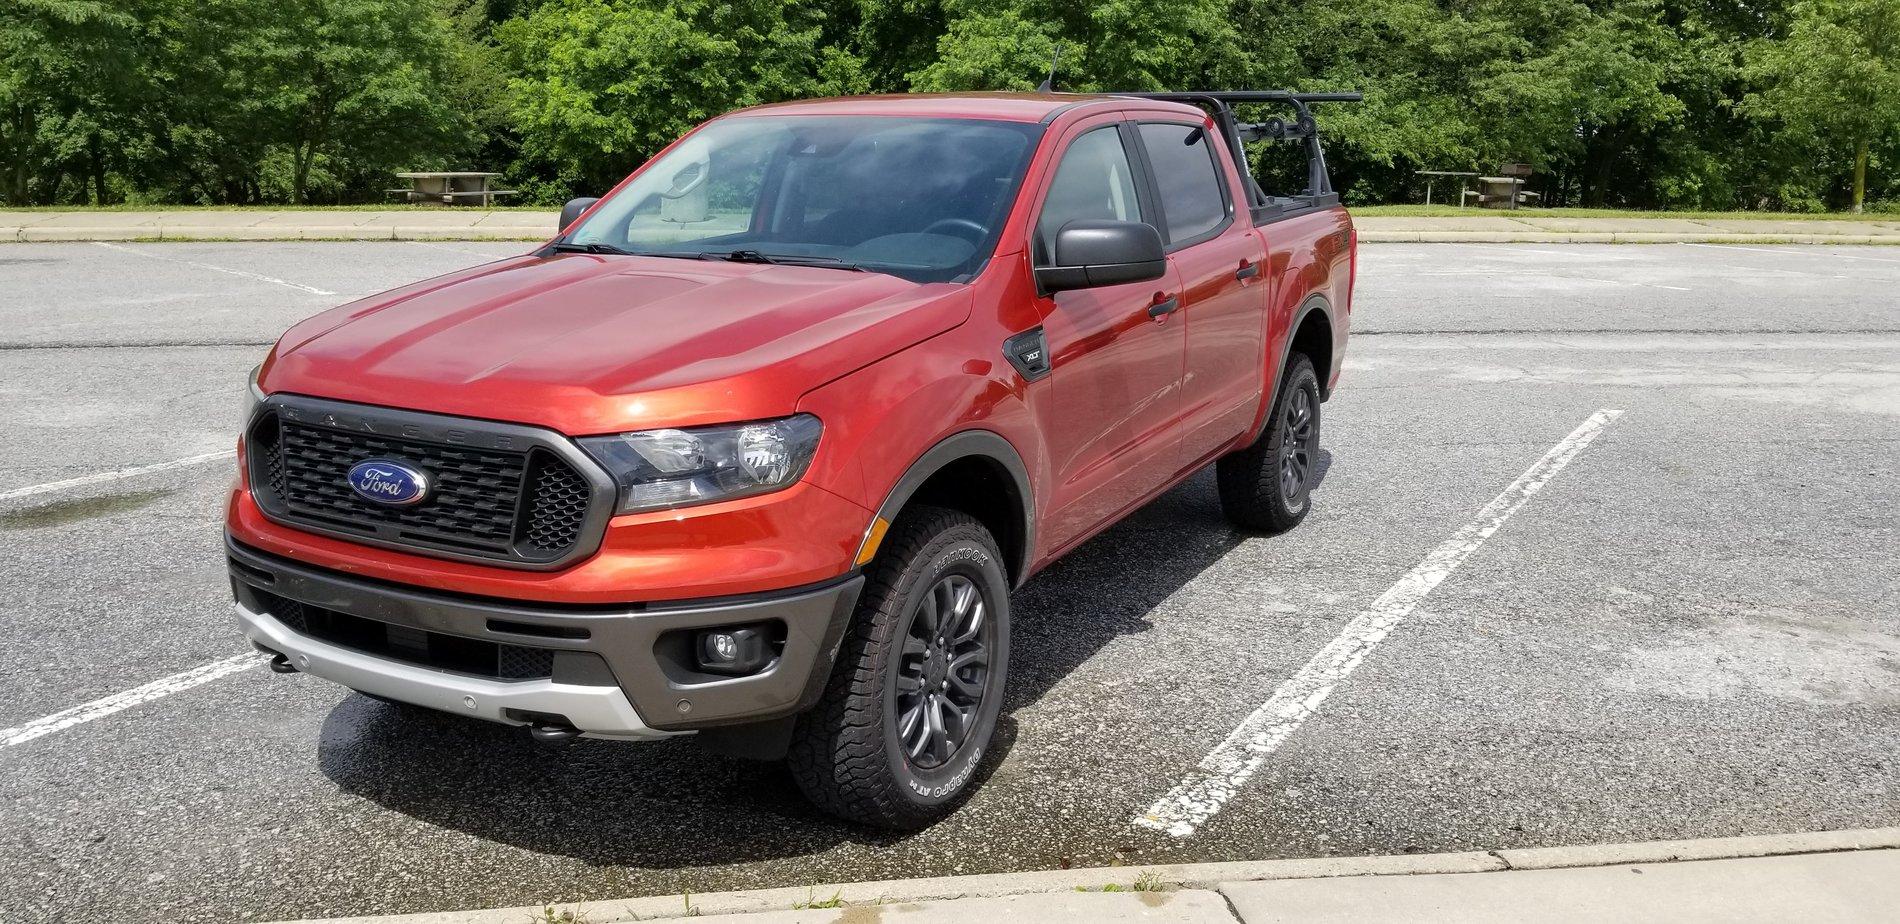
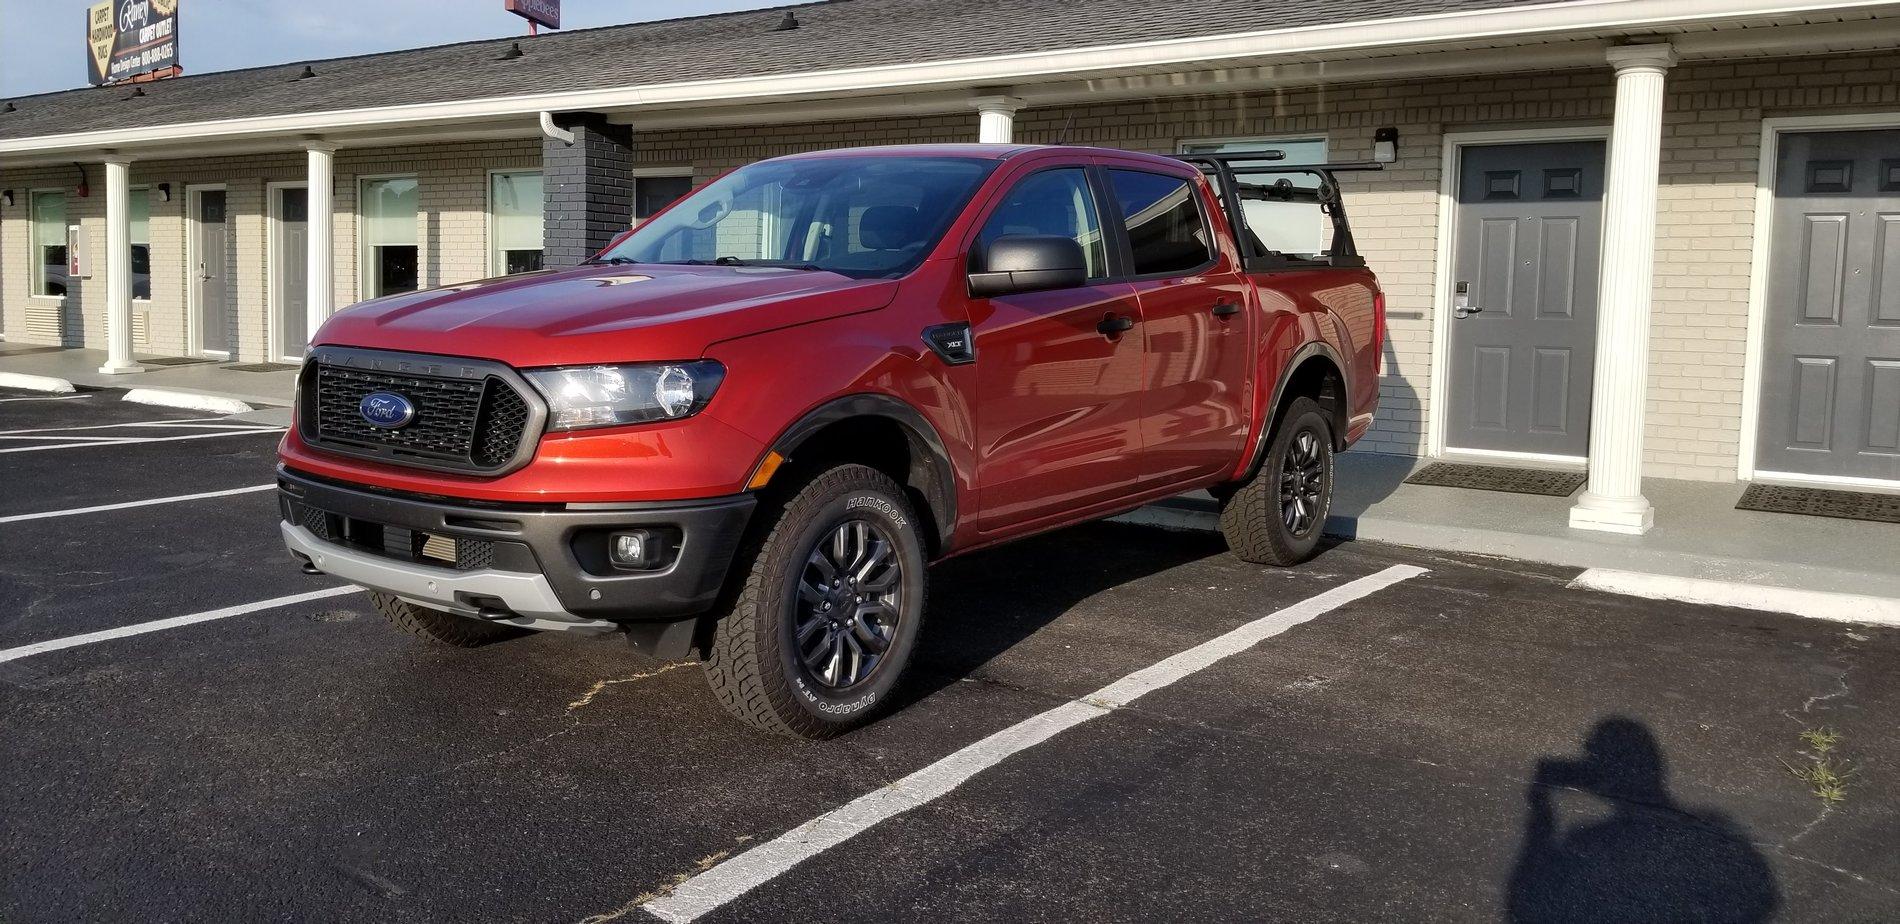
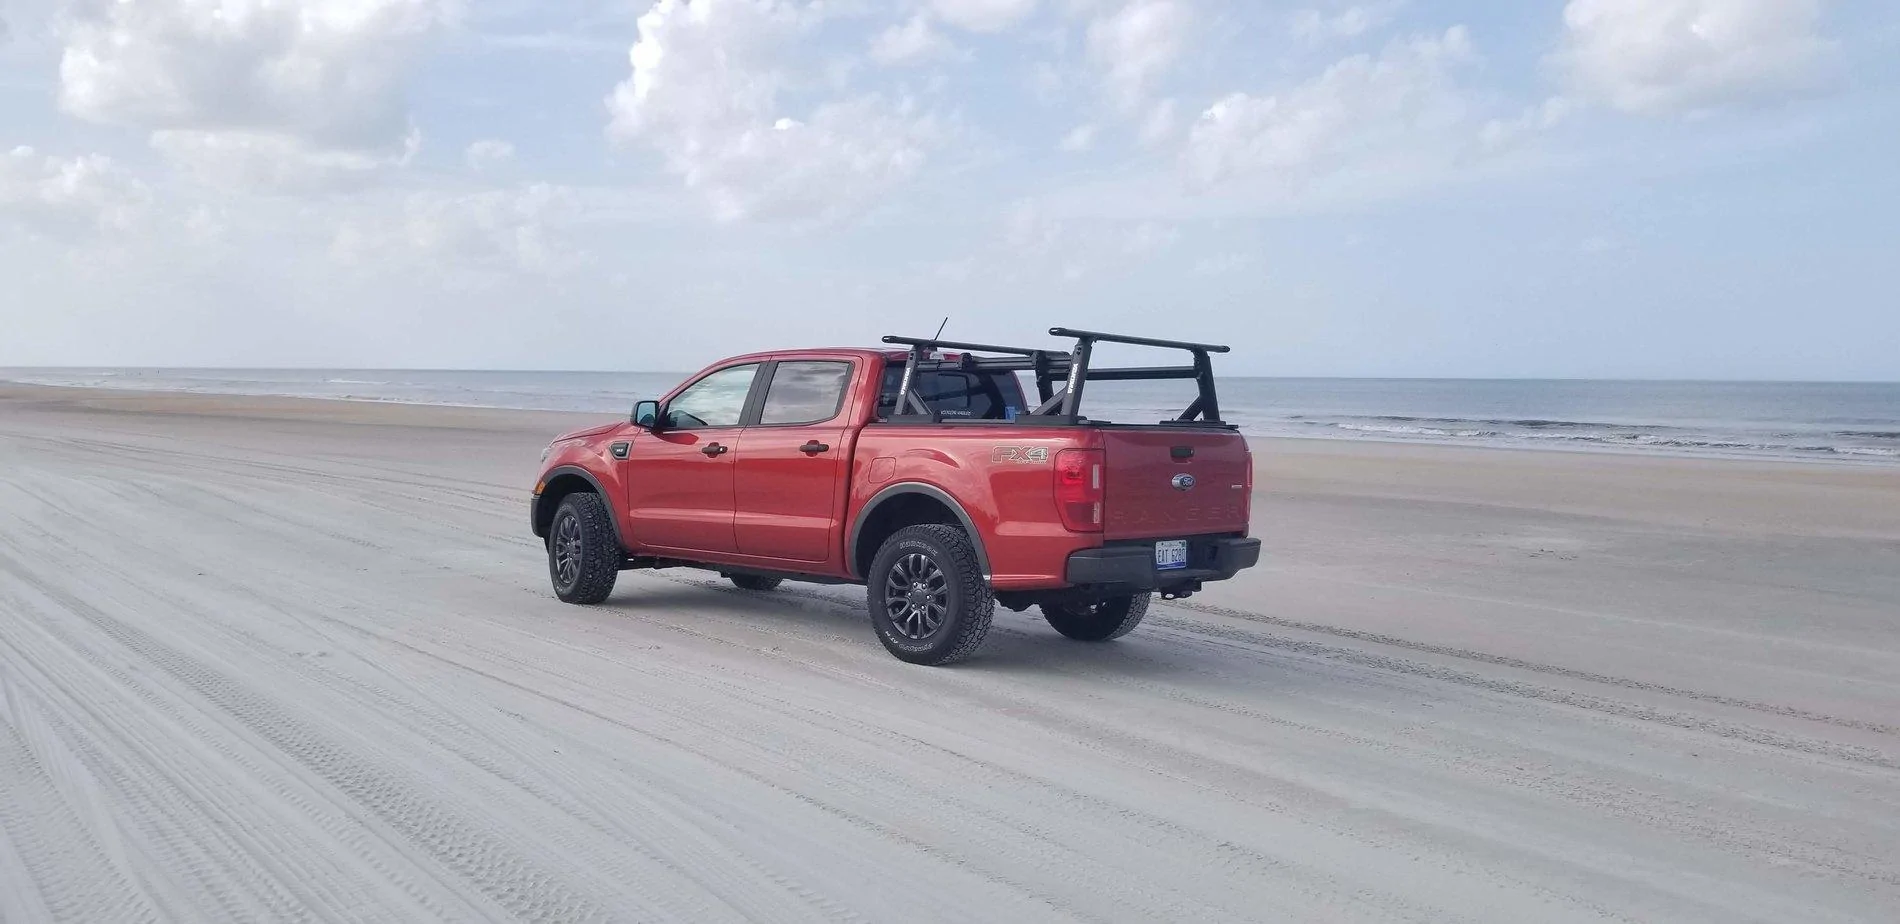
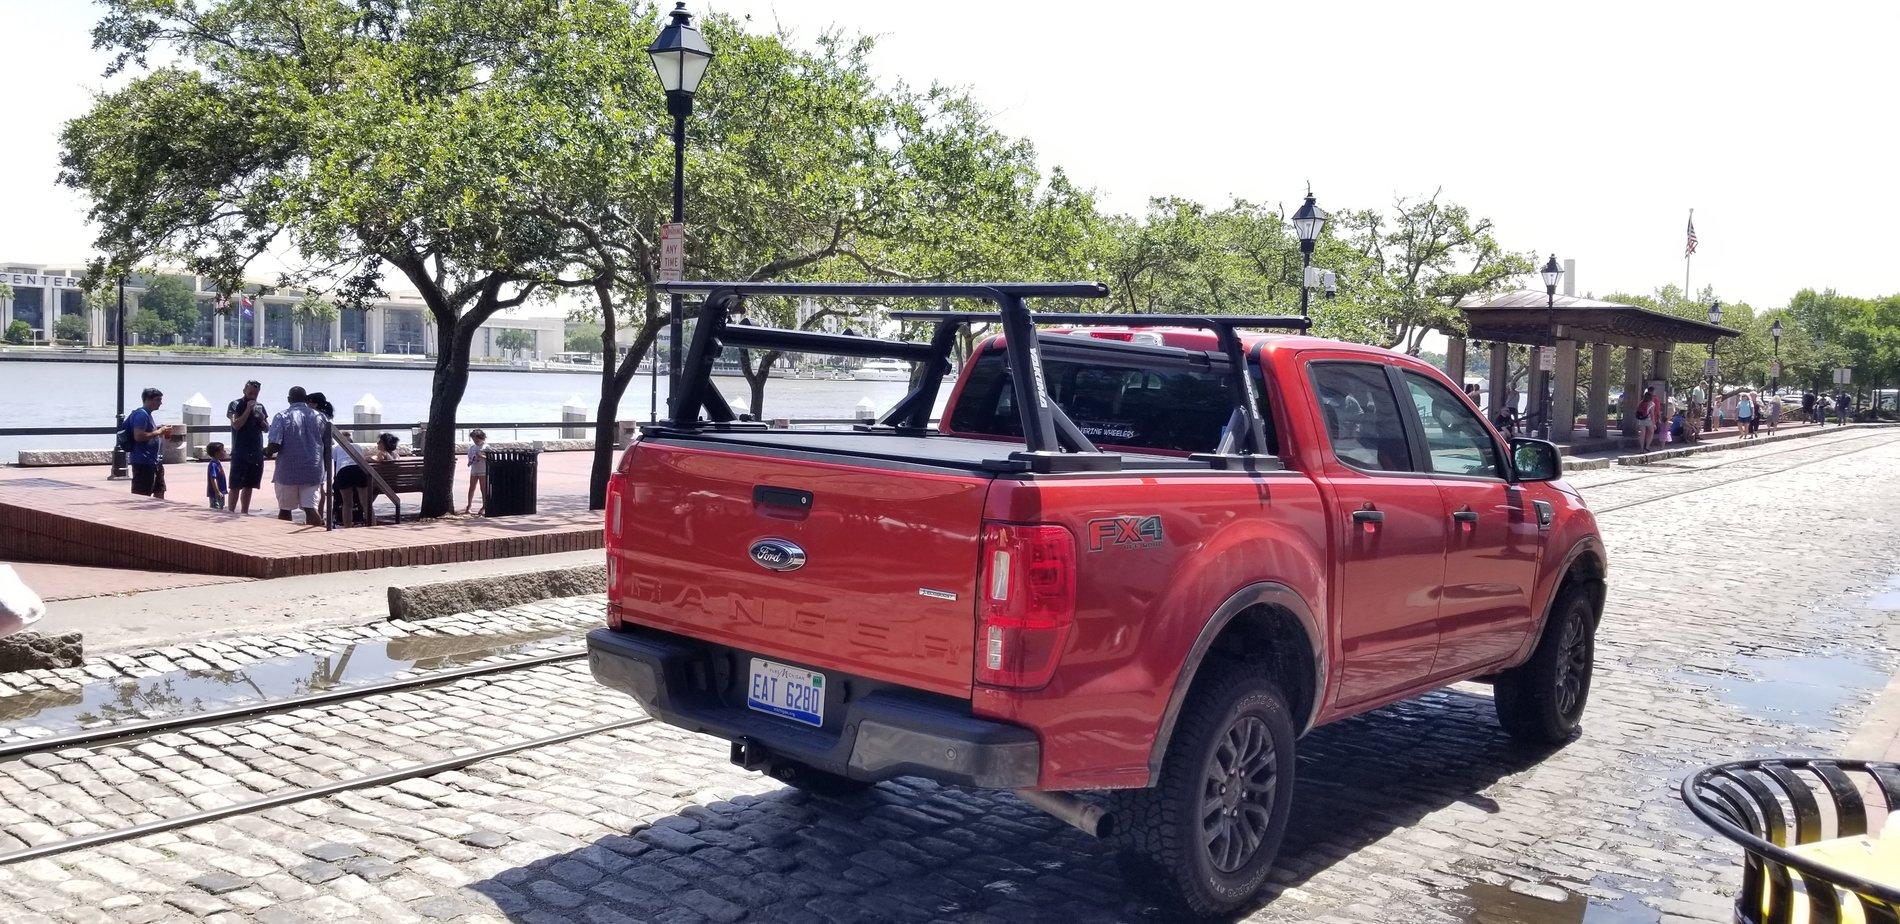
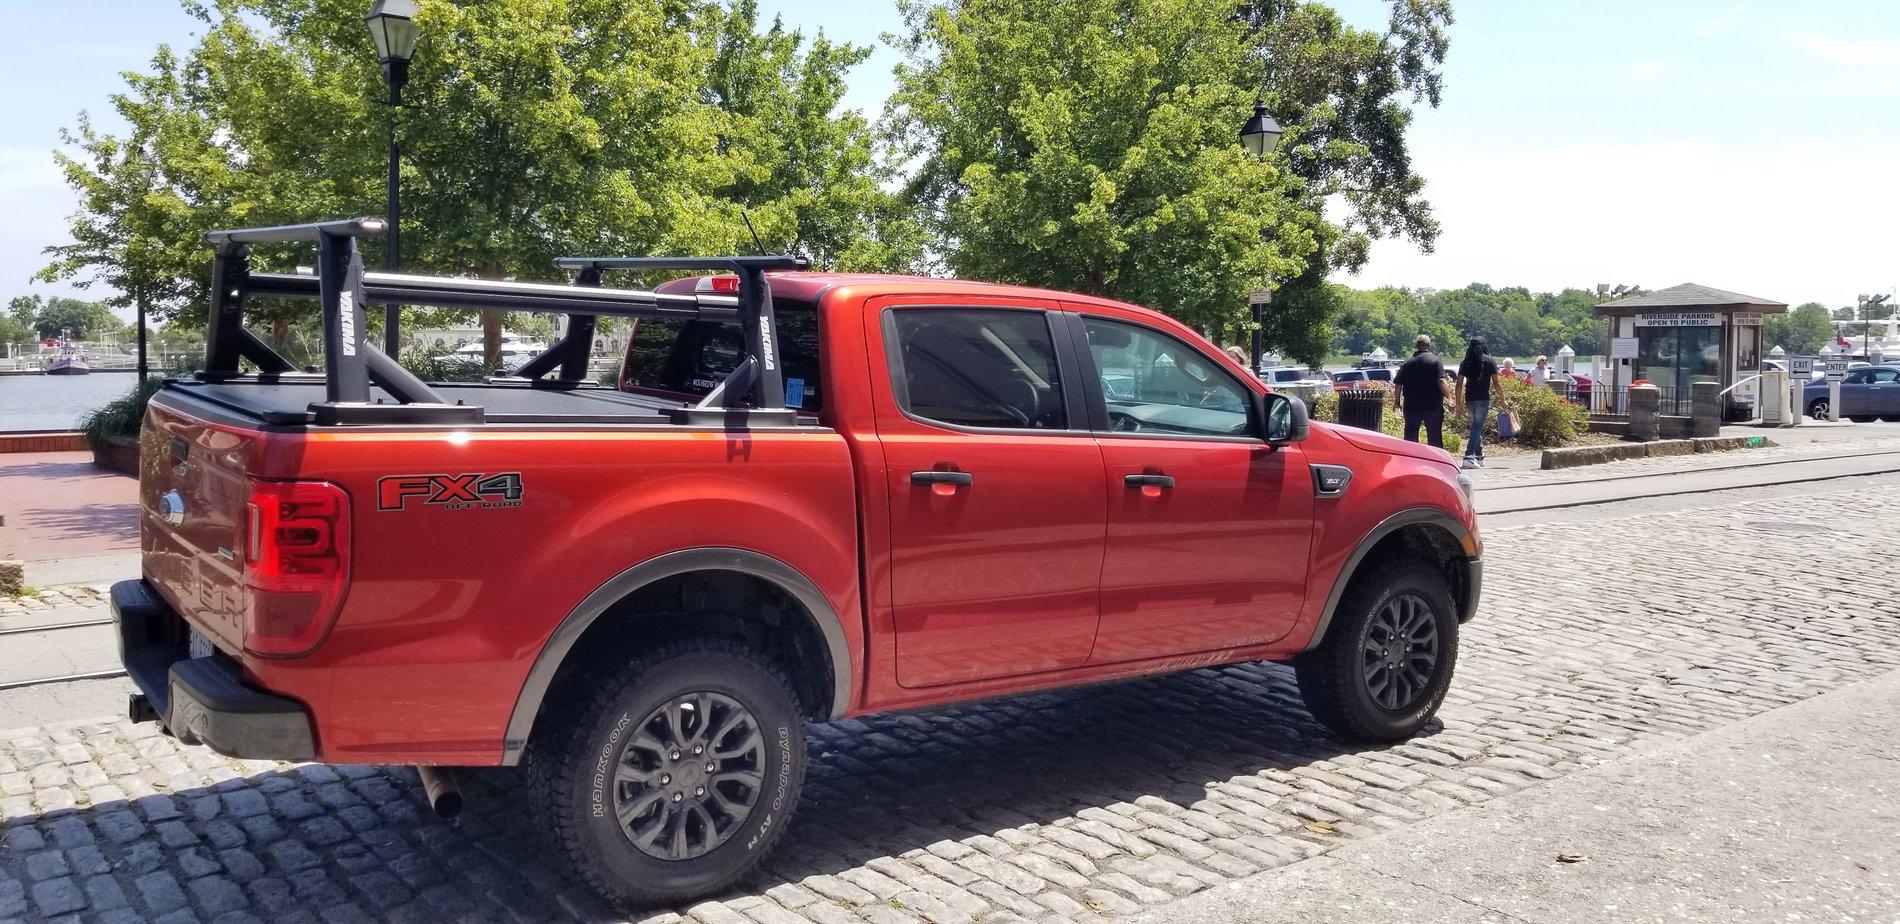
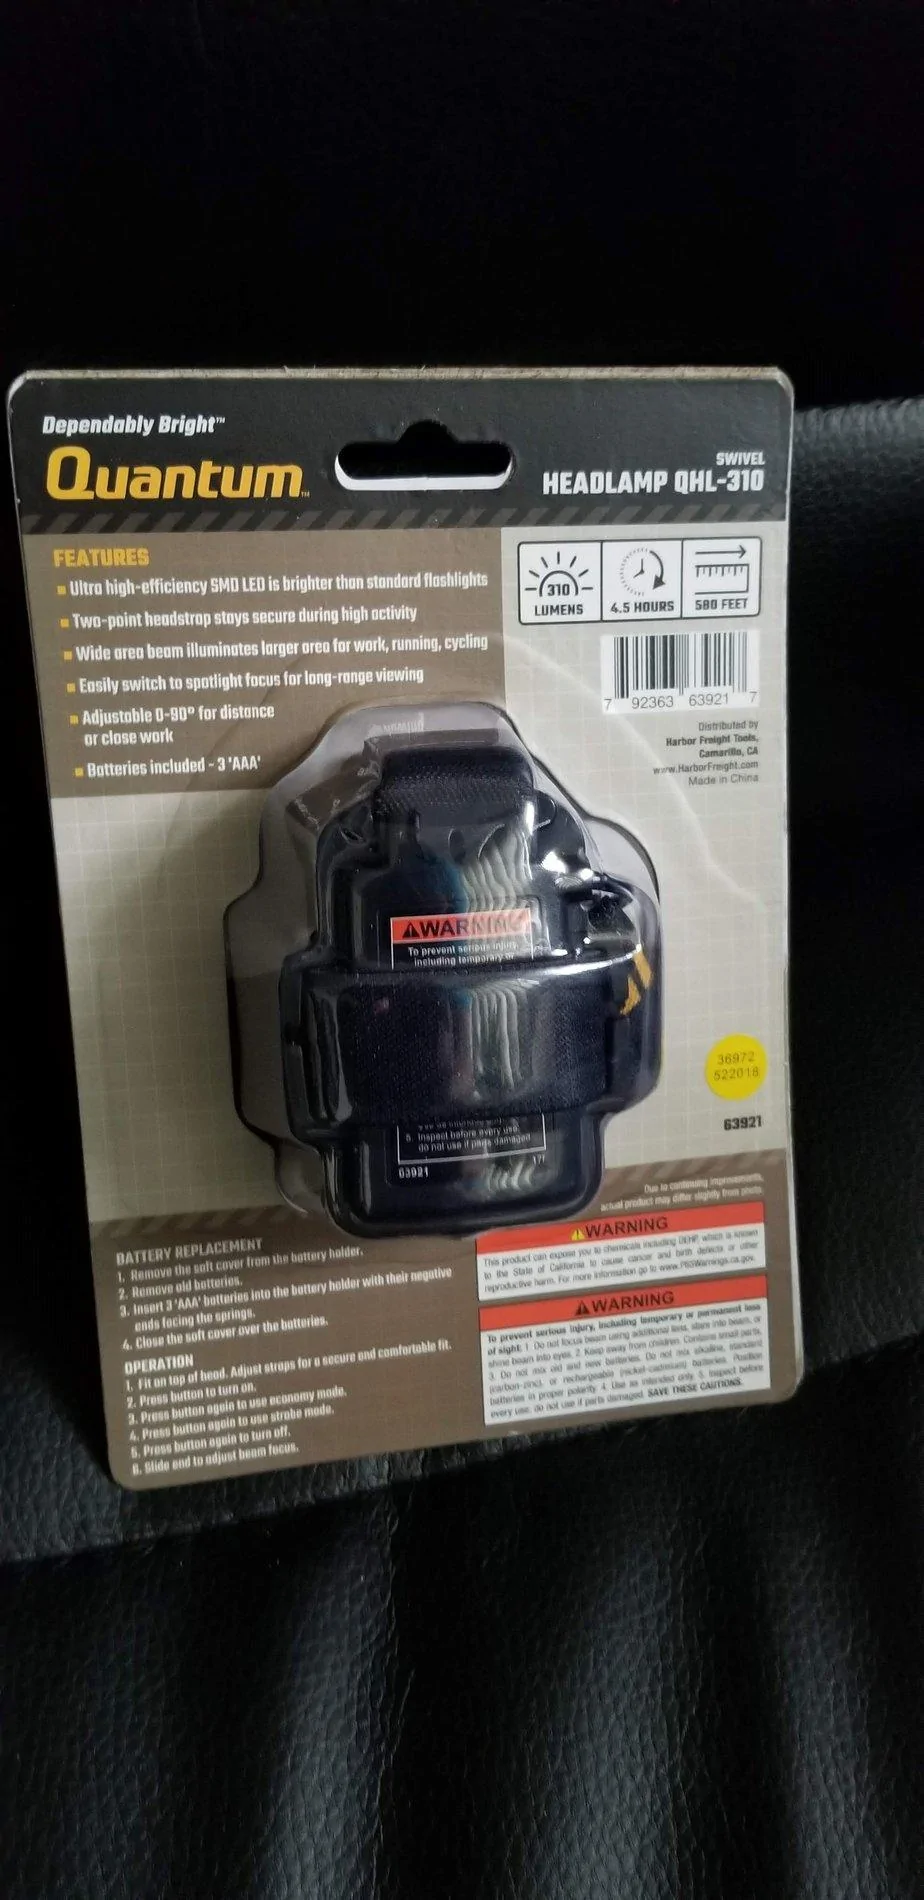
Just a few quick notes on the Ranger recently, I did add in a nice Quantum LED Headlight from Harbor Freight for an additional light in case its needed! Was on sale for only a few bucks and a very nice light!

20190501_185625.jpg

20190501_185632.jpg


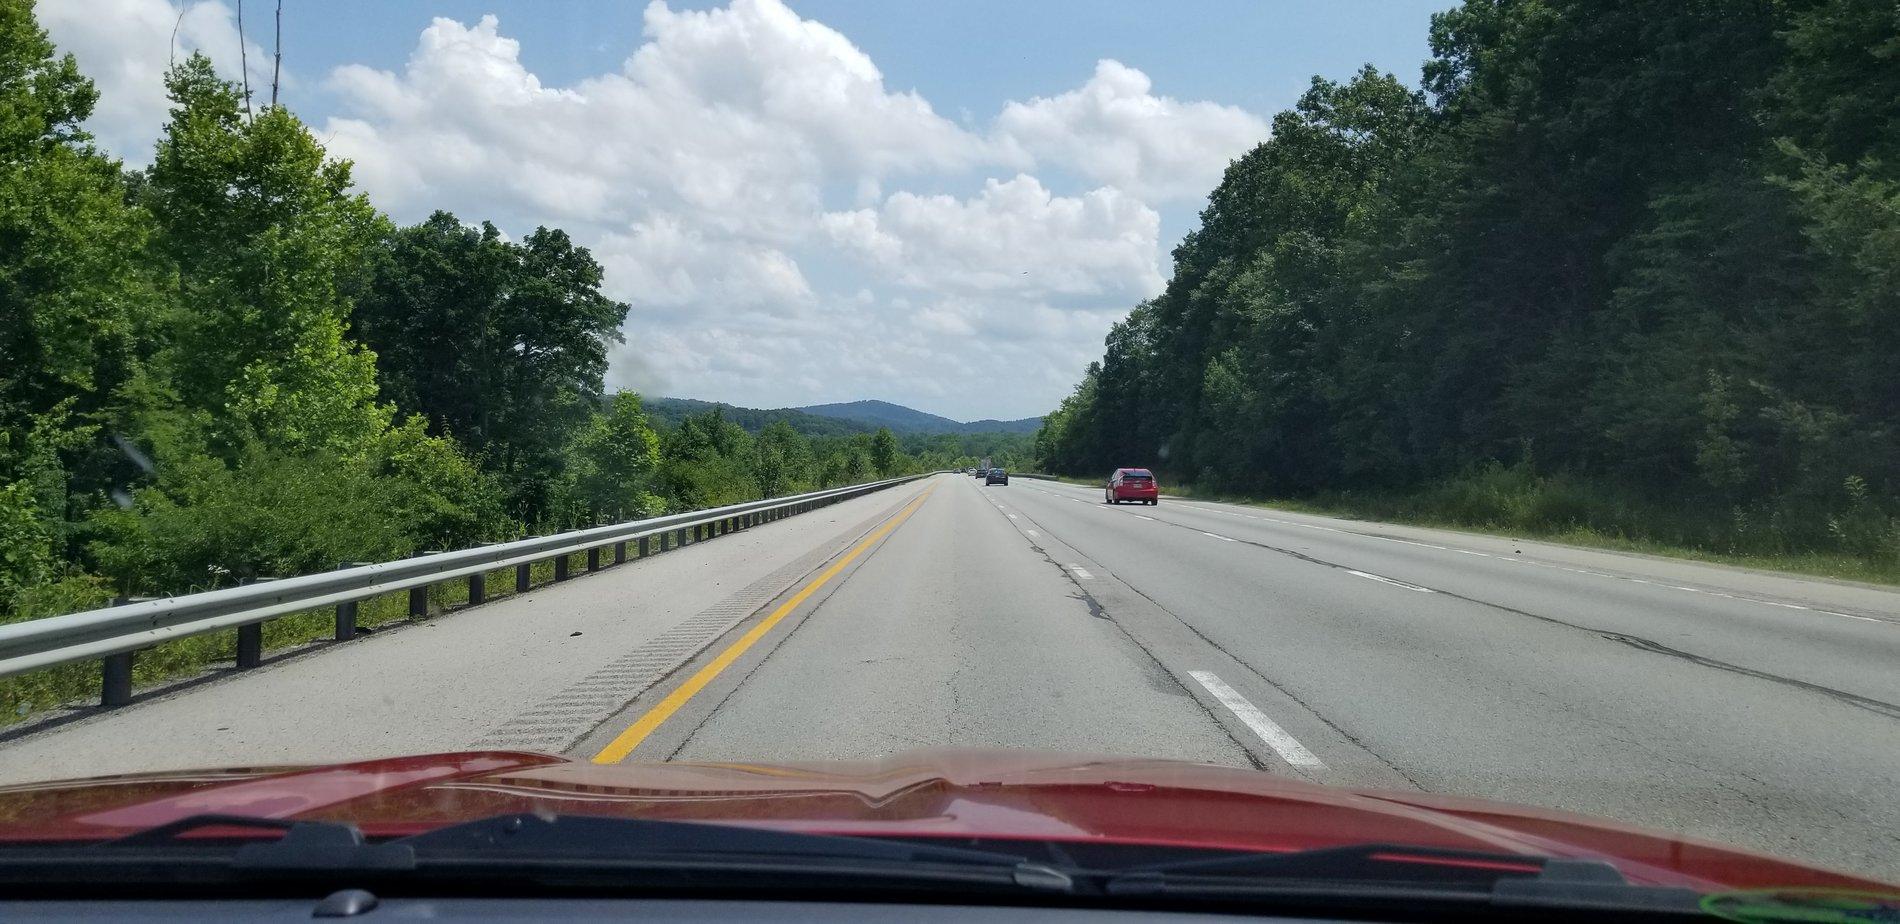
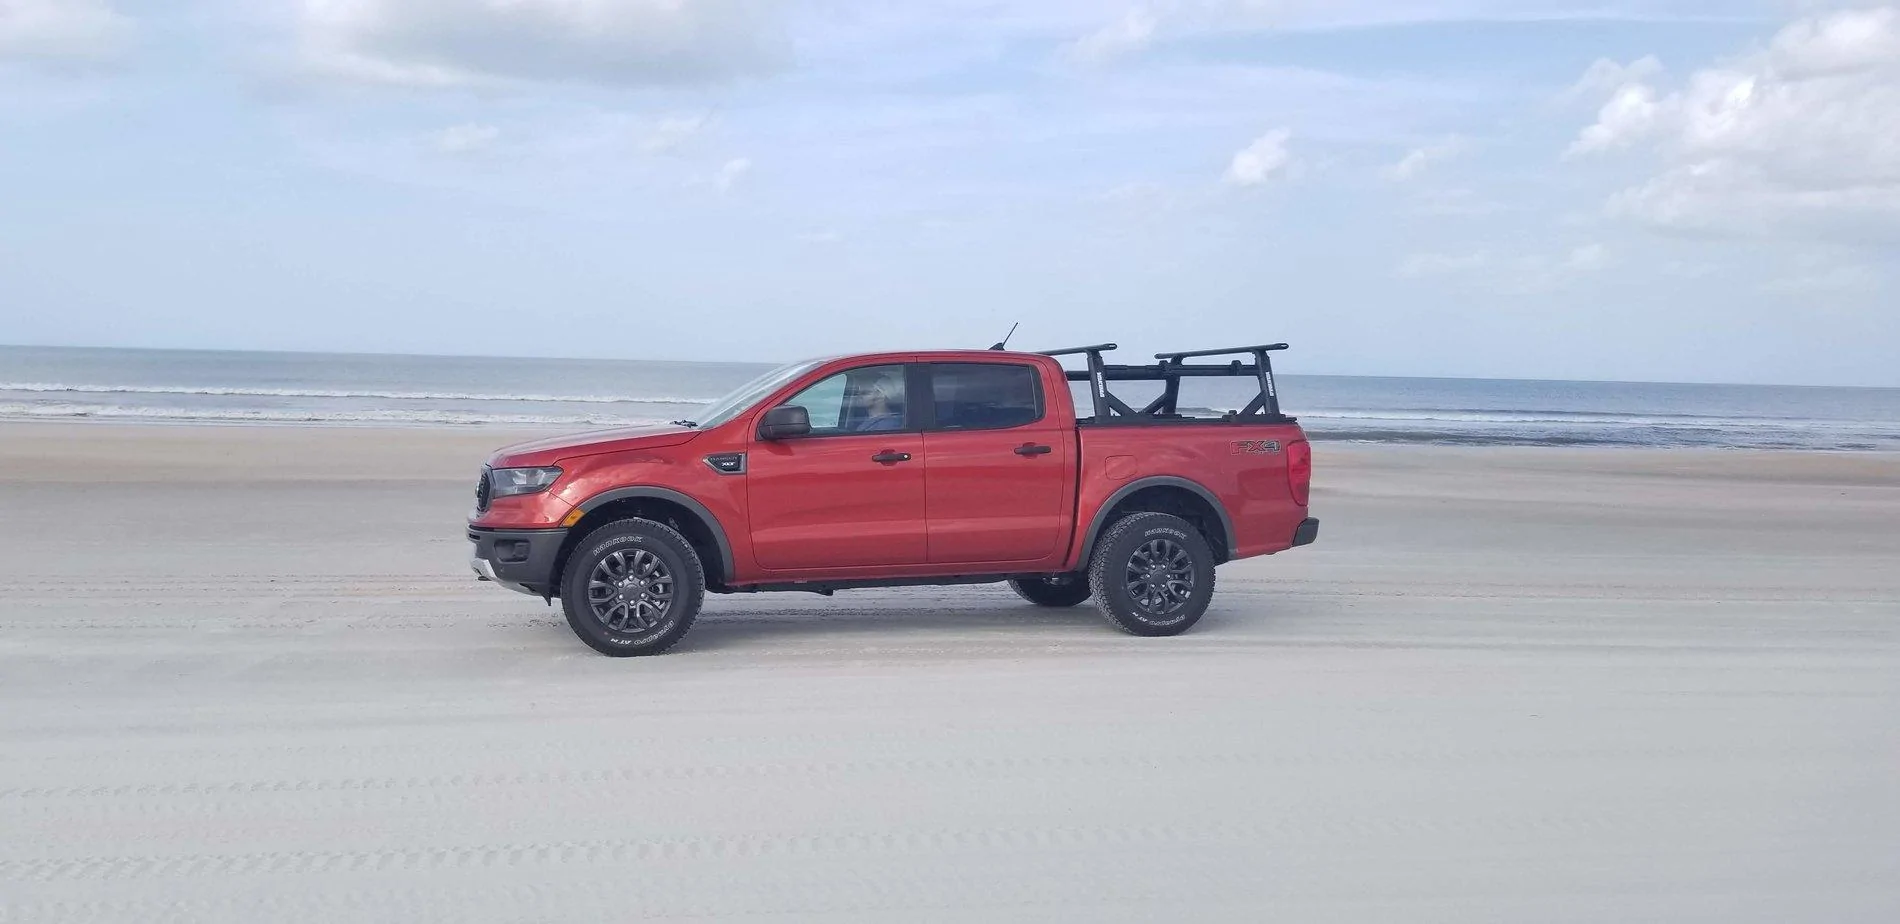
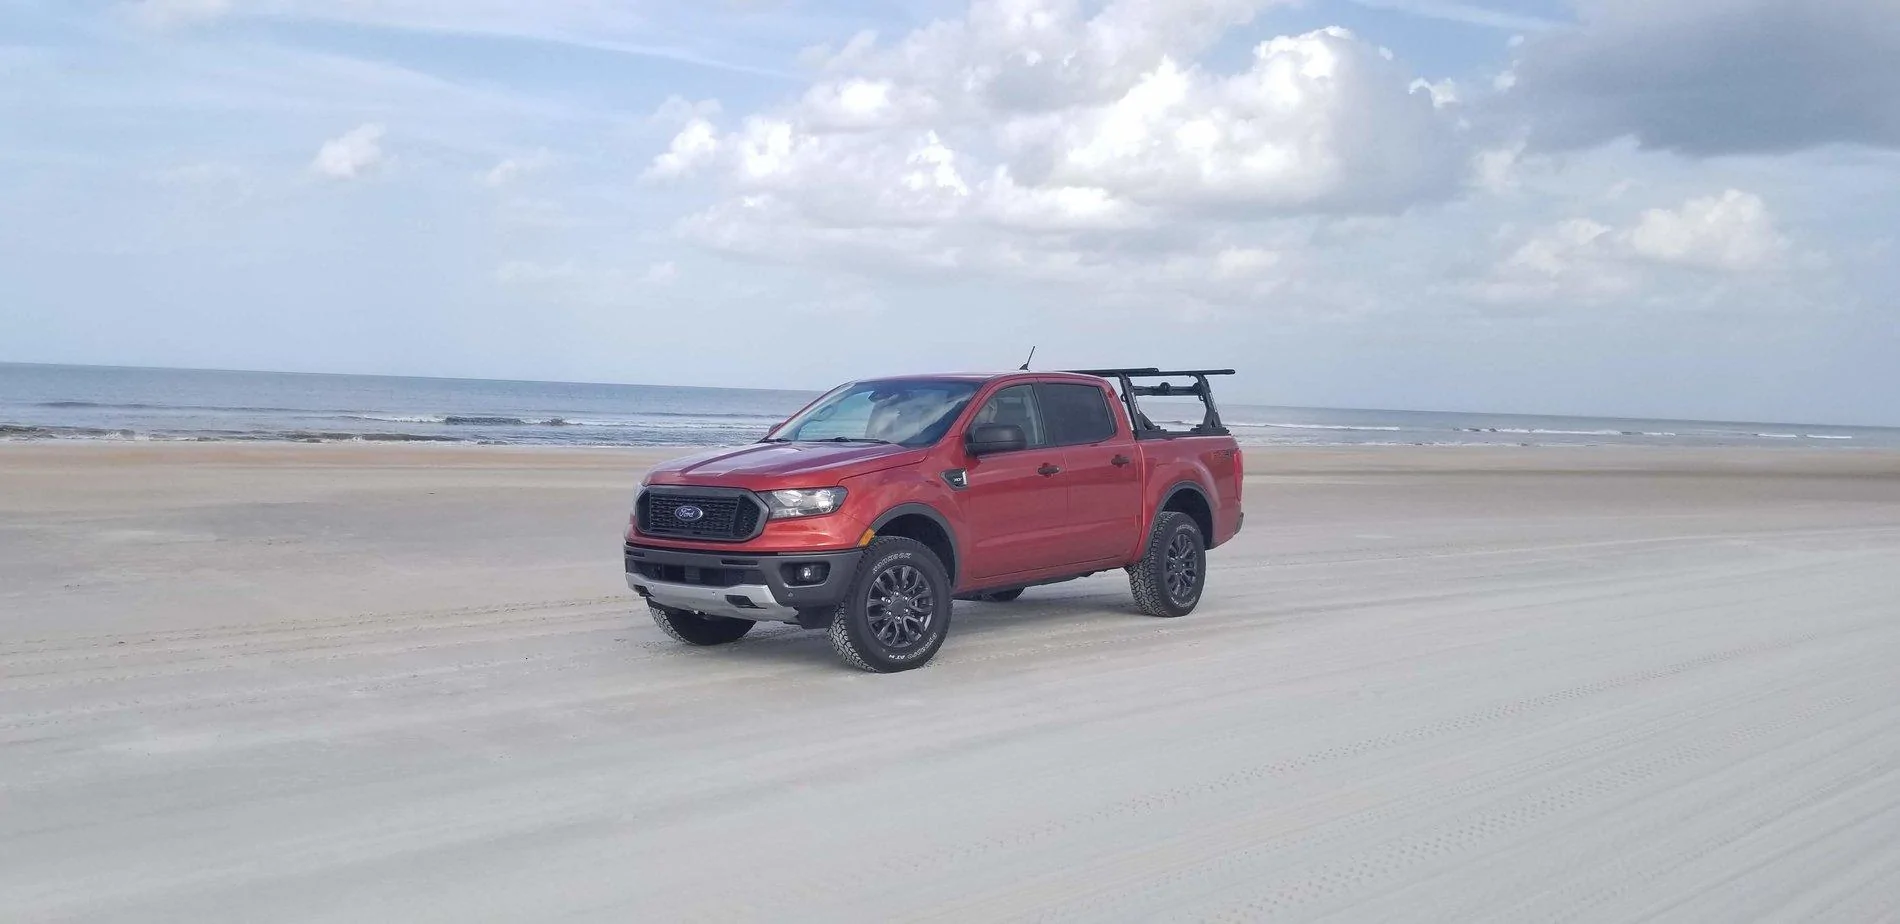
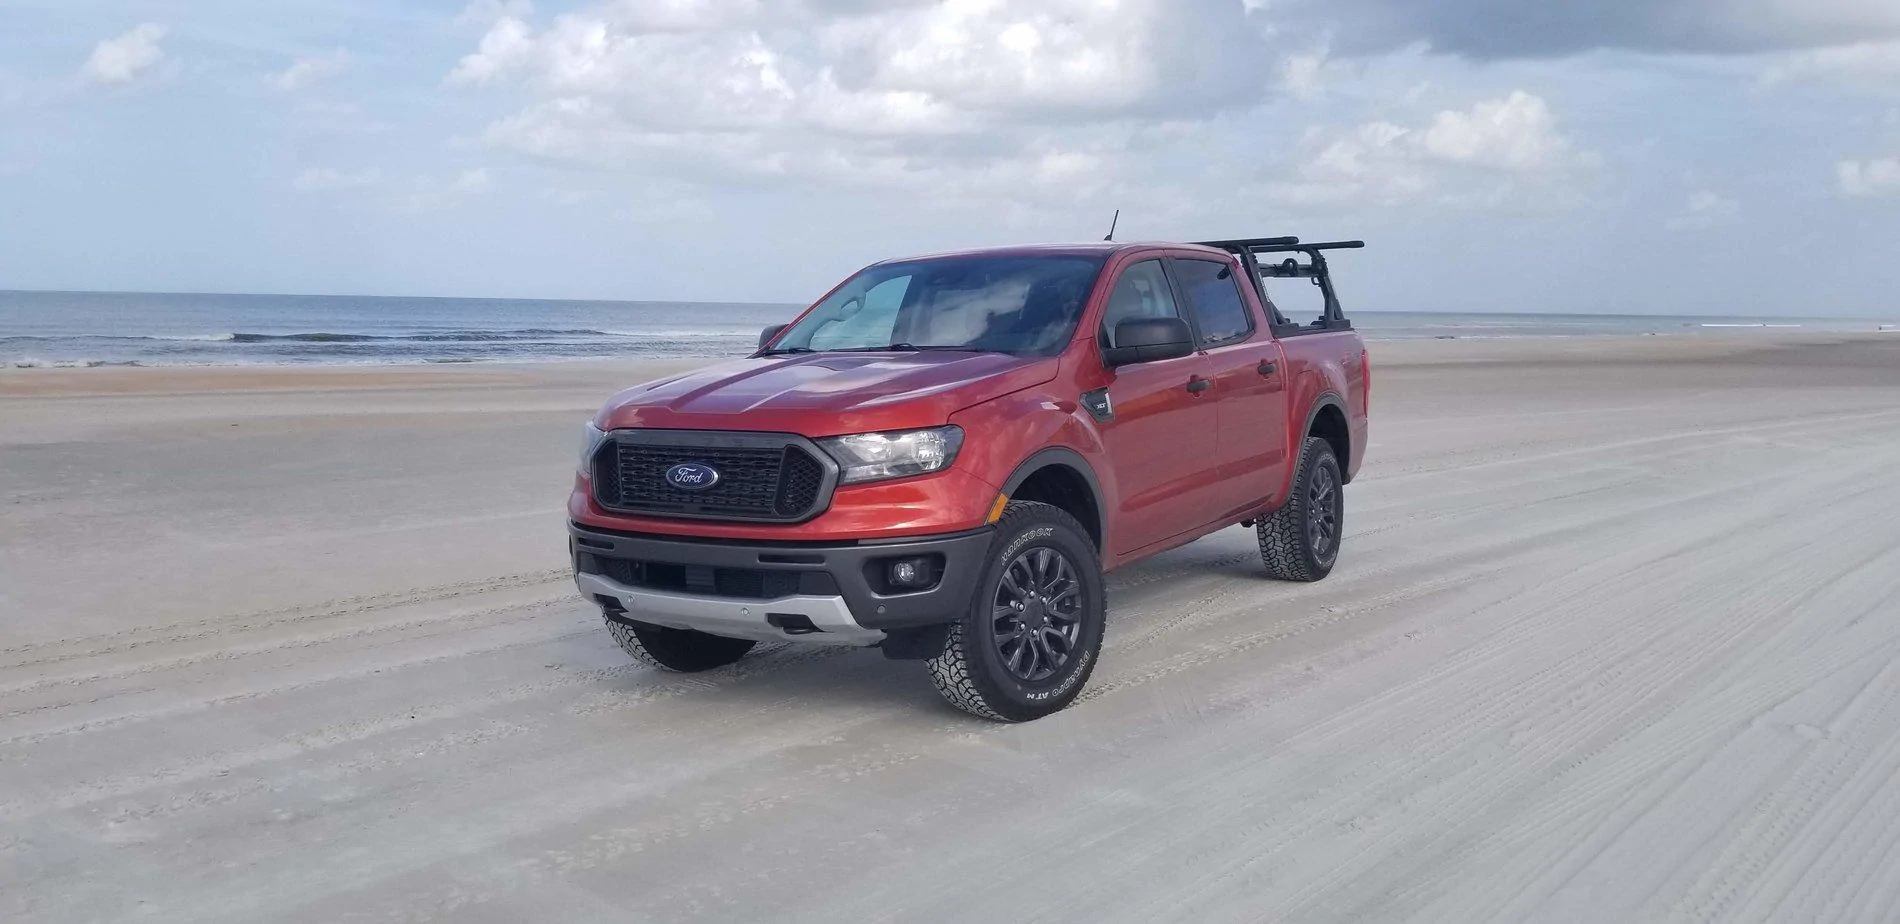
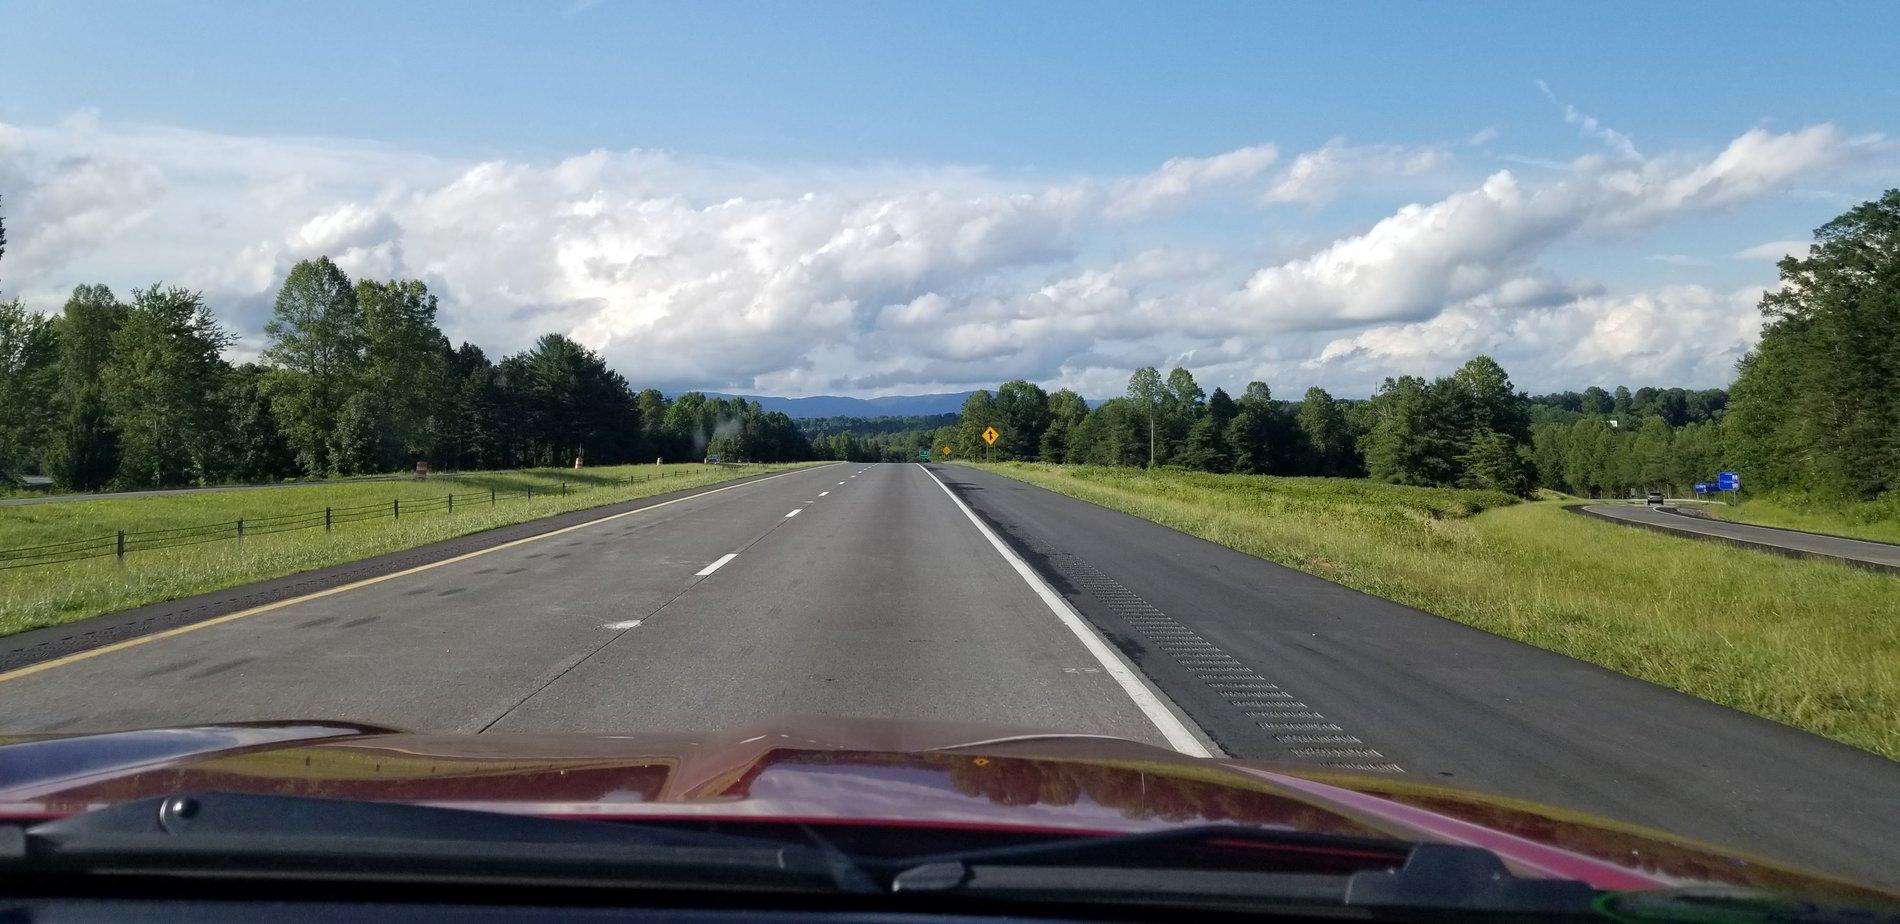
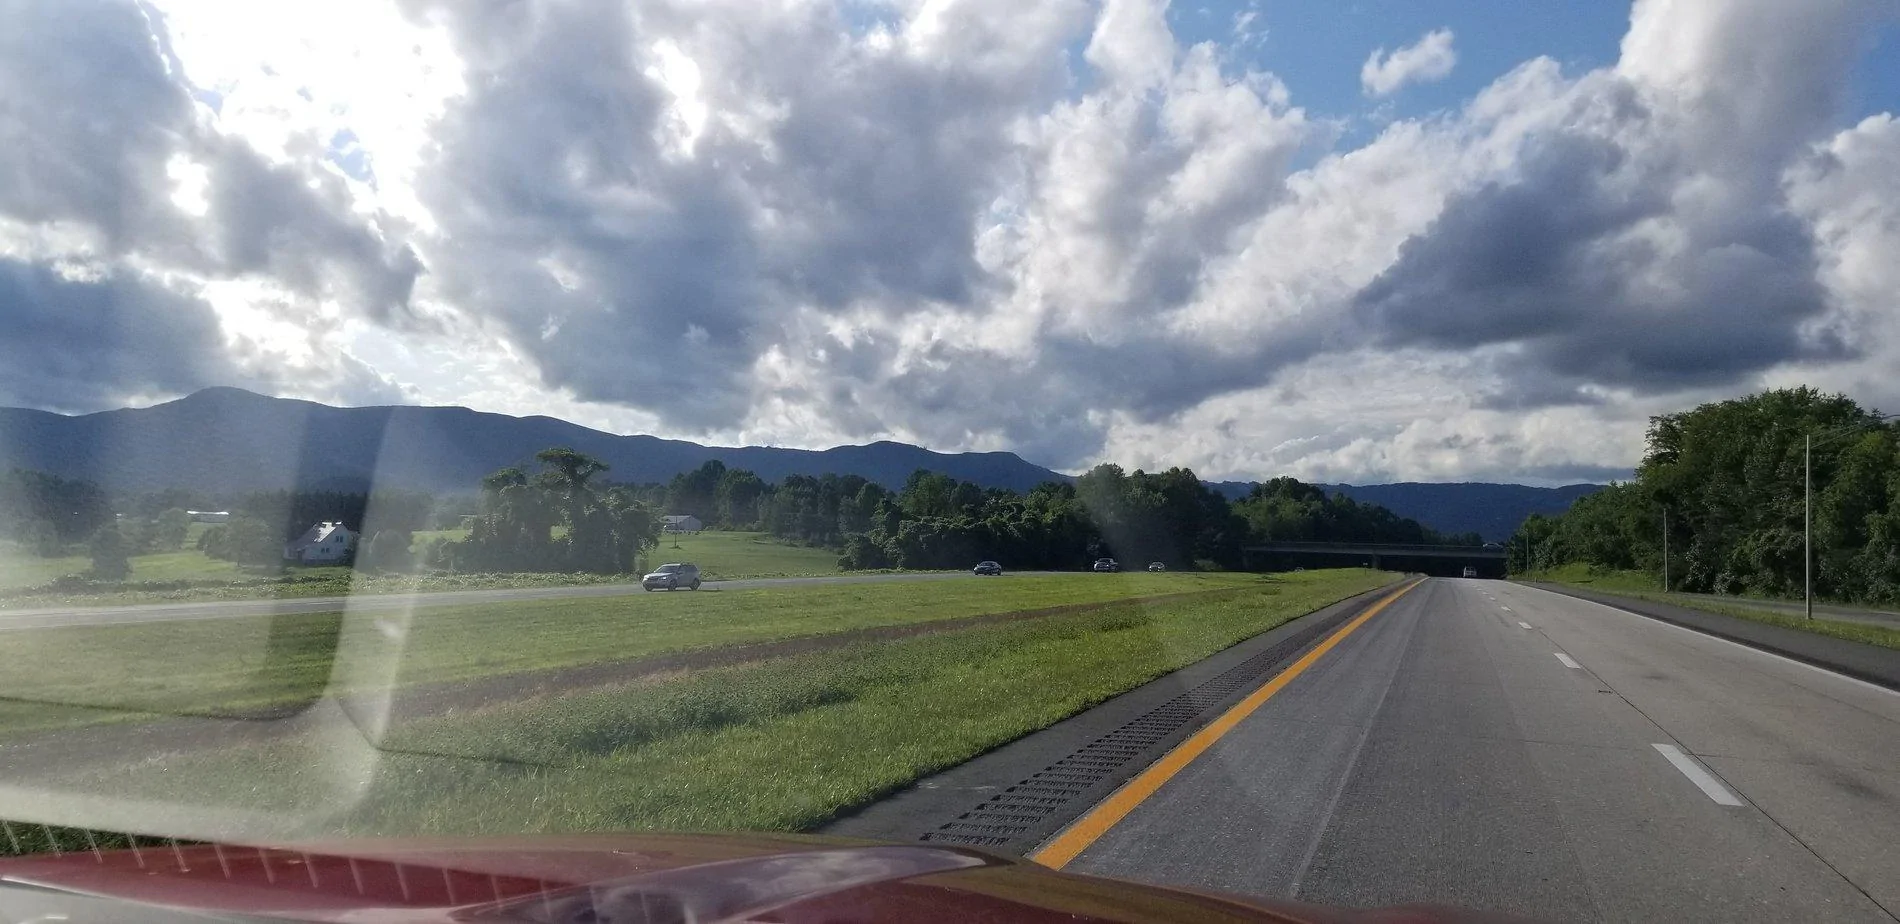
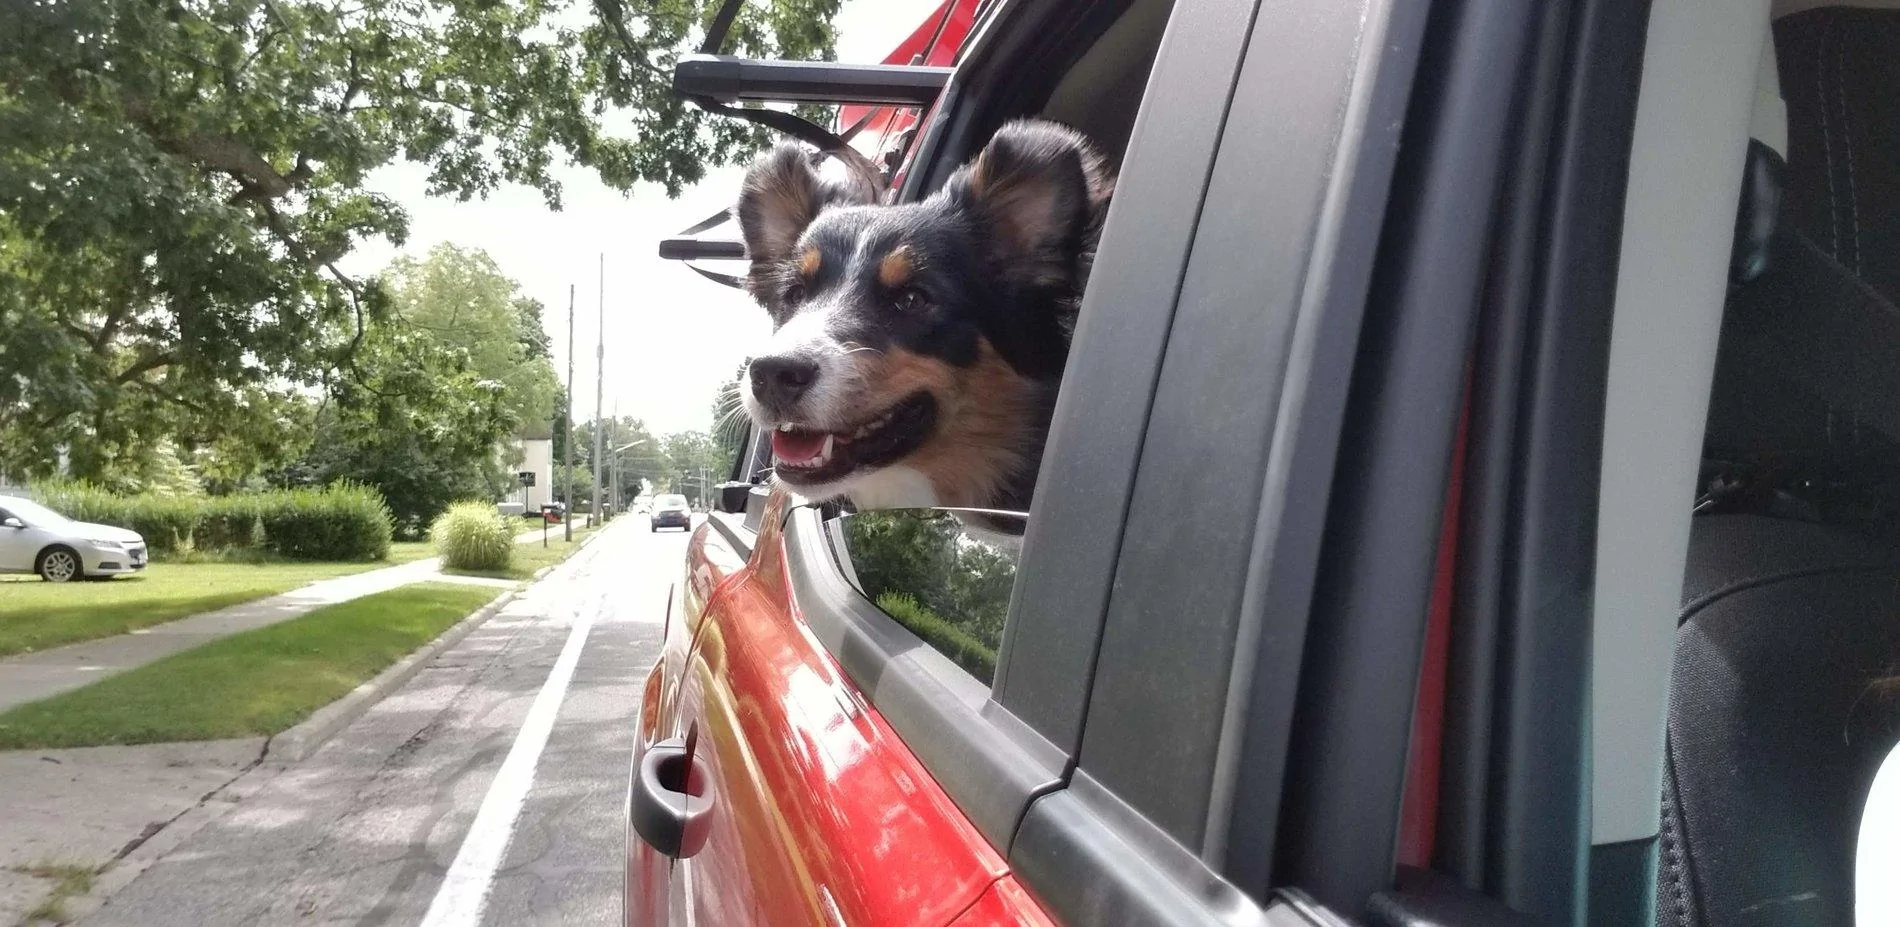
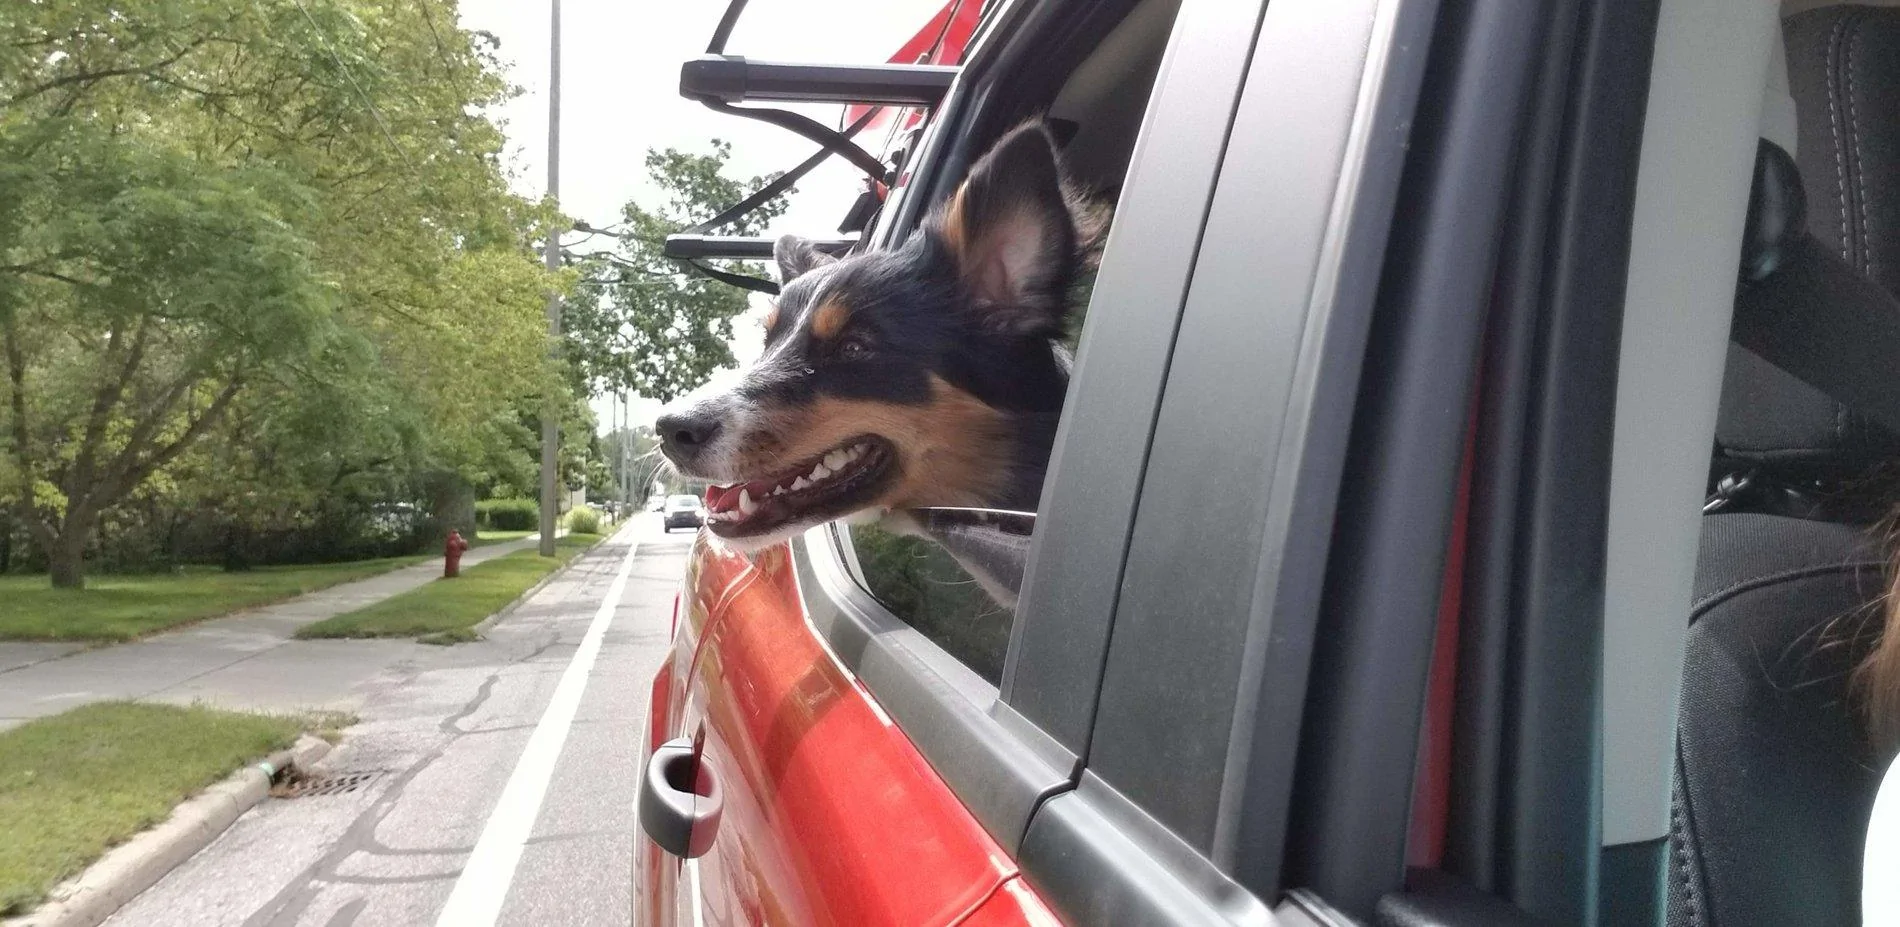
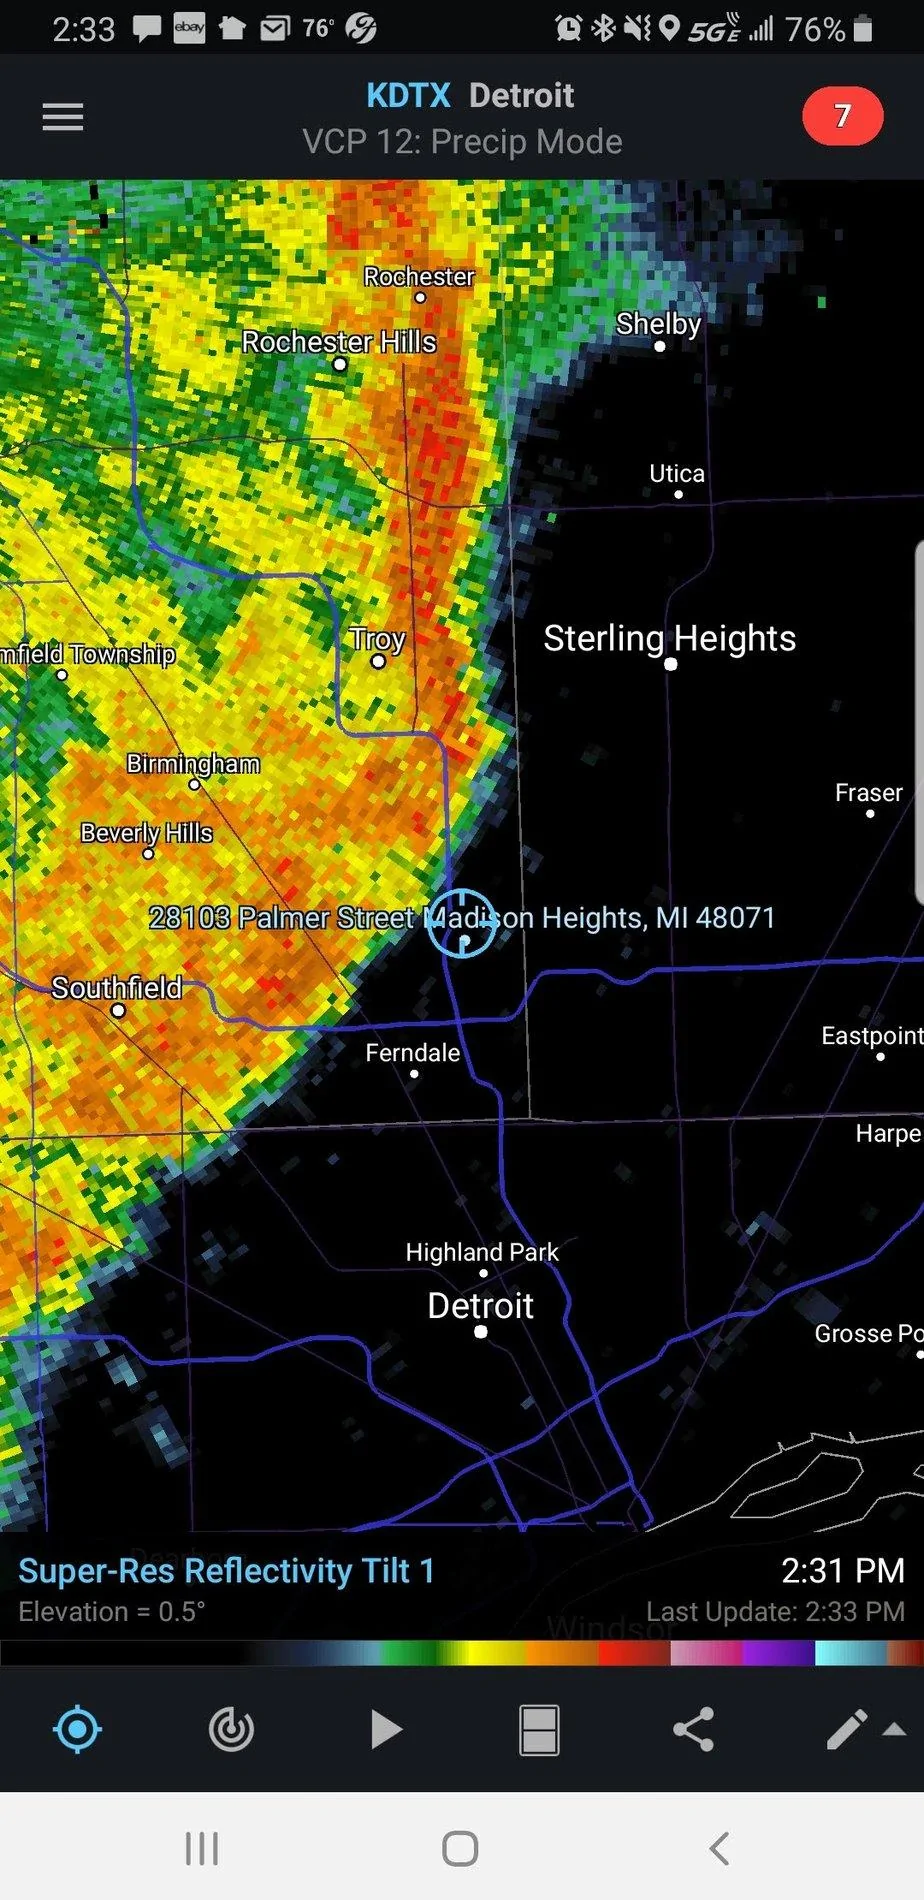
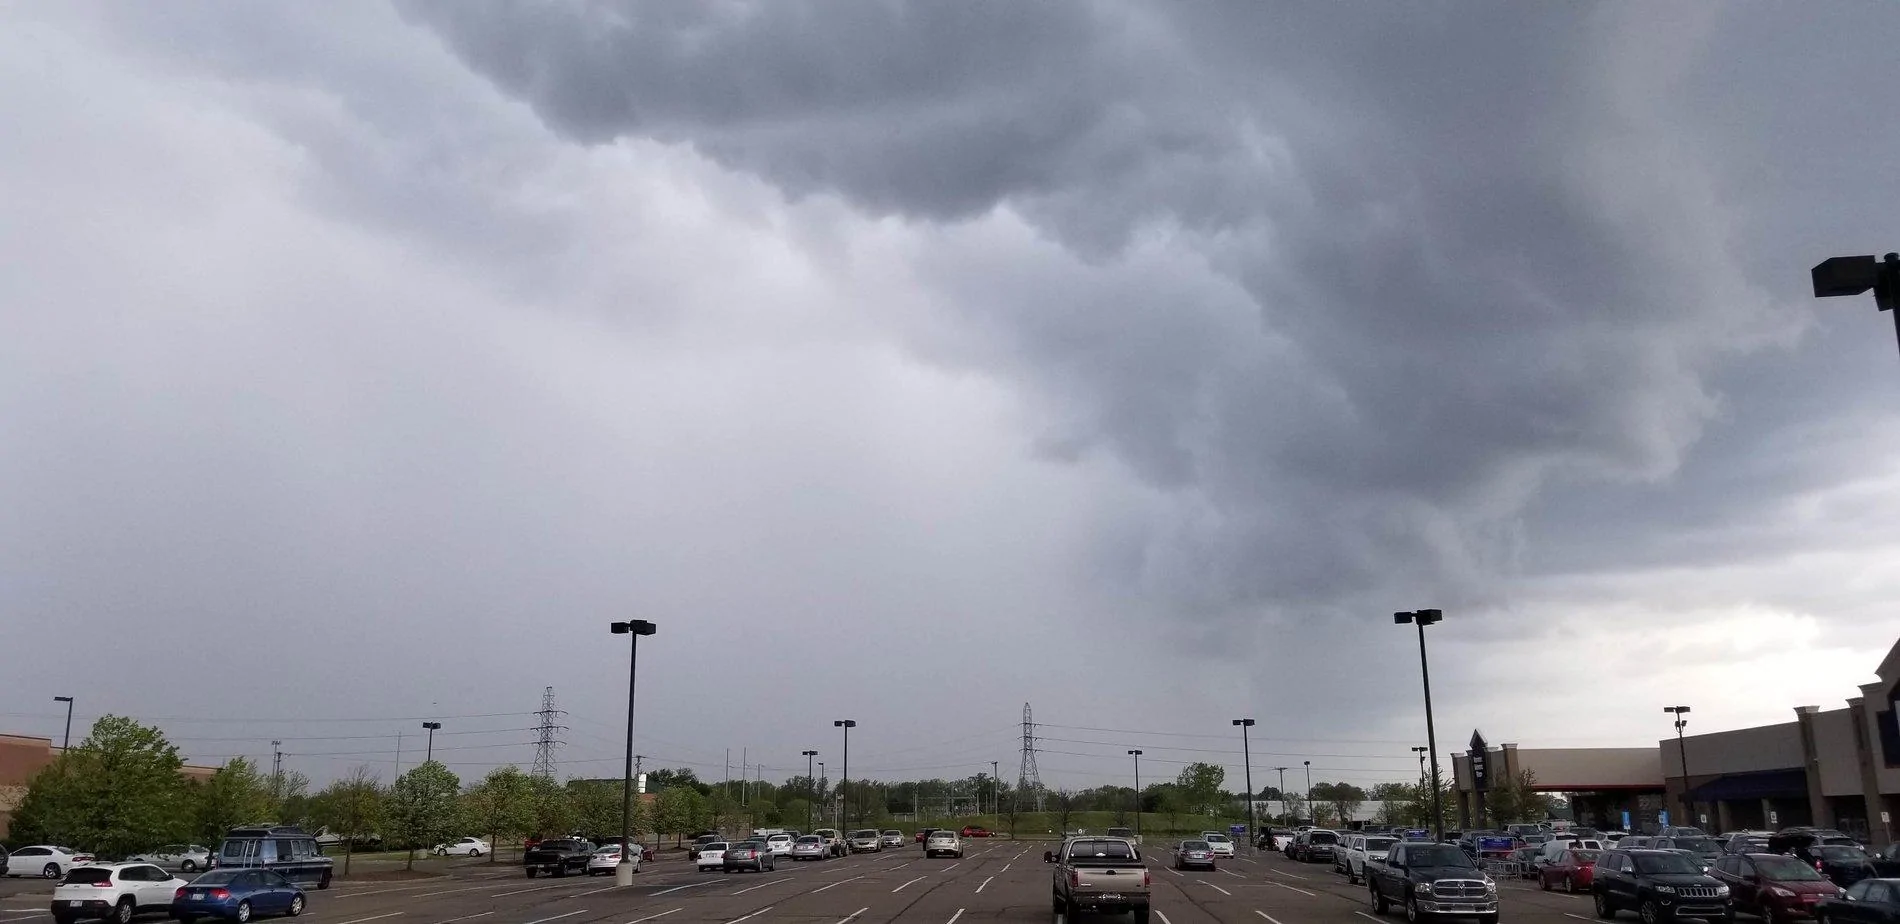
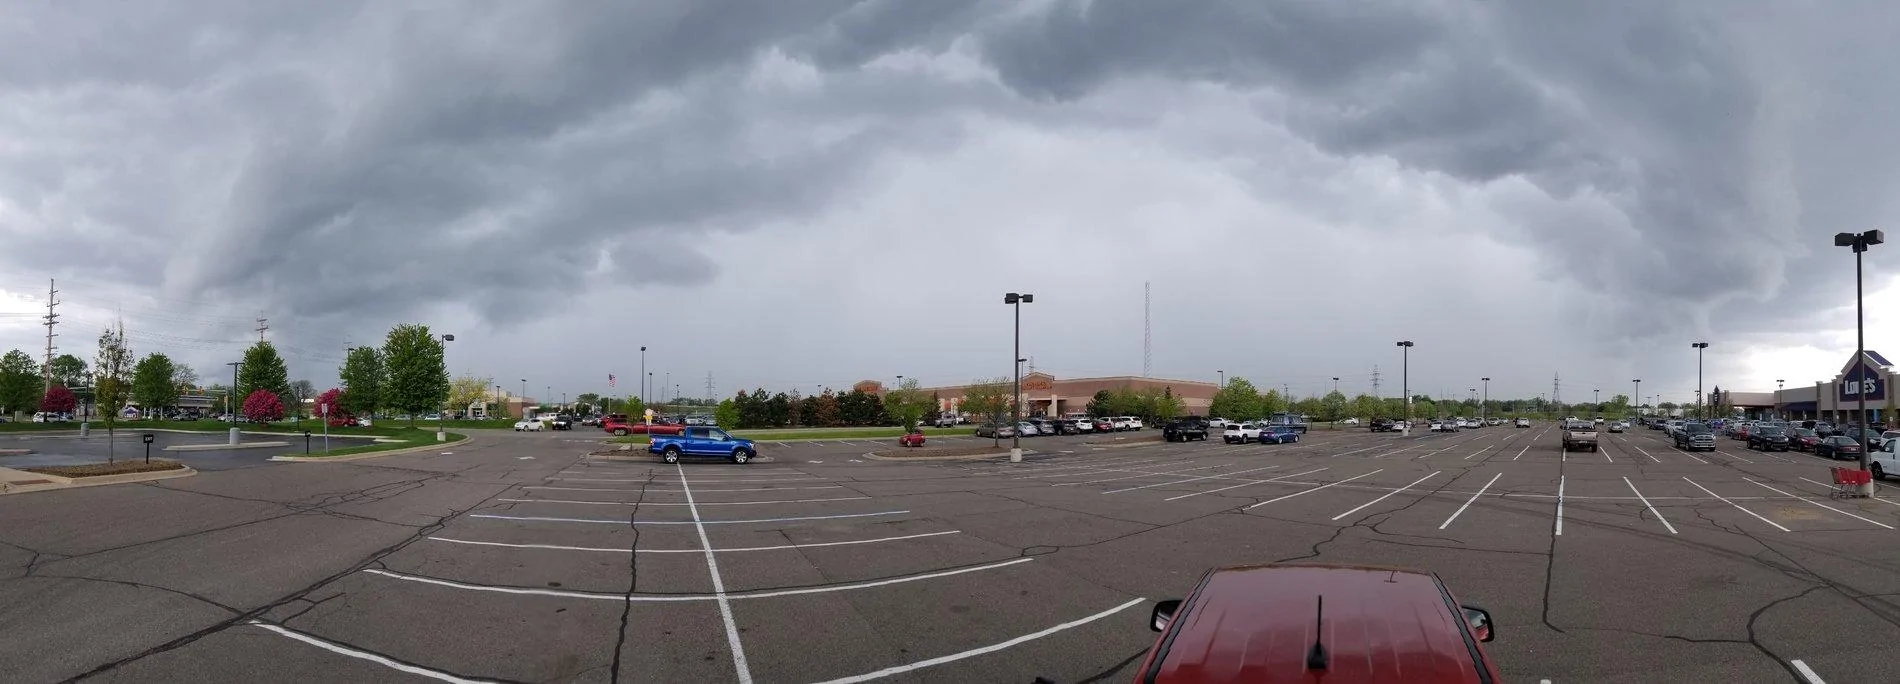
Additionally, back on May 19th, was out with the ranger checking out some great (in the eye of the beholder) weather in SE Michigan, which is also pretty rare for this area! We had a strong line of thunderstorms turn into what is called a bow echo, and I was right at the front of that bow echo before it started to split!

Screenshot_20190519-143400_RadarScope.jpg

20190519_143137.jpg

20190519_143127.jpg


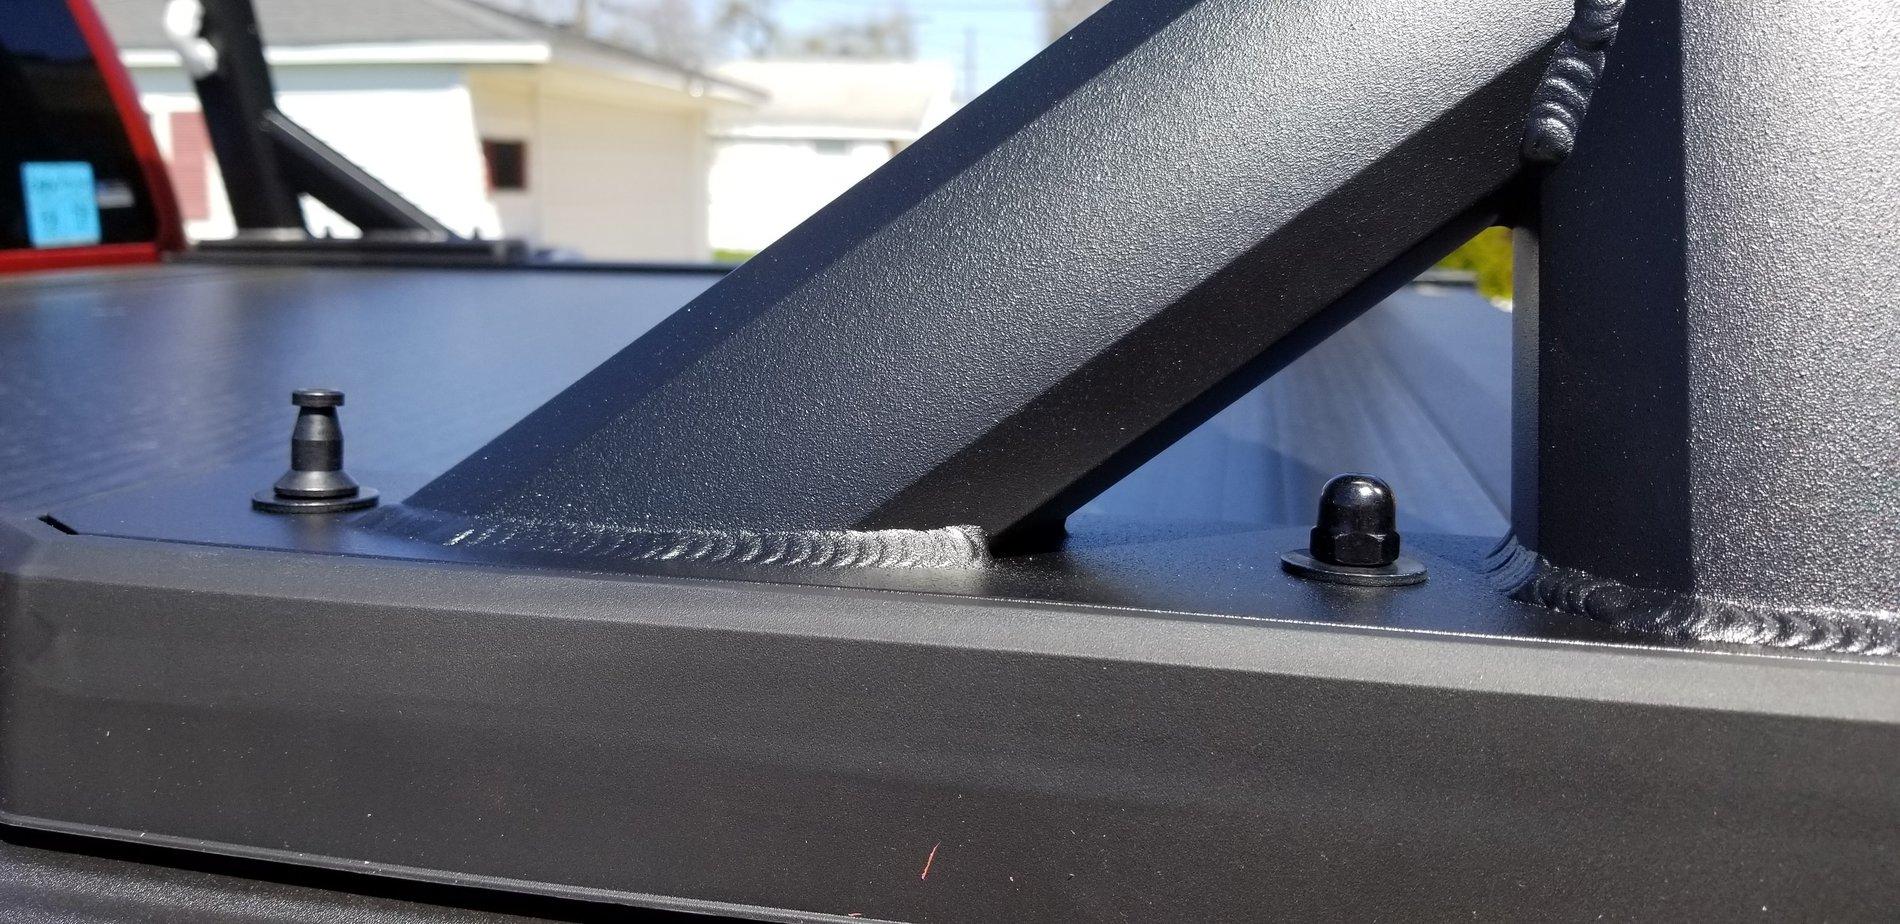
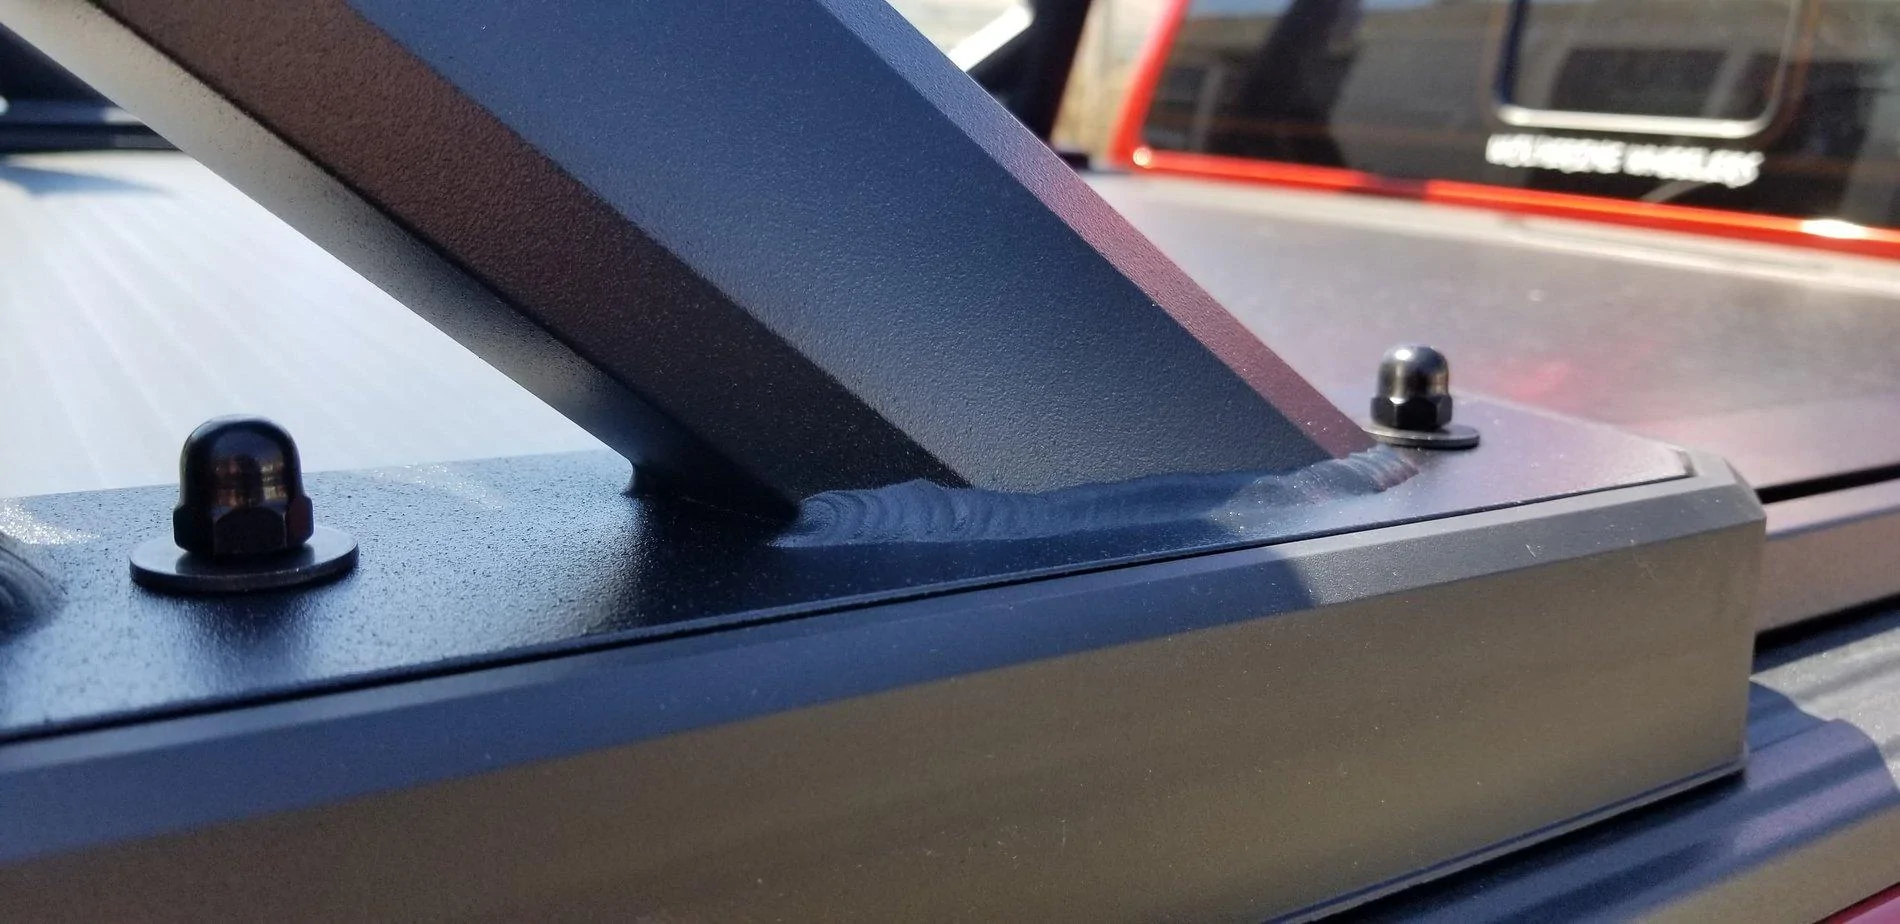
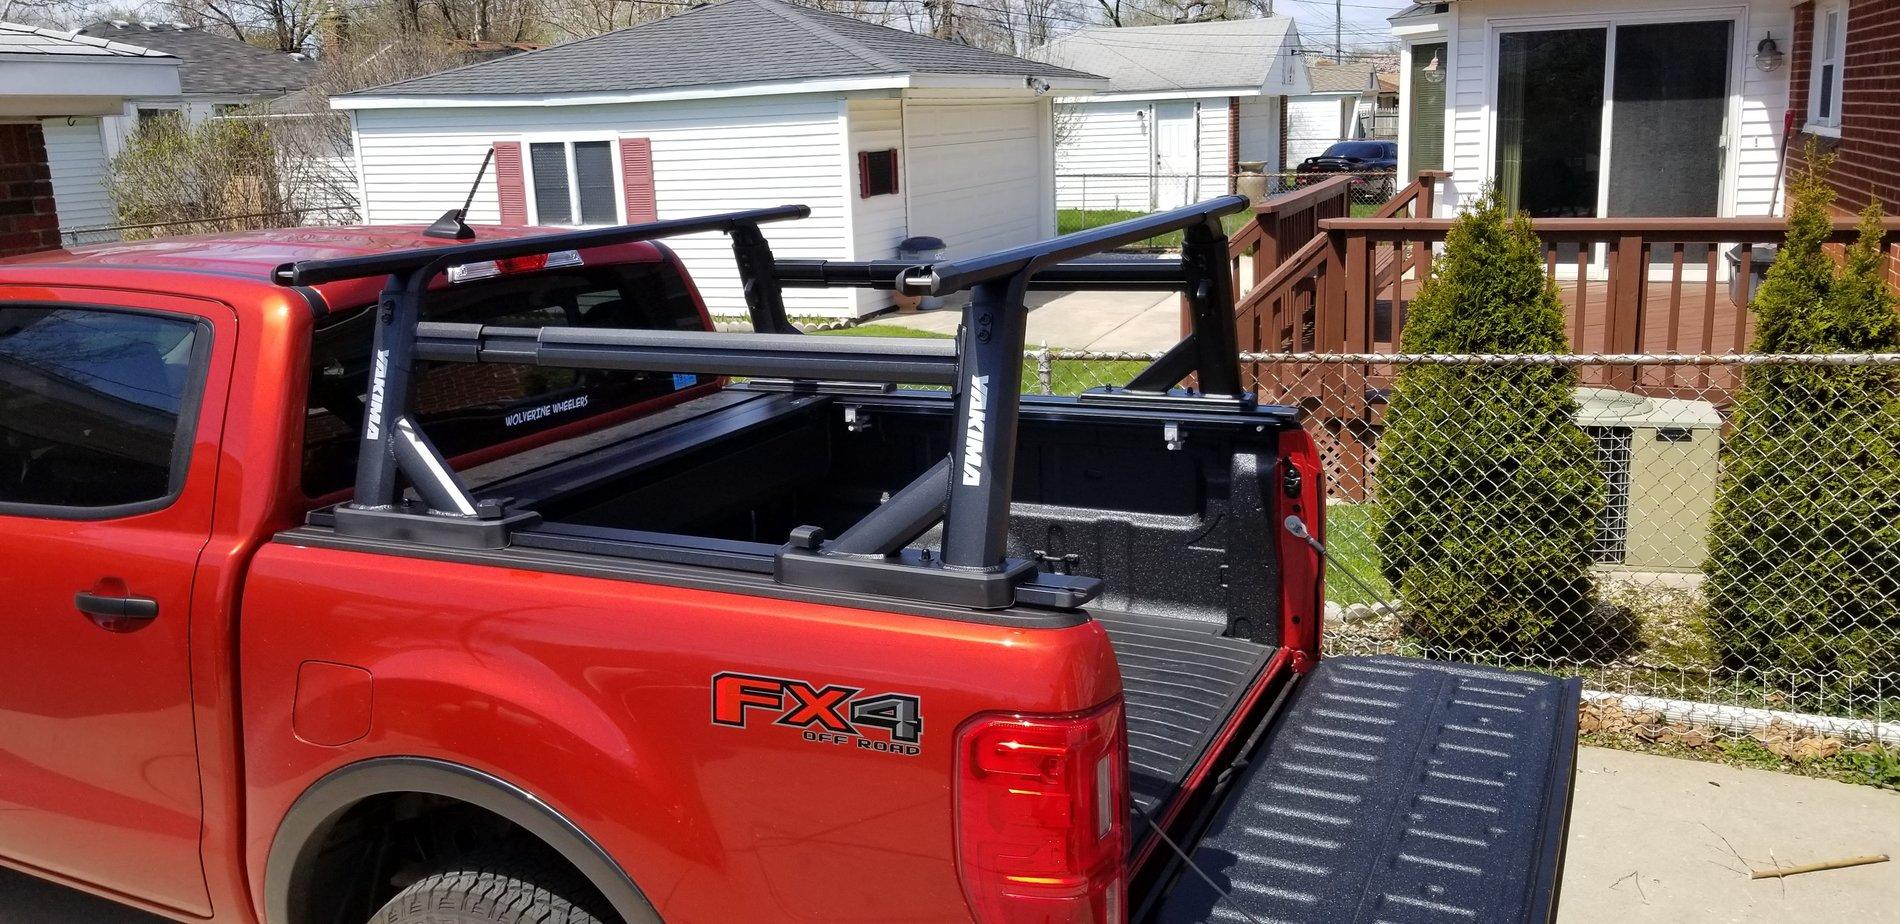
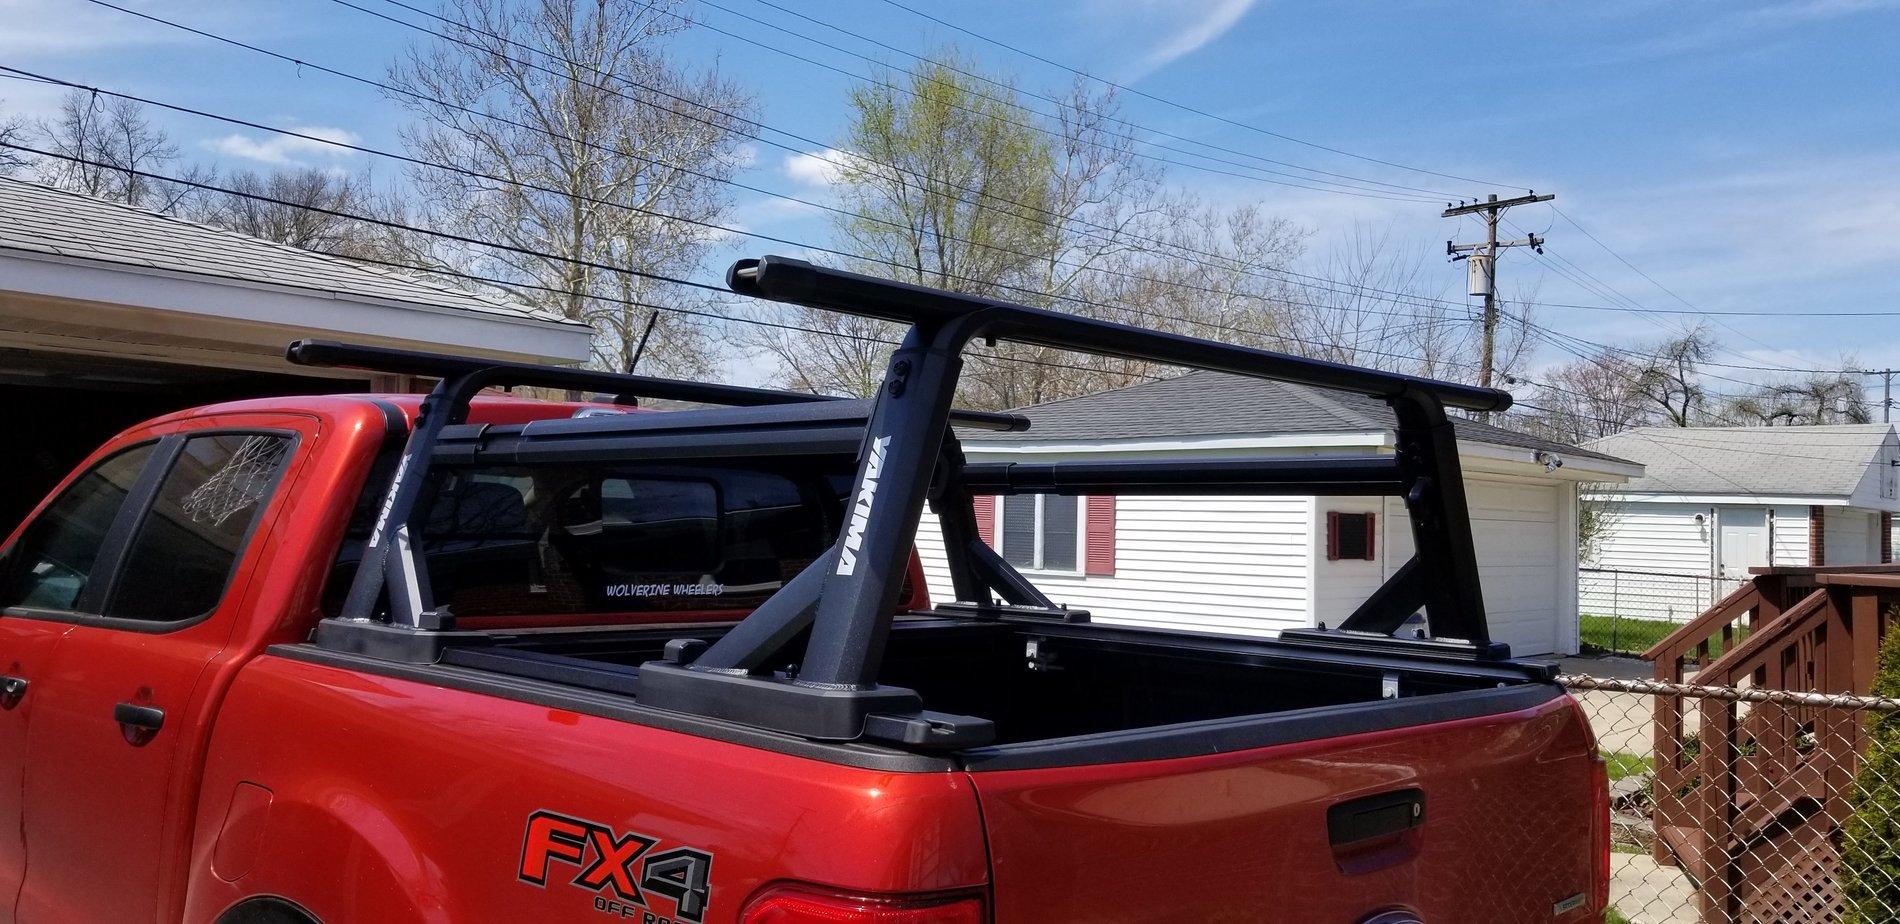
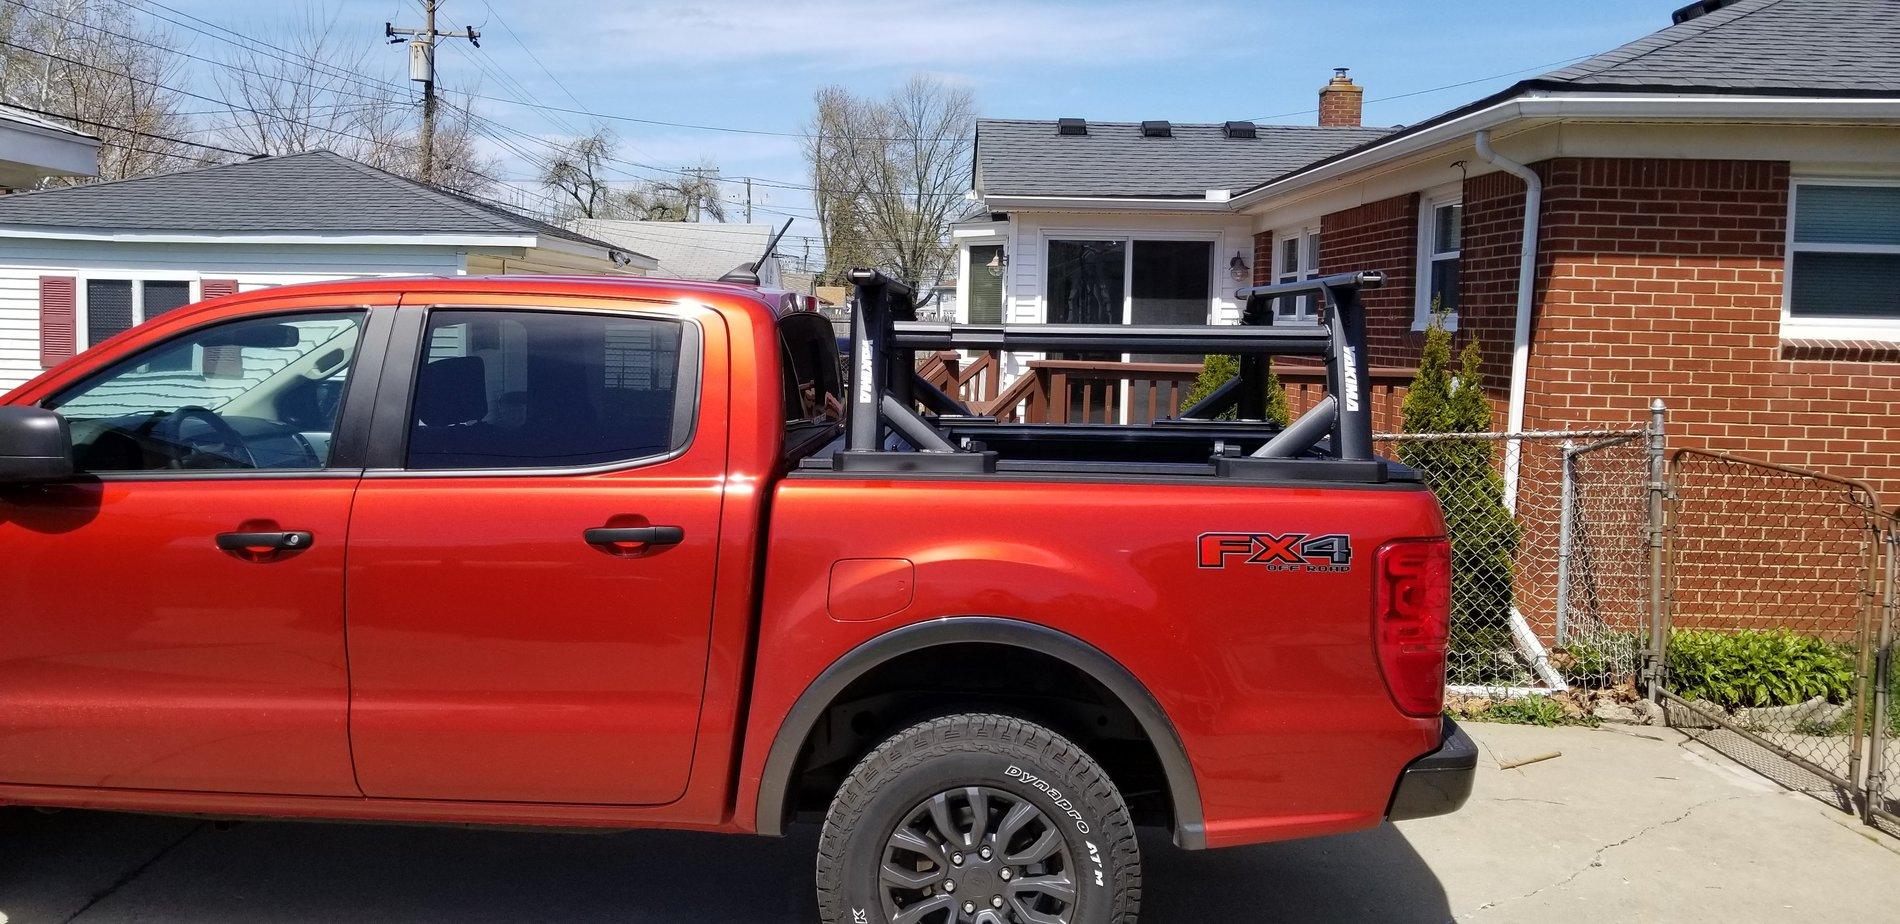
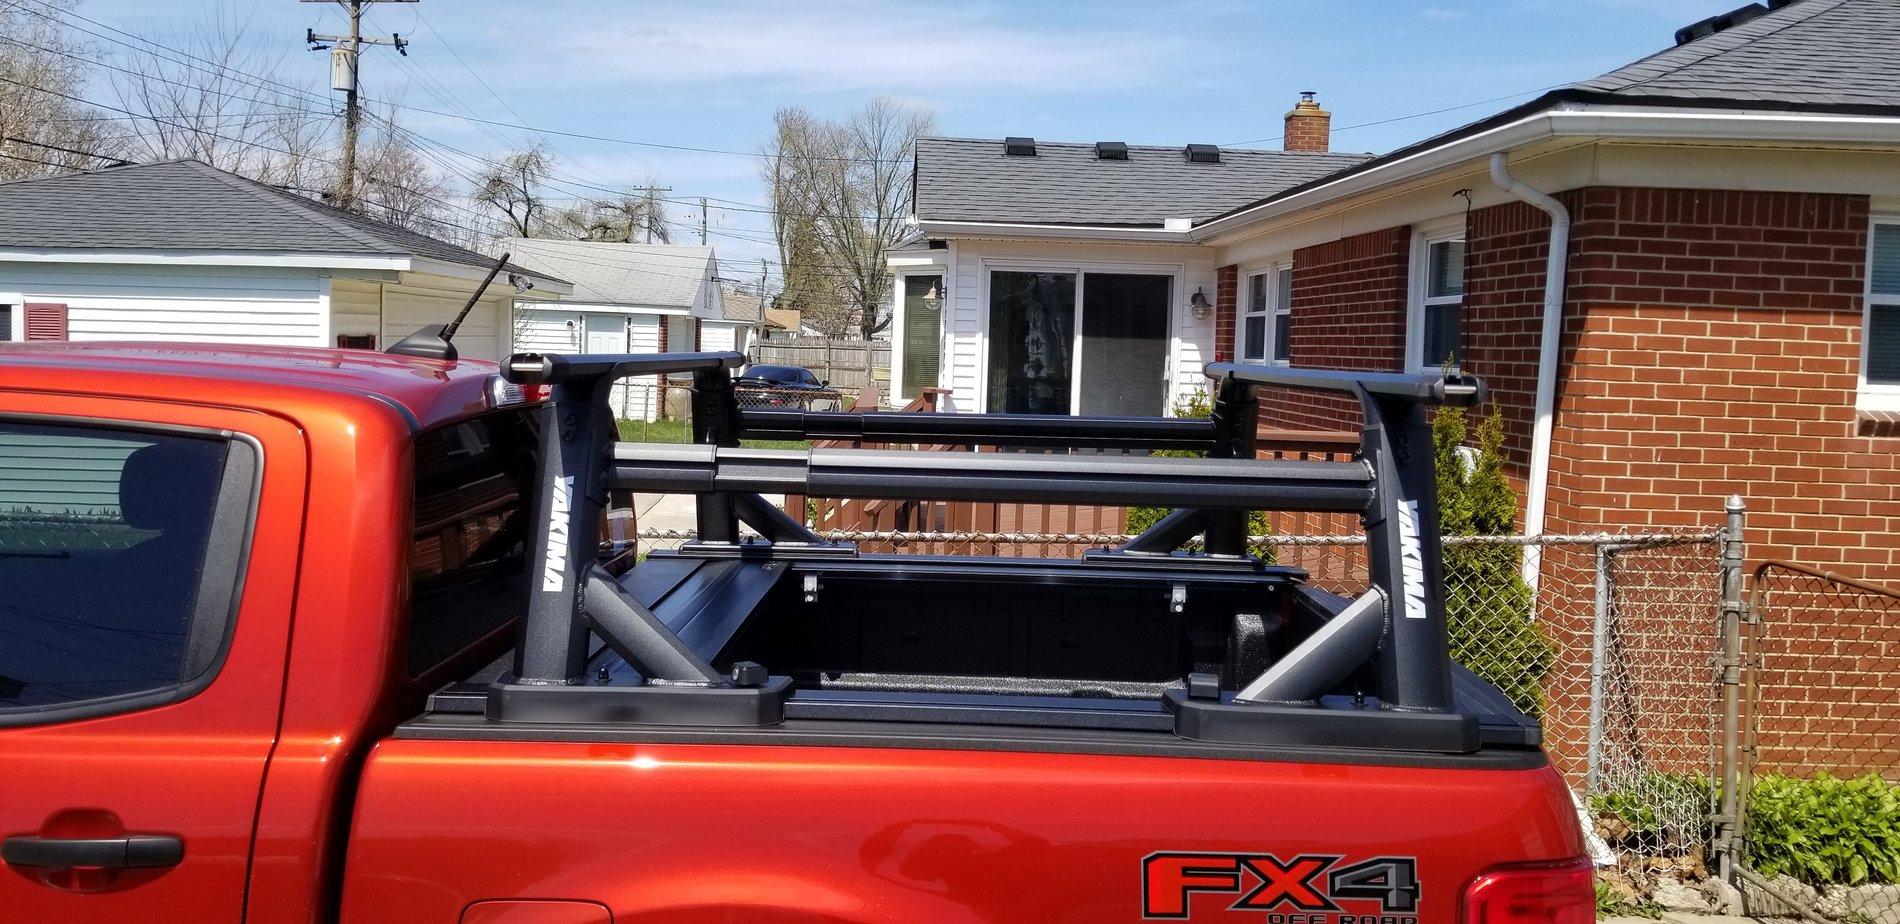
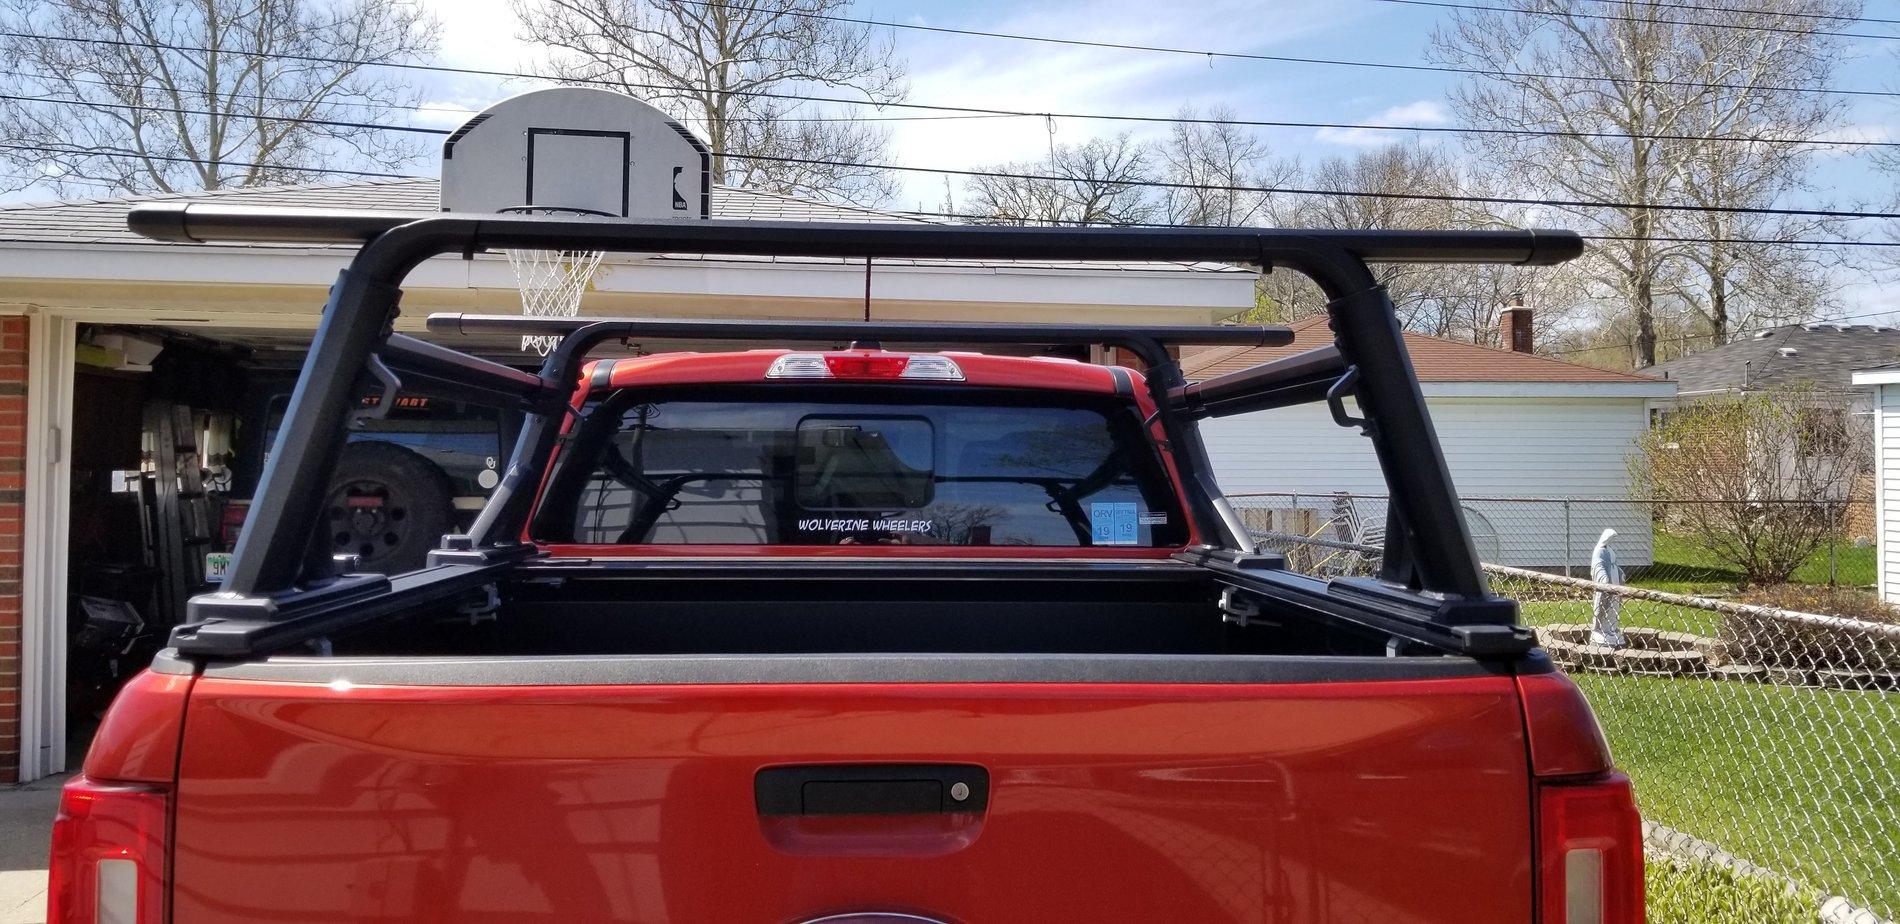
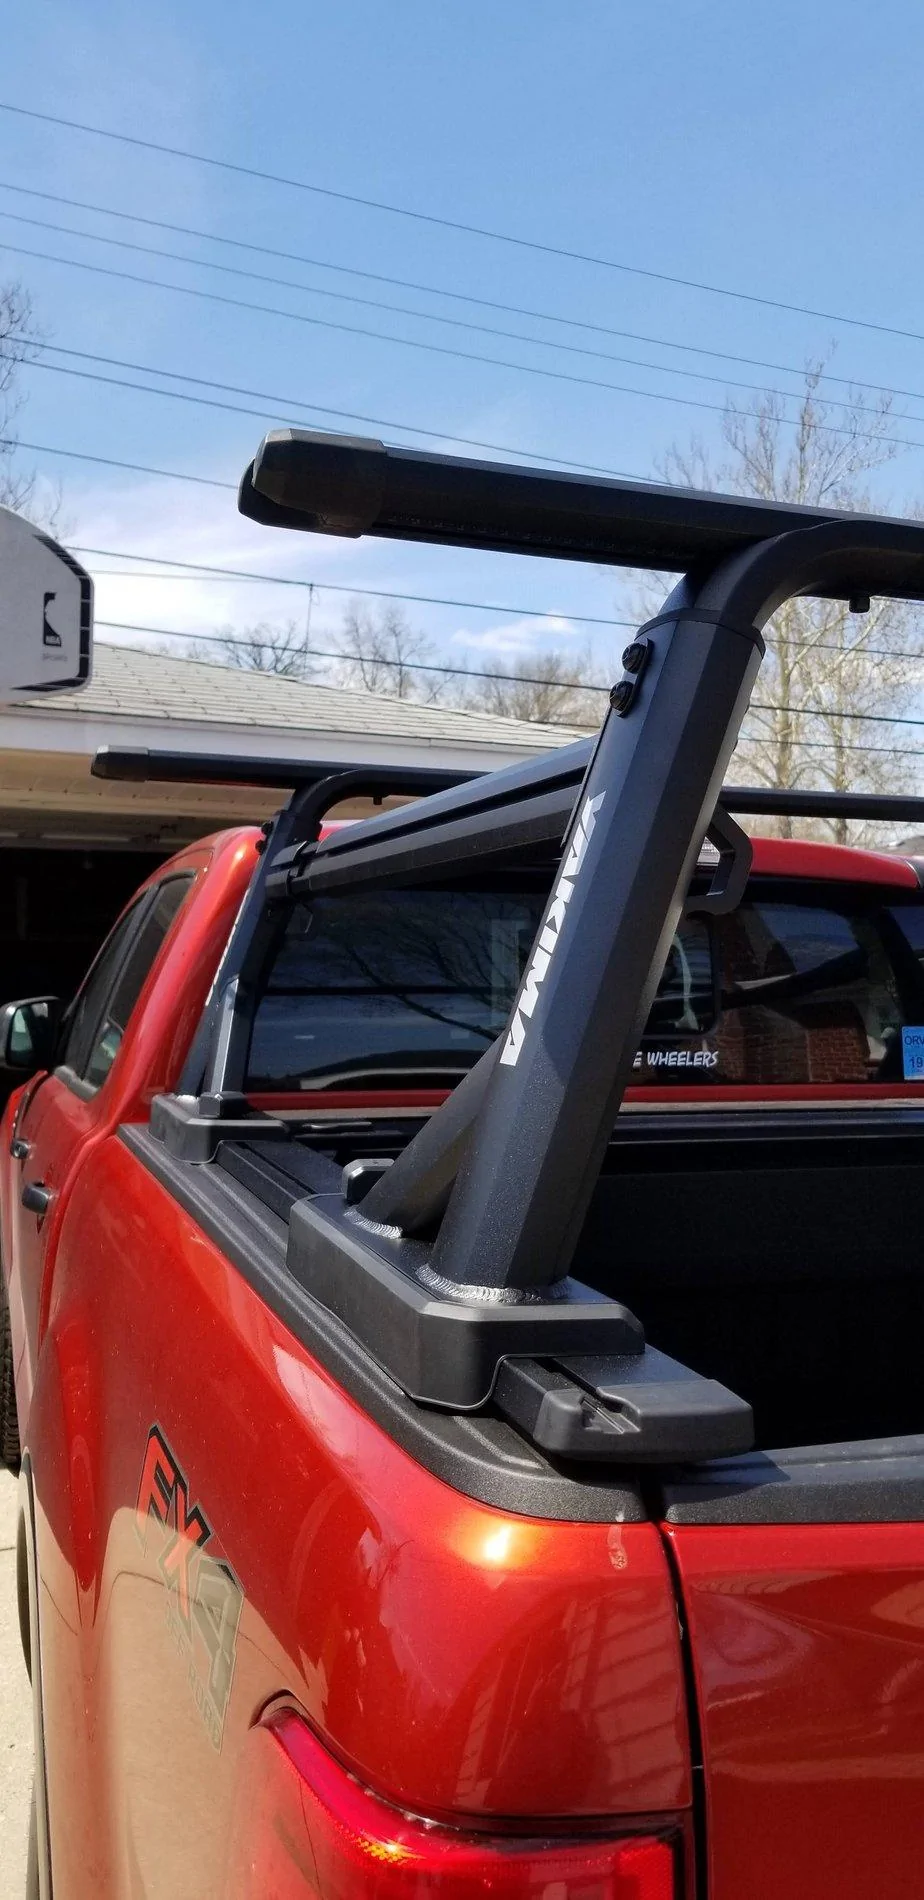
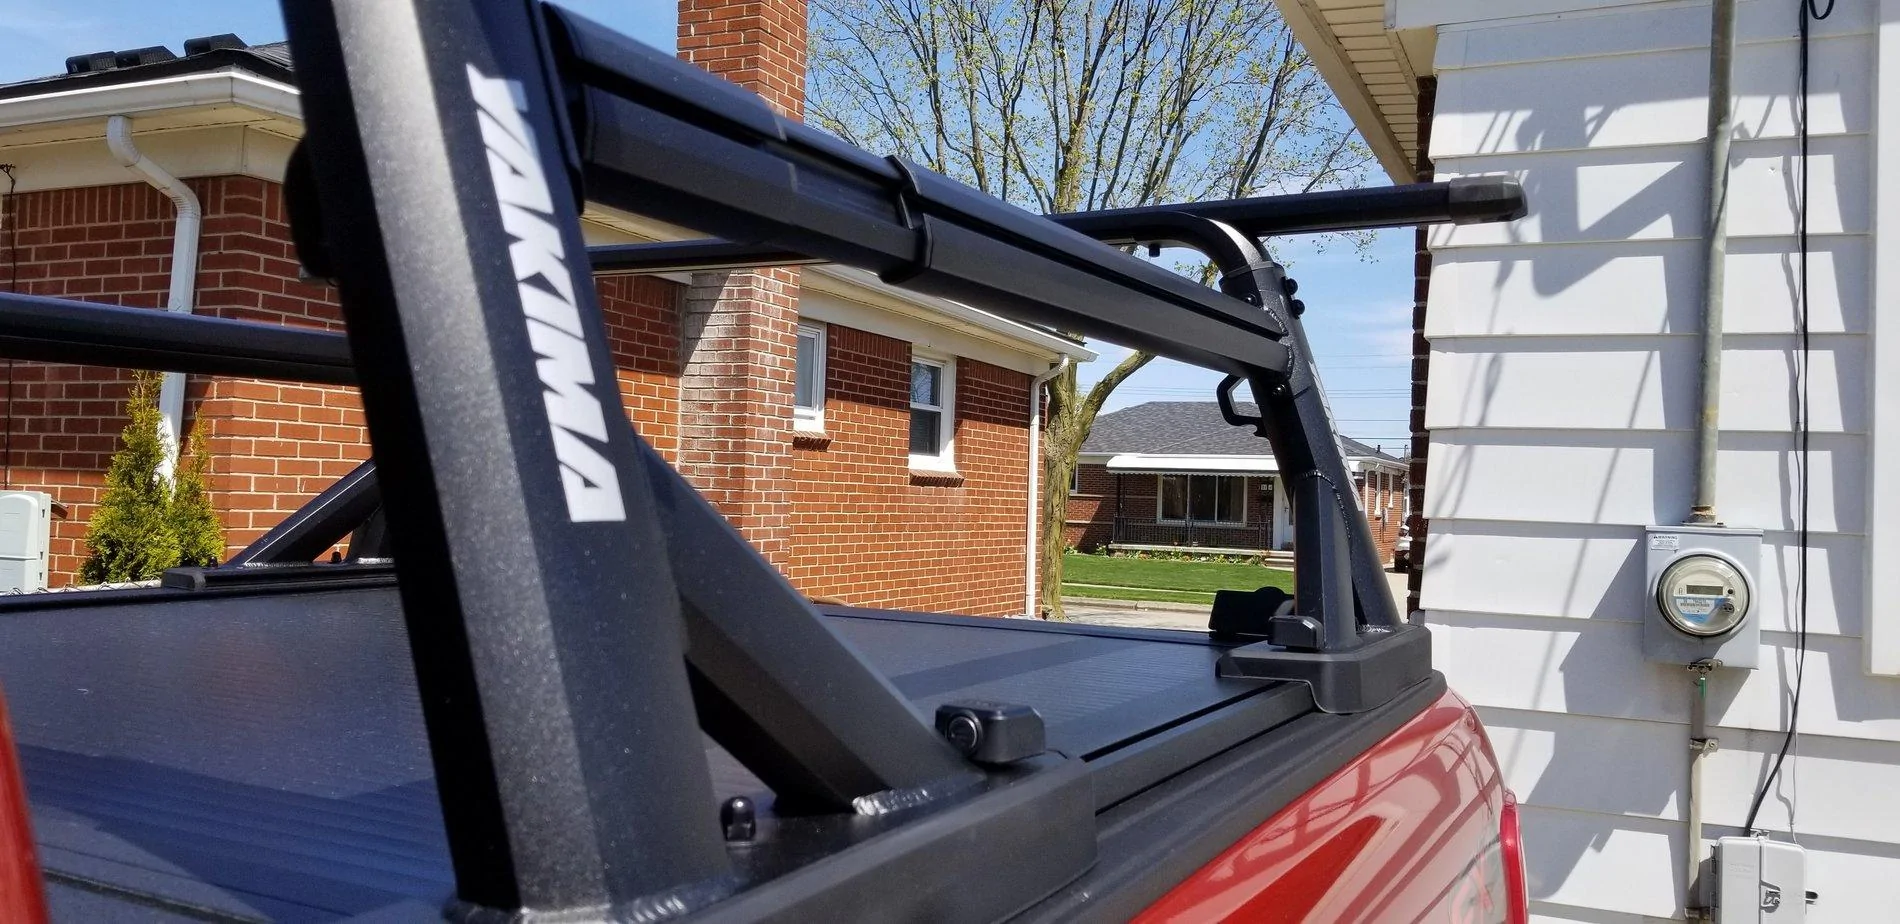
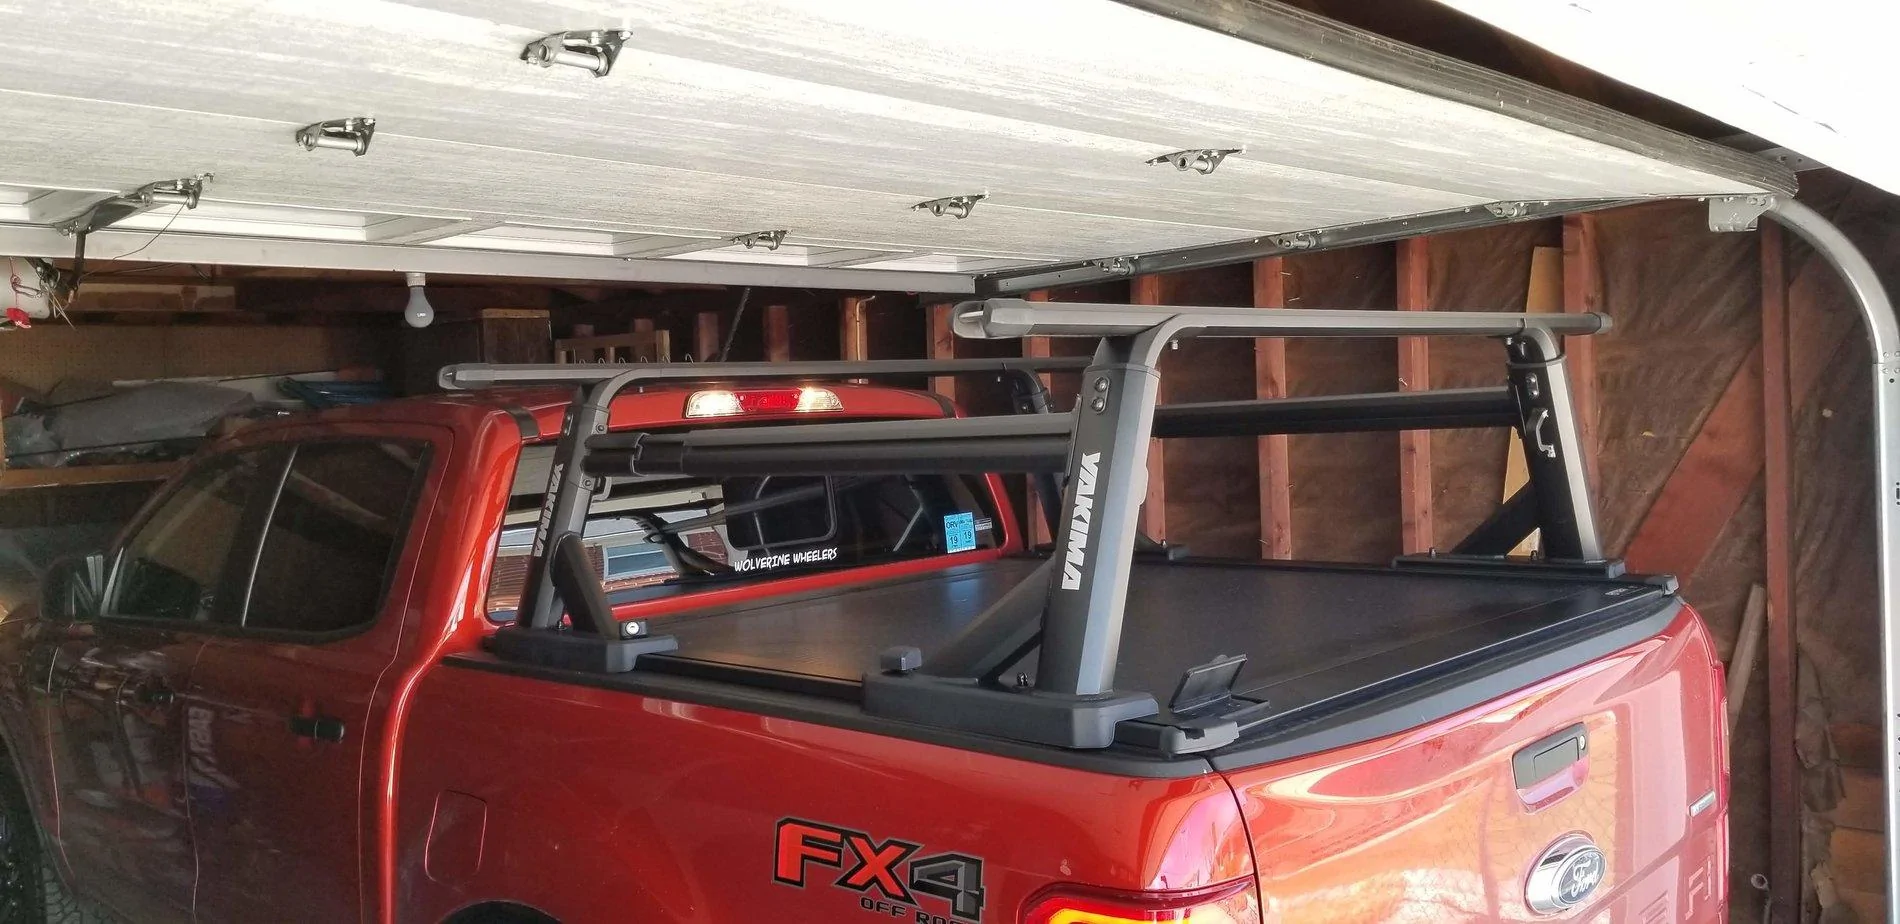
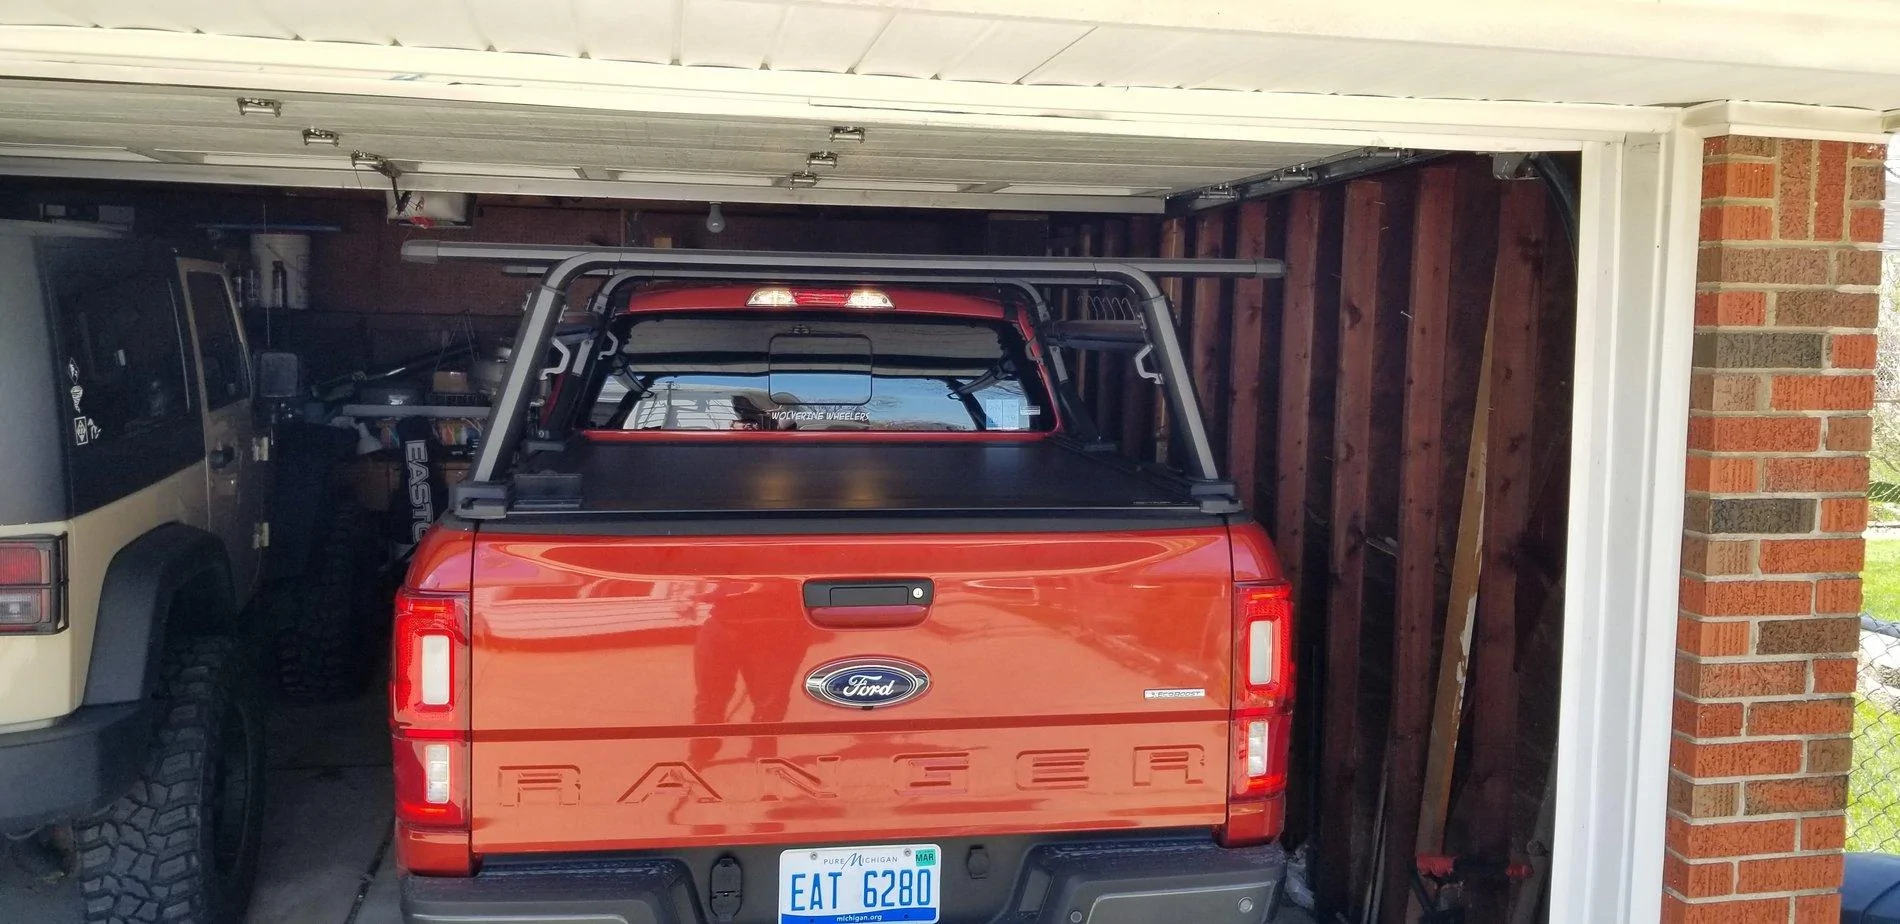
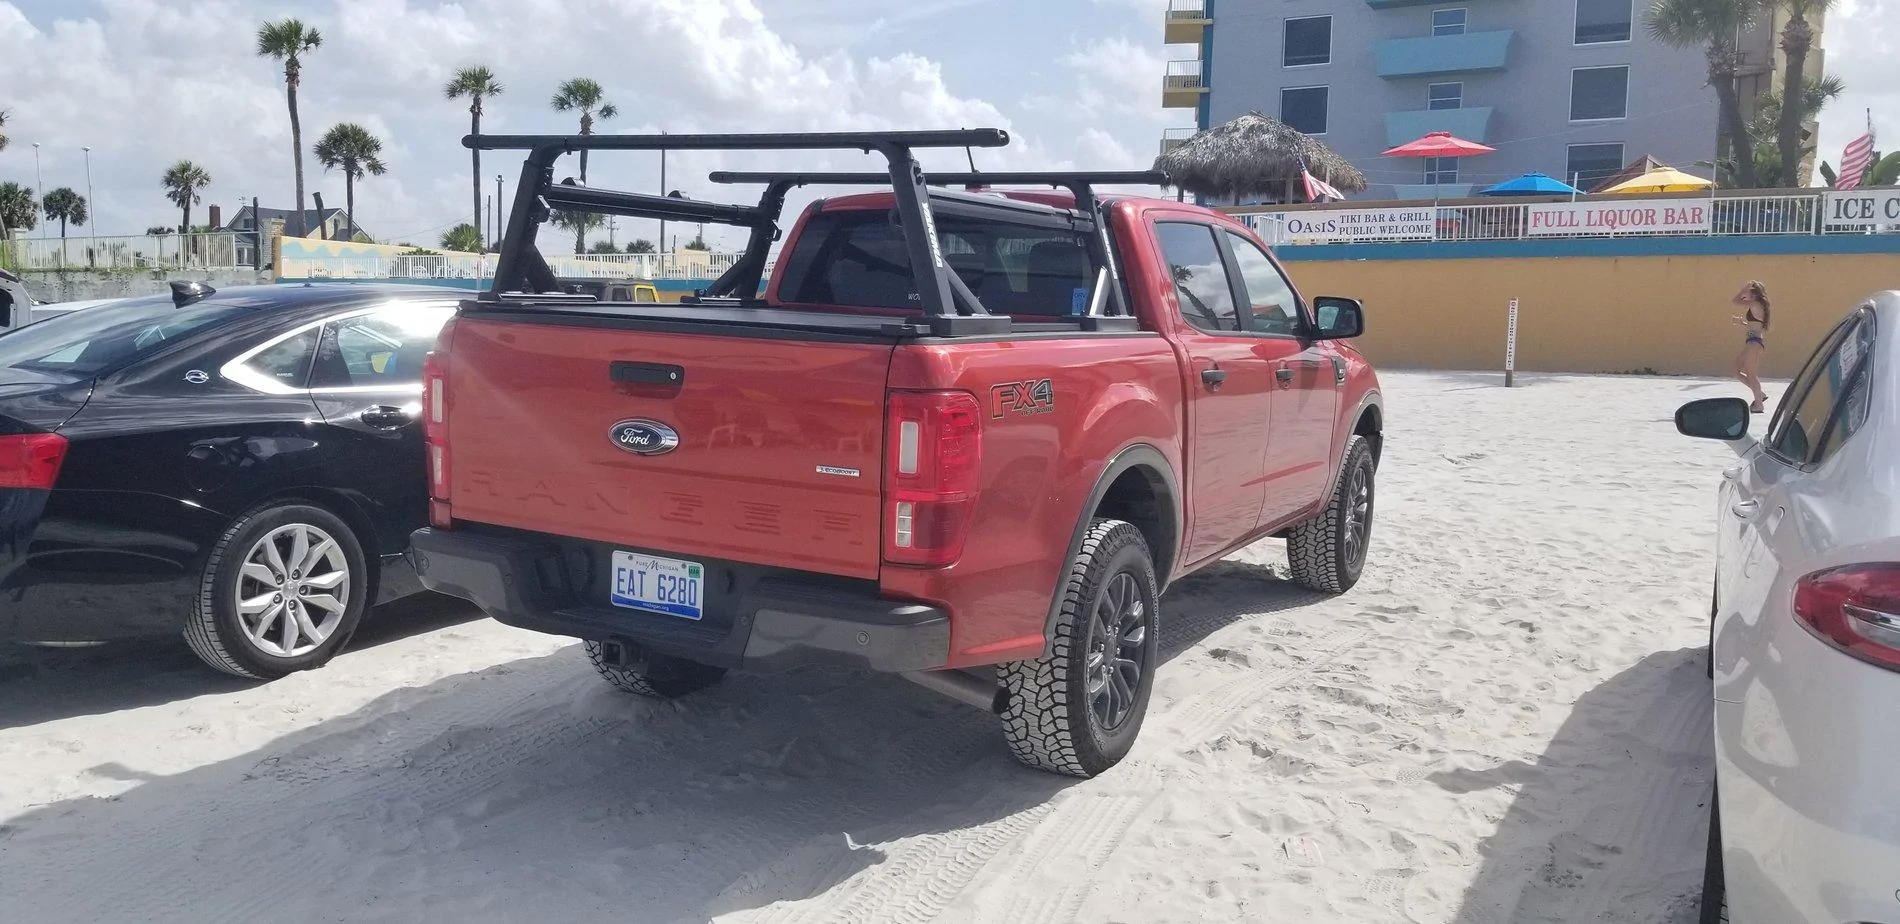
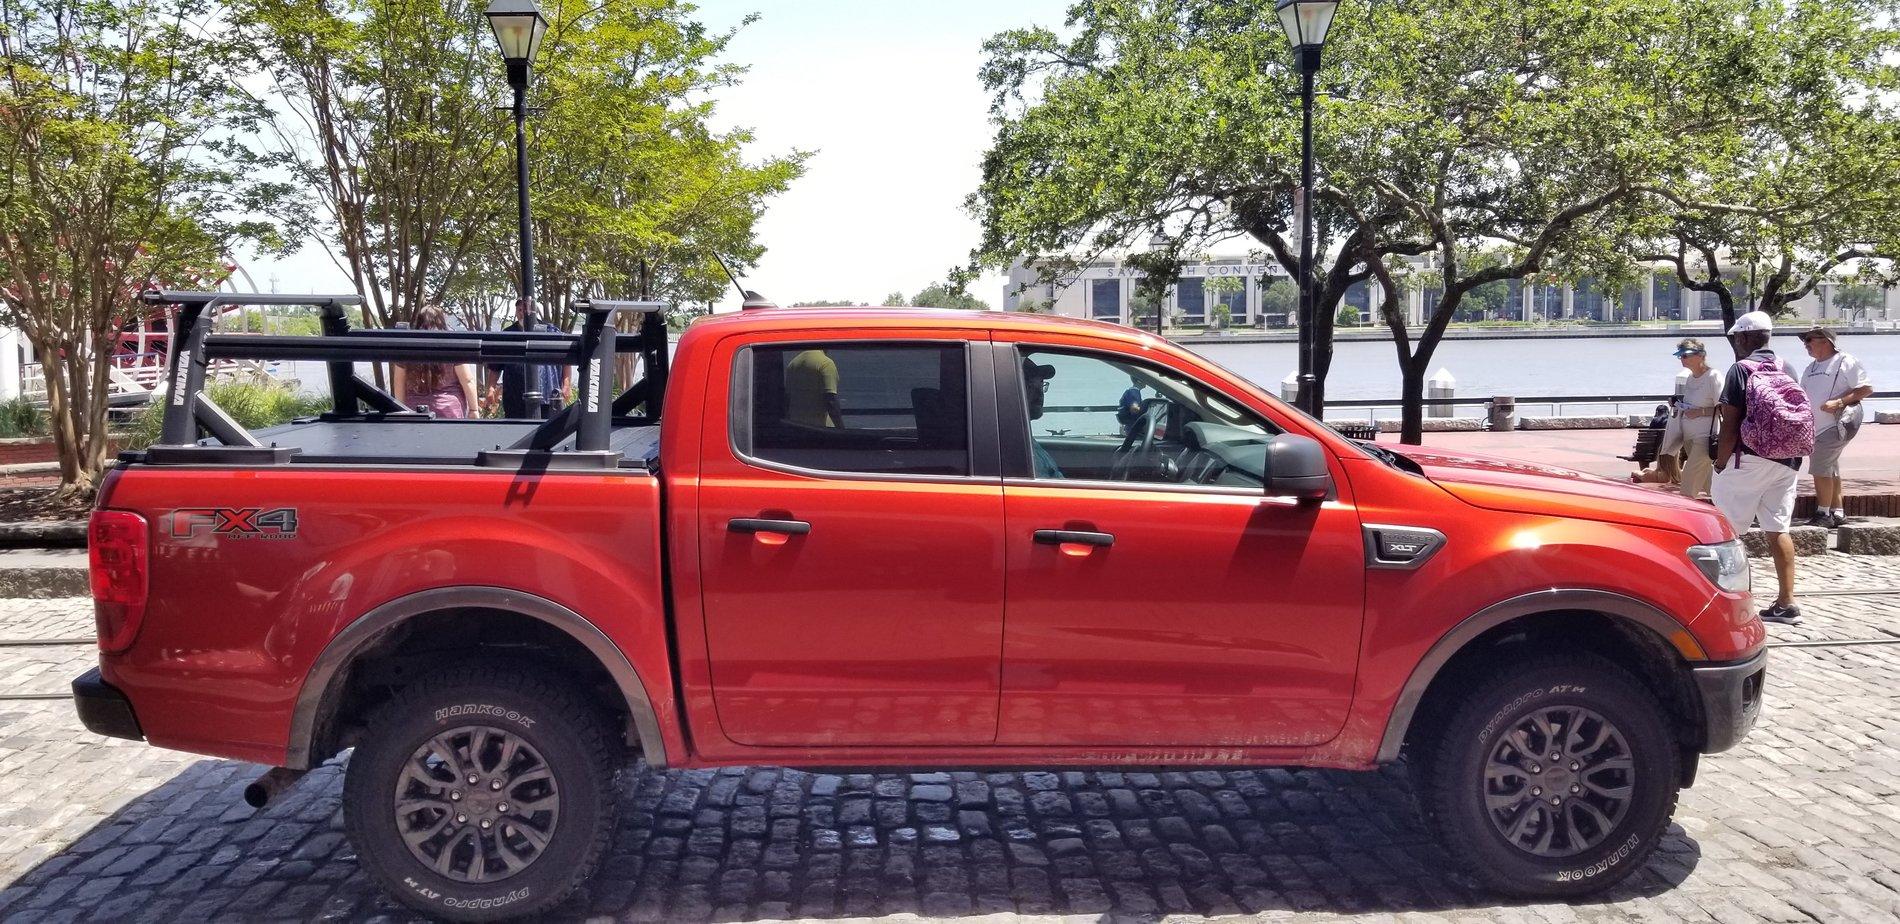
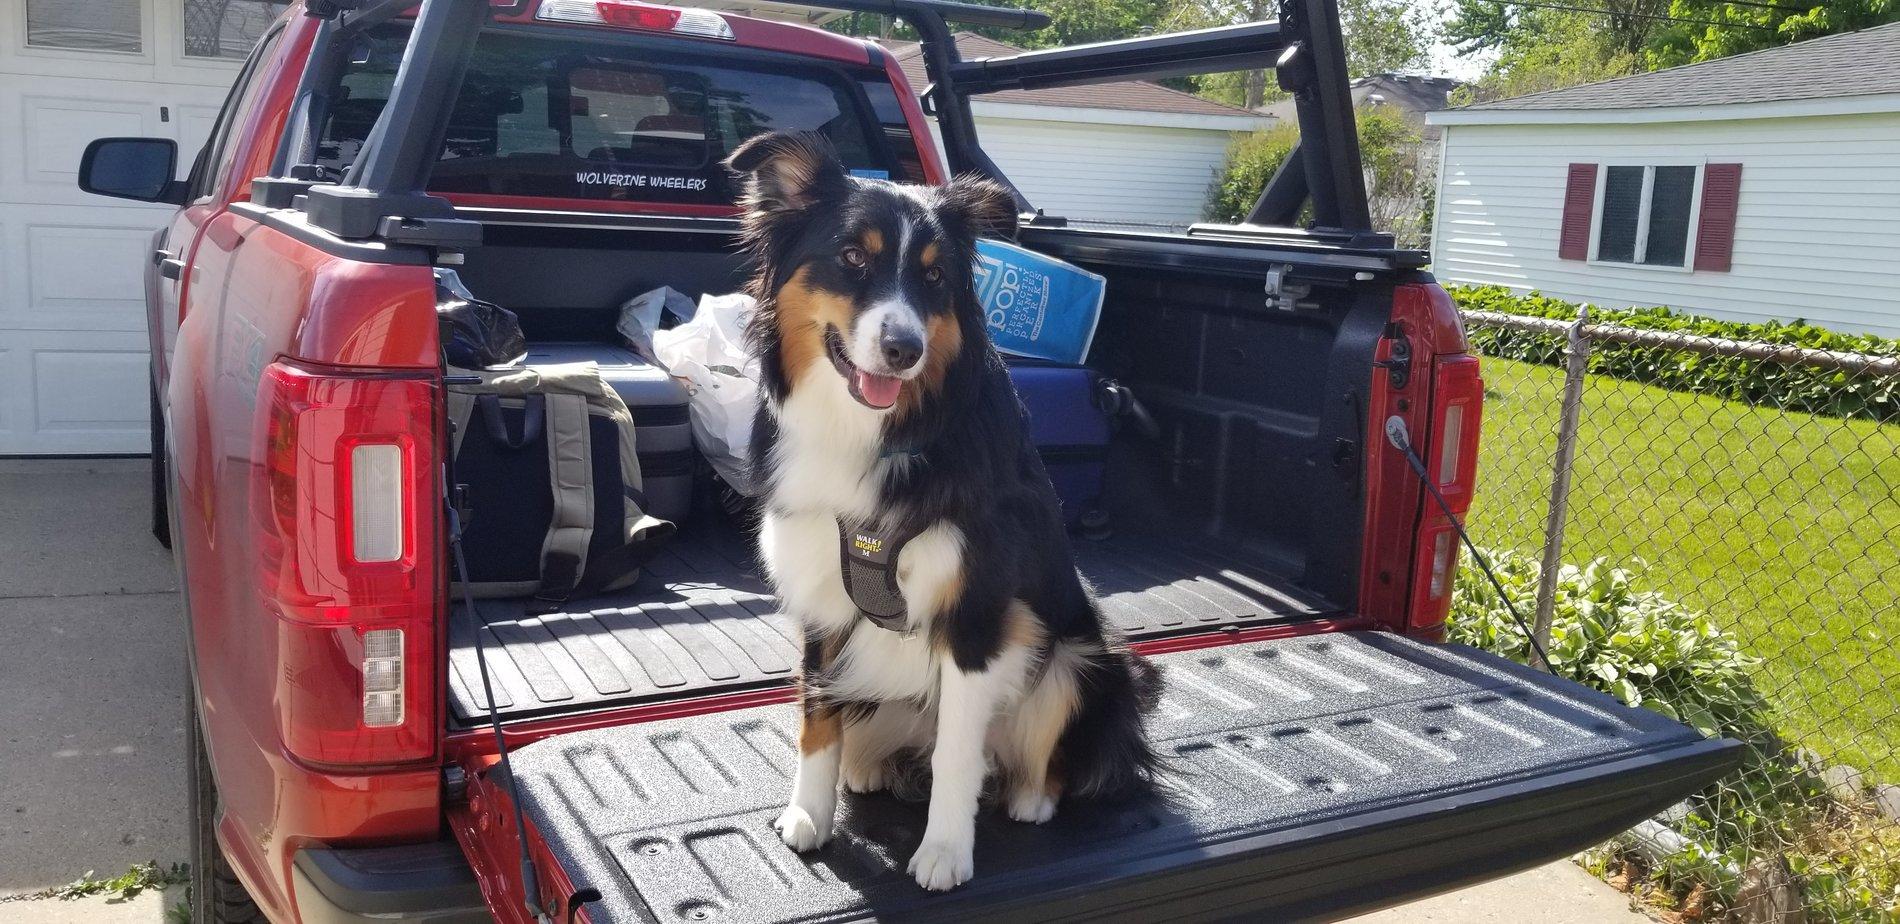
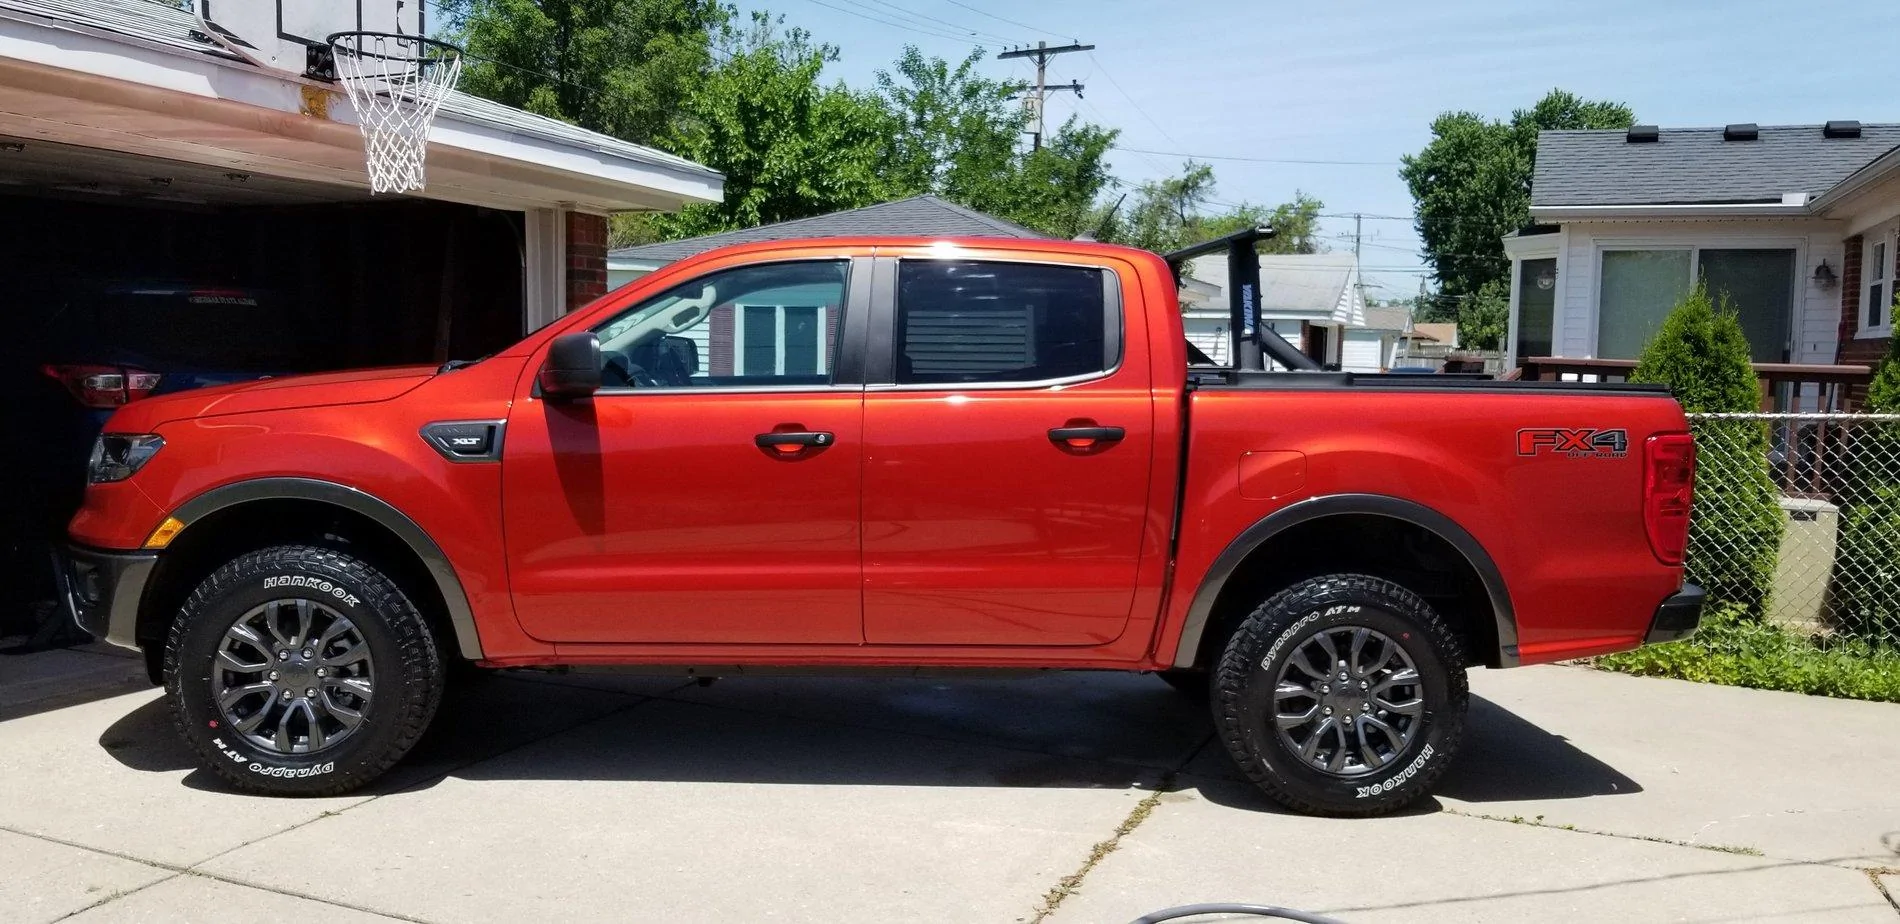
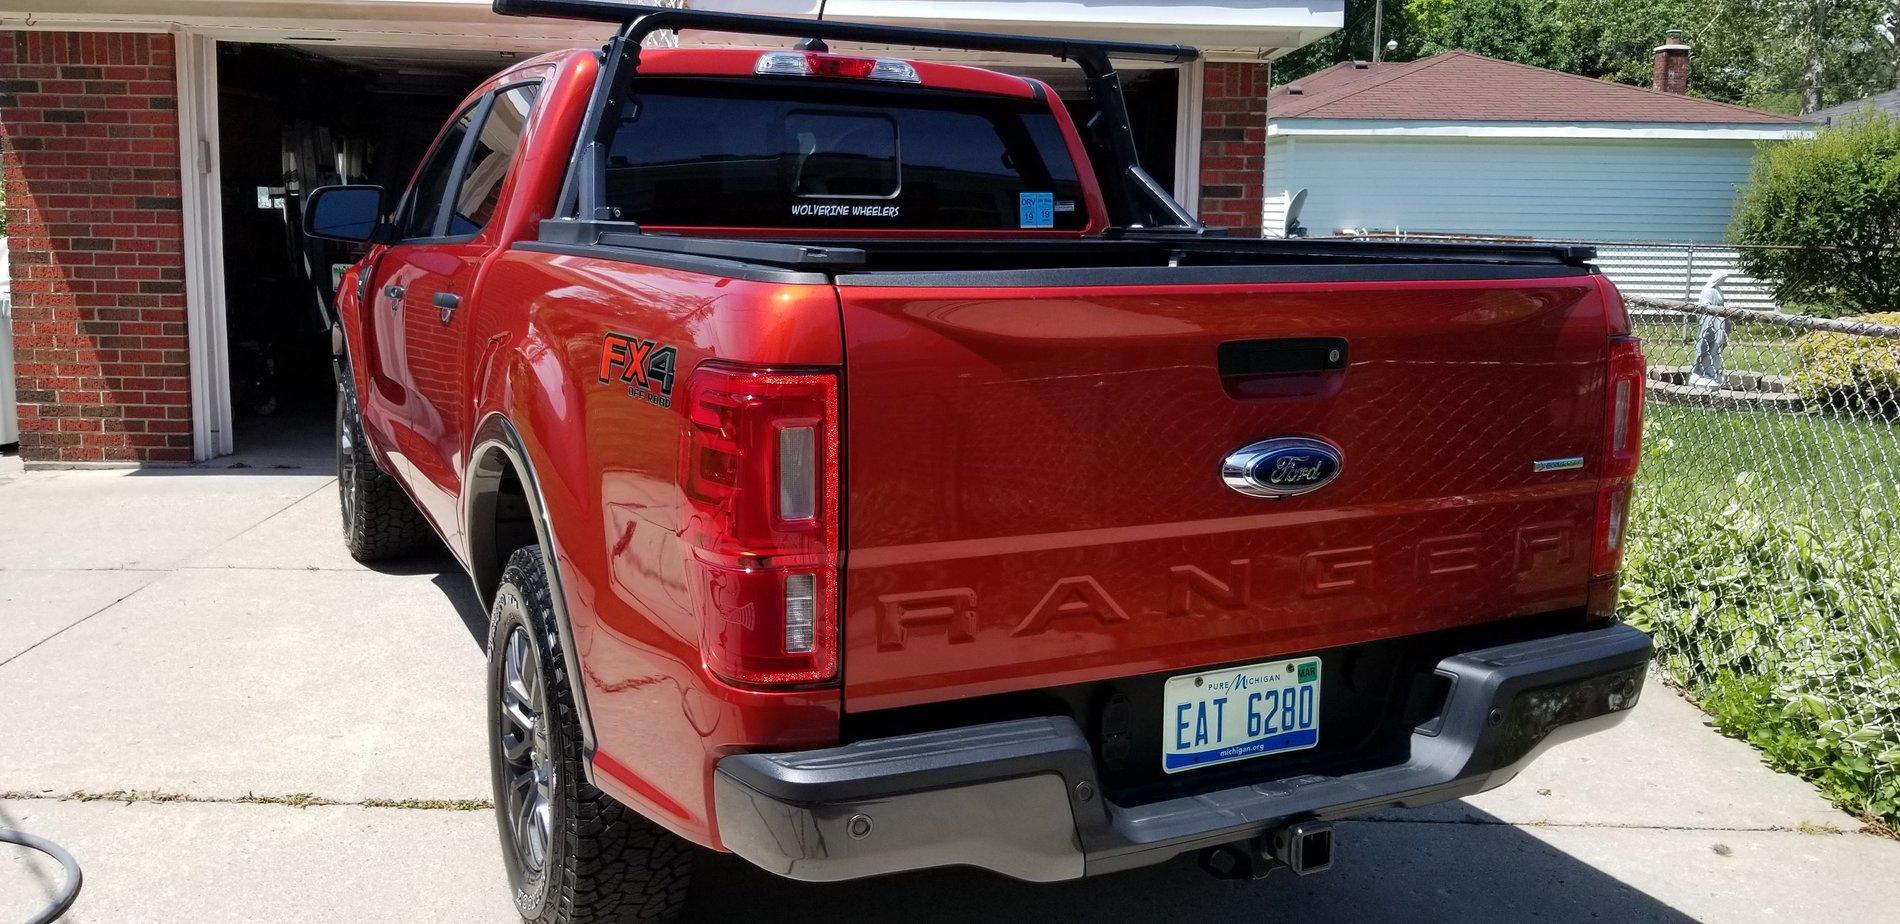
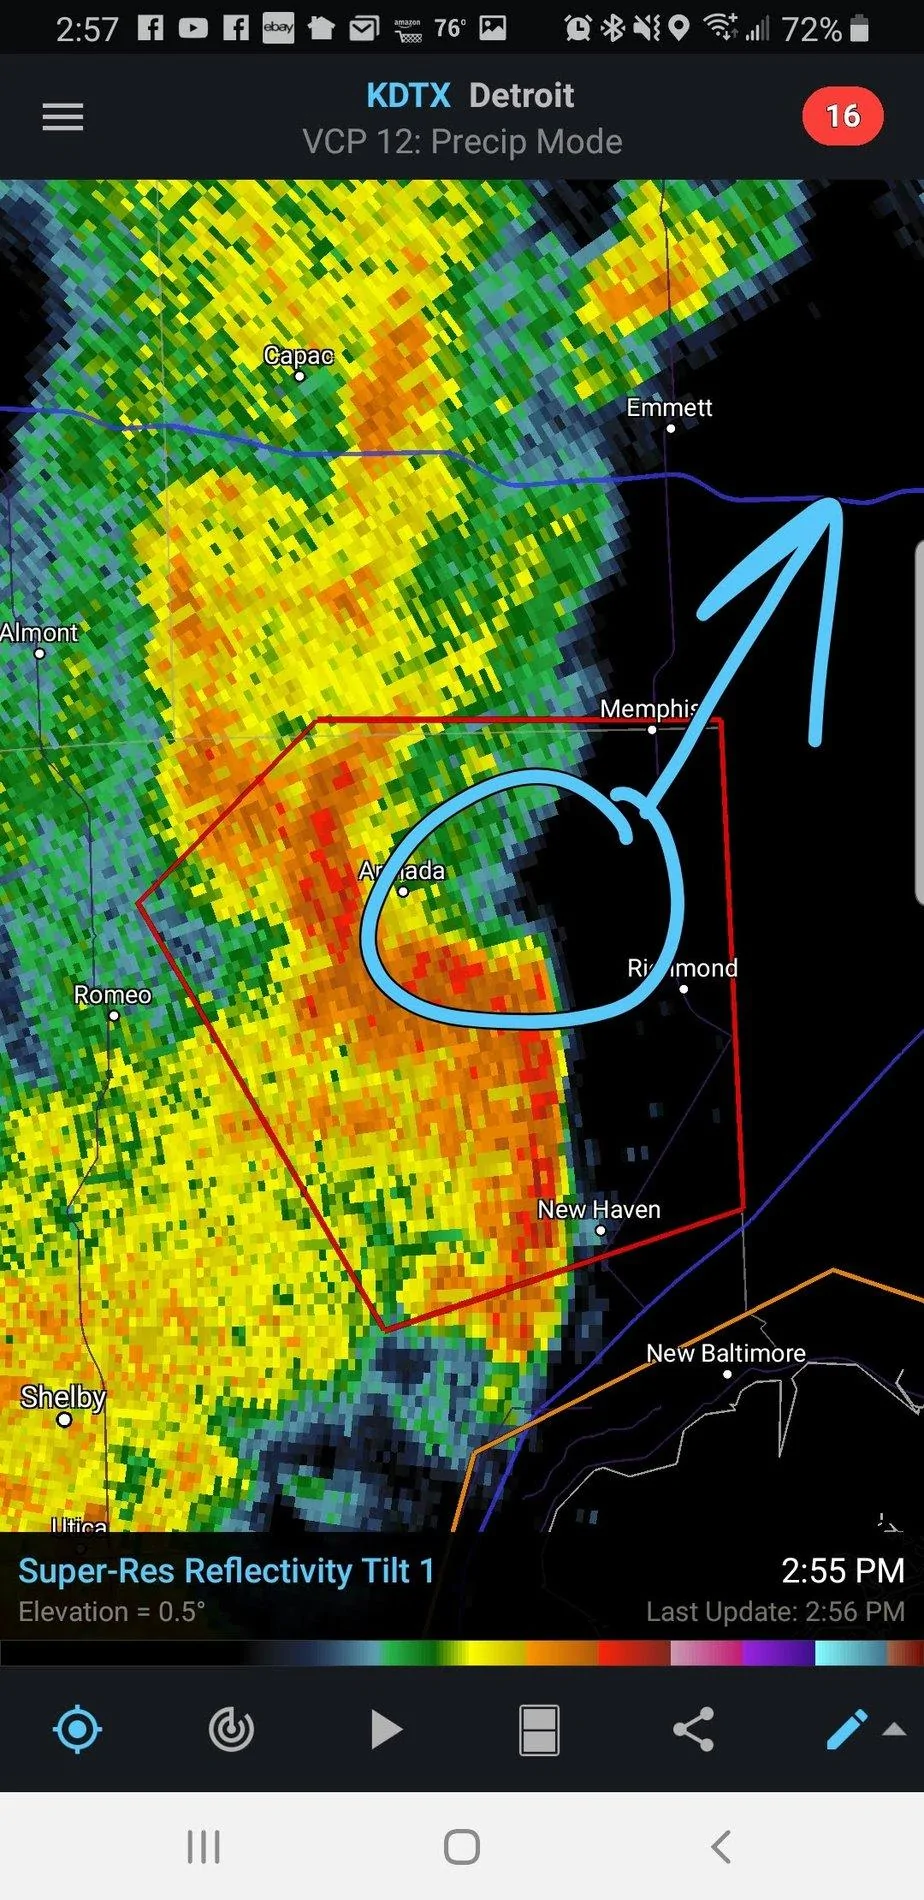
You can see my location in the radar image noted by the blue circle, and a few shots from the ground! The rack on the back of the truck made for a great hand hold and stabilizing mechanism for getting some great shots! Gave me a few ideas to find a way to add some weather instrumentation to the rack at some point as well! Being a meteorologist and a Storm Spotter and Chaser, I think that could be pretty cool!

Anyways, unfortunately, the northern side of the bow echo of this storm broke off and actually developed a tornado which traveled roughly from Armada, MI NE towards Port Huron, MI and did cause some damage, knocking down some barns and trees, but thankfully no injuries! It was rated as an EF0.

Screenshot_20190519-145701_RadarScope.jpg

Screenshot_20190519-145714_RadarScope.jpg
Sponsored

 
OP
OP
WxNerd2015

WxNerd2015

Well-Known Member
First Name
Trevor
Joined
Oct 17, 2018
Threads
9
Messages
296
Reaction score
1,032
Location
Gregory, Michigan
Vehicle(s)
2019 Ranger, 2011 Wrangler, 2017 Escape
Occupation
Applications Engineer
Vehicle Showcase
1
It has also occurred to me, that I never finished my write-up on the Yakima Rack Installation, and I definitely want to share my experiences and some tips that may help for others installing the rack! So...here we go!

So, as some prerequisites, the parts I purchased for this install included the RetraxOne XR, Yakima Overhaul HD, Yakima Large (68") HD Bars, Yakima Tonneau Kit, Yakima SideBars (Short Bed), and Yakima TopGrip. The bed cover could be interchanged with the RetraxPro XR or the Embark LS from Ford, or any other bed cover with the t-track side rail system, or the Overhaul can be installed with no bed cover and just attached directly to the bed rails as well. It is a flexible configuration if a system, but works quite well. The Overhaul HD and HD Bars were actually a good bit heavier and more stout than I though they would be! Nearly everything is metal, with a textured black coating on it, and the welds on everything look very clean! So anyways, into the install now!

If you are installing on a bed cover like me, you will start with the tonneau kit box, and a good portion of the Overhaul HD directions will be discarded, as most of it involved attaching them to the bed rails. With the tonneau kit, you follow the few steps there and skip to, I believe, step 6 in the Overhaul HD directions. Start by sliding in 4 square head bolts with Loctite into each side of the bed cover and roughly position where they should go, 2 per each leg of the Overhaul HD.

20190428_121003.jpg

20190428_121010.jpg


From here, now grab the bases that the Overhaul HD legs will sit in, and once again, position on the rails of the bed cover. They are made of a rubbery material, and these will help you get the bolts into their correct places now!

20190428_121141.jpg

20190428_121145.jpg

20190428_121151.jpg

20190428_121155.jpg


Once those are positioned, you are ready to grab the Overhaul HD Legs, and start to position, attach, and secure them to the truck! There are only two different designs of legs in the box, and two of each of those. The drivers side front and passenger side rear, or the same design, just turned around, and same with the other two. Just make sure the triangle is pointed towards the bed of the truck and not away. Also to note, on the driver's side the bolt towards the middle of the setup will get a special nut that is meant for the attachment of a lock after installation, but make sure these only go on the bolts towards the inside of the setup on the driver's side per the instructions. Every other of the 6 bolts gets a stadard cap nut.

20190428_122418.jpg

20190428_122430.jpg

20190428_123552.jpg

20190428_123610.jpg


Driver's Side Nut setup:
20190428_122434.jpg


Passenger Side Nut Setup:
20190428_122423.jpg


Once those are all tightened down to spec, the Overhaul HD is installed! Next up will be the HD bars and Side Bars which will be in the next post!
 
OP
OP
WxNerd2015

WxNerd2015

Well-Known Member
First Name
Trevor
Joined
Oct 17, 2018
Threads
9
Messages
296
Reaction score
1,032
Location
Gregory, Michigan
Vehicle(s)
2019 Ranger, 2011 Wrangler, 2017 Escape
Occupation
Applications Engineer
Vehicle Showcase
1
Next up in the installation was installing the HD Bars to the Overhaul HD. This was actually the most difficult part by far, but did not have to be. The bars themselves have a measurement on the bottom, so trying to get the bars set up evenly across the truck is fairly easy in that matter, however the driver side front leg and the passenger side leg both were a little tight where you set the bar into the mount, and actually ended up scratching the coating on the HD bars slightly, as well as shifting the bar just off even every time we pushed it into the mount. If you have the patience and take your time, you will get the measurements even, it just takes some trial and error!

And before you set he bars into the mounts, make sure to add the nut plates for the bolts to attached the bars to the OverHaul HD and slide them to the middle of the bar, as I learned the hard way, once the bars are pressed down, they do not slide through far enough from the outside. It will make everything much easier if you install those nut plates first!

You then have to install the bolts, 4 per bar, 2 on each side, to attach the bars to the OverHaul HD. The inside bolts are relatively easy to do and all 4 of the inside bolts went in with almost not hassle as you had to locate the nut plate correctly, and I just pulled those in place with a screwdriver through the hole, and then installed the bolt. the outside holes, which are recessed are much harder, and I fought with trying to install these for over an hour, trying very trick I could think of! My big mistake...I tightened the inside bolts up, thinking it would help hold the nutplate steady for the outside bolts...and that was a big mistake. I finally loosened the inside bolts to just a few threads, and all of a sudden, the bolts went in with no issues! So make sure you DO NOT TIGHTEN HD BAR BOLTS UNTIL ALL 4 ARE STARTED on each bar! This is my biggest tip for sure from this install!

20190428_134555.jpg

20190428_134601.jpg


Lastly, i also installed the SideBars, and these were a breeze, as everything lined up as it should to existing holes in the Overhaul HD and tightened up nicely! Not much to say on that part of the install as it is very straight forward. Just make sure you get the front bar of the t-track system where you would like to position it as the small piece does slide to adjust it's position. And from there, enjoy!

20190428_141849.jpg

20190428_141901.jpg

20190428_141907.jpg

20190428_141911.jpg

20190428_141919.jpg

20190428_141930.jpg

20190428_142459.jpg

20190428_142517.jpg

20190428_143344.jpg

20190428_143353.jpg

20190428_143358.jpg

20190428_143404.jpg


Lastly, here's a few clearance shots in the garage, as well as what can be seen with my setup from the mirrors of the truck!

20190428_143453.jpg

20190428_143506.jpg

20190428_143509.jpg

20190428_143552.jpg

20190428_143604.jpg
 
OP
OP
WxNerd2015

WxNerd2015

Well-Known Member
First Name
Trevor
Joined
Oct 17, 2018
Threads
9
Messages
296
Reaction score
1,032
Location
Gregory, Michigan
Vehicle(s)
2019 Ranger, 2011 Wrangler, 2017 Escape
Occupation
Applications Engineer
Vehicle Showcase
1
Additionally, I also was able to get my bed extender installed! It looks and works great! The install went fairly according to plan, with the exception of installing the side brackets to the bed. When Ford Bed lined the truck they filled those holes in a good bit with bed liner, so it was a struggle to get the bolts to grab in the holds. There was a lot of careful cutting and cleaning of the bed liner material, but I was finally able to get it. I won't say too much about the install, as others have already posted the instruction sheet as well and some write-ups (here), but it definitely is functioning how I wanted it to and is a nice addition!

For the installation, I did have to buy a rivet gun, as the instructions have you install rivets to hold the middle part the extender to the side pieces, but I just got a nice kit from Harbor Freight, and it did the job very nicely, and even came with multiple tips for different sized rivets and the rivets themselves! I believe this is the kit I got and I needed the 1/8" head for installation if the Bed Extender. Also, just to note in the installation, make sure not to tighten the screws down too much that hold the vertical stanchions because the holes can strip out easily! I did on one of them, but luckily there are like 6 a side, so they are very well secured still!

Anyways, here's the finished product!

20190516_184758.jpg

20190516_184813.jpg

20190516_184823.jpg

20190516_184903.jpg

20190516_184915.jpg

20190516_184942.jpg

20190516_184949.jpg

20190516_184959.jpg

20190516_185004.jpg

20190516_185106.jpg

20190516_185109.jpg

20190516_185129.jpg


It clears the bed cover nicely and creates a nice corral when folded in to keep things to the back of the truck! Yesterday we just had a trip to Sam's Club, and one entire cart full from them fit in the corral area the extender provides, so I was pretty impressed with that! As for using it extended out yet, nothing noteworthy yet, but with the choice of bed cover that I have, it will definitely be nice to gain that space back on the tailgate and still have things contained! And as one last point, the extender does install and remove by simply rotating the cover to around a 45 degree angle towards the back of the truck and pulling it out of it's bracket or sliding it in! So it does not have to be permanently in the truck!
 
OP
OP
WxNerd2015

WxNerd2015

Well-Known Member
First Name
Trevor
Joined
Oct 17, 2018
Threads
9
Messages
296
Reaction score
1,032
Location
Gregory, Michigan
Vehicle(s)
2019 Ranger, 2011 Wrangler, 2017 Escape
Occupation
Applications Engineer
Vehicle Showcase
1
Just got back from a great week long trip! Actually more like 10 days! Celebrated the wife's birthday, and went down with the whole extended family to Orlando to Universal Studios! Man was it hot down there, but it was a great trip! My wife and I also decided to drive down from Michigan instead of fly, so we had quite the drive and decided to do it in the Ranger, so i got some really good road test times with the truck and am still totally loving this truck after the trip too! Here's a map of the drive which we took from start to finish!

OrlandoTripMap-page-001_edited.jpg


We started out in Madison Heights and then headed up to Byron for a little bit of lake fun at the in-laws Lake House and we took the pup and the VersaBoard up there with us! As you can see, the pup has decided she also loves the Ranger and has claimed the back seat as hers anytime the door opens! And she now can get in by herself too!

20190614_174743.jpg

20190614_180739.jpg

20190614_180753.jpg

After a fun weekend in Bryon, started the haul down through Ohio, Kentucky, Tennessee, and into Georgia. About just over 10 hours the first day!

20190616_114110.jpg

20190616_151235.jpg

20190616_161638.jpg

20190616_161658.jpg

20190616_192634.jpg

20190616_192656.jpg

Day 2 then had us driving another about 7 hours down to our resort at Universal, and once again, the truck did great! Though, as the temperatures were only in the 60s when we left Michigan, and were well north of 90s once we hit Tennessee on down, I did let some air out of the tires as they were sitting a bit high! We drove through a few good Florida storms with some heavy downpours, but was ultimately uneventful as hoped for! The truck then was parked in the garage there and got a good break while we enjoyed some park time for a few days!

20190617_150509.jpg

20190617_155817.jpg


At the end of the first leg of the trip, you can see the tallies below on the mileage driven, time, and the computer calculated fuel mileage. And I will post of the full calculations using miles driven and gallons of gas used a bit later, but the trucks computer was pretty dang spot on!

20190621_151524.jpg


And lastly, some views from where we stayed and the parks!

20190617_184737.jpg

20190618_084751.jpg

20190618_090800.jpg

20190618_105612.jpg


OP
OP
WxNerd2015

WxNerd2015

Well-Known Member
First Name
Trevor
Joined
Oct 17, 2018
Threads
9
Messages
296
Reaction score
1,032
Location
Gregory, Michigan
Vehicle(s)
2019 Ranger, 2011 Wrangler, 2017 Escape
Occupation
Applications Engineer
Vehicle Showcase
1
After our fun came to an end at Universal, along with our want to be out in 90+ heat with high humidity, we packed up the truck and started our trek back home! We decided to take a bit more of a scenic route home, so we went over to the east coast a bit more as you can see in the route in the previous post and took 3 days to get back home! We started out heading towards Daytona Beach and got very lucky to have some fun driving along the beach there! It was fairly open, and they actually had the entire stretch of beach from Speedway Blvd all the way to the beach ends to the south open to drive straight through on! I even got to use Sand Mode a little bit as a few spots on the beach sent as through some loose and rutted sand, along with closer to the water! It was a lot of fun!

20190621_165045.jpg

20190621_165056.jpg

20190621_165108.jpg

20190621_165111.jpg

20190621_165248.jpg

20190621_170722.jpg

20190621_170731.jpg

20190621_170756.jpg

20190621_171141.jpg

20190621_171152.jpg

20190621_173218.jpg

20190621_173225.jpg

20190621_173241.jpg

20190621_173253.jpg

20190621_173300.jpg

After Daytona, we continued up the coast to Savannah, GA for the night! In the morning, we spent a bit of time exploring and really liked all the history there! Definitely want to make it back for a longer stay in the future!

20190622_091934.jpg

20190622_091952.jpg

20190622_092314.jpg

20190622_101944.jpg

20190622_105625.jpg

20190622_114149.jpg

20190622_120433.jpg

20190622_120441.jpg

20190622_120448.jpg

20190622_120622.jpg

20190622_120627.jpg


After Savannah, we headed up through the Carolinas, Virginia, and into Charleston, WV for the night! The truck was doing great handling all the mountains, but we were definitely tired getting into there, so it was a good stop! We had a good heavy storm line through North carolina that we had to drive through, but once again, very uneventful!

20190622_183132.jpg

20190622_183422.jpg

20190622_191601.jpg

20190622_191652.jpg

20190622_191659.jpg


And finally, our last leg took us up through Ohio and back home! With a finally tally of just shy of 2500 miles for the trip! And we passed the 6000 miles mark on the truck now! We averaged even better MPG on the way back and that was surprising as we drove through a lot more mountains and some more stop and go traffic. We averaged a pretty good speed, with most of the time spent between 70-80 MPH, and we didn't take it took easy on the truck, so the fuel mileage was quite impressive I think! And the lane keep assist and the adaptive cruise control we so great to have for this long trip! Those were definitely life savers!

Second Leg:
20190623_165308.jpg


Total Trip Tally:
20190623_165317.jpg


The pup was also glad we were home again and wanted to help unload! Haha!

20190623_170336.jpg
 
OP
OP
WxNerd2015

WxNerd2015

Well-Known Member
First Name
Trevor
Joined
Oct 17, 2018
Threads
9
Messages
296
Reaction score
1,032
Location
Gregory, Michigan
Vehicle(s)
2019 Ranger, 2011 Wrangler, 2017 Escape
Occupation
Applications Engineer
Vehicle Showcase
1
Quick video of a small spot driving the Ranger out on the beach! And a big thanks to my wife jumping out and grabbing some of the pictures and a video for me! Sand was definitely a bit noisy here, but nothing too technical, just a quick shot! You can see in the early parts Actually bouncing around a bit more, and where I started there, the sand was a lot looser, but was much better packed closer to where my wife was filming at.


Lmood

Well-Known Member
First Name
Adam
Joined
Jun 25, 2019
Threads
6
Messages
139
Reaction score
253
Location
Savannah, Ga
Vehicle(s)
2019 Ranger XLT FX4
Hey, if you are ever back down in Savannah, let me know! I live in the area. Nice build so far!
 
OP
OP
WxNerd2015

WxNerd2015

Well-Known Member
First Name
Trevor
Joined
Oct 17, 2018
Threads
9
Messages
296
Reaction score
1,032
Location
Gregory, Michigan
Vehicle(s)
2019 Ranger, 2011 Wrangler, 2017 Escape
Occupation
Applications Engineer
Vehicle Showcase
1
Well, been missing from the forum for a little while, but it's been a very busy summer for me! Going back to July to pick up where i had stopped with updates! Truck got a very nice cleaning, and man does that color look good, and that ceramic coat ain't too shabby either to make cleaning up pretty easy! But just couldn't help but admire how good the truck was looking! Also if you notice, removed the rear Yakima Overhaul HD bar and the SideBars as we picked up an elliptical, and it was a lot easier to load it in the back without the bar!

20190630_124608.jpg

20190630_124626.jpg

20190630_125218.jpg

20190630_125240.jpg

20190630_125218-PANO.jpg
 
  • Like
Reactions: Doc
OP
OP
WxNerd2015

WxNerd2015

Well-Known Member
First Name
Trevor
Joined
Oct 17, 2018
Threads
9
Messages
296
Reaction score
1,032
Location
Gregory, Michigan
Vehicle(s)
2019 Ranger, 2011 Wrangler, 2017 Escape
Occupation
Applications Engineer
Vehicle Showcase
1
Also took a nice trip up to Ludington for a good 4th of July long weekend and had the truck loaded up good! 3 kayaks and a full bed! Could have done 4 kayaks, but did not feel like shifting the mounts again to get everything to settle right, and 3 was all we really needed anyways, but definitely fit well up on the rack and had plenty of space still!

20190703_133720.jpg

20190703_133729.jpg

20190703_133739.jpg

20190703_133750.jpg

20190703_133826.jpg

Also, the rack made a great containment system for some inflated tubes to sit on top of the bed cover but below the rack!

20190707_154402.jpg

And it was definitely a great time up in Ludingtion! Always is! Even the pup got to have some good fun playing in the Lake!

20190703_214044.jpg

20190706_112500.jpg

20190707_122440.jpg

And lastly, the two mounts that are holding the smaller kayaks are very simple j-hooks, can't find a brand name, but they seem like that are meant to mount with a compression fit with the rack and a plate secured with a couple of carriage bolts and knobs to an aero bar or maybe a round bar. Well, the HD Bars that I have are thicker and more square, so when tightening, the mounts only made very small metal to metal contact on the corners of the bar. I could tighten it down and it was ok...ish...but one, the metal to metal I was worried would rub the coating off the bars, and two it wasn't the most secure connection, so i actually found that a stair tread mat cut into strips as wide as the mounts actually gave the mounts great traction, a surface to bite into more, a cushion to not hurt the bars.

20190709_204056.jpg

I forgot to take an up close shot of how the mount looks with the full setup, but i will next time I use it. However I have now used this method 4 or 5 times now over some good distances at 75 MPH, and the mounts are super secure and do not move at all! I can actually grab the mounts and rock the whole truck back and forth with them and they do not budge, so it is much more secure for just a couple of bucks (and as a side not, I got cheap j-hook mounts for free, so worth the few bucks to make em work)
 
OP
OP
WxNerd2015

WxNerd2015

Well-Known Member
First Name
Trevor
Joined
Oct 17, 2018
Threads
9
Messages
296
Reaction score
1,032
Location
Gregory, Michigan
Vehicle(s)
2019 Ranger, 2011 Wrangler, 2017 Escape
Occupation
Applications Engineer
Vehicle Showcase
1
Also had a Gift Certificate to one of the Off road Shops in SE Michigan, Unlimited Offroad, and i normally go their for Jeep stuff, but didn't really need anything for the Jeep at the time being, so i picked up a few things for the truck! And it all fits behind the back of the rear seat very nicely!

Picked up an ARB Snatch Strap rated at 17500 lbs

20190710_163447.jpg

20190710_163456.jpg


Smittybilt Soft Shakle

20190710_163507.jpg


And a Yukon 3/4" D-Ring Shackle

20190710_163516.jpg

20190710_163521.jpg


Always good things to have on hand in a truck/Jeep and for offroading and many other needs! I have used mine in my Jeep for a lot more than i thought I might! And always good to be prepared!
 
OP
OP
WxNerd2015

WxNerd2015

Well-Known Member
First Name
Trevor
Joined
Oct 17, 2018
Threads
9
Messages
296
Reaction score
1,032
Location
Gregory, Michigan
Vehicle(s)
2019 Ranger, 2011 Wrangler, 2017 Escape
Occupation
Applications Engineer
Vehicle Showcase
1
Another Ranger! Haven't seen many others in my area in the HPR! And I couldn't not park next to it! Preatty good comparison shot between the chrome package and sport package in the XLT!

20190803_100919.jpg

20190803_100938.jpg
 
OP
OP
WxNerd2015

WxNerd2015

Well-Known Member
First Name
Trevor
Joined
Oct 17, 2018
Threads
9
Messages
296
Reaction score
1,032
Location
Gregory, Michigan
Vehicle(s)
2019 Ranger, 2011 Wrangler, 2017 Escape
Occupation
Applications Engineer
Vehicle Showcase
1
The pup has also been curious about the windows every time we go for a ride in the truck, she definitely loves the wind, and she has fully figured out all the windows now! And no worries, she has a harness on that is buckled into the rear seat belt, so she is all safe! But man does she love that wind in her fur!

20190824_103004.jpg

20190824_120820.jpg

20190831_130032.jpg

20190831_130034.jpg


Top