khyros
Well-Known Member
- Thread starter
- #1
Hey guys,
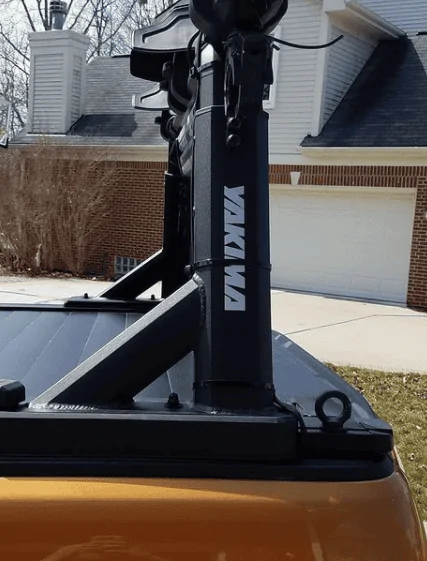
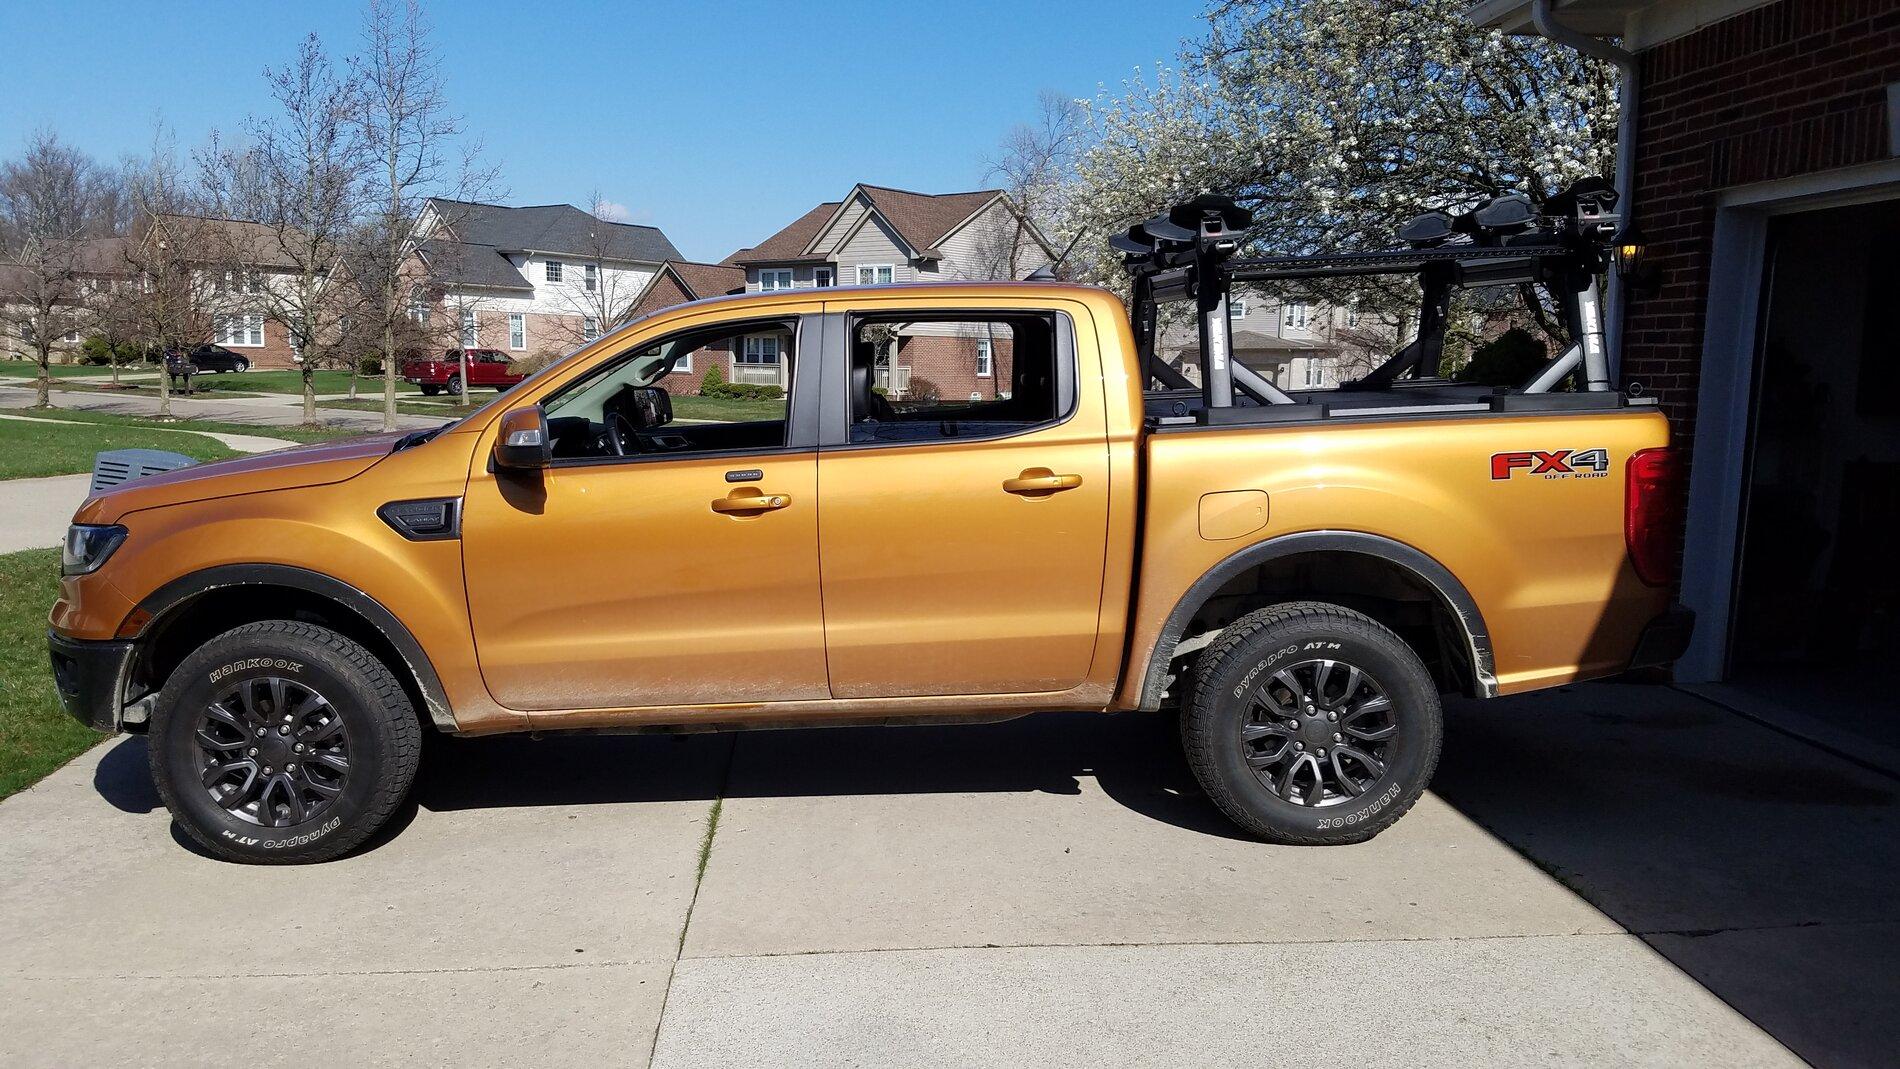
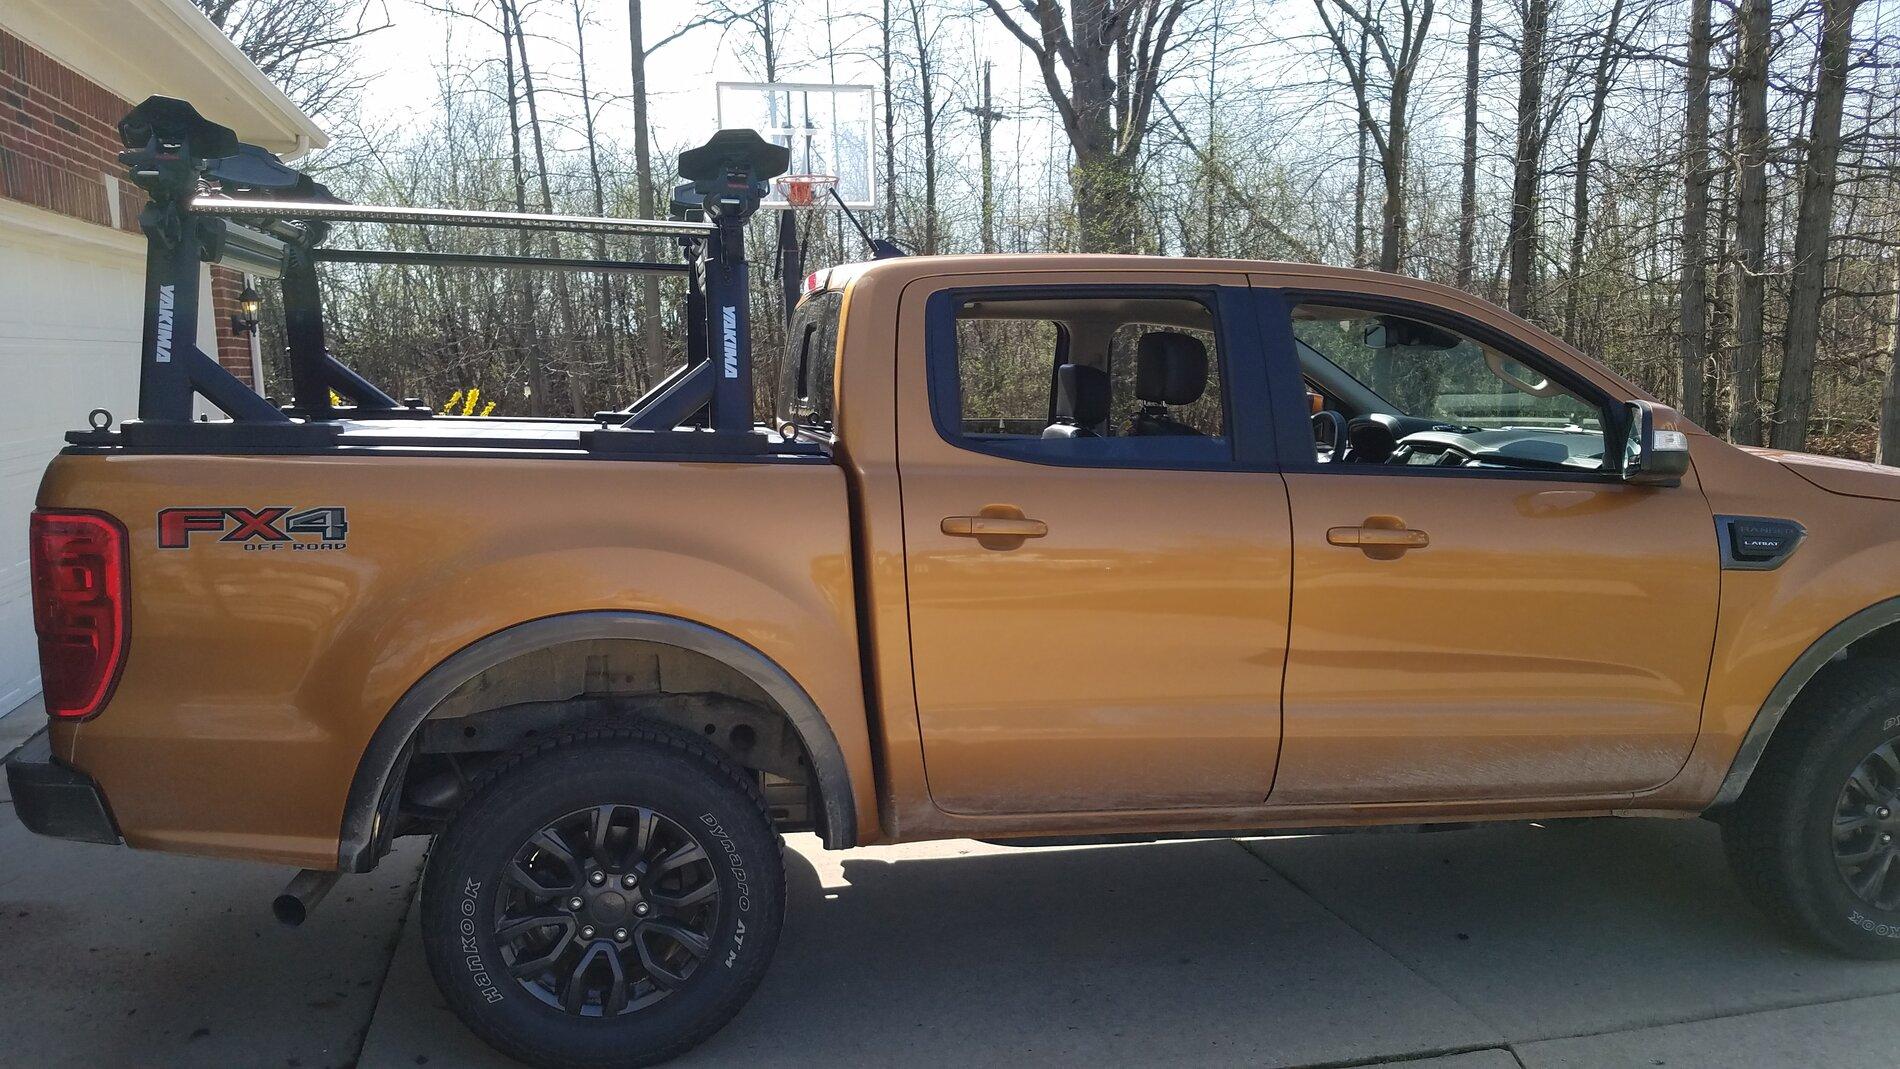
So I finally dialed in my Yakima Overhaul last summer to work as I wanted it (though I'm still debating on getting some side rails - Primarily for a recovery track mounting location), but realized that I'm pretty much completely blocking the 3rd brake light now. Whether or not it's legal, it isn't particularly safe that way, so as a winter project, I decided I was going to fix that by mounting a 3rd brake light to the rack.
Of course, as soon as I decided I was putting a light up on the rack, it spiraled into a lot more. I might as well add new reverse lights up there - the stock ones aren't as good as I would like, plus they get blocked and shadowed quite effectively when I have the bikes on the hitch. And if I'm going to be doing that, I might as well have a switch to toggle them on so I can use them to help setup camp at night. And if I'm going to be adding a switch, I might as well add some bed lights - the hard metal tonneau cover really keeps everything dark, even in the middle of the day. Heck - I might as well even put some side lights on for camping - the rear lights might not be the right angle .
.
At one point, I was going to have the bed lights have a magnetic switch such that they'd turn on when I opened the tailgate, and then have a defeat switch for the times that I have the tailgate open while driving. I ended up forgoing this idea though when I ended up buying 20A switches, which meant that I didn't need to use a relay for the switches.
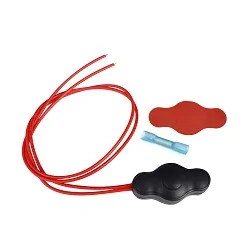
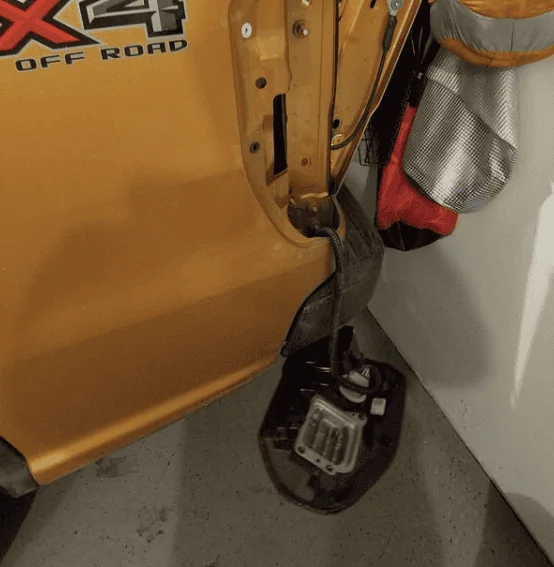
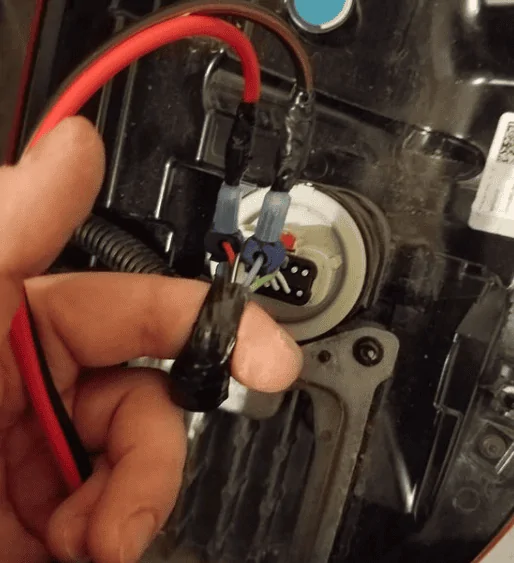
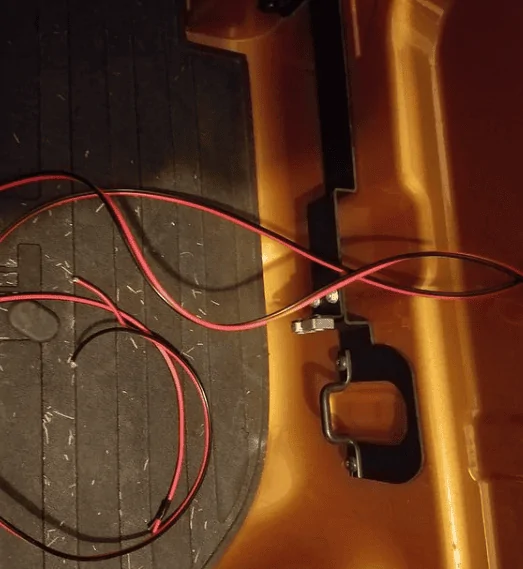
Up first was getting the brake and reverse light signal from the tail light. After popping the light out, I just did a quick pin out to determine which wires were the two signals I was looking for, and then used T splices to grab some power off of them.


Up next was to route the 12V power for everything else. I used the harness designed for the 12V power outlet, but since I didn't have the right connector to just plug in, I used the same T splice method. Thus, I had all of the power into the bed that I needed.

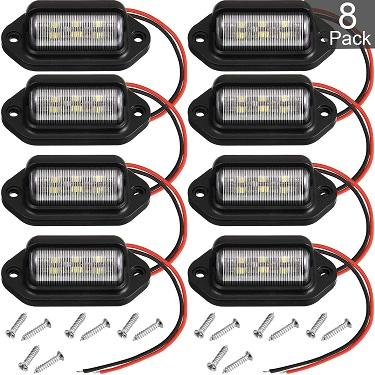
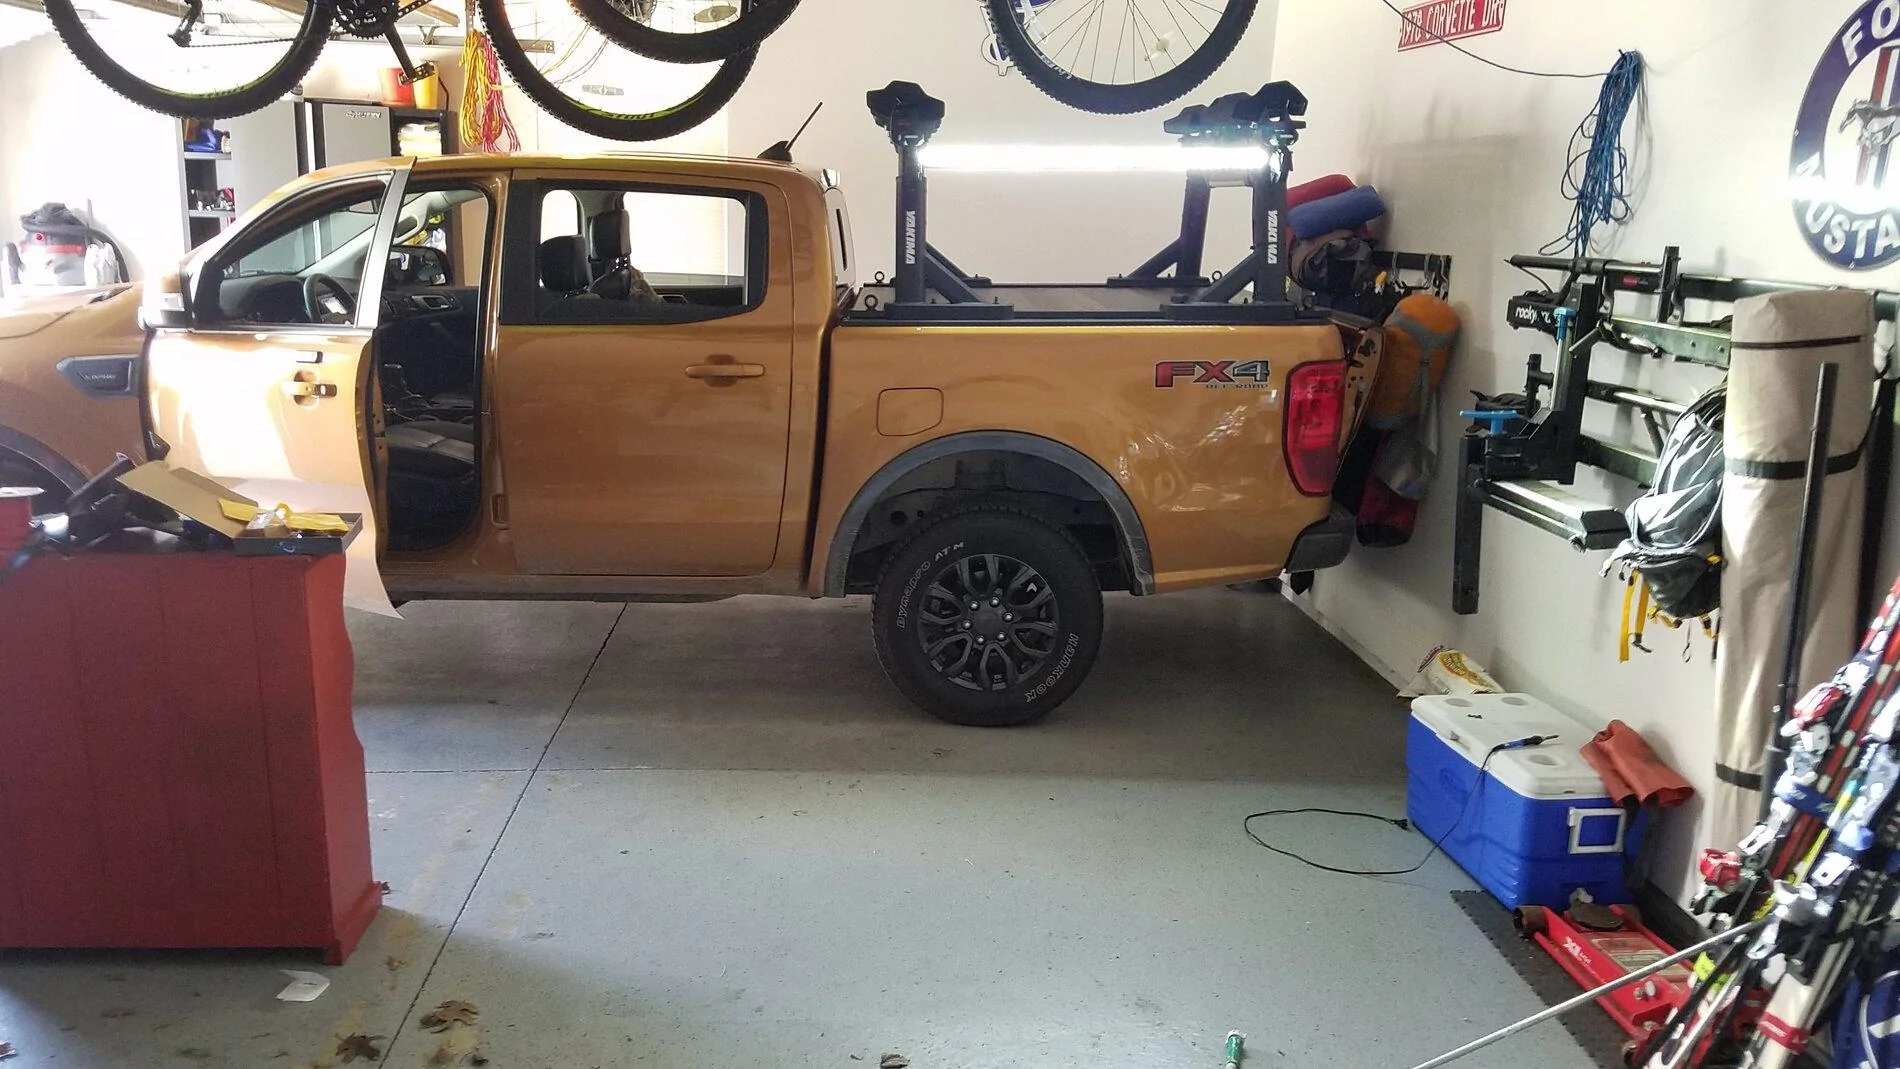
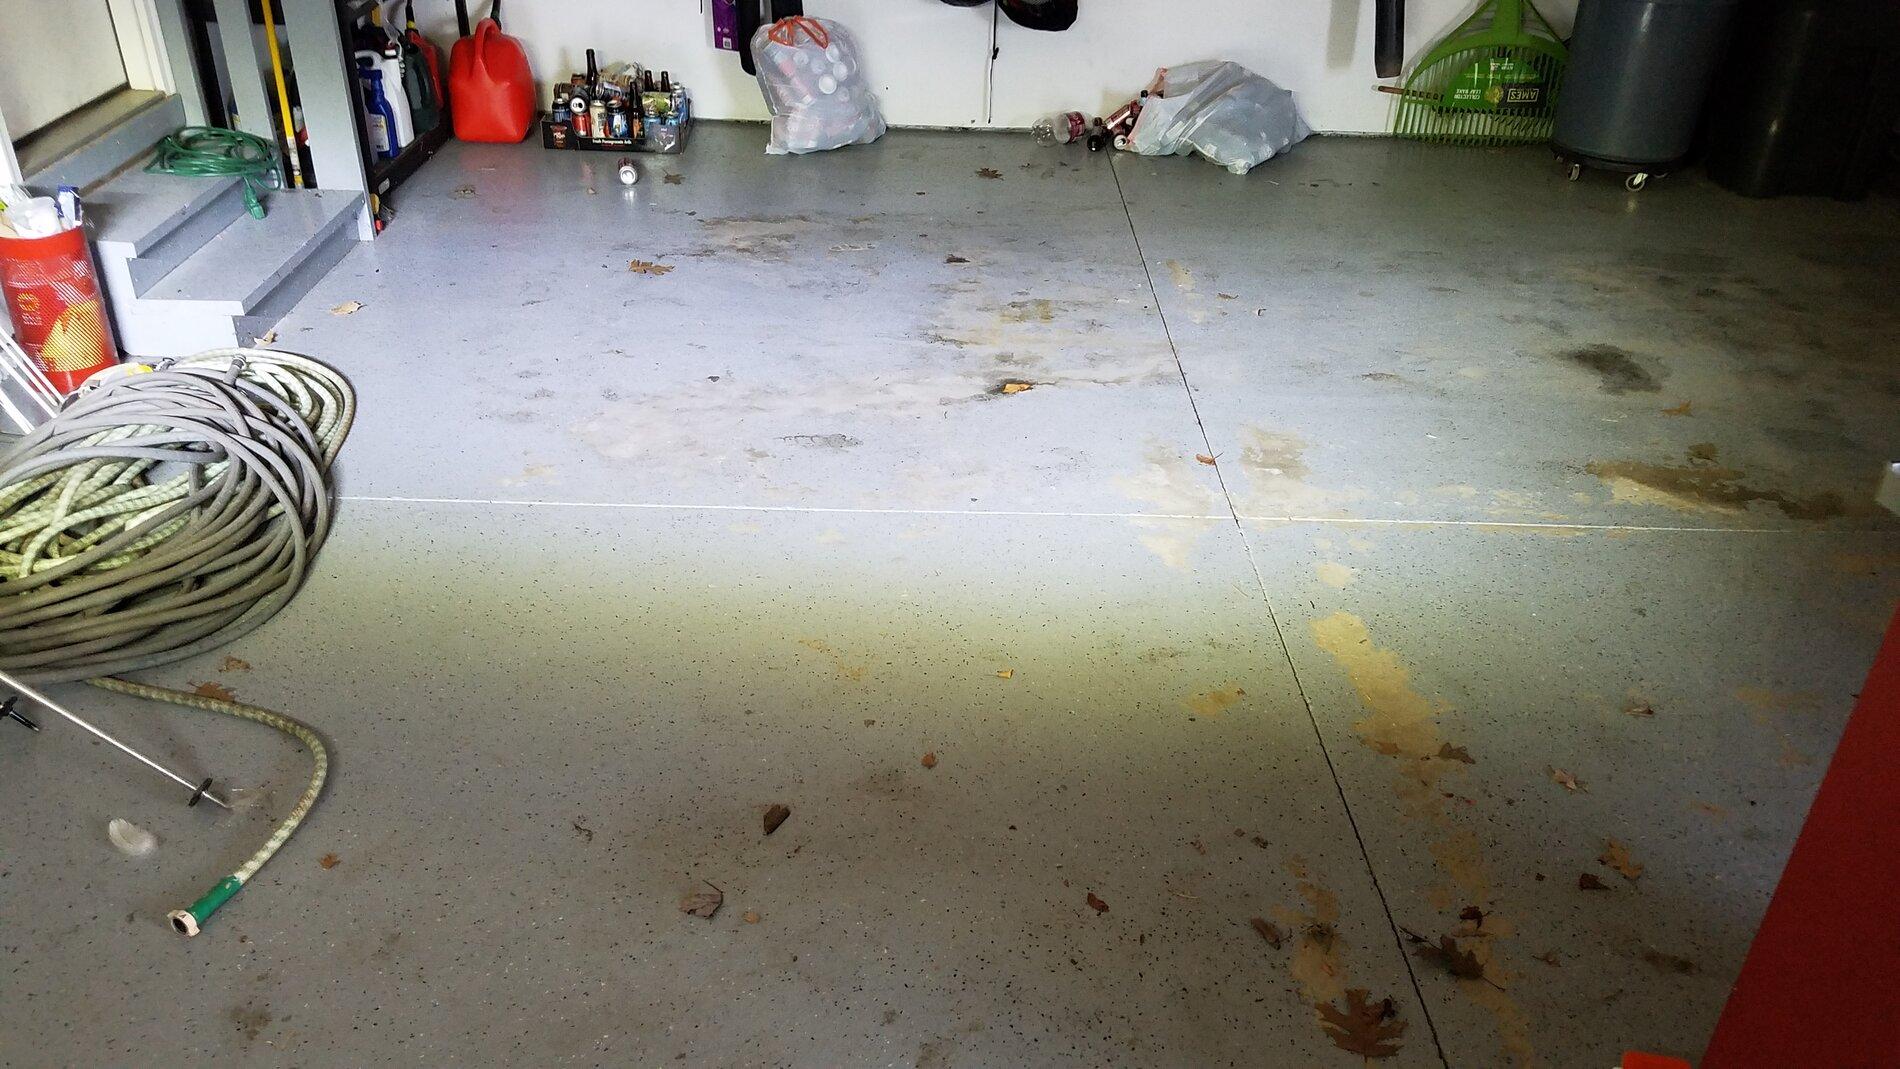
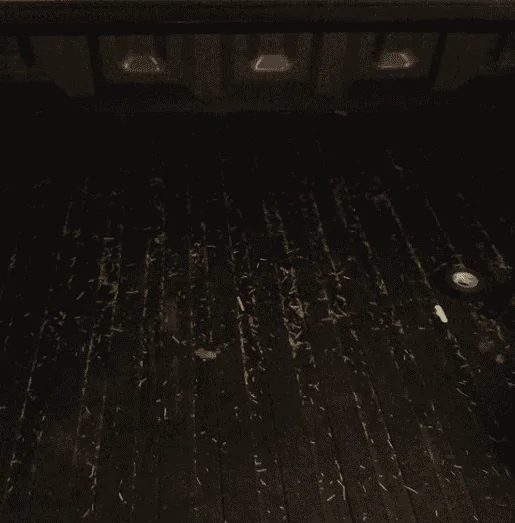
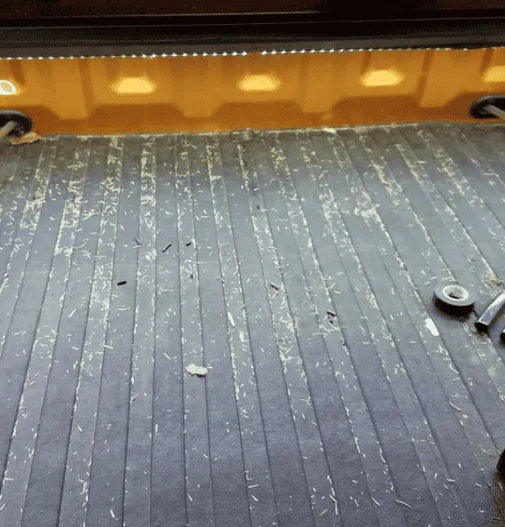
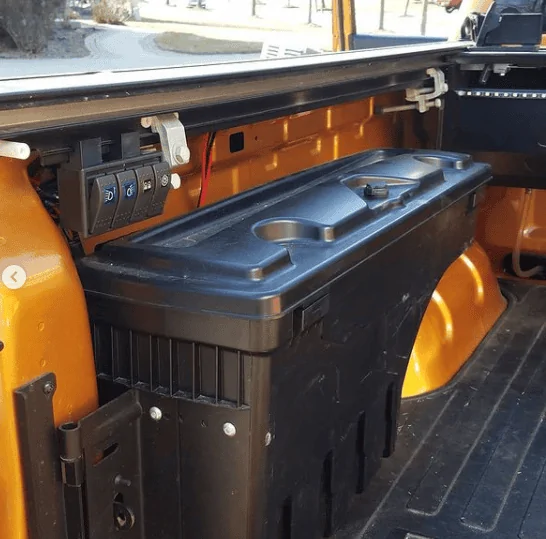
Up next was installing the bed lighting. I used 4 strips - one on either side, one under the cannister, and one on the side face of the cannister. Before and after pictures. Note - don't do this in the winter. They really didn't want to stay stuck in place due to the cold weather, and I actually had to redo a bunch of the tape this weekend.


At this point, I needed to work on the switches. I knew exactly where I wanted them, but was struggling to figure out how to mount them. They fit perfectly above the swing away, and then are convient to access and everything is right there by the driver's side - The tonneau latch, the key for the tonneau, the swing away, and the light switches. Except I didn't want to drill anything into the truck, so I at a loss for awhile on how to actually mount it.

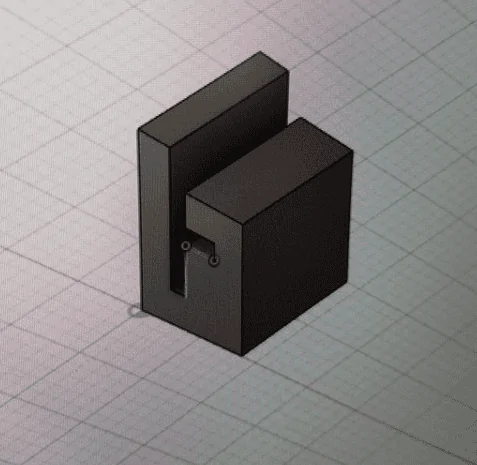
Enter 3D printing. I realized that I could leverage the bottom of the tonneau rail and make my own mount adapter that would just slide onto the rail and the switches would be suspended from that. So a few measurements, and a couple of trials, and I ended up with one of the few practical things I've used my printer for.


Originally I was thinking that I was going to use a screw to attach the switches, but after struggling with it for a bit, I ended up just saying screw it, super glue it is. After all, it is plastic to plastic. But I finally have switches mounted properly.


Now, one thing that I don't particularly like, but don't care enough about to fix... When I was first thinking this through, I was expecting to have a bi-pole circuit switch, such that I could toggle the reverse lights to be powered by the reverse signal, or by the 12V power. But since I switched to these 20A switches, they are just on/off. So when I turn the 12V power on, it turns on the reverse lights on the truck as well. Oh well - a bit extra light when camping.
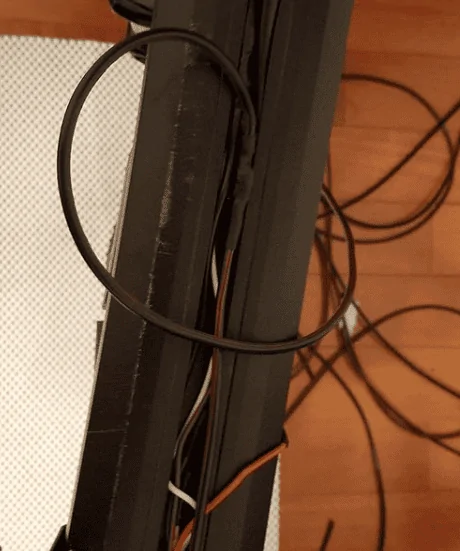
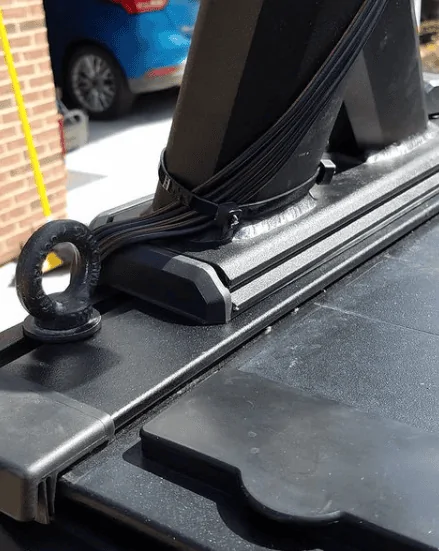
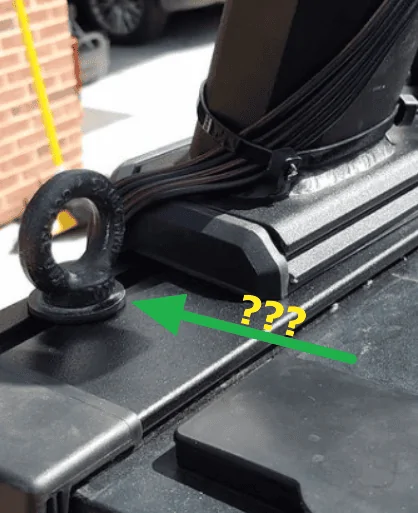
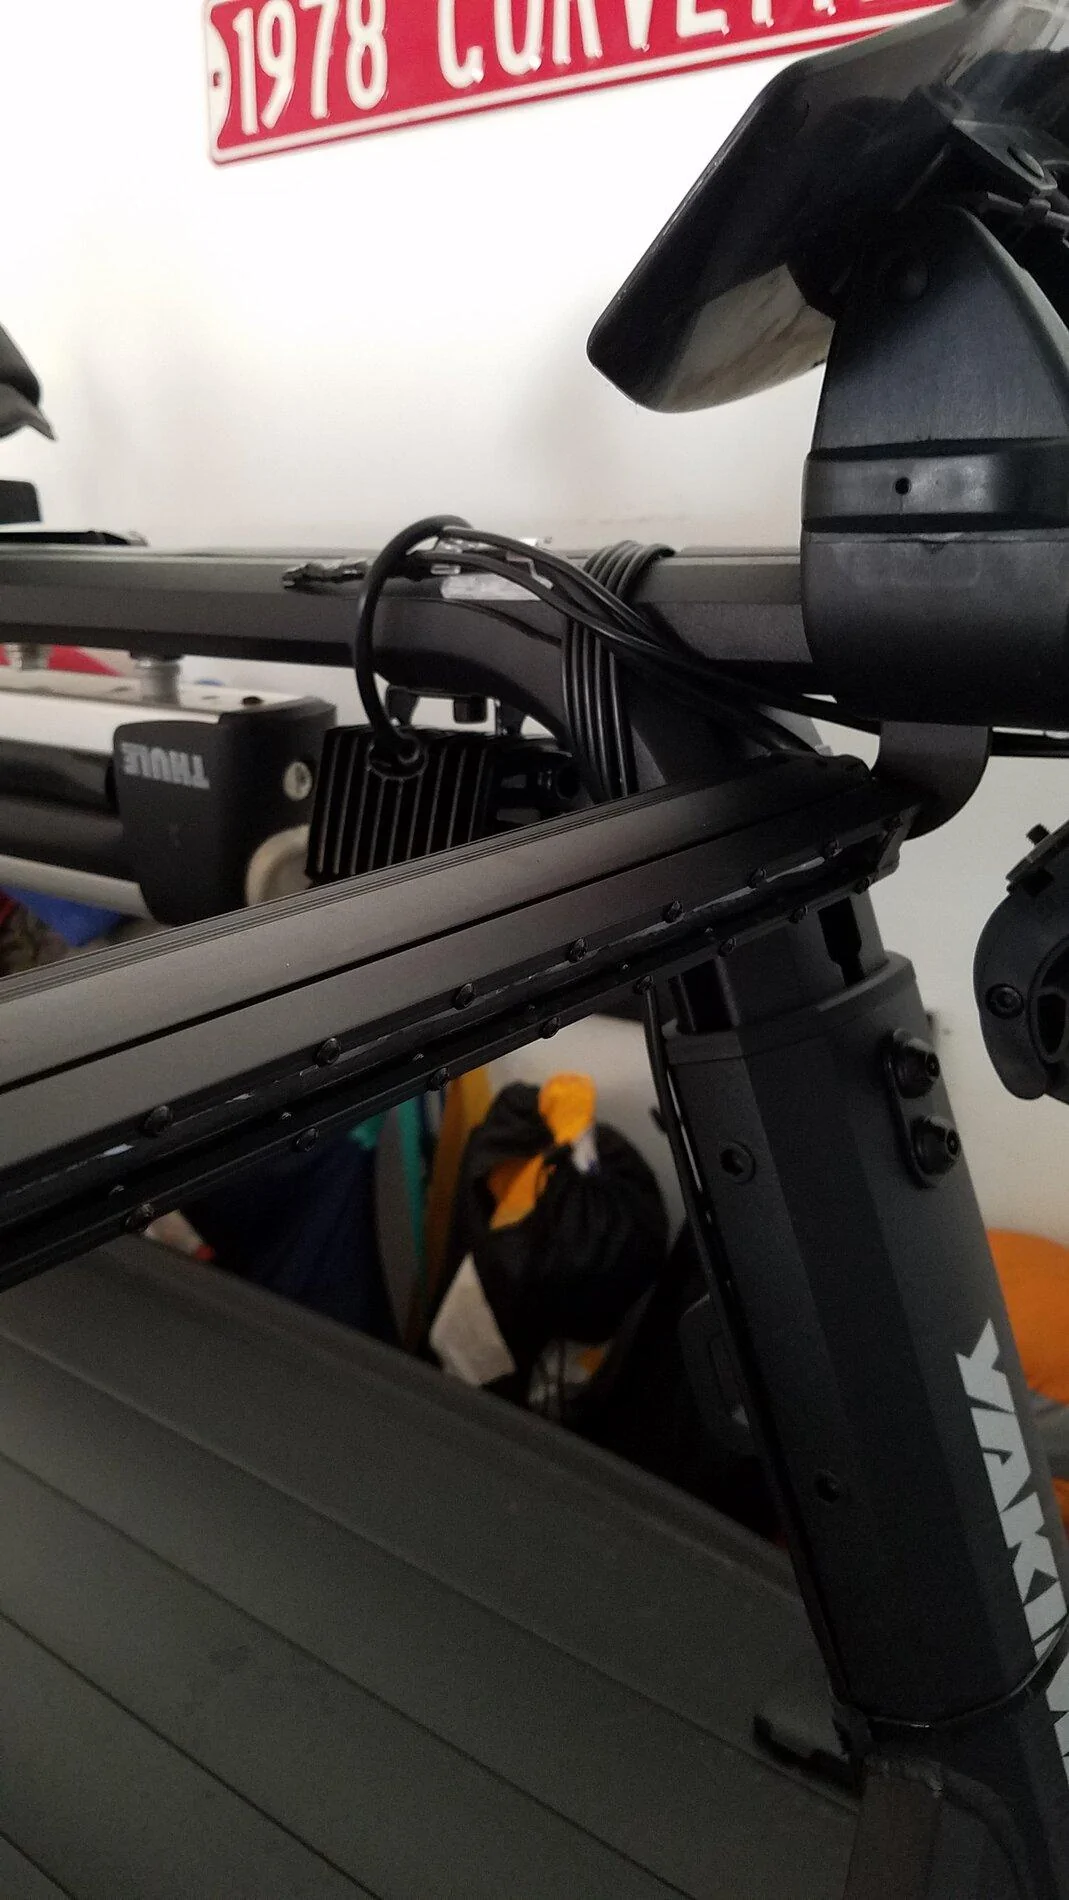
Now, all of this in the bed terminates into a 6 pin connector (Left, Right, Rear, Brake, Blank, Negative). By using a connector, I can disconnect the wires going to the rack, allowing me to easily take it off for the winter. I've decided the best way to route wires into the bed from the rack is to just loosen the rack and slide them under the rail, compressing the foam seal in that area a bit more. I'm not in love with this idea, but it's the best choice between several bad choices.
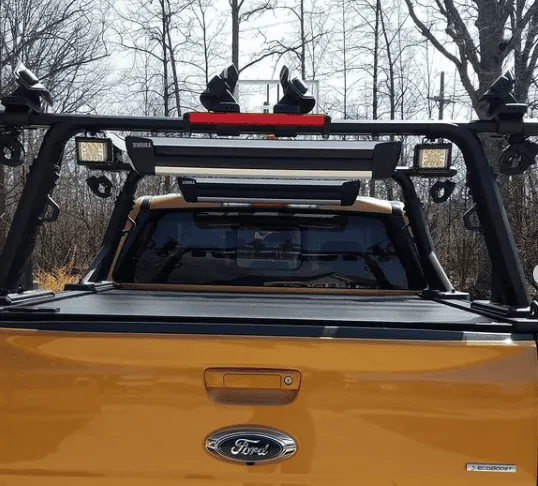
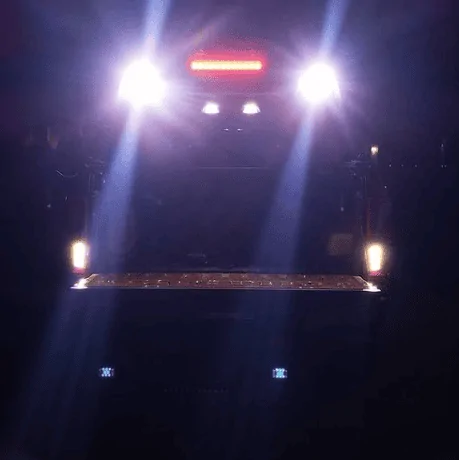
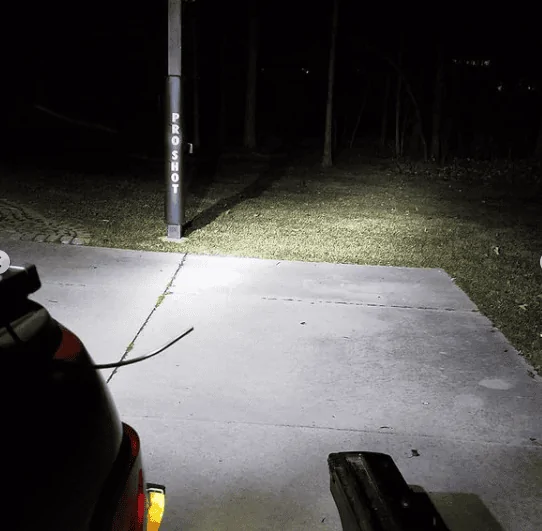
Moving my attention to the rack, I've gone ahead and mounted the lights (well, test fitted at least) to the rear rack - everything just barely fits. I still have to wire it all up over the next few days/weekend. And then once everything is wired up, I'm going to go ahead and mount it up on the truck a bit early this season, so I can measure the spacing between the two bars, so I can by the right length of light bars for the L/R camping lights.

I'm pretty sure I'm starting to run out of real estate on the rack (not pictured are the kayak paddle holders on the underside on the outside of the uprights with custom brackets to angle them at a 45 to allow them to clear the uprights). But it does look like there's a bit of space right between the kayak mounts, and obviously a bit of space on the front bar where the reverse lights are on the rear bar...
More to come as I finish it up.
So I finally dialed in my Yakima Overhaul last summer to work as I wanted it (though I'm still debating on getting some side rails - Primarily for a recovery track mounting location), but realized that I'm pretty much completely blocking the 3rd brake light now. Whether or not it's legal, it isn't particularly safe that way, so as a winter project, I decided I was going to fix that by mounting a 3rd brake light to the rack.
Of course, as soon as I decided I was putting a light up on the rack, it spiraled into a lot more. I might as well add new reverse lights up there - the stock ones aren't as good as I would like, plus they get blocked and shadowed quite effectively when I have the bikes on the hitch. And if I'm going to be doing that, I might as well have a switch to toggle them on so I can use them to help setup camp at night. And if I'm going to be adding a switch, I might as well add some bed lights - the hard metal tonneau cover really keeps everything dark, even in the middle of the day. Heck - I might as well even put some side lights on for camping - the rear lights might not be the right angle
. At one point, I was going to have the bed lights have a magnetic switch such that they'd turn on when I opened the tailgate, and then have a defeat switch for the times that I have the tailgate open while driving. I ended up forgoing this idea though when I ended up buying 20A switches, which meant that I didn't need to use a relay for the switches.
Up first was getting the brake and reverse light signal from the tail light. After popping the light out, I just did a quick pin out to determine which wires were the two signals I was looking for, and then used T splices to grab some power off of them.
Up next was to route the 12V power for everything else. I used the harness designed for the 12V power outlet, but since I didn't have the right connector to just plug in, I used the same T splice method. Thus, I had all of the power into the bed that I needed.
Up next was installing the bed lighting. I used 4 strips - one on either side, one under the cannister, and one on the side face of the cannister. Before and after pictures. Note - don't do this in the winter. They really didn't want to stay stuck in place due to the cold weather, and I actually had to redo a bunch of the tape this weekend.
At this point, I needed to work on the switches. I knew exactly where I wanted them, but was struggling to figure out how to mount them. They fit perfectly above the swing away, and then are convient to access and everything is right there by the driver's side - The tonneau latch, the key for the tonneau, the swing away, and the light switches. Except I didn't want to drill anything into the truck, so I at a loss for awhile on how to actually mount it.
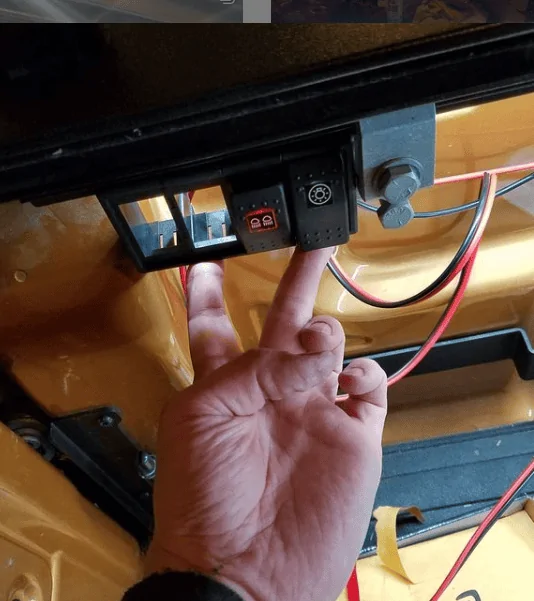
Enter 3D printing. I realized that I could leverage the bottom of the tonneau rail and make my own mount adapter that would just slide onto the rail and the switches would be suspended from that. So a few measurements, and a couple of trials, and I ended up with one of the few practical things I've used my printer for.
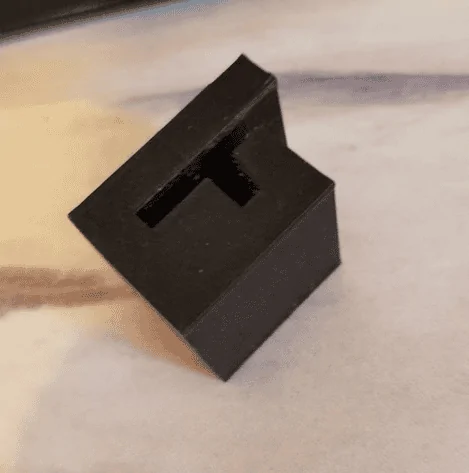
Originally I was thinking that I was going to use a screw to attach the switches, but after struggling with it for a bit, I ended up just saying screw it, super glue it is. After all, it is plastic to plastic. But I finally have switches mounted properly.

Now, one thing that I don't particularly like, but don't care enough about to fix... When I was first thinking this through, I was expecting to have a bi-pole circuit switch, such that I could toggle the reverse lights to be powered by the reverse signal, or by the 12V power. But since I switched to these 20A switches, they are just on/off. So when I turn the 12V power on, it turns on the reverse lights on the truck as well. Oh well - a bit extra light when camping.
Now, all of this in the bed terminates into a 6 pin connector (Left, Right, Rear, Brake, Blank, Negative). By using a connector, I can disconnect the wires going to the rack, allowing me to easily take it off for the winter. I've decided the best way to route wires into the bed from the rack is to just loosen the rack and slide them under the rail, compressing the foam seal in that area a bit more. I'm not in love with this idea, but it's the best choice between several bad choices.
Moving my attention to the rack, I've gone ahead and mounted the lights (well, test fitted at least) to the rear rack - everything just barely fits. I still have to wire it all up over the next few days/weekend. And then once everything is wired up, I'm going to go ahead and mount it up on the truck a bit early this season, so I can measure the spacing between the two bars, so I can by the right length of light bars for the L/R camping lights.
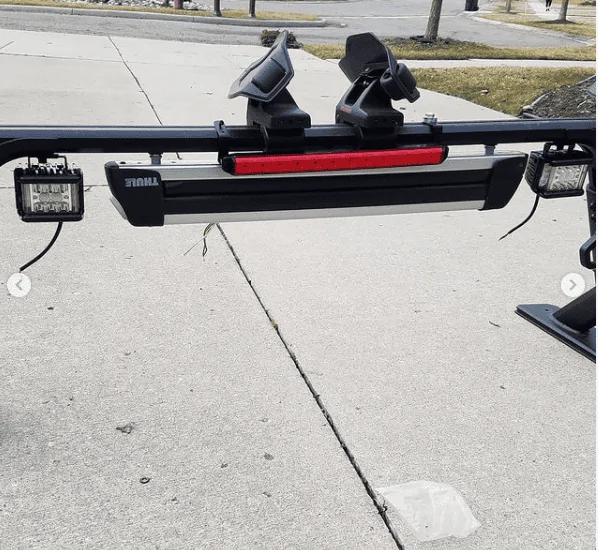
I'm pretty sure I'm starting to run out of real estate on the rack (not pictured are the kayak paddle holders on the underside on the outside of the uprights with custom brackets to angle them at a 45 to allow them to clear the uprights). But it does look like there's a bit of space right between the kayak mounts, and obviously a bit of space on the front bar where the reverse lights are on the rear bar...
More to come as I finish it up.
Sponsored