maxbottomtime
Well-Known Member
- Thread starter
- #1
Hello all,
I swear i read a thread going through this at one point, but for the life of me couldn't find it.
I added a 12v cigarette socket into the interior of my center console. install was super easy, took maybe 25min (mainly because i read tap wire sizing incorrectly).
Here's the socket i used, but you can probably get dozens of others that would work just as well:
https://smile.amazon.com/gp/product/B08N9ZJHGN/
T-Taps:
https://smile.amazon.com/gp/product/B07MLPBPW5/
Again, sure you can use plenty of others.
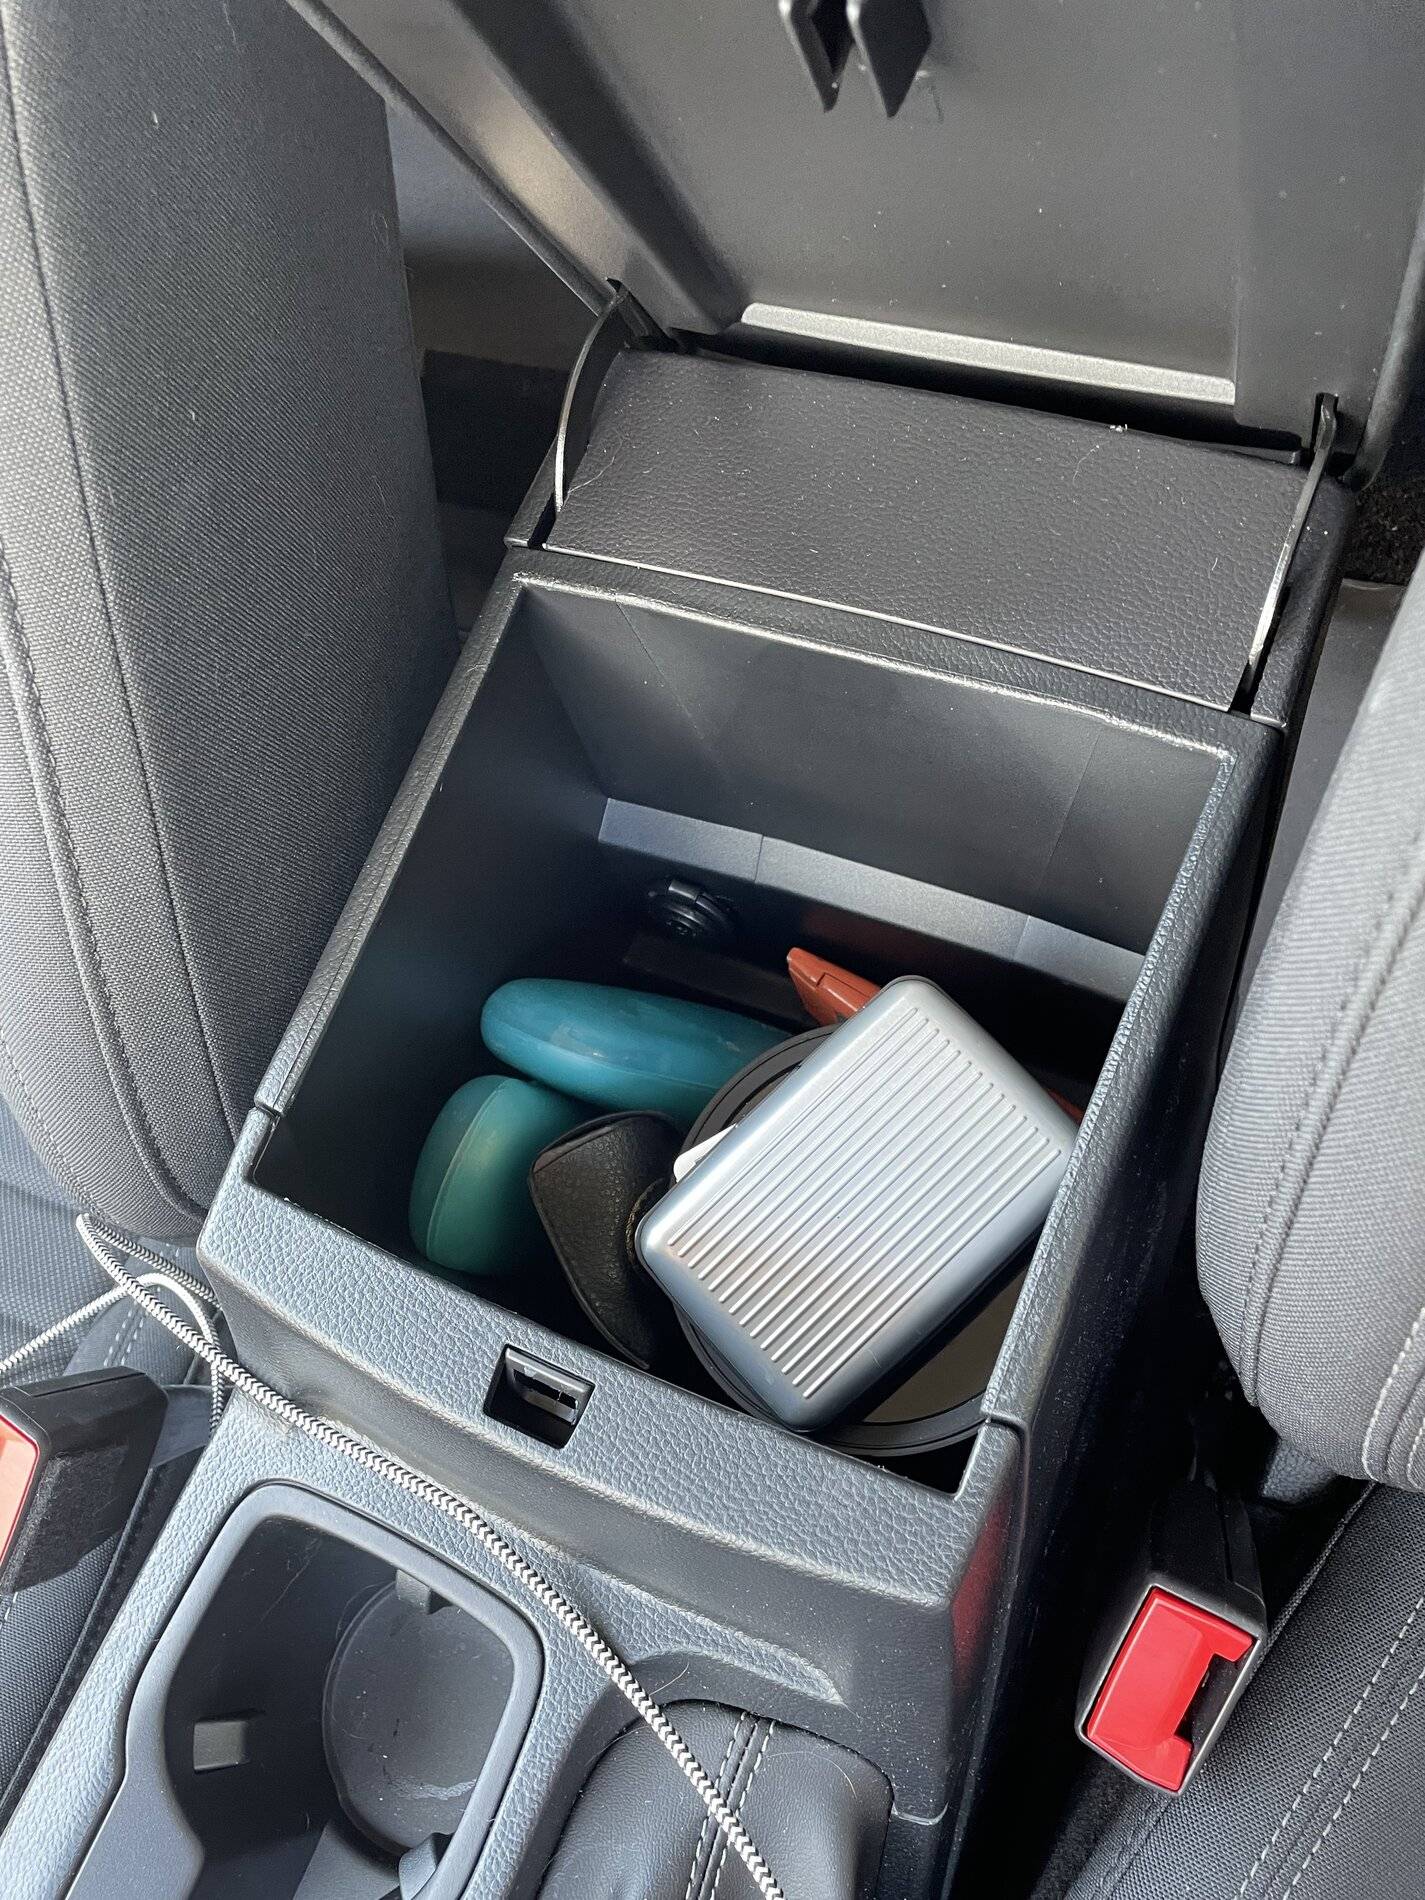
Step 1:
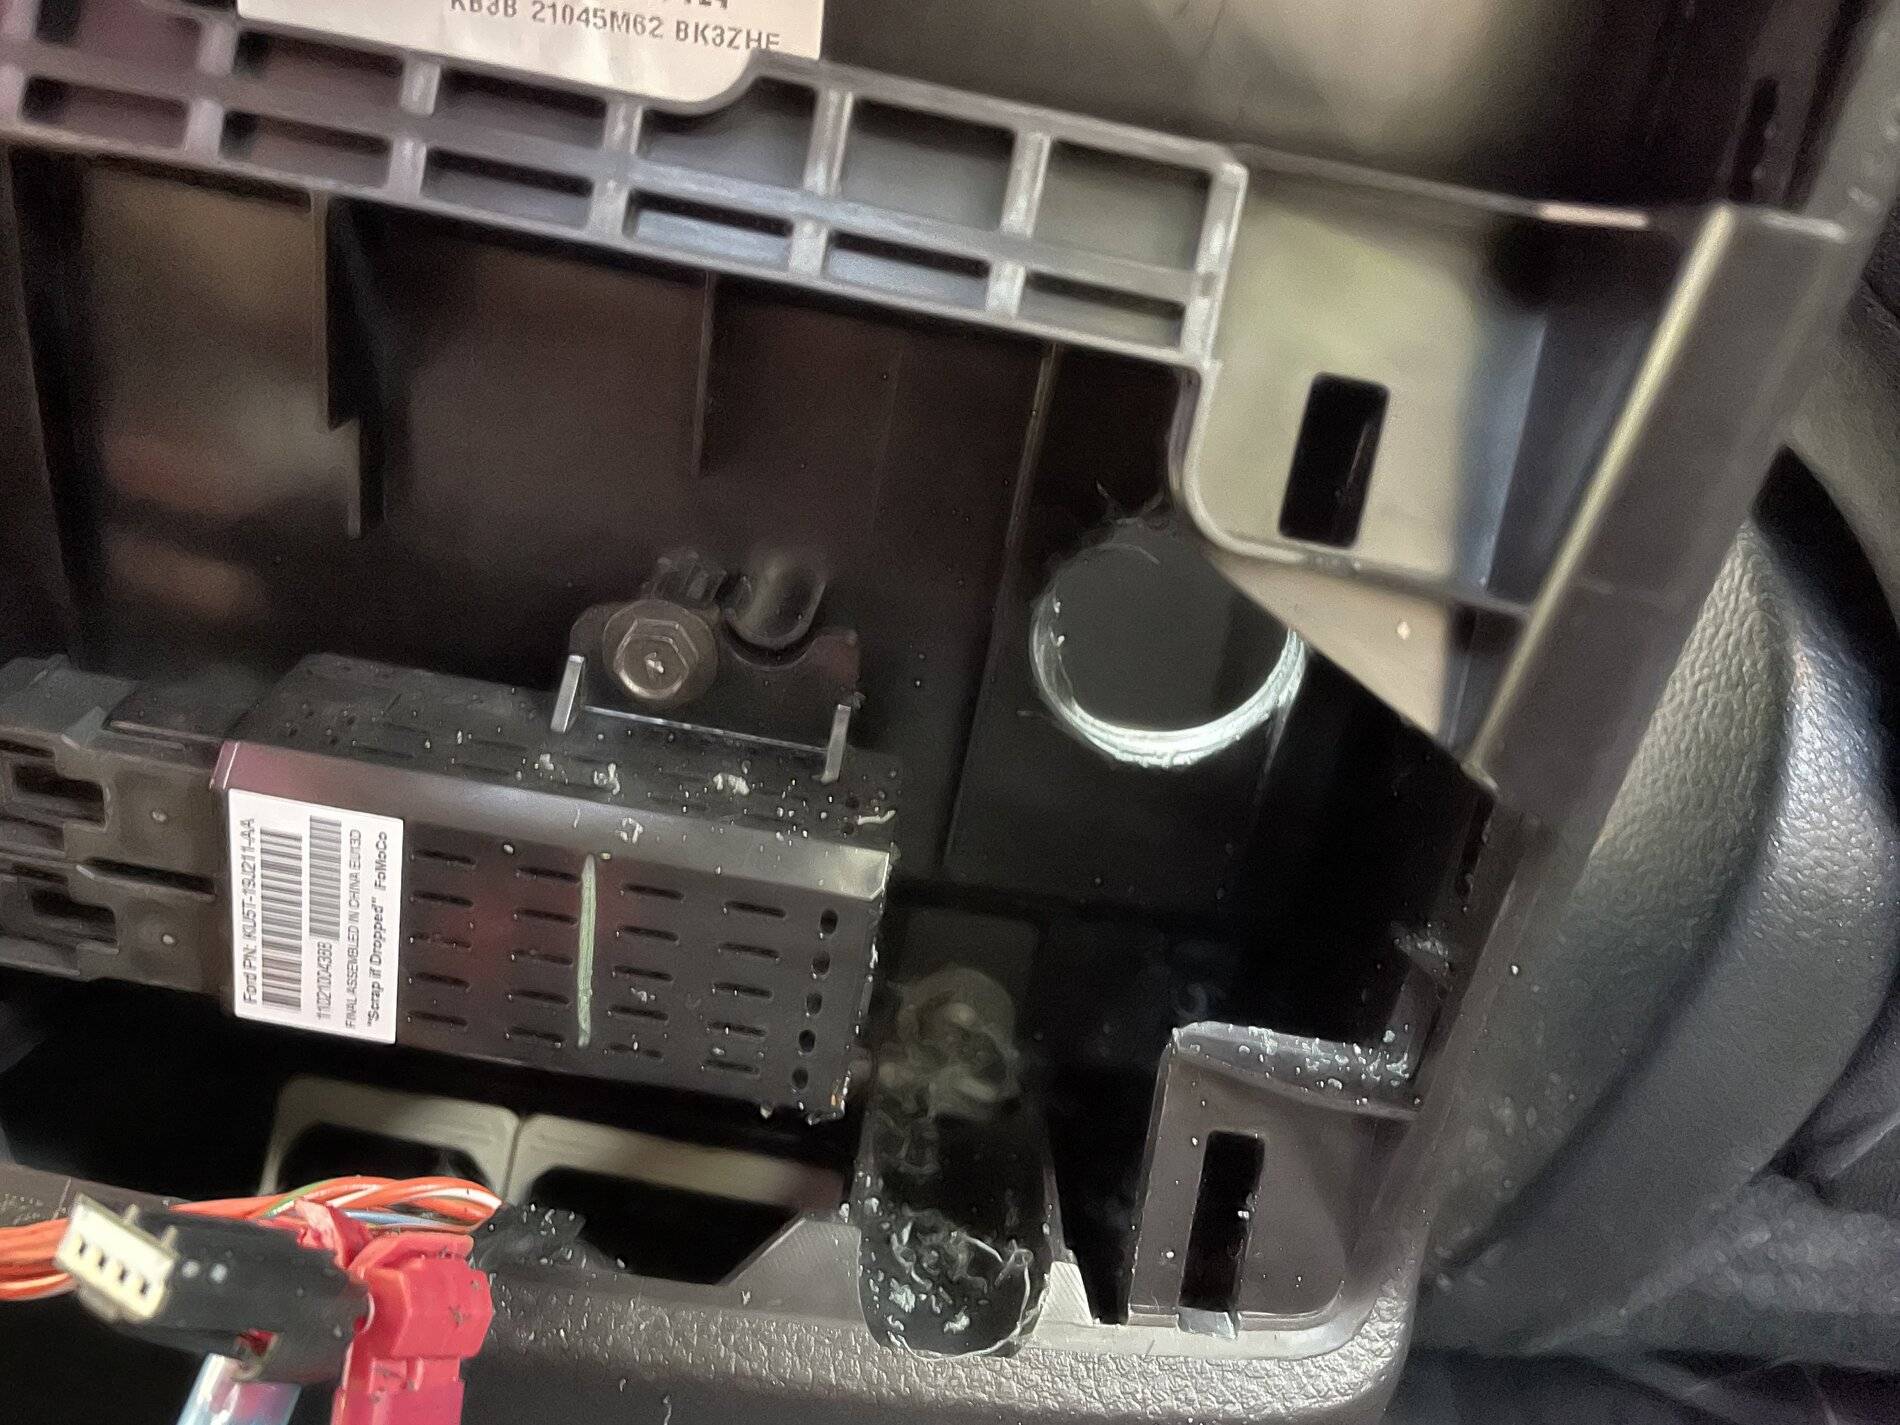
Popped off back of console - it just pulls off with little white retaining tabs holding it in place. I ordered a 12v socket off amazon that was about $8. Here you can see I've got the socket just stuck on with doublesided tape to check clearance. I've not drilled yet, so the actual install will be a little more recessed as the outside of the socket goes on the inside of the console (but with wires on those terminals they will stick out a bit more).

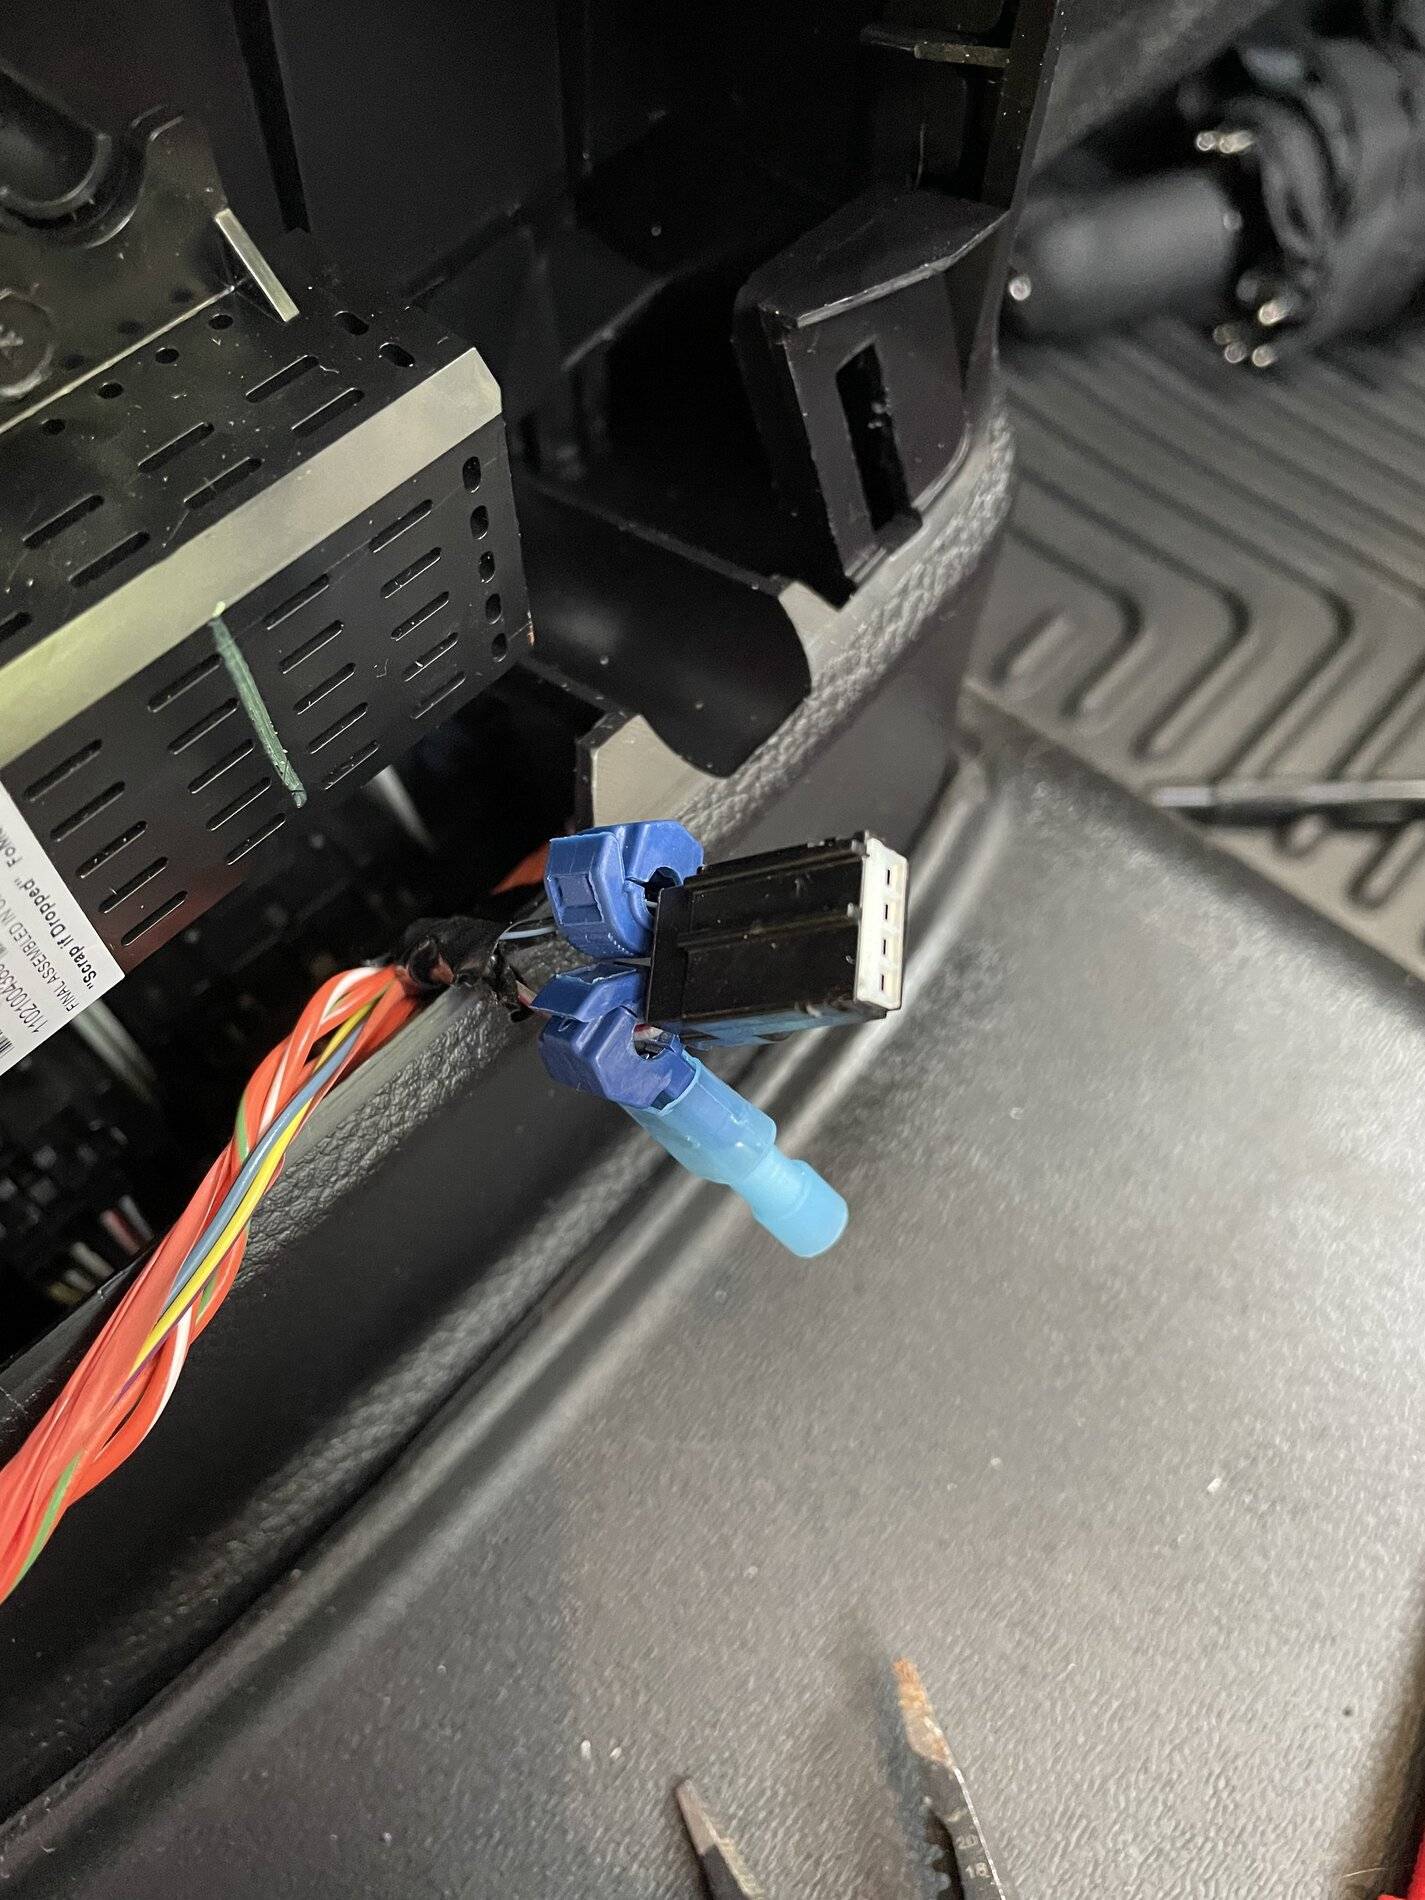
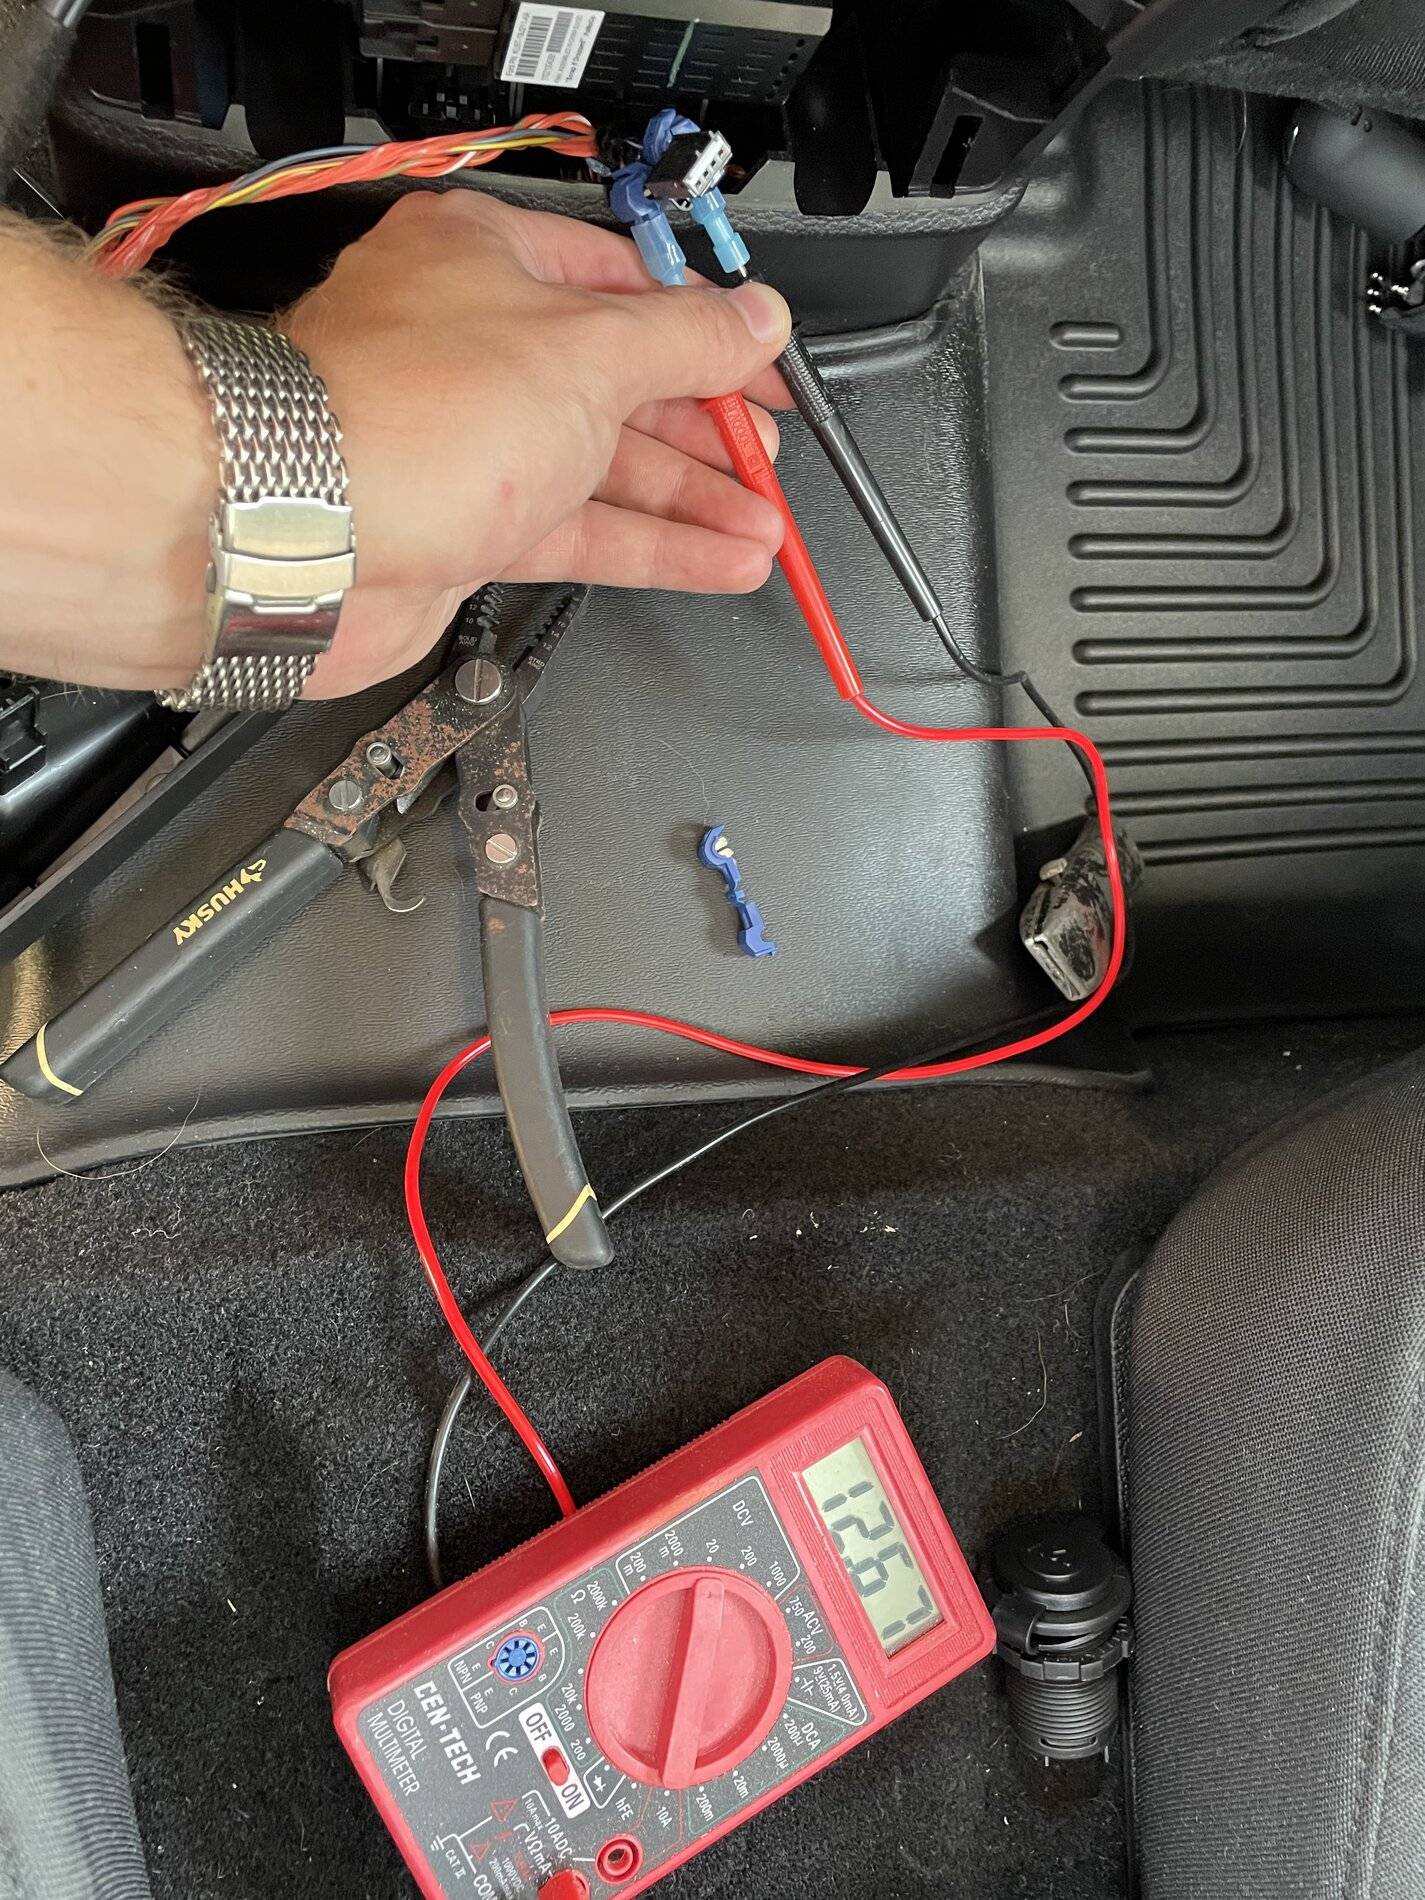
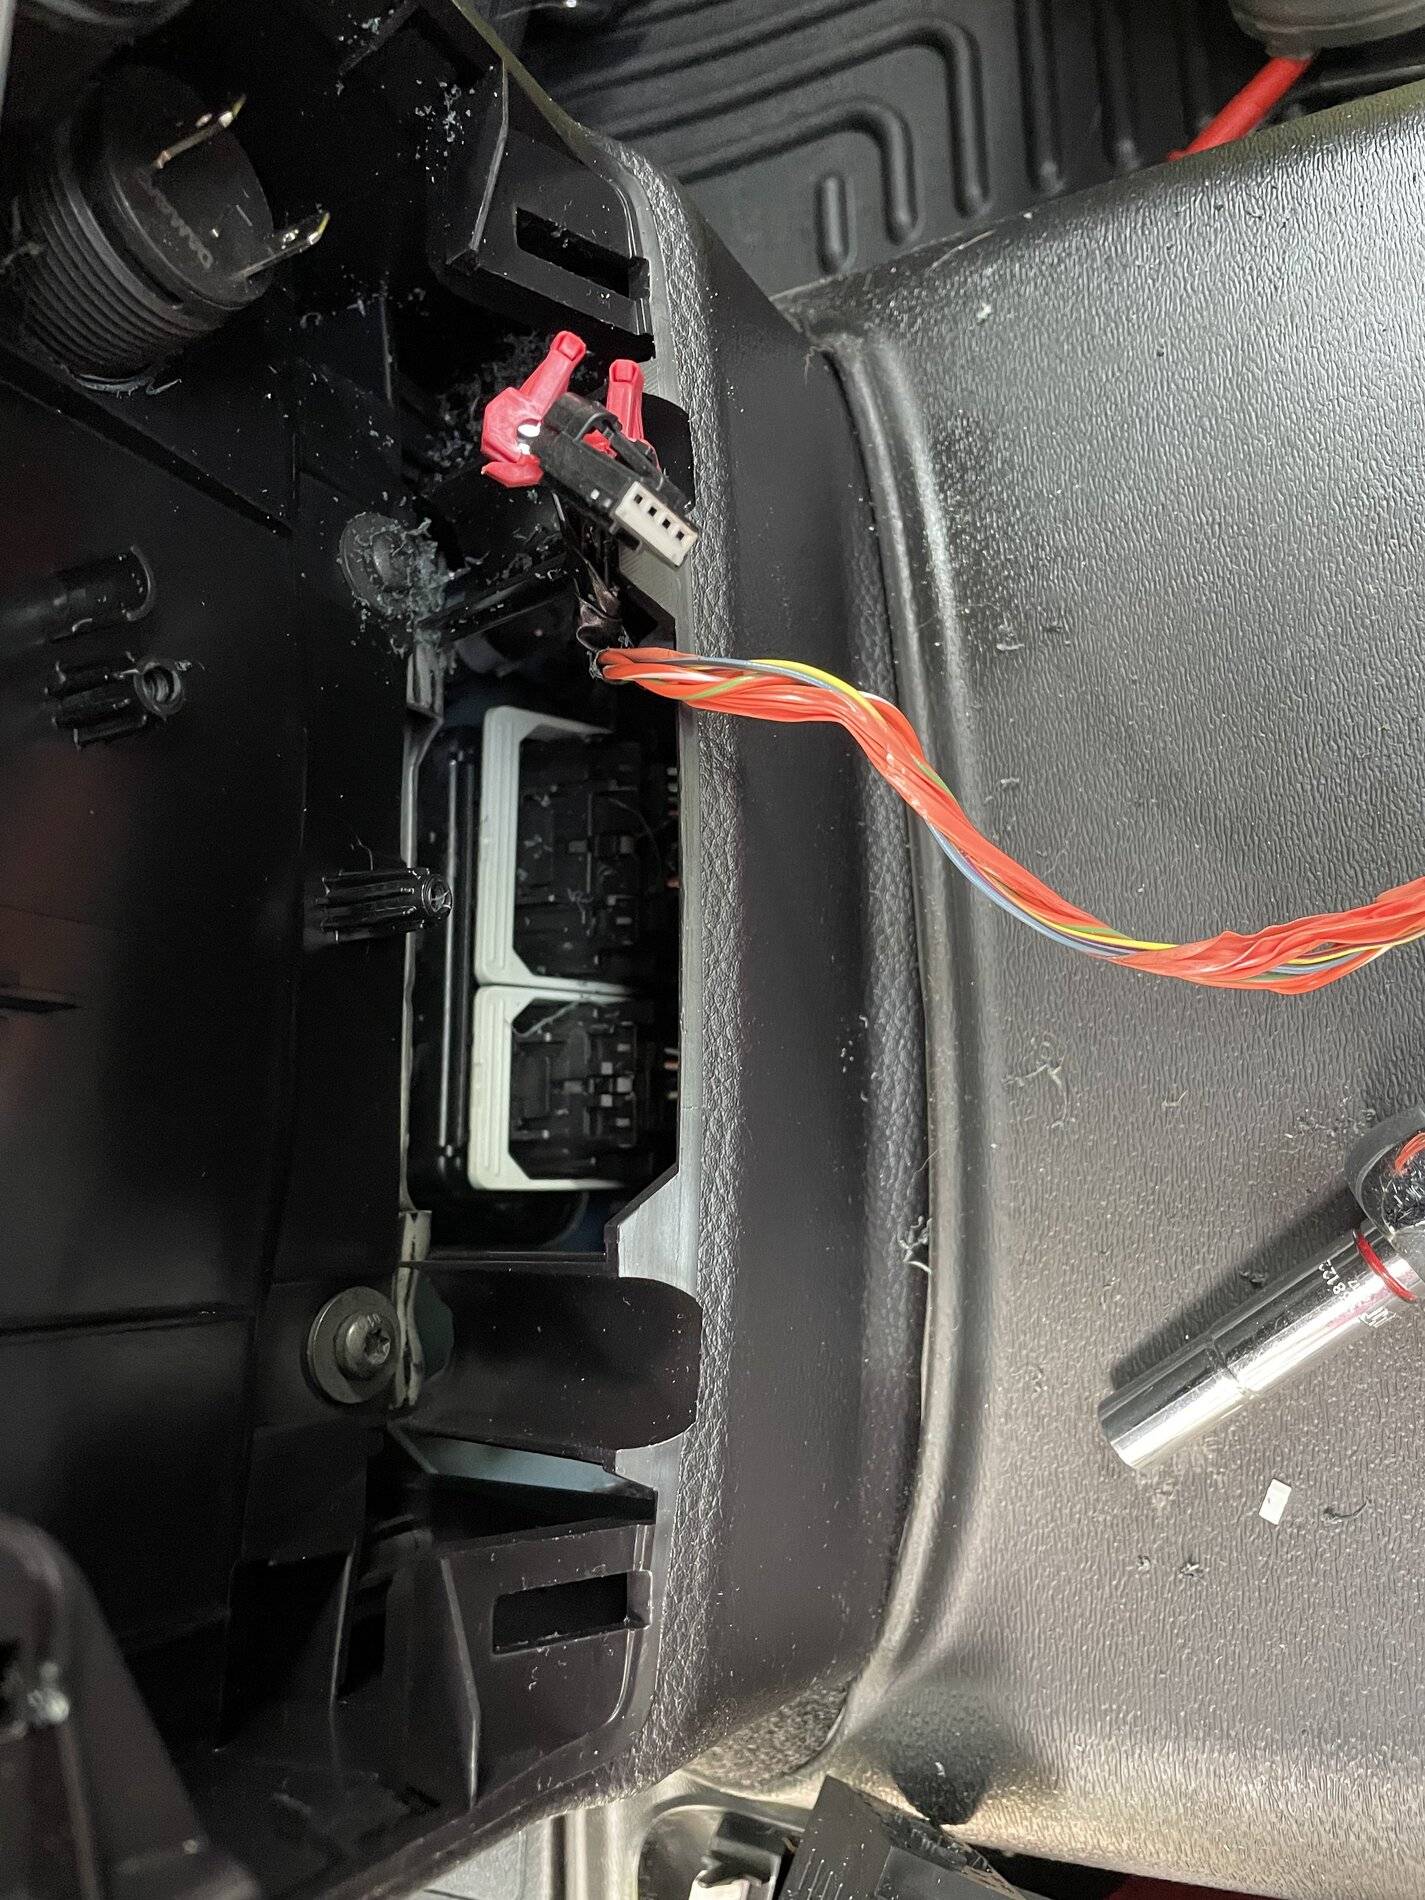
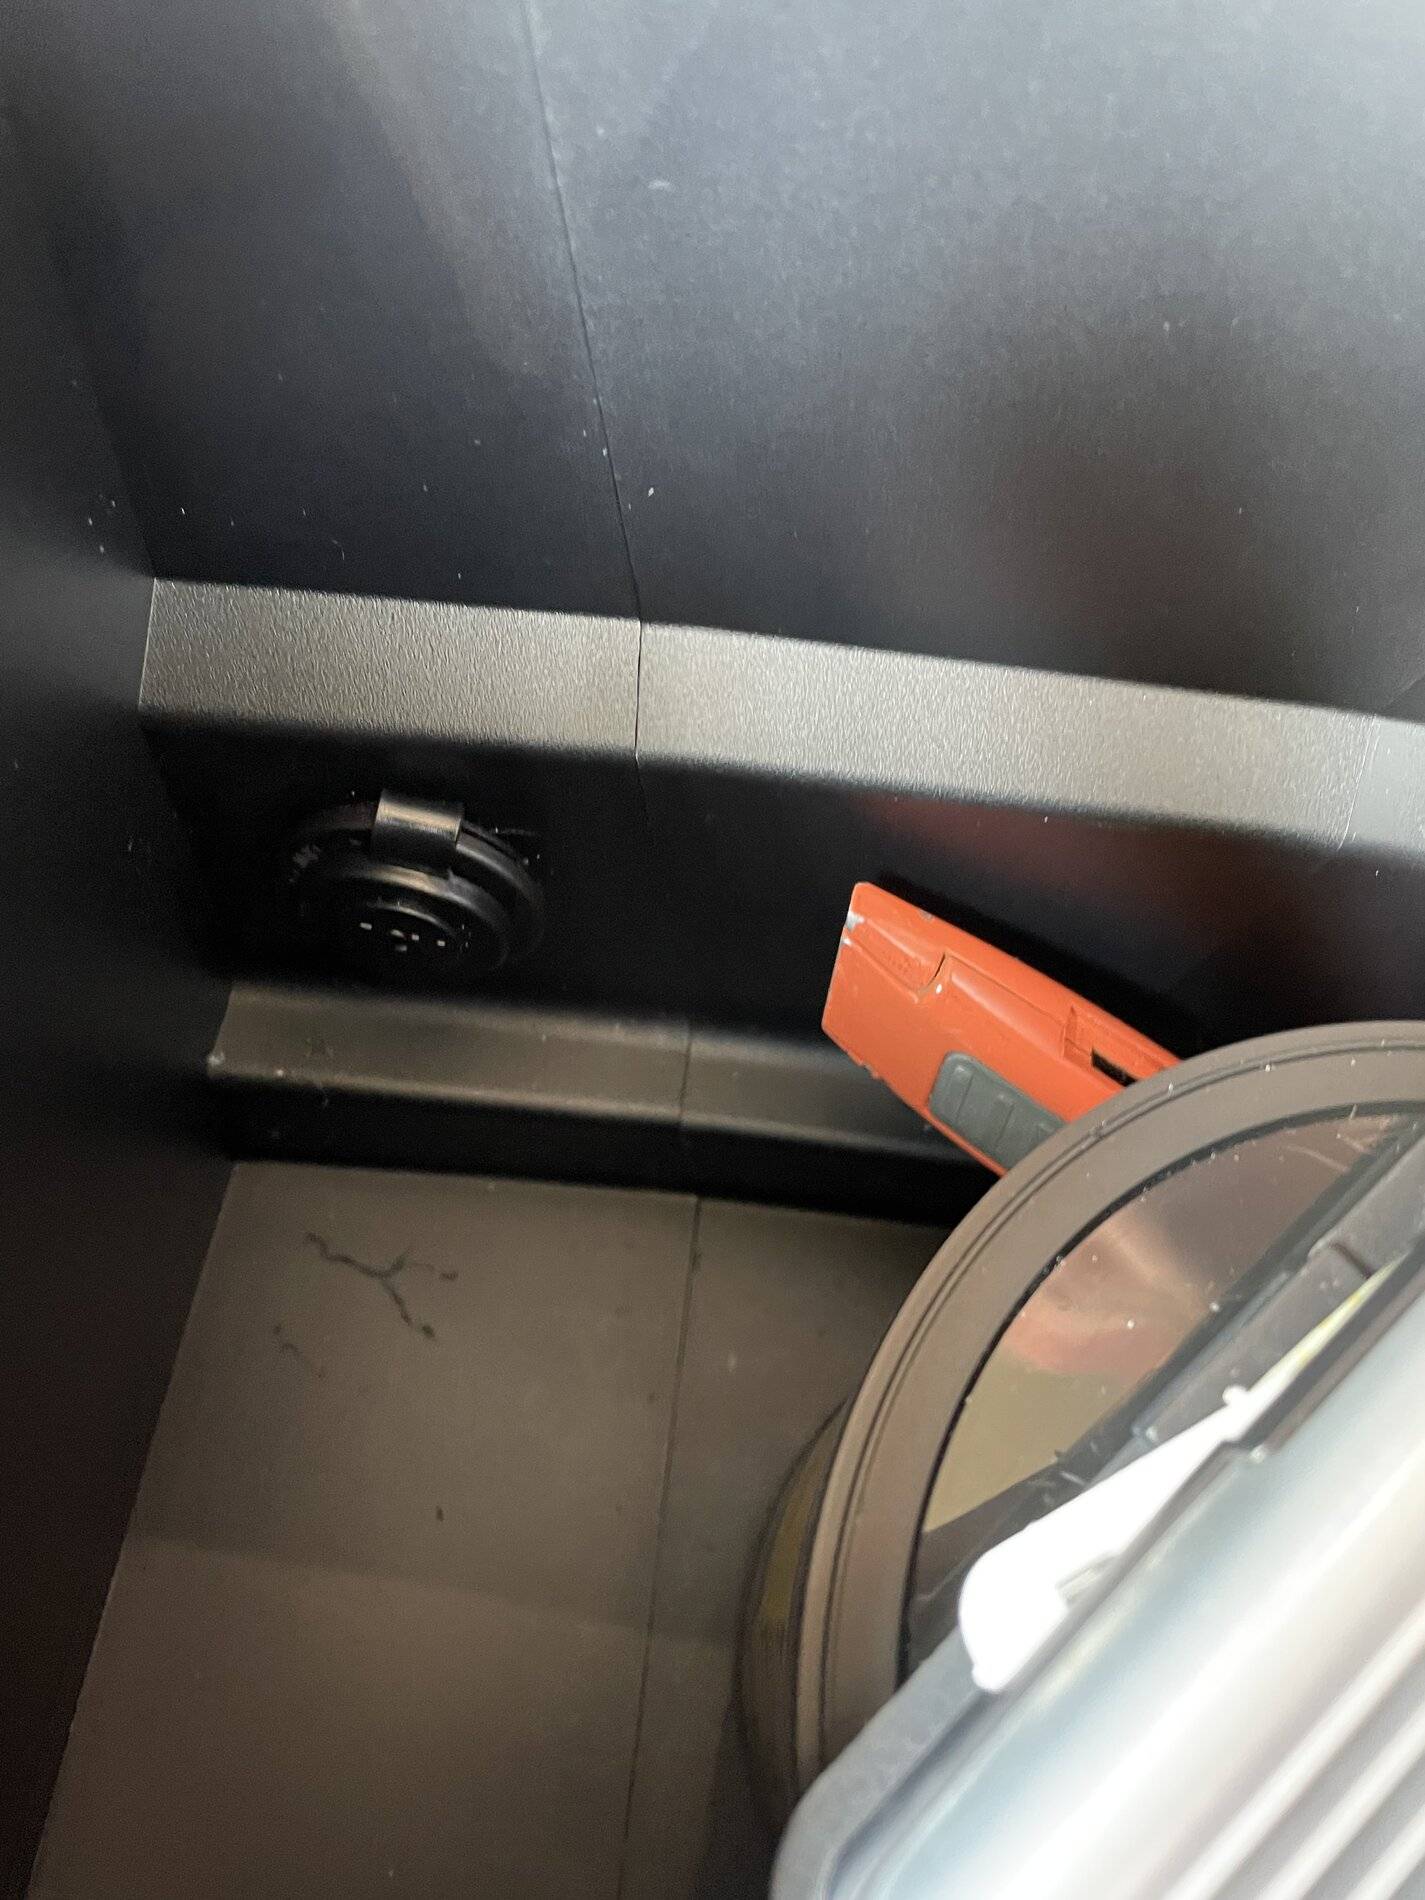
Step 2: splice into wires. In the center of this of cavity is a small transformer to presumably step from 12v to full USB voltages. The right side is the input, with a positive and negative wire. I tapped into these, and checked for voltage (to confirm my assertion). I suppose I could have probed the connector, but i felt pretty confident on this. I did end up removing the two 9/32 screws on the top and bottom holding this piece in to make it easier to get the input connector attached. The cavity below the console is a pain, and i did manage to drop a white plastic clip in there, and momentarily stored a socket there.
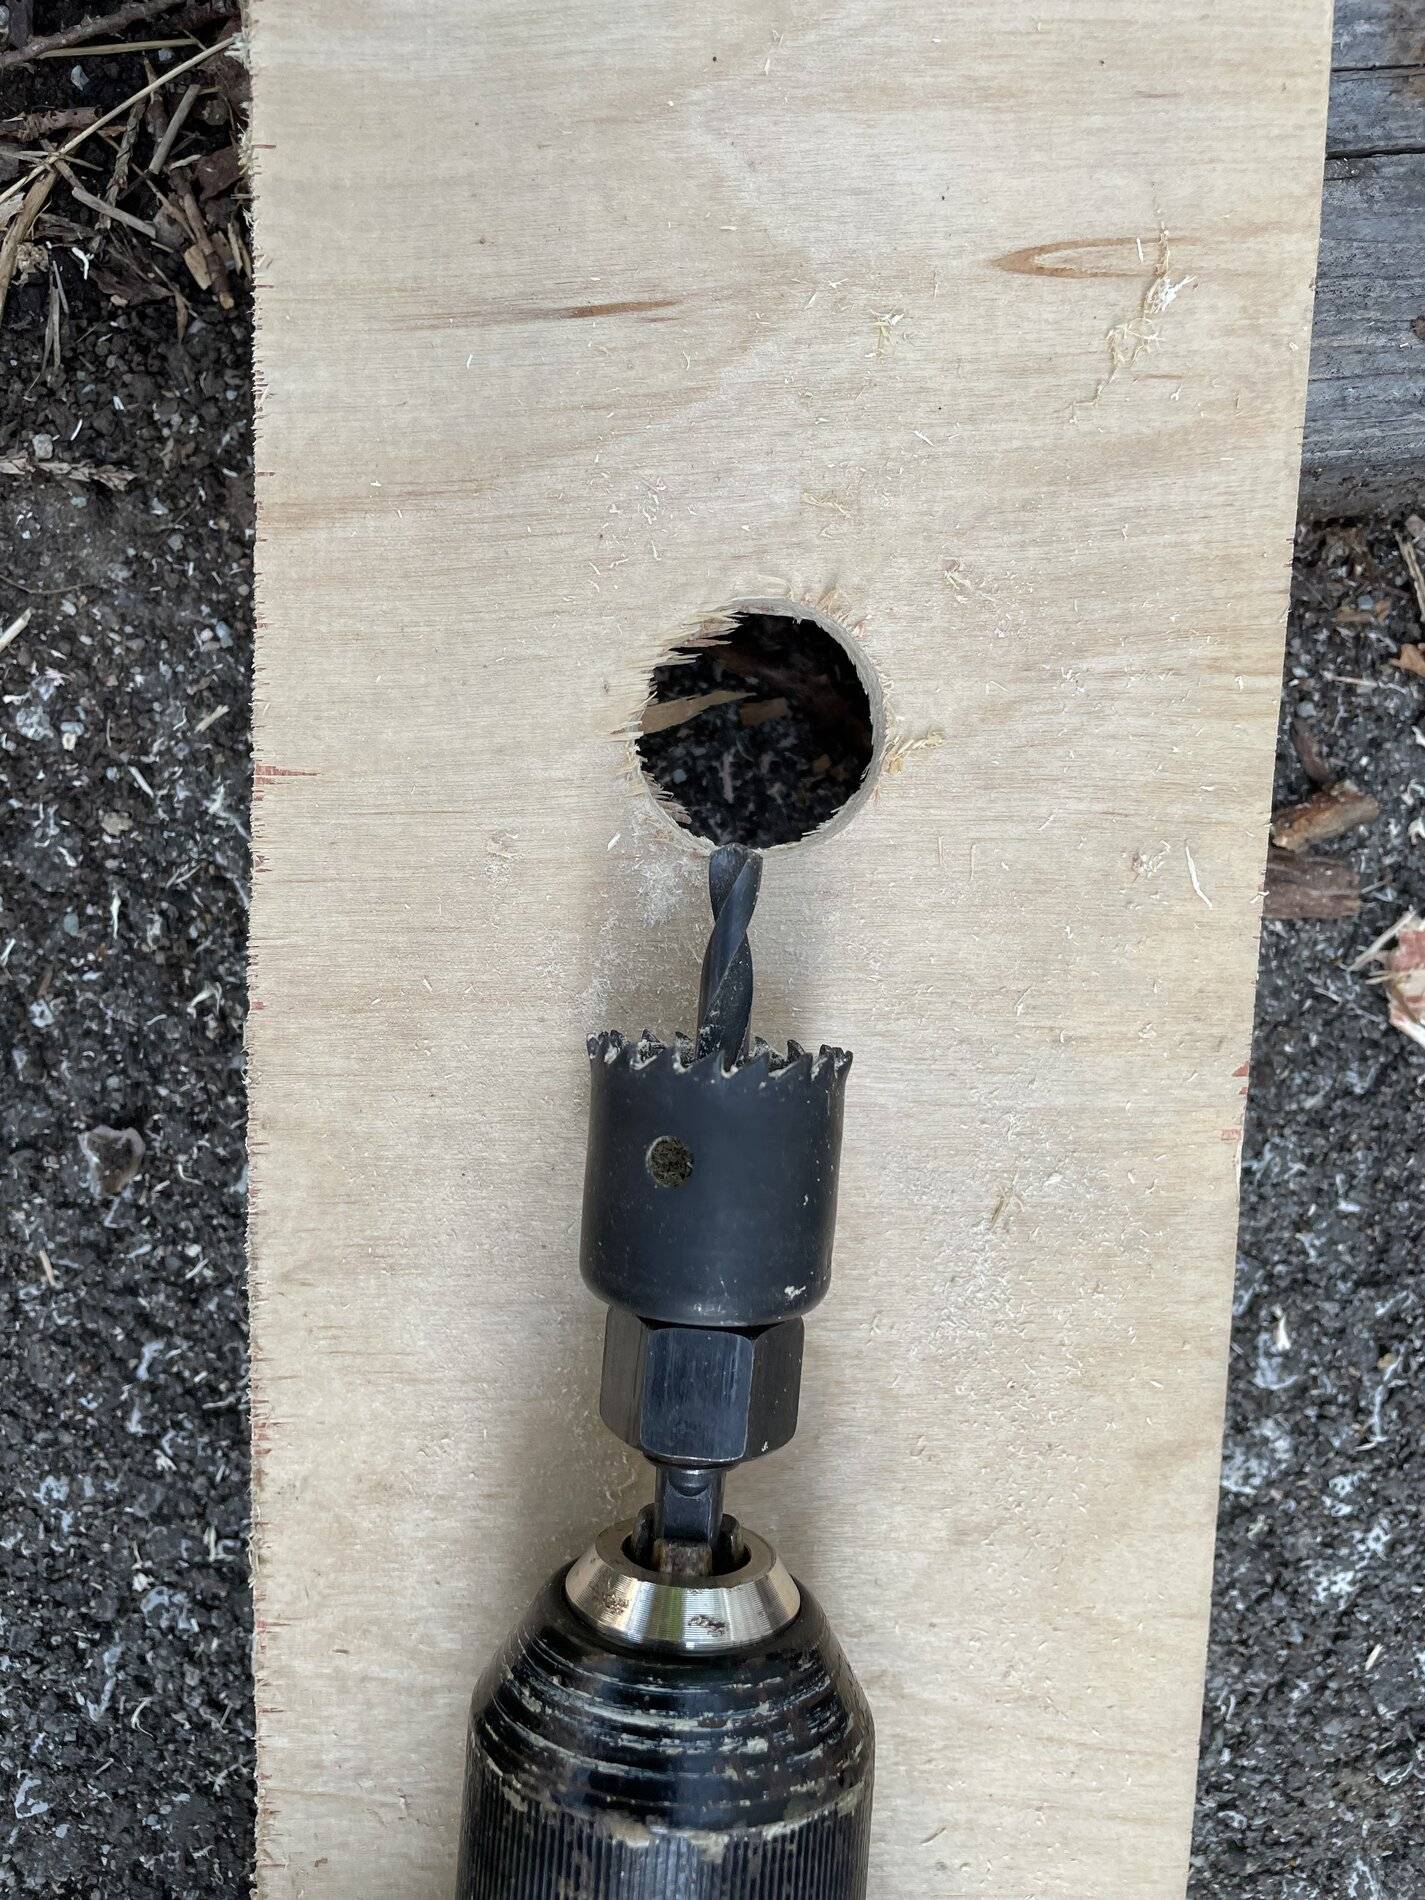
Step 3 - hole time! I found the diagram for the socket i got, and it called for a 1& 1/8 hole. I busted out the hole saw and tested in a piece of scrap wood to confirm fitment. Once confirmed I drilled away. Not pictured, but after having the taps installed, i changed to the included terminals on the wiring for my socket, and tested for function (prior to install).

Step 4 - At this point, I put the socket in, tightened the ring on the back, and wired it up. I found that the AC module seemed to hang up as i was installing, so i popped it out to replace the cover, and then snapped it into place once the console was buttoned up. Some care was needed to tuck wires away so that it would close (which i naturally didn't take photos of). looks very clean inside the console, and was an easy install. I did suck up the debris before closing it off")
I swear i read a thread going through this at one point, but for the life of me couldn't find it.
I added a 12v cigarette socket into the interior of my center console. install was super easy, took maybe 25min (mainly because i read tap wire sizing incorrectly).
Here's the socket i used, but you can probably get dozens of others that would work just as well:
https://smile.amazon.com/gp/product/B08N9ZJHGN/
T-Taps:
https://smile.amazon.com/gp/product/B07MLPBPW5/
Again, sure you can use plenty of others.
Step 1:
Popped off back of console - it just pulls off with little white retaining tabs holding it in place. I ordered a 12v socket off amazon that was about $8. Here you can see I've got the socket just stuck on with doublesided tape to check clearance. I've not drilled yet, so the actual install will be a little more recessed as the outside of the socket goes on the inside of the console (but with wires on those terminals they will stick out a bit more).
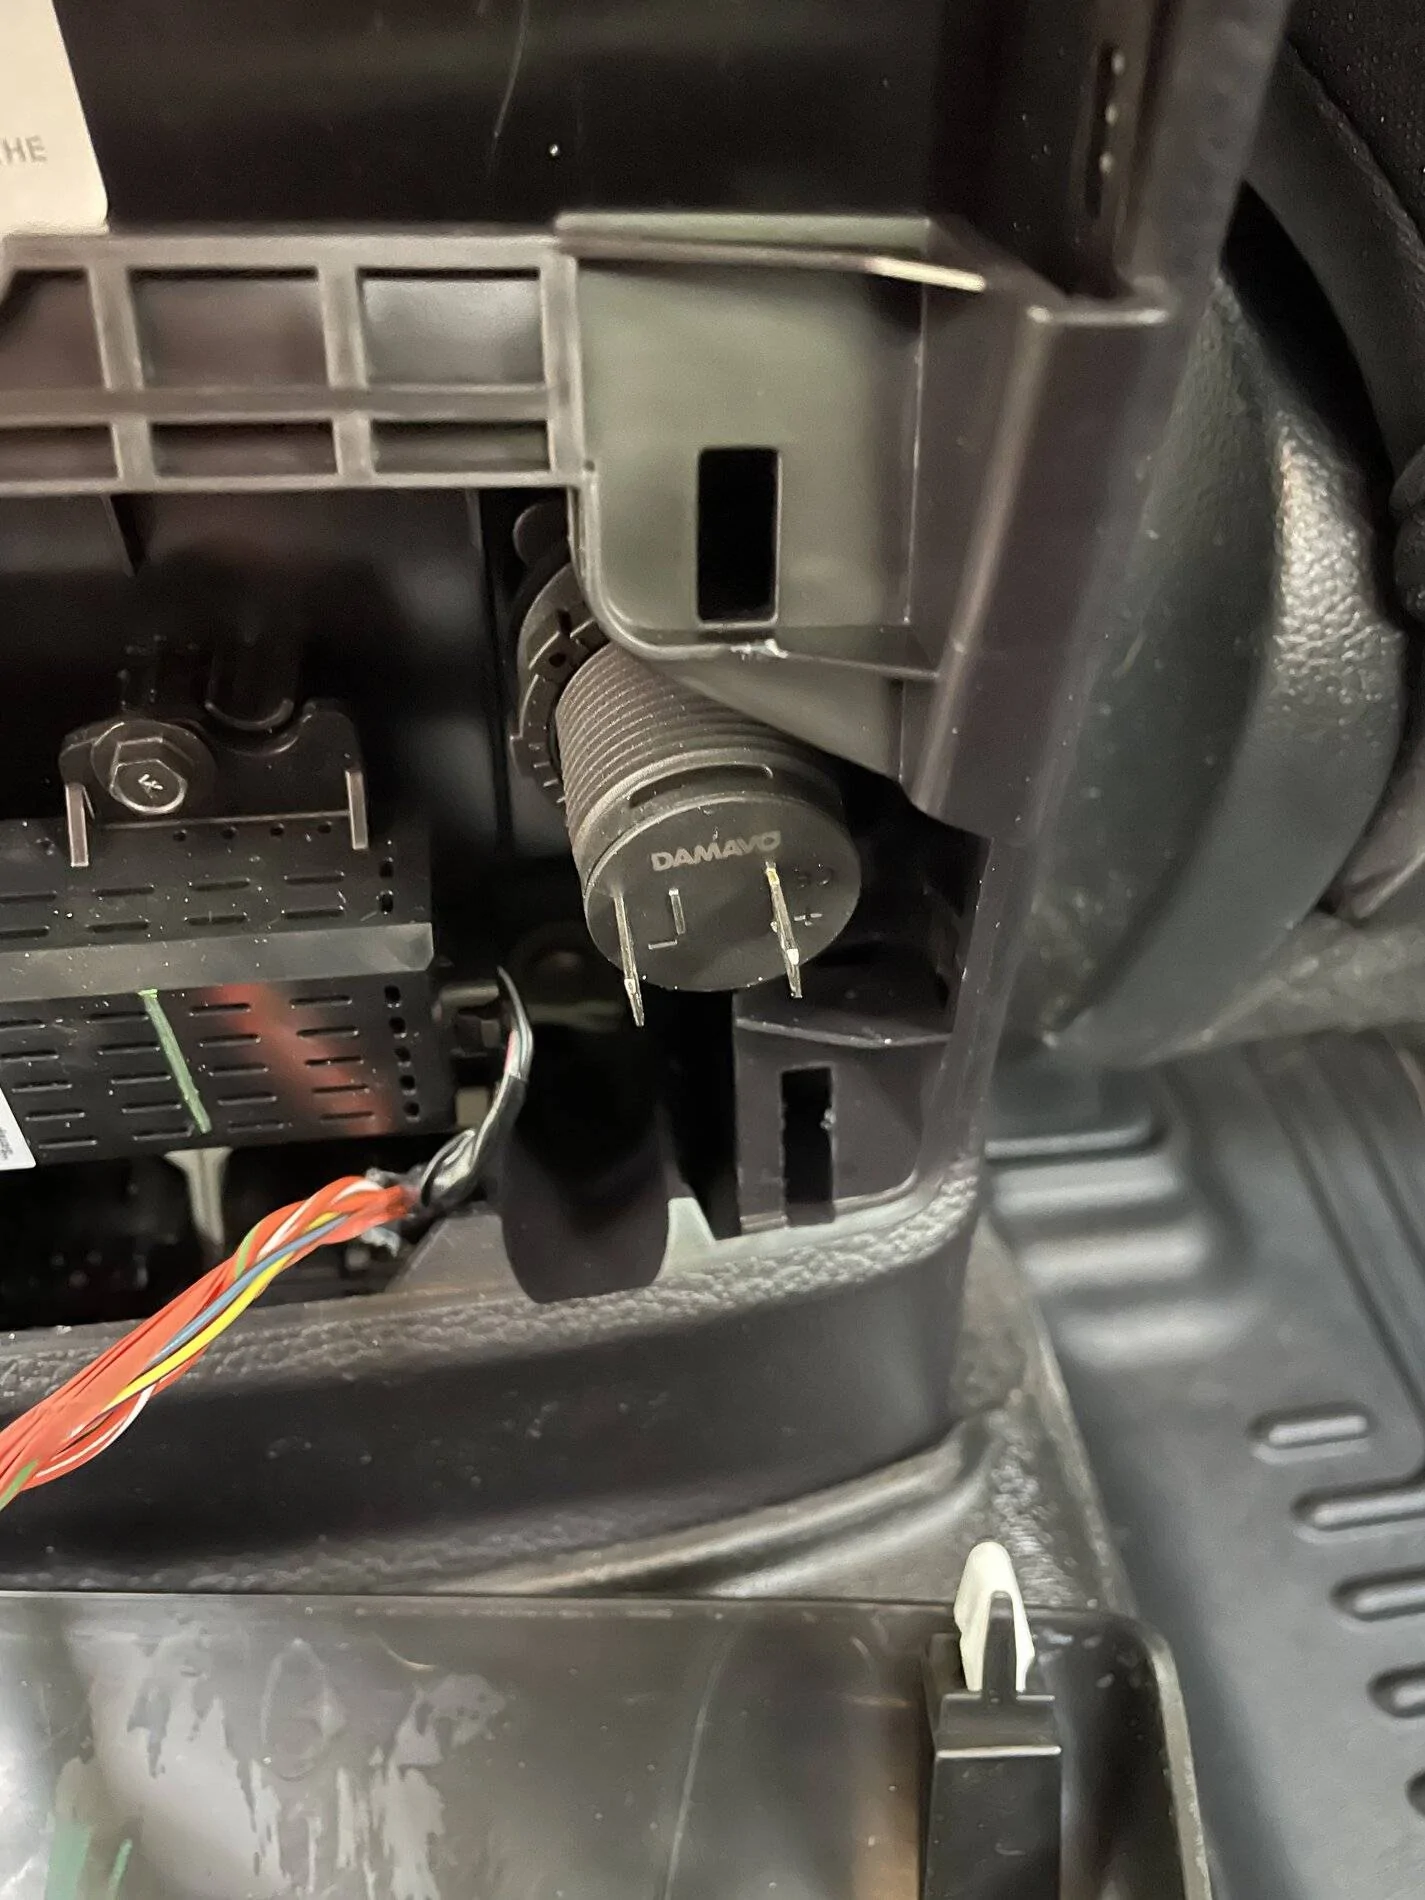
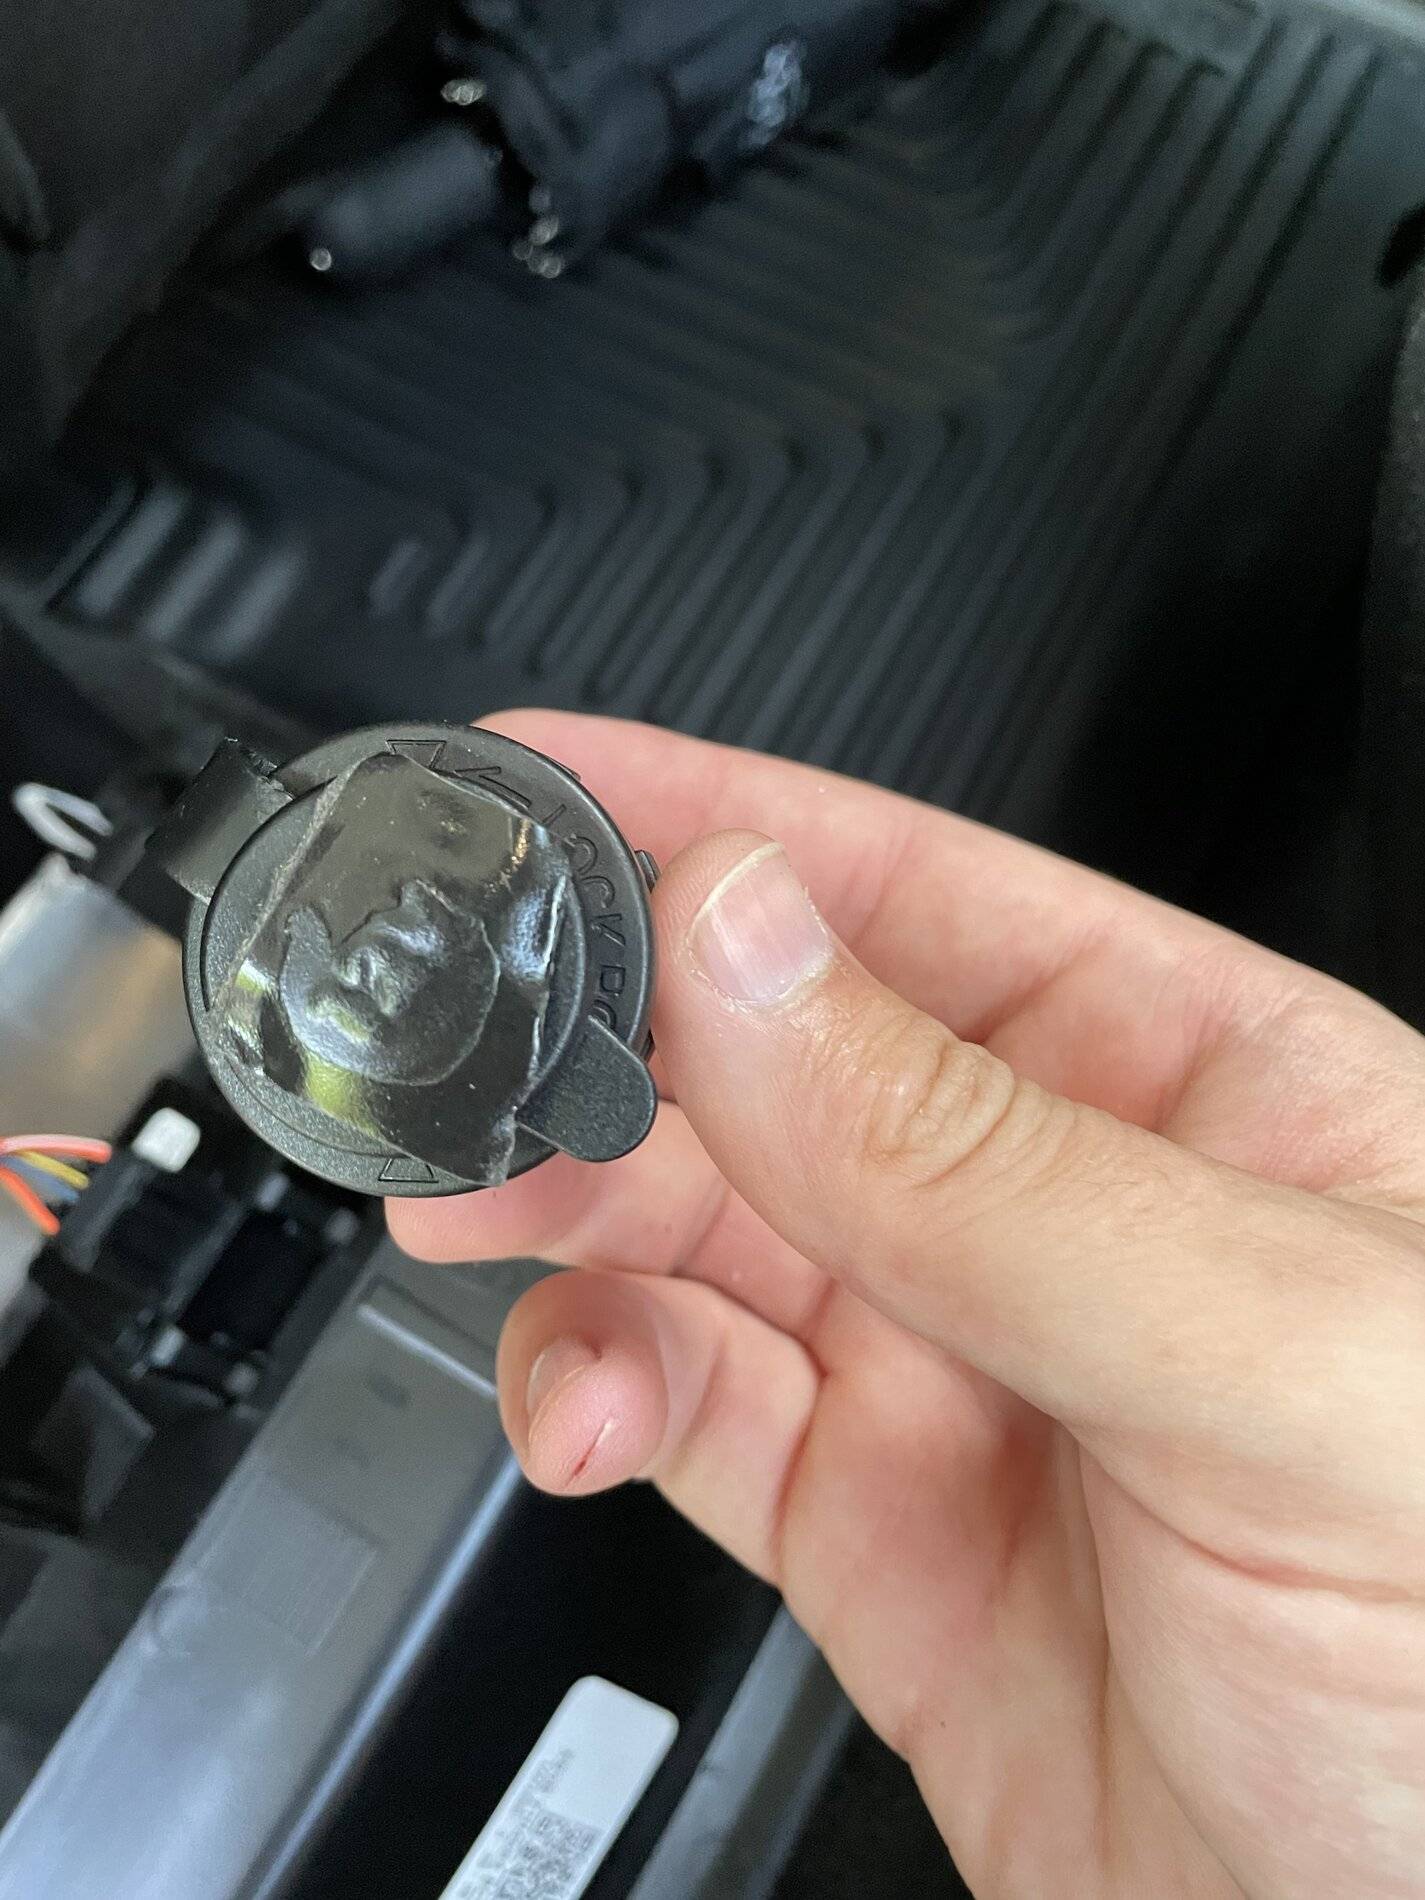
Step 2: splice into wires. In the center of this of cavity is a small transformer to presumably step from 12v to full USB voltages. The right side is the input, with a positive and negative wire. I tapped into these, and checked for voltage (to confirm my assertion). I suppose I could have probed the connector, but i felt pretty confident on this. I did end up removing the two 9/32 screws on the top and bottom holding this piece in to make it easier to get the input connector attached. The cavity below the console is a pain, and i did manage to drop a white plastic clip in there, and momentarily stored a socket there.
Step 3 - hole time! I found the diagram for the socket i got, and it called for a 1& 1/8 hole. I busted out the hole saw and tested in a piece of scrap wood to confirm fitment. Once confirmed I drilled away. Not pictured, but after having the taps installed, i changed to the included terminals on the wiring for my socket, and tested for function (prior to install).
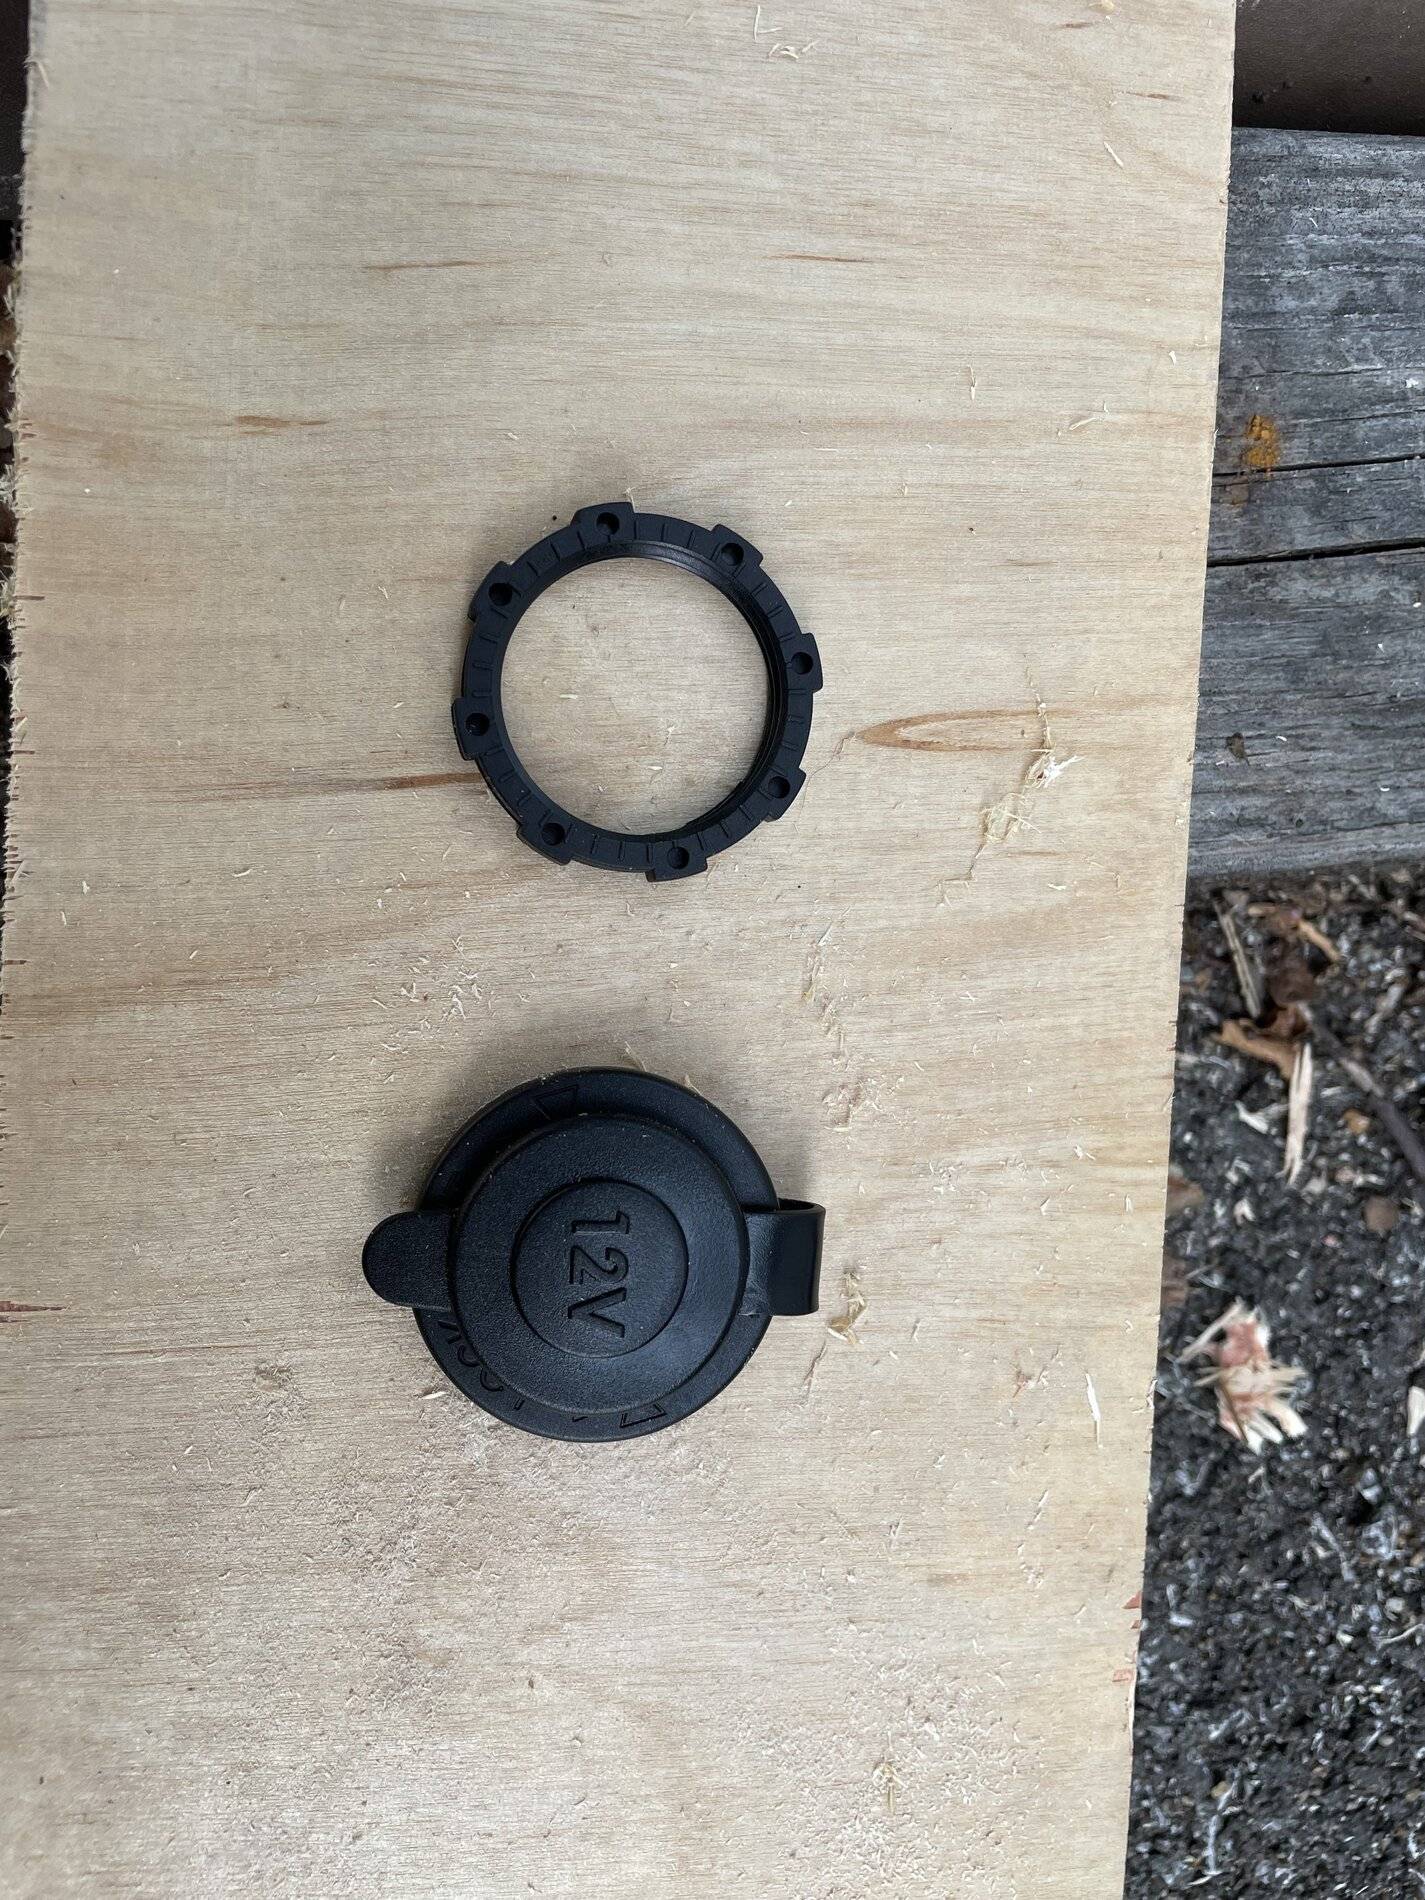
Step 4 - At this point, I put the socket in, tightened the ring on the back, and wired it up. I found that the AC module seemed to hang up as i was installing, so i popped it out to replace the cover, and then snapped it into place once the console was buttoned up. Some care was needed to tuck wires away so that it would close (which i naturally didn't take photos of). looks very clean inside the console, and was an easy install. I did suck up the debris before closing it off
Sponsored
Last edited: