Phlfwd22
Well-Known Member
- Thread starter
- #1
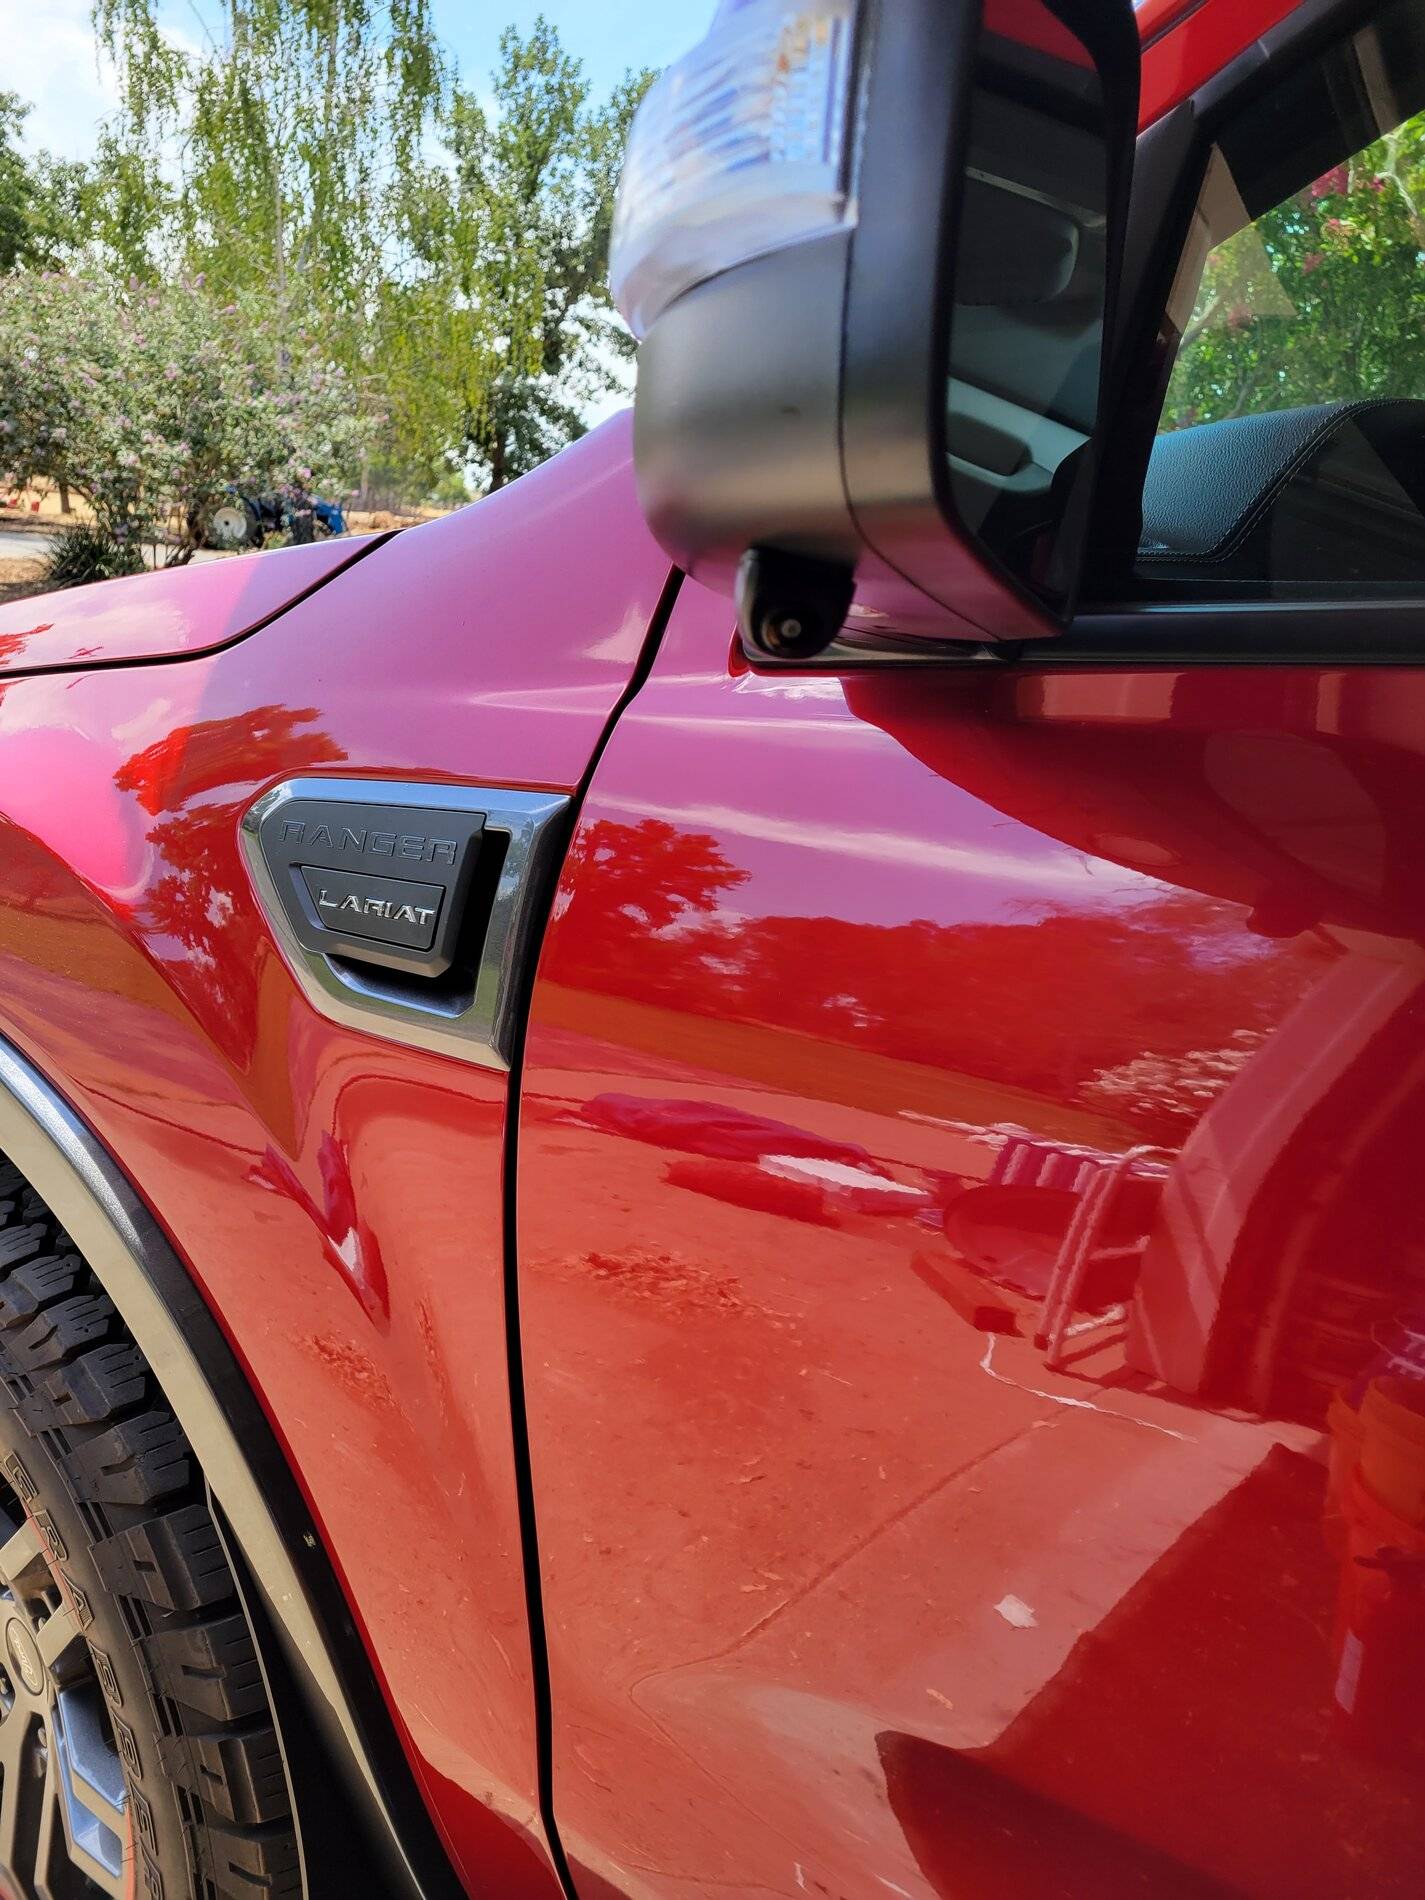
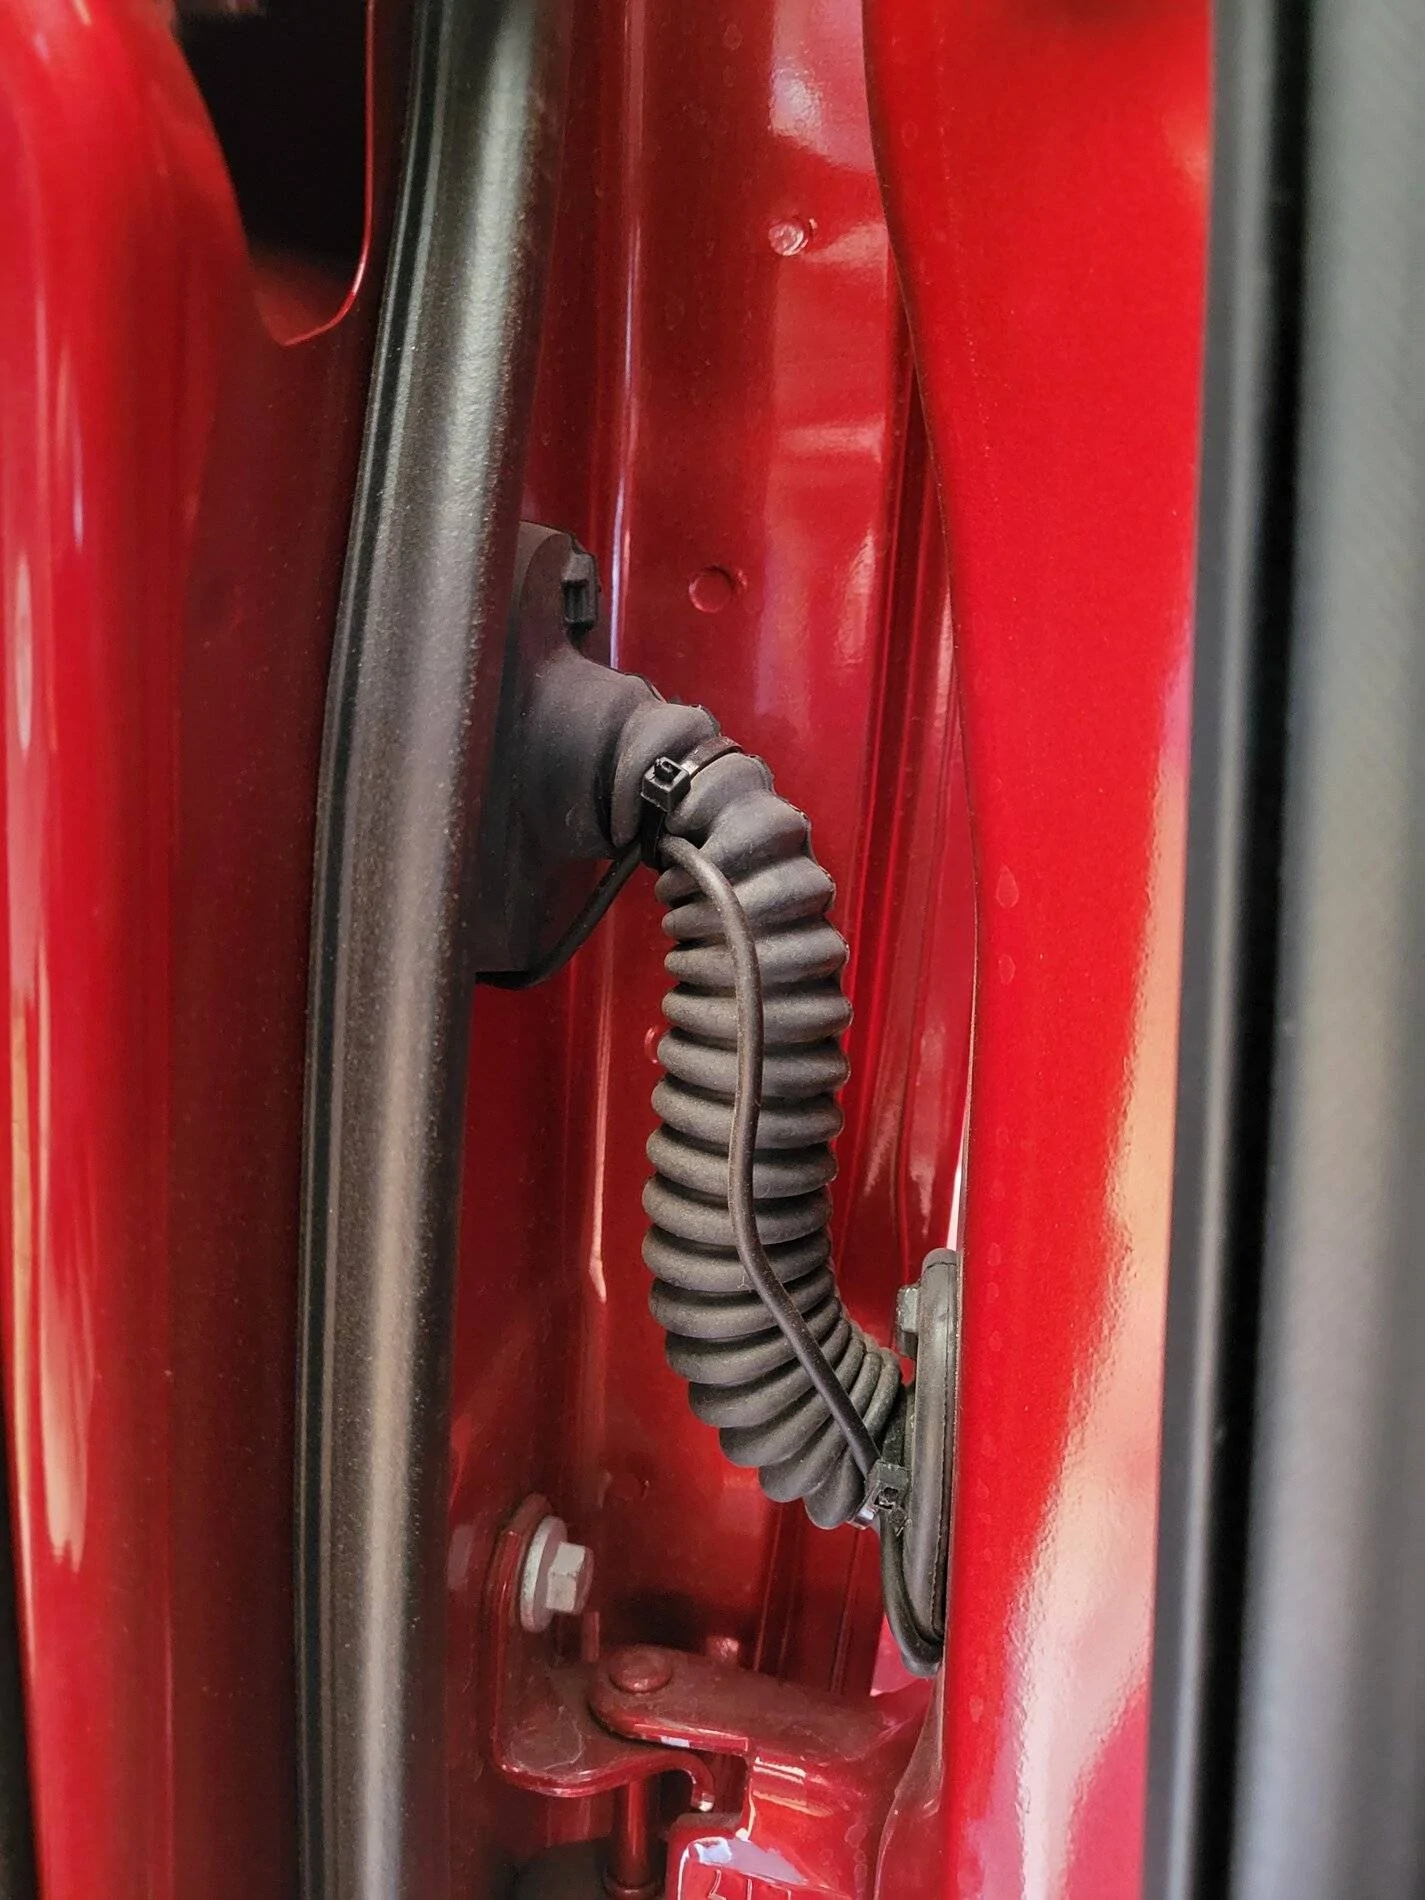
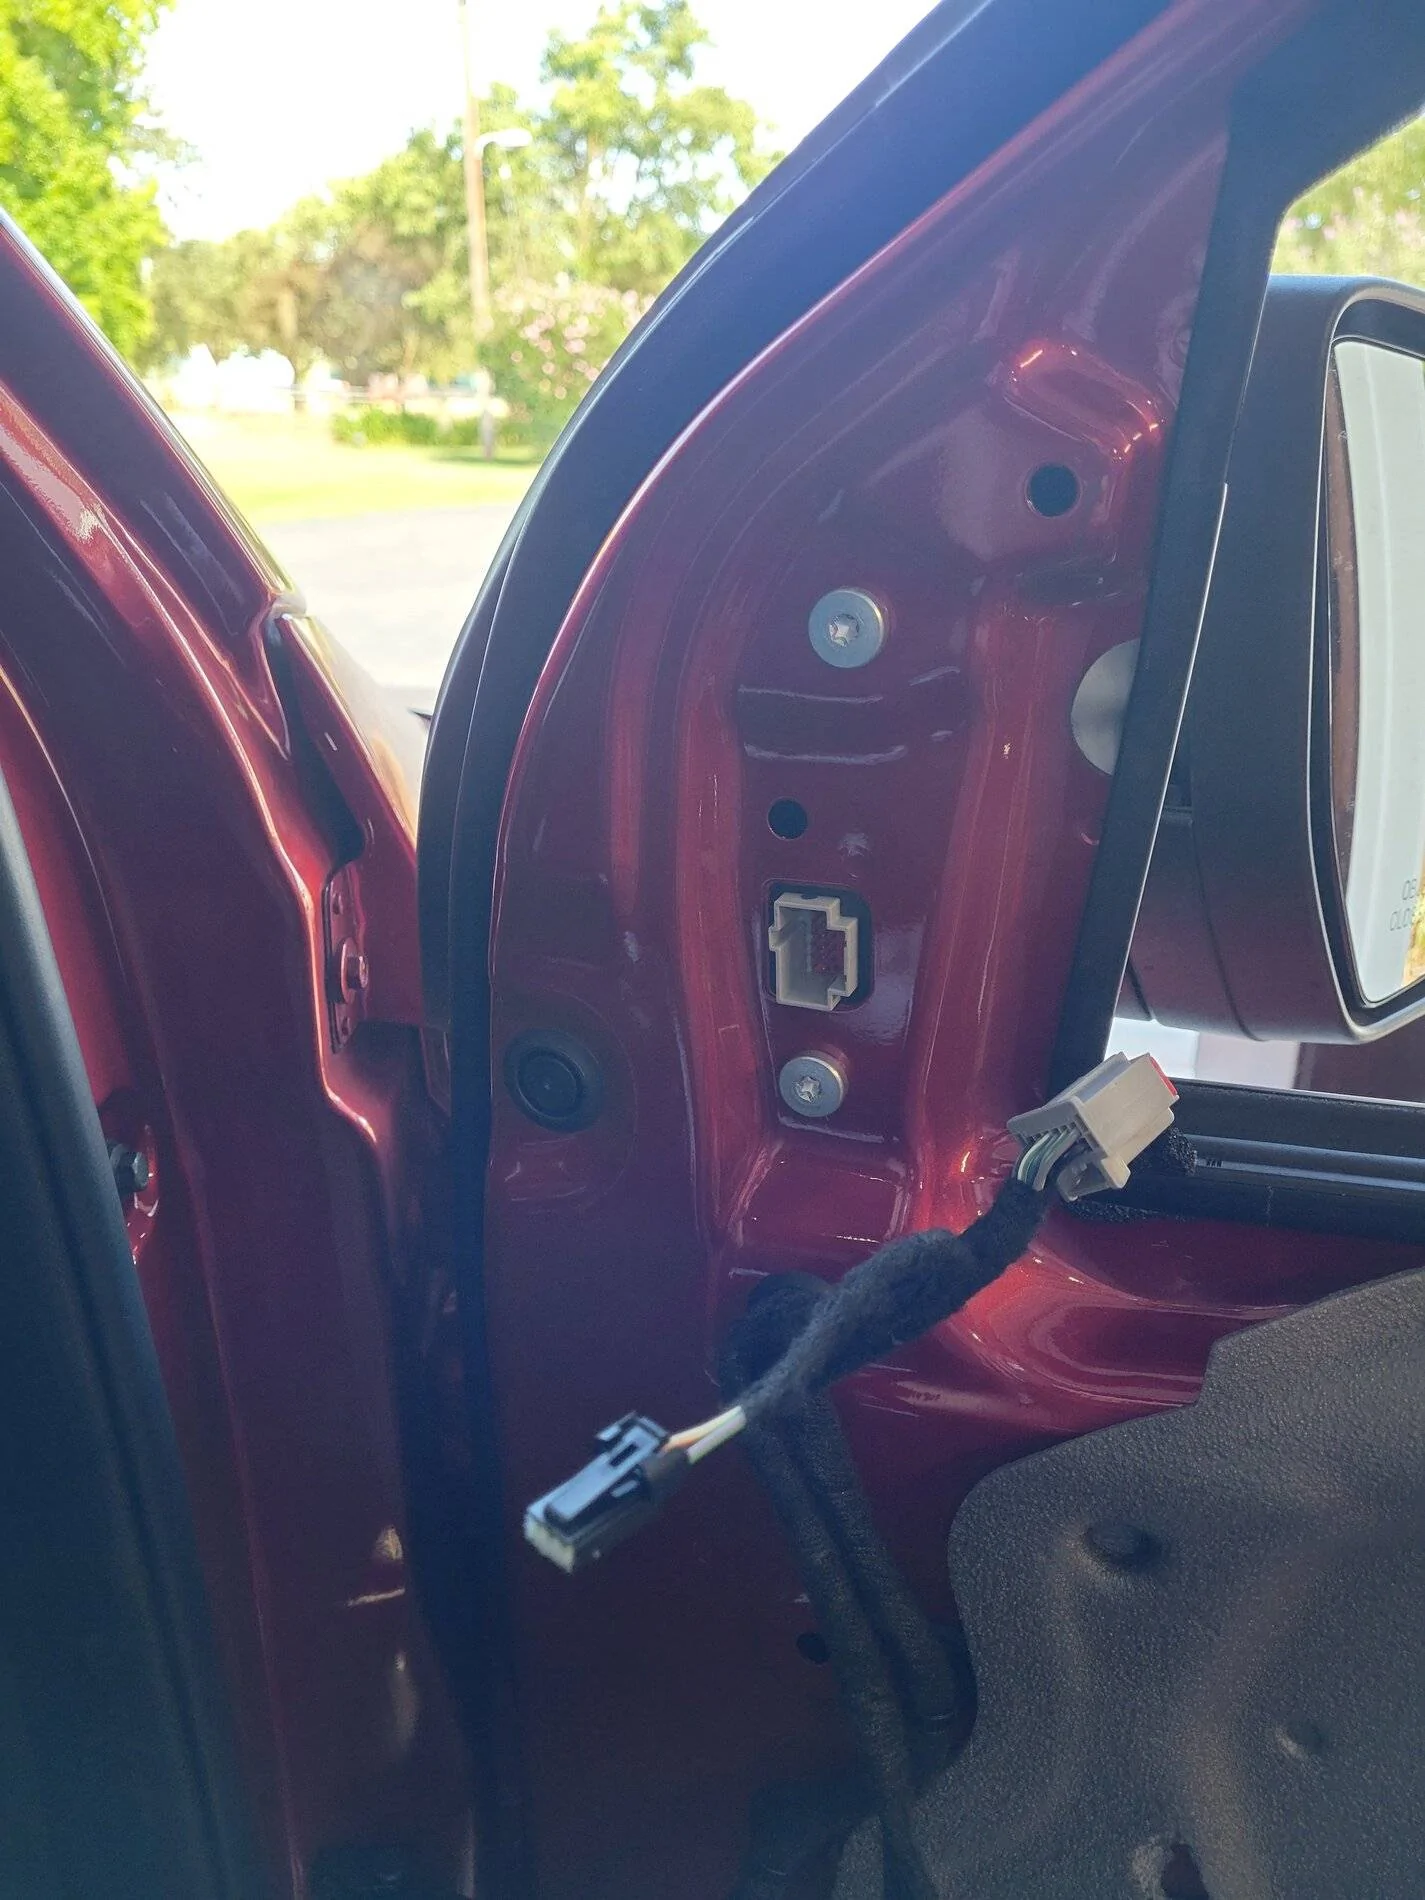
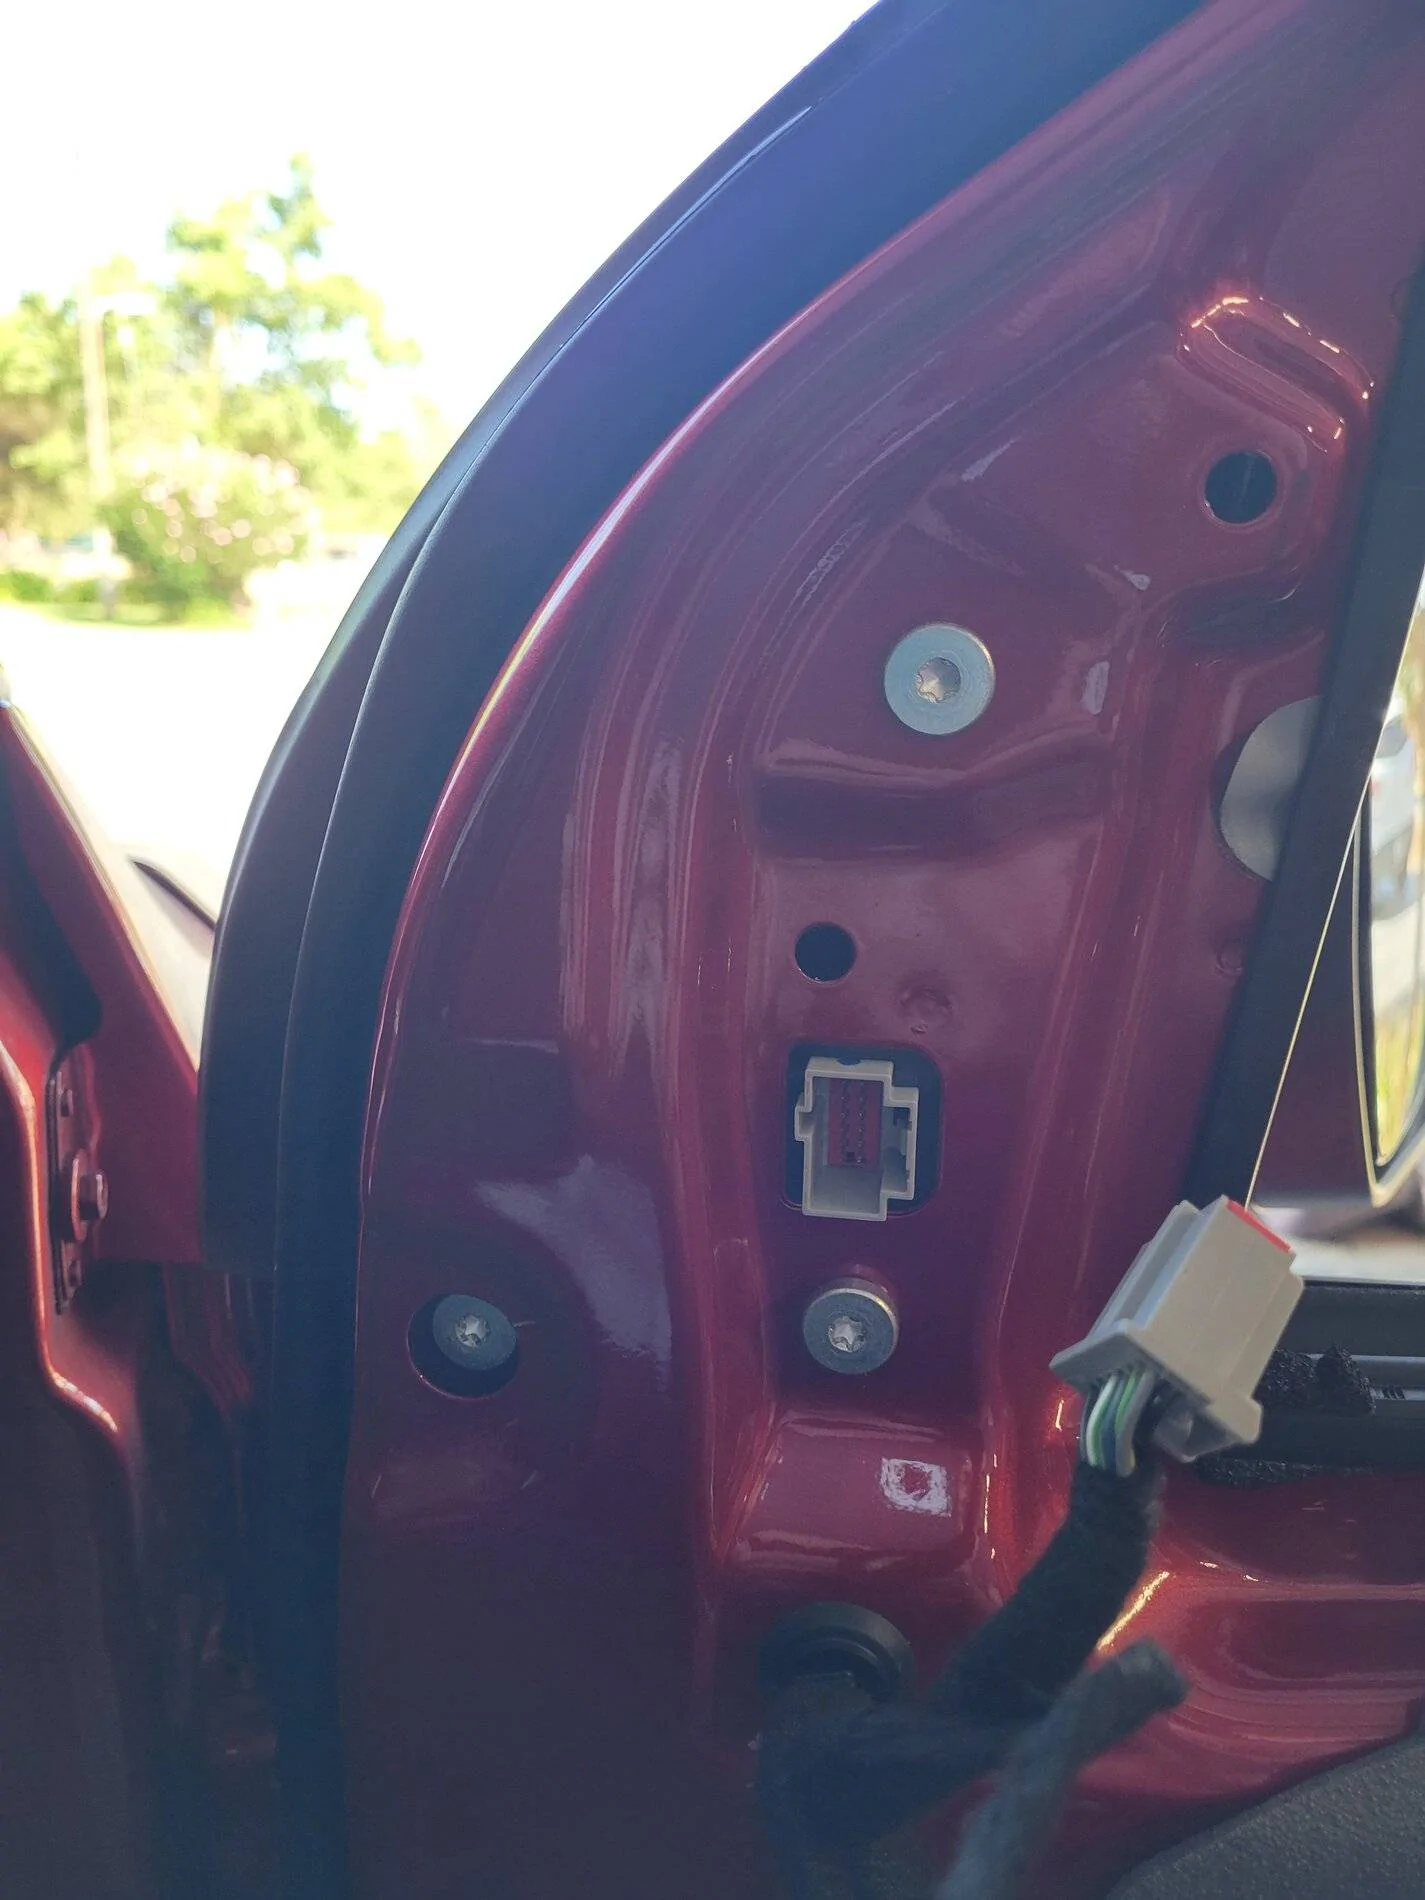
Has anyone looked into or added additional front/side cameras to their truck for a full 360 or Birdseye view?
From what I’ve read the sync 3 system is compatible with it.
i found a few on Amazon but the most promising looks like rostra.com, although I don’t see on there How to order.
anybody try this yet?
http://rostra.com/search.php
From what I’ve read the sync 3 system is compatible with it.
i found a few on Amazon but the most promising looks like rostra.com, although I don’t see on there How to order.
anybody try this yet?
http://rostra.com/search.php
Sponsored